Very smart work indeed Johno..... keep it up bud
|
The guys are engineers and they dont know how to build something horrid.:) If there was a clip 2mm in the wrong place it would make them ill:eek: I Like it.
Bob |
Quote:
The pics look like they belong in the "Book" :cool: Keep the build progress & pics coming, they are an inspiration to us all . cheers andy |
How did you straighten your pipe? I think that's one aspect that makes it look so good.
TT |
Hi all,
Really appreciate all your comments (Deezee, AyJay, Dualist, Kev4Kev, TwinTurbo, Robo and HandyAndy) means a lot to me as you guys have a lot of knowledge amongst you all.....:) There's an old saying "beauty is in the eye of the beholder" I'm enjoying working on the car at the moment as it gives me a bit of a distraction from a few family issues at the moment. I believe everybody is proud of what they have achieved (I have) so each build is unique so thumbs up to all you guys.:D TT with regards to the brake and fuel lines I just spent a bit of time straightening them out on a table from a roll before fitting them. Because I have my P-Clips so close to each other it helps to keep the pipe straight.;) My wiring harness support pipe is from straight 1/4" aluminium solid round bar in 4.5mtr lengths which I then bent with a cheap "Blue Point" pipe bender, (made quite a few mistakes there)....:eek: Both the fuel and brake pipe are copper/nickel which I believe is a little bit more stiffer than normal copper which I believe may help. Well I hope that helps...Johno |
Just a bit of a progress report,
Spent some time Sunday Putting my brake callipers back together, I purchased a seal kit for the front from Bigg Red knowing some seals where perished only to find I should have ordered some for the rear as well.. I stripped the car down a bit so I was able to flip it over to fit my floor, bloody thing is getting damn heavy now. I left one of my rear callipers on to sort my handbrake cable positioning. Just needs some clips to hold it in position but seems to be OK with the routing, also needs a bkt near the diff washer to connect to the cable bkt. I have ordered some new cables as mine are shot to bits and hopefully should be here sometime this week. It's a nice feeling to know that you can bolt parts on and leave them on for good. While she was on her back I took some photos (sounds rude) of the rear end and diff mounting area. 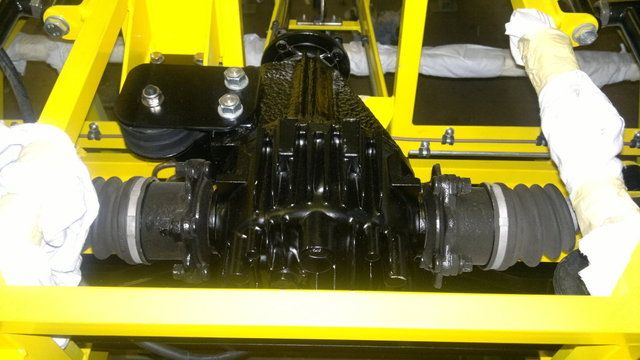 Here you can see where I have routed my ally bar under the diff hangar area 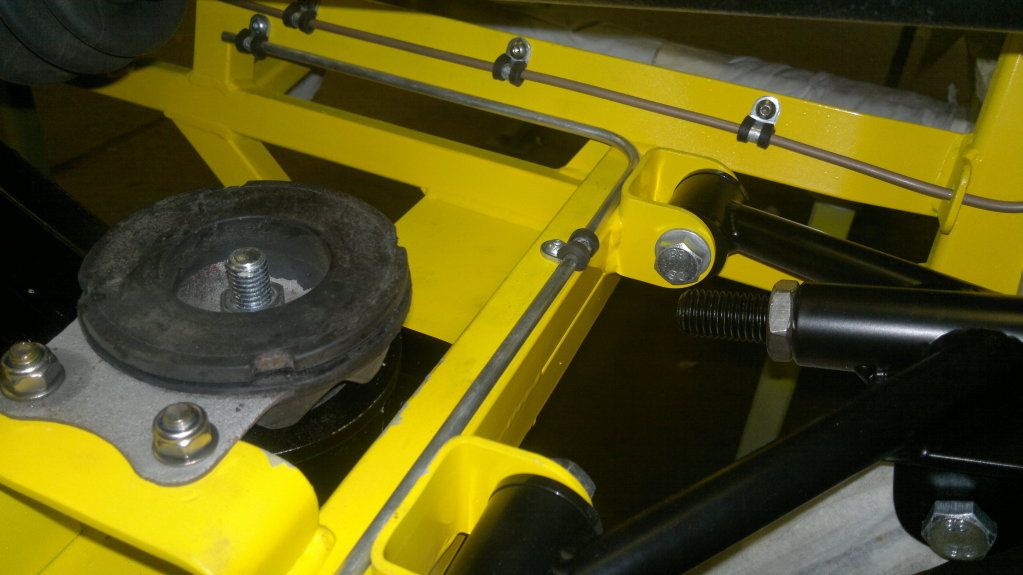 Oh and my floor fitted at last bonded in place with "Tiger Seal" and blind rivets. 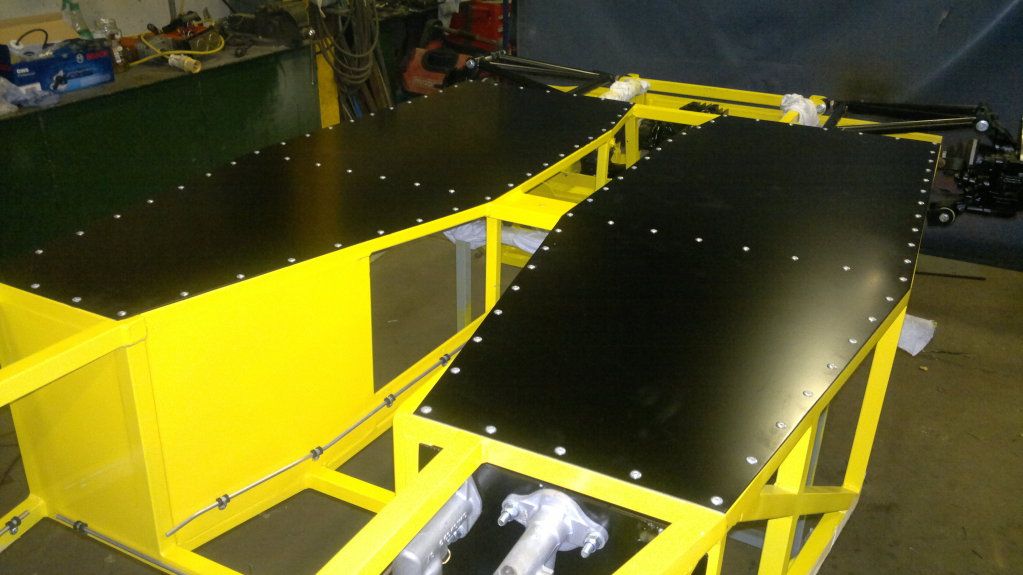 Hand brake cable position... 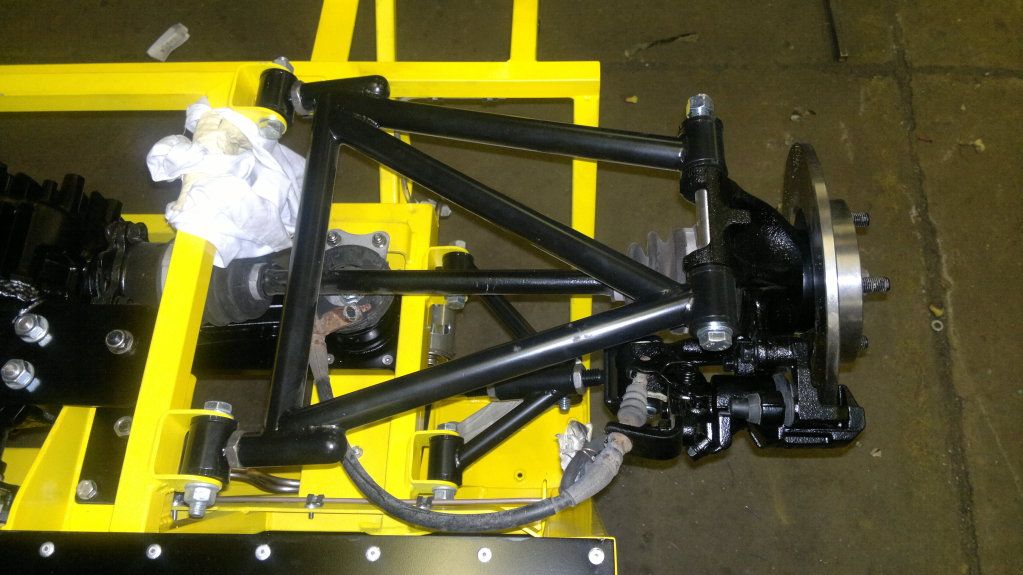 I've updated my Photobucket with loads of photos bu haven't put them in any order yet..... http://s1199.photobucket.com/albums/aa472/JohnoSS1/ Bye for now... Johno |
Sorry nearly forgot,
I said to Tony and Simon I would post some photos of their build as well on here. Here's Tony tonight fitting his floor panels.. 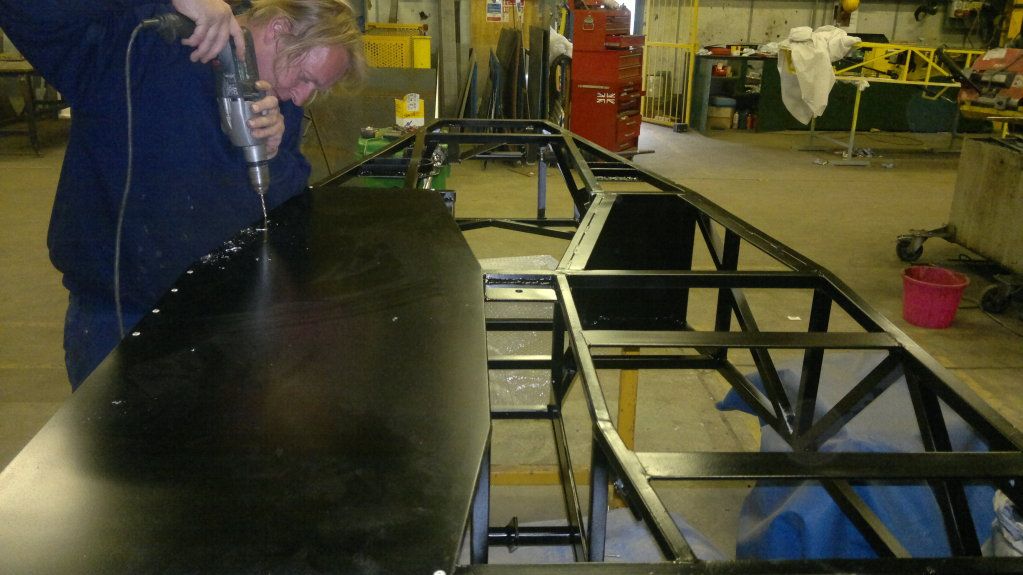 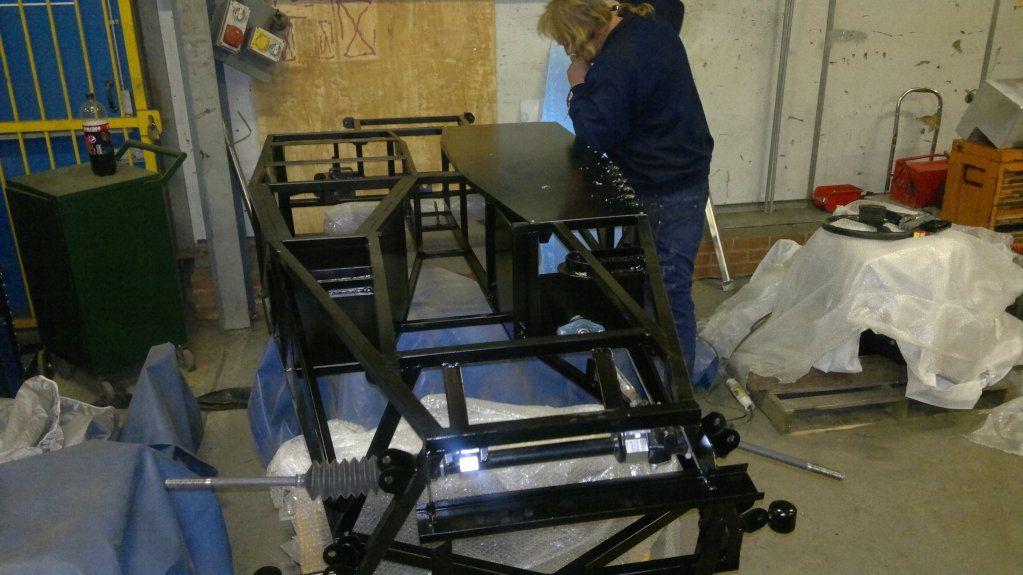 Here's Simons pedal box (he's very proud of this...) 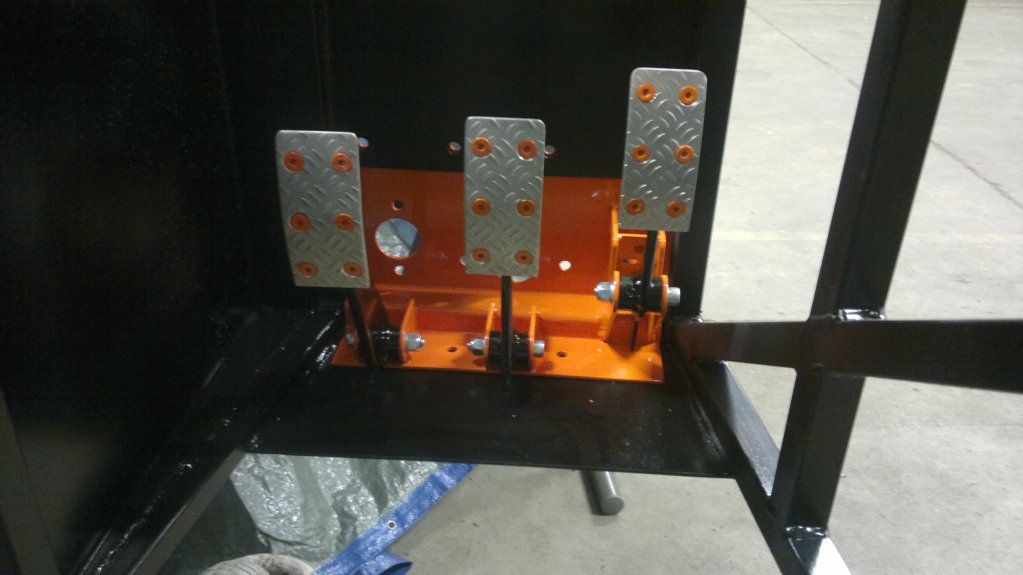 The pedals have been covered in what we call 3mm thk aluminium "Rice Grain". Very grippy and looks cool too. Well they've done loads more than that but will post more photos at a later date... They're a bit shy:D Johno |
looking mint as ever, i keep looking for faults but cant find any, well apart from the rusty old handbrake cable;)
Keep up the good work |
Hi all,
Had a frustrating week........ Ever had days where you just stand and look at it and get nothing done, well this week was my turn. Recieved new rear handbrake cables this week so I thought a couple of hours one night should sort it.......WRONG!!!! No matter where I routed them I couldn't get them to clear most things moving...LOL I tried over, under and in front of the diff but I couldn't get the cable away from SB rails on full movent of the shock (without springs) in full compression. I tried brackets of all sorts vice gripped to various parts of the chassis to no aveil. I then removed one of the clips on the cables to see if I could bend this to help. I placed it in the vice and tried to bend it into a different position thinking this might help. Wrong again! clip wasn't having any of it as it started turning into odd shapes... So I reluctantly put the clip back on before I ruined it.....Sigh!!!!! back to square one. Two evenings and I acheived nothing. Three evenings later I put the cable back in the calliper and routed the cable back over the diff again but this time it looked differnt. When I put the clip back on I had put it on back to front (MX5's have a clip with a hole for fixing at 45 degrees to the cable) and all of a sudden it came together... A simple bracket bolted to the bottom of the diff cage and it was sorted..LOL Tony smiled as he said "Know where to weld the bracket on know" Here's a photo of the offending item in place. 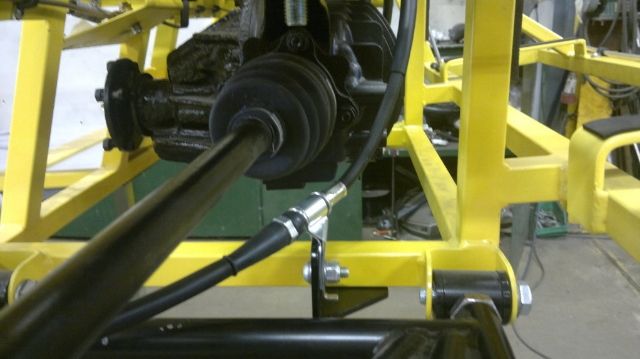 Here the you can see the clearance I've now got at ride height. 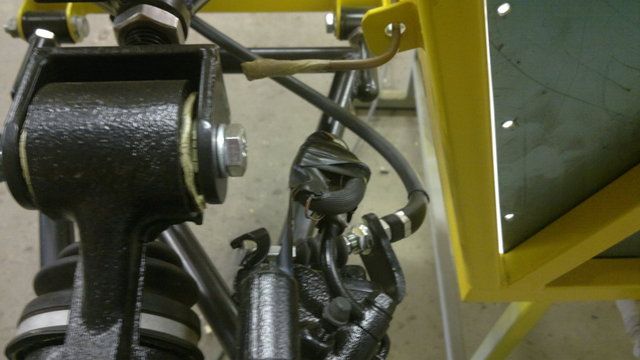 The cable now also clears the wishbone on full travel. Both cables in place. 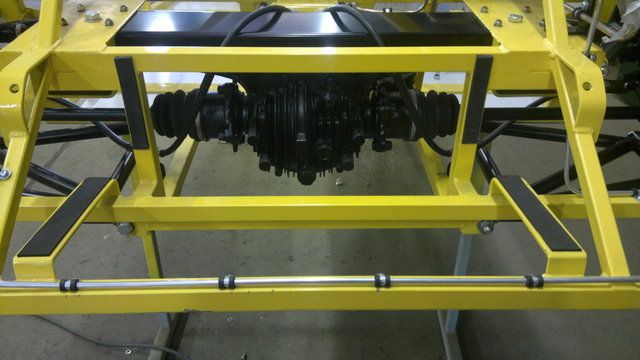 Just need to clip the cable to the diff brace and add some sleeving to avoid chaffing problems. Hand brake fully installed (not finished yet though) 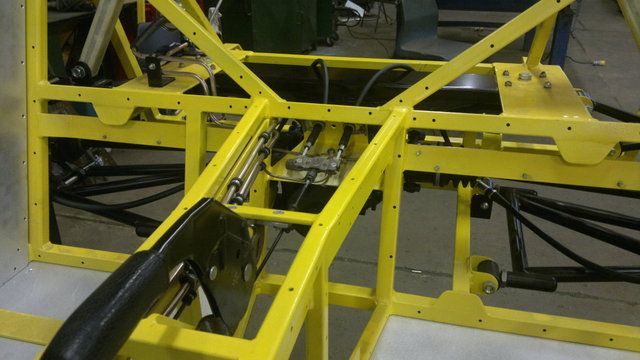 Johno |
Sorry 4 photo rule kicked in (nearly finished).
I also had some time on the pedal box. It's bolted in place but not quite finished yet hence no nylocs fitted etc... I'm using the MX5 master cylinder which fits nicely to which I have fitted a washer behind the circlip to hold the clevis bolt in place, and fitted a rubber boot to cover the bolt. 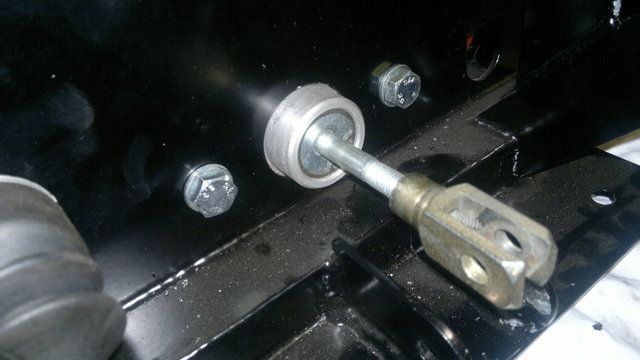 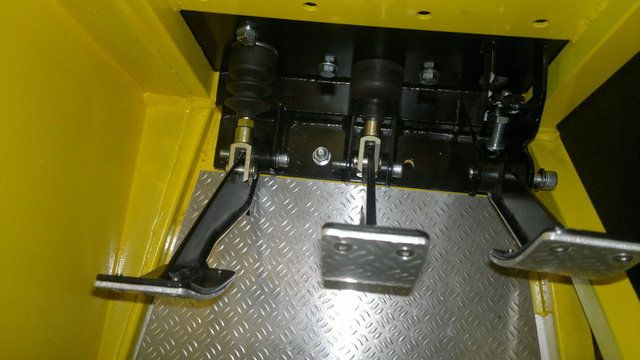 I'm going to use the original throttle cable but just need to move the throttle bracket on the engine to make it all fit. 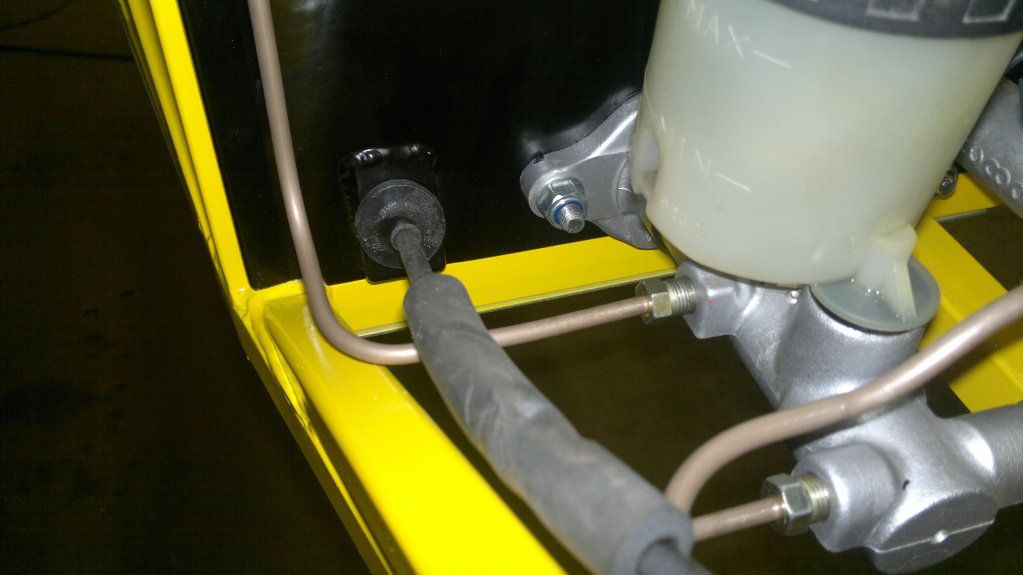 Engines's going in soon to sort out cooling and air. Bye for now....Johno:) http://s1199.photobucket.com/albums/aa472/JohnoSS1/ |
| All times are GMT +1. The time now is 08:17 AM. |
Powered by vBulletin® Version 3.6.4
Copyright ©2000 - 2024, Jelsoft Enterprises Ltd.