
 |
|
|
|
|
So I had a quick look at swapping over the dual mass flywheel on the V6 to one from an ST200, which I had hoped would fit. Short answer to that is "No".
The ring gear is the wrong pitch, it is thinner (needs shorter bolts), and because it is thinner I don't think the clutch splines will engage properly with the transmission and the clutch bearing will not reach the clutch to disengage it. Scrub that idea :( 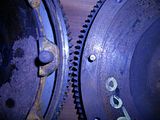 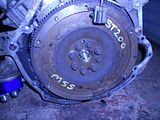  Also no spigot bearing, the dowels to align with the clutch pressure plate are too small... this represents a large amount of work to get it going, and to be frank I don't think I can afford it! |
After some further thought I've come up with the following solutions to fitting the Mondeo Flywheel to the AJ30 engine:
Ring gear wrong: Fit a Mondeo starter (not a direct fit) or replace the ring gear Thickness: Machine up a spacer Spigot bearing: Machine up a housing for the spigot bearing Dowel alignment: Make adapter/leave it (non critical) Looking at the amount of work involved I think I'll have to write it off for now, I may come back at it when I've got further with the car. Or I just save up for one of these: http://ttvracing.com/engine-types/?m...ls#prettyPhoto[iframes]/0/ For now though the dual mass flywheel will be going back on! |
To catch up on my build progress slightly (as I find more pictures on my computer):
To mount the gearbox I chocked the gearbox into position and measured the angle between the drive flange and the differential - about 0.5 degrees vertical and bang on horizontal the first try! I then welded a crush tube into a tube cut to fit into the drive tunnel, screwed it onto the bottom of the gearbox and tacked it in place. As there was a screwed in adapter that stuck out from the bottom of the Jag gearbox there was much room for a soft mount - here it is with the tube tacked in and a shim: 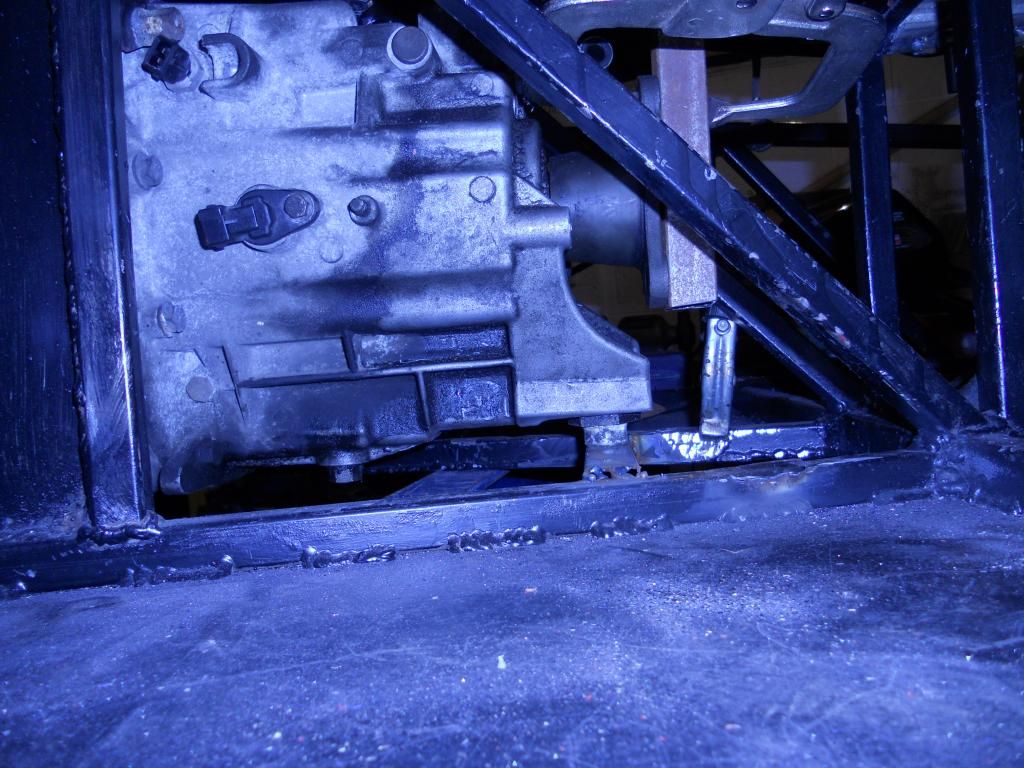 To fix this I removed the adapter and cut off the bottom so that it was flush with the bottom of the gearbox. I then cleaned the threads and screwed it back in with a healthy dollop of high strength Loctite. I then cast a Shore 70 polyurethane block and drilled a hole down the middle for the bolt. The bolt passed up through the crush tube, through the poly block and into the gearbox with enough space for a locking nut on top - result! 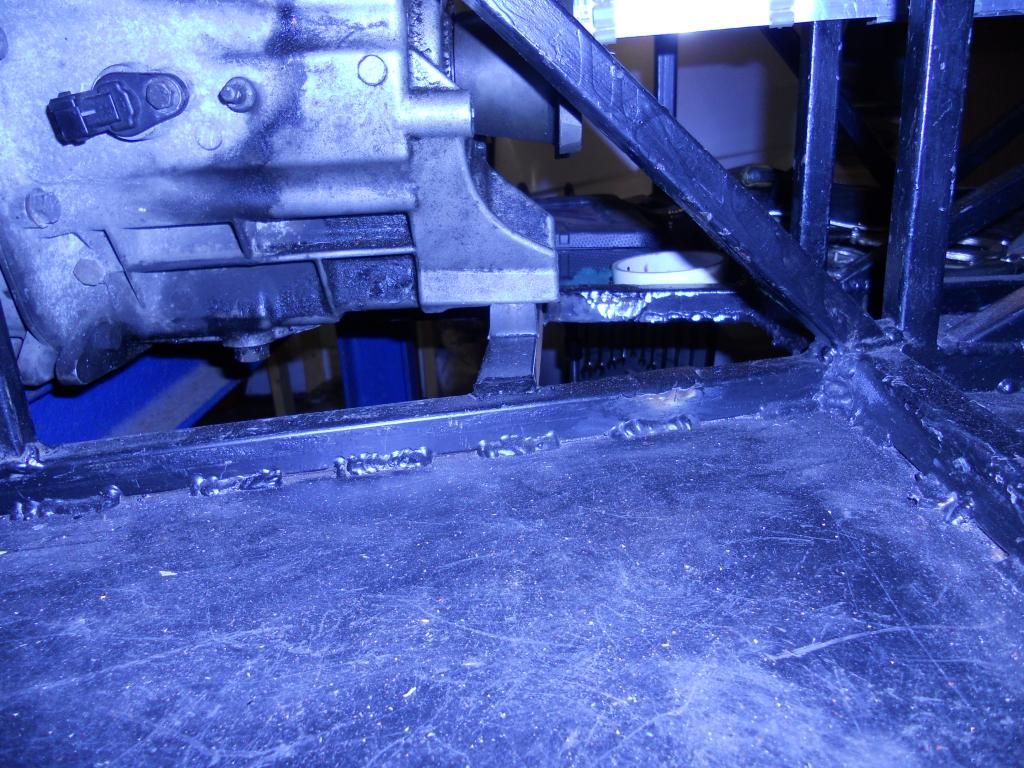 I have some doubts whether the poly is hard enough, and I wondered whether I should have bonded some metal plates onto the surfaces, however I reckon it is good enough for now. |
The car came with a pedal box as designed by Sylvain, which I was very happy with. I've had to modify it for a hydraulic clutch, and I've opted to weld it in situ. With the brake and clutch master cylinders mounted, this is now complete until I get around to accelerator linkages.
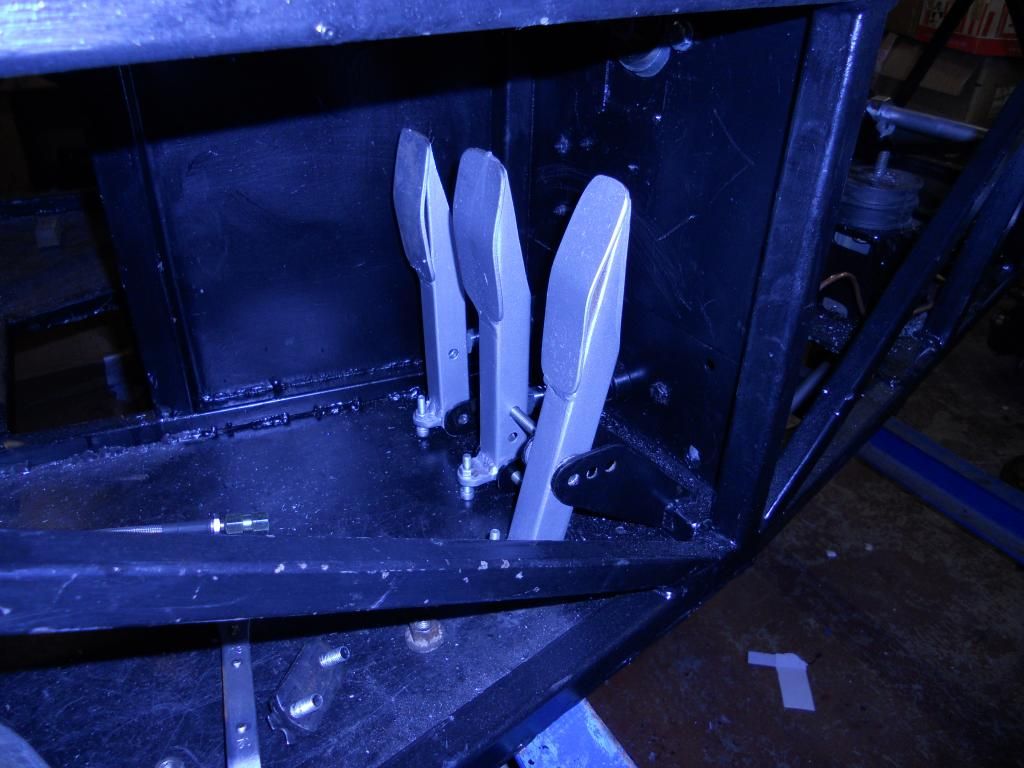 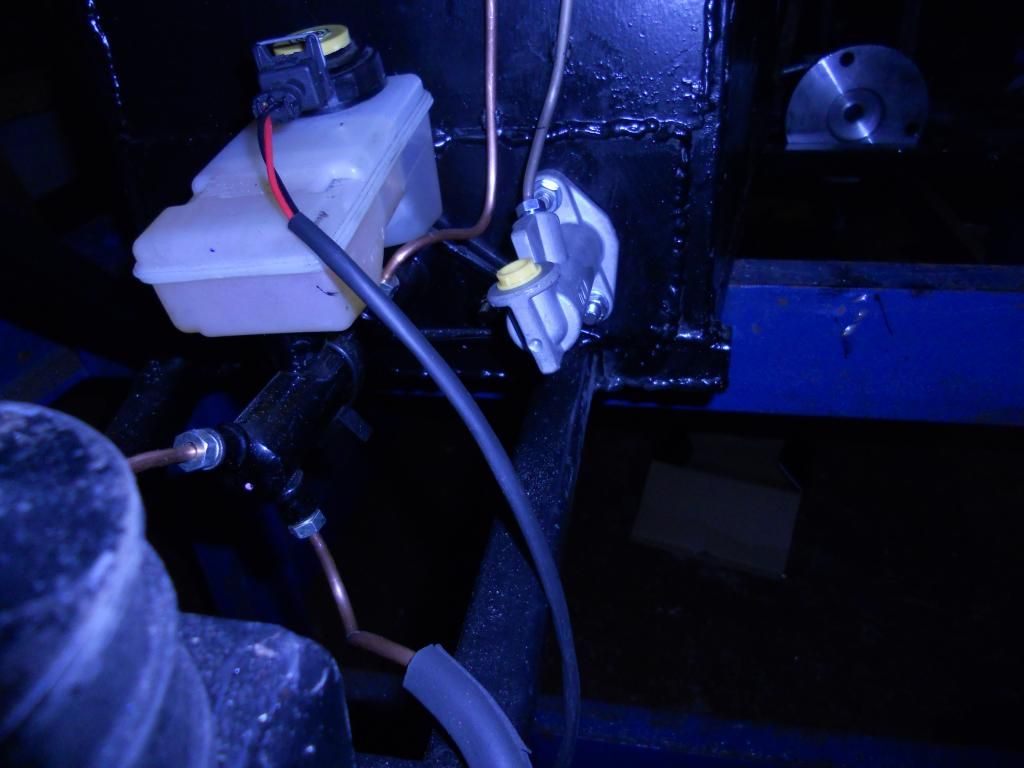 I had to tilt the clutch master cylinder slightly to improve clearance with the engine starter motor, which I felt was a bit close for comfort (I'd originally positioned it for the BMW engine which was fine) 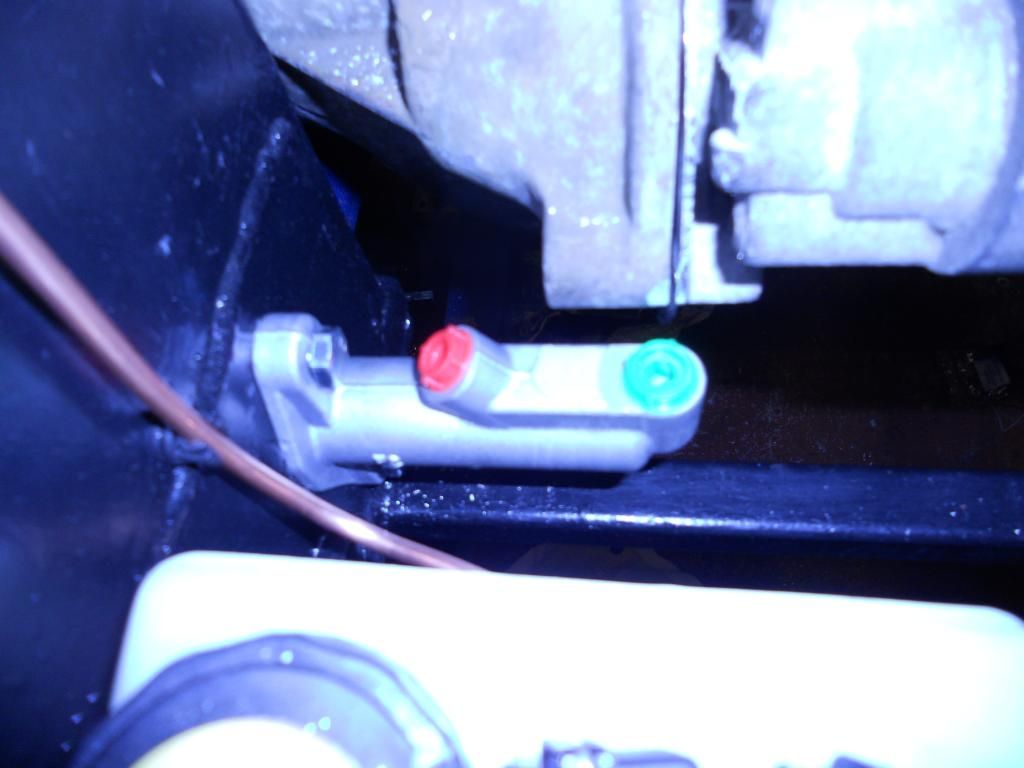 |
And my final bit of verbosity for the evening, I finished off the handbrake mechanism on Saturday evening - though all the cables work, the pistons do not seem to move. I'm hoping this is because I wound them all the way in when I refurbished the calipers and they need to be pushed out by brake fluid for the auto adjust... I hope!
Custom handbrake adjuster bar, a shameful copy of one I saw on Locost Builders. Needs a lick of paint! 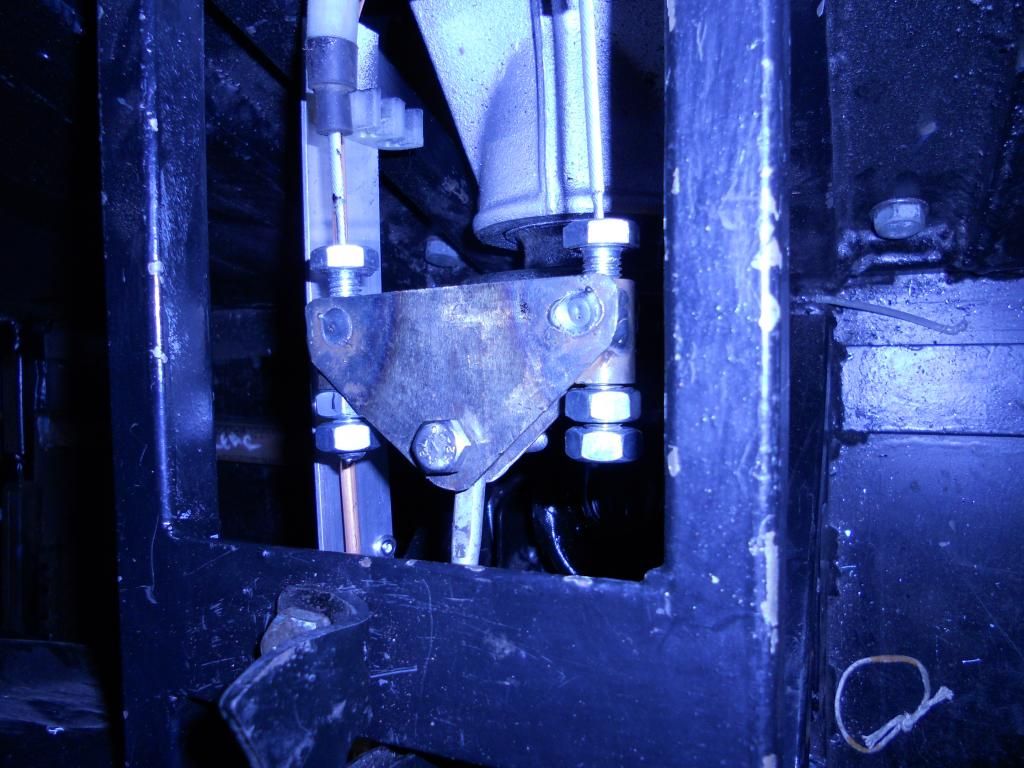 Handbrake in position - I originally looked at mounting this further forwards as I find it hard to get hold of it in its current position, but unfortunately it started interfering with other things and had to go back to it's designed position. Ah well! 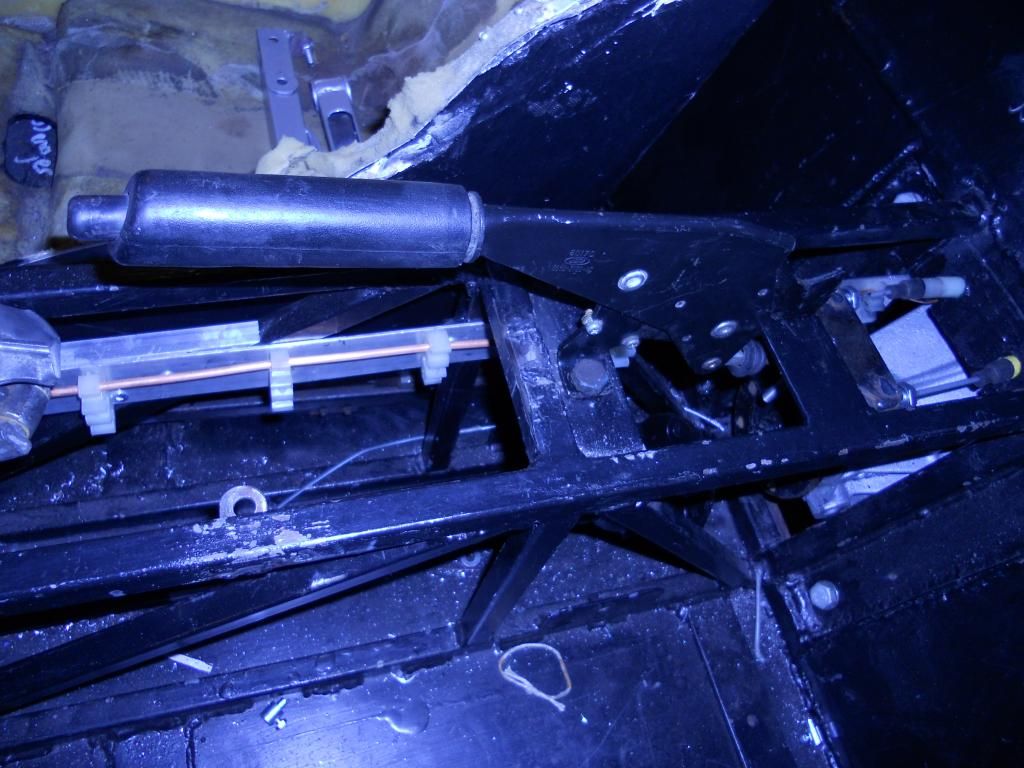 Finally my slightly kinky clutch pipe - not so sure about this one, I may need to rethink it a bit. There's plenty of clearance between it and the brake pipes behind it (as shown by the foam padding falling down!) but I just keep thinking there is a neater way... 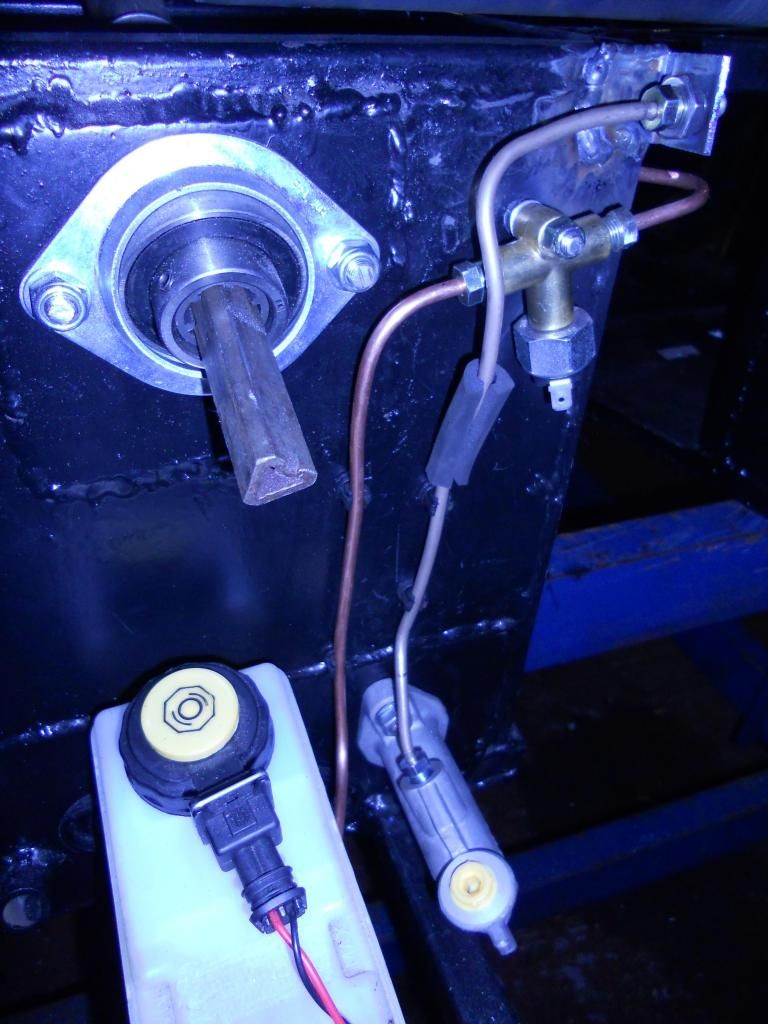 |
Looking good, dont no how i missed your thread, must be the forum as it never shows up new posts on new posts
|
It's 'cause I've only just got around to creating it yesterday :D
|
Not much done this weekend as I ended up on a pub crawl Saturday afternoon, and it took me until this afternoon to become human again... good times :D
Had a bit of an issue with my brakes - the front circuit has bled fine, but fluid started pissing out the of the t-joint on the rear. To cut a long story short the threads on the t-piece were malformed and wouldn't let the unions clamp properly - swapped it out for another one and it seems all good. 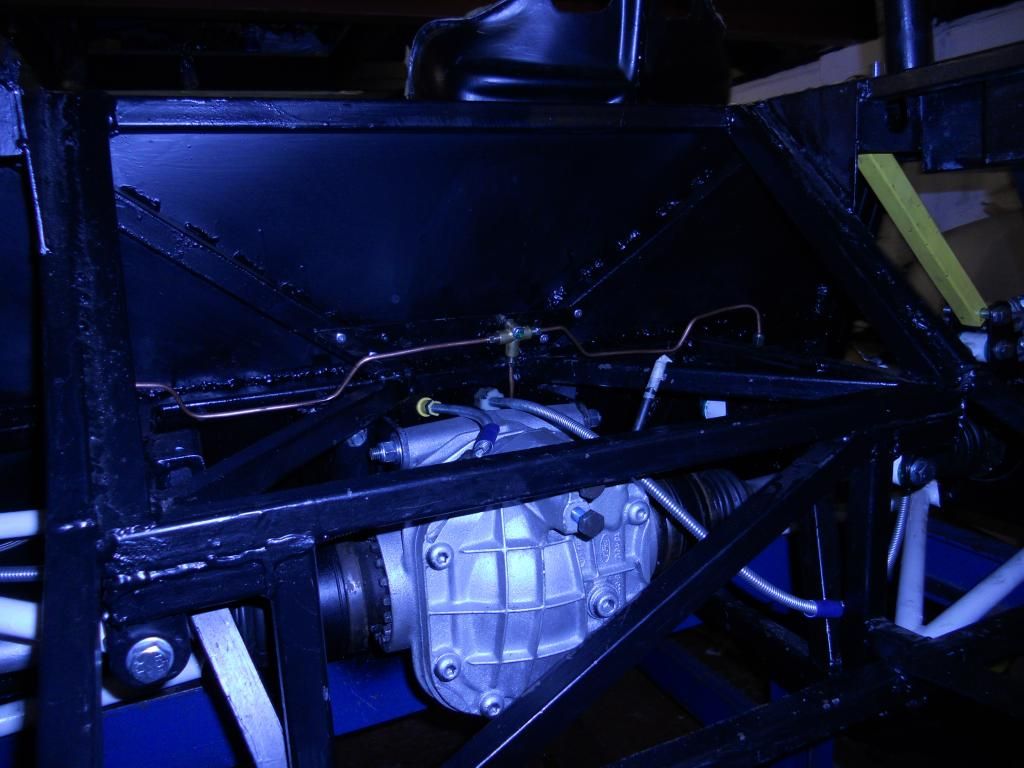 I've admitted defeat for now and bunged the DMF back on the engine, also drilled three new holes on the X-type sump to accept bellhousing bolts. Two of them already had holes there (either close or misaligned), so in the interests of simplicity I've just drilled through with a 10.5mm and will use a nut and bolt on these joints. 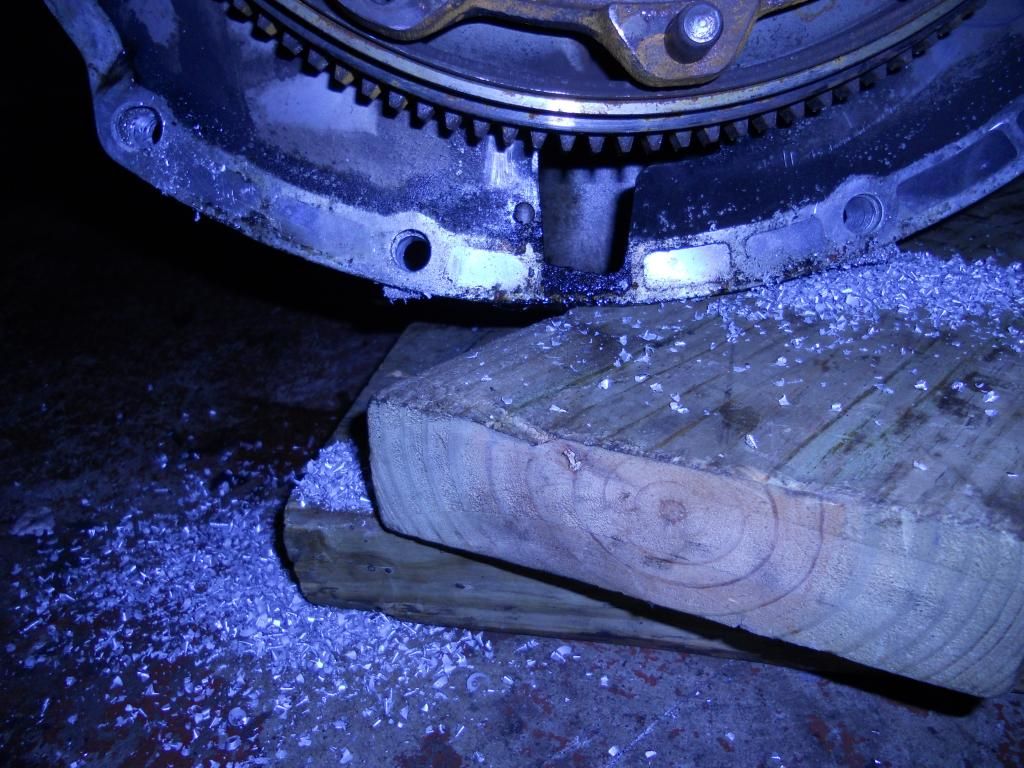 And finally a long shot of the car... it's actually starting to look like a car now! 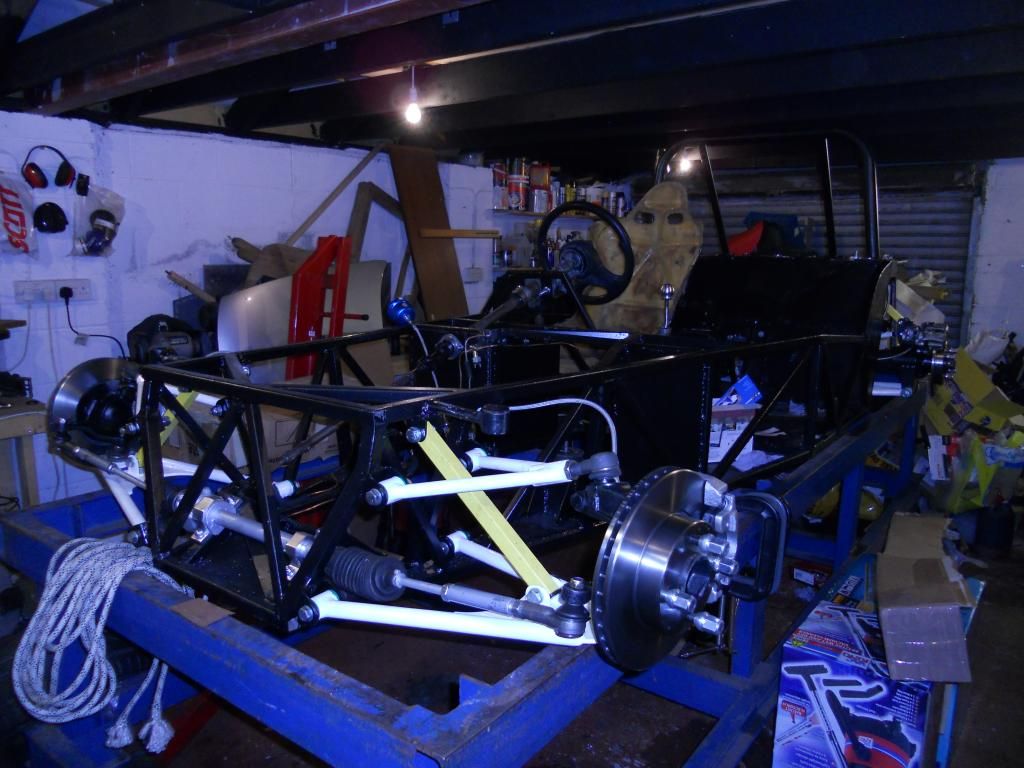 I've got to make up my mind whether to take the car off the table now or later, after I've put the engine back in. Having the engine in will make taking it off more difficult, but having the car on the table makes working on it easier! A bit of a catch 22. |
I left mine on trestles throughout the whole build and it was a so much easier to to work on, then just lifted the whole car off with an engine crane which worked a treat.
|
I'm with Kev I'm leaving mine on its stands for as long as possible so I don't brake my back
|
Me to staying on tressels as long as i can, then strip down to get it painted, i will prob re assemble on tressels to!
|
Thanks for the advice guys, I think I shall follow suit and leave it up on the table for as long as I can get away with it. It does create a little bit of a height issue as the garage is quite low, but I reckon I can work around it, being a short arse :D
Not much to report on the build this week, just a bit of tidying and finishing off. A last minute change has seen the brake pressure switch changed out for a bleed point (I'll use a mechanical switch), the brakes have finally bled properly, the handbrake is now connected and adjusted. 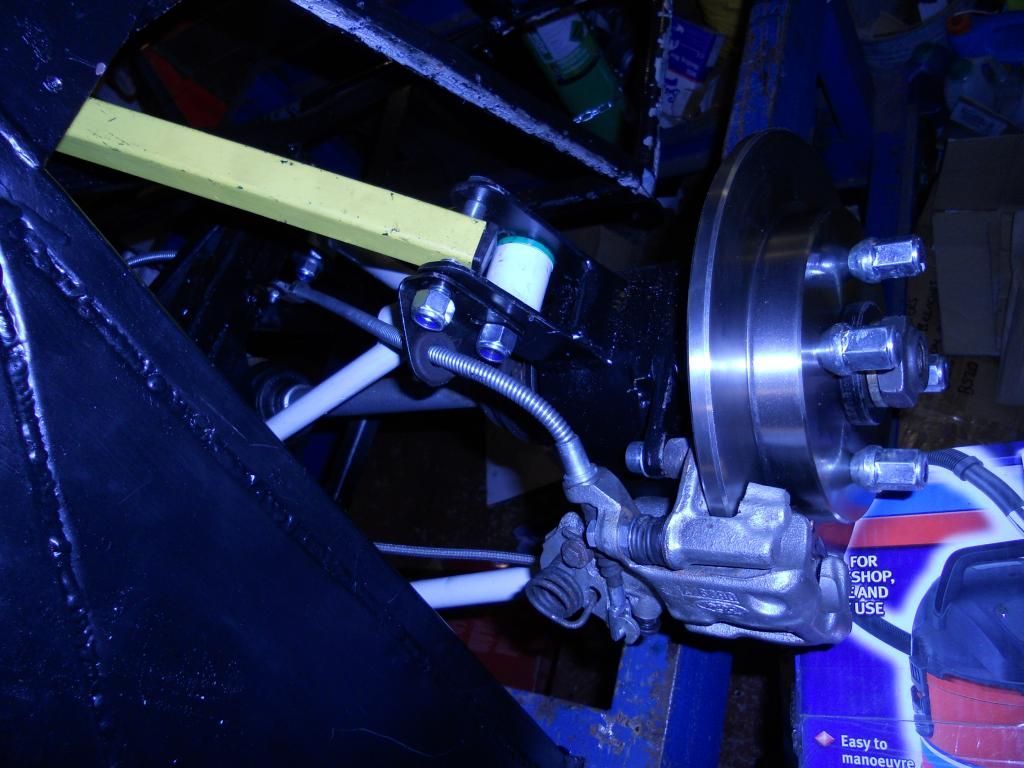 On the engine side the engine and gearbox are now rejoined and the engine back in and propshaft connected (thank you Michael at North West Propshafts). 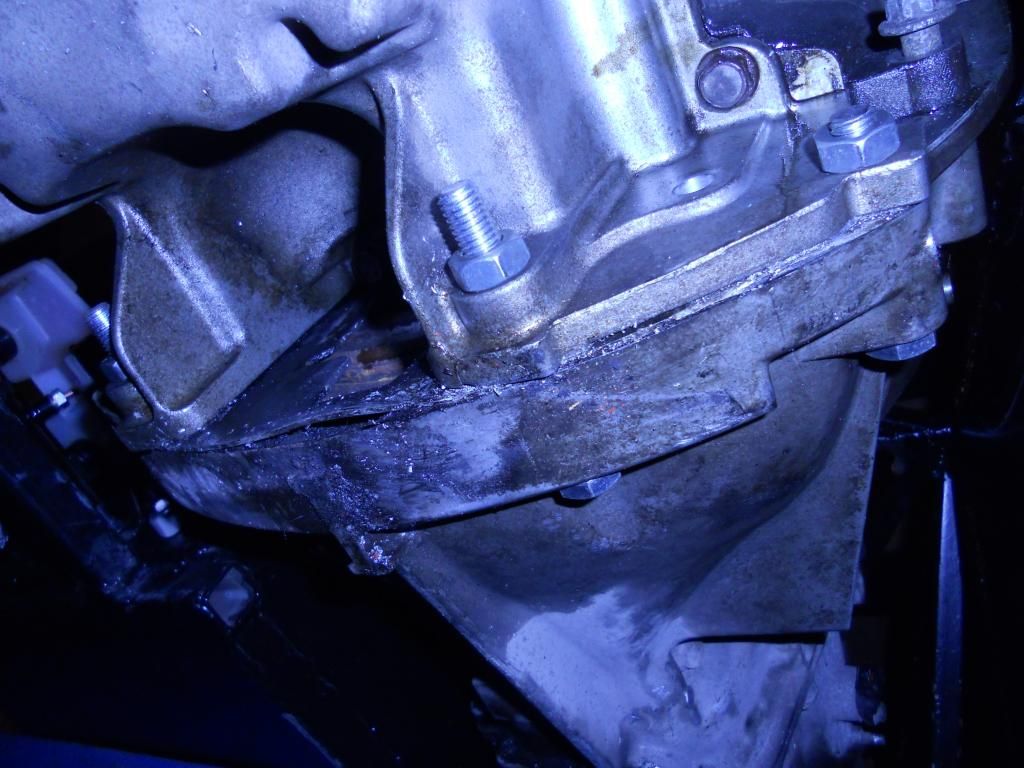 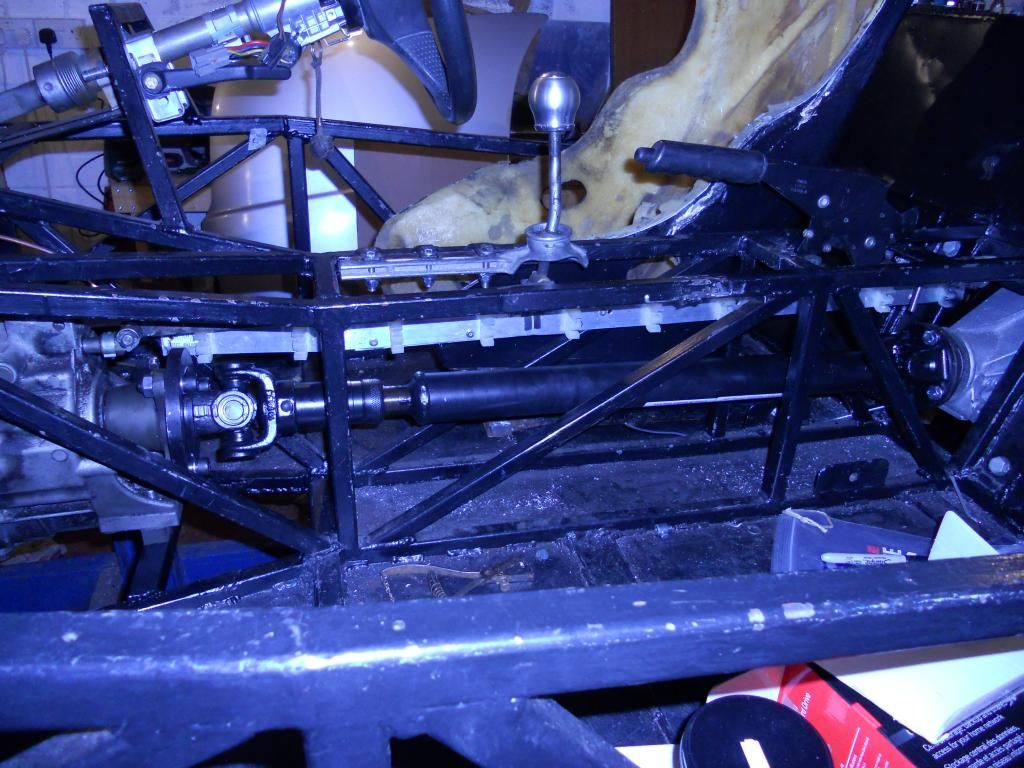 |
|
I didn't get around to updating this last week for various reasons, but progress is a bit slow at the moment since I'm in a "figuring stuff out" phase.
I re-did the clutch system since I wasn't particularly happy with it, I'm still slightly annoyed as my reservoir bracket is on a very slight angle! However the new system practically self-bled and works nicely with a reasonable amount of clutch pedal pressure, so that's a win. 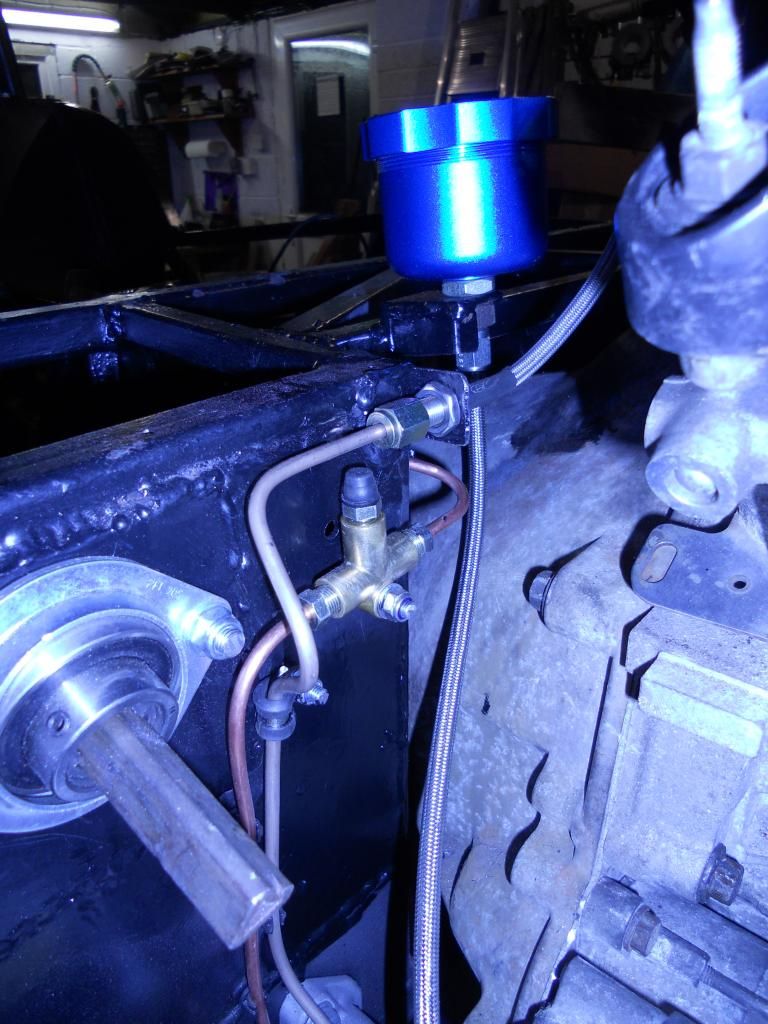 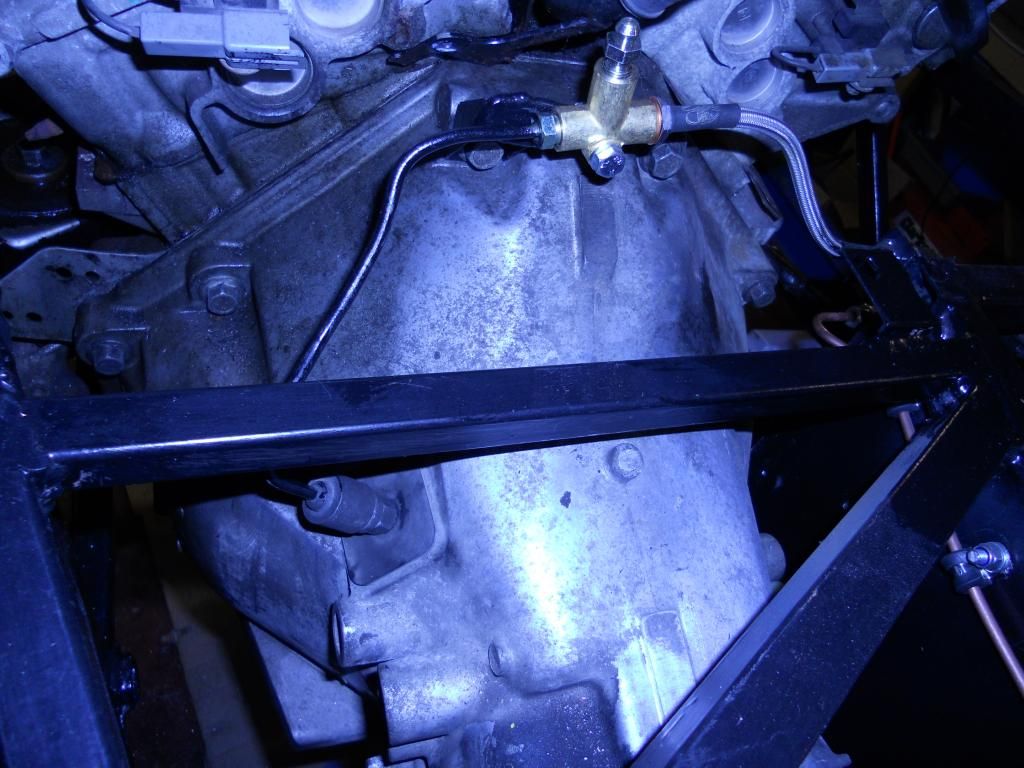 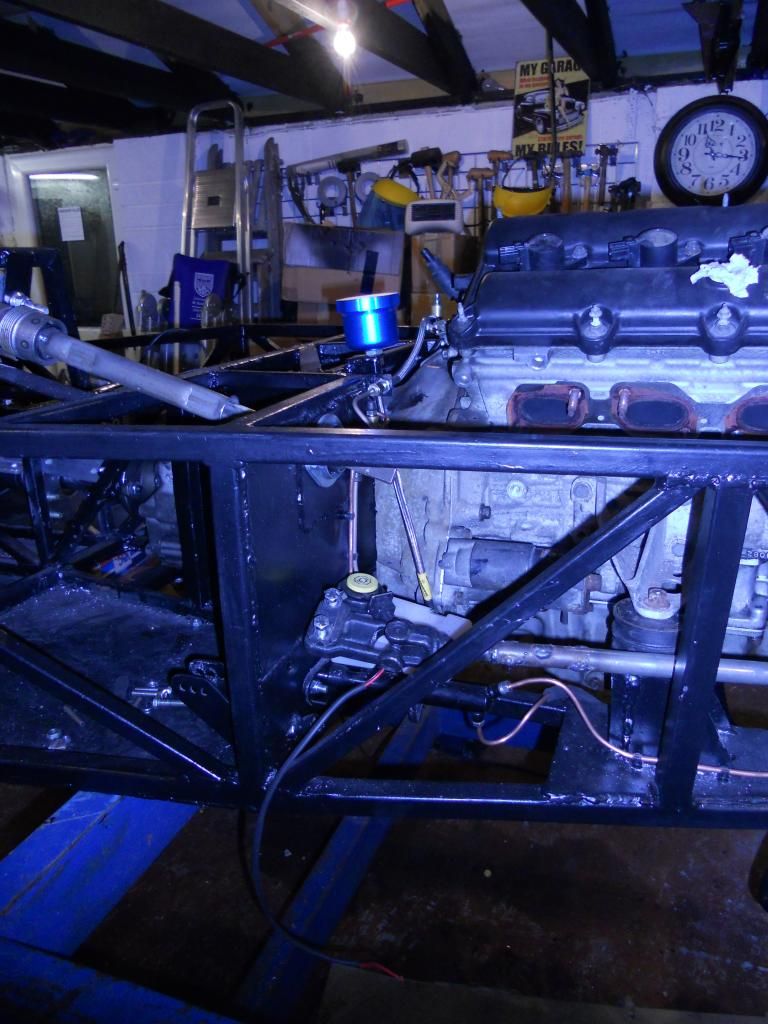 |
I also made up a pair of prop catchers out of 3mm steel and welded some brackets on the car for them. The more I look at them the less sure I am that 3mm steel is man enough for the job - I may make up another plate to double the thickness of the top part (which is where the fuel lines and electrics will be).
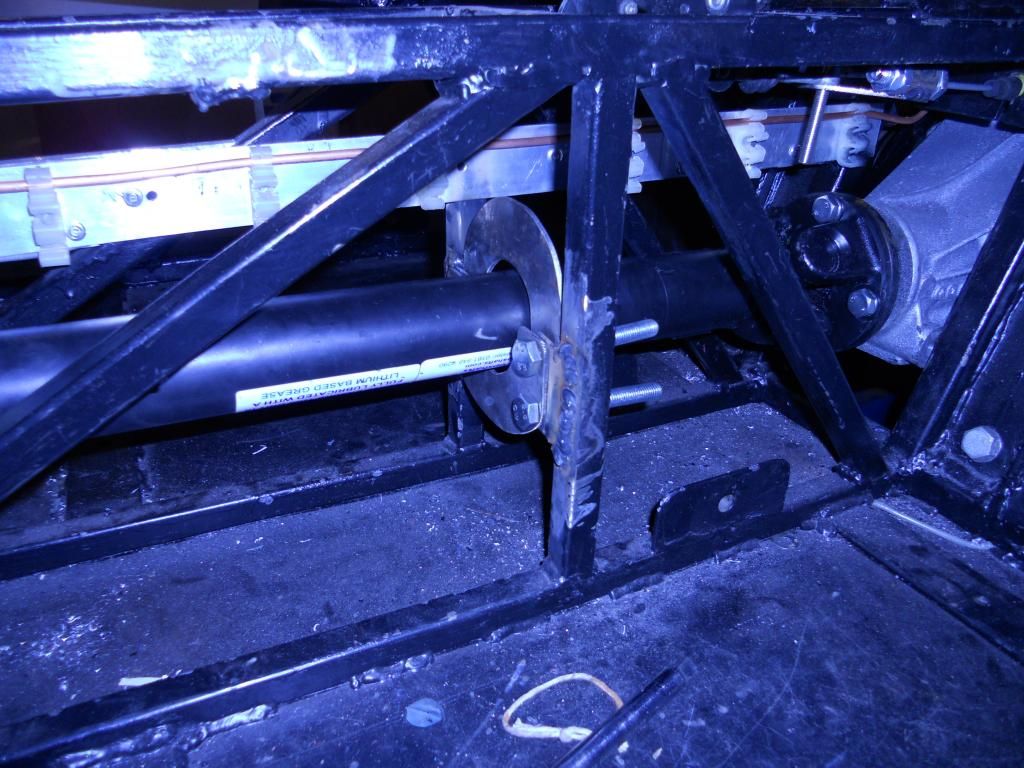 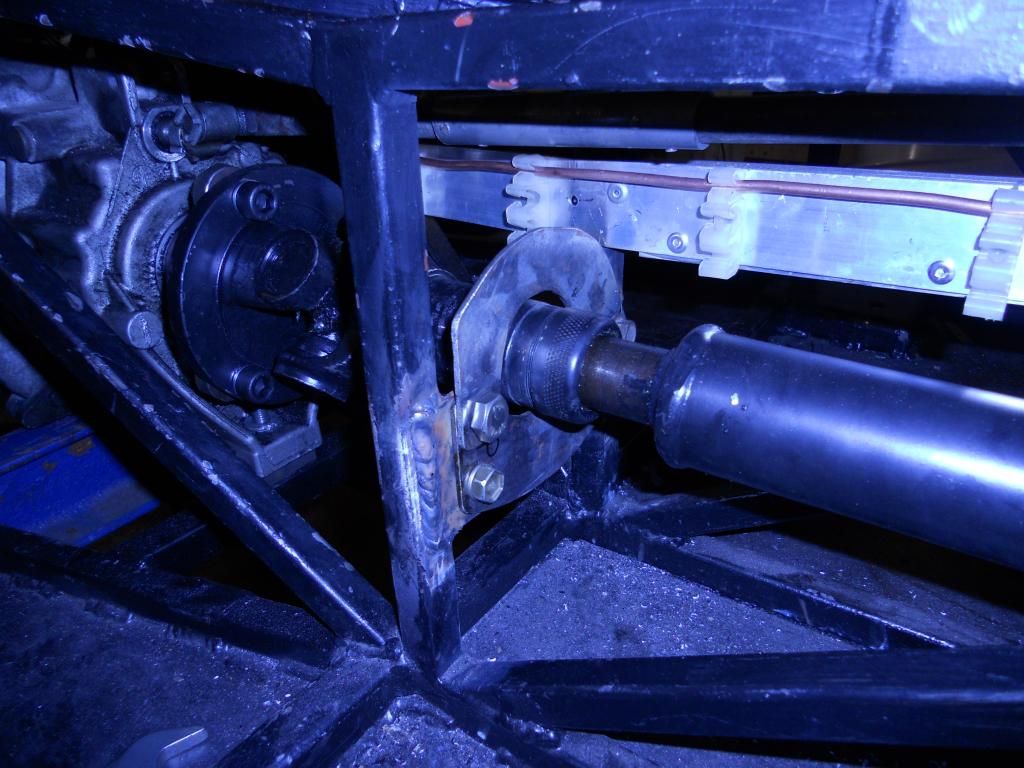 Also... TANK! 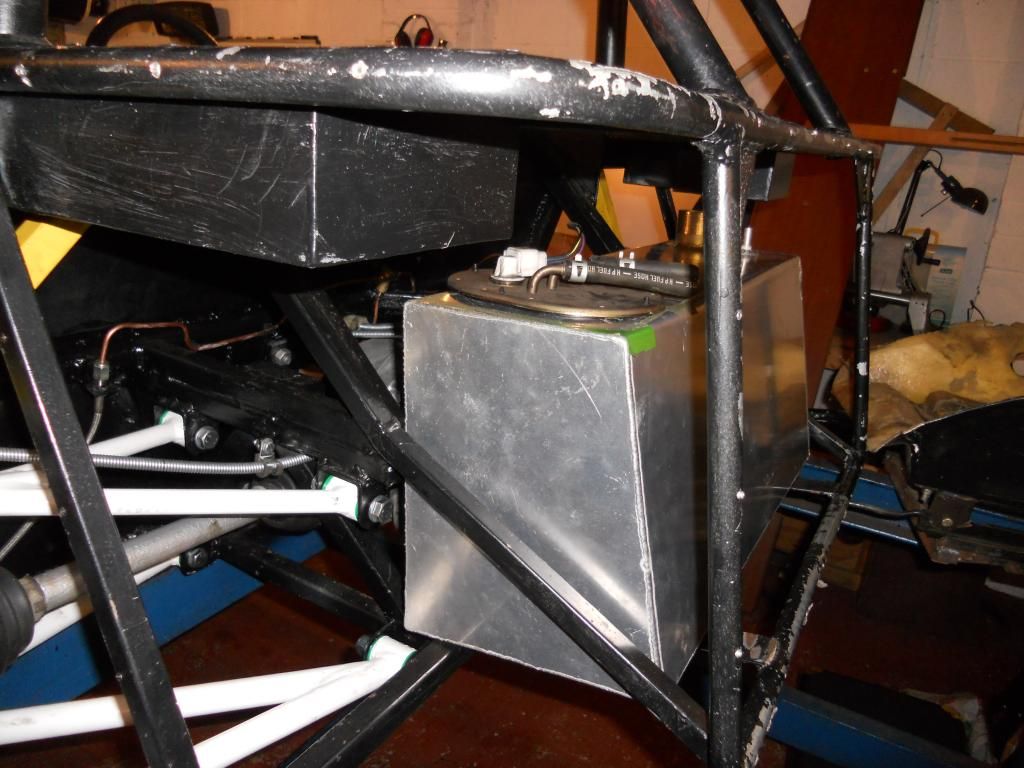 |
|
So is that the 2.5 AJV6... easy upgrade to the 3.0 later on :)
Gr8 engin in all its forms. Had a 2.5 SI mondeo thad sounded nice and a 3.0 S-type that was lovely. TT |
Nope, this is the 3.0 litre... at least that is what was on the V5 of the S-type I broke! I have just found out that the injectors are tiny though, about 150cc/min which is much lower than I expected :confused:
I must confess I ran the Jag for a little after I'd started to remove some of the exhaust... it definitely reaffirmed my choice of engine :D |
It's been a little while, but I haven't been idle! I've been working on my exhaust (which is taking far longer than I expected), planning my intake (read: collecting parts and poking them) and punishing my liver.
I've now got the left side tacked together, gonna sort out the silencer mounts and link pipe next and then replicate it on the right hand side. That's the theory at least! 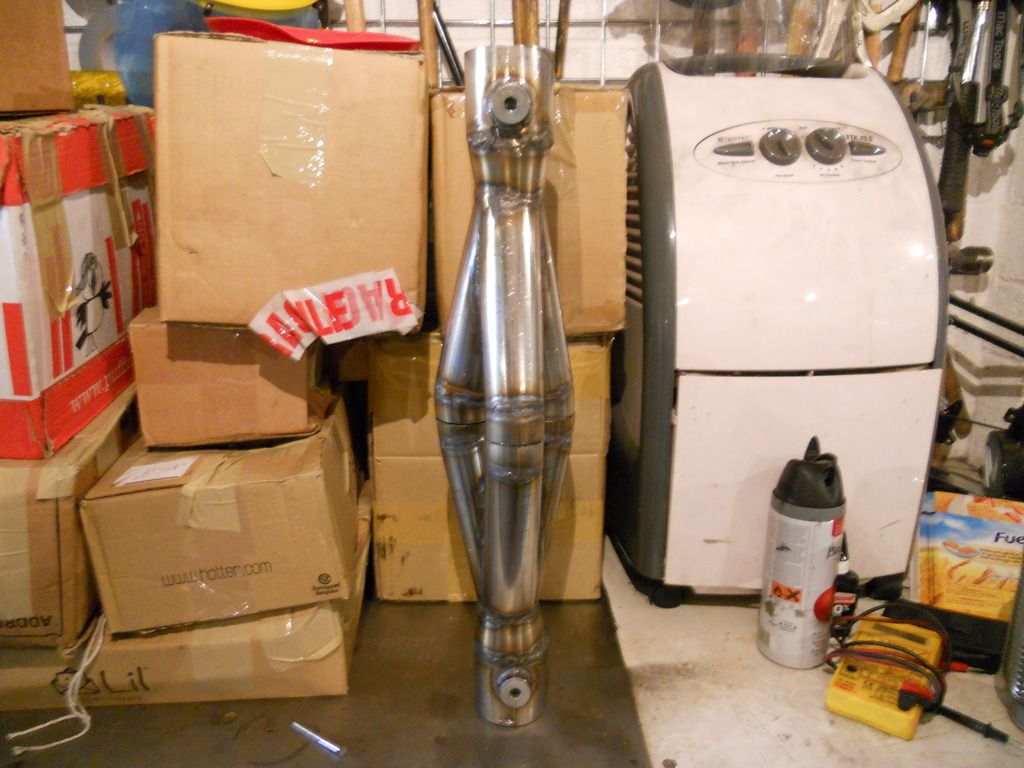 The welding isn't the tidiest, I've since learnt to use the foot pedal to good effect. Also at this point my liver was staging a spirited counter attack, however I am pleased to announce that a truce has been called for now. 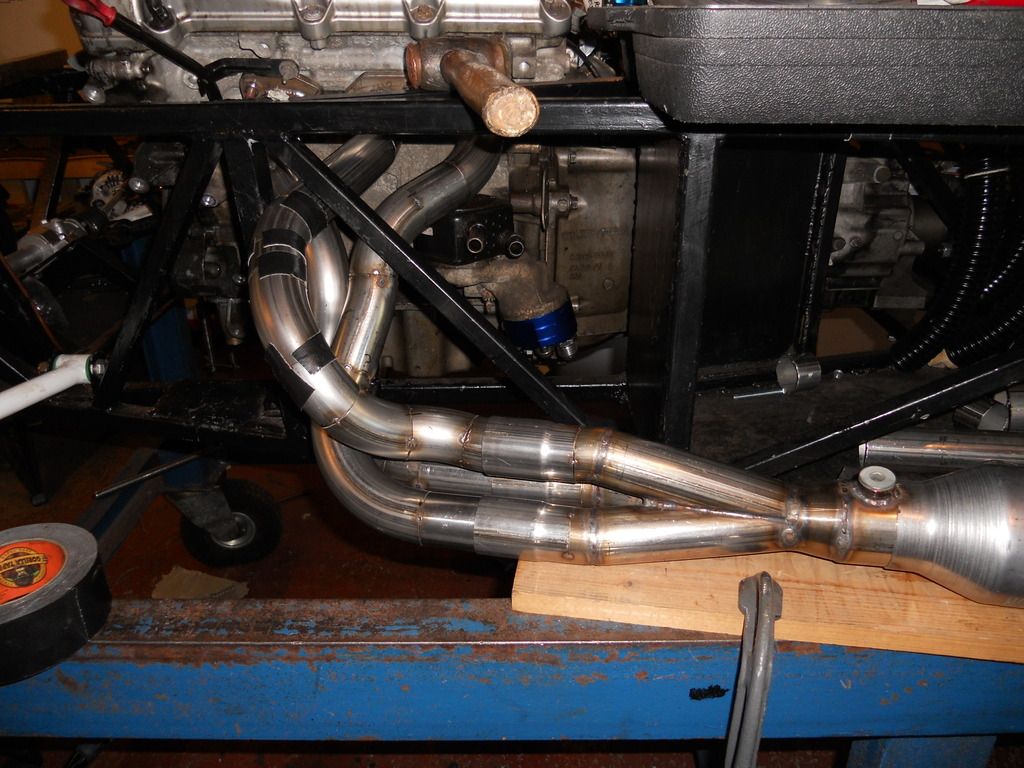 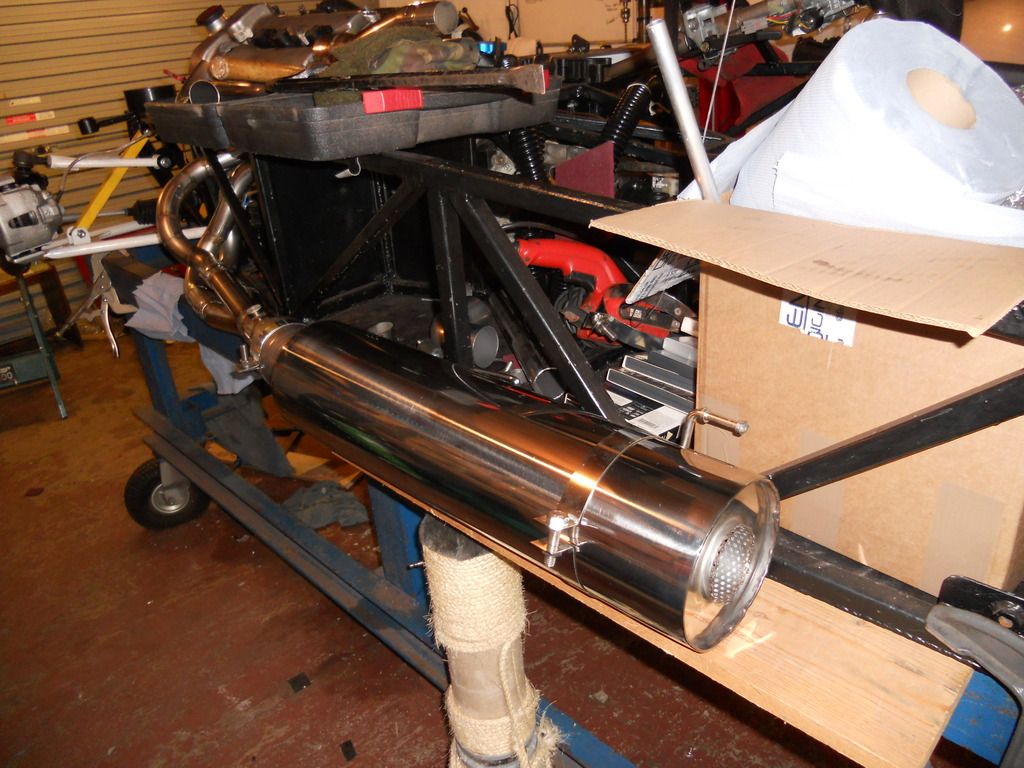 |
Also thanks to some significant help from Rosco I'll hopefully be installing a full cage on this - after chatting with a work mate about his run in with a deer I was convinced!
|
Minor update: got a couple of hours in so fabricated\modified my exhaust mounts to support my beefy cans (hur hur hur). Got both sides done, so just (just!) the headers to do on the RHS and then I'll set about fully welding it. Wanted to get both sides done before fully welding in case something needed modifying, and to allow me to spread the welding out and hopefully limit warpage due to heat.
    Also the bent components for the roll cage arrived, but numpty here managed to give the wrong dimensions for the rear roll bar. That'll teach me for doing it in a hurry! Don't suppose anyone wants an extra-width rear roll bar? |
Looking good! Instead of those exhaust clamps have you seen the stainless mikalor exhaust clamps, a bit more iva frendly
http://pages.ebay.com/link/?nav=item...d=201221303492 Also how wide is your bar? Because i wish mine was a bit wider so it sits closer to the outside of the car |
I haven't seen those before, they look quite cunning! May end up switching to those when I do the final install of the exhaust.
I need to modify the cat mount, either rounding and covering the joint or cutting off the current mount, rotating the band and rewelding it so the joint is hidden behind the can. As for the roll bar, I had the same cunning idea as you. Working off the pictures of mine (as i was in Reading) I reckoned it could be moved outwards by about the radius per side. Unfortunately I then managed to lift the wrong dimension off the drawing... It is now slightly wider than the chassis (about 1.17m). May be good for anyone building a 442 or similar, but little to no use for anyone building a standard width car. The disturbing thing is that I'm a mechanical engineer and read drawings most days at work... my only defence is that I was knackered and in a hurry! |
Lol the only drawing i didnt do for you! Haha, how about getting the two bends bent a little closer to 90? Or dropping the height a bit?
Yeah those clamps are pretty neat, people use them on hoses to |
Yeah, ruddy typical. A good example of my actions going faster than my brain ;) As I said, rather embarrassing! Unfortunately I see no way of salvaging the roll bar, will just have to bite the bullet and order another one.
|
|
I've also had a pinking at a couple of little bits - the brake light switch and the cover for the front of the footwells.
This kind of shows my solution - I've made up a bracket out of 16swg onto which a microswitch is bolted - or at the moment held in with a couple of nails as I have no bolts of the right size! The bracket bolts into the pedal box, so it's adjustable with the pedal. I've welded a plate onto a nut which threads onto the pedal push rod (again allowing some adjustment) and is held in place with a locknut. Seems to work well enough for now but I've got some misgivings about the plate on the pushrod - may try to sandwich it between locknuts or even put some loctite on it to be sure. 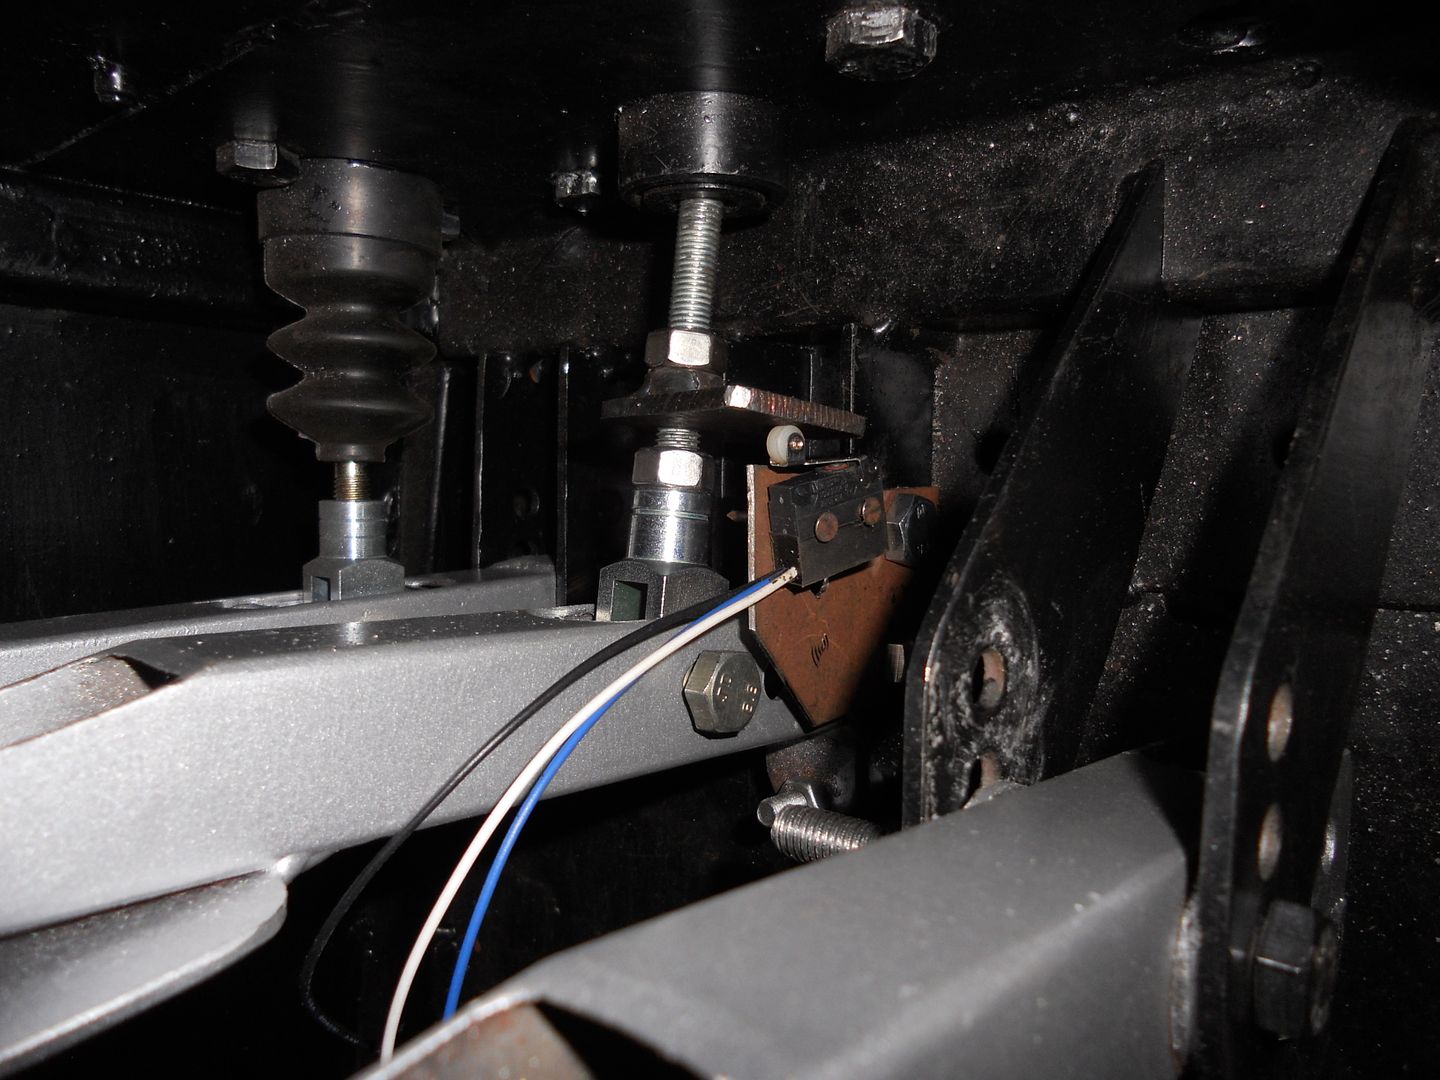 Finally I've cut the top panels into shape, will rivet and bond them into place next weekend. The aluminium front of the scuttle will bolt down onto the top of these, probable via rivnuts. 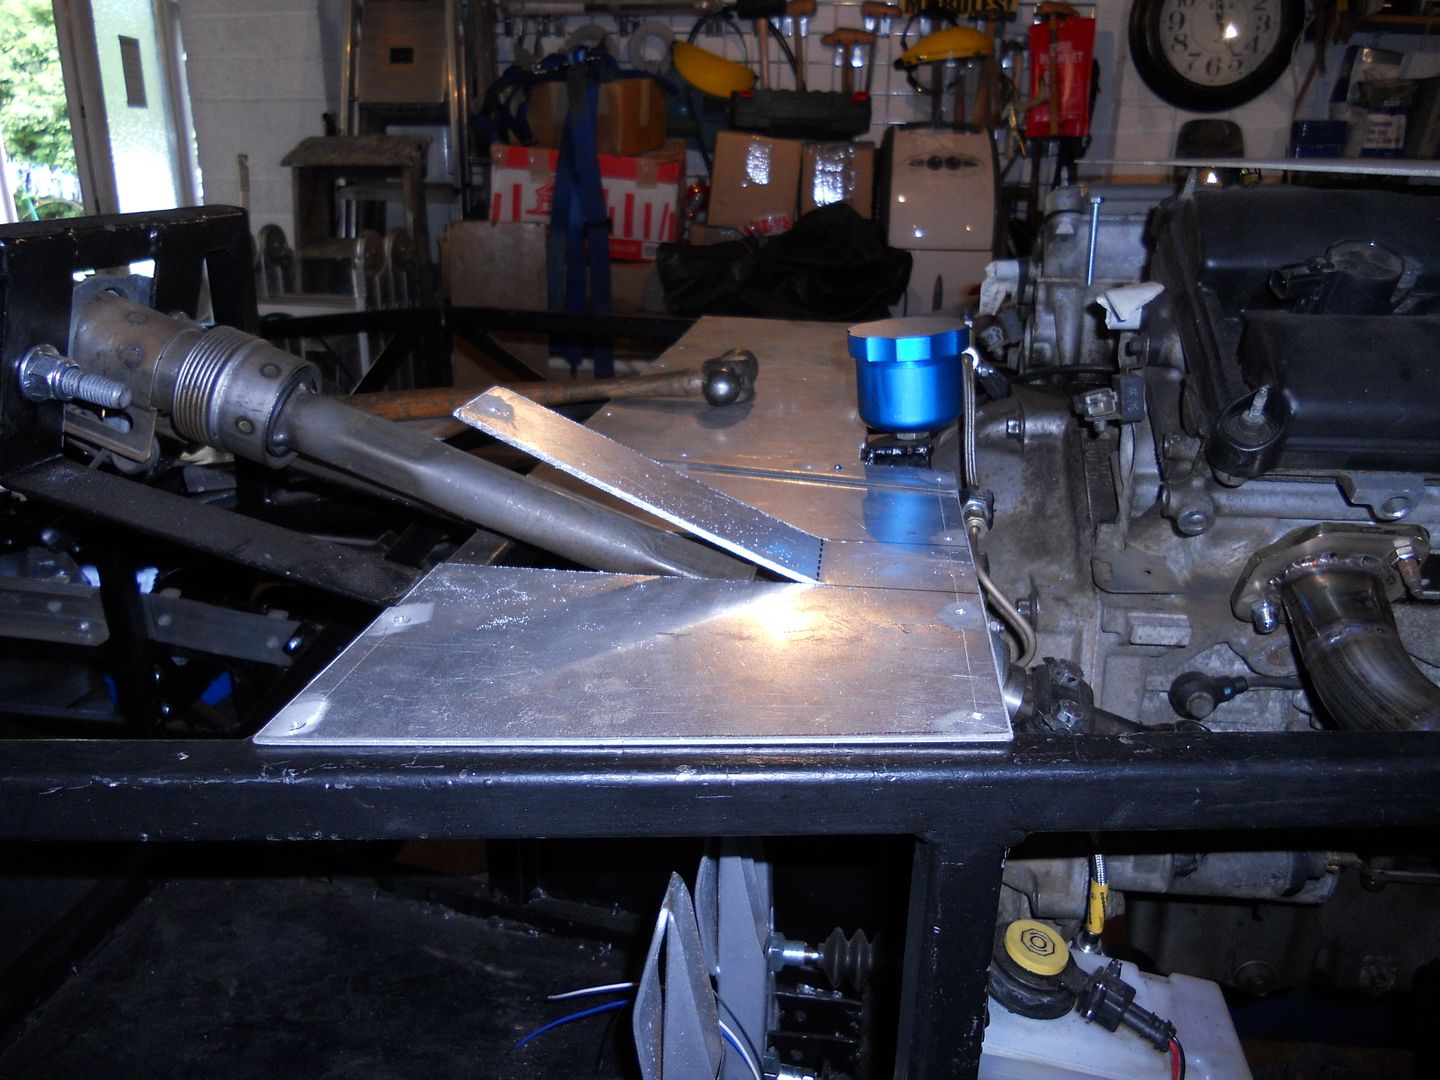 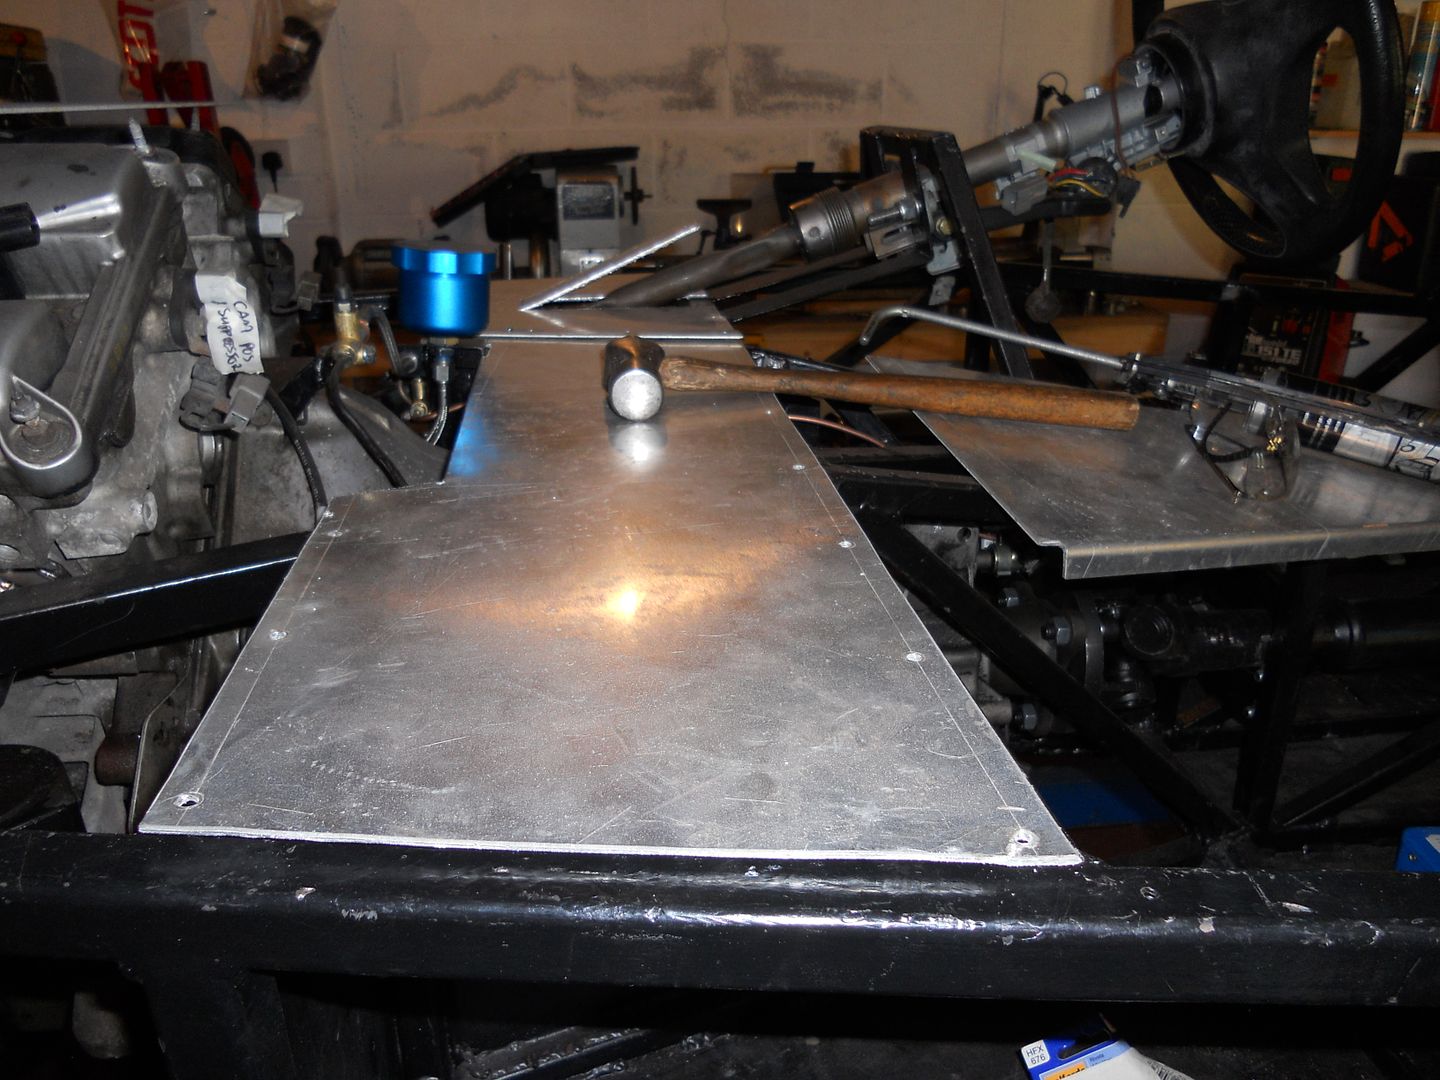 And finally my new rollbar compared to the existing one... whoops... 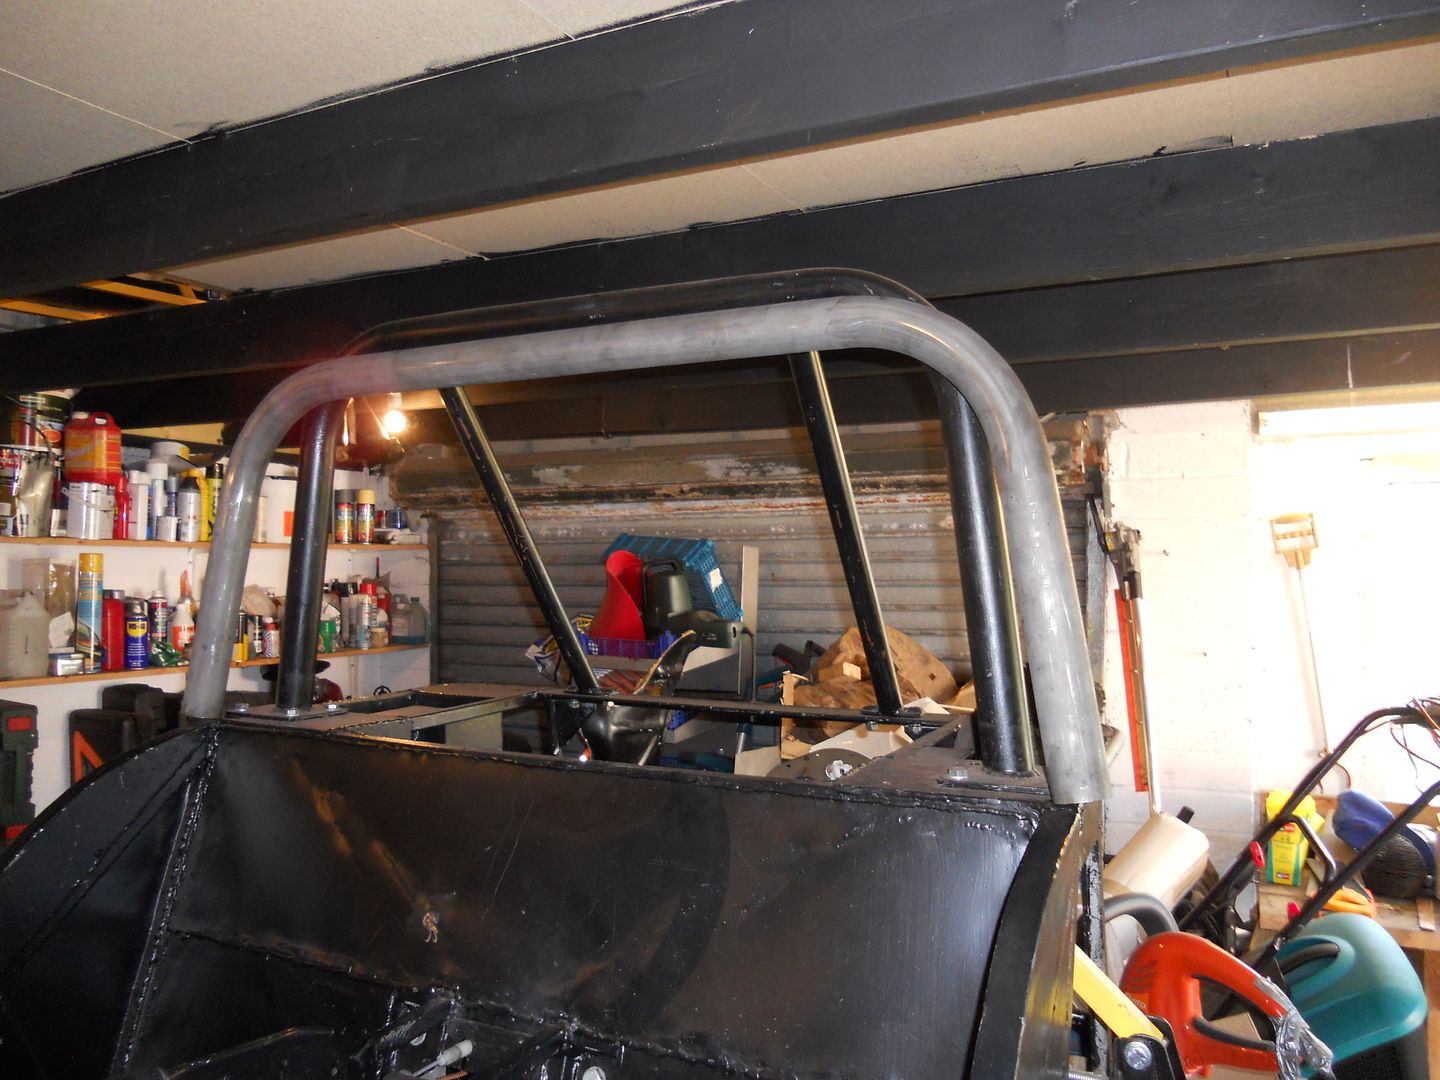 |
cant you just get that hoop bent a bit more?
|
It may be possible, but at best the edges of the tubes would be smack on the edges of the chassis. I'd like to avoid throwing good money after bad on this one, plus on the styling side I prefer having the angled sides.
I'll bung it on Ebay at some point to try to recoup some of the money in it. |
So it's been a while again since an update; I've been busy but it's all been little bits really. This is the summary:
Got the inlet manifolds made up (I used Alu-Weld to join the tubes to the plates since my TIG welder couldn't put enough heat into it), modified the throttle bodies to accept bosch style injectors, made up some spacers and then assembled it all on top of the engine. An easy summary but there was a fair bit of detailed work involved! Also got the throttle cable set up sorted for now - I expect I'll have to tweak it a bit in the future (especially if I make some cam covers), but for now it proves that the throttle pedal has sufficient travel and both sets of bodies open equally. 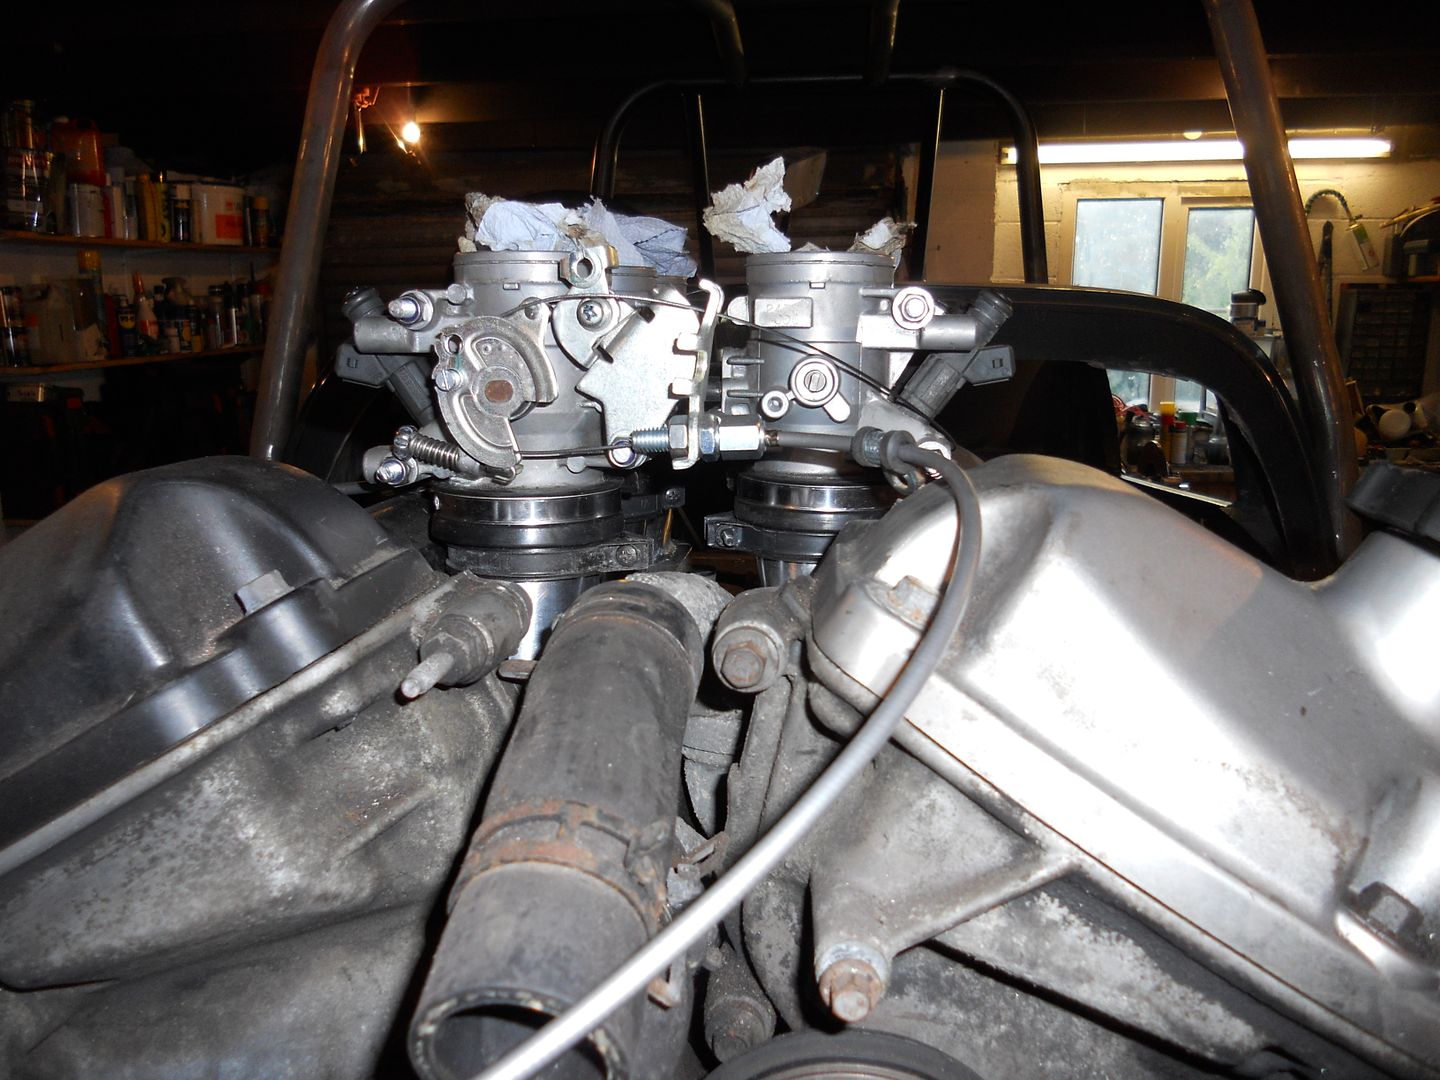 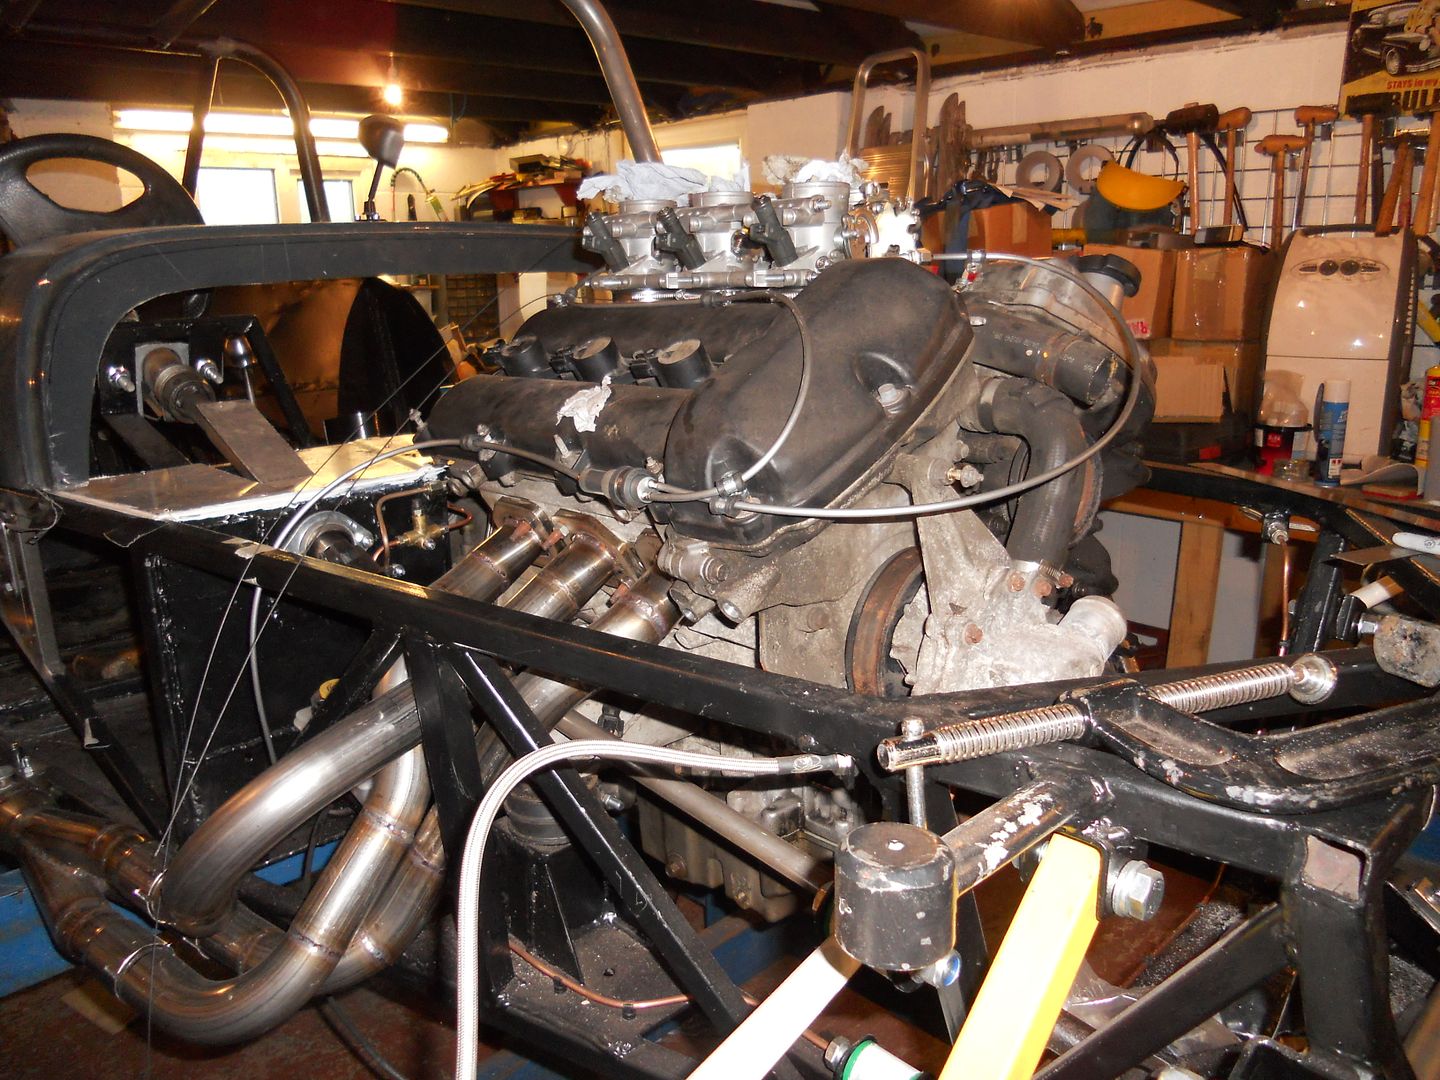 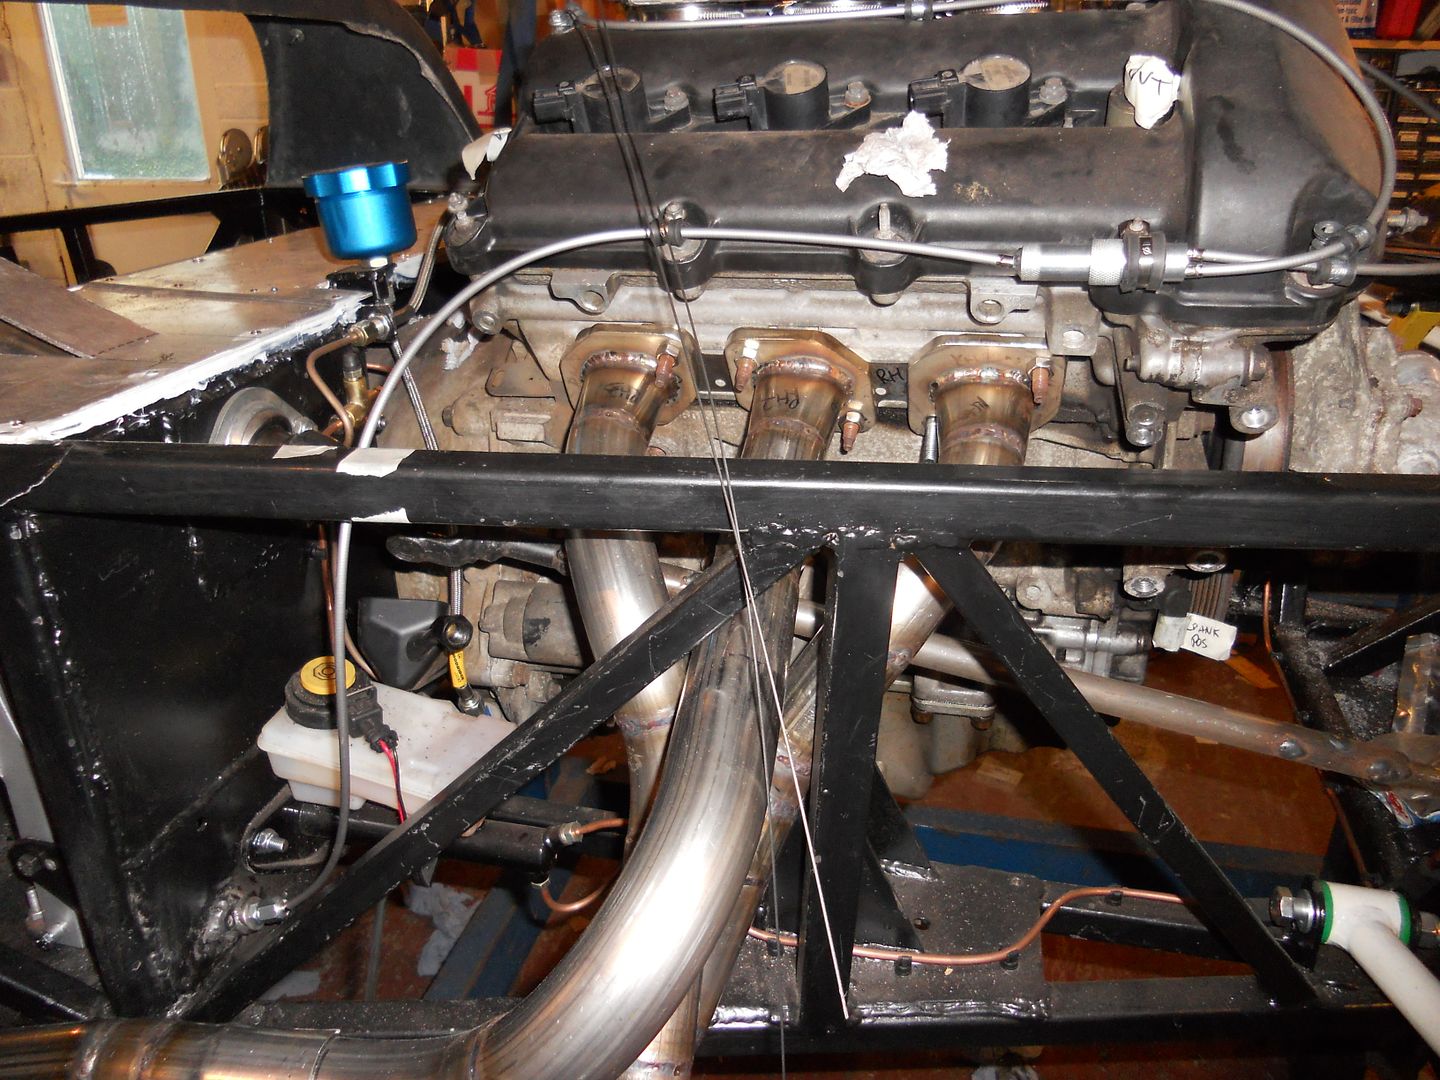  |
|
Sometimes you have to go backwards a bit to go forwards... after straightening up the front hoop I cut off the rear rail and pockets in order to gain enough access for the roll cage rear stays.
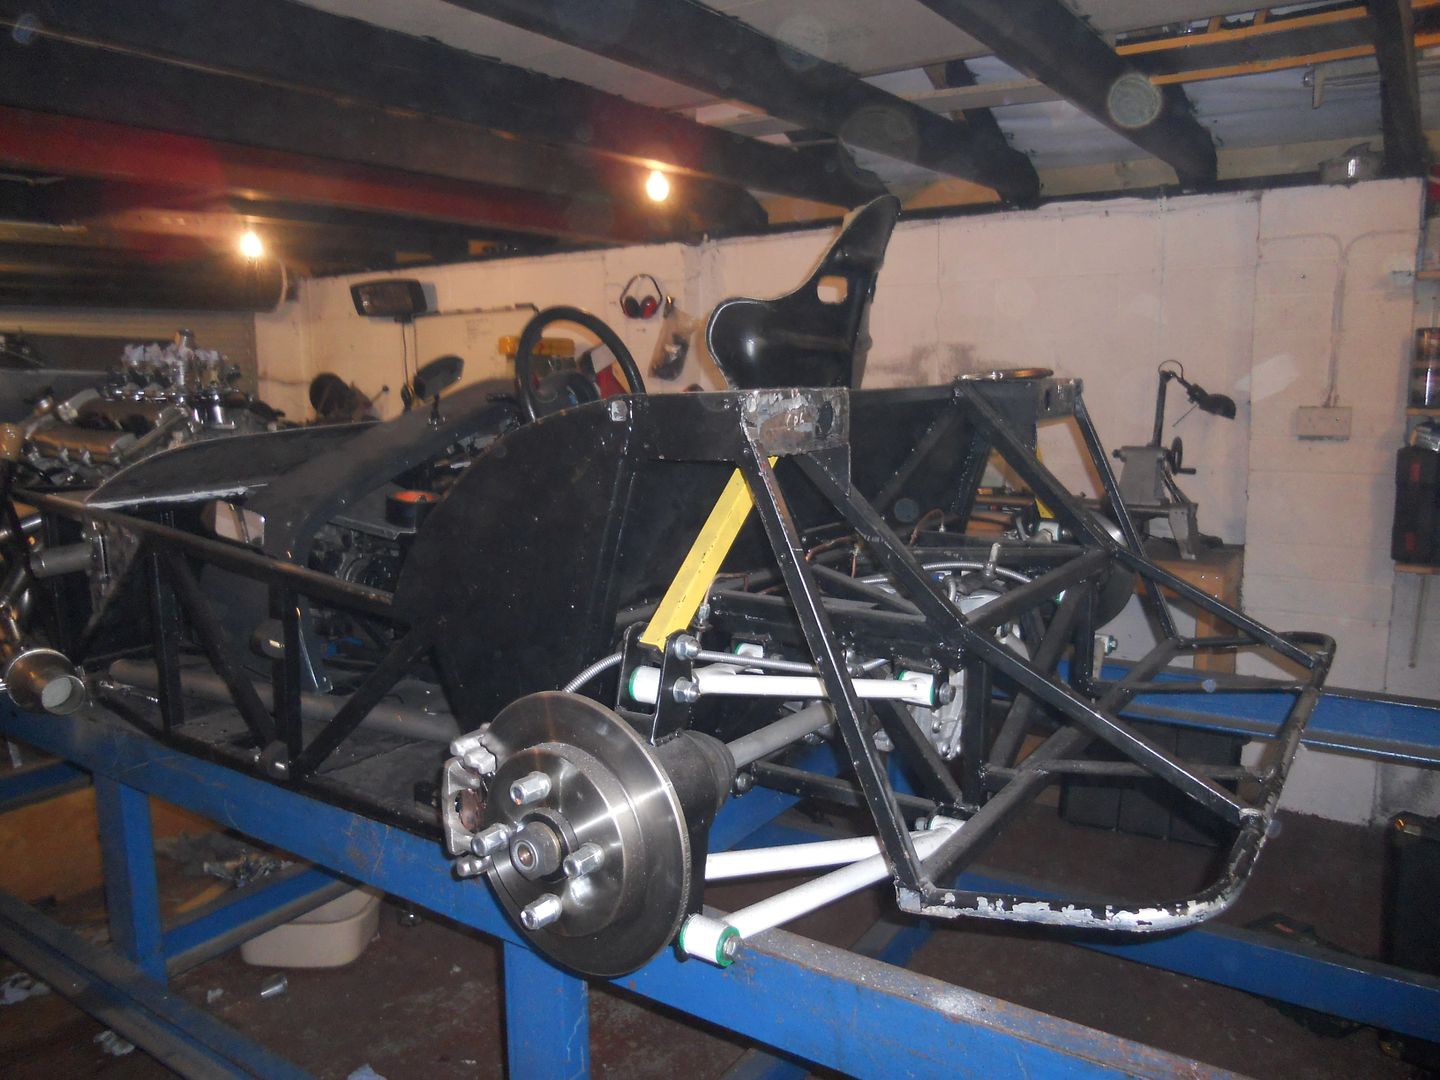 I made up some plates so the for the rear stays and welded them in. 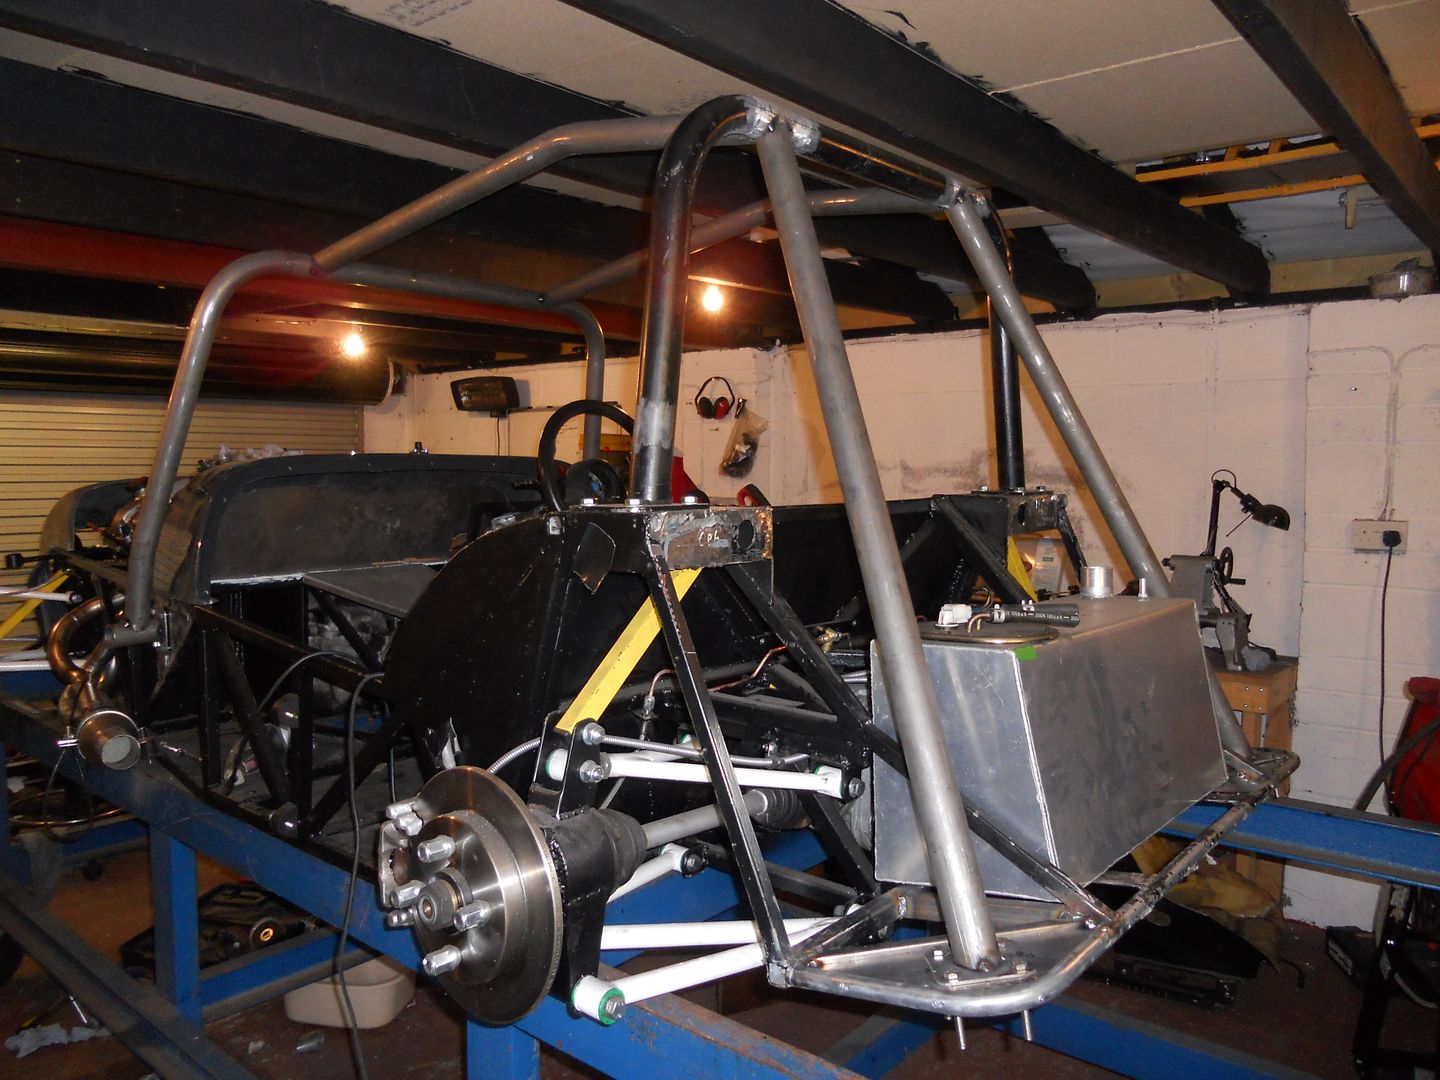 Because the garage has a relatively low roof and the car is quite high on the build tunnel I'm having a hard time judging the position of the roof bars, so for now these will stay tacked only until I get it on the floor to have a proper look at it. I nearly got the rest of the welding finished last weekend, just a couple more bits to do and then I'm onto the cooling and fuel systems. Need to get the seats in (if only temporarily) so I can make the harness mounts and I need to weld in a bracket to support the throttle cable and hold it clear of the exhaust. Also the garage needs a bloody good clean - it seems like it takes no time at all for everything to get covered in crap and dust :( |
In preparation for getting on with my cooling system I've been eyeballing the radiator and nose positions; I'm not yet convinced that I can make them fit.
The radiator is from a Mk1 1.9D Clio and is a pretty tight fit within the nose cone - in the pictures below it's pretty much wedged in the nose but also pretty damn close to the front of the chassis. The original fan simply will not fit, so I'm either looking at a slim line one or a pair of motorbike ones. Have I missed a trick here or something? 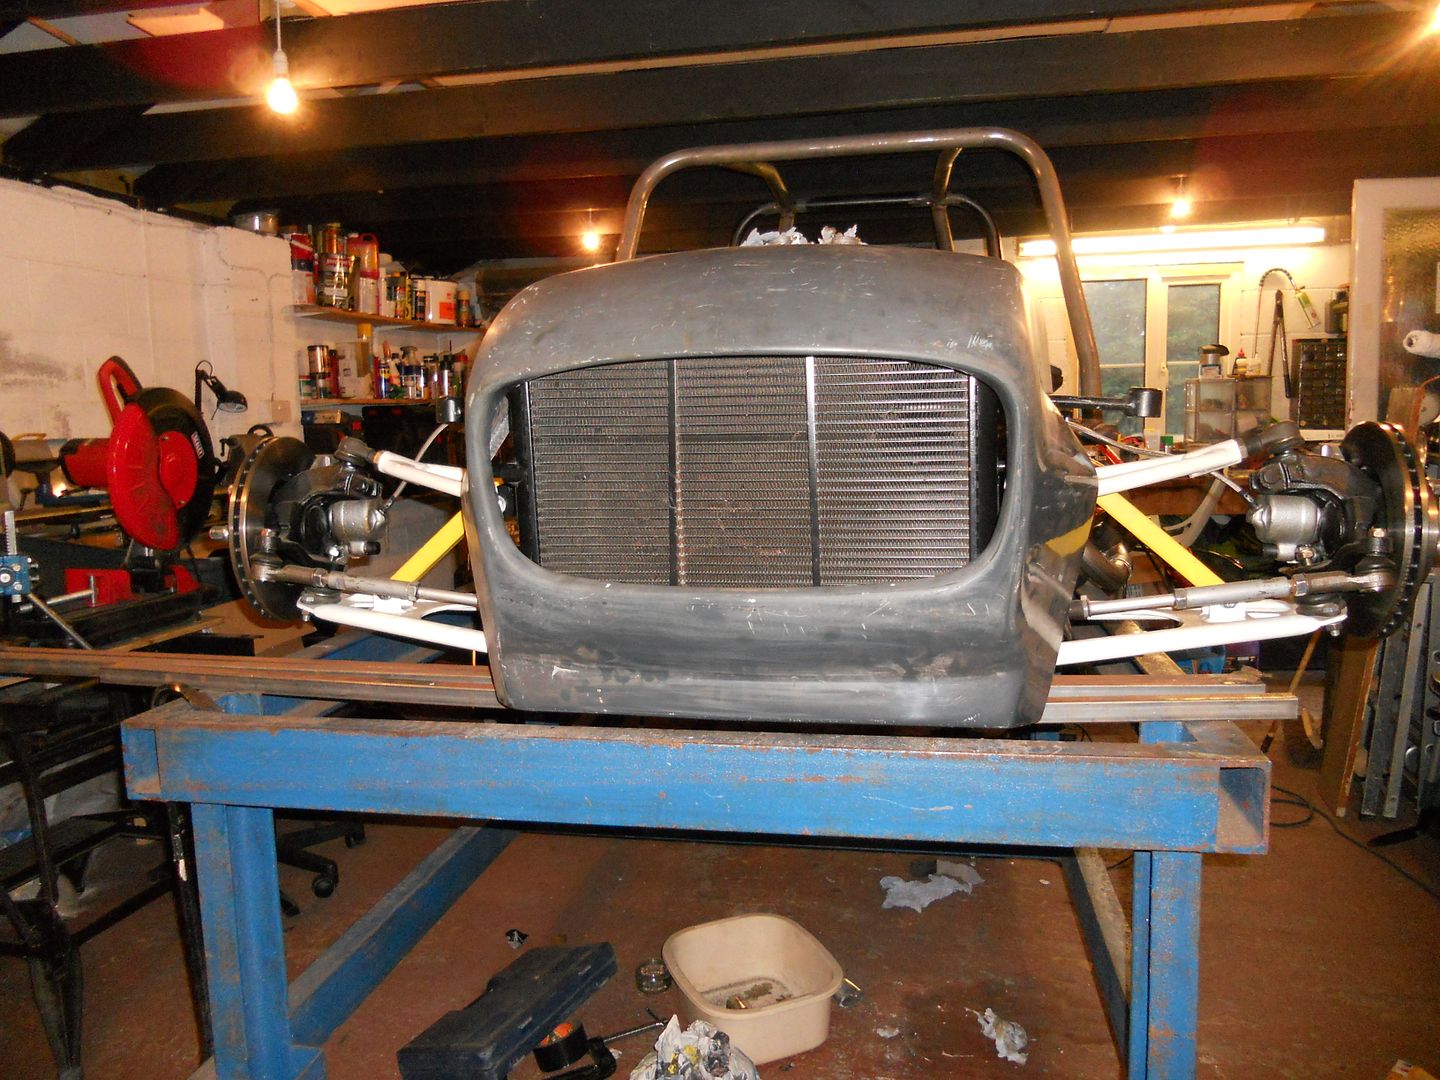 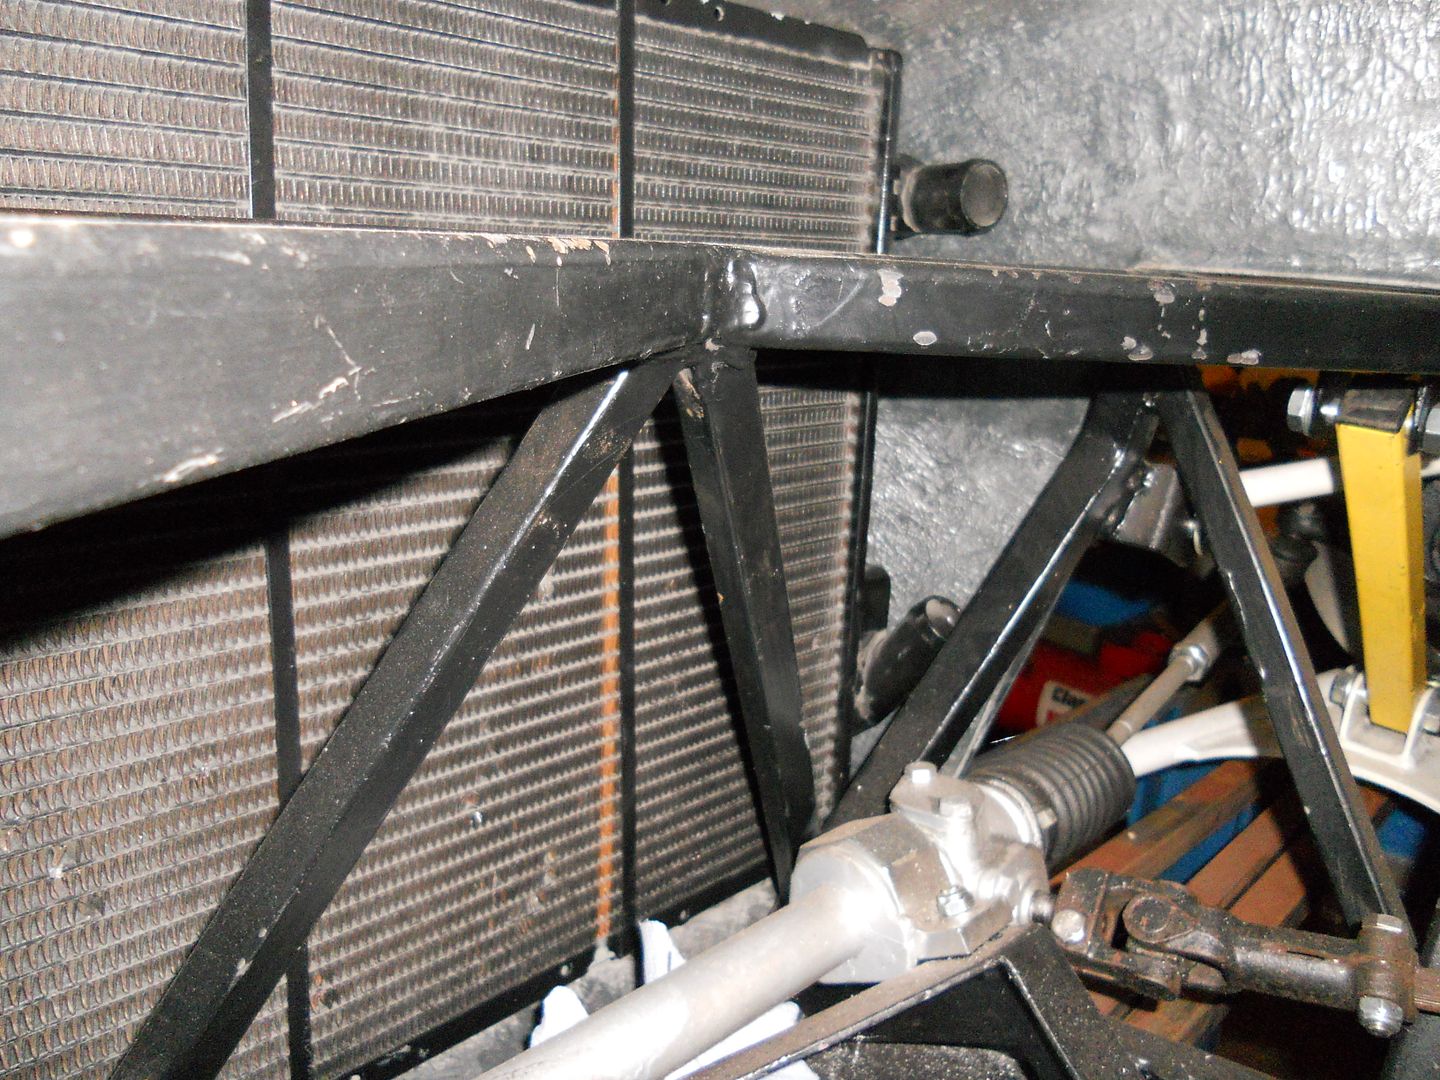 |
Minor update- not had much time and it's been slow going when I have. Got the roll cage finished for now, including making up some spacer plates out of 5mm aluminium. This is so that the front roll cage mounts don't have to clamp the fibreglass bodywork (I'll "let" the plates into the side panels).
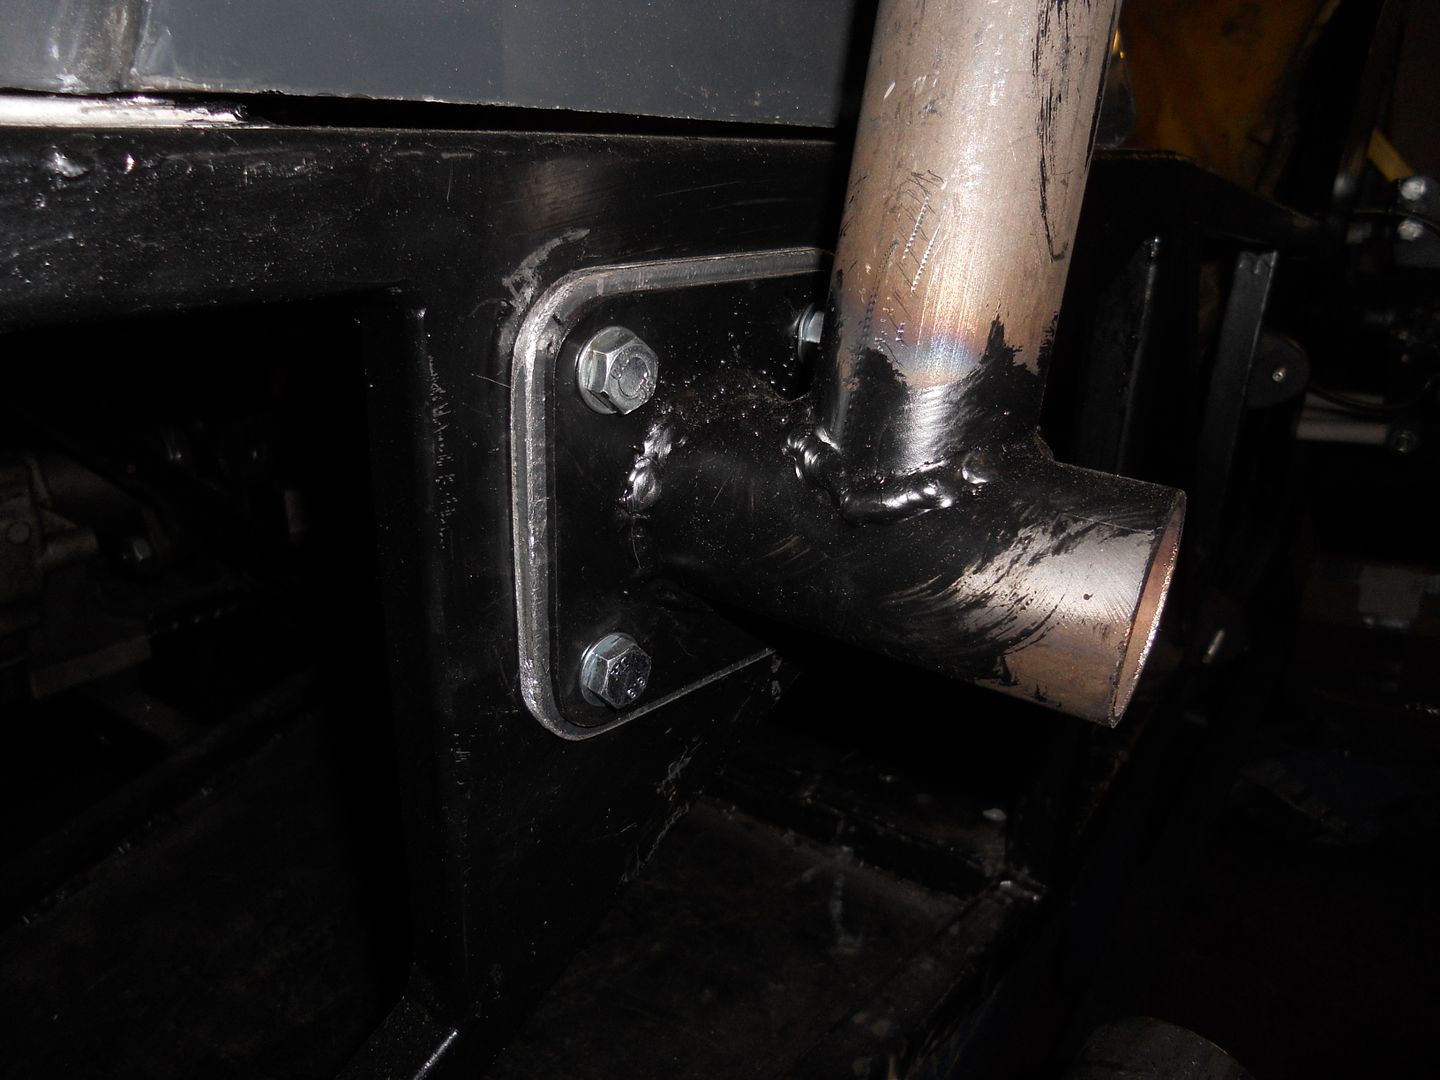 Got both the passengers and drivers seats in position, both mounted on runners. I've tried to keep the drivers one a bit more adjustable (there's a removable spacer in the mounts) so it can be adjusted in the future to suit someone who isn't me. 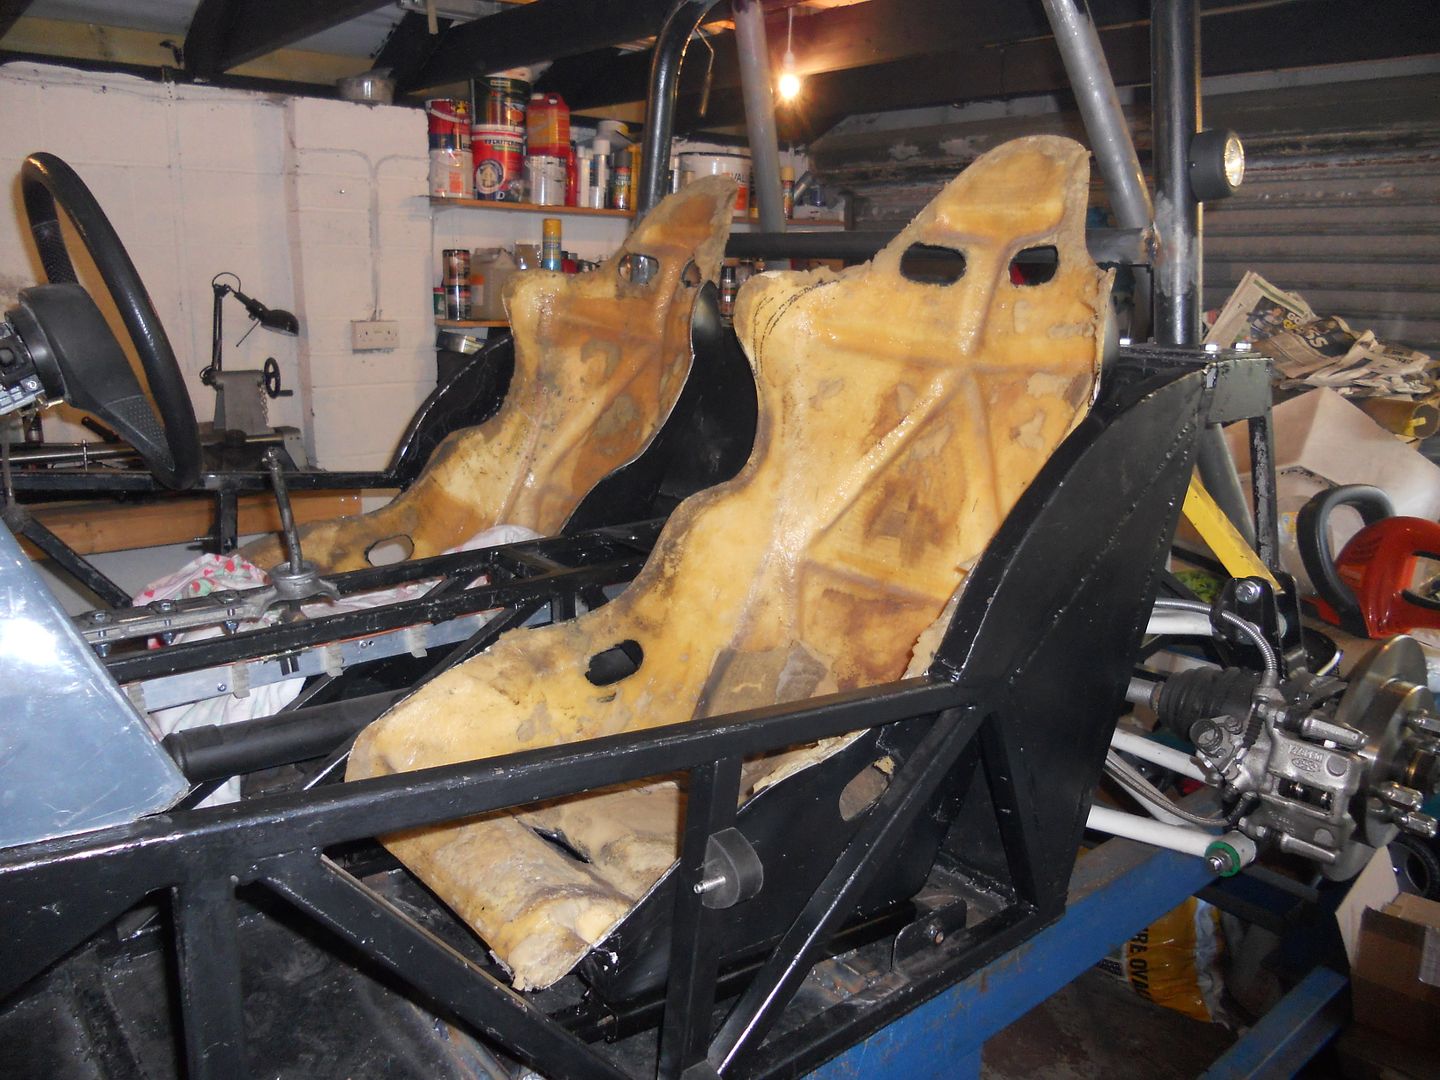 I've received my new radiator and fans - it's a 190E one and is considerably smaller than the Clio one, however it's also aluminium so hopefully it'll be up to the job with some ducting and good fans. The fans are SPAL units off Aprilia RSV's and cost me a grand total of about £30 :D Hopefully it'll all hang together Ok! 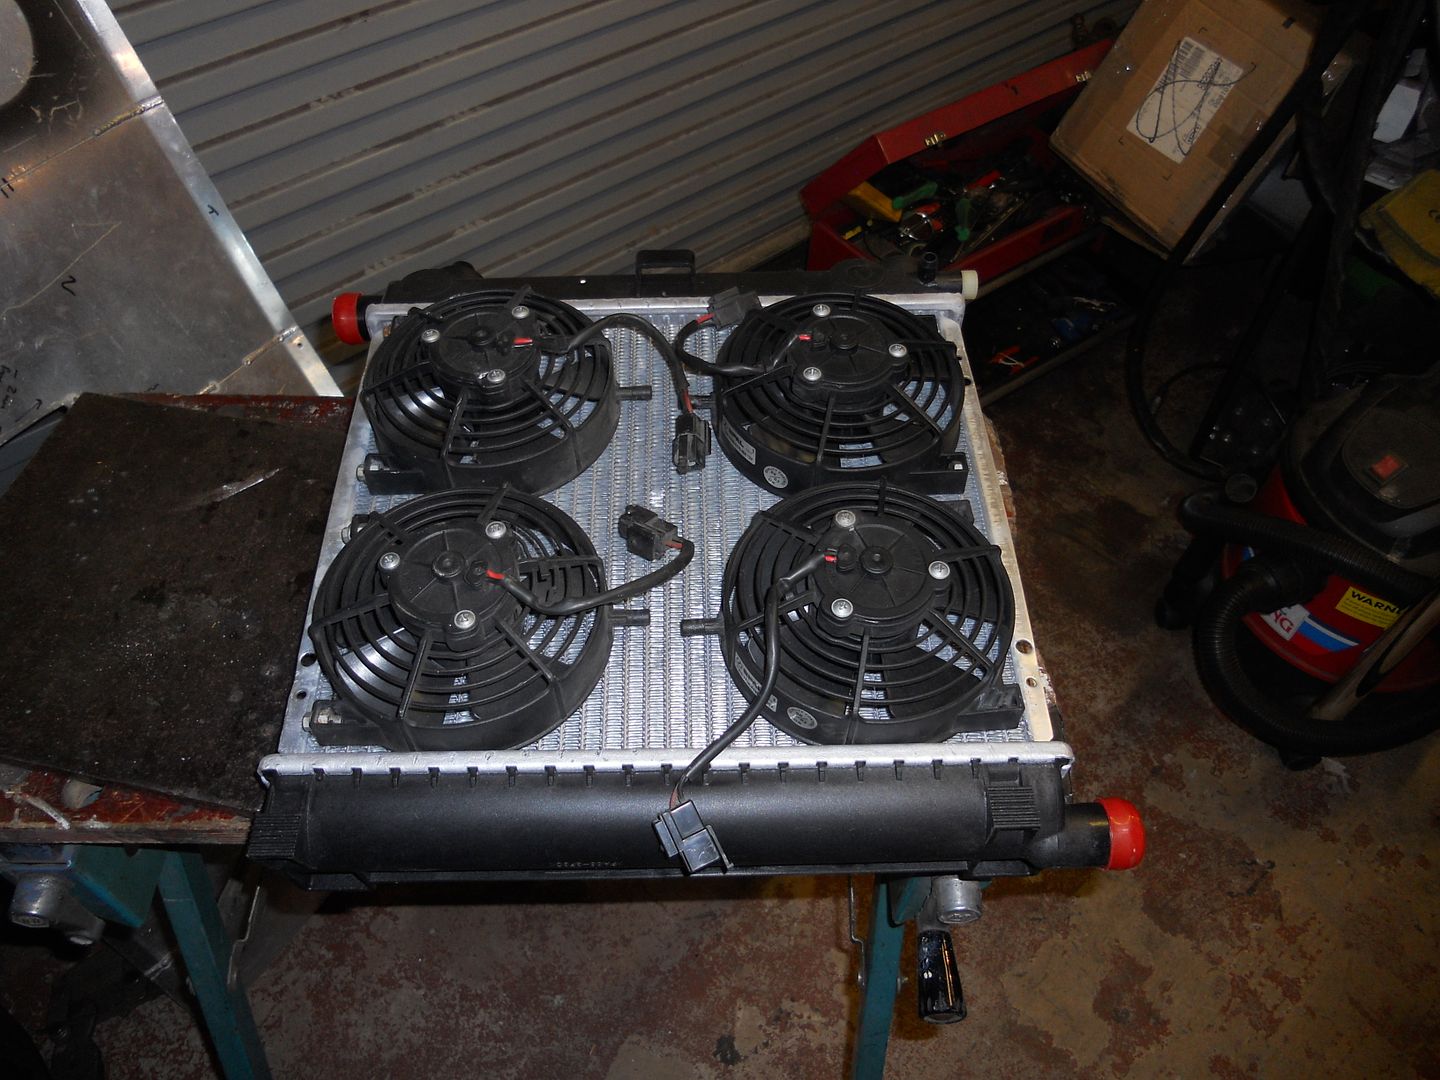 |
|
| All times are GMT +1. The time now is 11:48 AM. |
Powered by vBulletin® Version 3.6.4
Copyright ©2000 - 2024, Jelsoft Enterprises Ltd.