new haynes MX5 scratch build
Hi All, having built and then quickly sold a locost from Rons book several years ago, I have now began a new build.
Haynes MX5 running gear already purchased/acquired Mx5 engine 1.8 MX5 gearbox MX5 diff MX5 steering column wheel and stalks MX5 drive shafts Ford steering rack nose/scuttle/bonnet/rear panel/arches/wings having put together a build table the other week, I have started today putting the chassis together, progress shown below - 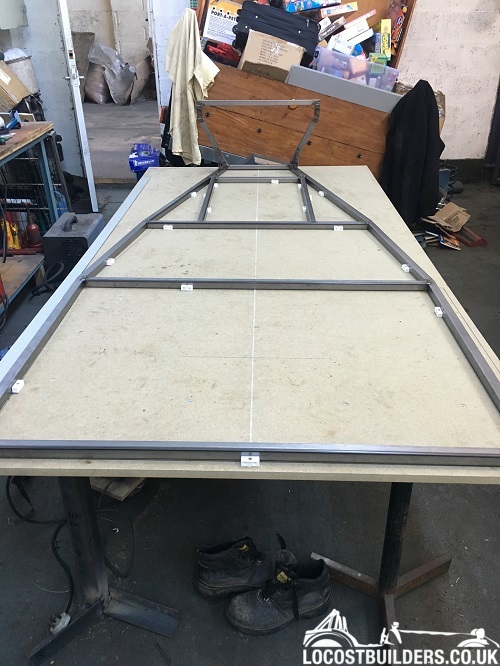 |
Looking good, so good when your first start, one thing to check is the board is square, just measure corner to corner
|
welcome and great to see another mx5 build good luck and keep the pictures coming :)
|
Welcome aboard. I must say I had grate pleasure in building mine from scratch. I think it makes it that little bit more personal to your ideas.
|
day 2 -
[IMG] 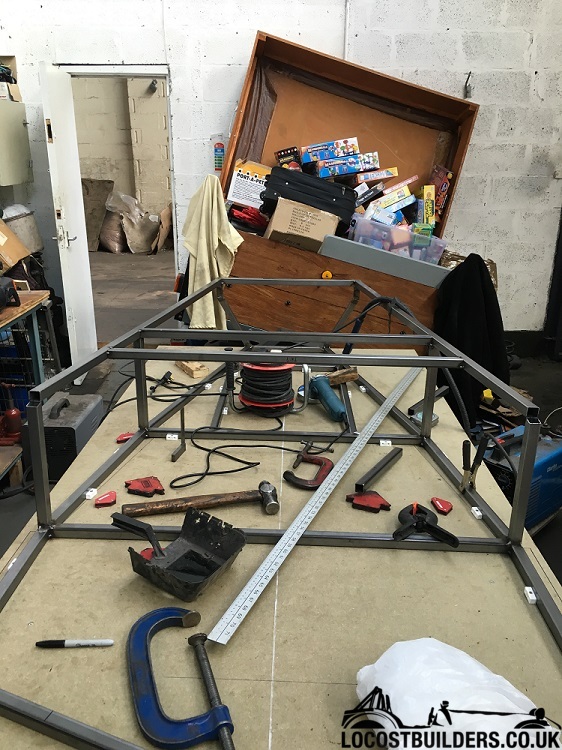 [/IMG] [/IMG][IMG] 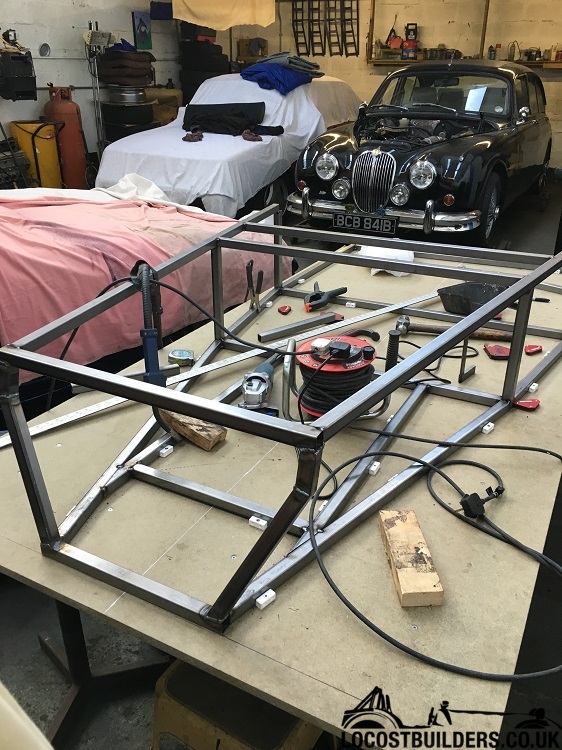 [/IMG] [/IMG] |
Looking good what plans are you following talon or saturn
|
Quote:
dont have Talons plans although he has dropped me an email with some details so im looking at utilising his info and the saturn plans as a mix |
Is that a MK2, looks too close to the wall to be an s-type. Looks nice :)
TT |
Imp California?
TT |
Fully restored jag mk2 with xjs eng/running gear (I think) dads project, been at it for over a decade, was basically a rust bucket when we picked it up
|
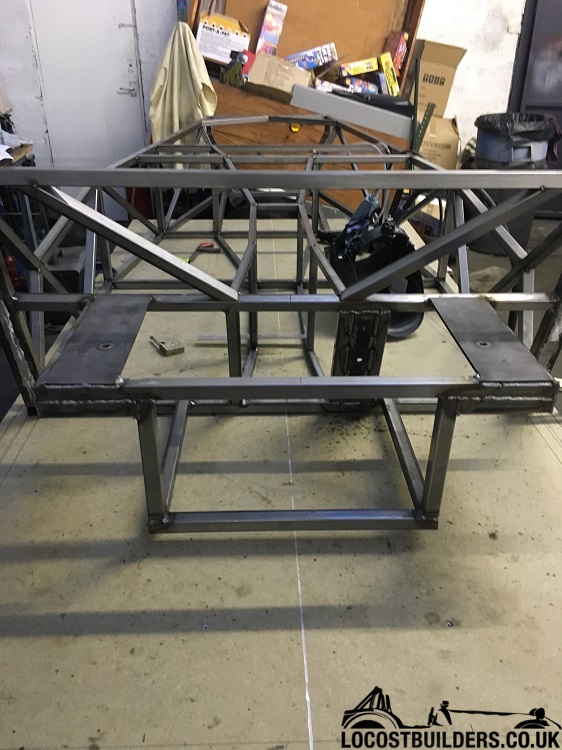
more progress this weekend few hours done today and yesterday but it looks like a chassis now !
 |
Looking good but check the position of the uprights that make the start of the trans tunnel
|
yes as vmax said the 2 central uprights are wrong at the bulkhead location, where you have them does not leave enough room for the pedal box
but good progress though |
thanks vmax and gary, ill check in the morning, is the book incorrect for the location? pretty sure i followed it correctly?
|
hi, I lent my book to a friend so cant check the book but I know a few folks have done the same, thinking it lines up with the engine bay ones, if you want I can pop out and measure mine for you
|
Thanks garyt a measurement would be a great help but don't put yourself out, just the next time your near the car, I'll not be back working on it till next weekend
Much appreciated Chris |
hi Chris just popped out and measured mine
measuring from the outside edge of the outer upright to the trans tunnel edge of the inner one is driver side 305mm passenger side 245mm hope that helps and makes sense Gary |
And right there is the benifit of a build thread and lots of photos
|
1 Attachment(s)
haha don't worry I don't need any excuse to go and fiddle with her and its no problem at all indeed if there is anything you need me to check just shout
I have added a picture that shows mine point 1 your pass side may be correct and if you did that first and then mirrored it , that could be where the confusion came from point 2 do NOT put the steering colum bracket on the bulkhead as per the photo that is for a sierra one and if using an mx5 one just follow the Saturn plans for that bit hth Gary |
thats great Garyt thanks very much, at least now I know what im doing first thing saturday lol :D
Vmax - you're right its great for the feedback and pointers |
oh and while I am on a roll here delving through my build pics one thing that my iva tester said he would liked a bit better was the lower seat belt mounts I did them as per the book , he said a couple of webs across the tube on each end of the plate would have been better nut he was still happy and passed them.
take loads of pics along the way of unaccesabile areas , I have heaps of them lol they will be needed later on . |
thanks garyt ill bear that in mind
|
I did that,make the plate longer and fold ends and add more weld.
|
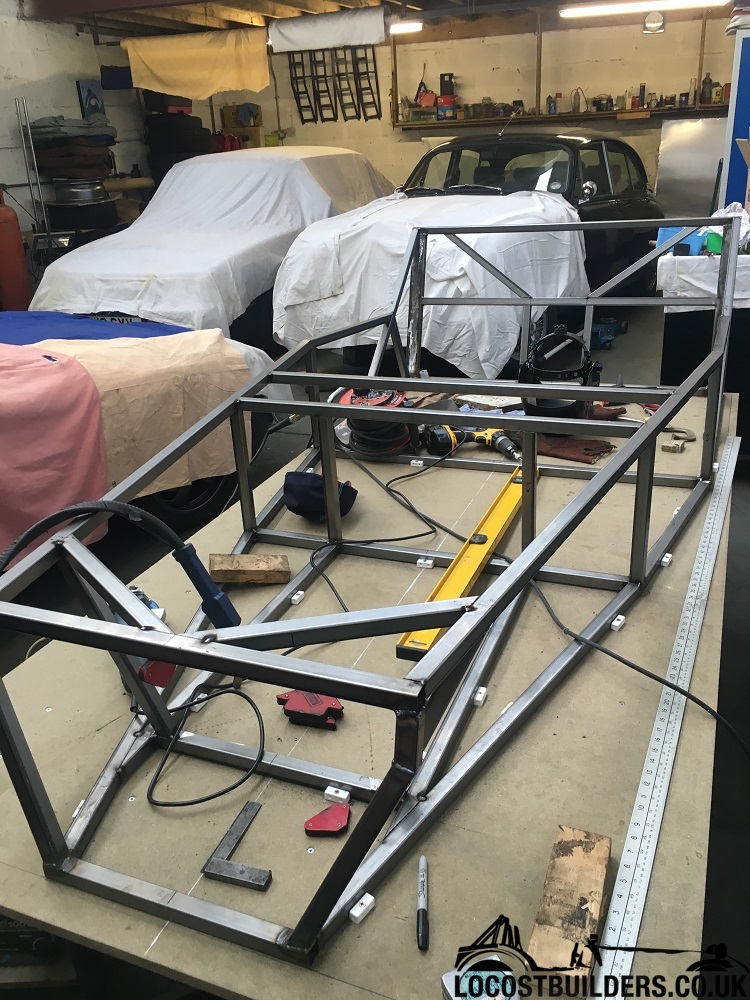
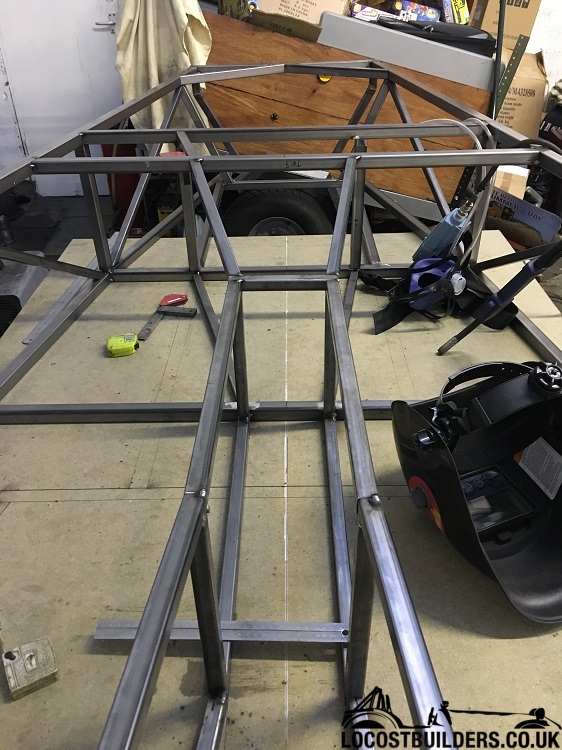
hi everyone, so another weekend has arrived, I started by moving the upright as per previous posts.
then added all the diagonals. I then had the tedious task of removing the diff bolts that hold the PFF on, my word that took for ever with a lot of help from "Harry Hot Spanner":eek: then set about the rear diff cage 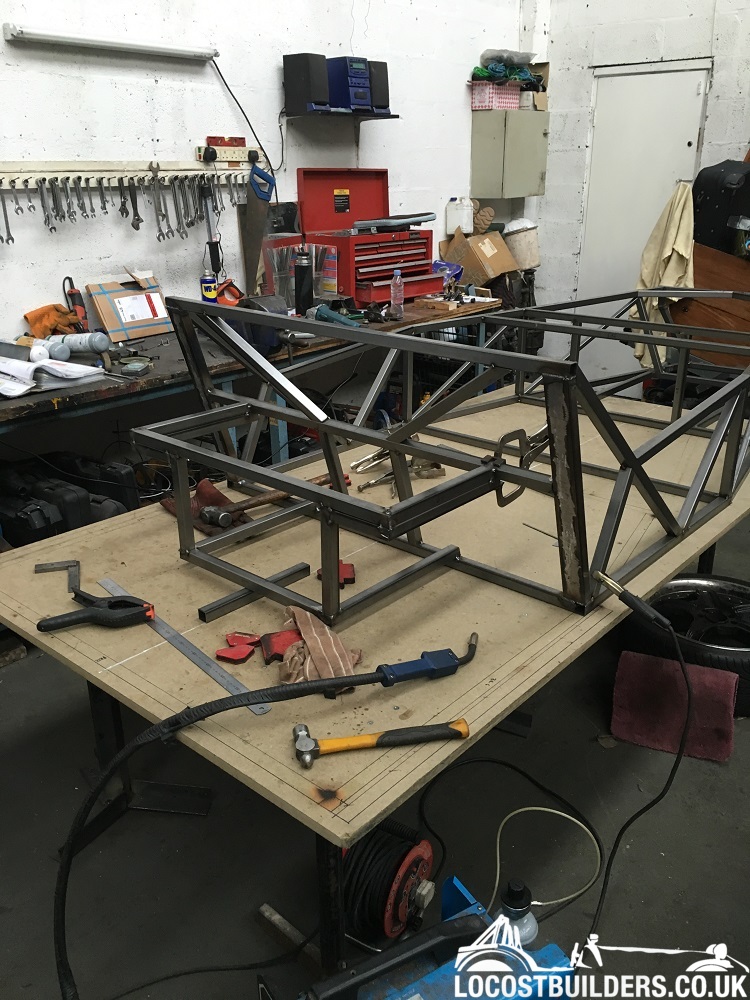 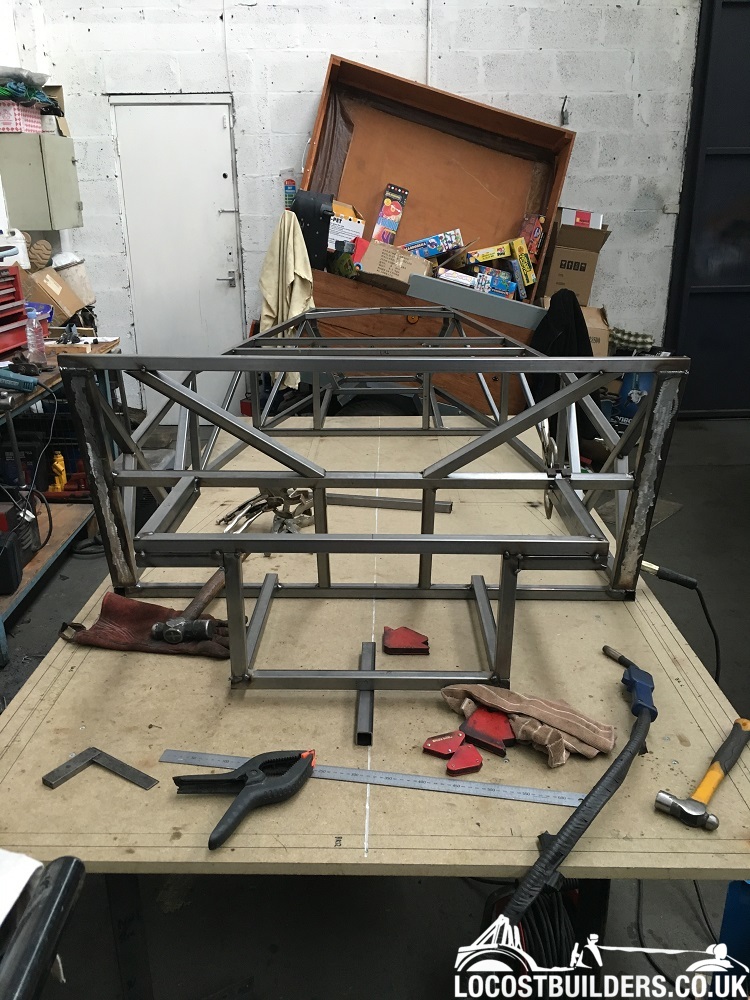 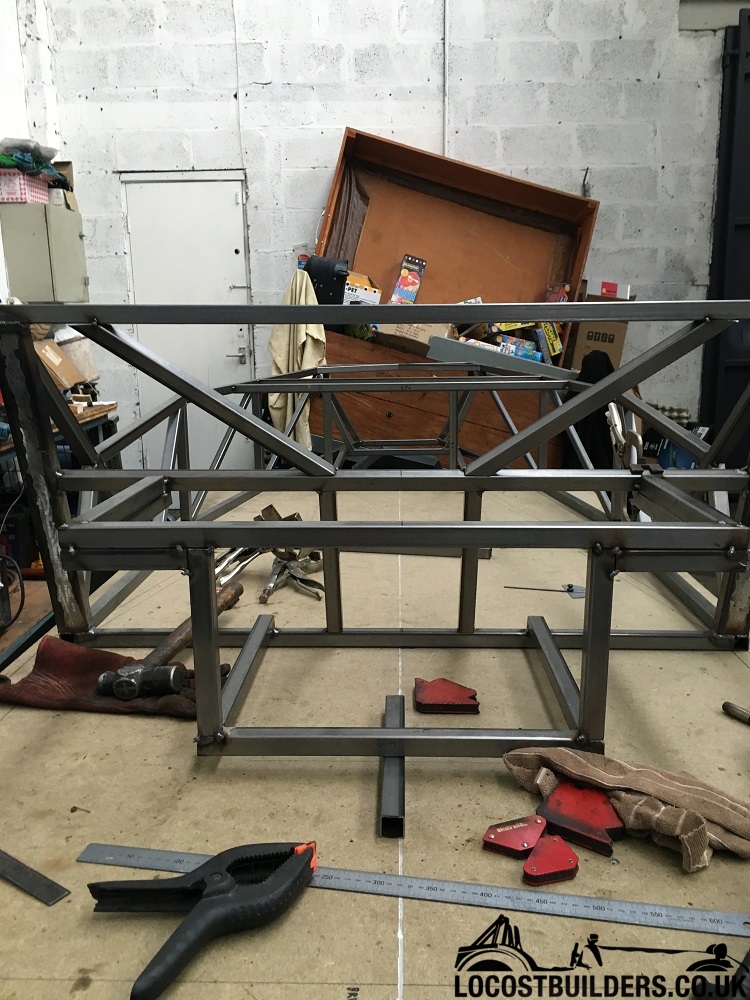 |
that's good progress your making there, keep up the good work and yes there are a few stubborn bolts to get through :)
|
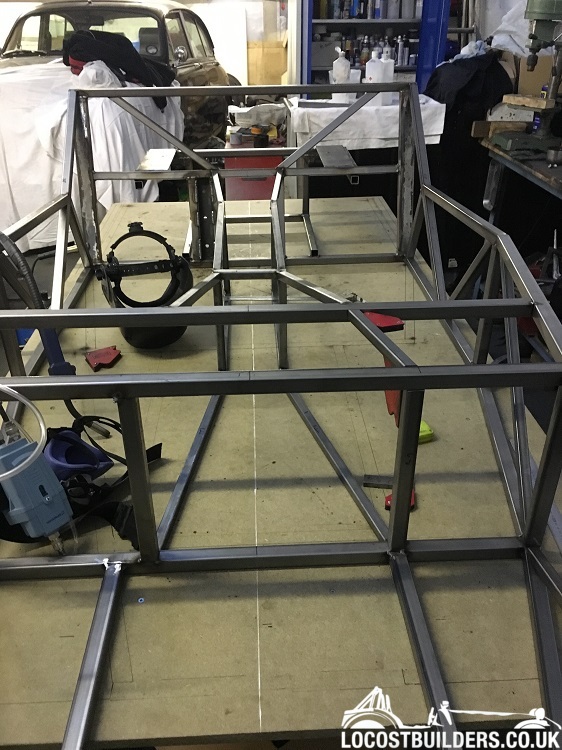
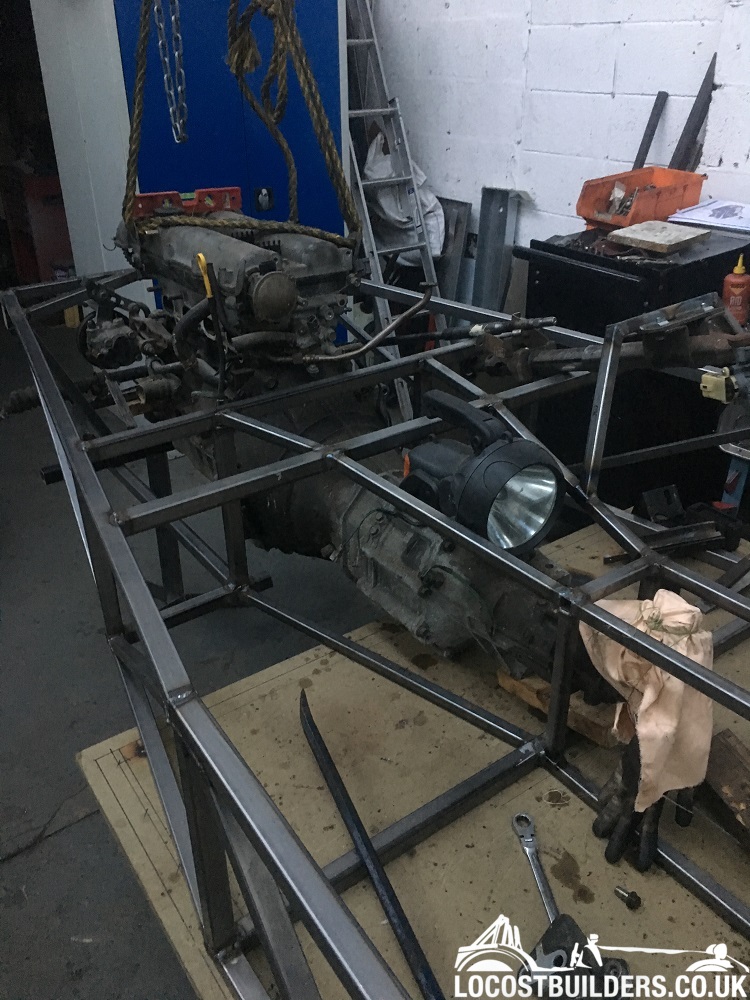
more progress over last couple of days -
didnt have any 3mm plate for rear shock top assembly, so I put together my own using what I had lying around, will be a little bit more substantial :p tunnel literally finished too 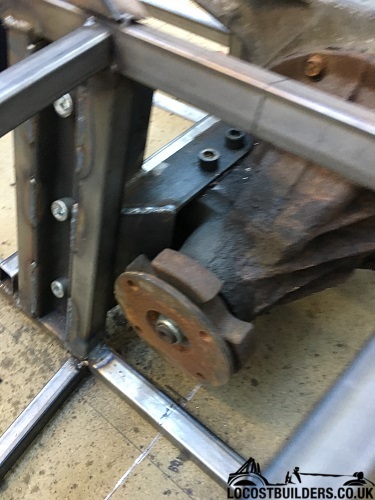 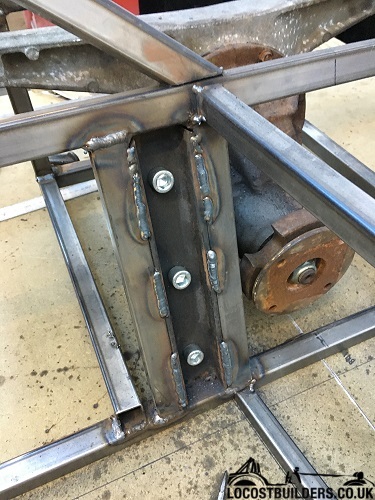 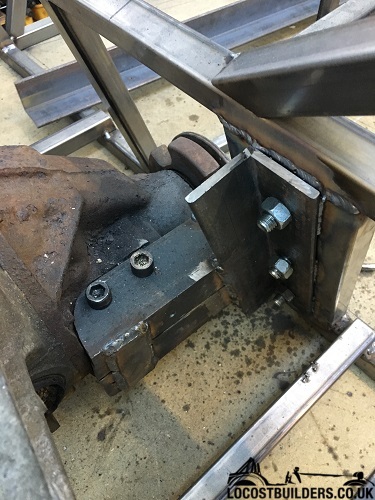 |
    |
Great to see you getting on , good work
|
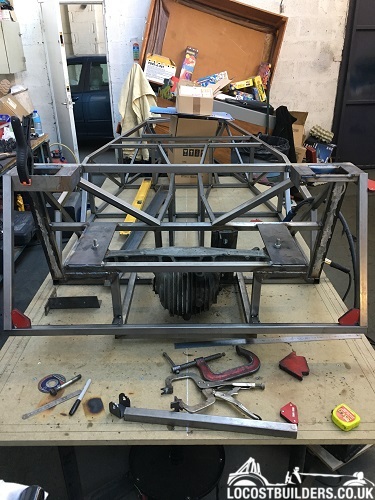
spent a few hours today fully welding the chassis, still have the rear panel supports to sort but need my rear panel to do that effectively, so set about sorting the steering column -
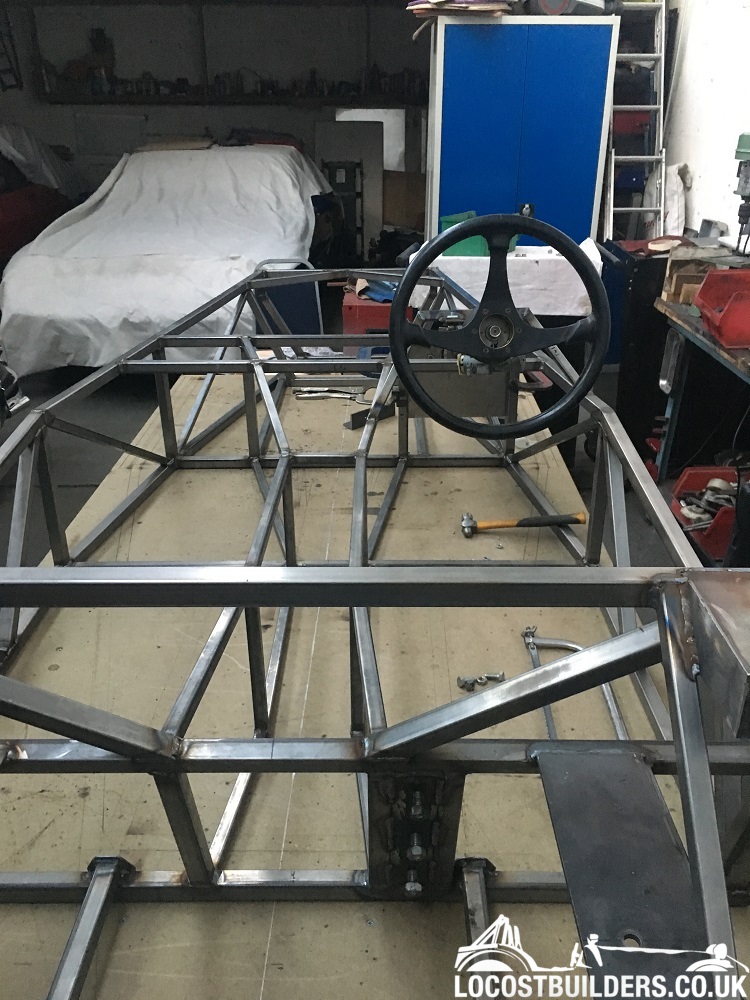  |
Great to see some more done something to think about now as well is what are you doing re the roll bar? More specifically the rear braces I copied a previous idea and put 2 wishbone brackets on the back edge of the diff mount plates pictures in my build or I can post them if you want to look. Others have taken them down to the rear corners at the bottom of the rear panel
Anyway great work keep going |
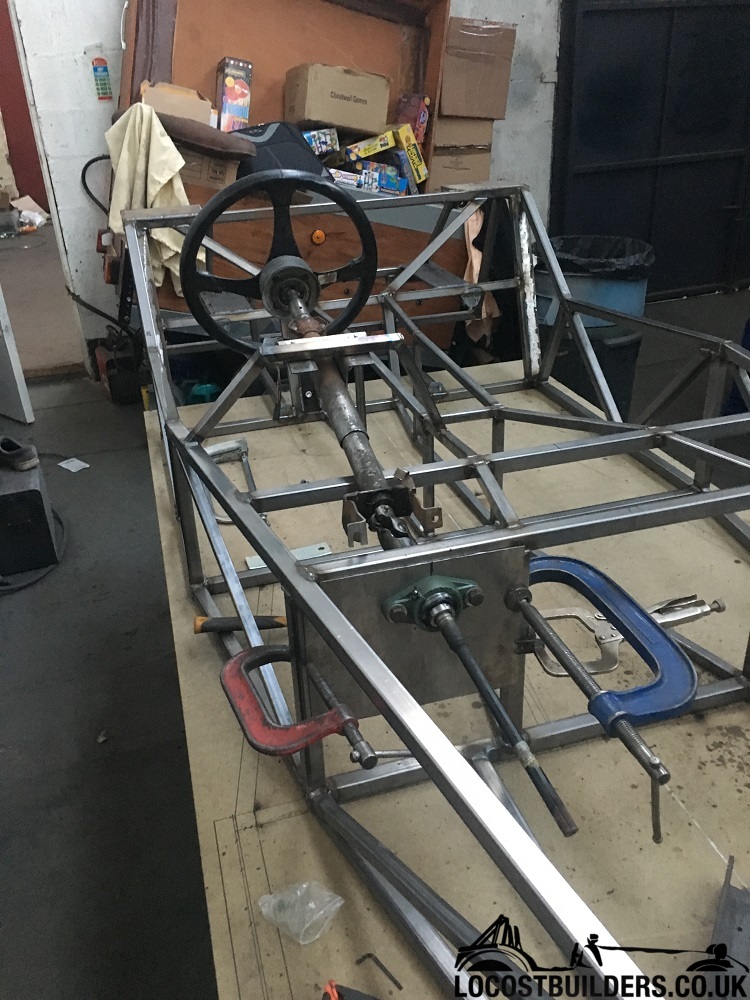
thanks Gary, ill be working on that once I pick up the rear panel and can configure the back proper. in the mean time as I was sorting out the steering rack and column route, I had to drop the engine in so have been sorting mountings today
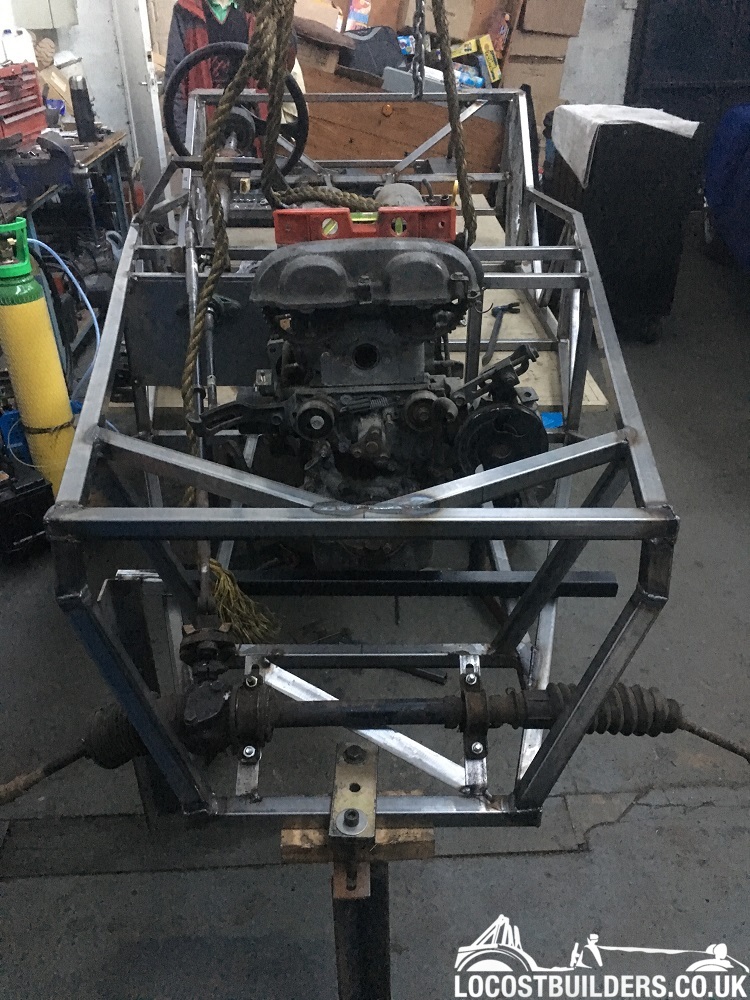  |
once that lot is lined up you will find the steering extension is really close to the alternator and I had to relieve the plenum support to clear it.
I see you went hi tech in your engine support a steel bar ... I used a length of oak from work lol. it works and saves a lot of faffing with a jack It definitely feels good to see the engine in even if only temporarily oh make sure your engine is far enough forward to get full operation on the clutch release arm (sorry Steve) |
been a few weeks since i posted anything however I have been in the garage working away,
I already had a diff, engine and box, when i started my build as id found/picked them up cheap, but as the chassis was progressing I started searching for other parts required and found that to buy uprights, discs, calipers etc would be as much if not more than finding an actual full car! so thats what I did for a measly £200 - 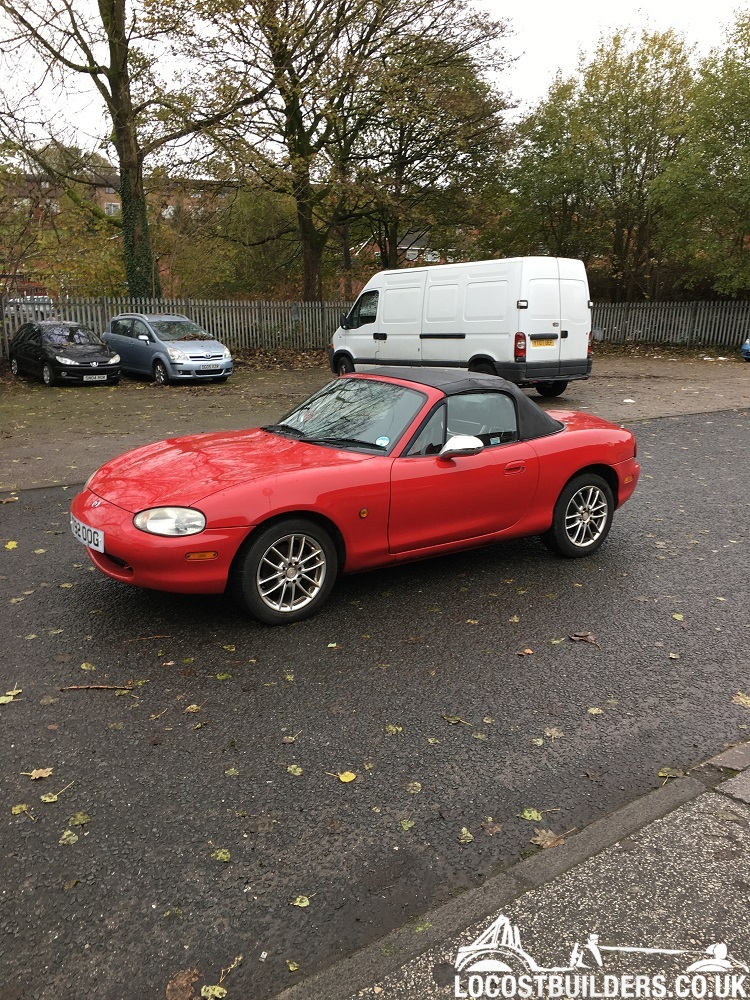 I then progressed in stripping everything - 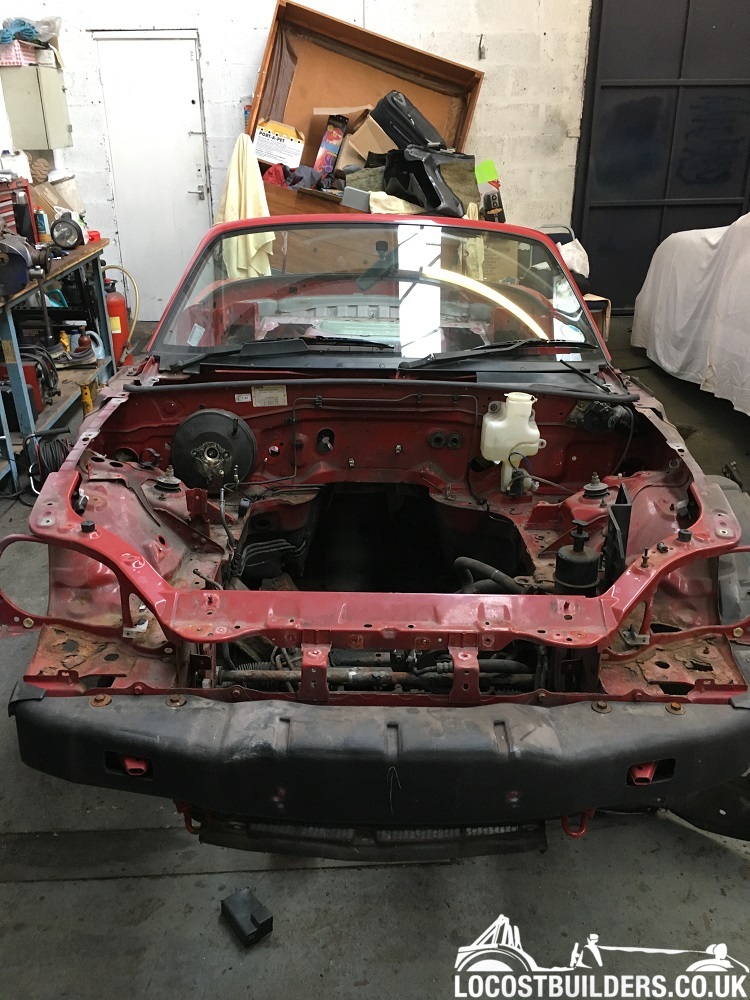 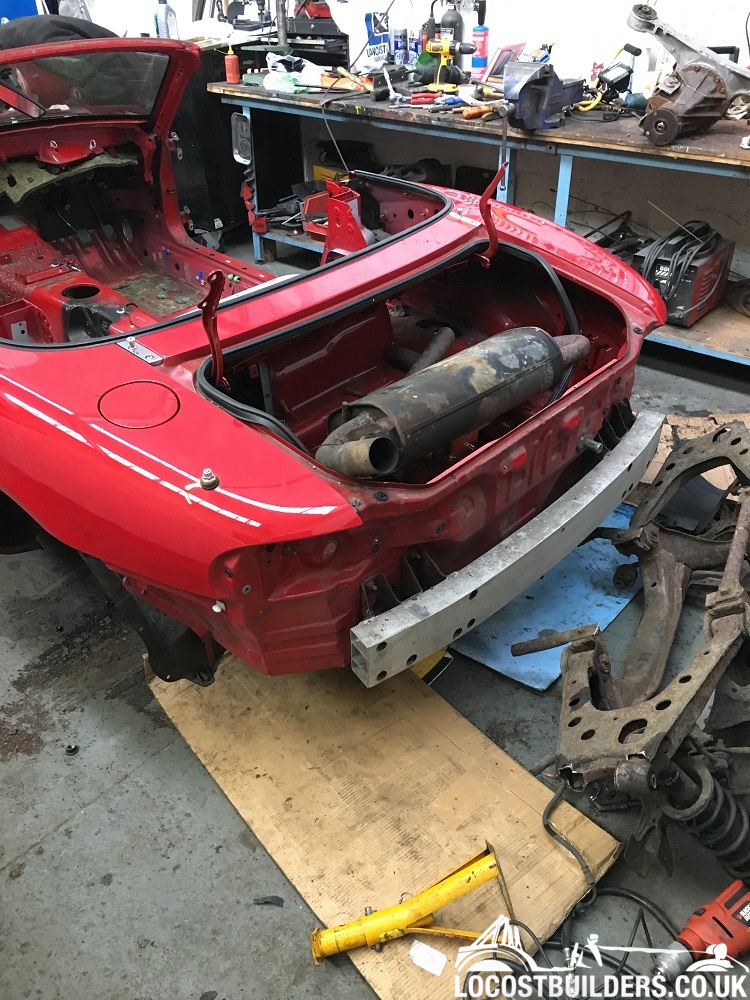 unwanted parts are listed or being prepared for listing on the Bay :) |
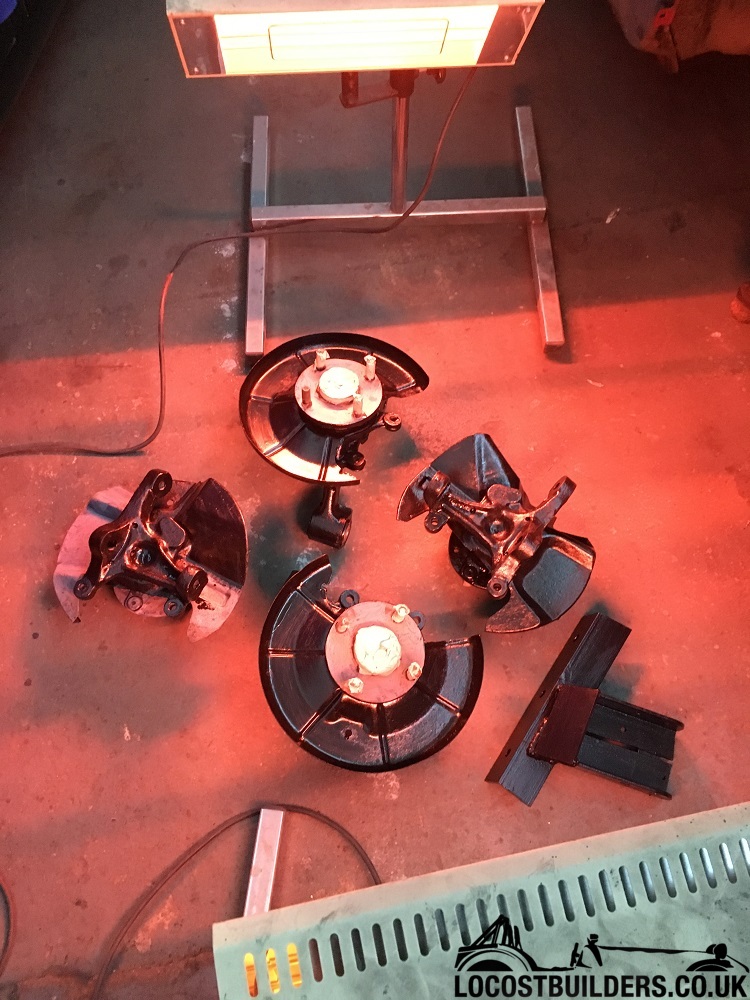
I then started to clean up and sort out the uprights, electrolysis was fantastic, and built a small blast cabinet and here are the uprights after painting in POR15 drying with the heat lamps -
 and then moved to the diff before - 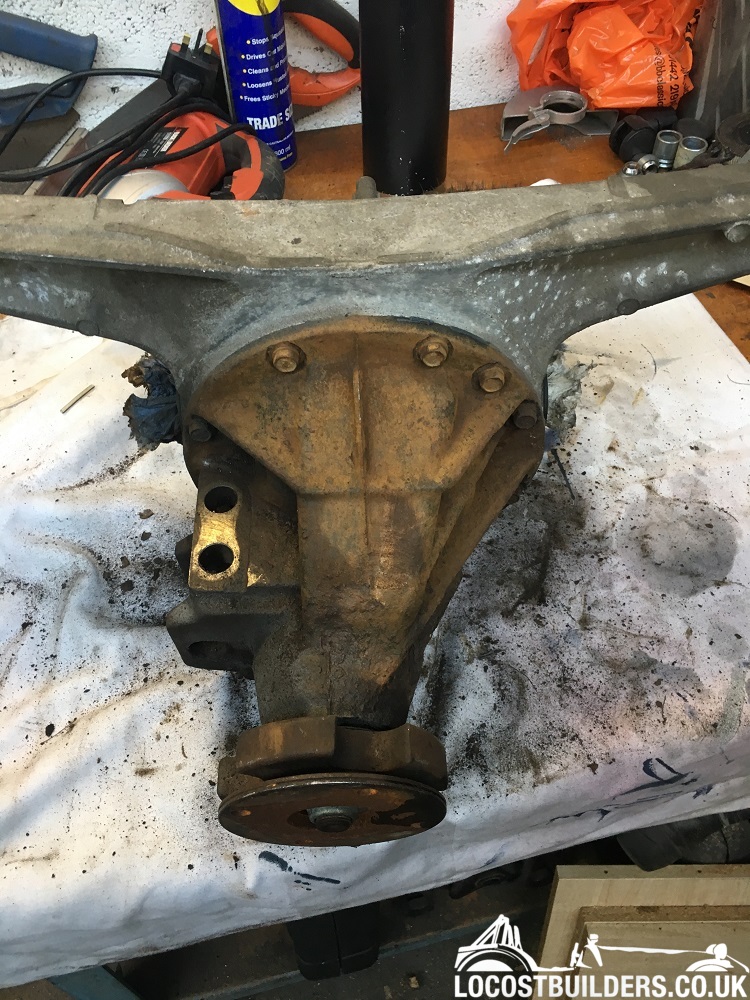 and after, will be fully painted once finished - 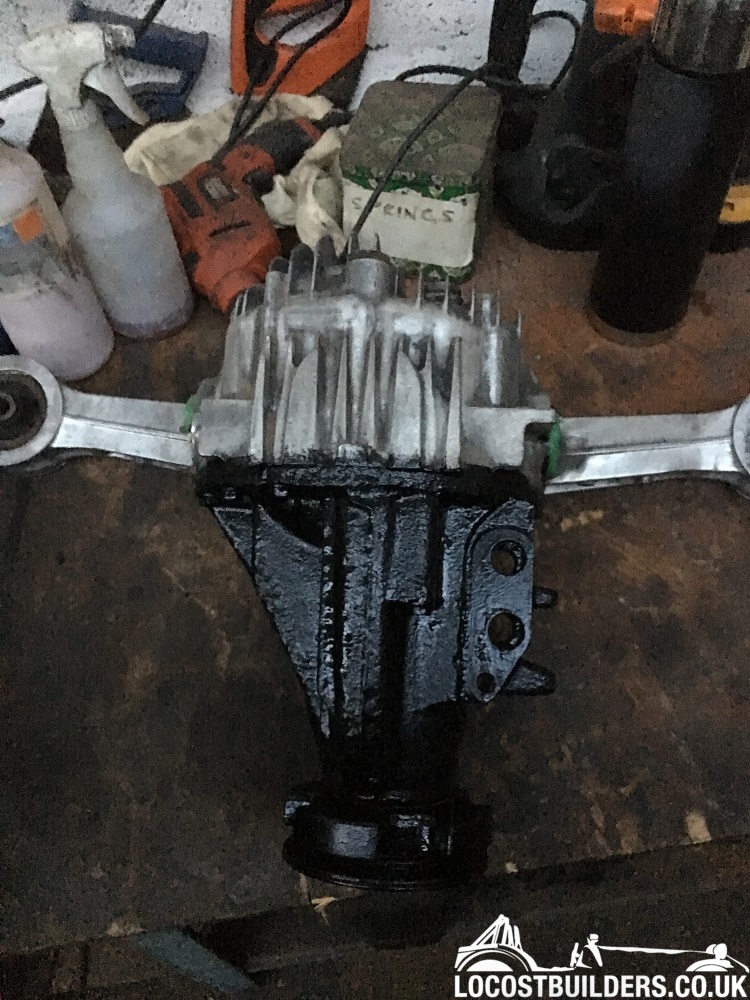 I have also finished making and painting the wishbones but forgot to take pics :mad: |
Looking really good :)
Can I ask if you've got a part number for the steering column bearing ? I've ordered the part number that seems commonly listed but it doesn't tilt ? Hope you don't mind me asking but I've come to a stop with that bit ! |
rolsty the bearing is UCFL205
link here to the one i bought from ebay, I did have to pump some grease into it, and it was pretty stiff to get it to move to the right tilt, but it will if you have the right one http://www.ebay.co.uk/itm/322216948550?_trksid=p2057872.m2749.l2649&ssPageNa me=STRK%3AMEBIDX%3AIT |
Thanks - ordered it and will grease it first !
Thanks again for the help |
more work completed - she now has grown legs and arms :p
also ordered some bodywork from Vmax today 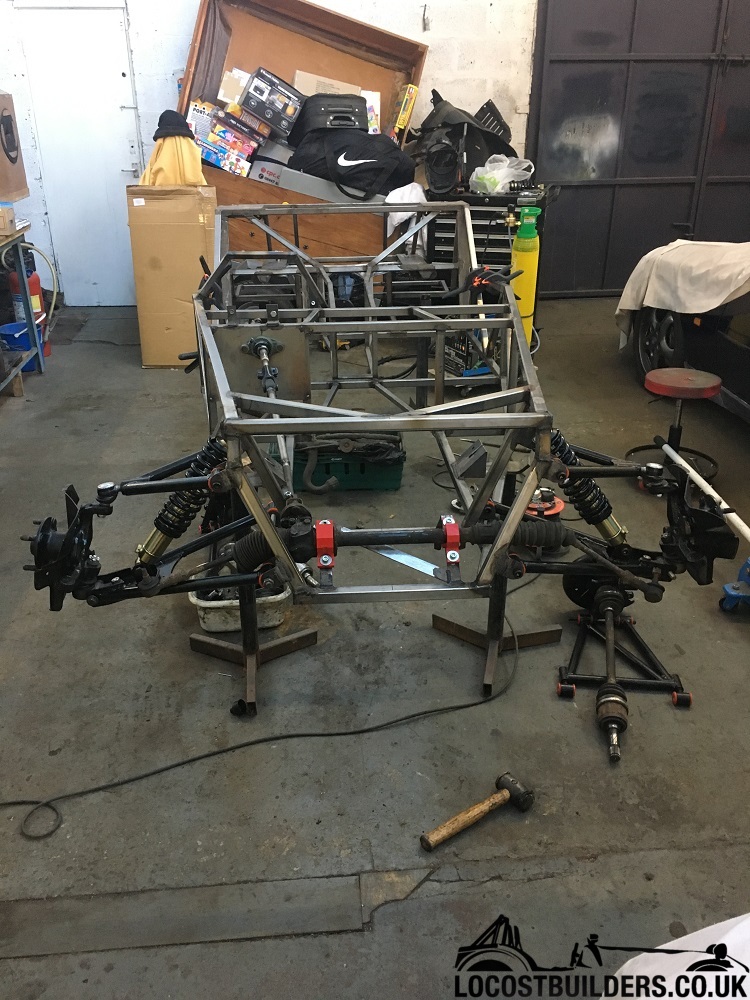 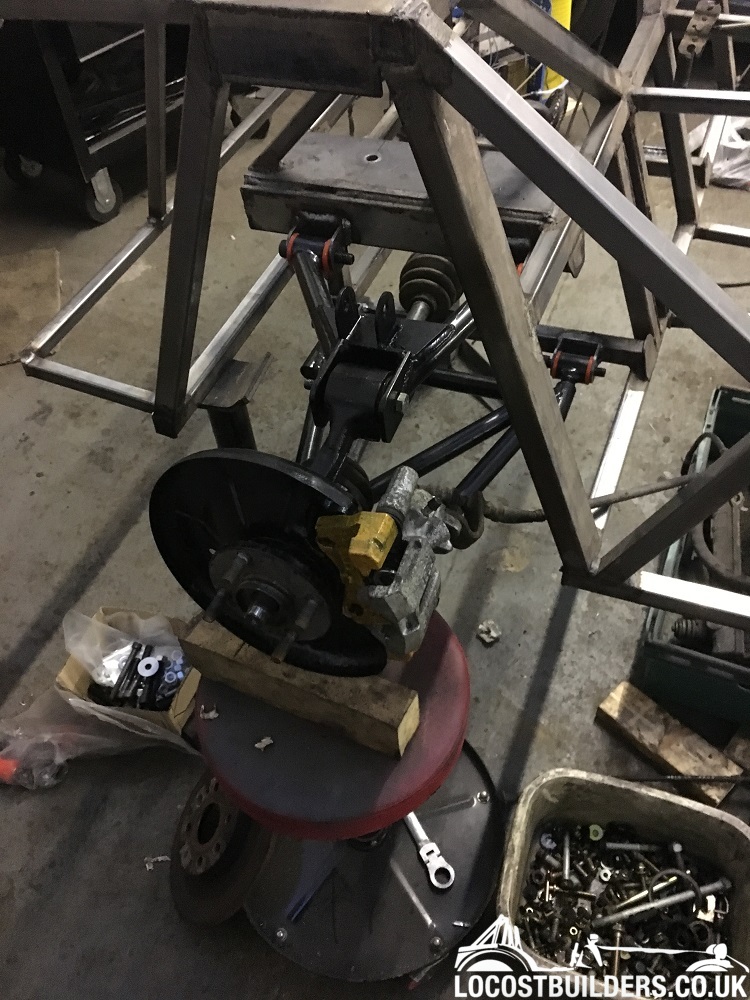 |
seems like a lifetime since I was at that stage... Roll on 2017 and perhaps some progress.
|
Great progress wish i had tried the electrolysis that's really come up well keep up the good work
|
| All times are GMT +1. The time now is 11:16 AM. |
Powered by vBulletin® Version 3.6.4
Copyright ©2000 - 2024, Jelsoft Enterprises Ltd.