
 |
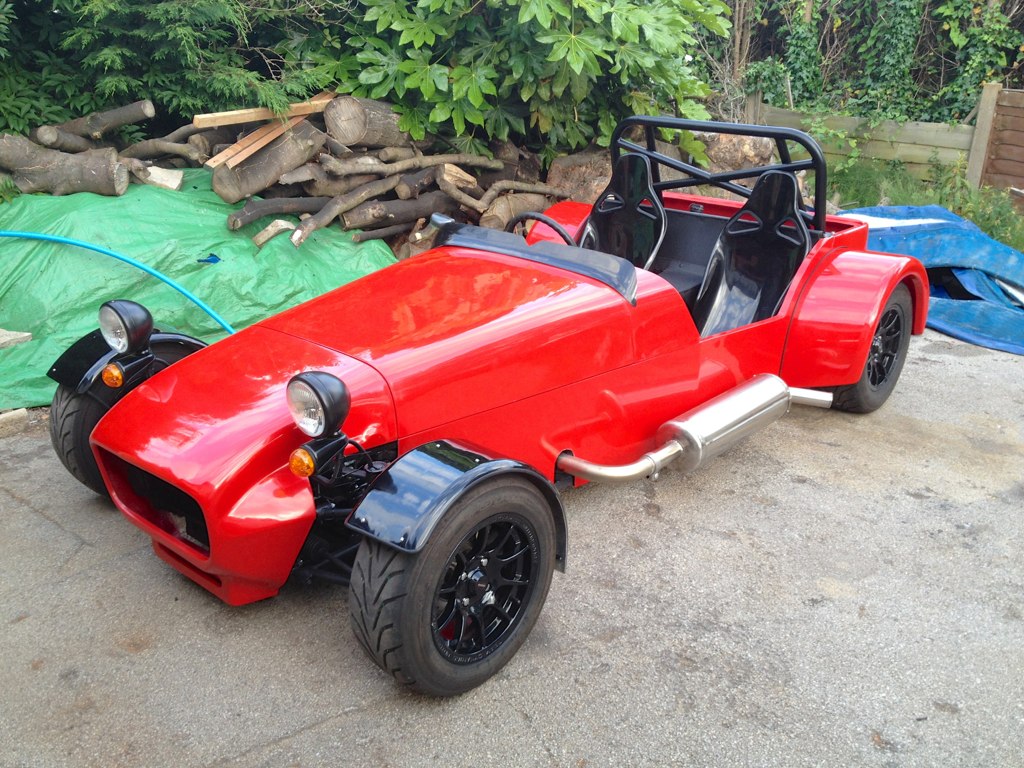
Well I have finally bitten the bullet and started attaching the body panels. Still can't fully commit as I know I'll have to take them off again for some reason or other so I've decided to use rivnuts wherever possible.
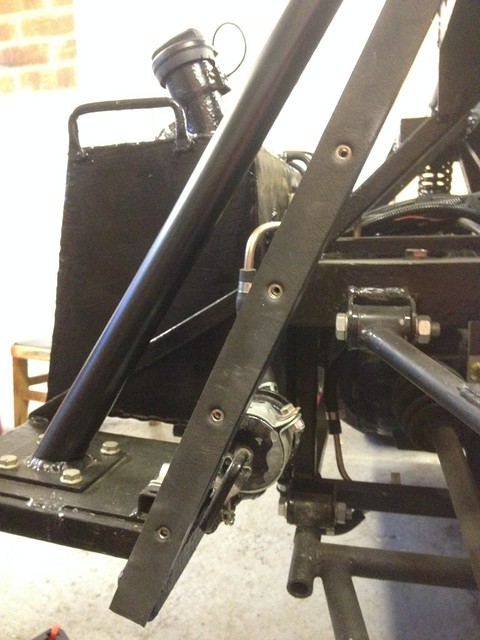 I'm using stainless steel M4 6mm dia. flat head nuts with 12.9 high strength M4 hex head bolts 20mm long. The reason is because a small allen key will be ideal to get into tight areas if ever panels need to come off and you alway have the option of gripping them with a pair of pliers if the hex head rounds out. 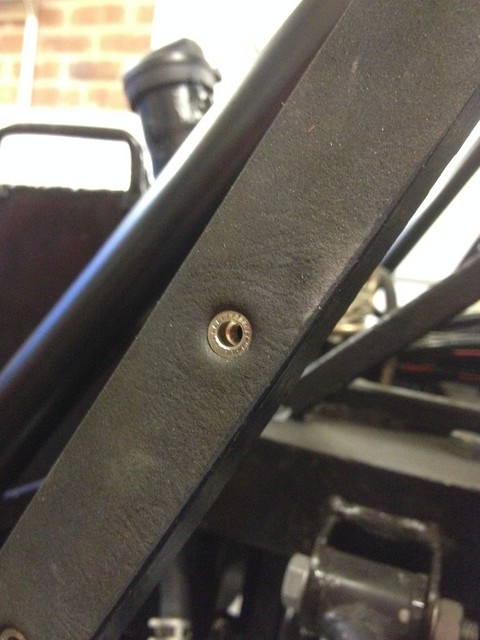 I'm using some small washers to spread the load and tight as I am I did buy the memfast.co.uk rivnut tool as I am a big believer that the right tools make a job much more enjoyable and quicker. I can always sell it in the future but I think it's a keeper. 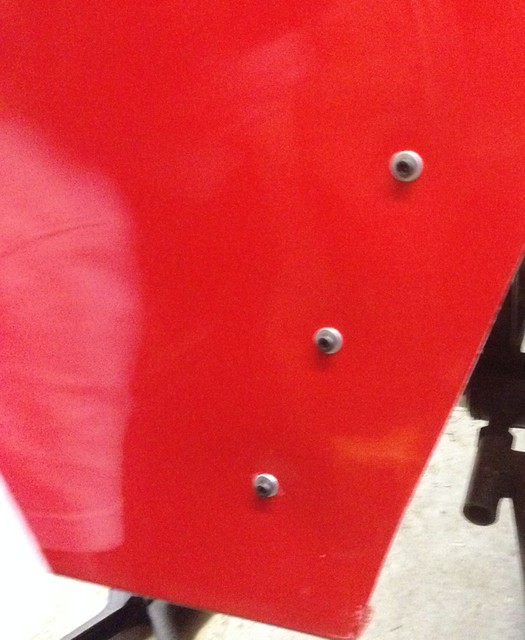 I was struggling to figure out where the chassis rails where before drilling a 4.5mm hole through the fibreglass but then had the bright idea using my pyjamed assistant to shine torchlight through the back of the panel and as it was almost dark this worked brilliantly in getting the holes in the right place. 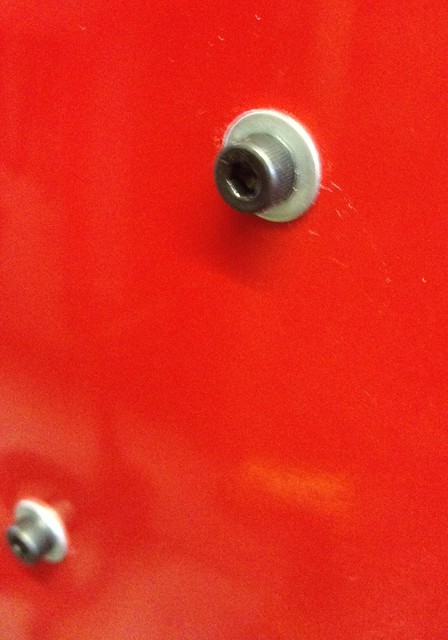 I then removed the panels and drilled a 6mm hole in the same position for the rivnut. Rivnut tool is great you can hold everything steady while you hand tighten the bolt. Only needed forearm strength for M4 stainless rivnuts to spread enough. cont...... |
I'm looking forward to doing the rest as it went so well!
Bad shot. 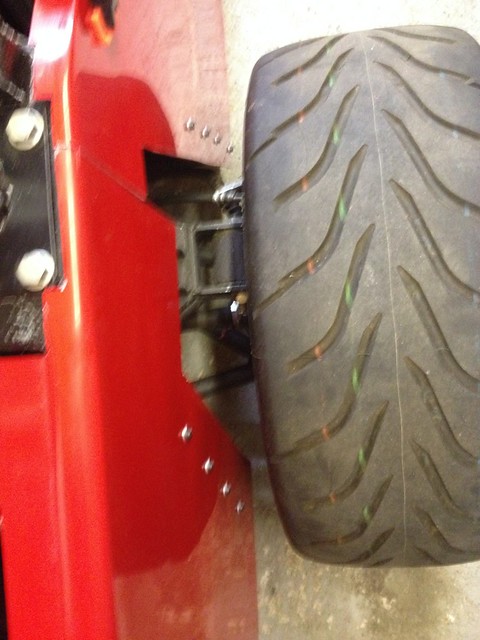 |
Done the other side, it's coming together now. :)
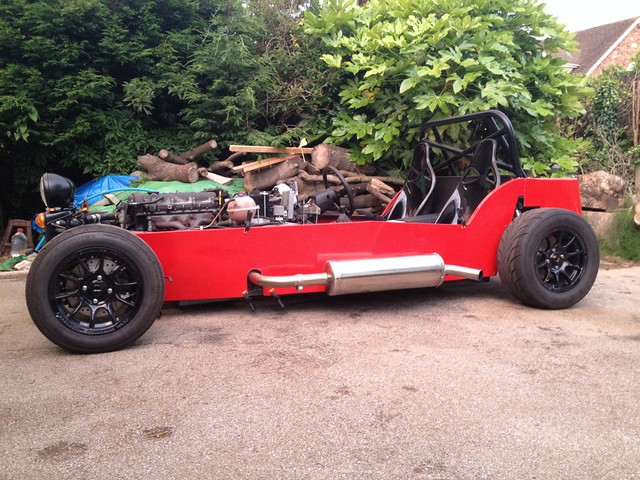 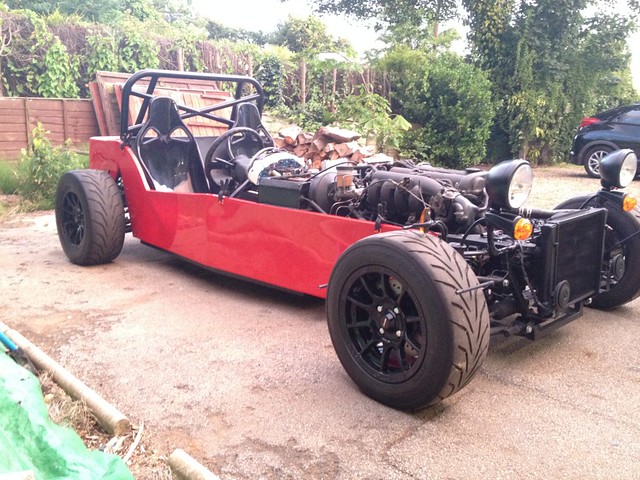 Might get it on the ramps next and do the underneath rivnuts.:rolleyes: |
Looking good Chris :cool:
|
Arches.......
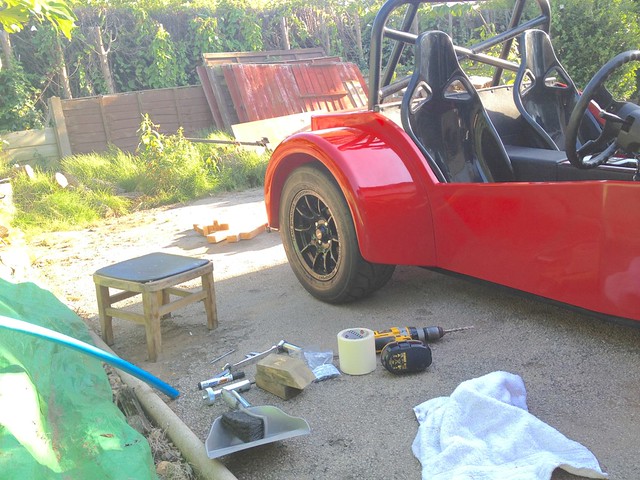 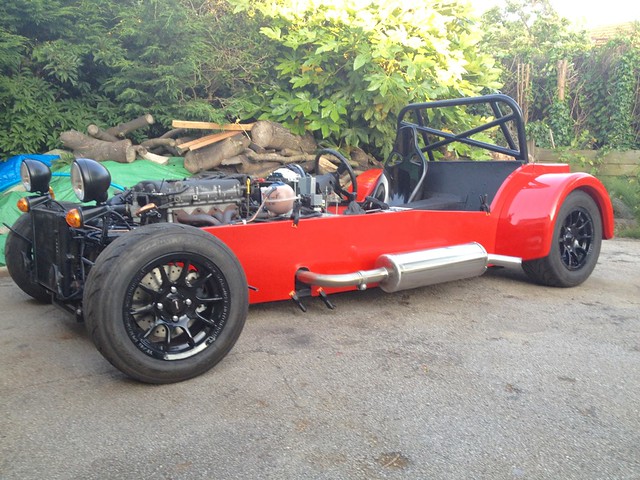  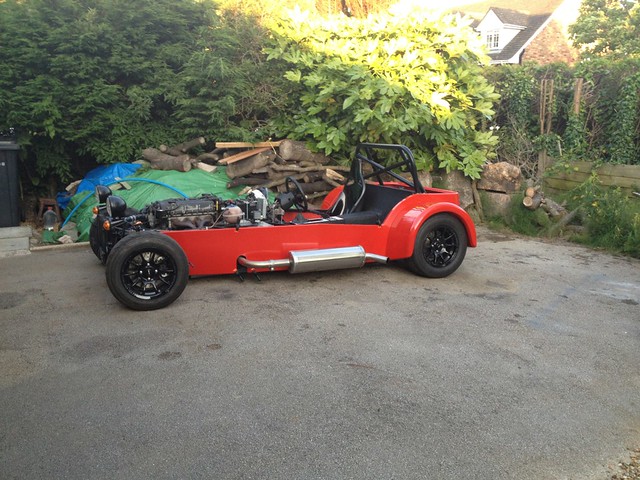 |
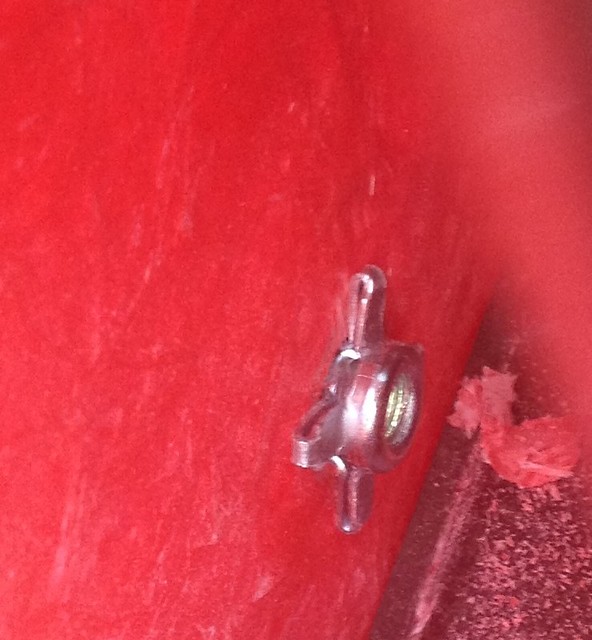
I used these collapsing rivnuts. Really easy to install hopefully they will hold.
  |
Coming together, now the weather has decided what to do!:rolleyes:
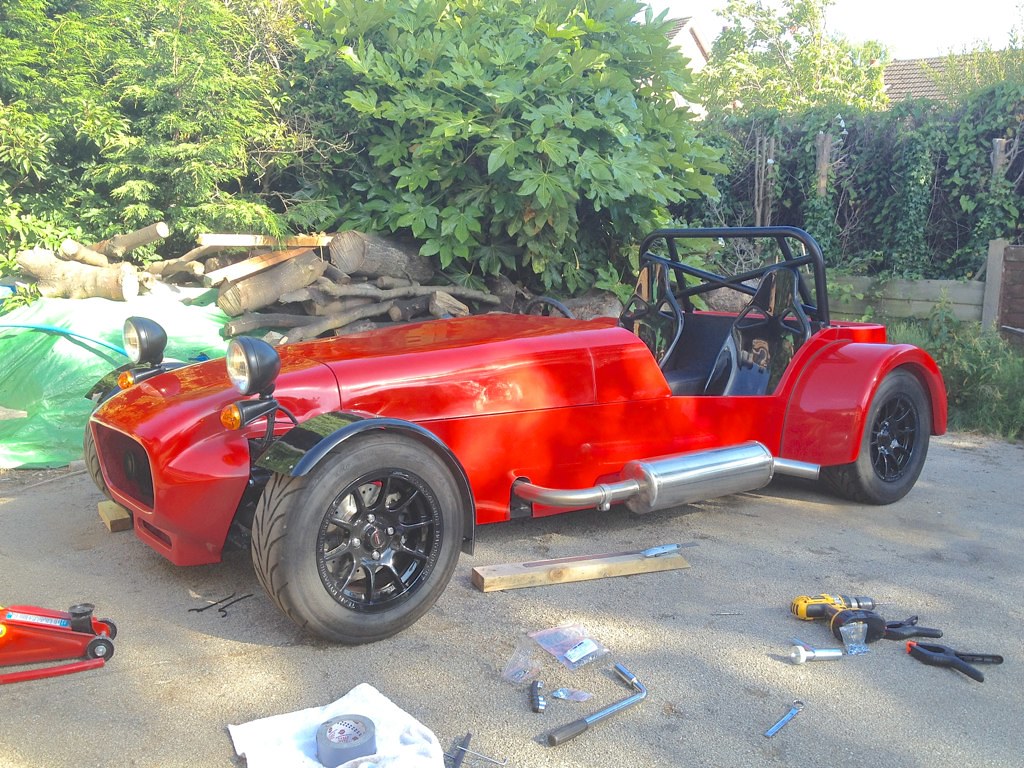 Honestly, it looks better in person. It's a bit of shock when you step out the house and look up, not expecting it to be there, or look so red!:) I can feel the end..... |
Hi Chris,
First, I think the car looks very good. Very red indeed, but it is not shocking to me, I really like it :) You're almost done, congratulations! I fitted my rear arches this week-end too, and I was wondering: what kind of trim/piping did you use between the arches and the side panels/rear tube? I can see a black lining there on your pictures, and I often saw that on finished cars, but I don't know what it is, and I'd like to put some on my car too to seal this part. Could you please let me know? Thanks. |
"P" Trim Sylvain.;)
|
That is looking very red and very cool :cool:
|
Quote:
http://caterhamparts.co.uk/product.php?id_product=2547 Quote:
|
Quote:
|
Quote:
Thanks for the help :) |
Last night I dug out the Saturn/NTS/Gillham Aero thingumajig to see if it fit's, and it kind of does. There is a small gap but a bit of foam strip should do. Took loads of pictures which you can look at in my photo stream.
 So if you can live with the gap this seems a good solution to the AGM body for an aero screen. |
Looks virtually complete now. Nice.
Cheers Stot |
Thanks, nearly there yes, but still lots to do! Now that some idiot has built a car in my garage I can only do stuff car related in the garage when it's sunny! Doh! Time for a car port!:D or a big tent! Aiming to be applying for the IVA around October time. Should be on the road for Christmas! Useful!!!:rolleyes:
Bought a Dremel this week and did this with it. 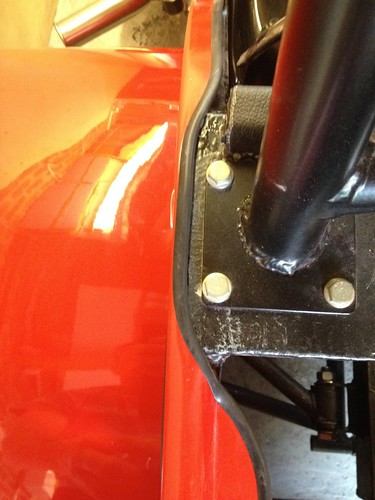 |
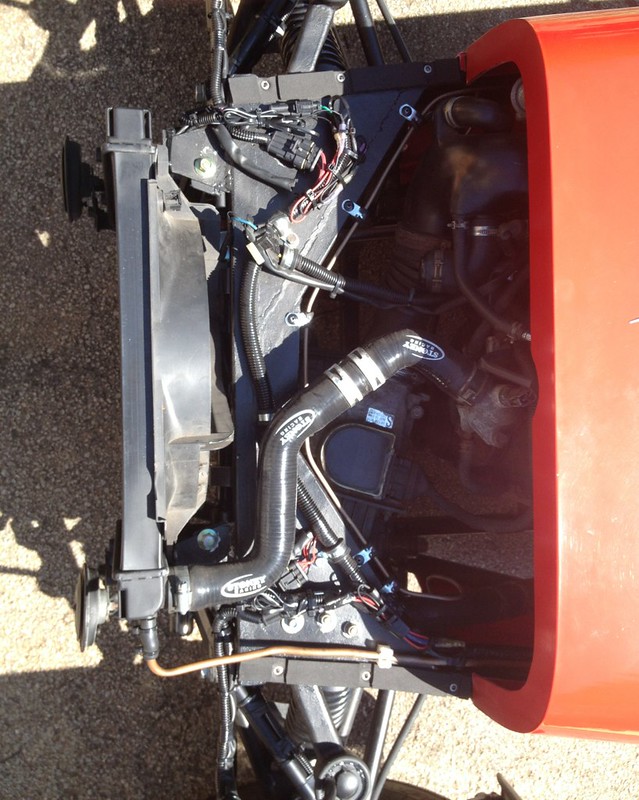
Some images of my front end before I button it up I've added more p-clips to the front brake pipe that travels around the front of the engine bay and decided not to run side repeaters on the cycle wings, they looked crap and now I've had to have one cycle wing repaired. I've managed to get three accessible fixings for the nose on either side as well.
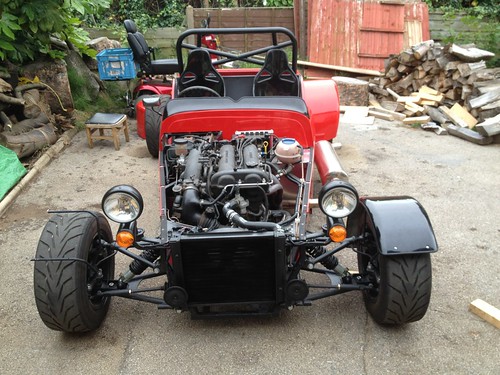 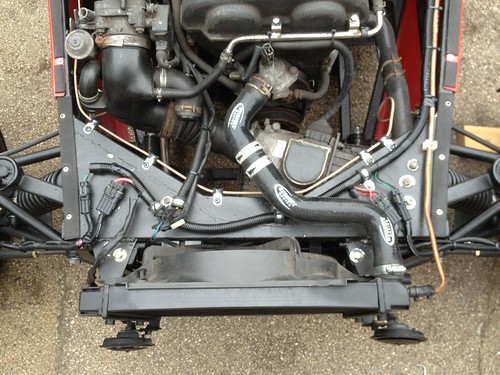 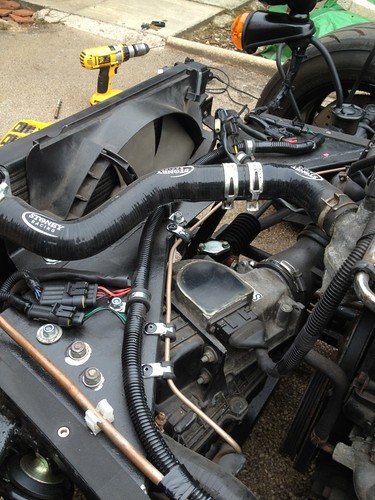 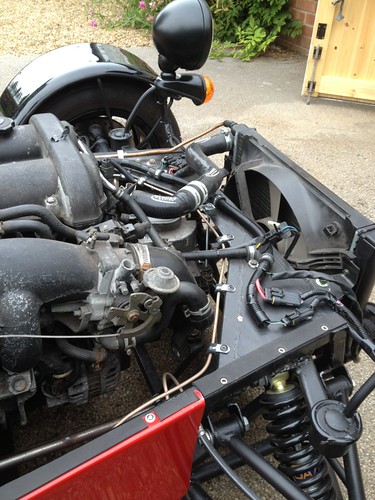 |
I also got to fixing the bottom of the nose but decided to make a fixing plate come skid plate to protect the nose incase I hit an awkward camber or something. Roads around here can be quite shocking.
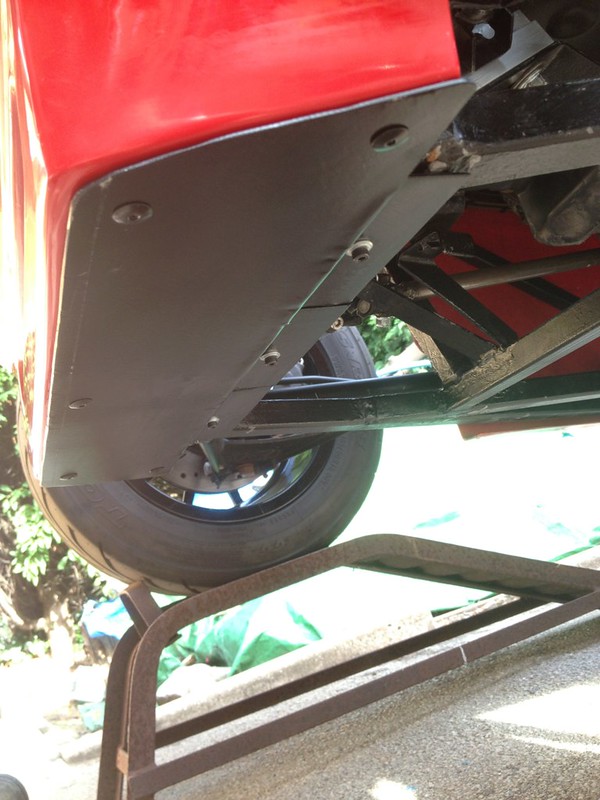 Also started fixing the lower part of the side panels. 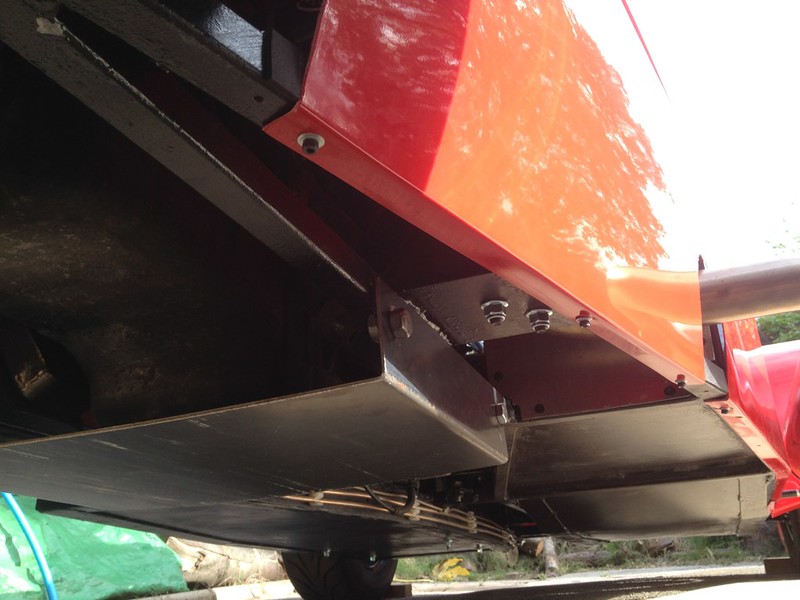 |
So I'm spitting my dummy out about this side repeater nonsense. The IVA manual needs rewriting here as it's fairly ambiguous, but aparently they should be able to be seen between 5˚ and 60˚ from the direction of travel from the rear but also vertically between 5˚ below and 15˚ above. All of this isn't really a problem apart from the 5˚ below which in a car as low as ours is damn right dumb and causes a problem due to the rear wing unless your happy to fit a side repeater to your front or rear arch.
Whomever needs to see my side repeater from 5˚ below a car no higher than 750mm is a dead man as he's almost lying on the floor in the middle of the road. Unless we now have to take into consideration dogs and toddlers. But anyway I think I found a suitable yet unusual position. Call me mad but you can see the corner of the scuttle/dash from this viewpoint. 5˚ out and below 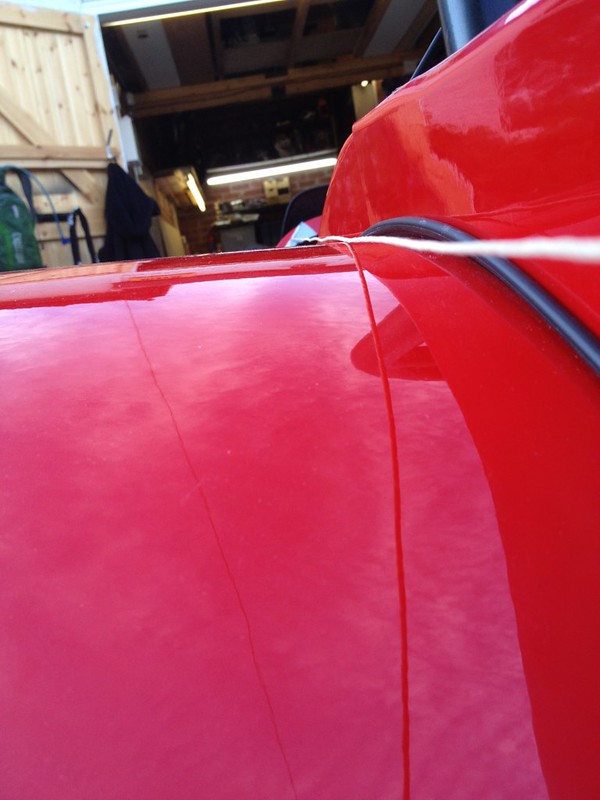 Proposed position 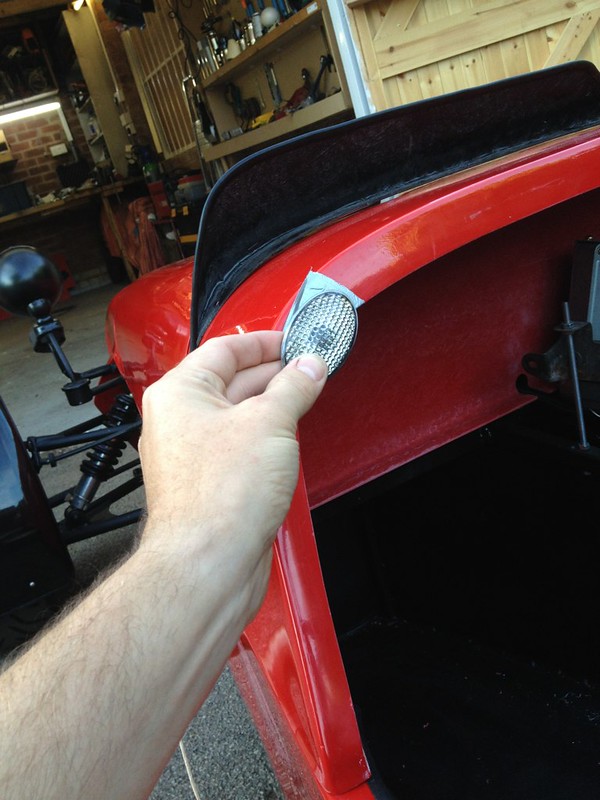 60˚ out 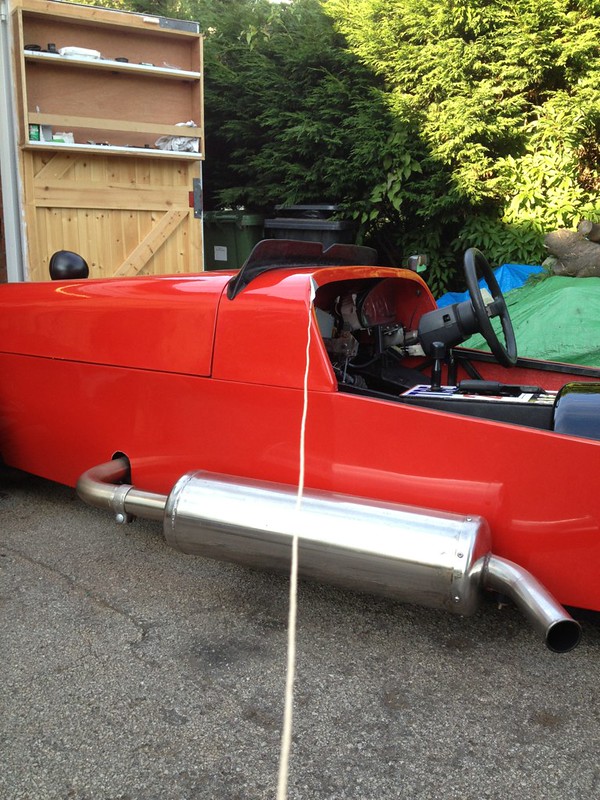 If anyone knows of any reason why this is a nono location please let me know. |
I would be fitting a more bulbous side repeater onto the side of the scuttle panel rather than at the rear. Obviously can be changed in the future.
something like this  will look better in the long run and will fulfill the iva requirements |
Quote:
I hate the IVA man!!!:) |
Are you sure that you can see the side repeater from the rear. I managed to see it 5deg to the side but not 5deg down. The arch was in the way. Even though you would see the rear indicator.
I put mine in the rear arch (the small led ones from bolt on bits) I tapped it into the rear lights. If you do this it must be a max of 2600mm from the front. |
Quote:
I mentioned when I was there that many OEMs have items on their cars that would never pass the IVA and he pointed out that although thats true they will test their cars to destruction and 'prove' that the item wont cause harm. Not sure I want to do that with my one off. :eek: Cheers Stot |
Has anyone who has been through an IVA actually seen the IVA man test, with measuring equipment, this 5deg behind and below rule for a side repeater? I know that Ajay and spikehaus have passed with side repeaters mounted on the side of the scuttle.
|
Quote:
|
Quote:
I suspect he would have got some equipment out if he was in any doubt. He also said he commonly fails people for putting them on the scuttle. I personally wouldn't risk mounting it somewhere you know it would fail - you'd be kicking yourself if that was the only thing you failed on! |
My iva man didn't measure but did have a good look.
To start with I didn't like the idea of having them in the arches but I think I prefer them now. They are unobtrusive and keeps the scuttle looking clean. I used these without the rubber grommet. They are a tight fit but also held in with tiger seal and then in split conduit stuck to the inside of the arch lip. I also used a pair of superseal connectors so I can take the arch off if I need to. |
MMmmm. OK, one last try before I give in and put those micro led ones on the rear arches.
Going to see how these will look on the front cycle wings. http://www.carbuildersolutions.com/u...tor-pair-leda9 Can't understand why they made a micro led side repeater that needs a 20mm hole to be fitted? :confused: |
Glued in the grill with some tiger seal. Messy job. I used a bit of MDF and a broken paving slab to hold it down as it was a bit springy being stainless steel.
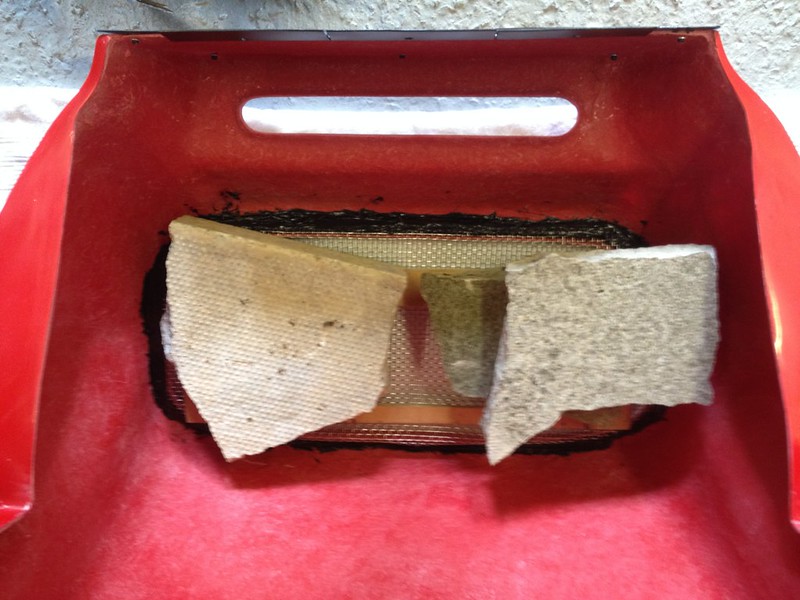 Done. 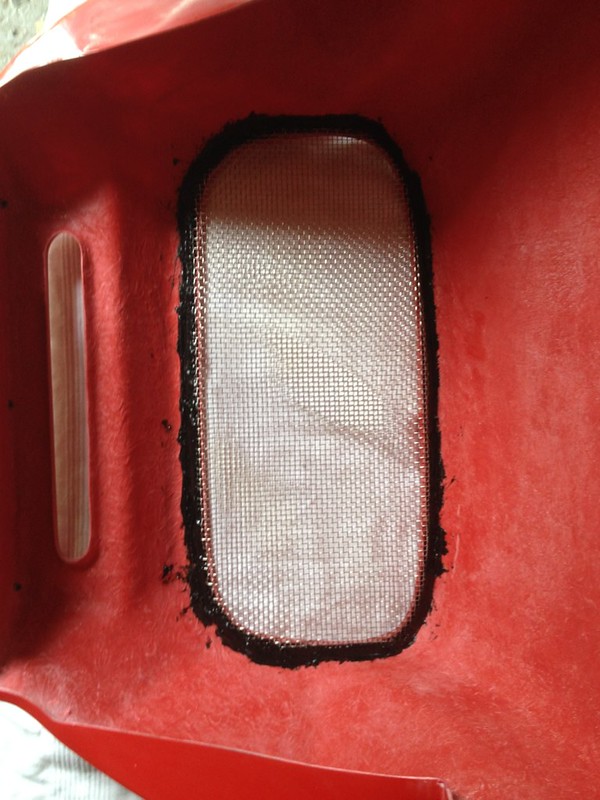 Mmm not sure about the shiny look. 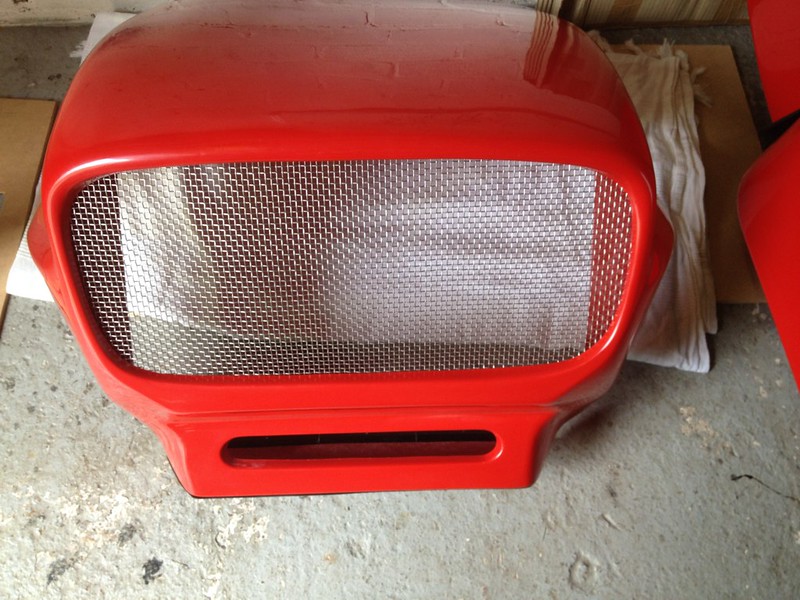 Got a grill badge made and painted it to highlight the the number 7 and the superman surround. It didn't look right with the grill I thought. 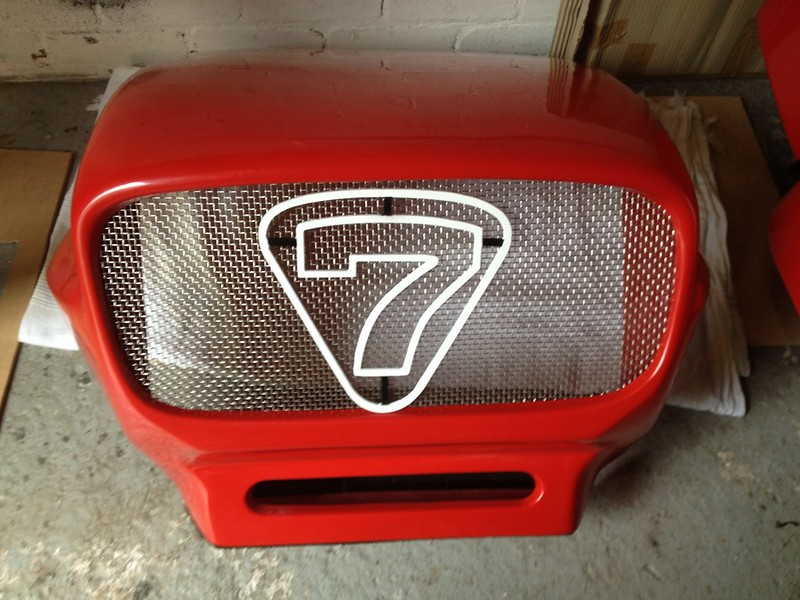 |
Fully masked the nose and then two coats of primer from all angles.
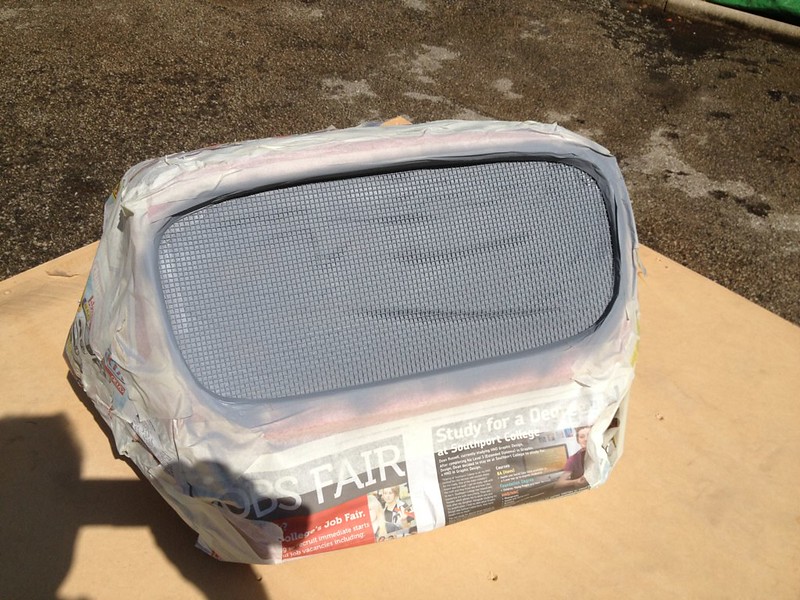 Then three coats of halfords best smooth black paint. 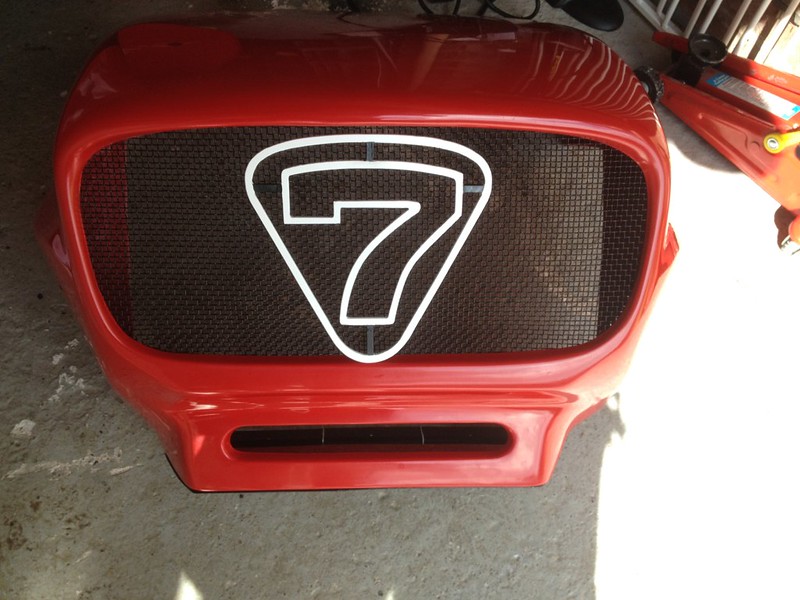 That looked much better I thought. 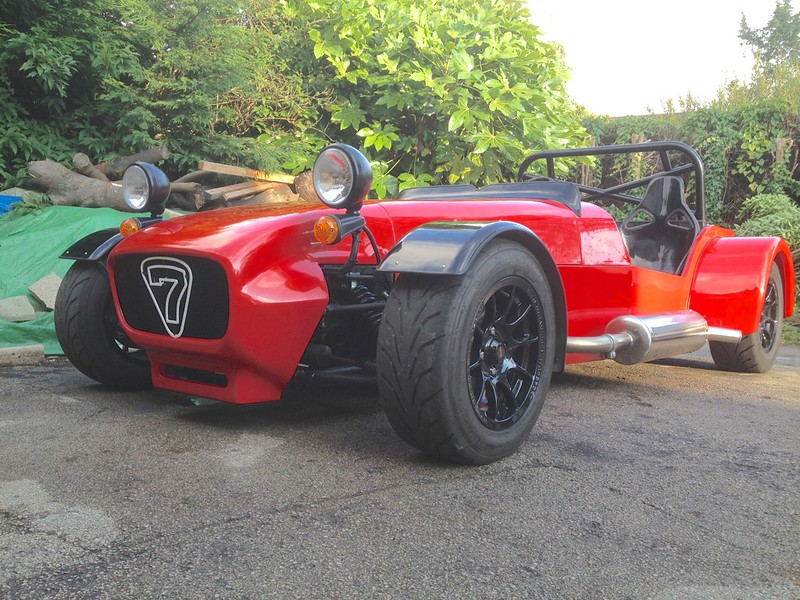 Used a little zip tie to hold it in place, think I'll leave it off until after the IVA just incase they don't like it for some reason. |
Fitted my stick on bendy side repeaters.
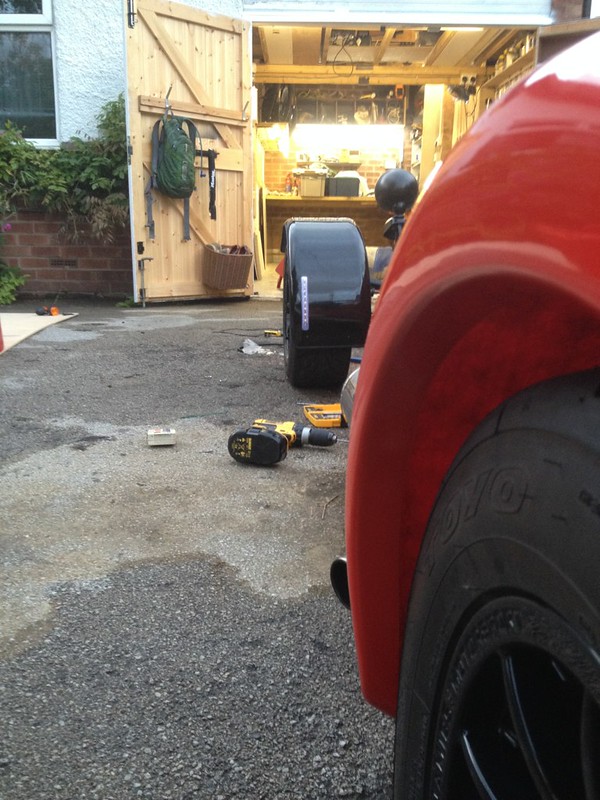 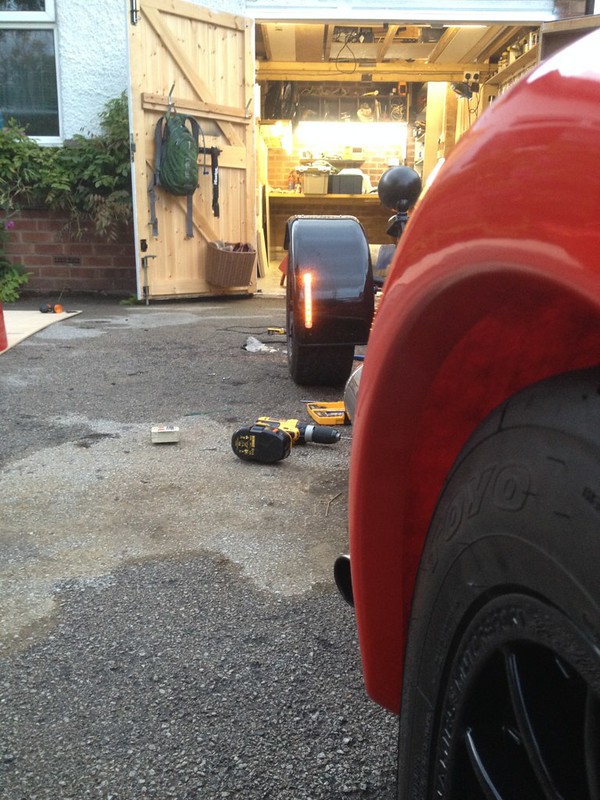 That will do. They may fall off though!;) Only had to drill a 4mm hole to fit and a block resistor in parallel. |
Hi Chris.....I hope I am wrong about this....BUT I am not so sure the angles look right for a repeater "pass" is that really 5 degrees out from the repeater ? but not only that from the rear the angles of "e" (from the iva diagram) it would certainly not be visible due to the rear arches, maybe some one can clarify this or am I reading it totally wrong:(
|
Quote:
|
Thank god for that;) ....looking really good by the way, shut lines around the bonnet look very neat without the usual edging, I would be very surprised if you don't get a first time pass with the meticulous manner with which you have went about your build
|
Quote:
|
Reached a small milestone this week. I have now completed the from the tip of the nose to the to the start of the bonnet including side repeaters and ballast resistors wired in parallel, lights, self centring, IVA exterior projections and grill.
 Took a little celebration picture. :) To motivate me to do the rest soon. 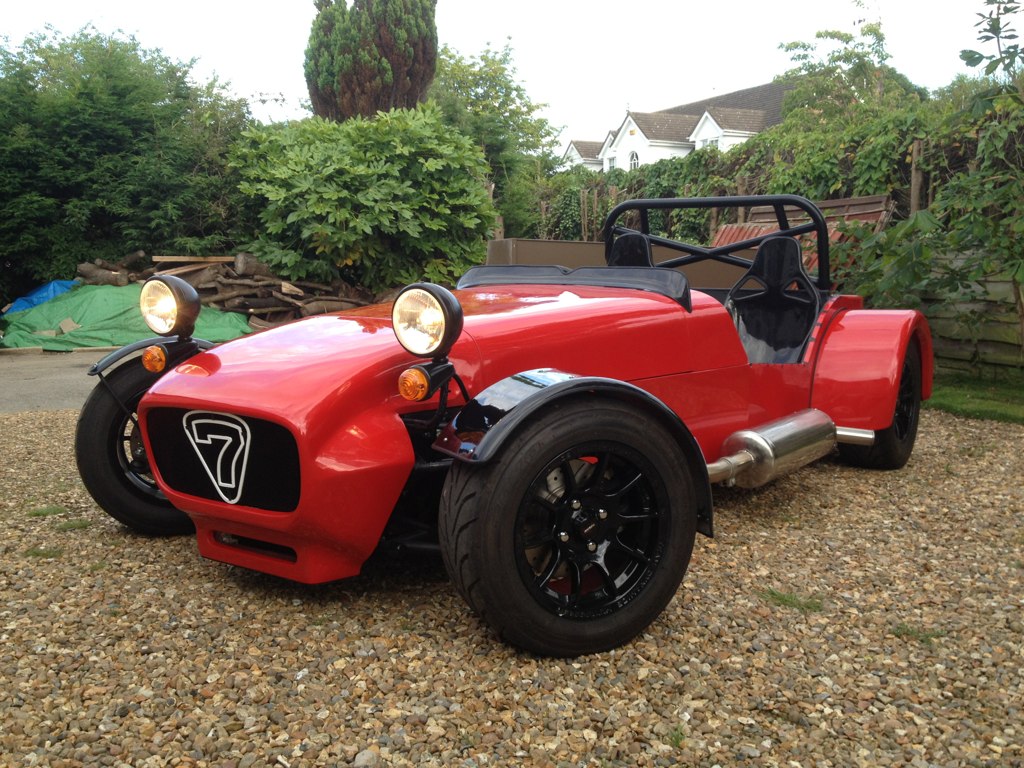 Next is side panels secured, exhaust hole surround, bonnet catches and everything else that need finishing off under the bonnet. |
Looking awsome mate, all coming together very nicely indeed!
|
That looks very nice. Shouldn't be long now until it's all done!
|
Quote:
Quote:
Thanks, still enjoying it. Not rushing just taking my time when the weathers nice. Be a bit sad to finish it tbh. I ordered these bonnet spring catches off ebay, and they've worked out well. Initially I thought they'd be an exterior projections nightmare but I found some rubber covers in my little junkyard that have done the trick. 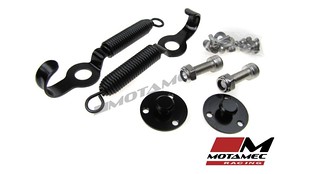 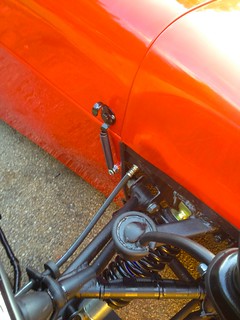 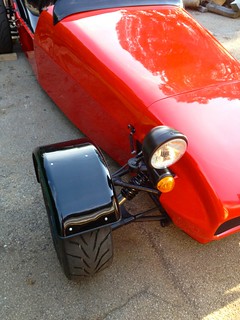 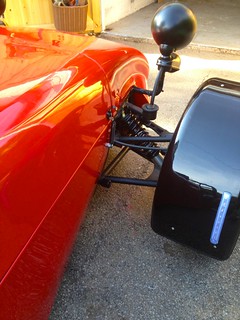 |
Here are those covers. Fit like a glove.:cool:
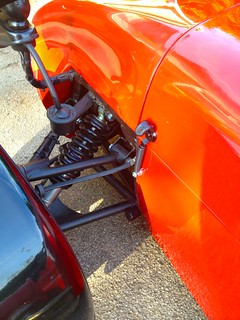 Side are also all buttoned up too now. |
| All times are GMT +1. The time now is 06:10 AM. |
Powered by vBulletin® Version 3.6.4
Copyright ©2000 - 2024, Jelsoft Enterprises Ltd.