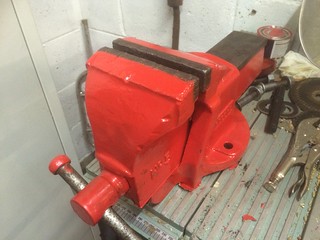
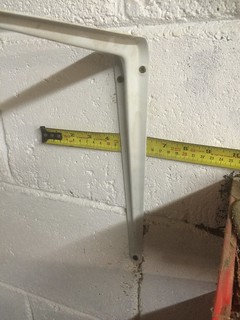
Painted my vice
 Untitled by stephen harborne, on Flickr Untitled by stephen harborne, on Flickrand built a bench ive always wanted a steel bench 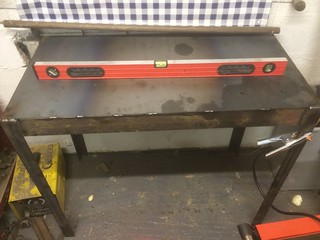 Untitled by stephen harborne, on Flickr Untitled by stephen harborne, on FlickrVice on bench  Untitled by stephen harborne, on Flickr Untitled by stephen harborne, on Flickr |
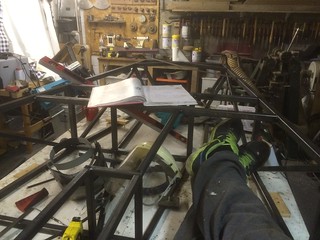
Then i got working on on the transmission tunnel
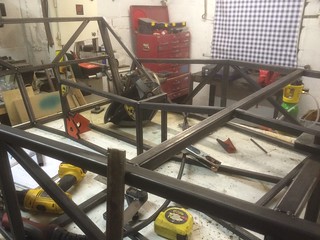 Untitled by stephen harborne, on Flickr Untitled by stephen harborne, on Flickr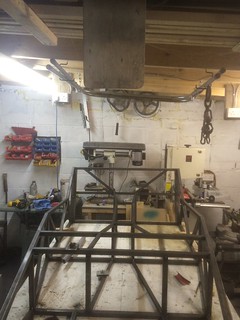 Untitled by stephen harborne, on Flickr Untitled by stephen harborne, on Flickr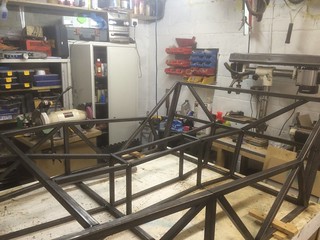 Untitled by stephen harborne, on Flickr Untitled by stephen harborne, on FlickrMost of the tunnel tacked in place |
|
Got a bit done on the rear suspension this weekend
 Untitled by stephen harborne, on Flickr Untitled by stephen harborne, on Flickr Untitled by stephen harborne, on Flickr Untitled by stephen harborne, on FlickrAlso got my first chassis plate cut 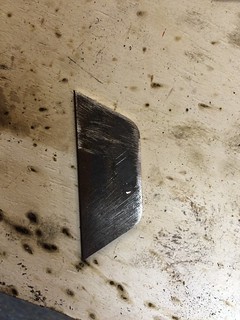 Untitled by stephen harborne, on Flickr Untitled by stephen harborne, on FlickrAnd my beautiful distraction  Untitled by stephen harborne, on Flickr Untitled by stephen harborne, on Flickr |
So i was given this roll bar its a standard caterham 7 bar
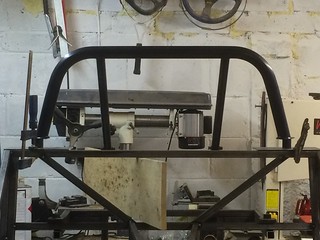 Untitled by stephen harborne, on Flickr Untitled by stephen harborne, on Flickr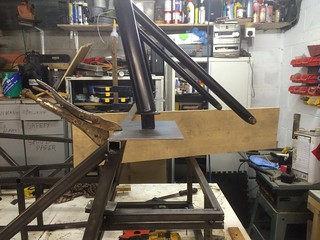 Untitled by stephen harborne, on Flickr Untitled by stephen harborne, on Flickr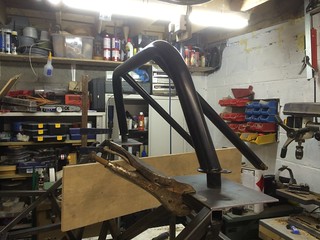 Untitled by stephen harborne, on Flickr Untitled by stephen harborne, on FlickrSo my plan is to cut off the original mountings on the thick bar and put a flat bar plate on each end. Then make a plate the same as cp3 and cp4 and mount them 50mm higher straight above cp3 and cp4 with nuts welded on the inside Like build a box if this makes sense 50mm high can anyone see a problem with this Can i then weld 50mm box section between these boxes with the seat belt anchorage's welded into this bar |
Ok so im not sure what to do about the roll bar
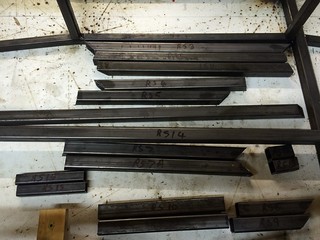
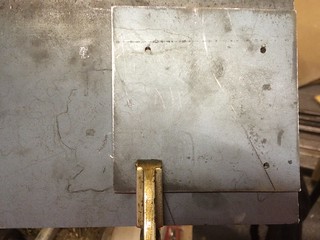
so i started making some of the chassis plates and despite what people were saying about just buying them laser cut i actually found the fabrication of these plates very rewarding and satisfying maybe its because there is a bit more work involved or maybe its because i saved money who knows. so i got these drill bits a while ago its amazing the difference a good drill bit makes 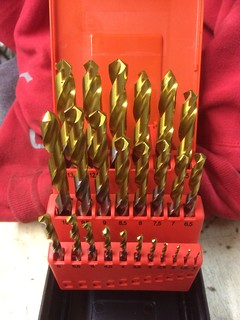 Untitled by stephen harborne, on Flickr Untitled by stephen harborne, on Flickri also got these during this week 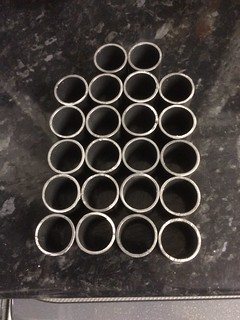 Untitled by stephen harborne, on Flickr Untitled by stephen harborne, on Flickr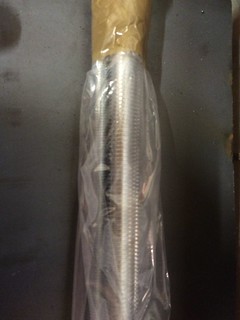 Untitled by stephen harborne, on Flickr Untitled by stephen harborne, on Flickrm18x2.5 bar |
So not sure what to do About the roll bar so when making cp3 and cp4 i cut the roll bar end plates and drilled them on top of each other so they are an exact match
 Untitled by stephen harborne, on Flickr Untitled by stephen harborne, on Flickrboth plates drilled 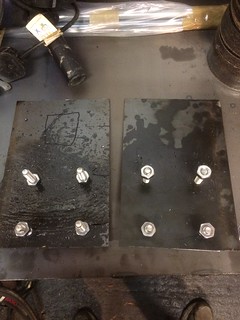 Untitled by stephen harborne, on Flickr Untitled by stephen harborne, on Flickrboth plates nuts welded 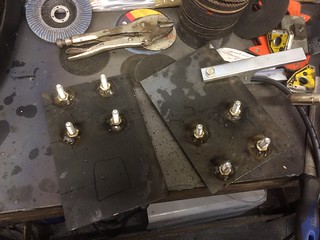 Untitled by stephen harborne, on Flickr Untitled by stephen harborne, on Flickr |
 Untitled by stephen harborne, on Flickr Untitled by stephen harborne, on Flickr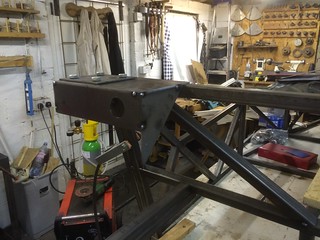 Untitled by stephen harborne, on Flickr Untitled by stephen harborne, on Flickr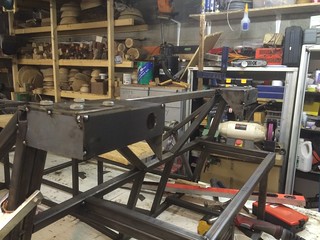 Untitled by stephen harborne, on Flickr Untitled by stephen harborne, on Flickr |
If you have the means to do it,cut a hole in the roll bar plates and put roll bar through it and weld it,it will pull like a bast*rd when you do weld it
|
Quote:
and surley welding it to a flat plate would be better than a plate with a big hole not really sure what you mean |
Put the tube partially into the central hole you make in the middle and weld both sides,much stronger.
Put at least 10 mm bolts through roll bar mounts and not book nuts and bolts,domed plated 12.9 cap screws look much better. Just a suggestion and personally I am happier with it. Westfield use one bolt through the base of the tube !!!! |
Ah i get you now thanks
|
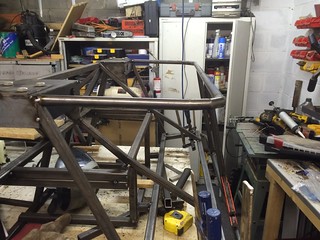
Ok so got a bit more of the rear all tacked up
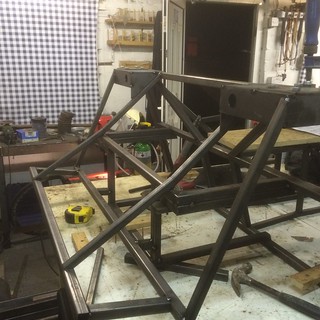 Untitled by stephen harborne, on Flickr Untitled by stephen harborne, on Flickr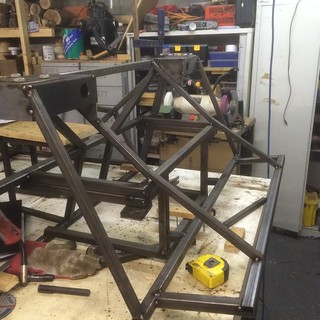 Untitled by stephen harborne, on Flickr Untitled by stephen harborne, on FlickrAlso got the cabling i need to supply the welder properly 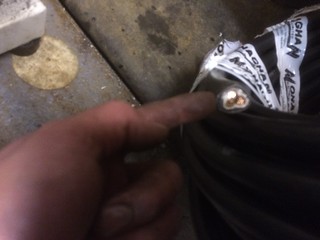 Untitled by stephen harborne, on Flickr Untitled by stephen harborne, on Flickr |
getting there now pal
|
Yea its slow going but im in no rush.
I was all set it get a good few hours done last weekend then i woke up on friday night and felt like i had poked myself in the eye. Long story short i got steel in my eye during the week in work and never noticed And it took the doc half an hour with a needle to scrape the rust out not a pleasent experience. |
I got a few hours this afternoon in the shed.
So i started on the rear panel rails and it was something i wasn't particularly looking forward to as i didnt know anyone with the capability of bending the tubes so i had to notch the tubes to get them to bend I was also worried about trying to get the two of them to match So i welded the two tubes together temporarily cut the notches and bent the tubes together This worked quiet well it also ensured that the two bends were perpendicular 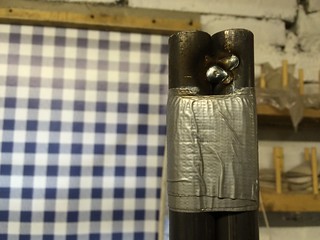 Untitled by stephen harborne, on Flickr Untitled by stephen harborne, on Flickr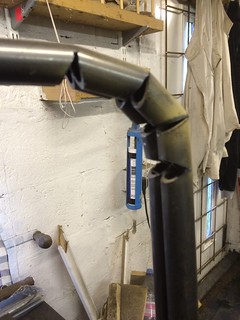 Untitled by stephen harborne, on Flickr Untitled by stephen harborne, on FlickrNot the nicest to look at 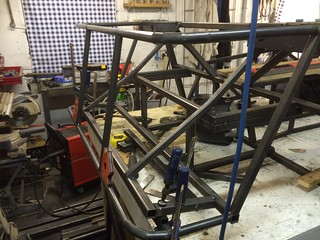 Untitled by stephen harborne, on Flickr Untitled by stephen harborne, on Flickr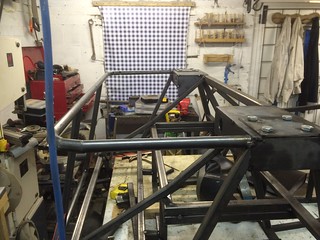 Untitled by stephen harborne, on Flickr Untitled by stephen harborne, on Flickr |
|
If you know a plumber you can bend 22x1.5mm ERW tube in a Rothenburger tube bender quite nicely.
|
I used my dads electrical conduit bender for my rear tubes.
Then I cut them off and put them in the bin as I ended up with a grp rear tub. (Vmax) |
Dont know any plumbers.
Ordered a cheap bender on amazon so ill give that a try. Does the the grp rear not fit with the bars in place. |
Have a duplicate thread on another Forum and some one posted this
I like old school ideas like this. On bending tubes, my rollcage builder used to pack the tube full of dried silica sand , and plugged the ends with wooden tapered "corks" he'd then redden the whole bend but apply more heat to the outside of the radius, it was unbelievable to see the tube curl around Even as far as 90 degrees. Just make sure the sand is super dry though for safety reasons and packed tight by banging on the ground to force in as much sand as possible. |
The vmax ( gillham, nts, Saturn, fabby) body kits use 3 bits of 25mm box at the rear in place of the rounded bars.
I'm sure I read that one of the others (maybe Equinox) leave the rounded tubes in place. With regard to the shrinkage on the roll bar. If you weld in the harness tube before doing the plates it should help stop it. |
Ok thanks for that
|
I obtained my rear hoops and rp3/d13 from http://www.oweneng.com/shop-1/kit-car-products/
They're a perfect fit with all the tube ends profiled basically ready weld on. |
Quote:
Its just normally quiet expensive to get bigger stuff like that sent to ireland I think ill keep the hoops anyway regardless of what rear tub i use Just for the extra crash protection if nothing else |
Time for a bit of an update
Didnt get much as i would have liked done over christmas but not to worry  Untitled by stephen harborne, on Flickr Untitled by stephen harborne, on FlickrConditions weren't ideal but got a good deal on the parts i needed and didnt have to strip it in the driveway 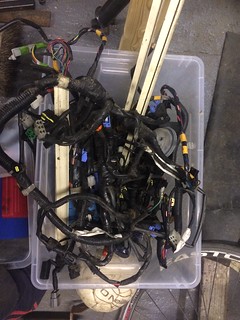 Untitled by stephen harborne, on Flickr Untitled by stephen harborne, on FlickrWiring 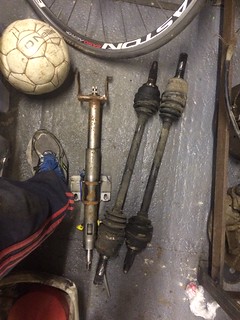 Untitled by stephen harborne, on Flickr Untitled by stephen harborne, on FlickrDrive and steering shafts 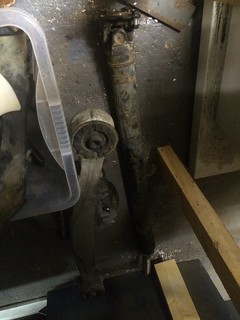 Untitled by stephen harborne, on Flickr Untitled by stephen harborne, on Flickrprop and diff |
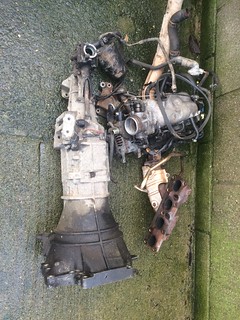 Untitled by stephen harborne, on Flickr Untitled by stephen harborne, on Flickrgearbox and manifolds 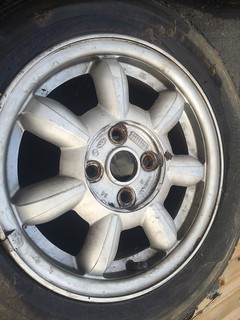 Untitled by stephen harborne, on Flickr Untitled by stephen harborne, on FlickrWheels 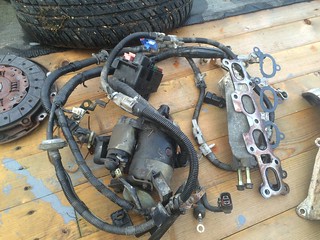 Untitled by stephen harborne, on Flickr Untitled by stephen harborne, on FlickrMore wires 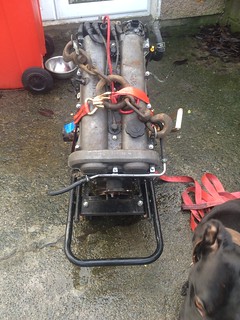 Untitled by stephen harborne, on Flickr Untitled by stephen harborne, on FlickrAnd engine 1994 1.8 Came apart a lot easier than expected but my god the amount of wiring it had abs and airbags So how do people mount the diff on the upper mounts whats best to keep the rubber mounts or hard mount it is there there anywhere manufacturing hard mounts also are people deleting the erg and charcoal canister |
great work :) and yes there is miles of wiring (hope you labelled it all )
re the erg and charcoal canister , most bin these bits ( I didn't use them) re the outer diff mounts, 2 choices really either a new talon diff mount or if keeping as is then hard mount it you will need to get inserts made, there was a build thread that detailed them (stot's or skov's build thread if I remember rightly) getting the old ones out is a pain no stopping you now :) |
Ah there always seems to be some thing stopping me at the moment.
Conditions wernt great while stripping so didnt label at the te but have since done it. Im building to the saturn plans so ill just hard mount the origional diff so. Just need to find someone that makes the mounts. |
Ok so these diff mounting plates have been a bit of a mental stumbling block for a couple of weeks now so im glad i have them done now
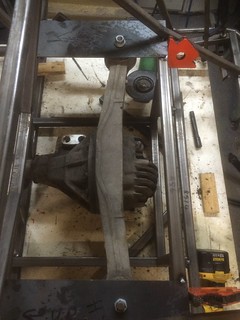 Untitled by stephen harborne, on Flickr Untitled by stephen harborne, on Flickr Untitled by stephen harborne, on Flickr Untitled by stephen harborne, on Flickr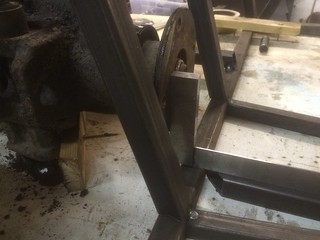 Untitled by stephen harborne, on Flickr Untitled by stephen harborne, on Flickrchecking its square 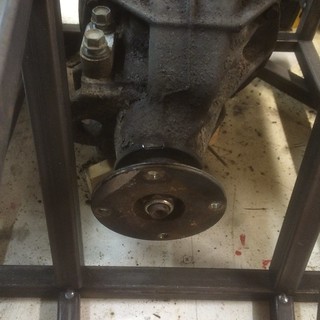 Untitled by stephen harborne, on Flickr Untitled by stephen harborne, on Flickrdoes this look about right |
|
good to see you making progress and yes it looks right, the diff flange sits way over to the o/s as yours is, and yes I sometimes need some refreshment similar to yours ..lol
|
Cheers
So ive read in other threads about problrms with lower diff mounts on the mx5 diff so do you think this would be up to the job 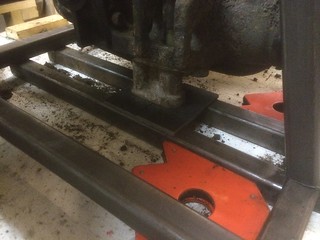 Untitled by stephen harborne, on Flickr Untitled by stephen harborne, on Flickr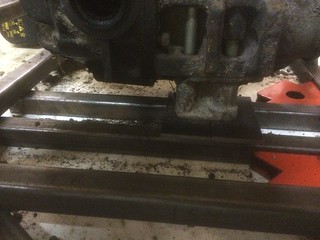 Untitled by stephen harborne, on Flickr Untitled by stephen harborne, on Flickr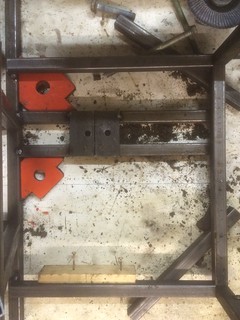 Untitled by stephen harborne, on Flickr Untitled by stephen harborne, on Flickr |
it really is the whole mounting setup , the arms and the nose. they all need to be hard mounted , so yes what you have there will work for the nose and then you need to sort the arm mounts.....
|
Yea i intend to get inserts made to hard mount it at some point but that money is better spent at this stage
cheers |
Mines all poly bush mounted. But what you have done looks solid enough ! :)
|
 Untitled by stephen harborne, on Flickr Untitled by stephen harborne, on FlickrHad a bit of a blonde moment on saturday so i decided it probably best to stay away from the car 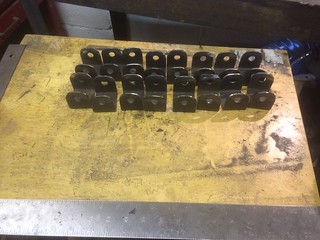 Untitled by stephen harborne, on Flickr Untitled by stephen harborne, on FlickrGot these finished up today 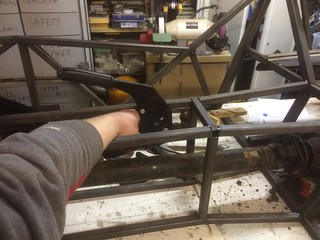 Untitled by stephen harborne, on Flickr Untitled by stephen harborne, on Flickrdoes this position work for the hand brake or does it interfere with anything |
Haha pmsl how did you manage that?
|
Isn't it meant to be behind the tunnel cross tube (further to the rear)?
Also get it as low as you can. I would like mine to be about 10mm lower (Sierra, book spec) Ps it's been a long time since I looked at the book. |
Yea it looks like it is in the saturn plans but it seems quiet far back rom what i can see plus you have to cut the cable then so does this cause problrms for the iva
|
| All times are GMT +1. The time now is 01:32 AM. |
Powered by vBulletin® Version 3.6.4
Copyright ©2000 - 2024, Jelsoft Enterprises Ltd.