Quote:
I thought about shortening the sump but I'm not sure it's needed and the gained clearance is minimal due to the gearbox. What I did do though is fit an oil pressure gauge, warning light and buzzer just incase. My car has a lowered floor too which means I have to be careful anyway as I'll damage the floor of the car even if a shortened sump clears. I think part of the reason it hasn't been a issue for me is because I spent a lot of time figuring out the front suspension setup so I could retain the full steering travel lock to lock of the the escort rack, a side affect of this was fitting 450lb springs at the front so my car doesn't tend to dive at the front under breaking. I've also fitted 300lb springs at the rear which is a little more than the norm. HTH Chris |
thanks for that, i havent bought coilovers yet so i guess that will be the next hing to watch. some of the race cars i deal with have a sump protector bar rather than a sump gaurd that is another idea, the bar is the same height as the sump just four inches further forward so that hits before the sump does, almost sacrificial if you like
|
This is the post about the front suspension all explained best I can.
Quote:
|
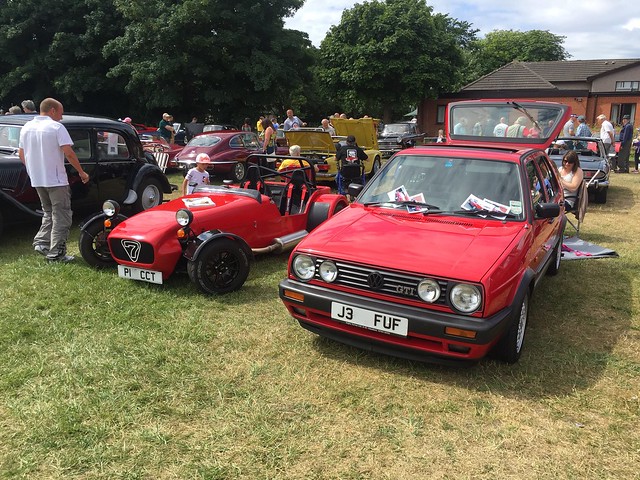
Made it out to a local Charity Classic Car Show at the weekend with some friends. All sorts there so I didn't feel out of place, met a Robin Hood owner who has a Haynes chassis in the garage, he's planing a bike engined build so we should see him on here soon. :)
 |
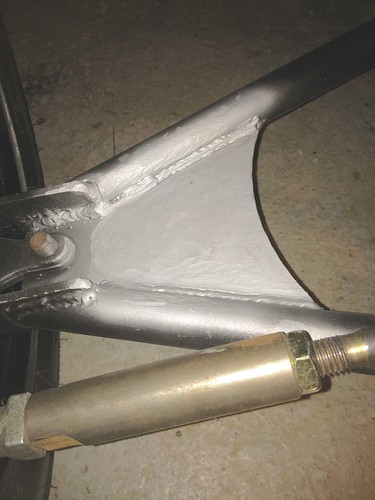
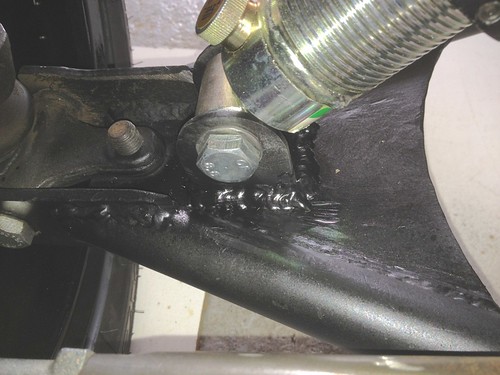
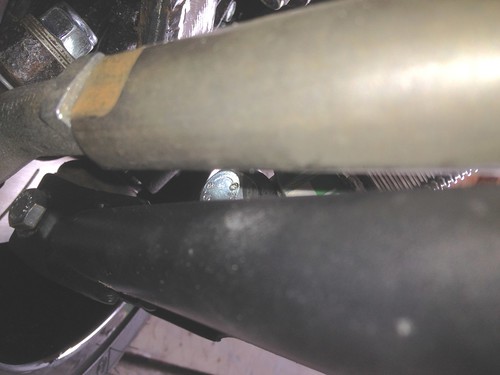
Hi, Could I ask please how you managed to get your handbrake cables to clear the chassis at the caliper end?
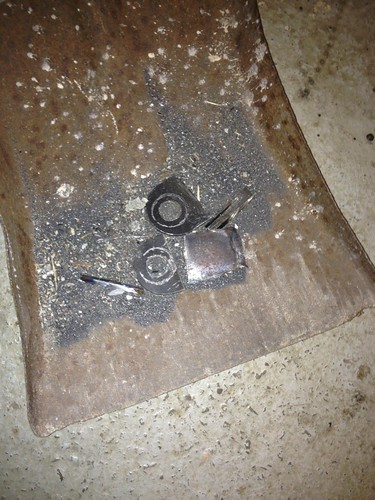
I have these calipers.  The bracket holding the outer cable is shaped such that the cable has to turn a very tight turn to clear the chassis. and thats with the car sat at a normal ride height so the problem will get worse under compression. I'm baffled! |
You need to remove the bracket and bend it a little more in a vice, then shorten the bracket and redrill the mounting hole to bolt it to the calipers. Hope that makes sense. Oh and when you go for your IVA wind the spring collors up on the dampers to make sure they don't touch on the day, skovs, and stots thread have more details.
|
Ah fantastic, thank you!
|
Not done much of late, had the car out a few times but have been distracted by the purchase of my holiday hire bike (cheap, comfy and fast) and the weather. Doing more miles on that than in the car, training for my first Audax event (long distance cycling).
I have been collecting parts for the 1.8 engine fitment. I currently have the new alloy 3 core rad and alloy header tank, need some waterless coolant, some plumbing bits, and a few other bits n bobs but probably going to be a winter project. |
I think pictures of engine and radiator porn are required...
|
Quote:
|
Hi Chris, did you have any issues with your back wheels touching the upper arm at all?
|
Quote:
|
Ah et15! That explains it, I need some spacers as mine are et30something.
|
Norton, I'm pretty sure you know, but just to make sure, for 20mm-ish, choose "double bolts" spacers like this one (sorry, French website, but you will find them in the UK for sure)
http://www.bps-racing.com/elargisseu...-12mm-m3a.html ...or at least some with offset centre bore like these ones. http://www.bps-racing.com/elargisseu...-20mm-m3a.html |
Hubcentric ones, yes thats my plan. I'm negotiating with an ebay seller at the moment trying to get the price down as they're :eek: expensive!
|
Only problem with those is MX5 hubs have studs rather than bolts. For 20mm you are going to want hubcentric with longer studs in the hubs.
Cheers Stot |
"Hubcentric", that's the word! Thanks, I'm learning almost every day out here :)
Yes, they are very expensive, and sometimes, it is cheaper to find other wheels with the right ET... |
Well, these wheel were £190 for a brand new set of 4 so even if I buy hubs I'll still have saved a bit. I can atleast spacer the wheels to be flush with the rear arches.
Stanced! :rolleyes: |
Quote:
|
what width "13s are you running?
|
I'l sourced some good quality spacer which if the rear arch drawins are accurate should result a good looking fitment.
13x7 Rosco although a 13x8 would likely be possible on the rear if desired. |
Quote:
|
OUT
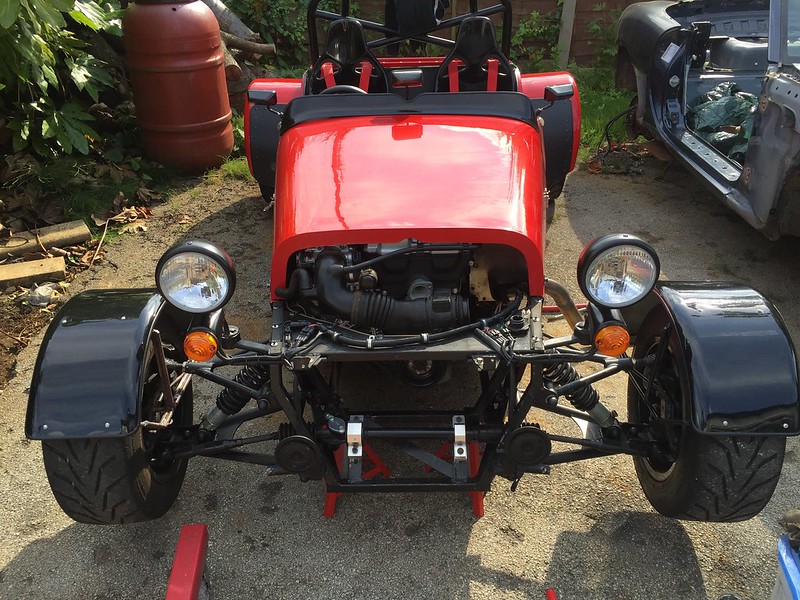
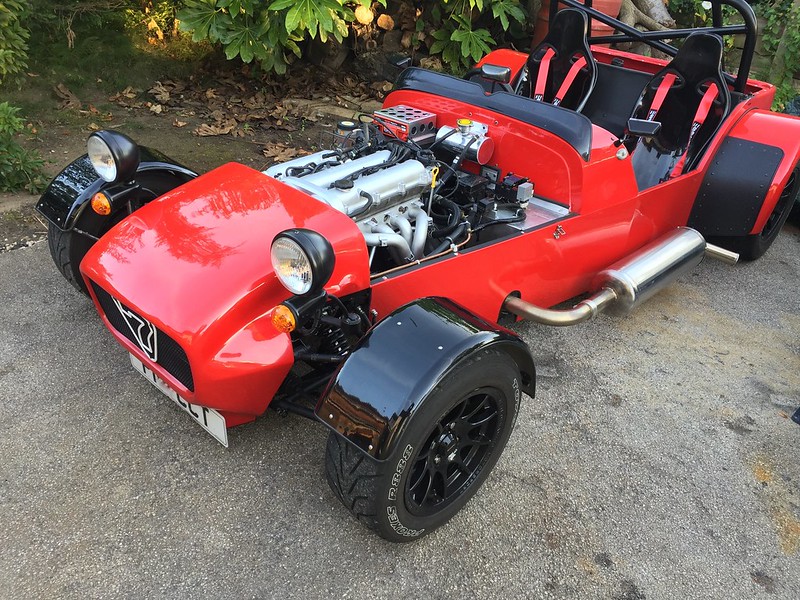
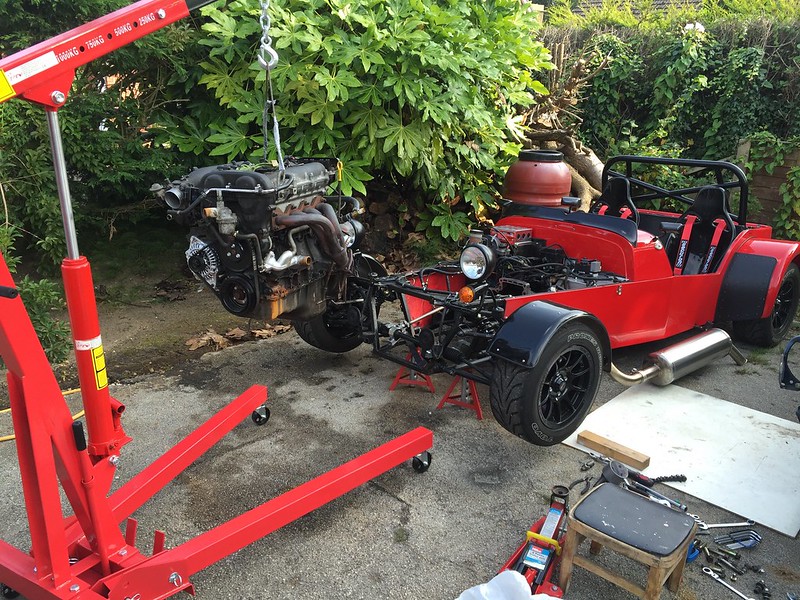 I've gotten use to my car and it's performance so time for a change, I finally took the plunge and removed the engine while the sun was still out! And I finally own an engine crane!:) This 1.6 engine did a full 360 miles in my car, I'm so glad I didn't spend loads of money on it.:D I might even reuse the filter and the oil out of it! lol! |
What are have you done to the 1800?
|
Quote:
|
Engine went in and the bonnet fitted fine. I was shocked I didn't have to do more to clear the bonnet. Had to tit-about quite a bit getting the gearbox and engine together! Then the rope let go of the engine and it dropped all of 5mm on to the steering column extension! :eek: EEK!! No damage done but I need to get a chain or something for next time.
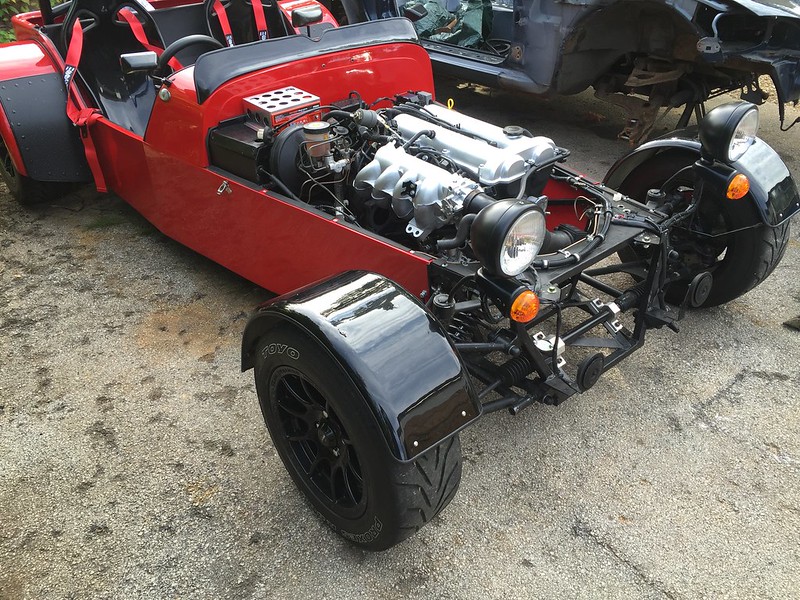   I'm using the 1.6 1995 throttle body hose for connection to the ISV and AFM. Handy. |
That looks good Chris, did you have to do anything with the engine mounts to suit the 1.8 engine? I nearly bought a 1.8 car a few days ago with the intention of doing exactly what you are :) :) :) nearly - I was outbid by a Belgian bidder
|
Bloody Belgians! Coming over here! Buying our donor cars! Lol!
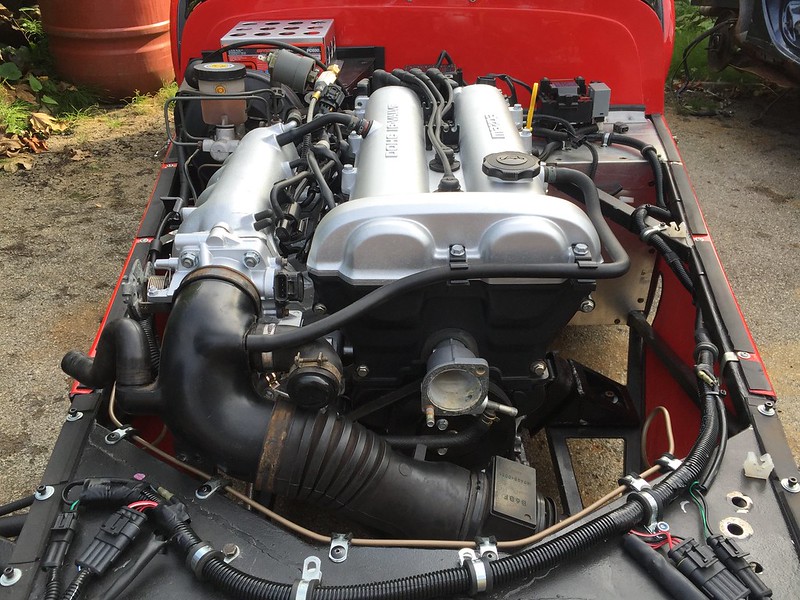
The engine just dropped straight in, excuse the pun! Had to weld in a lambda boss to the downpipe and weld up the EGR port on the manifold but the exhaust itself bolted straight up, which was nice! 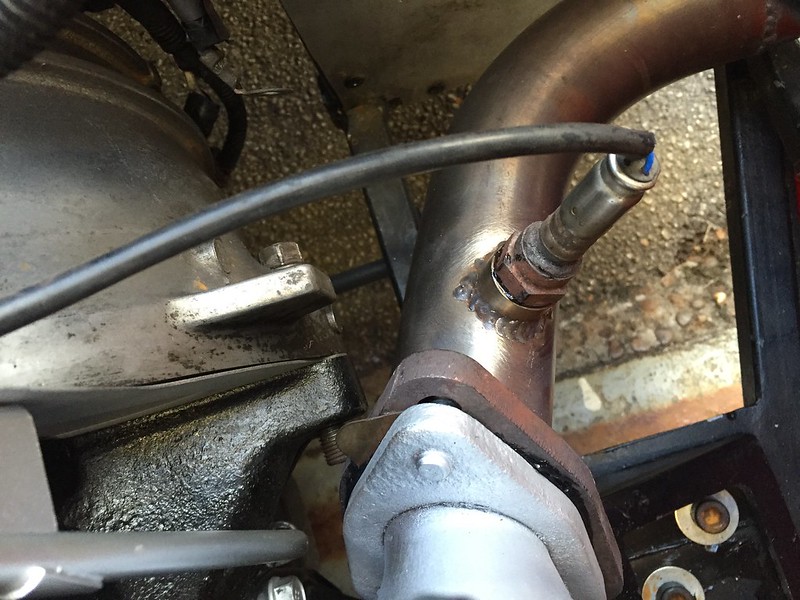 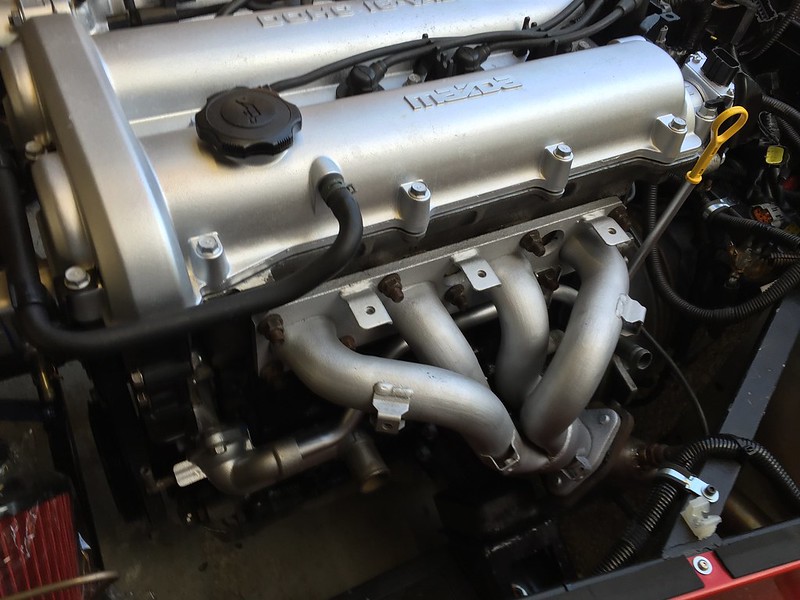 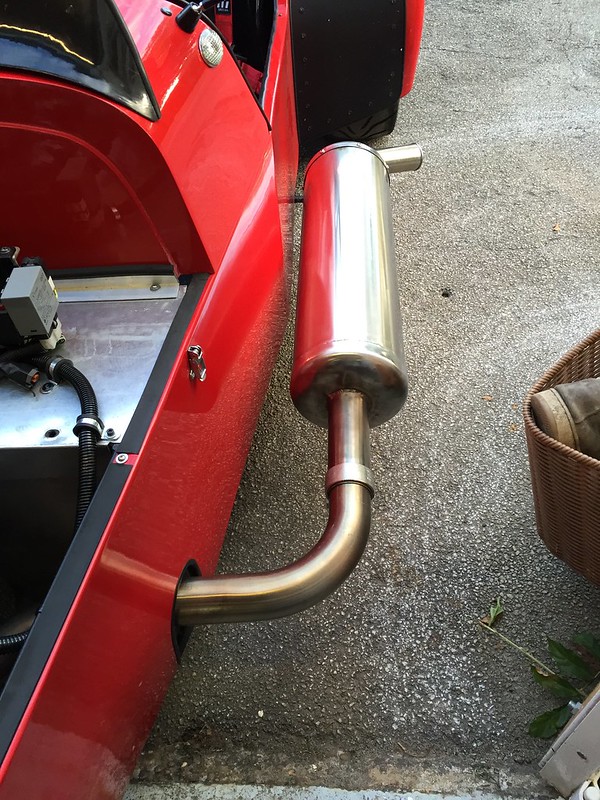 Got the AFM mounted with a new Universal K&N Cone Filter. Which matched the body work. Which again was nice!  Horns now mounted out the way to make way for the BIG rad! |
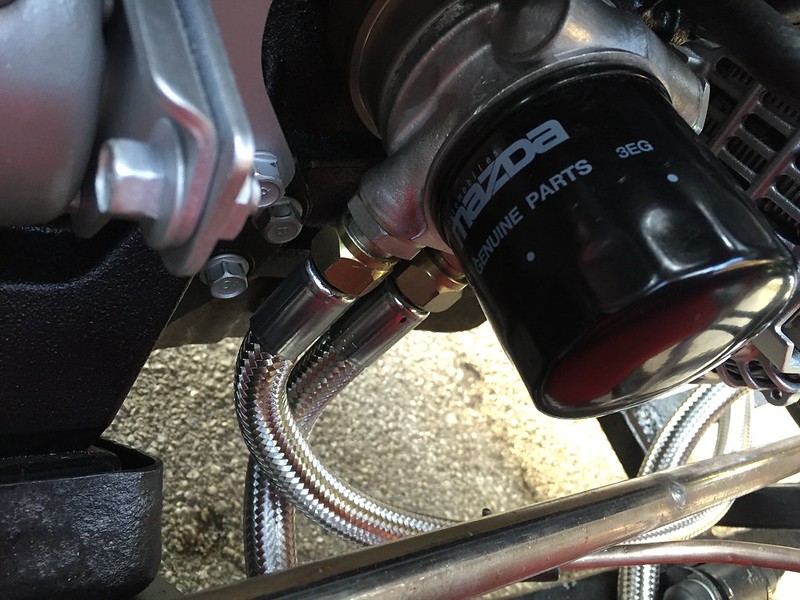 I've fitted a Mocal thermostatic oil cooler, yes I did use the the old engines oil and filter! Lol 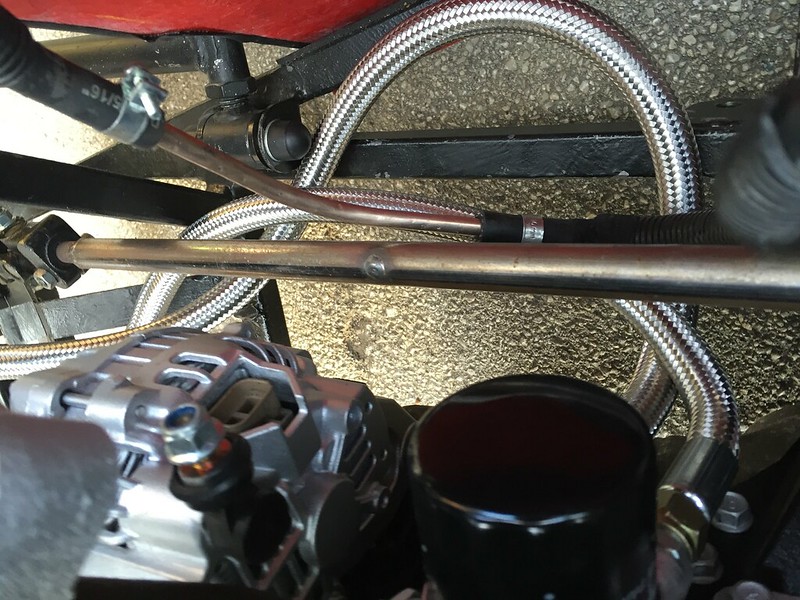 Pipes I bought were equal length so they took an interesting natural route to the cooler itself. Self supporting themselves on the bottom rails. 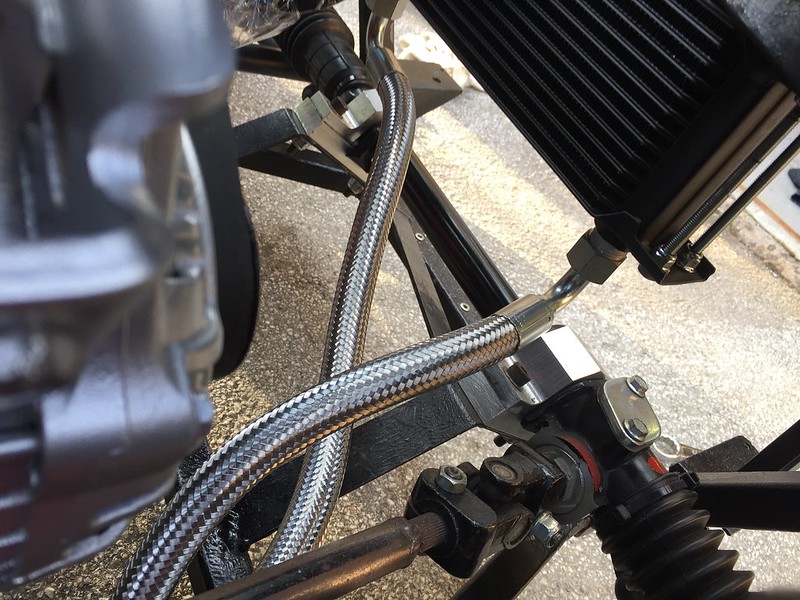 The cooler itself is fixed behind the the radiator, supported top and bottom with nylock nuts and m6 threaded bar. 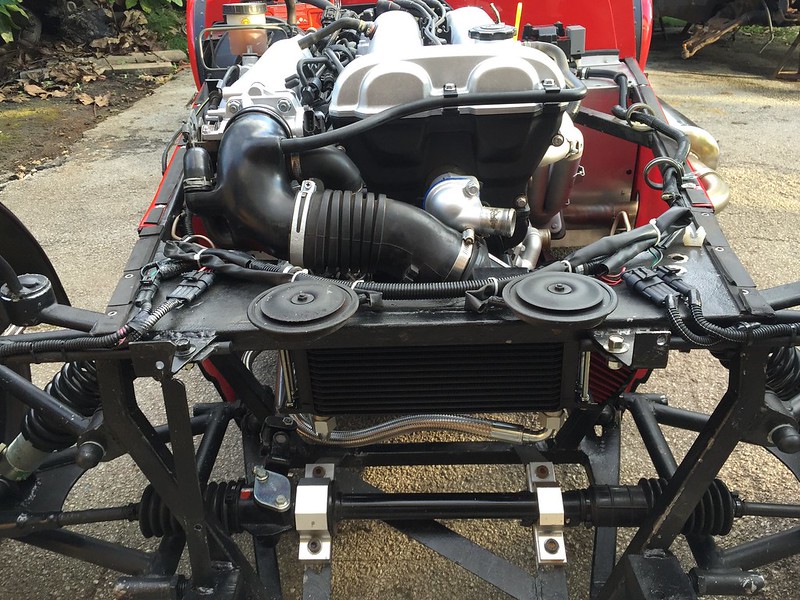 I know the oil cooler would be best fitted up against the front of the radiator but this suited my current installation better for now and it is in a high airflow location anyway so should be fine. |
I've mounted the new BIG rad in the same position for now but I have worked out I can fit it a' la' Stot in the future. I've decided to skip the coolant reroute for now to see how the car and temps behave.
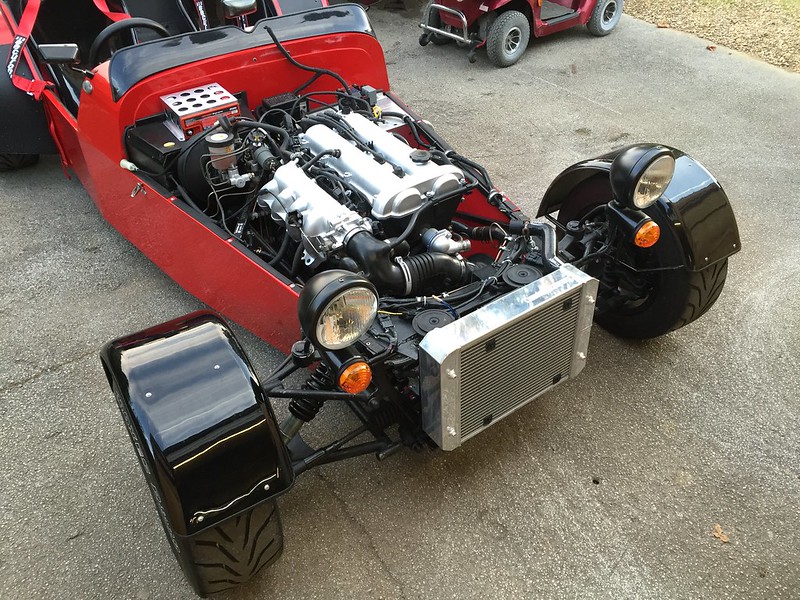 Got my header tank mounted high and central as possible, all shiny and new. 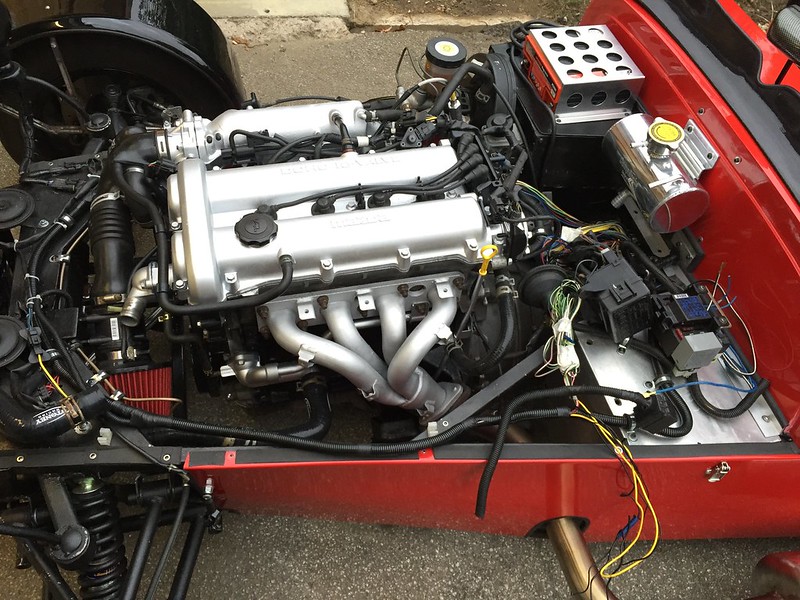 And finally got all the plumbing sorted, I've run the filler to the front hose to prevent any air locks and the pressure relief hose runs down with the speedo cable to under the gearbox. So if I ever do overheat no water will enter or go near the electrics which was an issue with the vw polo header tank. 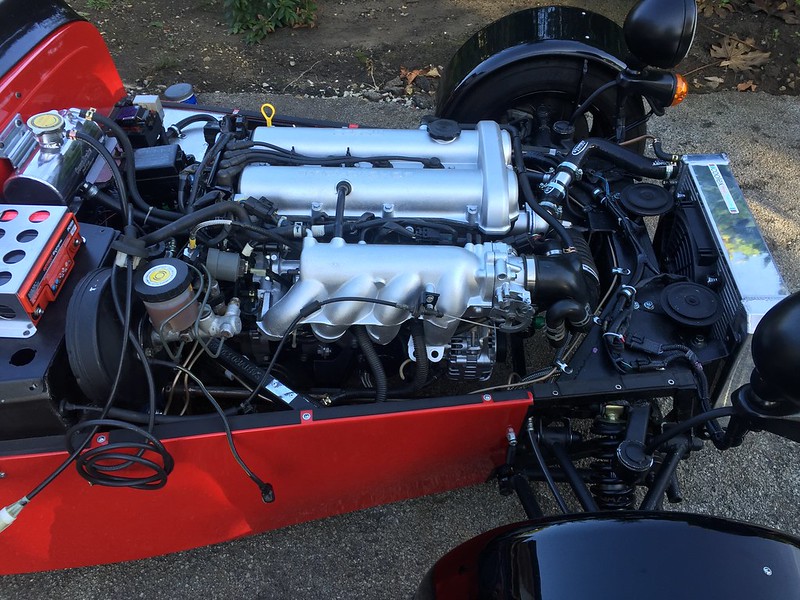 |
Up grade looking good there Chris. But I must ask, are you going to brave the colder weather to give it a test run and I have been tempted to upgrade my RAD to a nice shine alloy one.
https://www.flickr.com/photos/124541083@N02/ |
Quote:
But I tell you what I nearly locked up the garage and let it be for 6 months when the wiring looked like this!!! 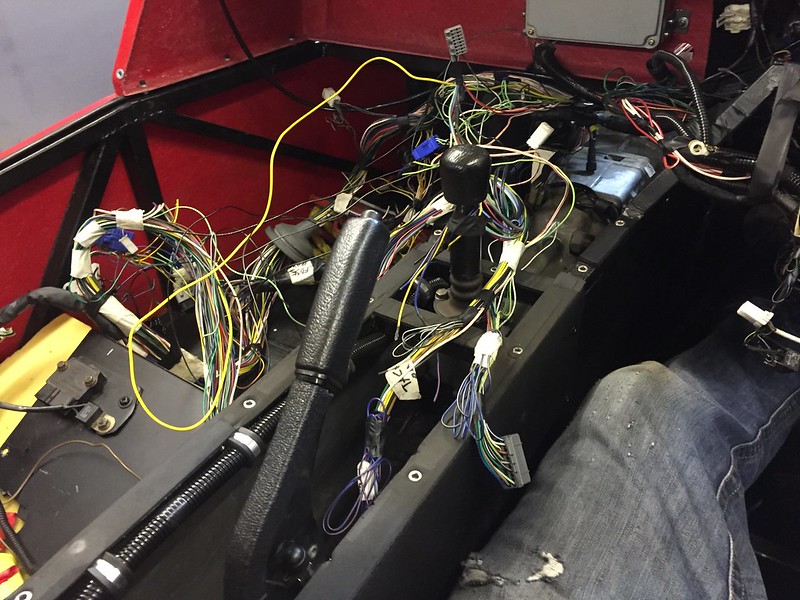 |
So I got it all sorted out. Wiring got a little bit much and I nearly made a possibly fatal error by wiring the B/W tacho wire to the B/W engine fuse wire, luckily I realised my error before connecting up the battery. Also mixed up the wires on my oil alarm so it went off as soon as you turned on the ignition. I'd wired it to the L/R ignition wire rather than the L/R fuel pump wire from the fuel pump relay. doh! Also my oil pressure gauge didn't work when I first turned it over. Couldn't figure out why but then I realised I'd earthed the body of the sender when I'd repositioned it. Ha! Soldered a wire to earth from the body of the sender which solved that issue.
 It wouldn't start initially but it was struggling to turn over. I hooked up a 2nd battery and to my surprise it fired up about 9pm on a Saturday. Sounded terrible though due to the lack of oil in the hydraulic tappets. Turned it off a few times thinking I didn't have oil pressure but no, it was just sticking tappets. Let it warm up and then revved it a bit and it was fine. 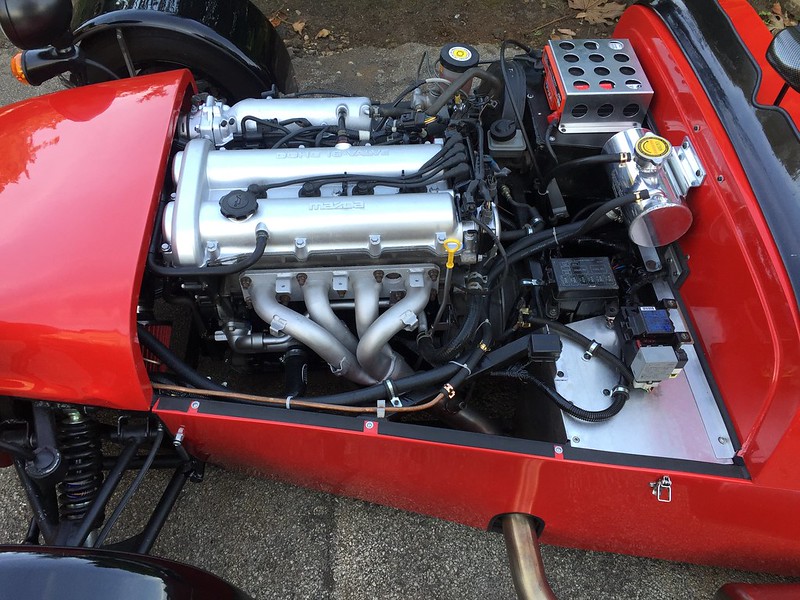 I still had loads of wires to shorten but before I got stuck in I decided to look for error codes using the LED trick. This got quite interesting as I was getting three error codes, 11, 14, 22. Two of these didn't exist in the two digit error list which was confusing. I found someone else on the internet with the same three errors. 14 is an ecu internal barometric sensor error. http://www.mazdamenders.net/index.ph...ult-codes.html 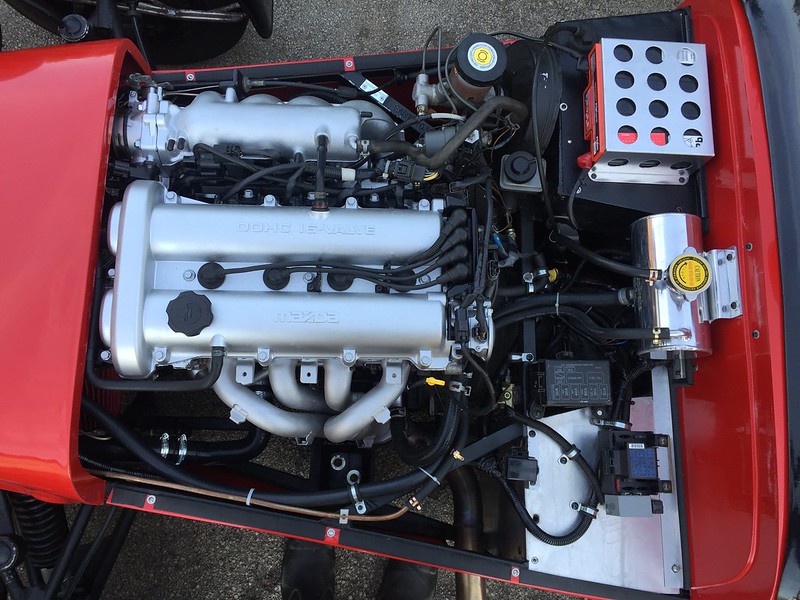 The dot/dash combination was -.-....--.. then a long pause. I knew that later cars had ODBII but this car had no OBDII port so assumed it was not OBDII. Any how after a while I thought I'd look up some OBDII codes and discovered that a faulty coolant temp sensor should be P0115. http://engine-codes.com/p0115_mazda.html So then I pulled the rear green engine coolant sensor. I got the same previous error but also got another set of three digits 21,11,15 or --.-.-..... so there was plenty of ones and fives in there but also these tens and a twenty. Eventually I figures out a dash - wasn't ten but was intact a separator so... -- was two separators with no digit in the middle so that would be zero so I was actually getting -0-1-1-5 which was the correct code for the coolant temp sensor. I then looked up P1402 or -1-4-0-2 and found it was an erg issue. http://engine-codes.com/p1402_mazda.html I'd had the EGR device plugged into the loom to prevent any errors but it appeared removing the sensor from the alloy body had allowed the plunger to fully extend causing the error. So 3 hours later I'd resolved the fault codes and could then carry on shortening the wires happy that all the wiring was OK. What a palaver! :) |
Nice build.
Where did you get the header tank from Thanks Stephen |
looks really neat! i love how clean it all looks!
|
Its very interesting to see how your engine fitting compares with mine Chris. I don't know where you got the room for the battery where it is. As always brilliantly put together. Are you still using the same ECU or is it another for the 1.8 (I ask co I may be doing the same sometime)? :)
|
Quote:
Quote:
Quote:
The battery is a quality bike battery I think it's a varley redtop 20 or 25 I forget. Very compact and just there to start the engine really. It wasn't that expensive at the time but still a lot for a battery. Thanks for the compliments guys. Nice to know someones still reading my thread.:) Sorry what am I saying!!! It's an Odyssey Extreme Racing 25 Battery - PC680 , I think i was just looking at the varleys at the time!! Doh! |
Has the lighter flywheel made it rev up more snappily?
|
Quote:
My friend was around at the weekend and we went for a quick blast. I asked his opinion on the speed of the thing and asked what it compared to. He's a car nut and has experience of lots of different cars and also works for Mazda. He described it as being a similar experience to, well here is the text....., "Trying to think of something to compare the off the mark acceleration to your car. Came up with the time i was on the back of a Kawasaki gsr 1100. ; ) " So although I judge the increase in speed and excitement as fairly mild compared to the previous engine. Others would say otherwise. |
A solid result then, well done!
But, what next... |
| All times are GMT +1. The time now is 01:27 PM. |
Powered by vBulletin® Version 3.6.4
Copyright ©2000 - 2024, Jelsoft Enterprises Ltd.