Quote:
|
I had nothing better to do yesterday!:(
|
Quote:
|
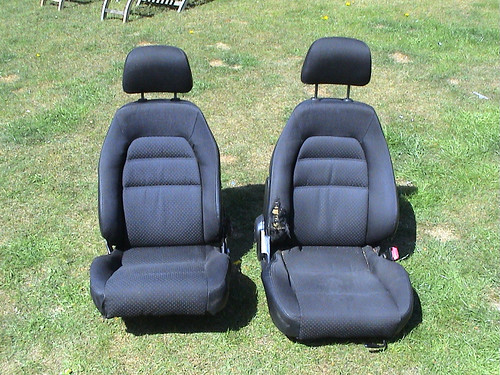
Well once you have removed all the brackets and runners and separated the back from the base you need to peel back the seat cover removing lots of little retainers. Now the foam is exposed get hold of your mothers/wifes/girlfriends sharpest serrated knife from the kitchen and start cutting the foam bolsters to size. After that it's a case of getting the seat covers to fit again. I managed to get the misses to sew the back one so it fitted snuggly but for the base I just pulled it as tight as possible and re-fixed it to the base metal using the runners and drilling small holes to reuse some of the retainers in different locations. A good strong pair of needle nose pliers is a must. I'm not worried that it looks a little baggy around the edges of the base as no one will be able to see that once fitted to the car. I didn't take any images but will when I get round to the other seat one afternoon when I'm bored.
Hardest Part?!? Getting the missus to do a bit of sewing! ;) |
I have narrowed some corsa sport seats just need to get around to making some new covers for them, was a lot easier than i thought it was going to be and they were free :)
|
Quote:
You owe your wife something nice! A fancy dinner perhaps? |
Might try this!!! Useful how too!
http://automotive-concepts.blogspot....g-extreme.html yes the wife deserves a treat, if she does the other one too mind!:D |
Mostly been selling mx5 bits and raised enough to order by wishbones from spud69. As I have been stripping the car I have been untaping the loom and cutting out all the unnecessary wiring for things like interior lights, heater, wipers, stereo etc. I've been watching "Victory by Design" on Discovery for the inspiration for screenless two seater cars!
It's funny when you start stripping a car for a roadster and you just laugh at how much stuff you really don't need to get from A-B and have fun! Also been looking at aftermarket EMS and turbos oh and wheels, but fortunately have managed to avoid spending any of the, money I don't have, on things I don't need. So pretty dull all in all but chassis kit, plate kit and wishbones should be here in a couple of weeks!:D |
So again today I started on the P/S of the engine bay stripping back the loom and removing the unnecessary and separating the lighting loom from the engine loom to make reuse simplified.
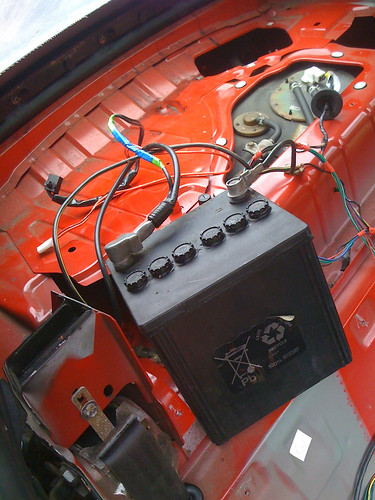 Battery behind the Drivers seat fuel pump connection in the bckgrd. 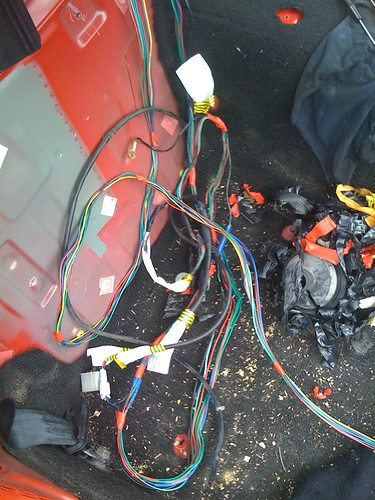 Rear lighting loom. 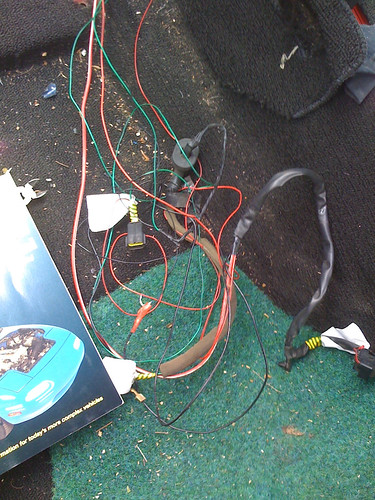 Front Passenger Lighting Loom. 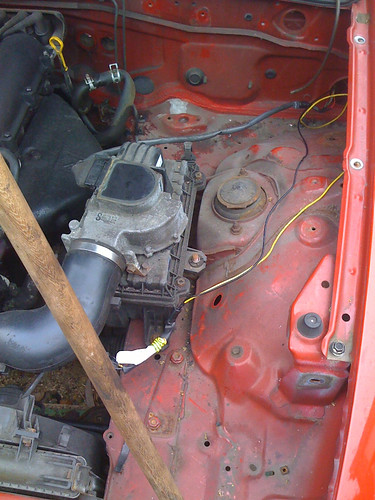 See simplified! See simplified! |
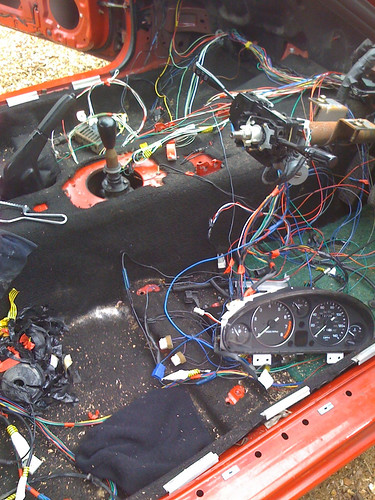 Err Everything Else!  Err engine diags connector, lighting and horn relays, lighting resistor pack er I think! After a day stripping back I plugged it all back in and rechecked the engine still worked before finishing for the day. Should be able to keep the immobiliser if it caries on going this well. Next item on the list the under dash fuse-board! |
| All times are GMT +1. The time now is 06:32 AM. |
Powered by vBulletin® Version 3.6.4
Copyright ©2000 - 2024, Jelsoft Enterprises Ltd.