Quote:
Normal solid colours are usualy gloss finish and don't require a clear. It won't do any harm, but for the money you may as well add extra paint coats instead. TT |
TT,
Thanks for that it makes perfect sense, I shall not bother with it on my gloss ORANGE anymore. Like you say, saves money. Cheers Ginge |
You should get those parts in an electolysis tank, you wont be disapointed
In the end i was hunting for rusty parts because the results really are that good, its very satisfying, i was in a rust removing frenzy for a few days :D |
Got any pic sof the equipment results Mark?
TT |
13 Apr
I have had just the best day in the garage today. Nothing outstanding achieved but the sun was out, the garage door open, kids playing and radio two on the radio. I have been kind of multi tasking. Started by de-greasing the passenger side upright properly then lowered it into a strong-ish solution of Deox-C. It is still going, there is defiantly more activity this time around. [IMG]  [/IMG] [/IMG]Then I fitted my nose cone. The only reason was to get the riv-nuts in before the chassis is painted. I am trying to get all the holes drilled and welding done before painting, I know I will have to drill the chassis at some point once it is painted but you have to try. I offered the nose cone up to the chassis and spent ages measuring and marking before drilling. I had to cut about 3mm of the lower valence, as it were, for the perfect fit. I was going to force it under the lower front chassis rail but decided against it. I managed to employ the help of Nicky to mark the holes on the top rail as I squeezed the sides of the nose cone into the correct position. There are more pictures on photo bucket. [IMG] 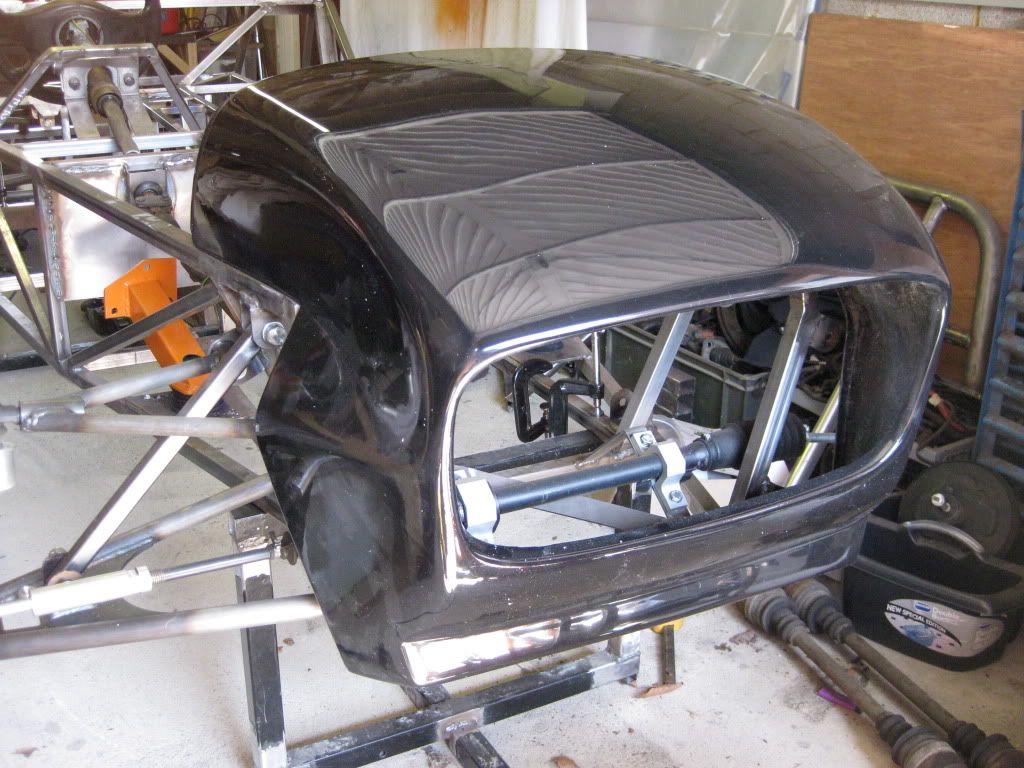 [/IMG] [/IMG]Next was the headlight mounting tubes. After asking a quick question about length (120mm) I set to pretty much a half hour job, flipped the chassis over and welded the underside aswell. [IMG] 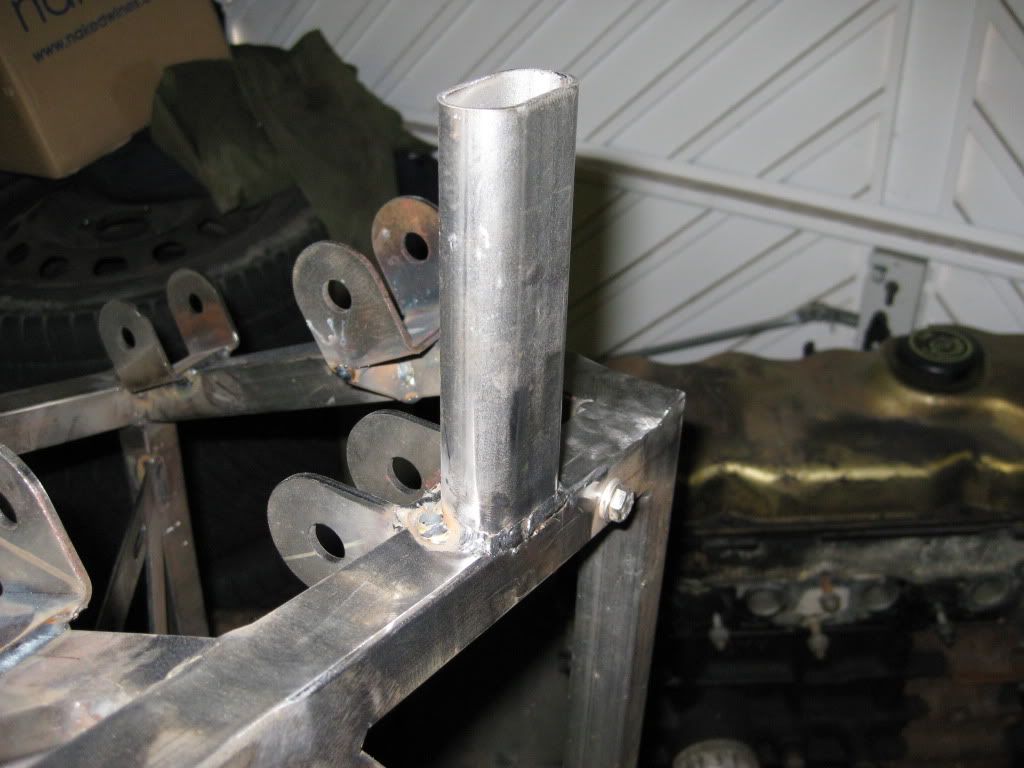 [/IMG] [/IMG]Whilst removing some splatter and wire brushing some rust off I noticed two welds that had been missed so they got the good news! While all this was going on I started the painting process on the rear uprights they are primered in this picture but have the first coat of ORANGE on now. [IMG]  [/IMG] [/IMG]My new polo radiator is due tomorrow so radiator fixings are on the cards, hopefully it will turn up early. Cheers Ginge |
5 Attachment(s)
Quote:
There is also a couple of pics of a drum backplate and a front upright before and after Unfortunateley they are both already painted in the after pics as they are so clean when they have been treated they rust very quickly so i got them painted before i took any pics They both spent about 10hrs in a tank then a very quick wire brush, dry off with a blow torch and then spray painted. There is loads of pictures of results and equipment on google images. |
15 Apr
I didnt get any time on the roadster yesterday really; we went shoe shopping then to the physio with number one son, My polo radiator turned up so I spent a little time pondering mounting it. To today then, it was full steam ahead on radiator bottom mounts, I came up with a fantastically over engineered plan. First I worked out the optimum position with the nose cone on and steering rack in place, then removed both of them. I made a card template which you can see in the following picture on the right, then transferred that to steel, on the left. Then bashed it about and welded it to the front frame, centre in the first picture. [IMG] 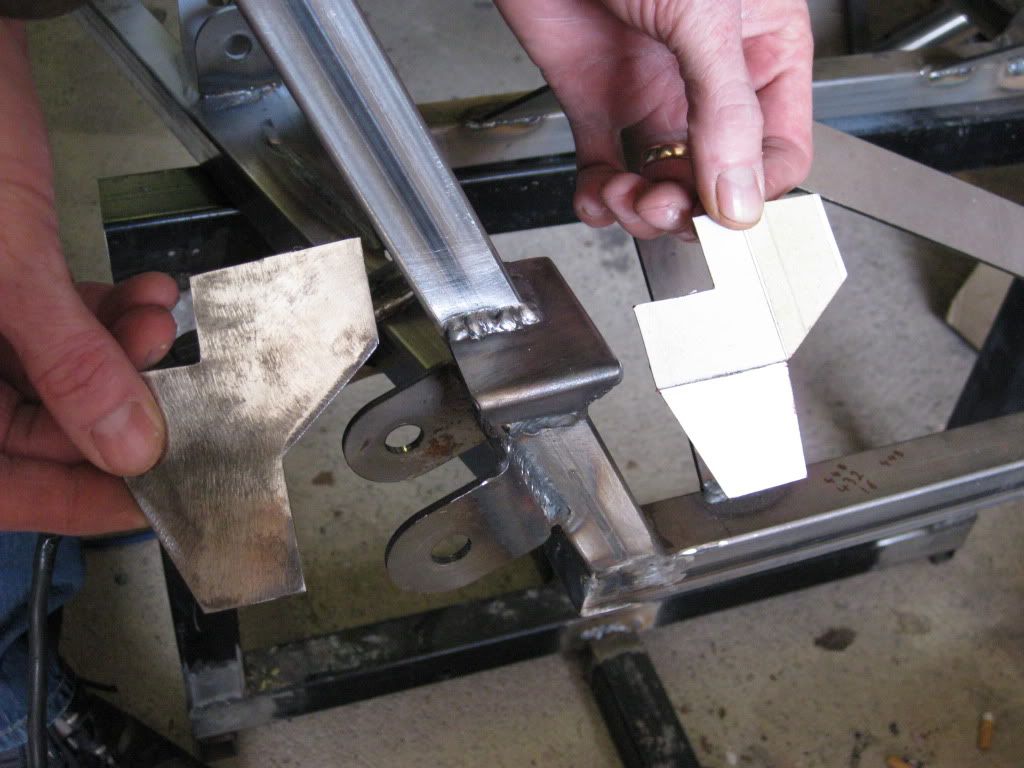 [/IMG] [/IMG]Next after carful measuring again (450mm centre to centre of the polo mounting spigots) I drilled a 12mm hole then fitted a grommet which the spigots on the bottom of the polo radiator slide into just nice. [IMG] 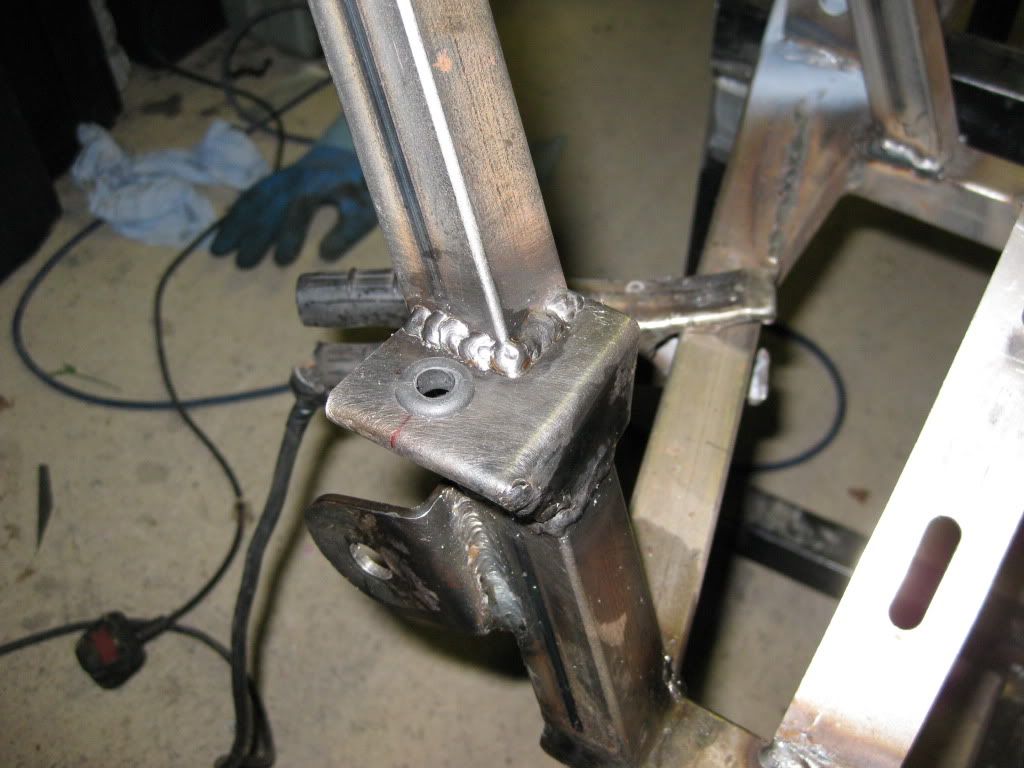 [/IMG] [/IMG]And with the radiator in place. [IMG] 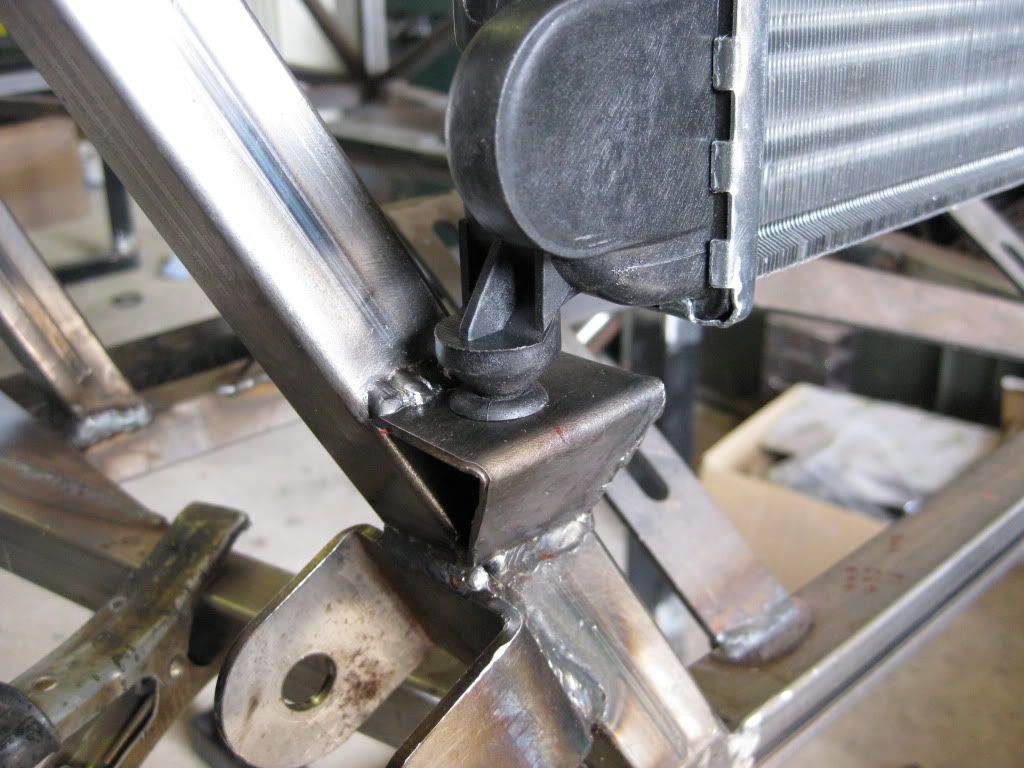 [/IMG] [/IMG]I have made a start on the top mounting brackets but there is not nearly enough engineering involved yet, watch this space. At 3pm this afternoon I made my way over to Enochs so he could drill and tap the thread for the grub screw to hold the mushroom insert in my front up-rights. What a job would have taken me about two hours he cracked it in 30mins. A good point Dave made was not to drill through the very side at the up-rights thinnest point as this is A. weak and B. only gives the grub screw a thread or two of purchase, so we off set the hole rearwards to a slightly meatier section. Makes perfect sense really. [IMG] 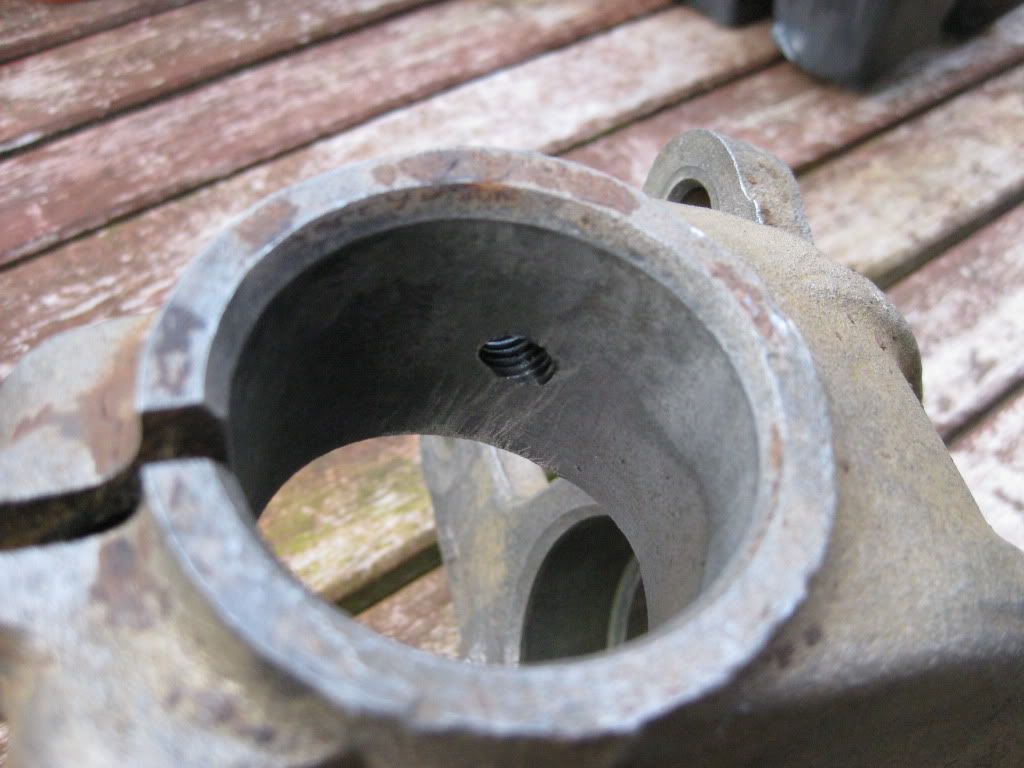 [/IMG] [/IMG]No working in the garage tomorrow, family day, I might fit some in around the GP at the weekend. Cheers Ginge |
17 Apr
I managed to get the top rad mounts finished. The first incarnation, in cardboard, was supper complicated. They would have looked good but a little over the top for something that is really just going to steady the rad. Second try is simply a strip of 2mm steel bent in two places to reach from the top of the front frame to the rad mounting points. I thought they might twang or vibrate a little so welded some strips down each side. They are strong enough to lift the whole chassis up on, they will do. [IMG] 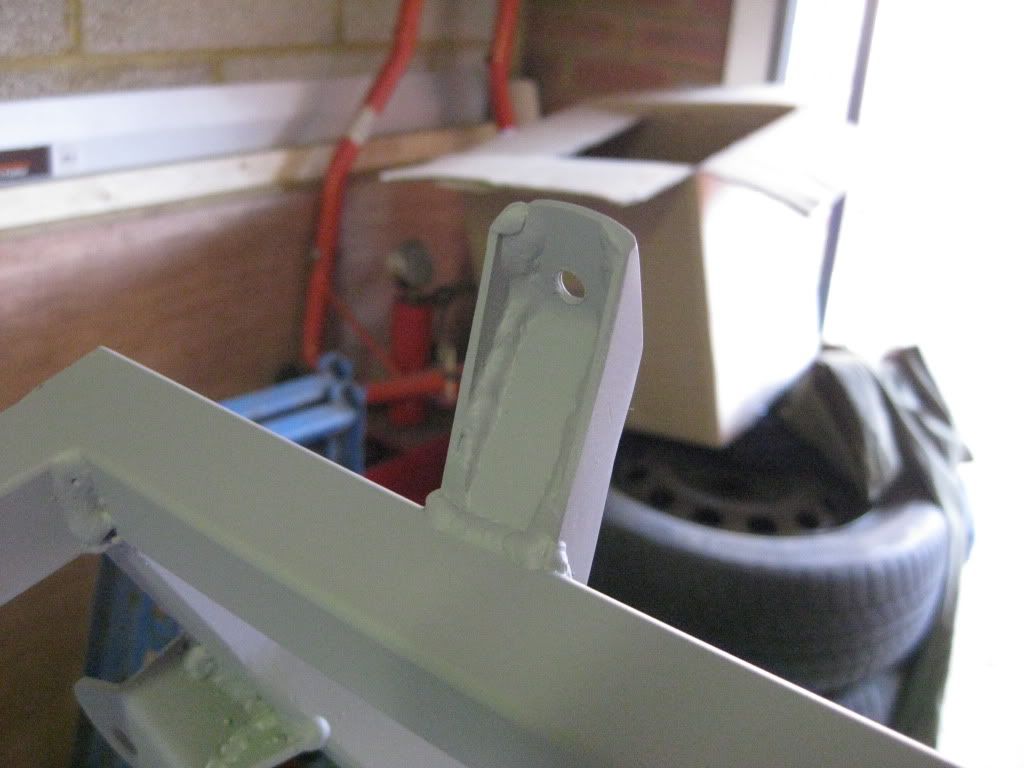 [/IMG] [/IMG][IMG]  [/IMG] [/IMG]You will notice I have primed the front end. Two hours of knocking of weld splatter, wire brushing welds and generally getting everything supper clean, then masked up to avoid over spray. Two coats of etch primer the two coats of primer, same as always. I decided not to do the top coat as I want to do, or get this done, in one go. 18 Apr By the time I had watched the GP, had lunch and got in the garage it was 1pm. First job was to get the last up right out of the Deox-C and give it a wire brushing. I am going to de-rust the rest using electrolysis. I was going to run down to Halfords for some more etch primer for the up rights but decided to move on to something more interesting. Floor first fit. I flipped the chassis upside-down then manhandled my 8x4 sheet of ally on to it, squared it up to one rear corner, measured to make sure I was about to drill bang in the middle of the rail, then took a 3.2mm drill bit and set to. Cleco in then on to the next corner making sure everything was square as I went. Two Clecos in and looking good. Time for some cutting. With loads and loads of measuring and marking I cut the sheet to size whilst it was attached to the chassis with clecos. I found if I slipped a piece of scrap tube between the chassis and the ally sheet this gave enough clearance for the cutting wheel to miss the chassis. [IMG] 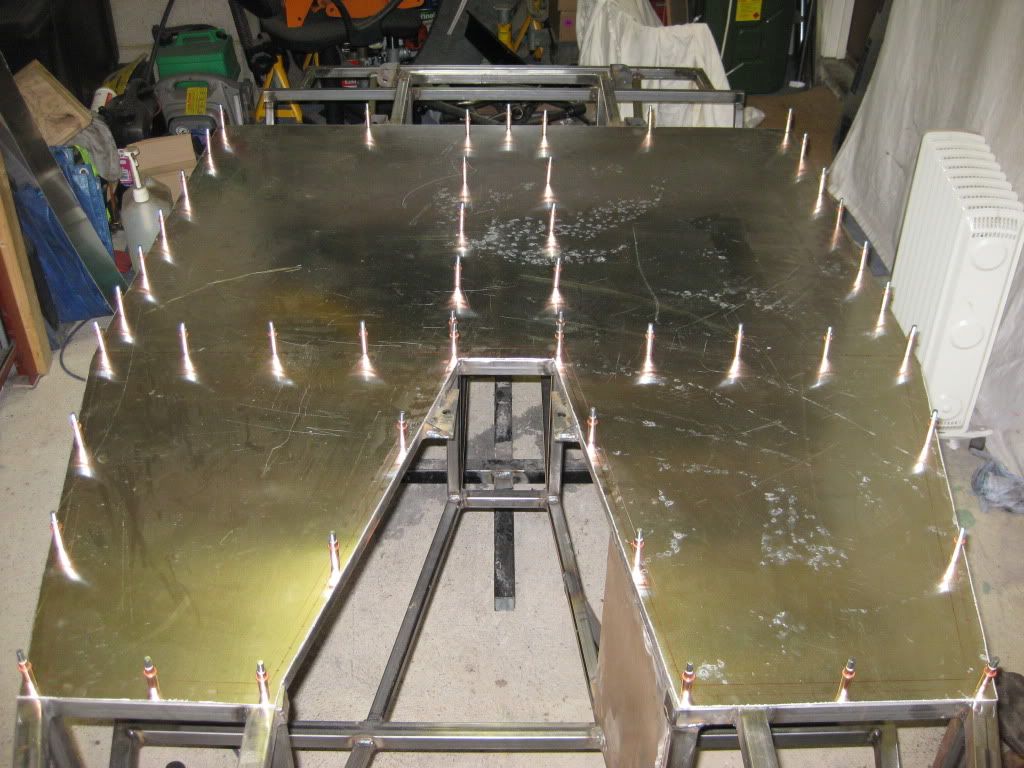 [/IMG] [/IMG]The floor is now attached with 49 Clecos (I have lost one already) just need to drill 221 more holes! I am hoping to pick up some 3.2mm (1/8) at Stoneleigh. I flipped the chassis over to get a look with the floor in and Im chuffed. It is such a large part It makes loads of difference, makes me feel like I have got loads done and made a step forward. [IMG] 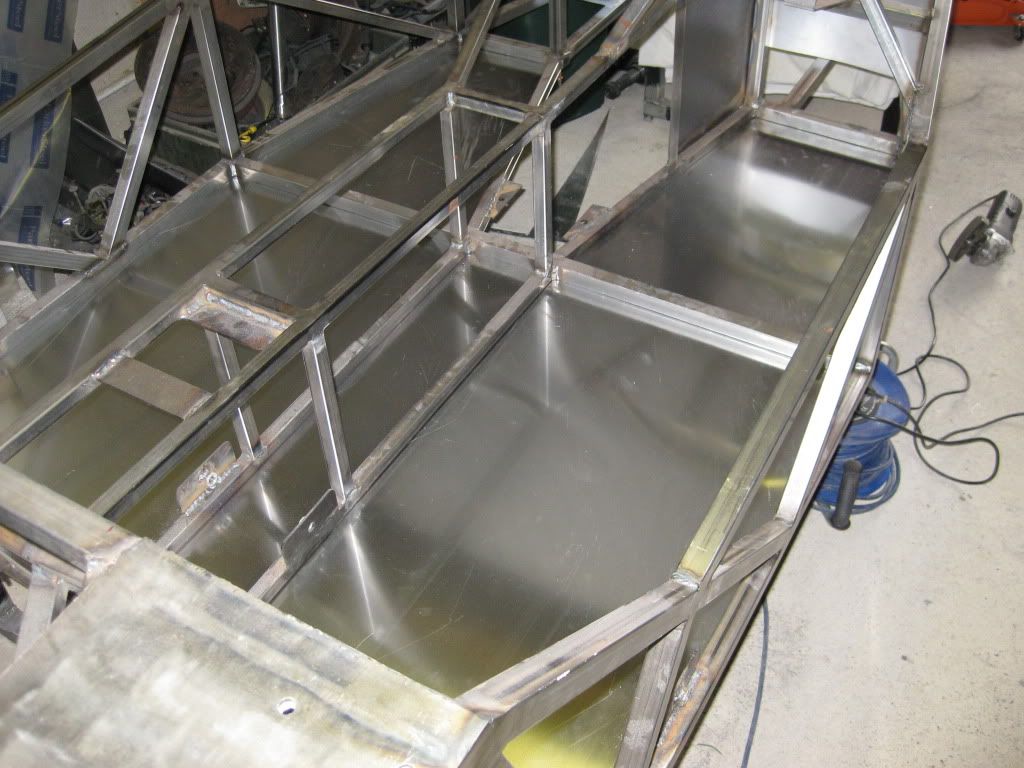 [/IMG] [/IMG]Of to Okehampton next week to lay some stone for the car park of the ten tours event. Cheers Ginge |
Some good progress there Ginge :cool:
Certainly done a propper job of those rad mounts. The floor does give the build a whole new dimension & a nice comfortable place to sit whilst sitting in the chassis making F1 sounds :D I have uploaded a couple of photos of the rad fan & seat runners to my Progress thread ;) Pitty you are not down as far as Bodmin moor .... Could have met up for a chinwag :) |
I must resist the urge to get the chassis out and the floor done...
I must pull my finger out and get the other two cars done so I can hit the roadster.. TT |
| All times are GMT +1. The time now is 05:22 PM. |
Powered by vBulletin® Version 3.6.4
Copyright ©2000 - 2024, Jelsoft Enterprises Ltd.