Update time, and Photos!
First, photos of previous work done and written about: The floor finished 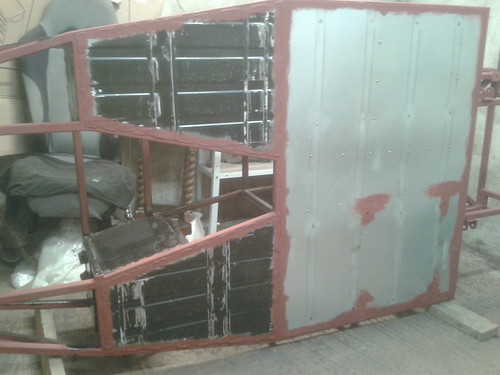 Narrowing the seat back, done so that the top is still wide 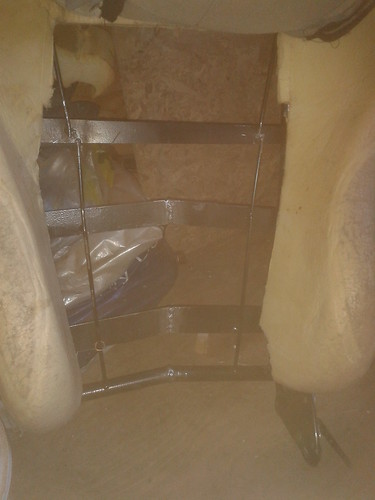 Narrower bottow, fits like a glove. A very tight glove... You can also see the rails on the right that I've replaced with steel strips. 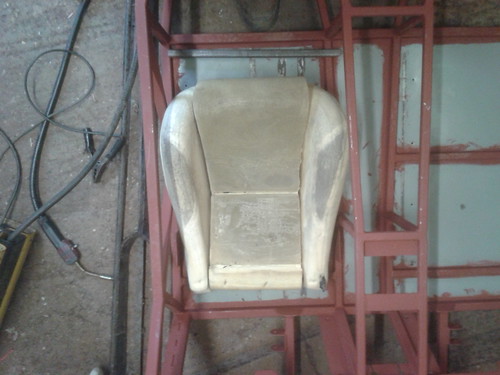 And one clean, shiny, freshly painted diff 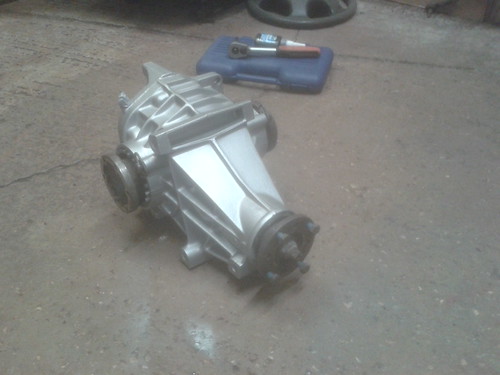 |
Now for this weekends work:
The chassis in its new home, larger area so I can finish the rear end Plastic covering to keep the worst of the weather/straw off! 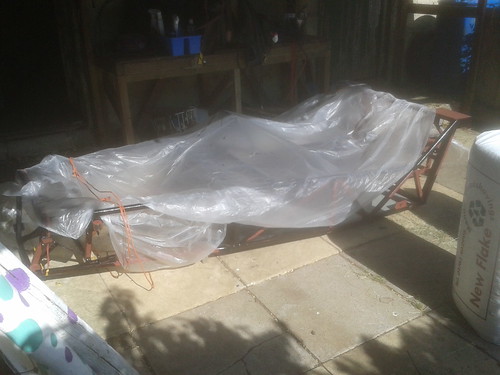 Todays welding 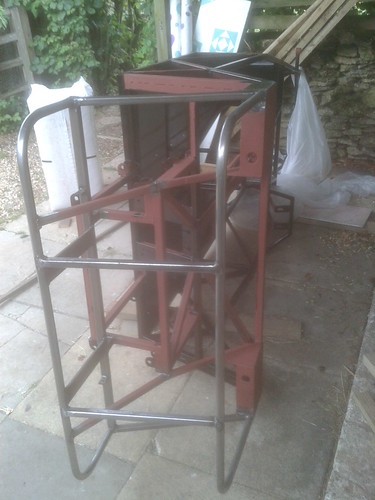 And back on its base 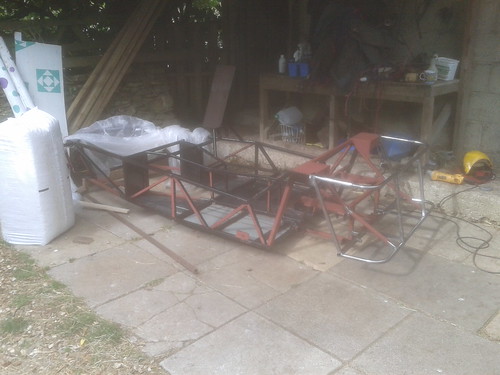 Annoyingly, I packed the welder and all the tools away before realising there was still 4 plates to attatch. The ones under the top curved rail for attatching the back panel. I'll try and get them done sometime this week and get the back end undercoated. |
Been doing a few bits today; finished welding on chassis (finally!) and started putting rear end 'bones in place so i can wheel it to another shelter for working on.
Problem: Should the wishbones be an absolute pig to go in? :mad: Crush tubes went in ok with a G-clamp, and I got the 'bones onto the chassis with a little (read: a lot of) persuasion (girt big rubber mallet). But now I'm having trouble getting the upright into sittu. I know the joints are supposed to be a tight fit, but surely theres a simple way of putting these parts together? :( Any advice would be gratefully recieved. |
The wishbones pull and close up like a bastard when they are welded which is why I am not fond of the design, having said that it does allow you to do the following: you will need one a pair of good boots, riggers/welding gloves and a rule. Place the wishbone on the floor,clamp in place with a boot and pull it apart with the gloves then measure. I will at this juncture point out that I'm 20 stone and find this quite easy to do, you might want to find an adult to help you...
Disclaimer : Talon Motor Sport/Fabrication accepts no responsibility for pulled shoulders or back problems. |
Or another way is to put a scissors jack in-between and open it so that it pushes the arms apart. wind it just a bit further than you need as they will spring back.
Not everything requires brute force Arfon |
I've already utilised much brute force (I find a length of wood helps, soft surface and leverage) to get them the right sizes, Im just finding the polybushes a "very" tight fit in the mounts.
|
Are the bushes bulging at all when they're fitted?
|
Not sure where I'd see a bulge...
They fit into the 'bones ok, but they're wider than the crush tube. Checked the tubes, they're all 44mm as spec. Are the polybushes, tubes etc all supposed to be flush before instalation? I did notice a minor chamfer where the brim of the "top hat" becomes the narrower tube and I believe this is stopping the poly-parts from pushing all the way. Ideas? |
My polybushes were all nearly flush with the crush tube. I suspect PU rubbing into suspension brackets was the source of some creaking. The creaking is not a big deal at all when going fast, but it's pretty embarassing when you're posing & going slow. I plan to shorten all bush tubes a fraction of a mm so PU is not rubbing with the brackets.
|
Thats the approach I've gone for; slightly shortening the tubes to allow the poly to sit flush with the crush tube.
It'll still be a tight fit, but will actually go together. |
The crush tubes should be about 1mm wider than the bushes either side. This is crucial as otherwise the bush will be clamped rather than the tube, this will stress the nrbrackets and not allow the wishbones to move freely. The bush should be free to rotate around the tube. I had the same problem when I built my car, I took a belt sander to the bushes to remove the desired amount of material. Bit of a pain in the ass job but a must.
HTH Dan |
There have been a few instances over with the MX5s where some PU bushes have bound on the wishbone tube, giving a very springy ride. This has led to complete failure of the wishbone in some cases. Some of the bushes shown had an obvious bulge to them, hence the question :)
|
I've got the rear end together and moved the chassis on 2 wheels to its new site (4th one!). So cool seeing wheels on it :cool:
Chers for the info guys, never realised the extent of the importance re tube clamping. Knew it would affect ride but didn't twig the possibility of complete failure. The polybushes all now sit such that the crush tube is at least flush with the poly-part. Will this be enough? I'll do the front bones so the crush's are all at least slightly proud, but will the rear be OK? Is this an IVA issue? Pics to follow... |
I had one that was just flush, now it has all the paint and primer from the bracket embedded in the PU. Make them stand out at least a fraction of a millimetre. I doubt this would cause any problems at IVA, though, it's not very obvious from the outside.
|
A few pictures, better late than never...
Wheels! And with me standing in the engine bay holding the front end up, it moved! 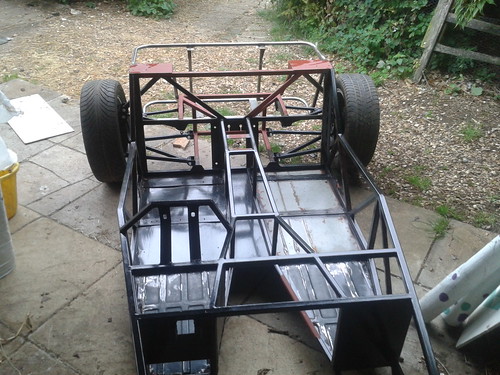 Some welds on the rear end, managed to give myself a nasty burn on this beam too :o 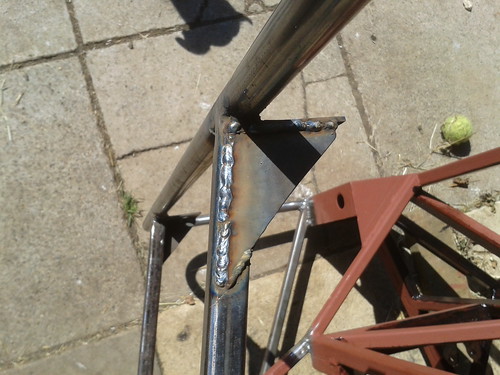 And finally, what I'm planning to do next: 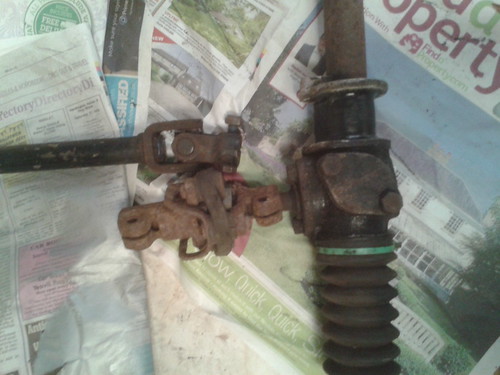 I don't like the look of that rubber bush on the steering column, so I'd like to splice the socket from the Escort rack onto the Sierra's metal UJ. I noticed today though that there's a rubber spacer/packing near the top of the Sierra column, this may complicate the welding. Thoughts? |
Progress report!
(Slightly delayed and overdue...) Made quite a bit of progress since the last update, chassis is now fully welded with engine and gearbox mounting plates in place and it's all had a coat of primer and one coat of hammerite to stop the rust (except for one rail that I didn't notice untill AFTER I'd cleaned the brush!) Midway through this I trial fitted the engine, took a while to shoehorn it out of the shed, but definately worth it.  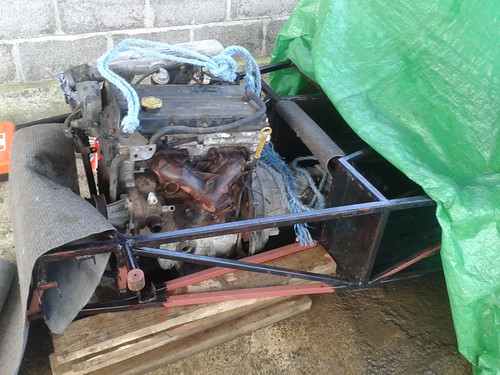 This allowed to measure the positioning of the engine mount plates, weld them on and finish the chassis. |
Since then I've begun working on the engine mounts themselves. Step one, get the chassis on wheels.
Got most of the way there and realised the other two wheels in my shed were still grubby. No grubby parts near my pretty pretty car! :eek: 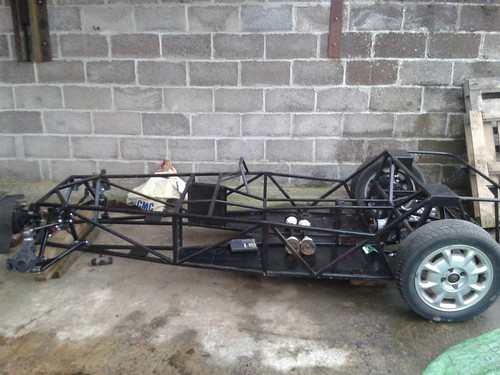 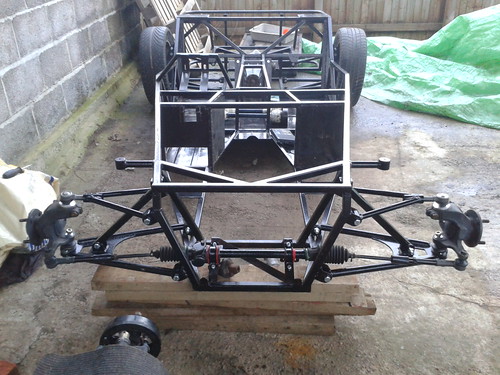 Cleaned the wheels today and finished off the plates for the engine mounts: 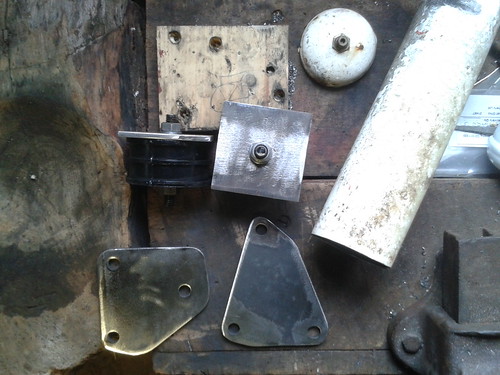 I'm hoping to be able to use empty gas cylinders for the struts. Thoughts? (diameter of about 75mm and wall thivkness of 2mm) Also, I'm starting a new job in a couple weks as a Process Engineer, so I'll fuinally be able to buy some of the other parts I need! |
Hi!
First, congrats for the new job! Quote:
So you could use the propshaft tube for your engine mounts. I might have to change my engine mounts (I'm not extra happy with mine), and that is what I'm considering to do if I have too. I kept my Sierra propshaft for that, just in case... Just an idea... Good luck :) |
Bit the bullet and bought some box.
Spent an hour with the angle grinder and a couple old cylinders today trying to fab some engine supports and gave up; they're just too wide for my plates, too much wall that won't be supported and they get right in the way of the mounting bolts. I've still got the old prop but I think it'll be just as much of a pig. I also don't want to chop it up too soon in case it can be used by whoever makes up my new prop. So, bought some 40x40x3mm box off fleabay. On a positive note my chassis and engine are both sat level and square ready to chop and fit my supports when i do get them! One quick question before I go, SS1 (curved piece outside the seat backs), I left mine off for a very good reason I can't quite recall and I've noticed a couple builds also without them (Ste's?). Should I weld them on or bolt them or leave them? |
Quote:
|
Hurry up Oscar, I think I'm further on than you are now :P
|
| All times are GMT +1. The time now is 05:45 AM. |
Powered by vBulletin® Version 3.6.4
Copyright ©2000 - 2024, Jelsoft Enterprises Ltd.