Update time, and Photos!
First, photos of previous work done and written about: The floor finished 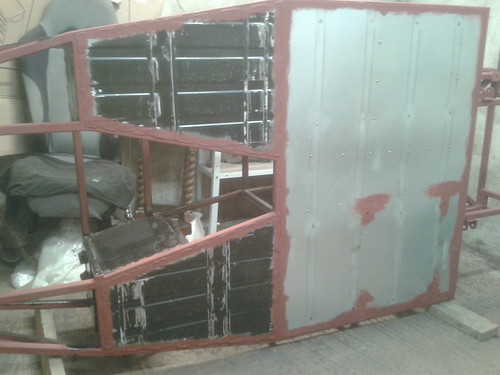 Narrowing the seat back, done so that the top is still wide 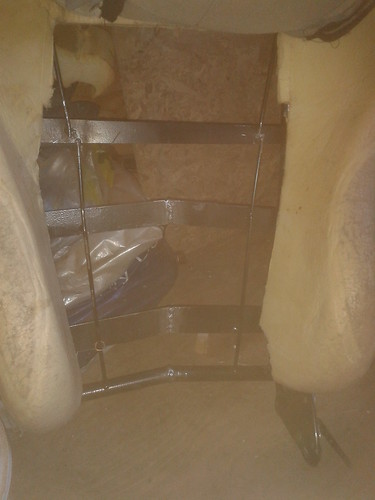 Narrower bottow, fits like a glove. A very tight glove... You can also see the rails on the right that I've replaced with steel strips. 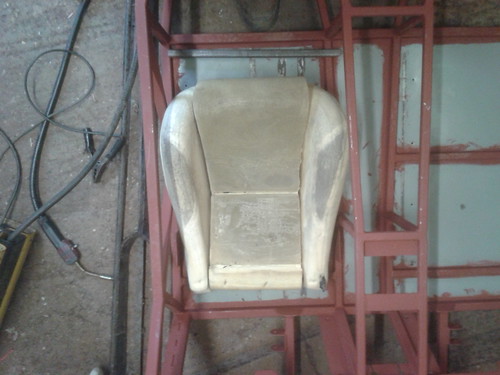 And one clean, shiny, freshly painted diff 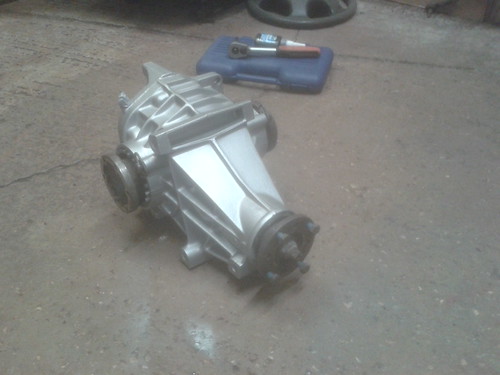 |
Now for this weekends work:
The chassis in its new home, larger area so I can finish the rear end Plastic covering to keep the worst of the weather/straw off! 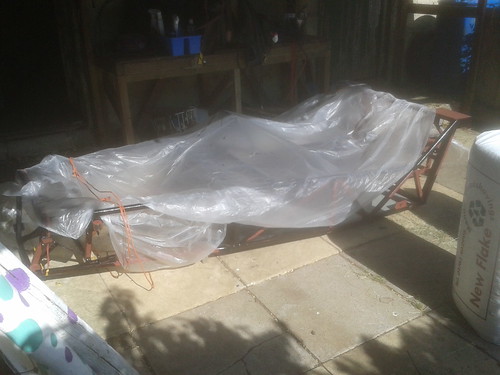 Todays welding 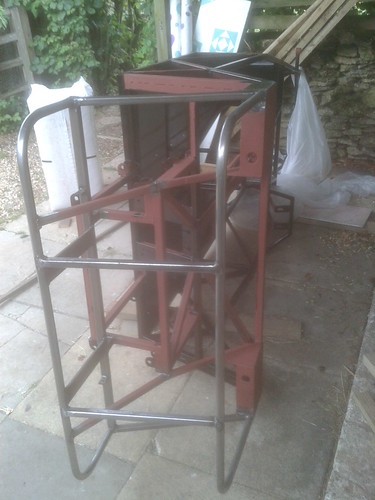 And back on its base 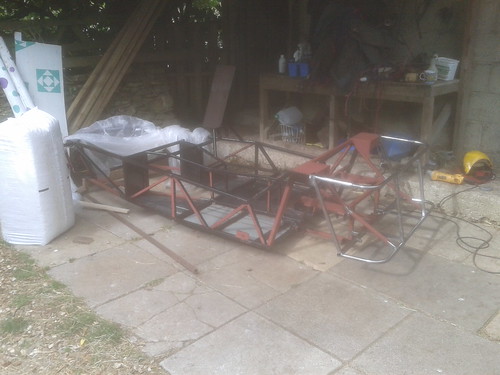 Annoyingly, I packed the welder and all the tools away before realising there was still 4 plates to attatch. The ones under the top curved rail for attatching the back panel. I'll try and get them done sometime this week and get the back end undercoated. |
Been doing a few bits today; finished welding on chassis (finally!) and started putting rear end 'bones in place so i can wheel it to another shelter for working on.
Problem: Should the wishbones be an absolute pig to go in? :mad: Crush tubes went in ok with a G-clamp, and I got the 'bones onto the chassis with a little (read: a lot of) persuasion (girt big rubber mallet). But now I'm having trouble getting the upright into sittu. I know the joints are supposed to be a tight fit, but surely theres a simple way of putting these parts together? :( Any advice would be gratefully recieved. |
The wishbones pull and close up like a bastard when they are welded which is why I am not fond of the design, having said that it does allow you to do the following: you will need one a pair of good boots, riggers/welding gloves and a rule. Place the wishbone on the floor,clamp in place with a boot and pull it apart with the gloves then measure. I will at this juncture point out that I'm 20 stone and find this quite easy to do, you might want to find an adult to help you...
Disclaimer : Talon Motor Sport/Fabrication accepts no responsibility for pulled shoulders or back problems. |
Or another way is to put a scissors jack in-between and open it so that it pushes the arms apart. wind it just a bit further than you need as they will spring back.
Not everything requires brute force Arfon |
I've already utilised much brute force (I find a length of wood helps, soft surface and leverage) to get them the right sizes, Im just finding the polybushes a "very" tight fit in the mounts.
|
Are the bushes bulging at all when they're fitted?
|
Not sure where I'd see a bulge...
They fit into the 'bones ok, but they're wider than the crush tube. Checked the tubes, they're all 44mm as spec. Are the polybushes, tubes etc all supposed to be flush before instalation? I did notice a minor chamfer where the brim of the "top hat" becomes the narrower tube and I believe this is stopping the poly-parts from pushing all the way. Ideas? |
My polybushes were all nearly flush with the crush tube. I suspect PU rubbing into suspension brackets was the source of some creaking. The creaking is not a big deal at all when going fast, but it's pretty embarassing when you're posing & going slow. I plan to shorten all bush tubes a fraction of a mm so PU is not rubbing with the brackets.
|
Thats the approach I've gone for; slightly shortening the tubes to allow the poly to sit flush with the crush tube.
It'll still be a tight fit, but will actually go together. |
| All times are GMT +1. The time now is 02:10 AM. |
Powered by vBulletin® Version 3.6.4
Copyright ©2000 - 2024, Jelsoft Enterprises Ltd.