Quote:
While I was thinking about that I realised that I actually had a pair of CP10s I wont be using so thought I would come up with something using them.   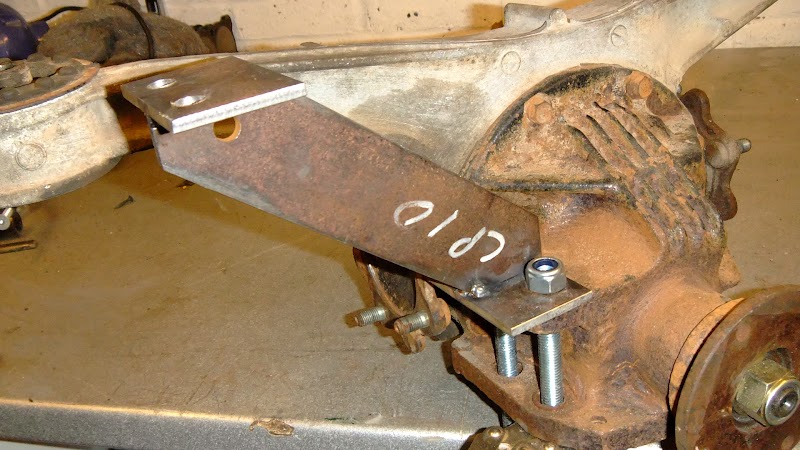 I think it should work well, and it can be unbolted for diff access. Cheers Stot |
Quote:
|
Quote:
Cheers Stot |
Quote:
|
Quote:
Quote:
I superglued the photopolymer versions onto some discs of MDF the right size and cut round them then wrapped some electrical tape around to give a clean edge. 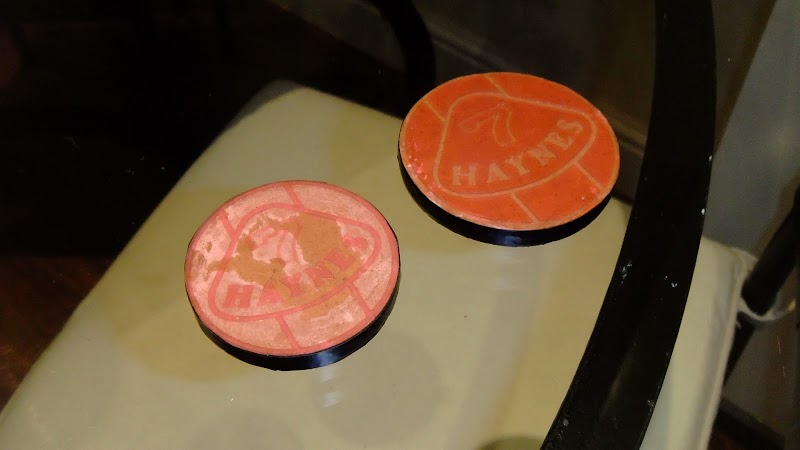 Put them in some molding forms and poured silicone onto them, left it to cure and demolded. 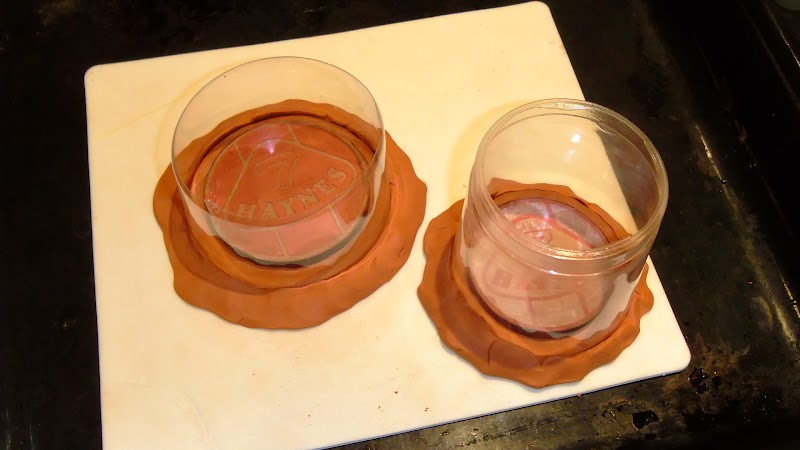 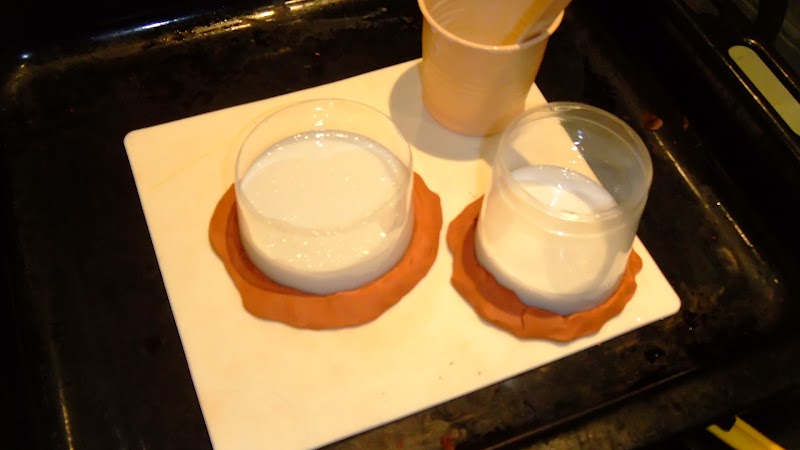 |
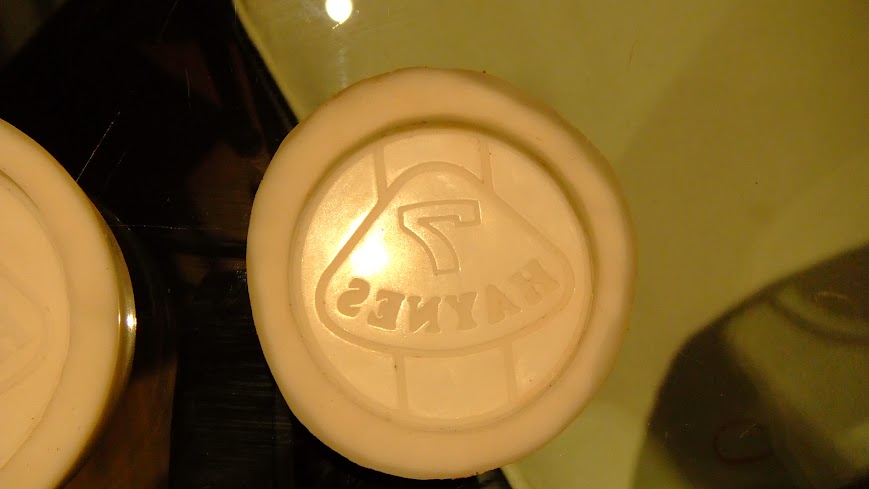 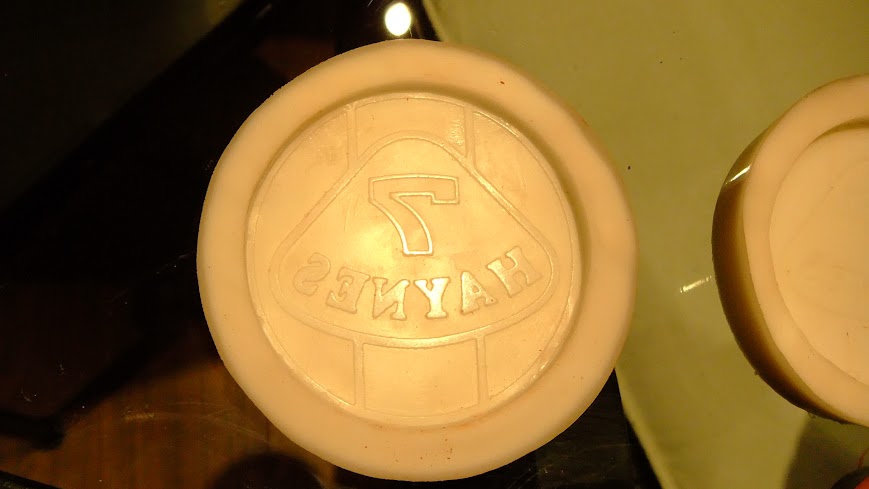 Perfect copies, a lot less finishing needed on casts from these molds as they are flat, my CNC one had a slight dome to it. The larger one is for my wheel centre caps. Heres the first casts out of the molds. 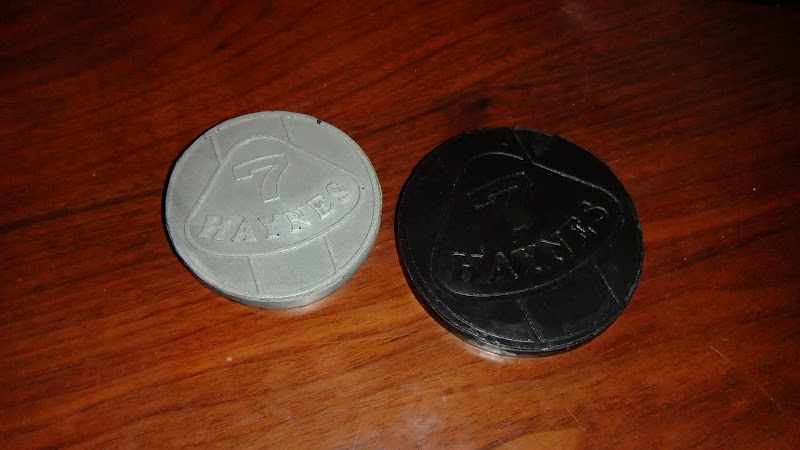 Cheers Stot |
Heres a wheel centre fitted. Spray it wheel silver again, jobs a good un.
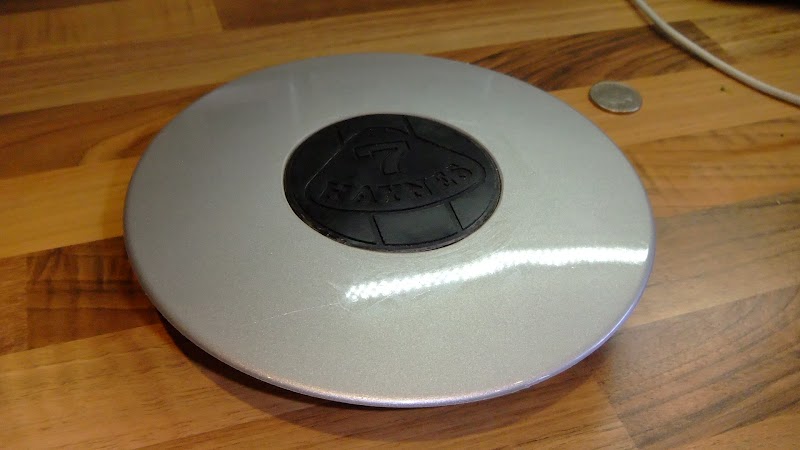 Cheers Stot |
Here my first attempt at colour infill. I filled with coloured gelcoat up the edges.
 Its really thick so hasn't really settled in the recesses. I'm going to try and overfill and sand down on the next ones. Cheers Stot |
Hi All,
I got some real car stuff done today. I wanted to mount the diff and get the engine in. I did OK. I got the engine in and in position with the sump ~40mm below the bottom rail. It may be a little lower but thats OK. I can always shim it up under the rubbers If I have any problems and I plan to shorten the sump at some point.   Saying that with the bonnet in position I couldnt have got it any higher anyway!  Where it is positioned it is not fouling the steering column either. 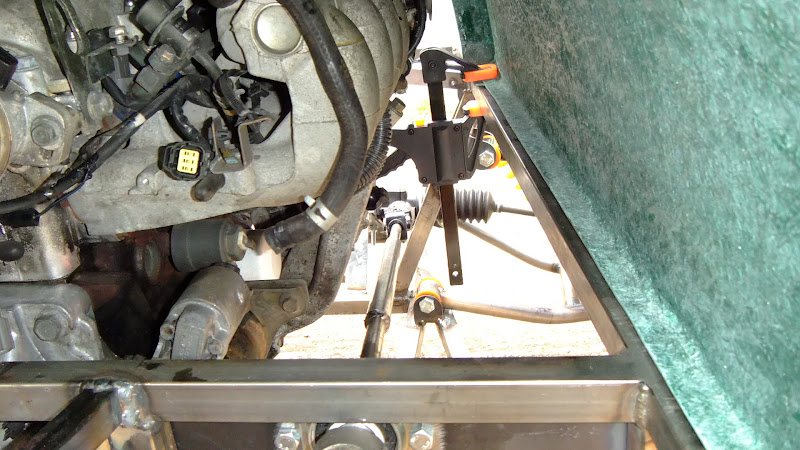 |
Diff went in easy enough.
 I will be putting 2 holes where the yellow circles are to bolt the nose hanger I made in. 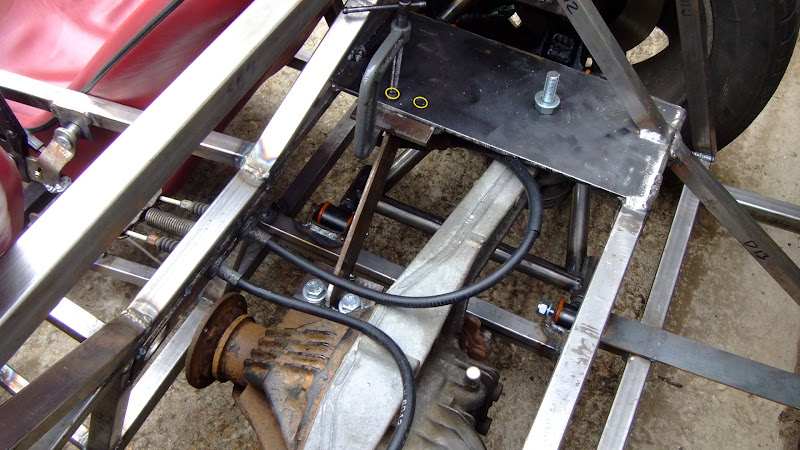 I could weld it but the diff is hard enough to get in and out of the cage as it is so being able to unbolt it will be great. |
| All times are GMT +1. The time now is 04:10 AM. |
Powered by vBulletin® Version 3.6.4
Copyright ©2000 - 2024, Jelsoft Enterprises Ltd.