Chassis help - D1 & D2
Hi all
Could somebody give me a clue as to what happens at the top end of d1 and d2 please? I can't see from the plans and where the book gives very precise instructions for virtually every other bit on the chassis the diagonals are covered by the statement; "Parts D1 to D6 can now be tacked in place"... Thanks Matt |
Matt,
I always think a picture paints a thousand word so I popped out and took a few pics. This is the top of D1 [IMG] 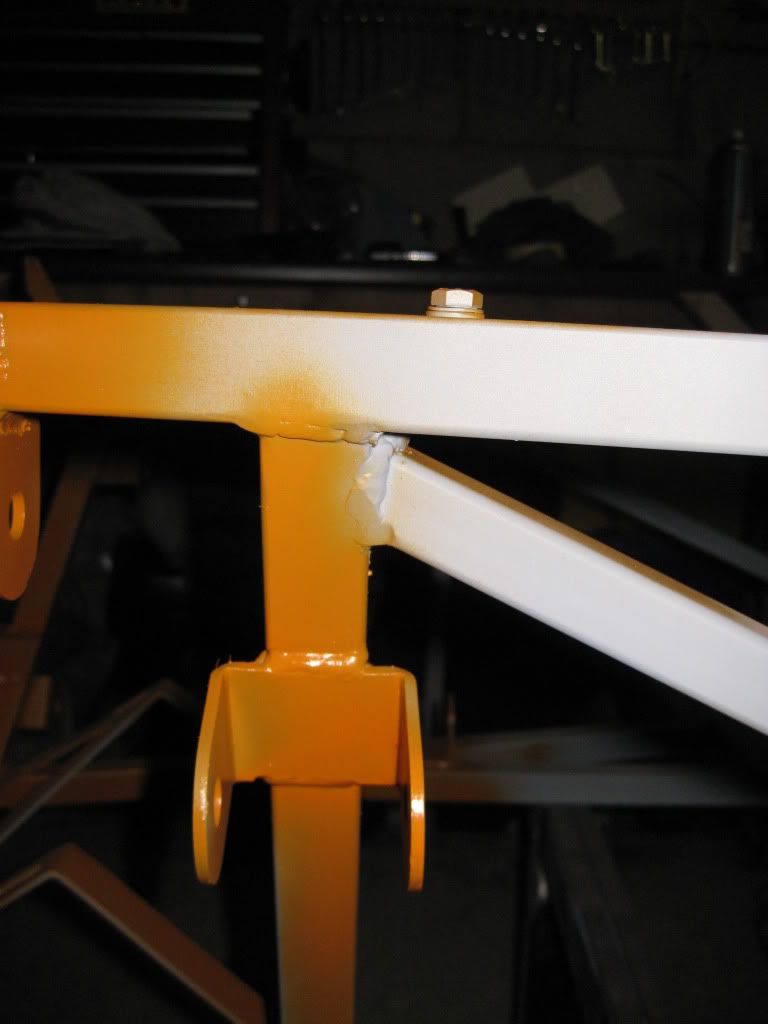 [/IMG] [/IMG]And the top of D2 [IMG] 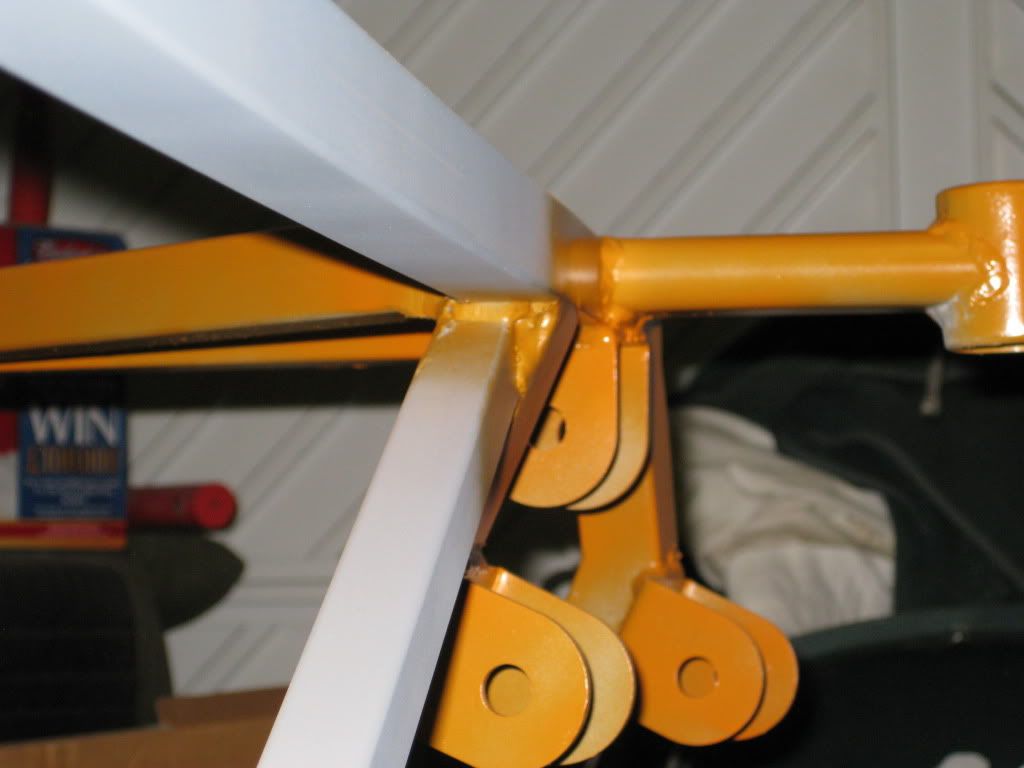 [/IMG] [/IMG]Hope this helps:D no comments on the welding!;) Cheers Ginge |
Neat welding, Ginge, looks waaay better than mine :)
|
Thanks for that, does the top of the diagonal need making thinner then? I have an overhang of about 5mm on the inner edge of the upright.
|
Matt,
I didnt thin mine down, they where butted up to U1 & 2 just fine. Two more pics that hopefully show what I mean. [IMG] 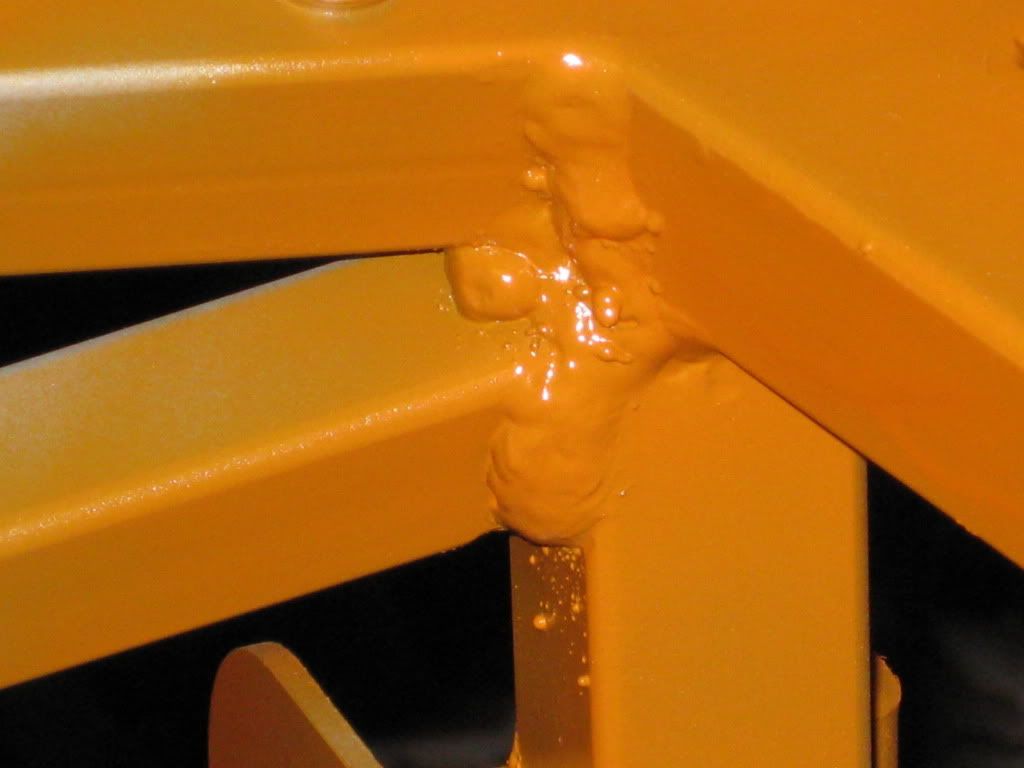 [/IMG] [/IMG][IMG] 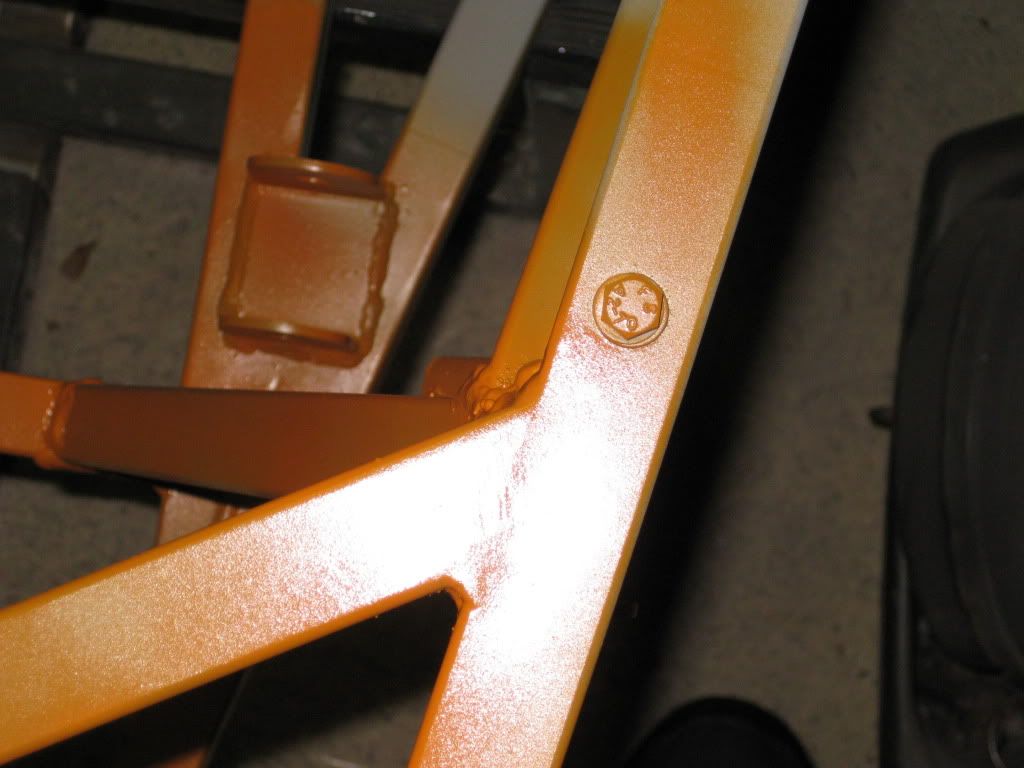 [/IMG] [/IMG]Cheers Ginge |
I,ve only just seen this thread.......
Don,t forget that the ends of D1 & D2 have a 9degree handed cut at the extreme end points as well as "normal" angled cuts, this should then more or less allow the D1 & D2 tubes to fit up against U1 & U2 without much over hang into the engine bay. ;) cheers andy |
Just to state the obvious D1 & D2 are 19x19 and not 25x25 as i found when they didnt fit very well:eek:
|
| All times are GMT +1. The time now is 07:37 AM. |
Powered by vBulletin® Version 3.6.4
Copyright ©2000 - 2024, Jelsoft Enterprises Ltd.