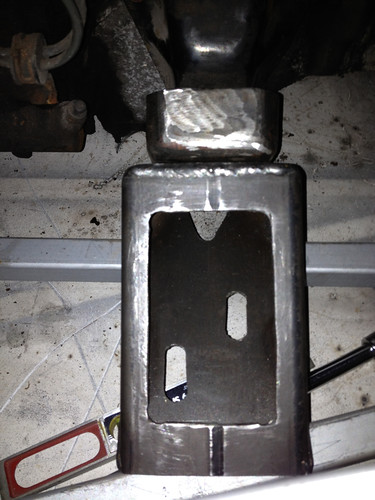
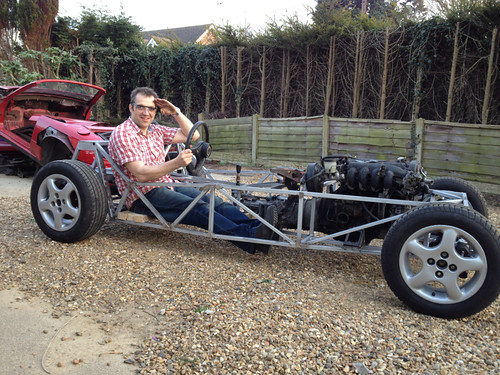
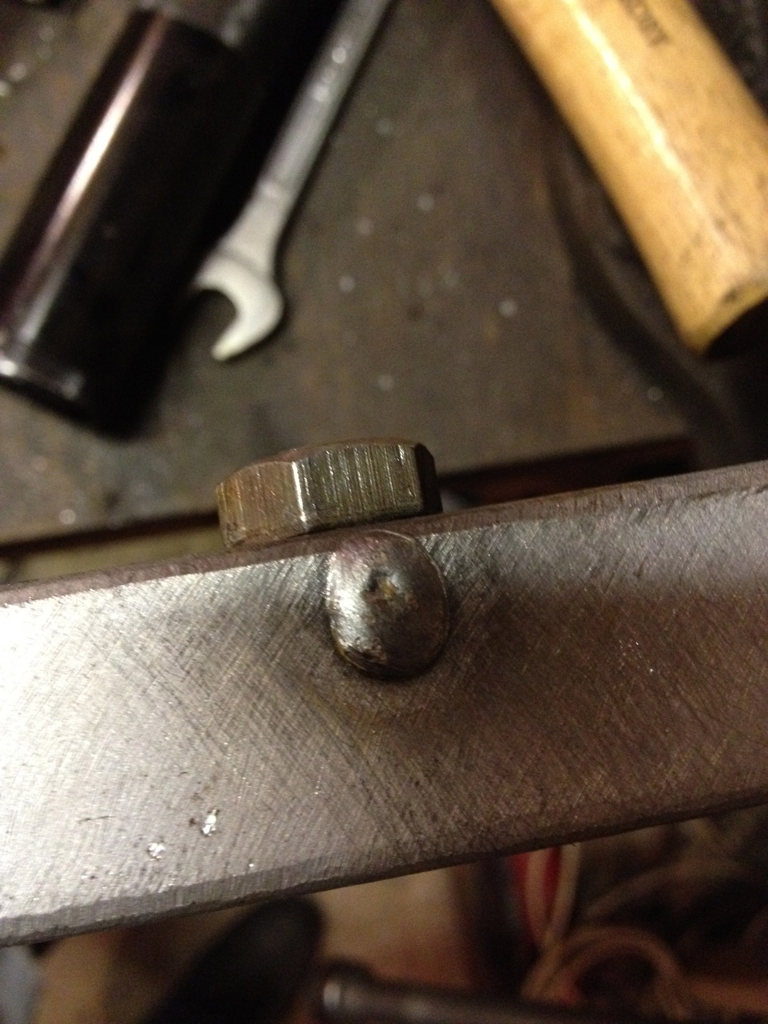
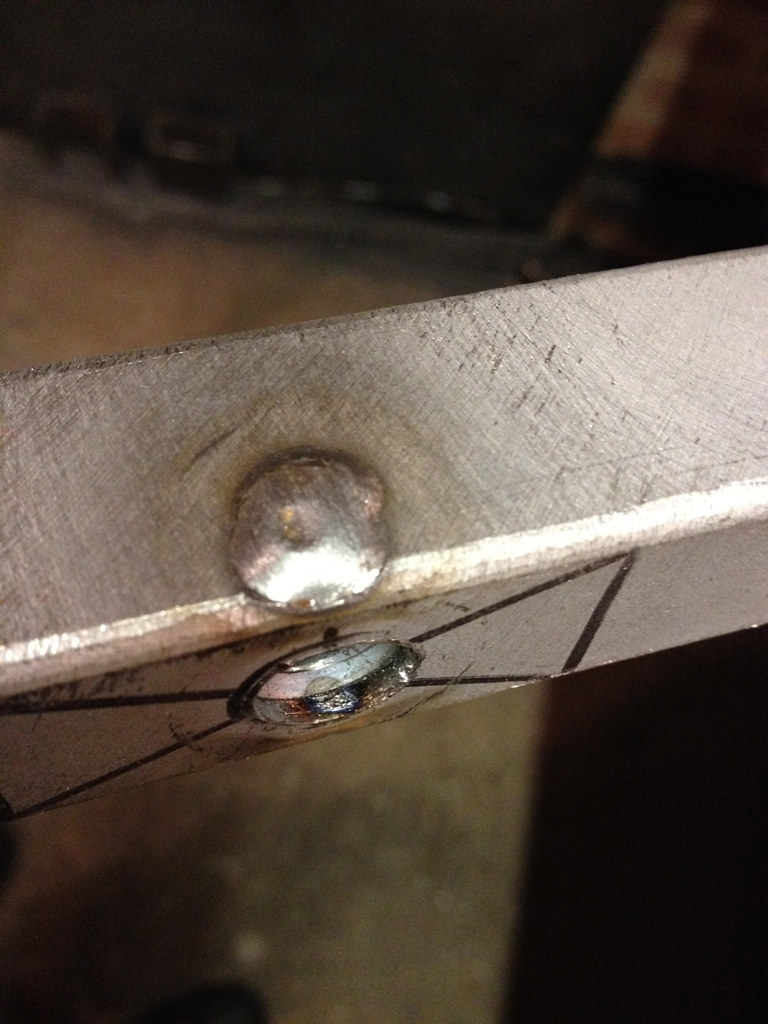
So the second engine mount is done, very pleased with it too.
 Got the front end on too.... 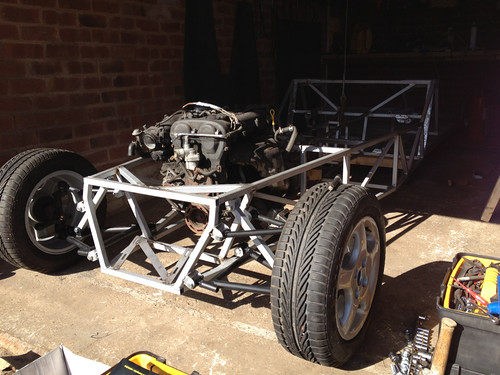 went together really well, yet to add the rack and I got it off the table.  Forgot to take a picture before putting everything away but this will do for now.  Hip Hip Horay!!!! BUT! I did hit a bit of a problem. I'm not sure how much of a pain it will be to fix but basically I could only fit the rear pass side hub to the wishbones by putting about 10˚ of camber into it. Seems the driveshaft (halfshaft) is pushing the the hub too far out. also noticed that when lifting the hub it was stopped from travelling up by the driveshaft which then bounced the other hub up so something is not right. Seems I may need to think about moving the diff slightly. Took loads of measurements to see where I went wrong but can't real account for this issue using measurements alone! |
Have you got the driveshafts on the correct sides?
I think one might be longer than the other. |
I thought that but I couldn't get the driveshaft out of the passenger side hub so it has to be the correct one! It's weird! Hmm my diff has push fit driveshafts maybe there is some sort of difference about them that may require a slightly different mounting of the diff. I've scrutinised the frame, it's a few mm out here and there but not enough to cause this surely??
|
Do your driveshafts sit exactly in a straight line. My driveshafts angle forwards very slightly.
|
Ok just been out and measured the driveshafts and the passenger-side is 15mm longer than the driver-side the diff is mounted centrally in the vehicle so this would cause the issue I'm seeing. Can someone explain to me why one driveshaft is longer than the other. The diff also mounted centrally in the mx5 subframe as well so why the different lengths?:confused:
|
I think the output flange on the dif is longer on one side than the other.
|
Mine are the later push fit driveshafts. they don't have a flange. I'm confused! I think I'll sleep on it maybe tomorrow I'll be more intelligent.:rolleyes:
|
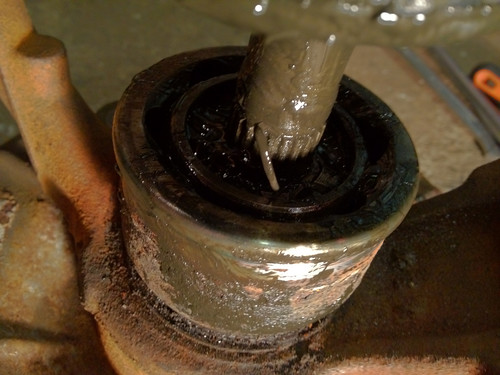
It worked! I'm now more intelligent. Went out to the garage first thing.....
Drivers side outer CV.... 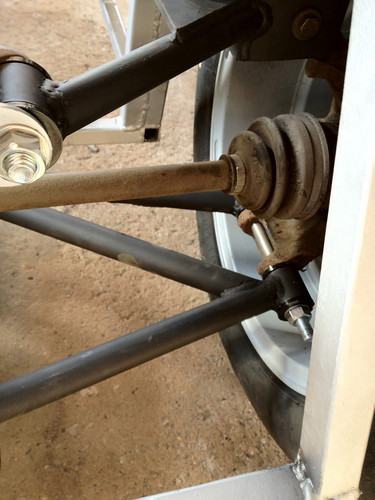 Wishbone adjustment.... 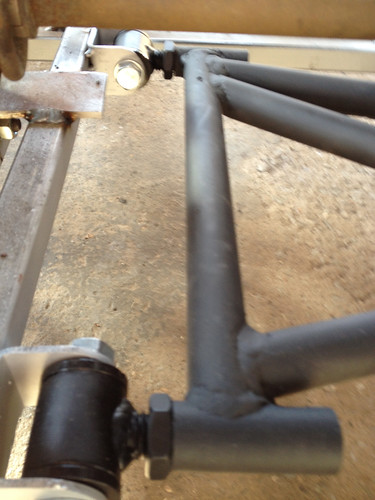 Passenger side outer CV.... 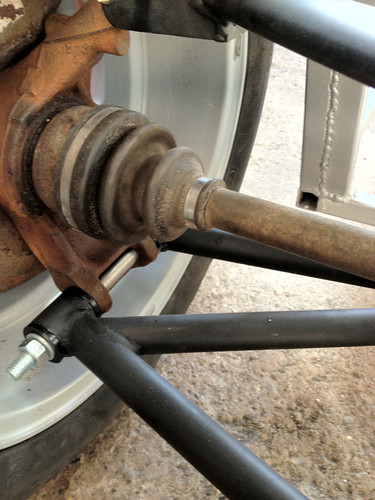 Wishbone adjustment....  Seems the passenger side outer CV isn't fully home in the yoke for some reason making the driveshaft longer. I will resolve tonight. |
Quote:
|
Hi Chris,
Thats strange one side being longer than the other... :confused: My friend at work has the same diff with push in splines but we hadn't noticed they were different. I will have a look in the morning and see if we can mount his rear suspension and diff. If you do need new rear tops just let me know as I still have pipe left over. Johno |
Well there you go. Never seen that before! Actually something similar happened 20 years ago with my old Talbot Alpine but I can't even remember what, something to do with the dished washer, I digress...
   A nice picture earlier today of my dog with the car in the background.  Thanks for the reply John and the offer, nice to know those upper wishbones are available if I find the car is crabbing when it's finished. :-) How much would they be out of curiosity? |
Oh BTW the car now has a square even back end.:D
|
Hi Chris,
As a fellow MX5 builder just cost of material and one day I might need a favour...lol.:D Glad to know you got it sorted... Johno |
That's very generous John. Hopefully I won't need them fingers crossed.
|
So here we have it out of the garage. Mate came round to help move the mx5 shell out the way. So we got out and took lots of pictures.
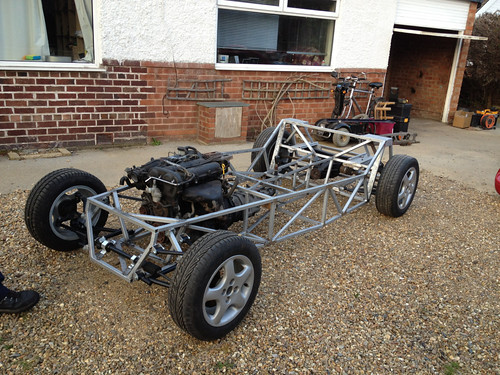  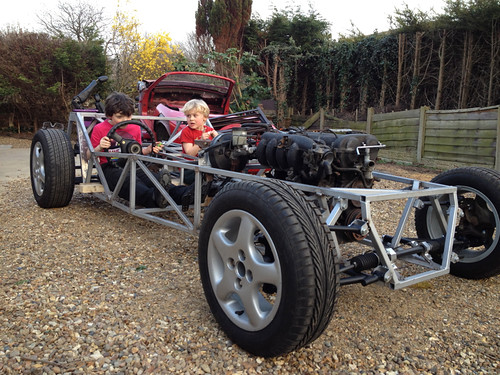 Tomorrow is great weather here so I'm laying turf and a pathway.:mad: Sunday I'm going to start on the floor I think. :-)) |
that is looking fab. really enjoy looking at the pictures.
|
Glad you like them it was funny messing around.:D
|
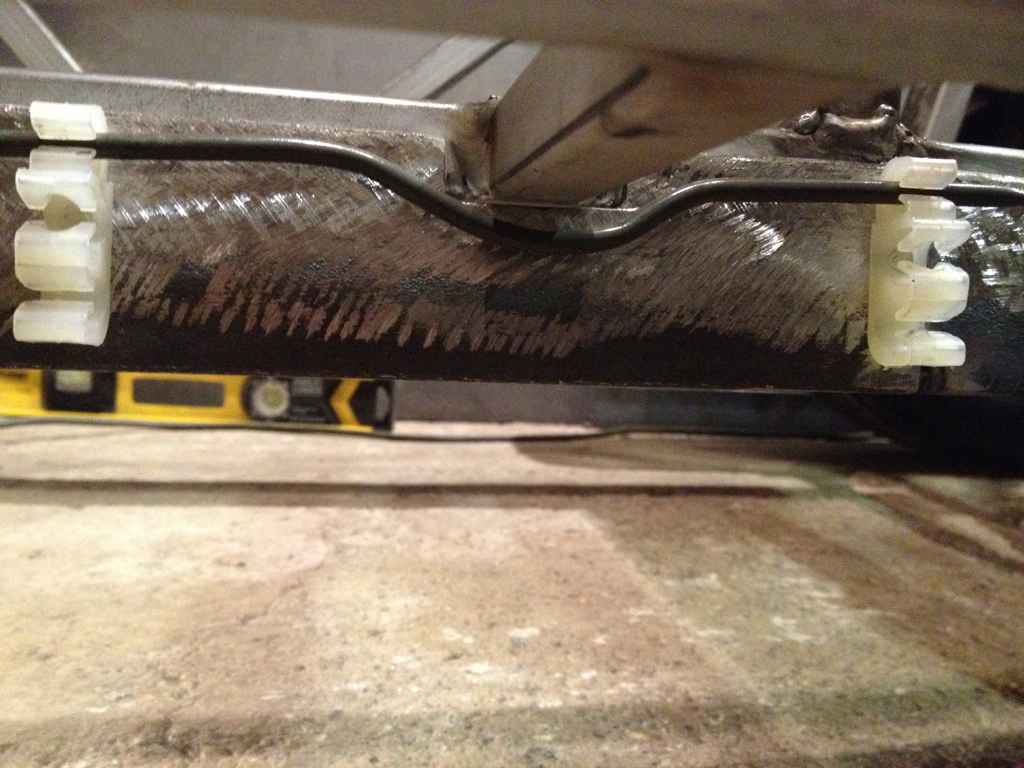
I'm lowering the floor on my build, like the westfield mx-5 donor kit car, and have decided to use the side of the lowered floor to run the fuel and brake pipes, I know it they will be close to the road in this position but it makes life easier. I won't be using the car for speed bump surfing. :D Progress pics so far...
   |
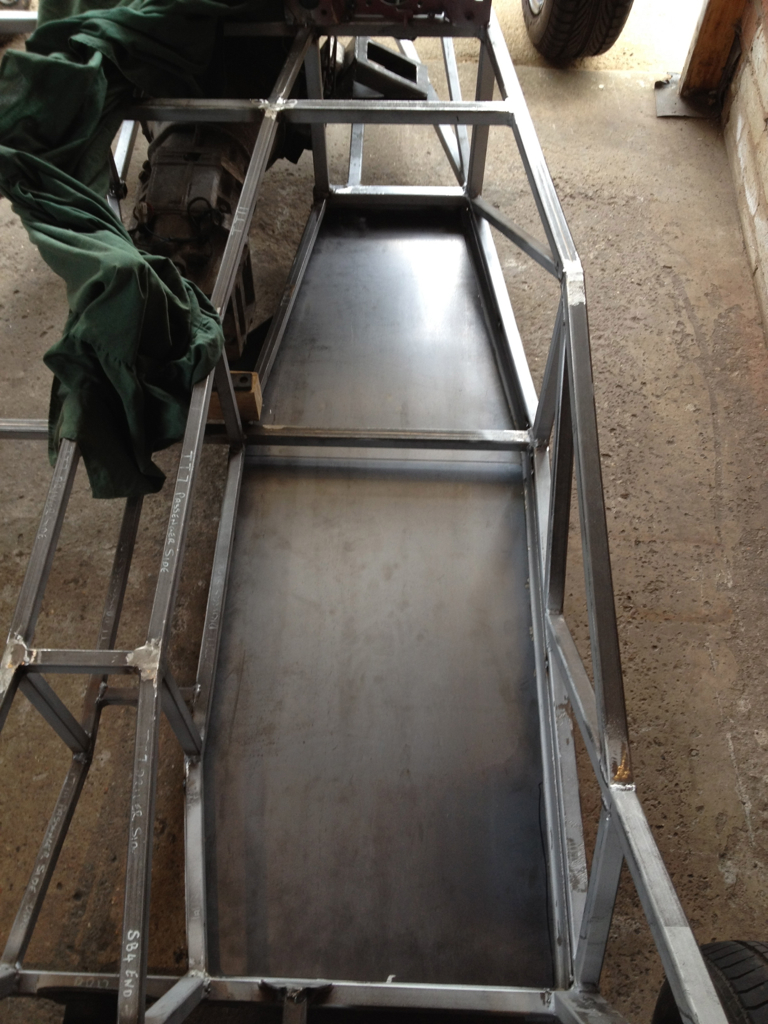
More progress on the floor this weekend.
 Mx-5 seating position is good but it will have to go in as two separate halves with the back attached directly to the tub back. 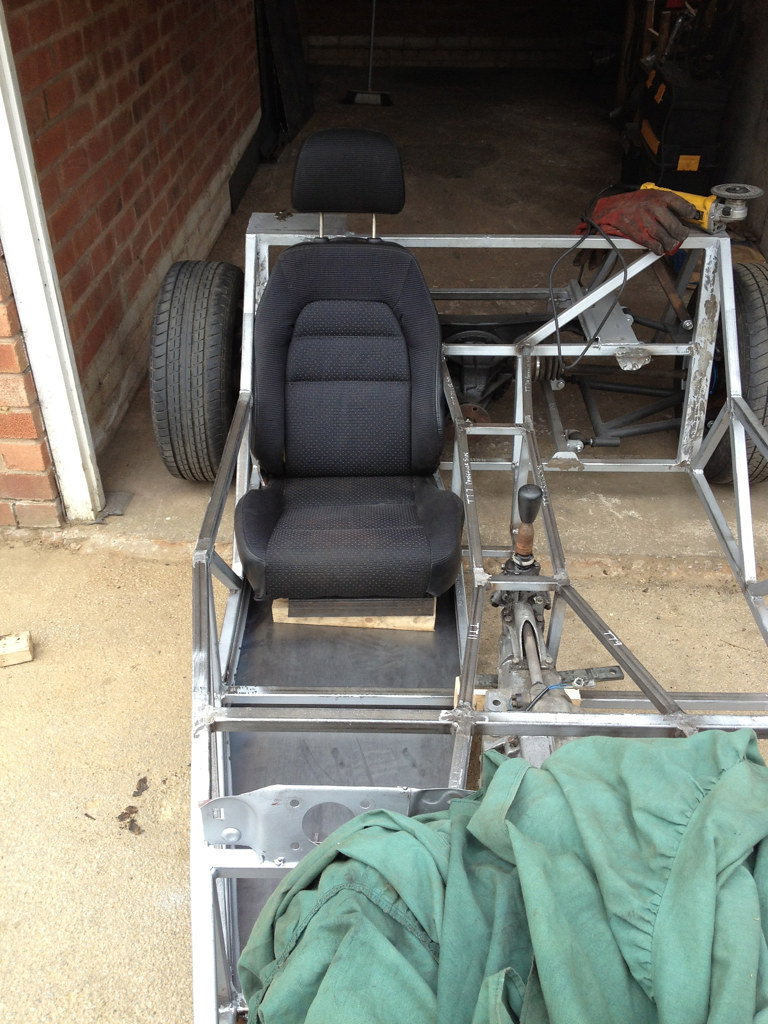 Need to make some runners for the base to hold it at this angle.  From above 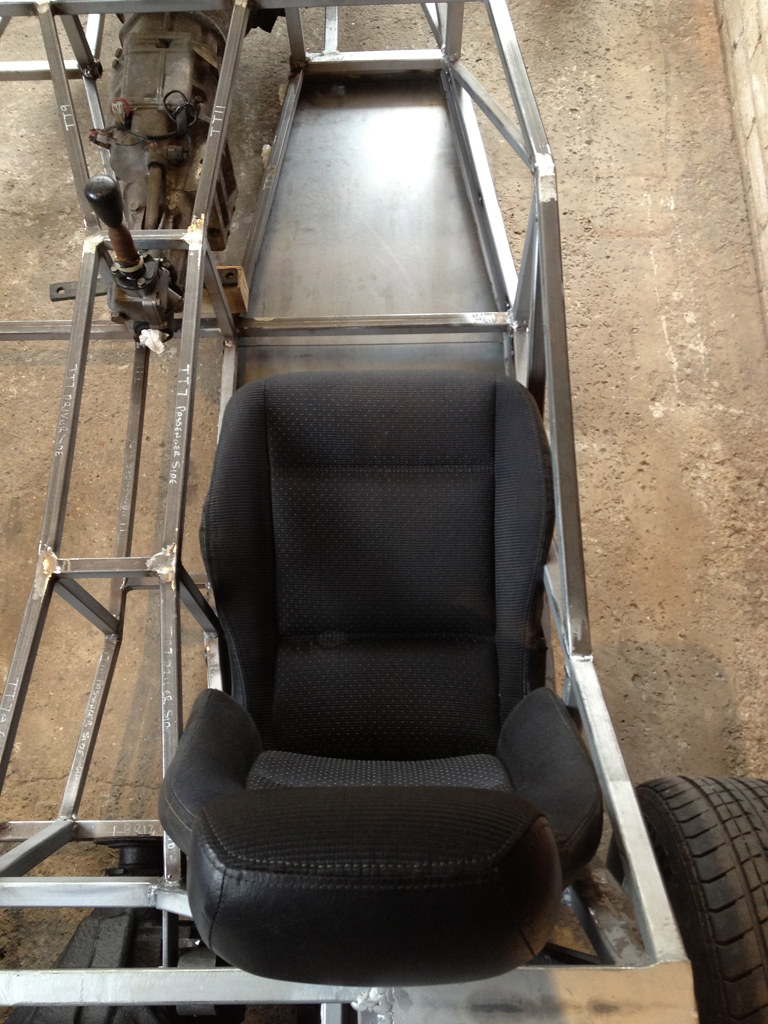 |
And tonight I'm nosing ahead.:D Nose cone and wing seconds from Nathan at NTS arrived today. Cheers Nathan.
 |
Looks like your'e making some cracking progress there Chris.:cool:
It's always nice to see ppl doing their own thing and coming up with new ideas.:D I guess you are planning to use the MX5 brake/clutch and go faster pedal assembly by the look of it. Looking forward to see how that pans out.. Well keep posting piccy's ....Johno |
Thanks Johno those words will keep me motivated for another 3 months!:D With regard to the pedals it's really down to money but it would be cool for other people who come along to know it is possible to keep them albeit modified somewhat. If it don't pan out it's no big deal at this stage.
|
Currently suffering from "Paralysis by Analysis" since I made the seat runners and tacked them to the floor. All of a sudden there are loads of interesting things to think about and position. So ultimately I have managed to half do about 5 different things. Like seat back/headrest positioning (IVA), Prop cut and in place, handbrake cables and bracket hacked out of the donor and half positioned, belt mount positions thought about, bonnet options considered. I start one job and end up doing another. And seem to spend most of my time just thinking about stuff. I need to make a critical path!:) I guess this is the best bit when you stop using the book to build the car and it becomes your creation!
Oh I put the pedals back in yesterday and it seems I don't need to do anything with the throttle cable as it just refitted to the engine and worked fine! Bonus. Looks like I can get the handbrake where i want it too and clear the prop and as a bonus don't have to chop up the cables. |
Thinking about stuff, I can relate to that! But it seems that all that thinking is not time wasted, somehow implemented solutions materialise with time out of all that thinking. Same with tinkering with whatever takes your fancy on a given moment. If you keep doing that, the car will be finished eventually.
|
Quote:
|
I can remember those moments too:confused:
Then there are times when you think to yourself "its finished"............but then find something else that needs doing :eek: :D The "to do" list does eventually get smaller until the point where you think to yourself....I,ll just check this & that to make sure . cheers andy |
Cheers Andy. :) Tonight I had a break from thinking and stripped down the two front brake calipers as the donors brakes were quite frankly non existent, and boy was I right too the pitting to the pistons is really quite bad I will need to replace the pistons. I know a place that will acid dip and plate the calipers and carriers for free and then I'll rebuild them. It'll be a lot cheaper than replacements. Not sure if I'm brave enough to do the rears they look a little more involved.
|
If you look on ebay you can get mx5 reconditioned ones for about £44. I am sure i got £15 from mwd ltd. When you look at the cost of the kits to recon them yourself I figured it was best to get someone else to do it.
David |
I definitely need one rear so I'll get that of ebay. Refurbing the fronts will cost £30 and I'll have nice clean carriers too. If I couldn't get the plating done for free then yes, ebay it would be for the lot. Hopefully looking at about £120 to get all the callipers sorted.:)
EDIT: Oh hang on looks like you're right, seal kit and pistons for the front is £45 plus del and you can get em on ebay for £53 delivered. Oh well some more disassembled metal to weigh in then! |
sell the old calipers on ebay!!
|
I'm ignoring my caliper dilemma for the mo!
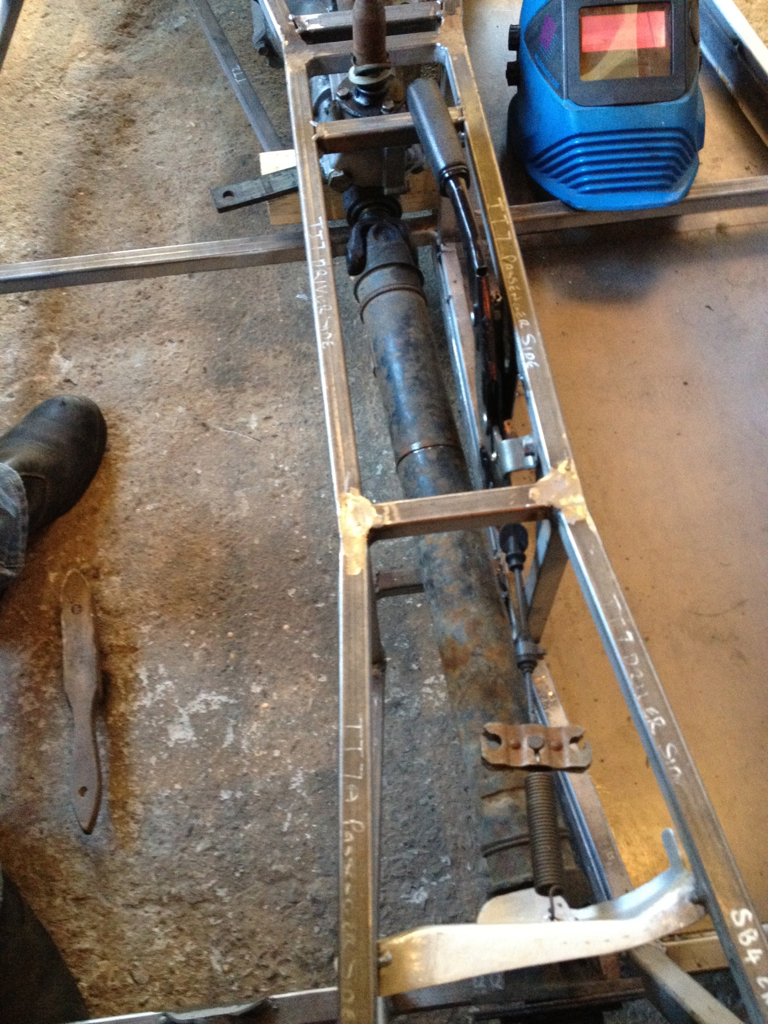
Tonight I mounted the handbrake and plates in there final position. Just tacked in place for now but I love it in this position for impromptu reverse handbrake turns! I have practiced it loads in the garage.  Right up against the drivers-side (marked passenger side just to confuse) tunnel rail.  With the gear stick in reverse there's still plenty of clearance. 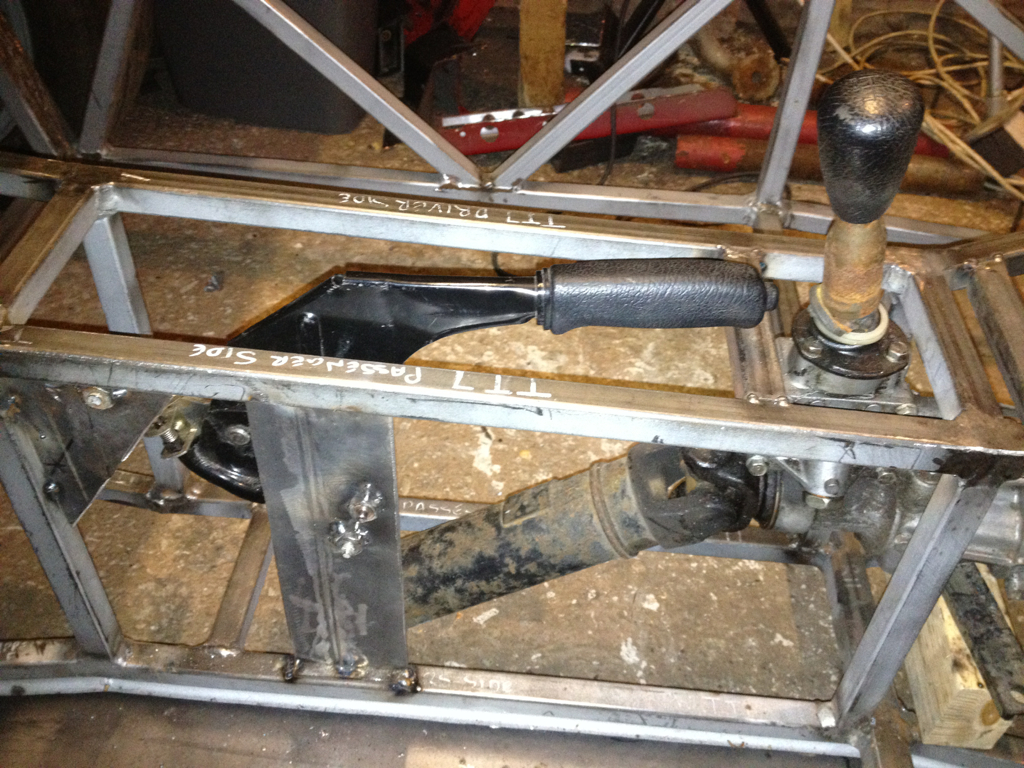 Clears the the prop nicely too. 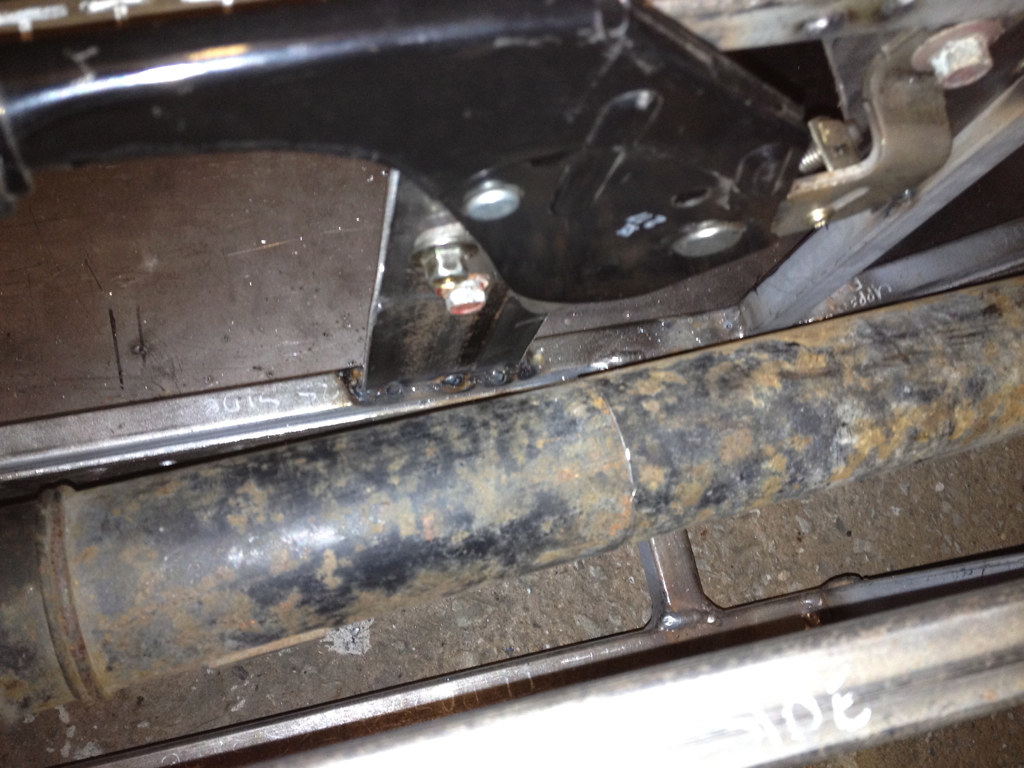 |
My Securon 4 point seatbelt harnesses and this bonnett vent turned up today. I'm making my own bonnett so this will be my bonnett buldge. It attaches with double sided license plate stuff. When it turned up it was scratched and badly finished so I negotiaited a 50% discount. Not bad for £15.:)
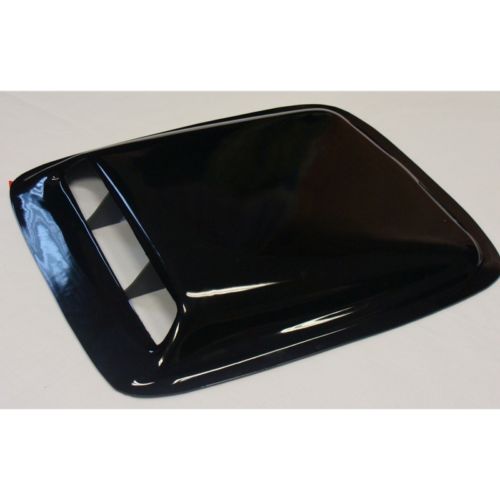 |
At the weekend I cut the handbrake bracket from the donor and flipped it upside-down and tacked it in place.
 It's handy to use the donor bracket upside-down as it is angled nicely for the position of the handbrake. 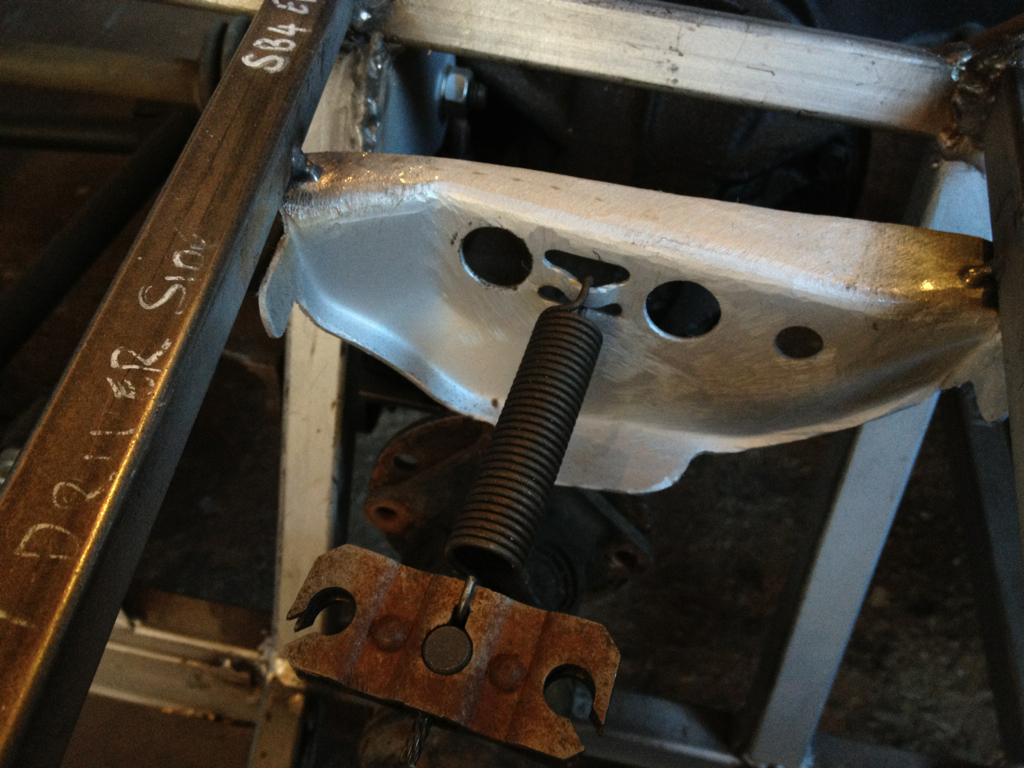 Cable running in it's guide. 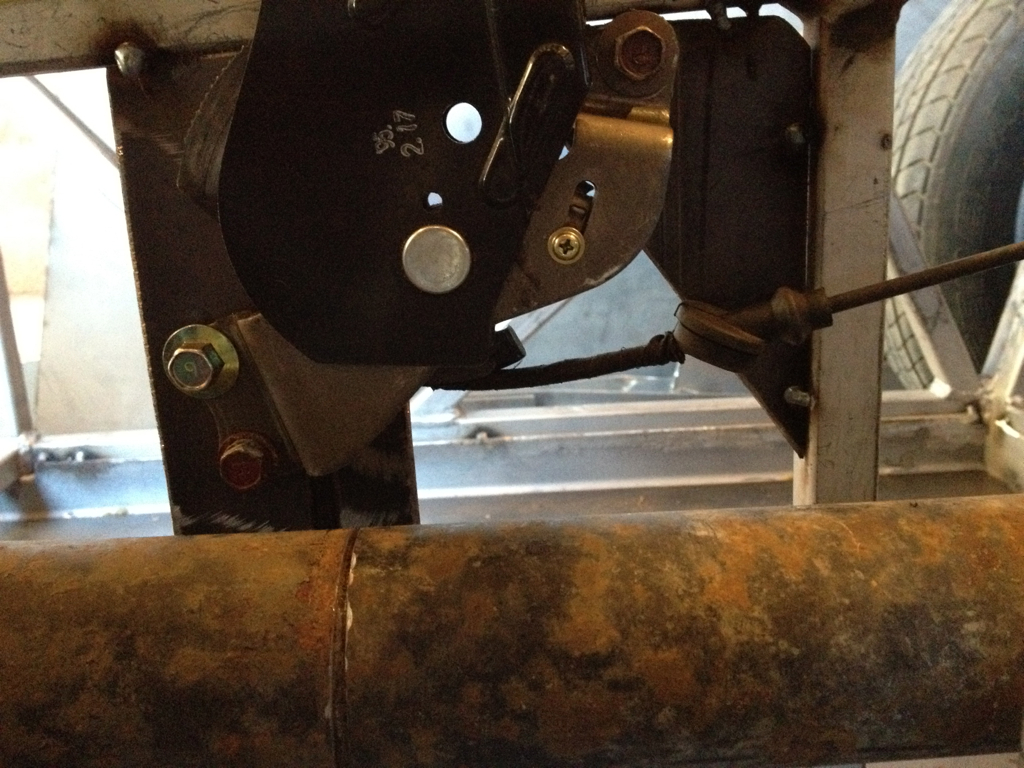 From above.  |
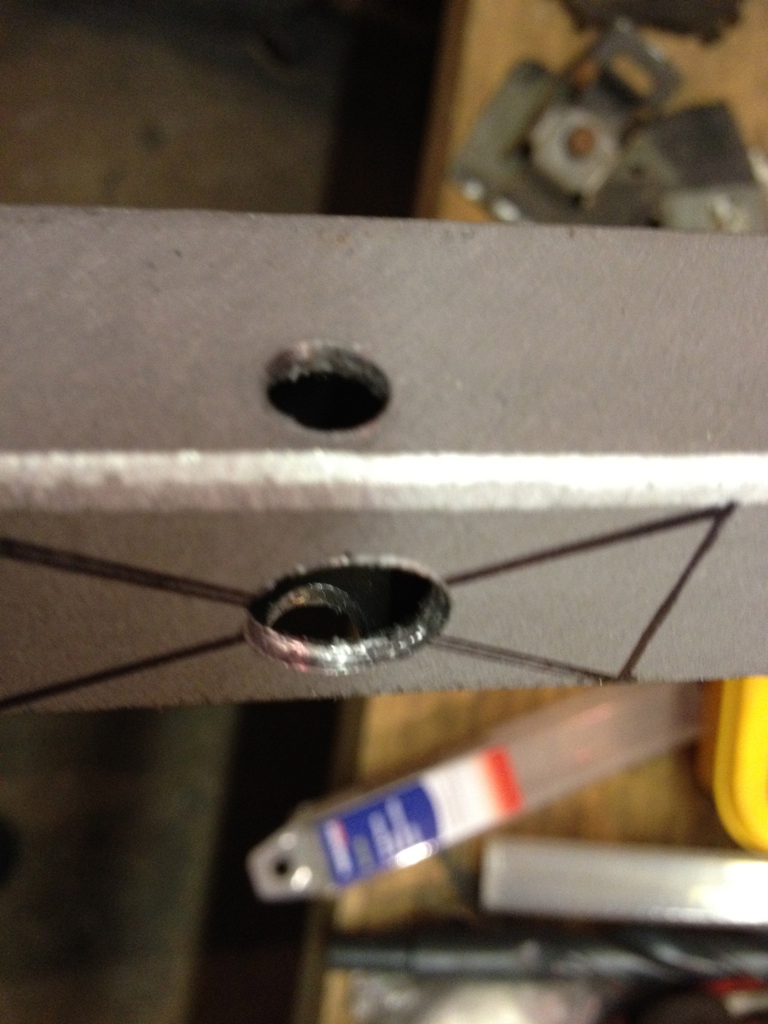
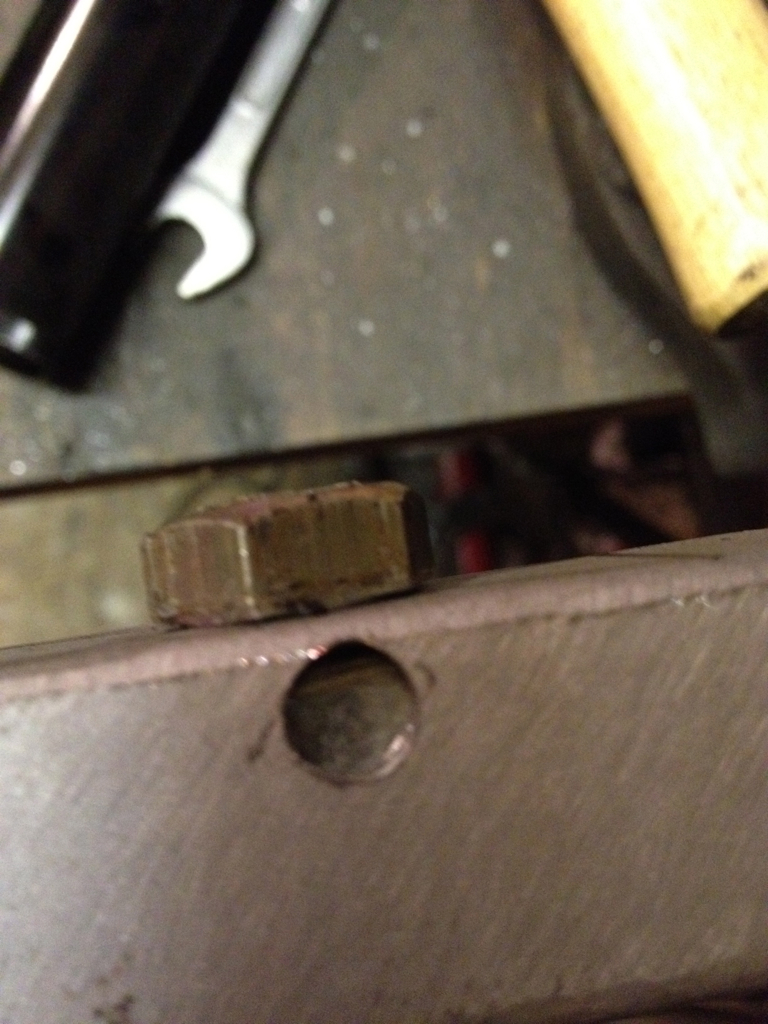
7/16 threaded nuts spot welded into a chassis tube.
    |
OK so once again I'm going off plan and mounting the seat upper anchor points on the rear suspension towers. Obviously I'll be making a modified rear tube to accommodate this change. This position was only possible as a by-product of lowering the floor 40mm and using modified MX-5 seat base and home made runners/brackets.
 Any comments on IVA compliance strength wise. Obviously it's only tacked in at the moment. I was thinking maybe I should put in some bracing from the inner anchor points down to the upper-back of the diff cage.  Sits nicely over the shoulder without touching the headrest.  Dodgey pictures taken by over excited 8 1/2 year old son at 9:45 at night. 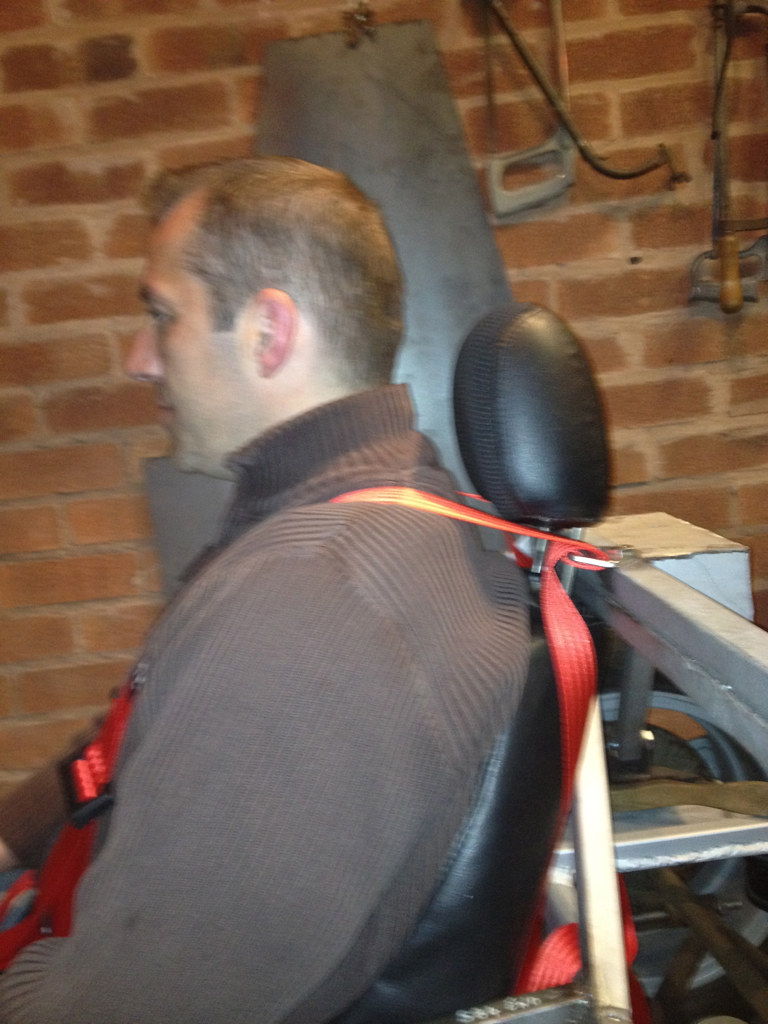 |
Here are some better images of the seat runners made from 50x100x3mm RHS. Not sure if these open channels will need strengthening but it is 3mm steel bolted to a steel seat and a steel floor through 4mm plate so probably not.
 Zip ties hold the seat down in position after defoaming the base for a lower sitting position. 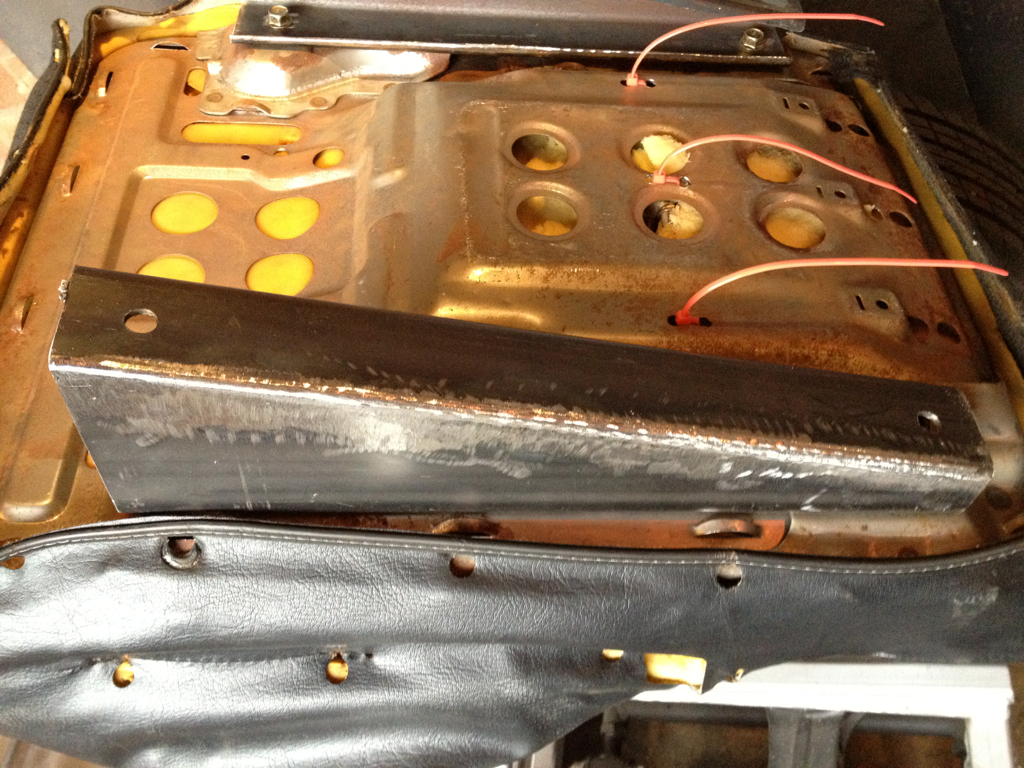 Well that's the steering wheel positioned, and for my next trick... 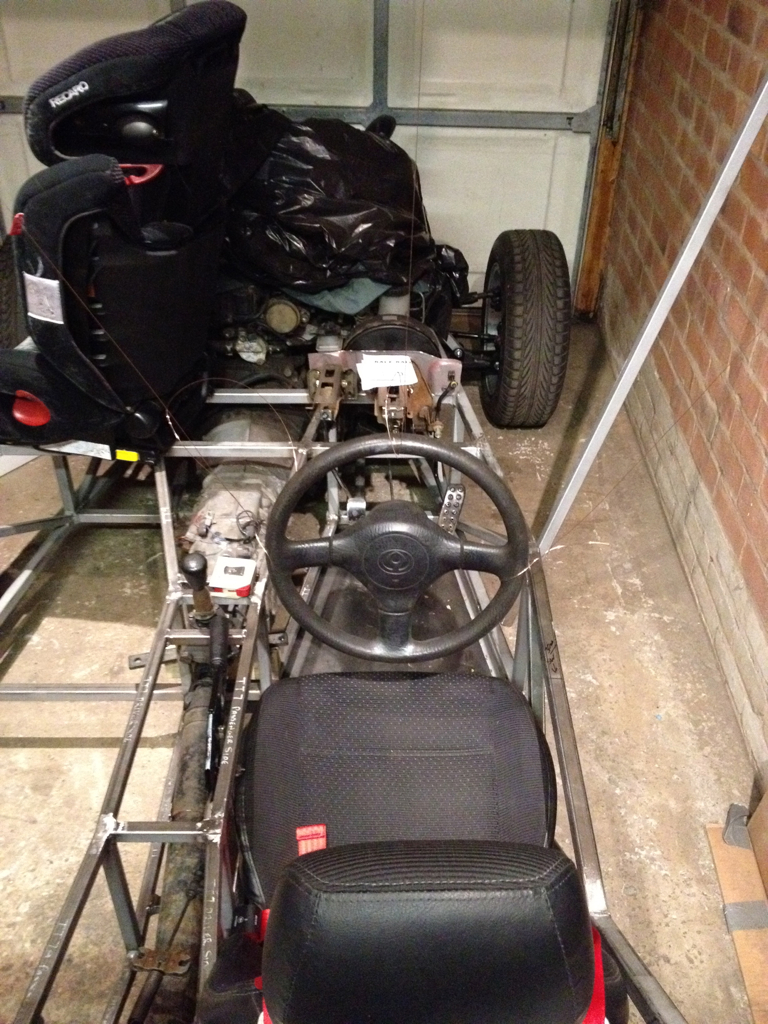 It's hanging from various parts of the garage by weld wire! The things you find yourself doing late at night!  |
Nice progress pics there :cool:
I might be wrong ( sorry if I am ) but from the photo your upper harness mounting points appear quite low in relation to your shoulders, maybe its just the angle of the photo but was just something that caught my eye . The seat belt anchorage is quite in depth from the IVA manual, They use a small block placed on the seat base then work from a fixed measurement from that, might be worth double checking sections 19 & 31 from the IVA manual. Again...just my opinion but unless you have very short arms:o then the steering wheel looks close to your body, have you tried that position with the scuttle fitted yet ? keep the progress pics coming, its looking great :cool: cheers andy |
Hi Andy, it's ok the anchor points are around 470mm above the distance piece I made special. :-) Yeah the SW location is work in progress. I do prefer a SW close to me but it maybe a little too close.
|
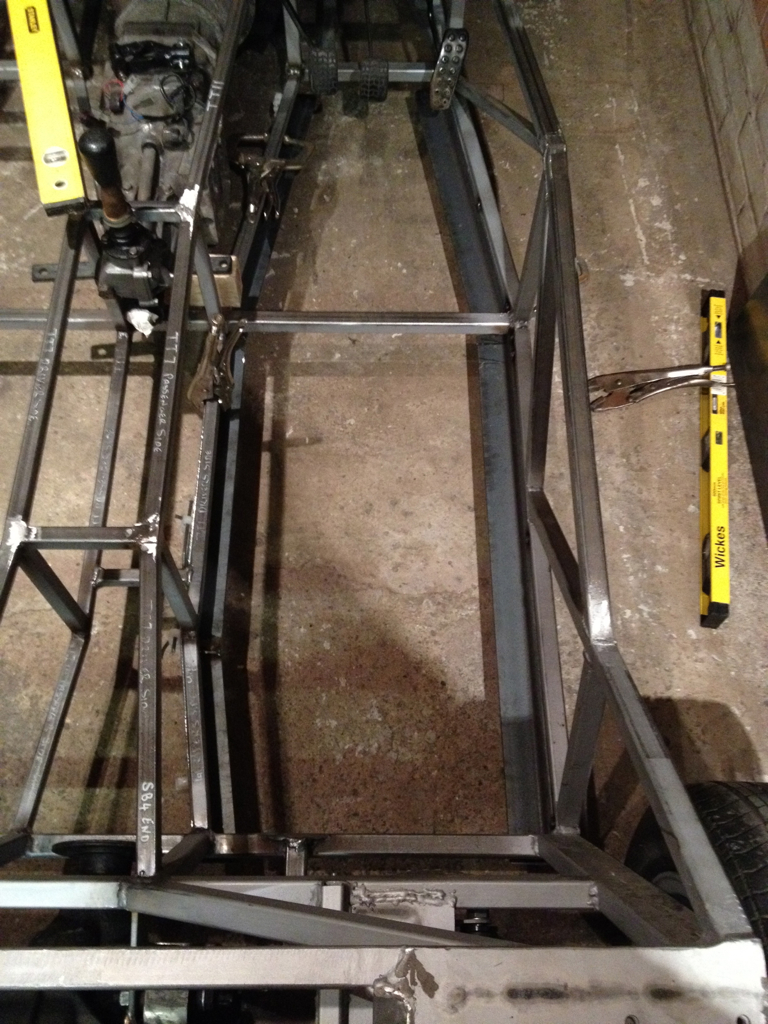
Got paranoid about the height of the seat belt upper mounts so did some checking.
 Mine runs down from my shoulders at about 30 deg. 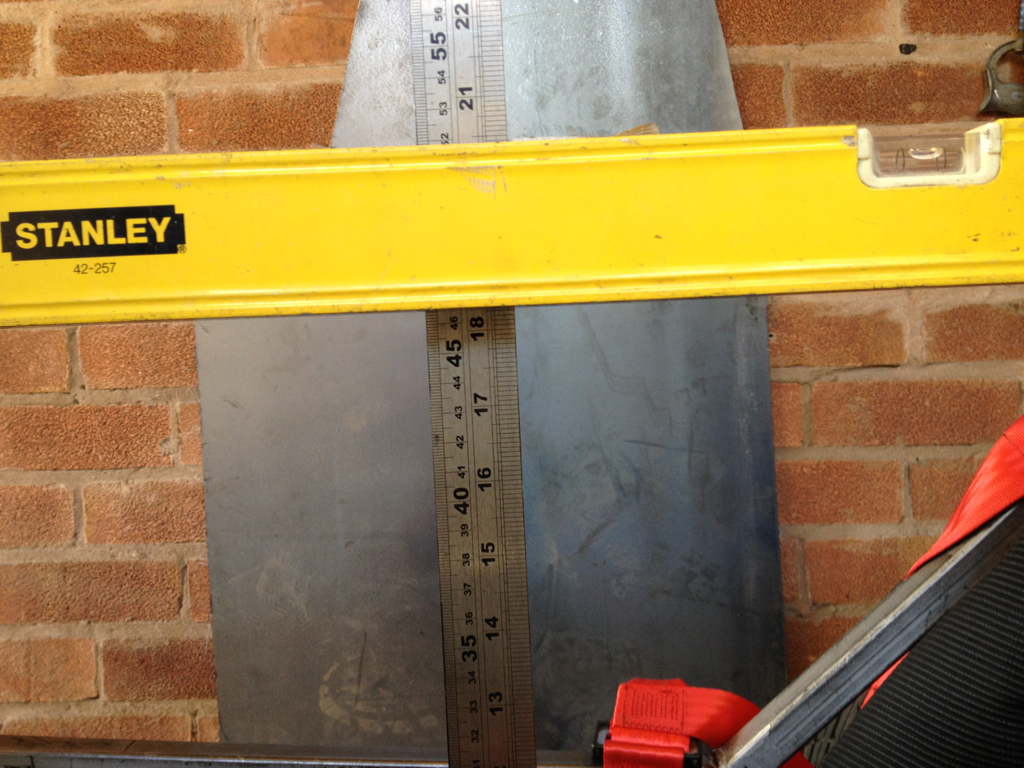 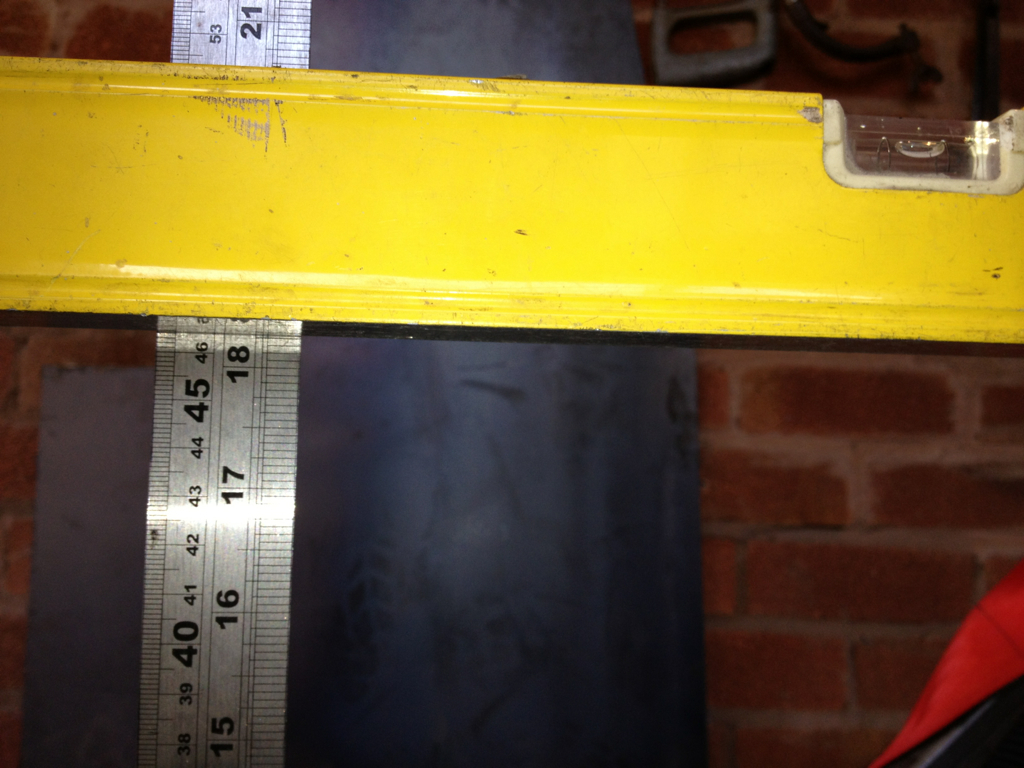 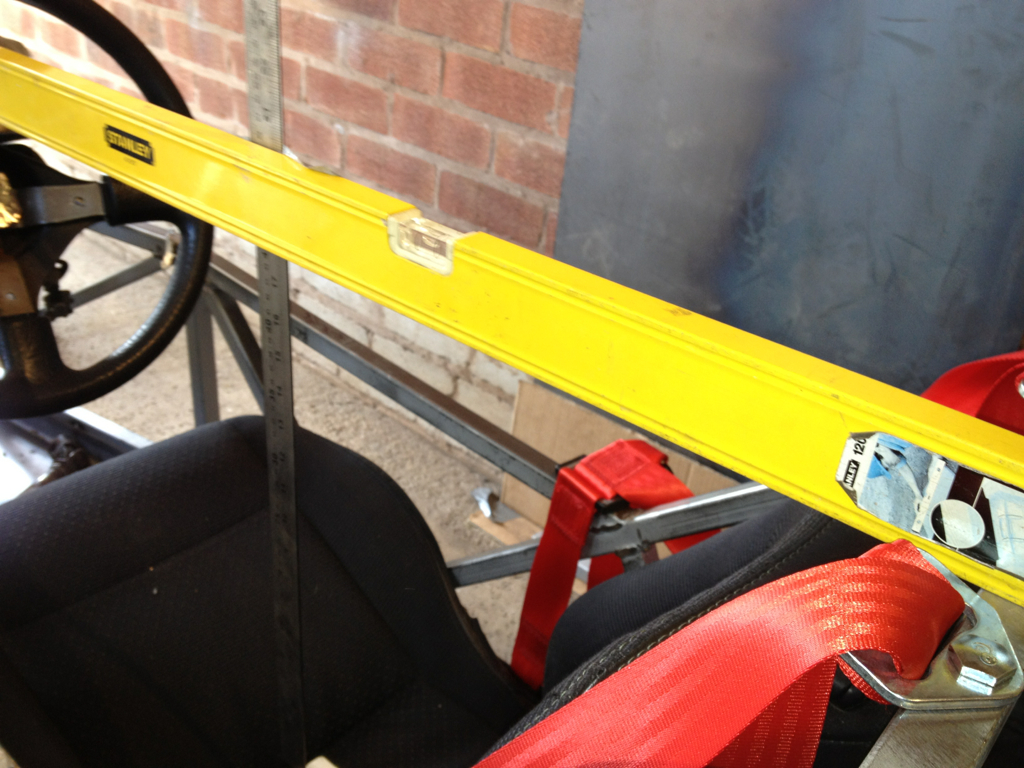 |
 Distance piece not touching bottom of rule just to be sure. 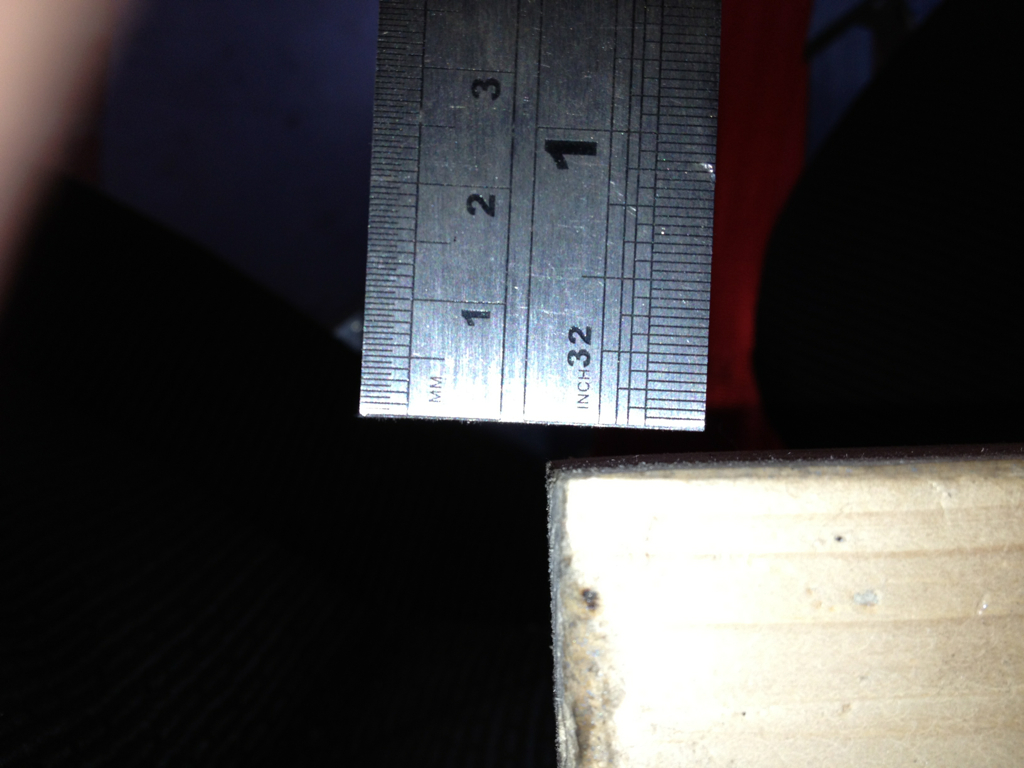 Rolled it out at the weekend with steering supports tacked in place. Managed to get the upper column to run between the clutch and brake pedals below that troublesome top rail. 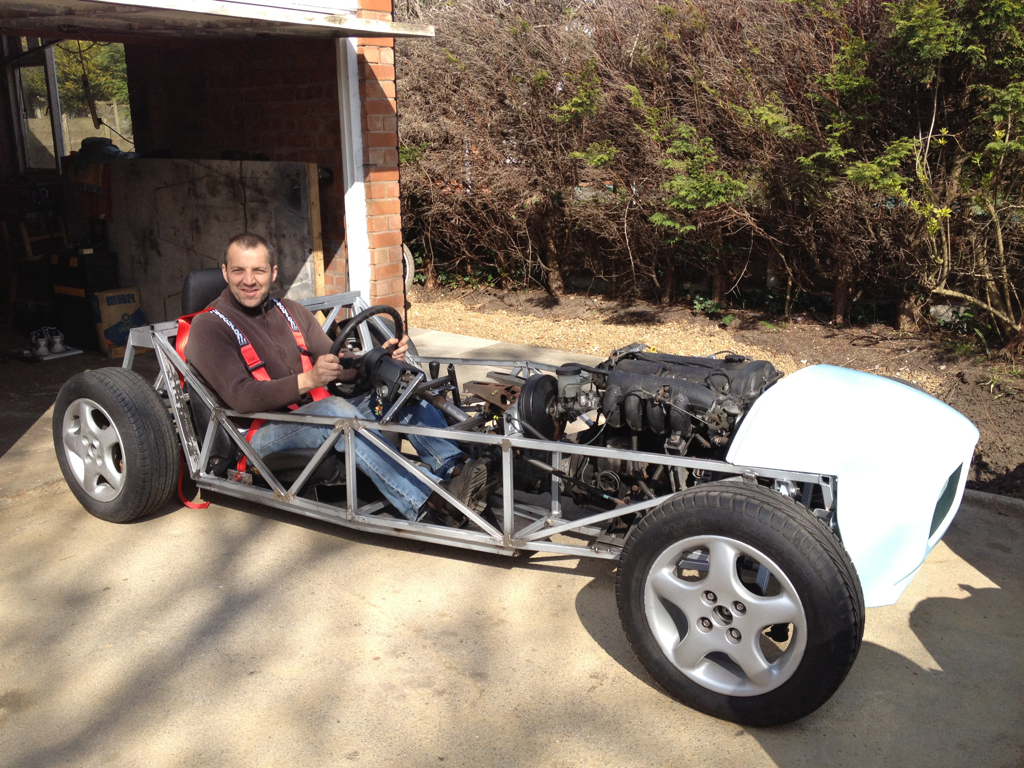 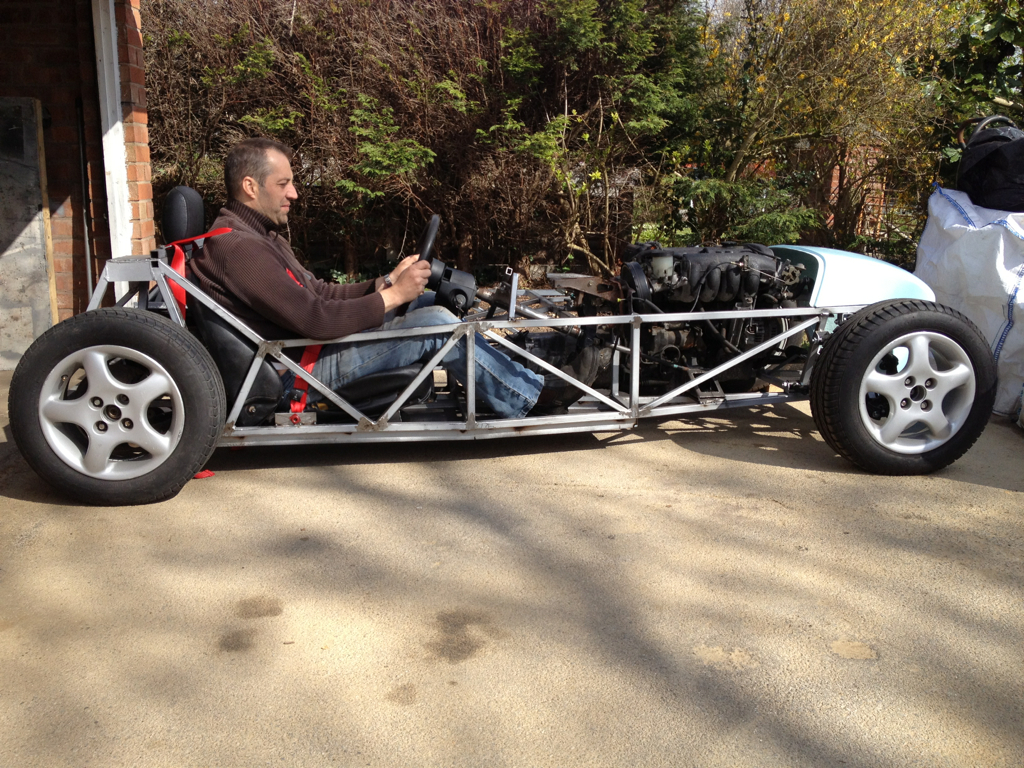 |
| All times are GMT +1. The time now is 09:45 PM. |
Powered by vBulletin® Version 3.6.4
Copyright ©2000 - 2024, Jelsoft Enterprises Ltd.