Just business premises, opening a shop front for our I.T. repair business. Hard Work. No Easter for me. :)
|
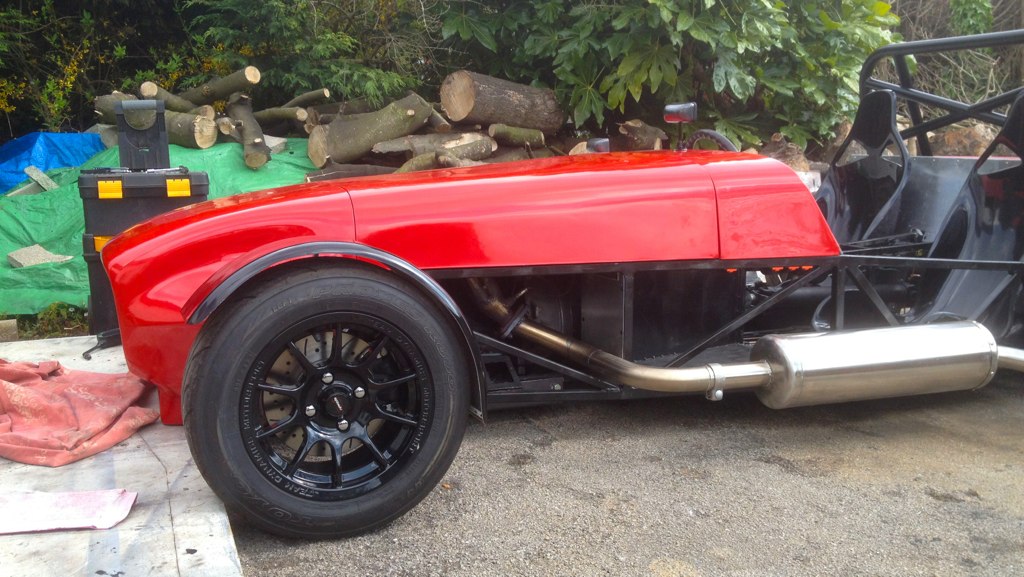
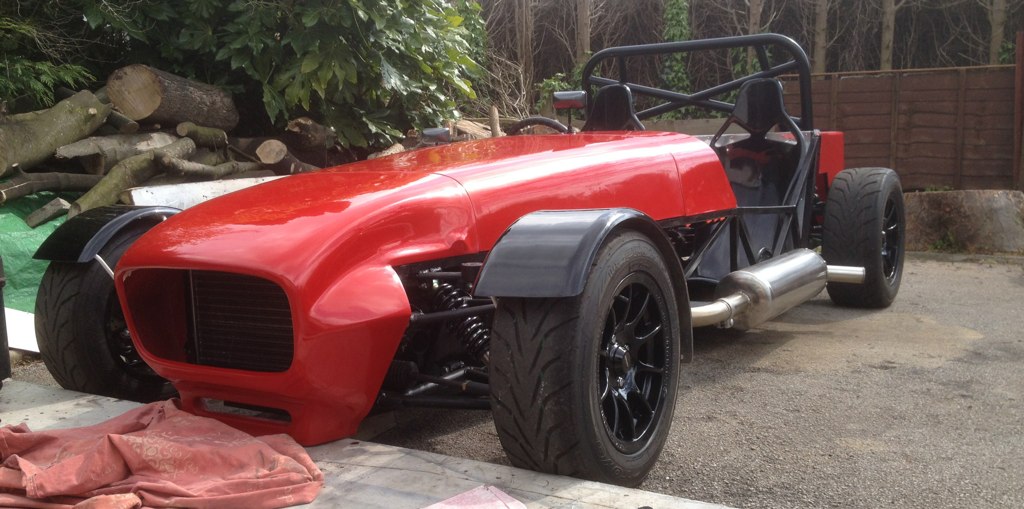
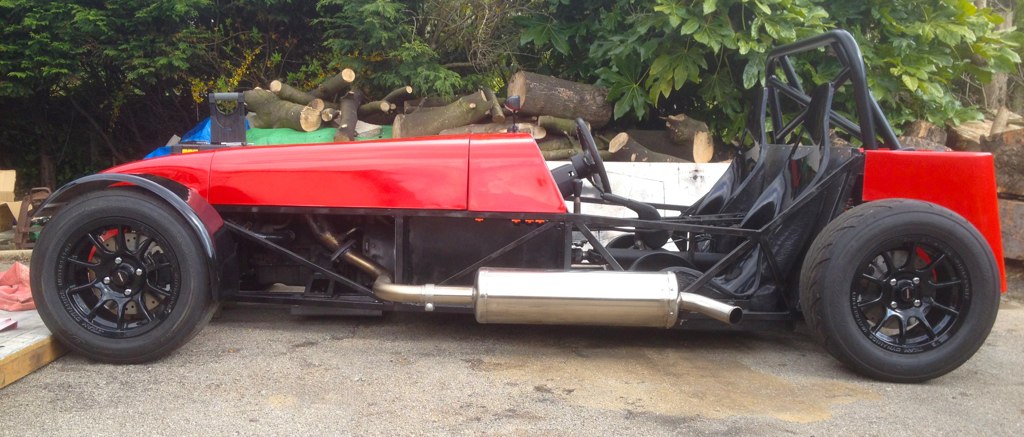
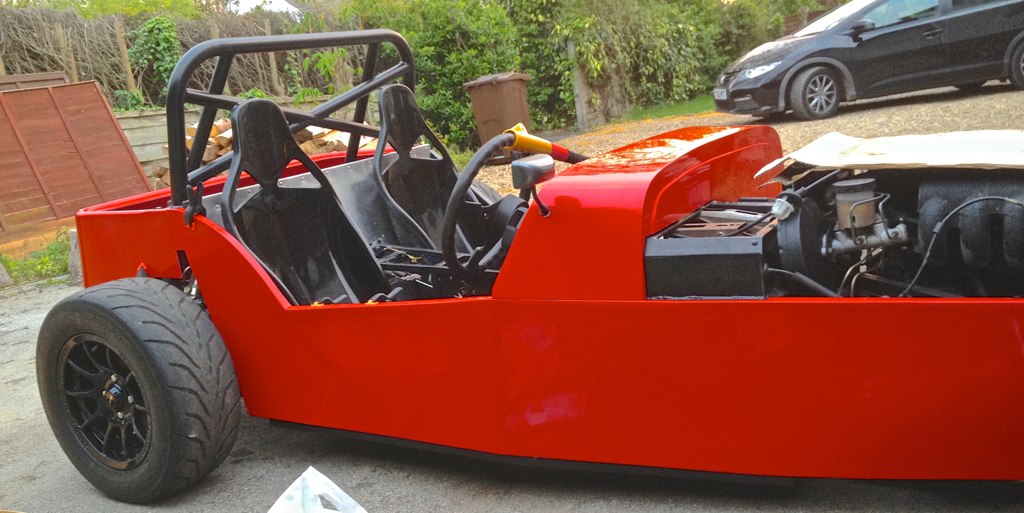
Managed to get a few hours outside with my car this Sunday. Played around with the body work to see if these mirrors I bought would work. They do but only just so I'll probably fit a pair of 'e' marked ones that came off one of my old mans mobility scooters lol. Got a bit carried away taking pictures of it.
    Had to cut the scuttle around my peddle box, tricky bit of work that so I made an mdf template first and with a few adjustments it went on ok and I could pin down it's final position. I'll be able to use the original mx5 column shroud with no big gap between it and the dash which was handy. |
Got carried away with the body panels, fitting them long before I should be. Thank god I resisted the urge to get the rivet gun and drill out.:roll eyes:
 |
Just read this entire thread, some great work, car is looking fantastic. Really makes me want to get cracking with a build of my own.
|
Too many pictures are never enough. :p
|
Quote:
Quote:
|
EYES?
TaDa! 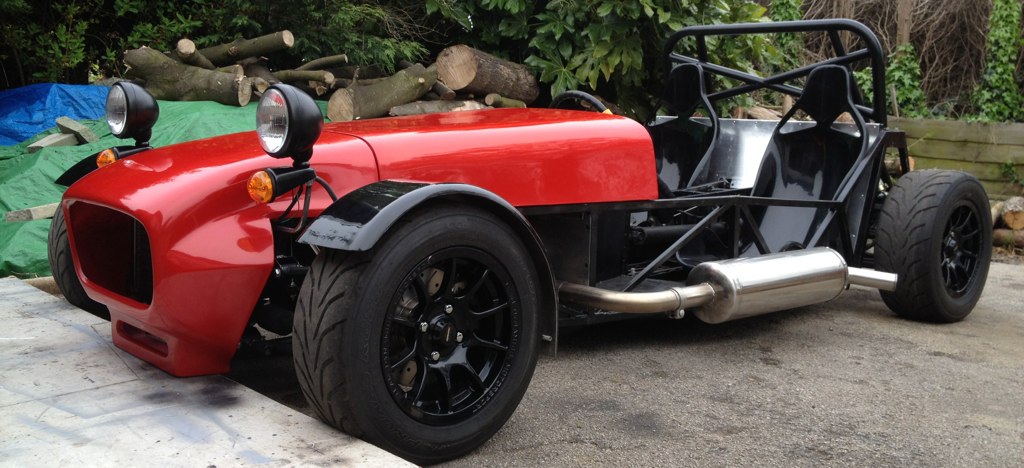 There's loads more pictures on the stream. To fit lights i had to do this to a brand new 21mm spanner!  As you can see I've moved the light up and forward to get the indicators in a IVA legal position, mimicking Caterham's design. 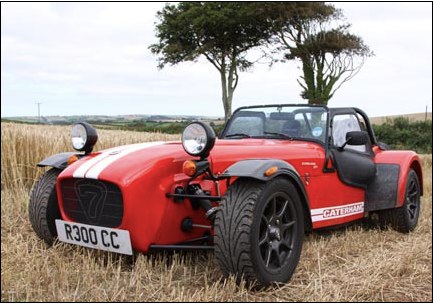 |
I am doing the wiring.................the end! :|
|
After 25 hours in the garage my horn now works, well one of them anyway!;)
Tomorrow night I should have the headlights and front indicators wired up and the fuse box and relays finalised. Leaving the dash wiring and the rear light wiring until the body work and tunnel is fitted although it will all be tested beforehand. All the steering column is wired up along with the mx5 brake switch and instrument cluster. I've made the wiring loom so that is can be unplugged from the engine loom for when I fit another engine. I've also used the mx5 wiring diagrams so that I can easily, lol, find faults in the future. |
Nice work !!!
I also bought the caterham style indicators and headlights. Now i've got a very good example how to do it.(nice pics in your photostream) Thanks, Wim. |
Quote:
Wiring update. After getting the fuse box all sorted and neat and all the wires needed to the front of the car, I discovered I had a popped 20Amp fuse in the (ad) fan location, I stupidly assumed this was the rad fan being tired at around 10:30pm and spent an hour looking for the problem. Couldn't find the issue and went to bed. Spent another hour in the morning looking at it again and then realised it wasn't the cooling fan fuse at all! Just some f***ng random fuse that doesn't appear anywhere in the wiring diagrams and is for the fan if you have Aircon. WTF the car never came with aircon why did they fit a fuse that's some how now pops whenever it's replaced. Bit p***d off about that. Anyway I ended up checking all my wiring out sort of and couldn't find a single problem which I suppose is good. Tonight I never got into the garage till 9pm, two hours later i had fully functioning head lamps ! So I guess this little modification worked 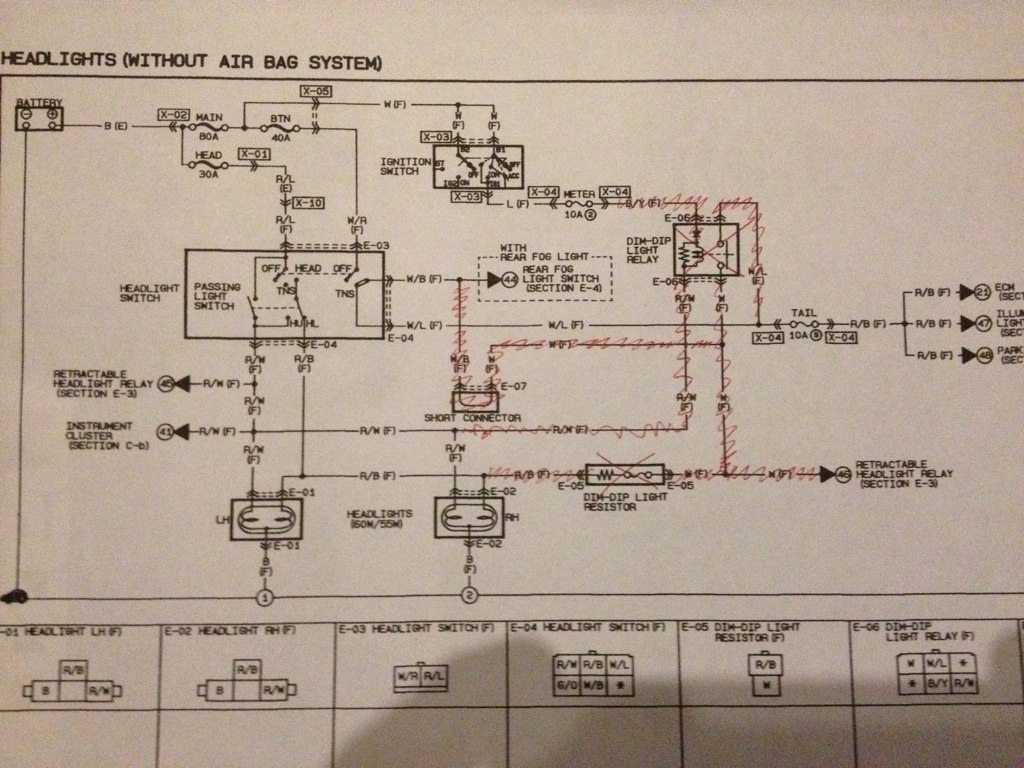 Clocks at night  Main Beam  side lights in the garage  |
Quote:
Regards, Wim. |
Quote:
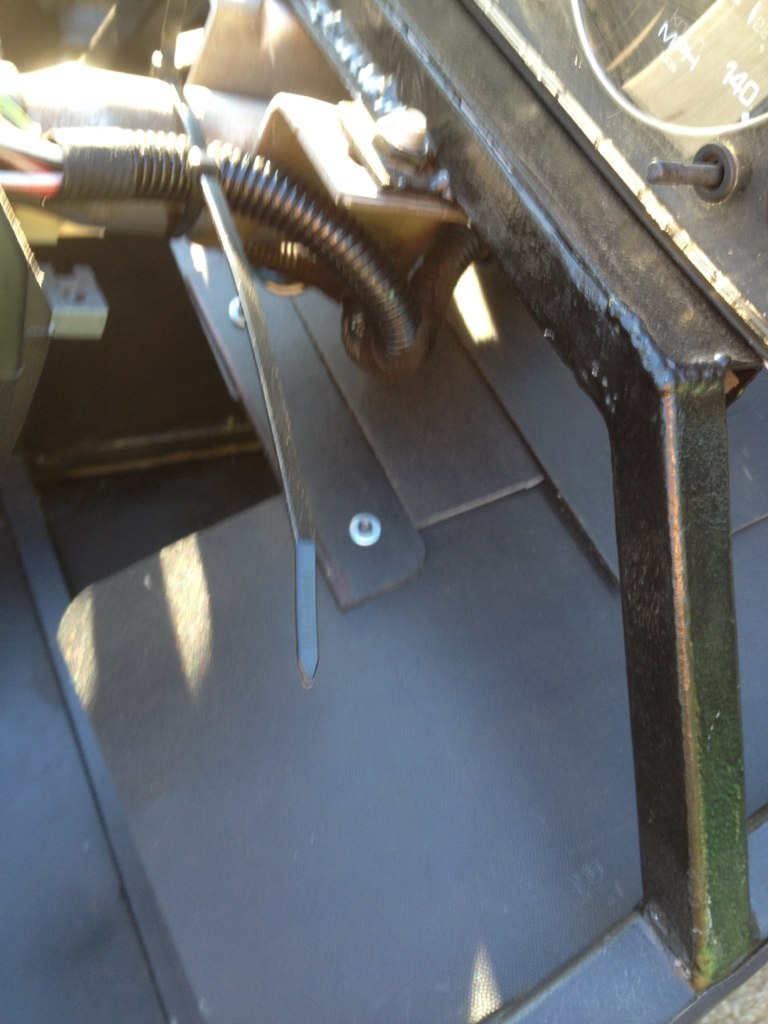
 All light wiring for me is now done. One trunk of 16mm split conduit takes the wiring from the steering column to the fuse box and then back out to the front, back and clocks. Worked out quite neat but have had to order more 16mm p-clips, some ballast resistors for the led side repeaters and some 6mm split conduit to finish it off. I put the pump wiring into this conduit to the rear. When the bodywork is on I'll finish the wiring at the rear. I'll take some photos of the wiring when it's finished. As it stands currently, flattened the battery leaving the ignition on!  I've made a start on the side panels for the tunnel and ordered some foam and black vinyl. I also have some carbon fibre look ABS plastic for the dash. Can't really get my head around the fact I'm thinking about interior trim! Weird! Am I really that far along? I must of missed something out!:rolleyes: |
Started tunnelling but first the back panel vinyl glueing.
 Quite like the rivets showing through.  Did the drivers side too but never got round to take pictures. I will definitely fix it all in place this week after I've convince myself I won't need to go in there again soon.  |
Your build is coming along really nicely,
Have you decided on a suitable aeroscreen yet? I was waiting for AGM to develop his but its all gone a bit quiet.. David |
Quote:
|
Got the interior tunnel sides buttoned up.
  Wiring to rear is secured and got carried away fitting the drivers 4 point harness  Today I removed the light and wing brackets and painted them. Starting to get difficult to put off fitting the side panels and rear tub. Weird! :confused: |
Tidied up the tank removing the old drain route brackets. Nervous work with a full tank of fuel!
 New drain route.    |
Tank wiring route finalised.
 Seat trim. Might spray the seat backs as they look a bit crap.   |
Oh yes a picture of the front. Painted the rad fins, wing stays, light mounts, horns etc. matt black.
 black, black, black I say! Like the Japanese hair, I'm hiding in |
Hi Chris, making really good progress now fella ! Did you need to cut the prop after ? Or is it a perfect fit without modification ?:D
|
Quote:
|
Quote:
|
You'd really need to have everything in it's final position and measure the distance between, bugger to get right otherwise. I can measure mine is you like. Oh who, sorry. I used A1 propshafts in Liverpool, did it for £60 mostly does things like bus and lorry props i think, turned it around in a week all balanced, lovely welding.
|
Sunday! I should of stayed in bed. Opened the garage door and one of the cables let go. Tried to fix it as I have done in the past, made it worse and lost all the spring tension, having fixed it before about 8 times in the last 3 years I said "no more" and spent the next hour finding a replacement to buy on the internet. Guess what I'll be doing next weekend!
Anyway, calmed down enough to have a go at the tunnel cover. I'm doing it in sections as I can't get my head around doing it all in one go. This was the first attempt, too much foam and a bit weak on top but I gave it to the wife hoping she'd be able to do a good job covering it in vinyl! Sorry luv it was crap! 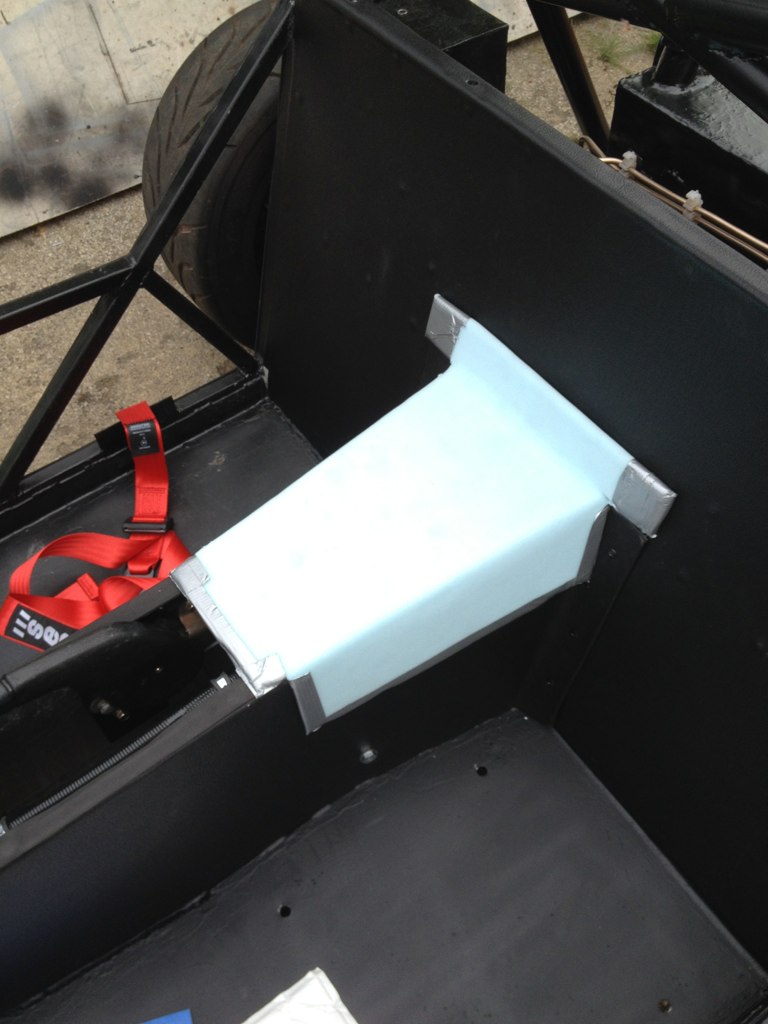 At this point I almost gave up for the day but I decided to simplify it and strengthen it and try again. 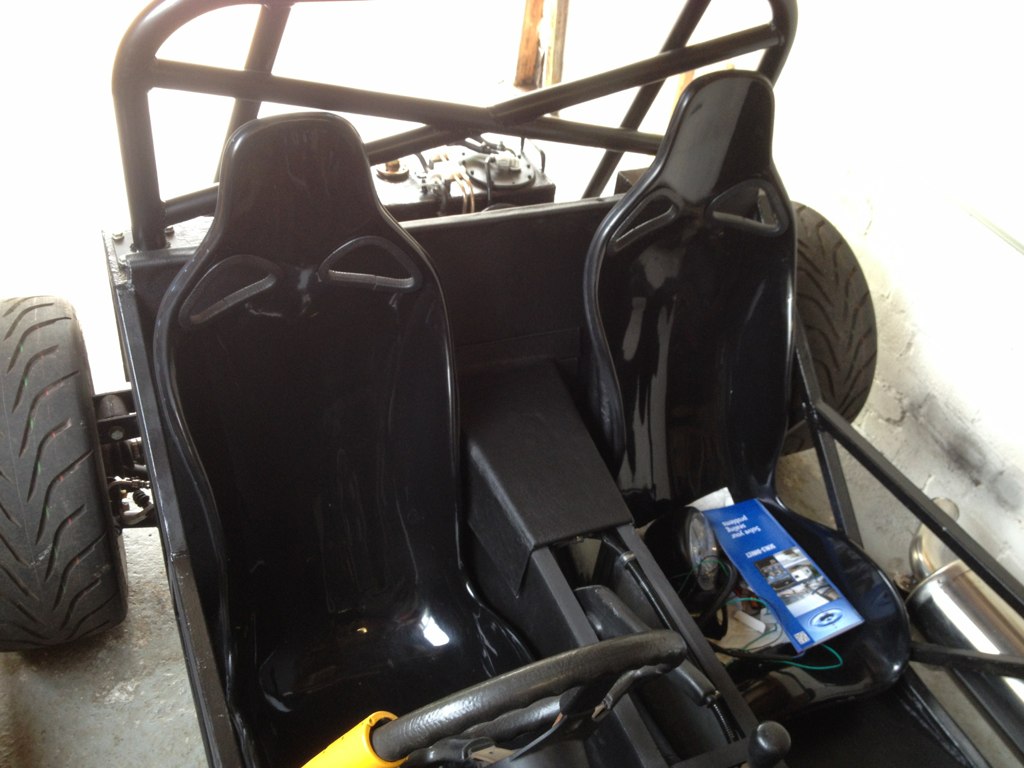 Recognise the the button fixing? oh yes Mazda genuine items.:cool: 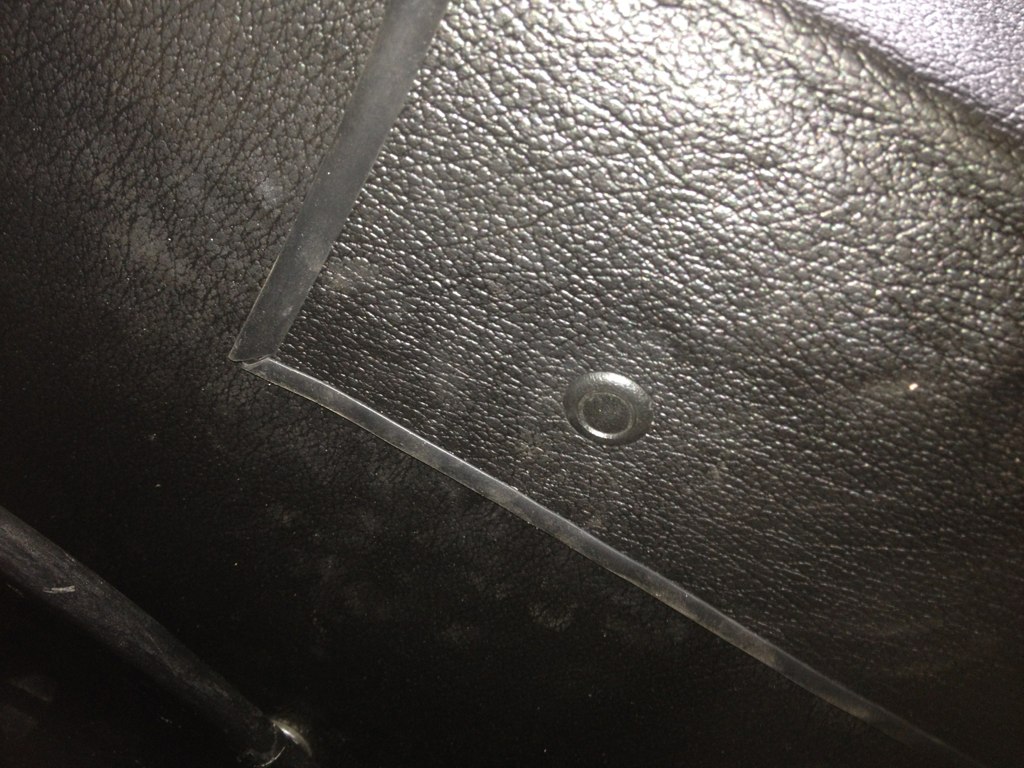 It's very comfortable, just the right height. Used 1/4" high density foam and just covered the top in the end. Doing around the hand brake is going to be a t**t of a job, me and my great ideas hey. edit: Oh yeah, edged the seats too for the very sensitive IVA ( it's a bit rough for me, I want it nice and smooth like a babes bottom) man. I have to say I hate the IVA man!!!!! |
The things you find yourself buying at 1am. Mr IVA man and his big balls:eek:
|
Oh the other day I was after some rubber edged trim. Scroll down a bit!:eek:
|
So it appears a good read and clear interpretation of the IVA manual regarding the interior projections is time well spent. I thought I'd be messing around with the pedals, steering column, and making all sorts of awkward cover panels in this area but it appears they mostly fall within the exempt zone of the steering wheel or are in fact exempt themselves.
"Visually check (using the measuring equipment as necessary) the vehicle interior surfaces, fittings and design features to ensure that contactable edges have an acceptable radius or have “Blunted edges” as required. Note the following are “exempted items” the surface of a window, seat controls, seat runners, seat belt locking mechanisms and the vehicle control pedals." 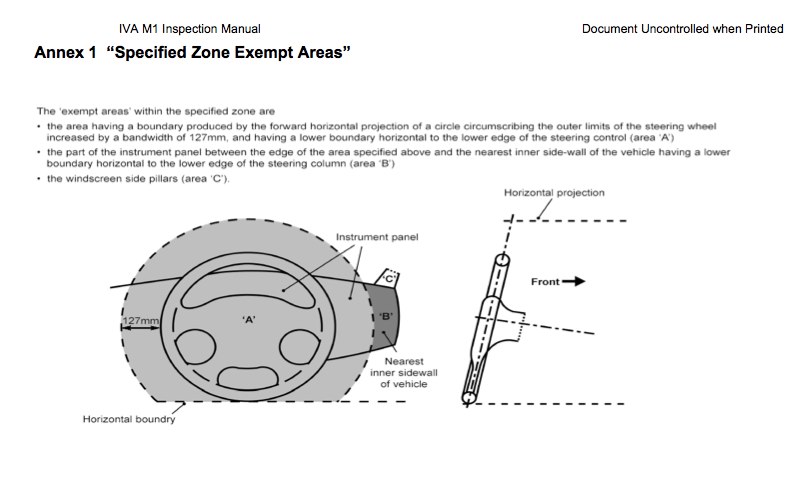 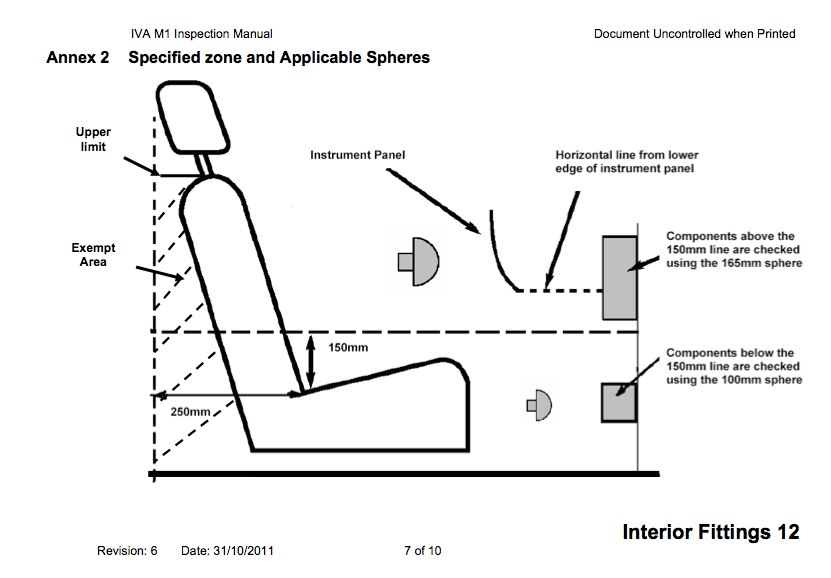 Have a feeling on my car the rear seatbelt fixings are also within the exempt zone. Will I dare to test the theory though. I recon If I can get my switches, fog and hazard and the exempt zone I only really have to worry about the dash fixings and lower edge on the passenger side. :cool: |
May I direct you to Section 16 - Exterior Projections.
It reads: Where a vehicle is not fitted with a roof the areas referred to in section 12 Annex 1 shall be assessed to the requirements of this section. The exempted areas detailed in annex 1 of section 12 still apply to roofless vehicles if a windscreen is fitted. Which I believe means that those areas are not exempt on a roofless windscreenless car, but tested against the exterior projection rules :o |
Quote:
|
Ha ha, I thought you'd like that one :p
I love how they sneak these little snippets into the manual where you'd least expect them :D |
So all the car has too comp to exterior 100mm ball test and requirements. No 165mm ball test at all.
If any pedestrian I knock over finds his knee under my side of the dash then I doubt he'll be particularly concerned about his friggin knee! I'll be bloody concerned because he'll be sitting in my bloody lap! If his heads down then there then that's really worrying!:eek: |
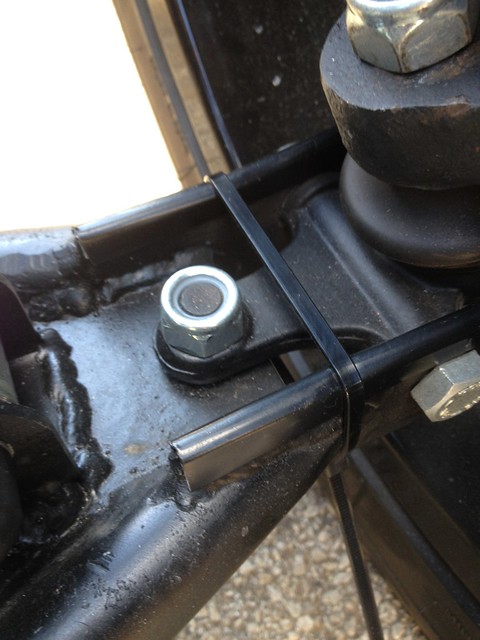
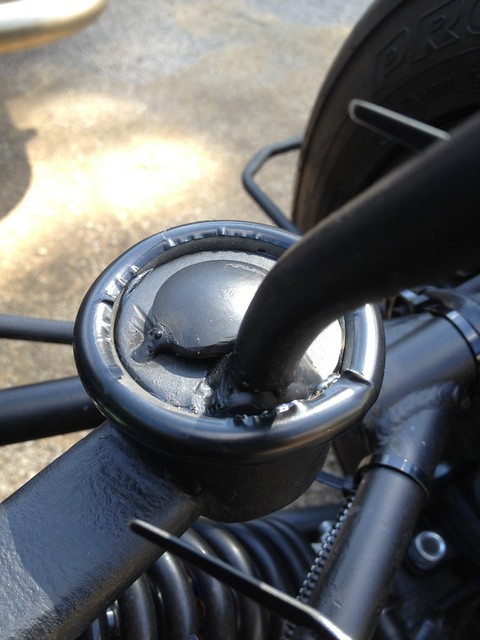
This ball is becoming quite a problem for me.
 Not anymore... 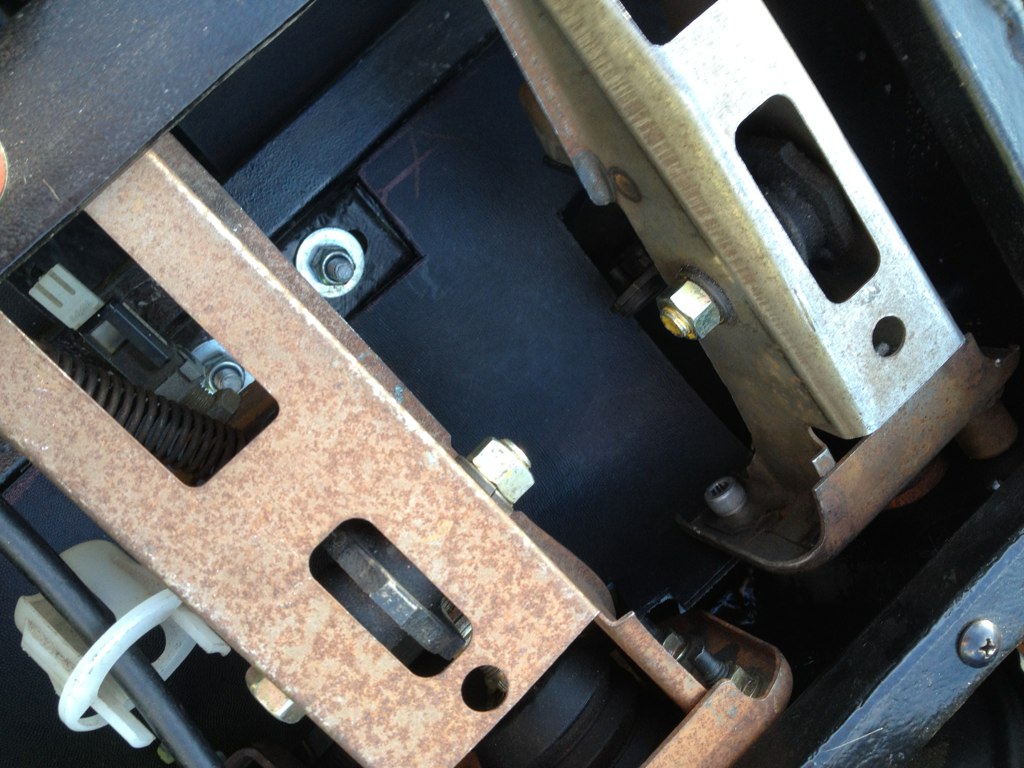  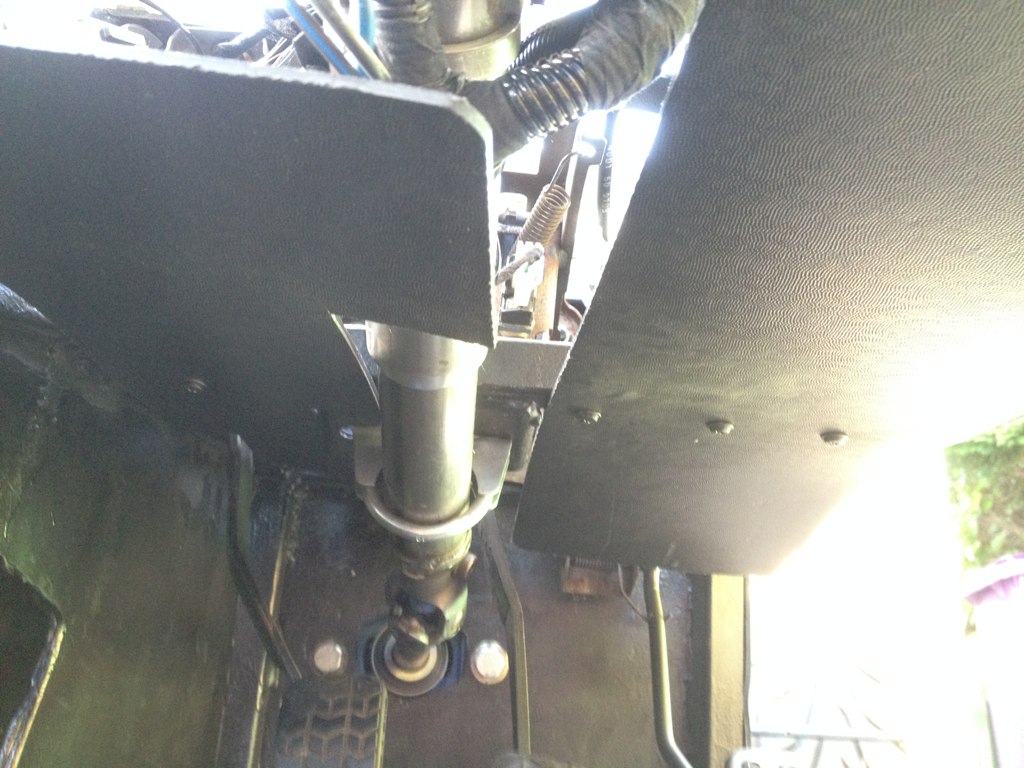 Not my best work but who's going to see it down there. And if the MAN wants to wave his balls around my undercarriage he's going to be disappointed. Obviously I have to do a bit more finishing off. This job is NOT my favourite bit! |
Classic bodging!;)
 |
Arrived this morning.....
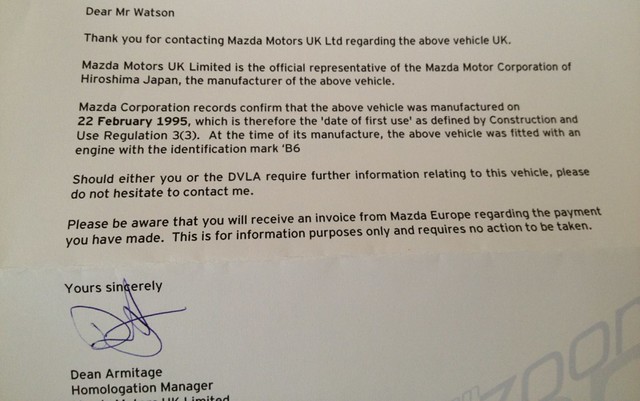 So my vehicle should follow the flow diagram path, yes, yes, no. Assuming it fails the BET test, which is likely. 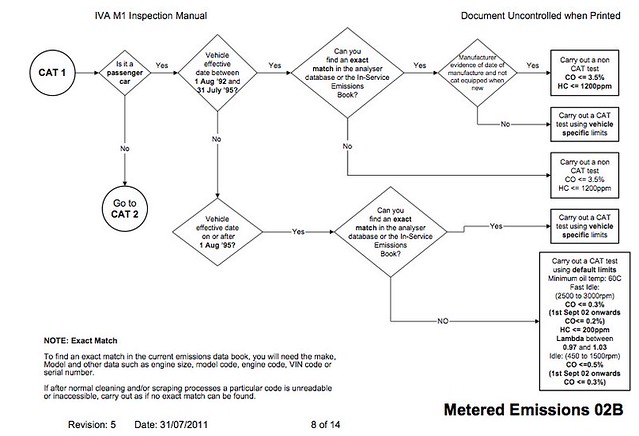 Any haynes built using an engine from a vehicle manufactured during 1995, before or after July 1995, will have an Engine manufacture 'Effective Date" of 1st January 1995 if you can prove the engines date of manufacture as the letter above does. Useful to know for other builders as older mx5 cars get rarer, which will probably happen soon I think the way the sills rust through.  |
No CAT for you :D
|
I've kind of got carried away after having to replace the garage door. I'm now replacing the rotten window and have already rewired the garage, fitted an alarm and it's now brighter than the sun in there when you turn on the lights. Oh and a tool board with shelving. I thought I'd make the garage more usable now I've nearly finished building this car! :rolleyes:
|
Piccy. Someone gave me some MDF and it was taking up space in the garage making it smaller so I reversed it into making the garage bigger! Needs more tool hangers (small screws) .
 |
So I'm in the process of attaching lots of little bits of rubber and plastic to my car in a most unenthusiastic way. Not enjoying this bit at all.
   Decided to do a compression test on the engine. Probably out of pure boredom but it's good to know where you stand with an engine before you put it back on the road after 5+ years without any regular miles. 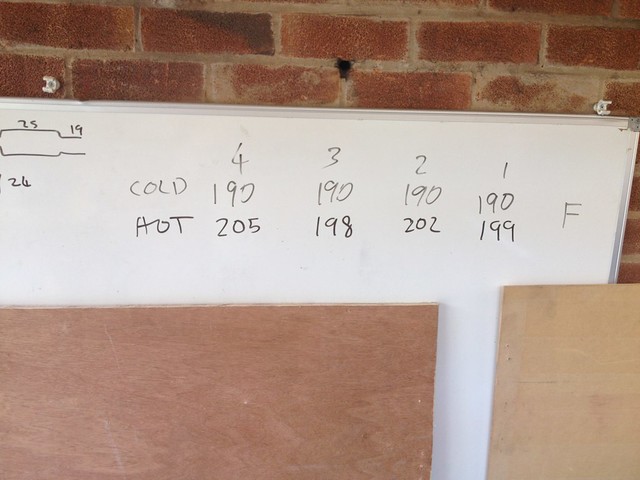 Happy with that. Couldn't get my head round the high numbers as 9.0 CR x 14.7 is around 130 odd psi bit of digging..... Quote:
|
In other news I've spoken to the new wizkid at work and he things this is doable..
Quote:
|
| All times are GMT +1. The time now is 03:21 AM. |
Powered by vBulletin® Version 3.6.4
Copyright ©2000 - 2024, Jelsoft Enterprises Ltd.
