Quote:
But it gave me a good laugh. |
You will have to cut the cable anyway. In its position on the plans it makes a nice arm rest as I have my seat all the way back
|
Quote:
Have you a link to the seats you used Thanks |
The old style cobra seven's
They aren't as comfy as they look. My friend has a pair of jk composite seats that he finds really comfy but I didn't fit in them. I'm too wide, not that I'm fat. My car |
Quote:
did he bolt them to the chassis or did he have runners do they fit on a standard runners |
Quote:
I'm not too sure about the jk ones, I think he had a runner but I'm not sure. Have a look at the jk website they look nice but you need to sit in one first. Tillet are also very nice but costly, especially in carbon |
haha nice one with the bracket :)
my hand brake is further back and yes I shortened the cable . like said above try and lower it if possible mine lands nicely inside my arm when reaching for the gear lever, also I padded out the tunnel top so the handbrake appears lower. Seats , I used westfield sports seats if you troll through my build you will see photos of seat and handbrake if you need more shout and I'll take some better ones |
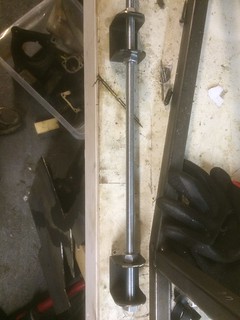
 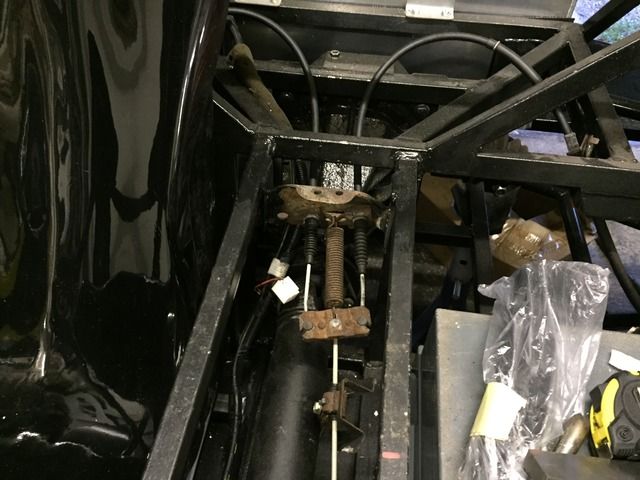 heres my mx5 handbrake. i cut the cable bracket from the donor and welded that in the same place as the book bracket, then fitted the cables which gave me the handle position, works a treat and means its all standard, the saturn plans show a homemade cable for the last bit which i just dont like |
Cheers for that.
Yea im not a fan of cutting it. Would you have an expanded view showing the handbrake in relation to the gearstick Cheers |
 Untitled by stephen harborne, on Flickr Untitled by stephen harborne, on Flickr Untitled by stephen harborne, on Flickr Untitled by stephen harborne, on Flickr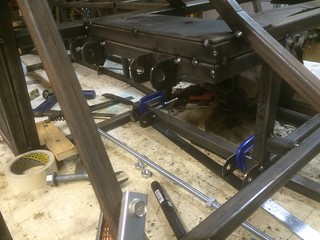 Untitled by stephen harborne, on Flickr Untitled by stephen harborne, on Flickr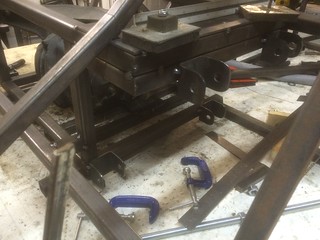 Untitled by stephen harborne, on Flickr Untitled by stephen harborne, on FlickrRear suspension brackets in place |
 heres one of the handbrake, clears the gearstick ok , could be further back by welding the cable clamp plate further back, i also welded on the small bracket that straightens the short cable into the handle, it cam off the trans tunnel of the mx5 and keeps the cable straigh and more importantly away from the prop |
Cheers thanks for that.
|
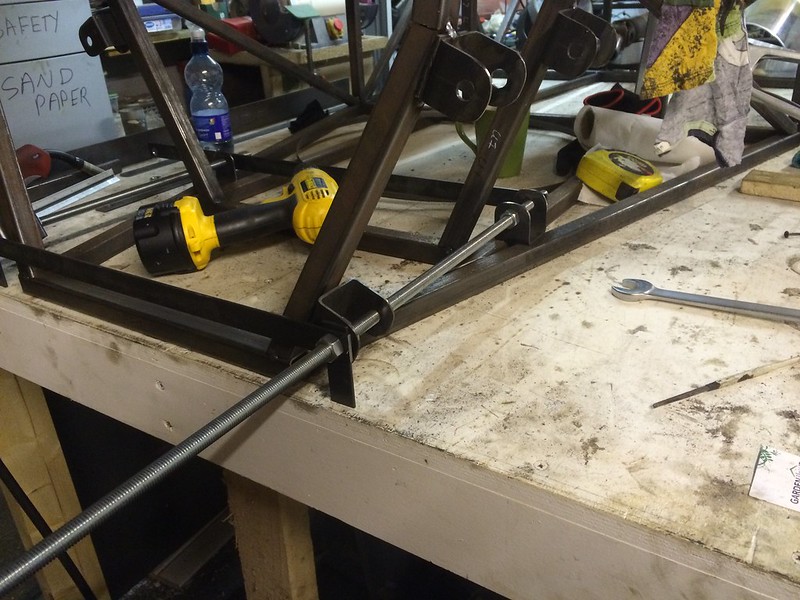
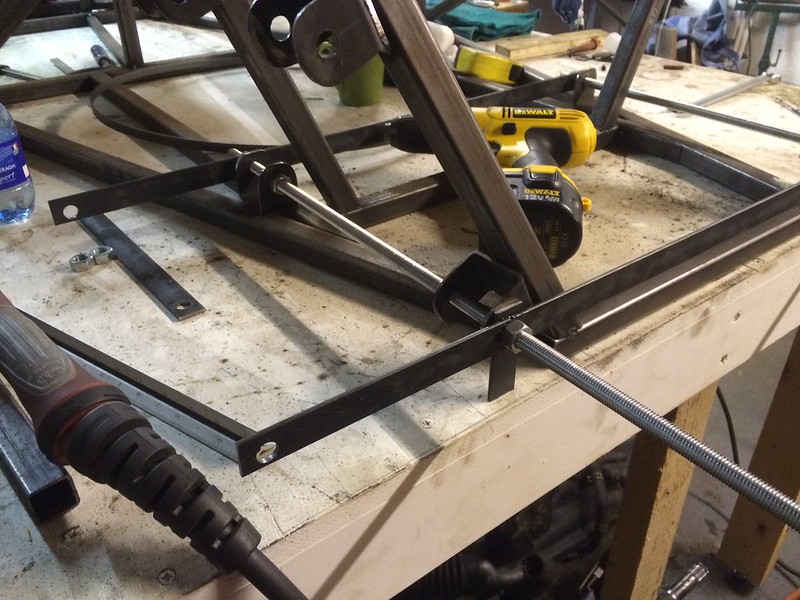
Ok so i got the front suspension brackets mounted this required a jig to be made
it was a bit fiddly but got done in the end Top jig 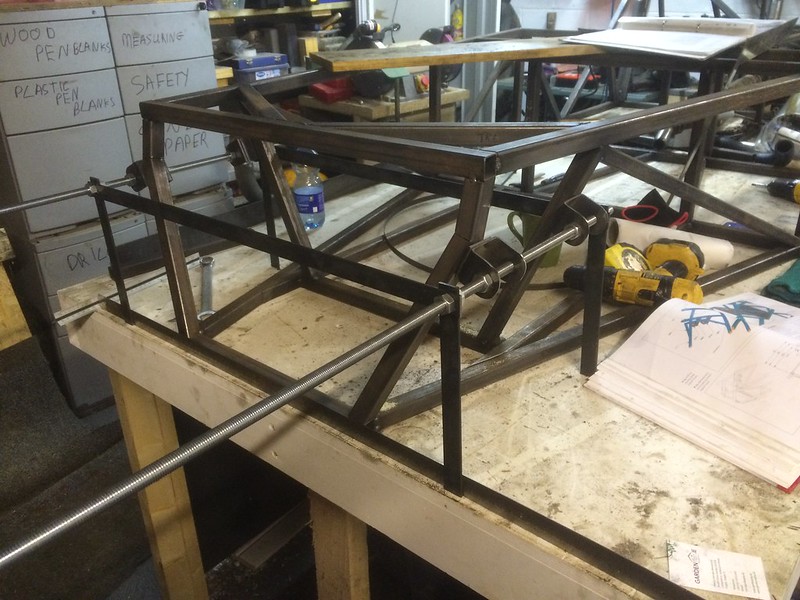 Untitled by stephen harborne, on Flickr Untitled by stephen harborne, on Flickr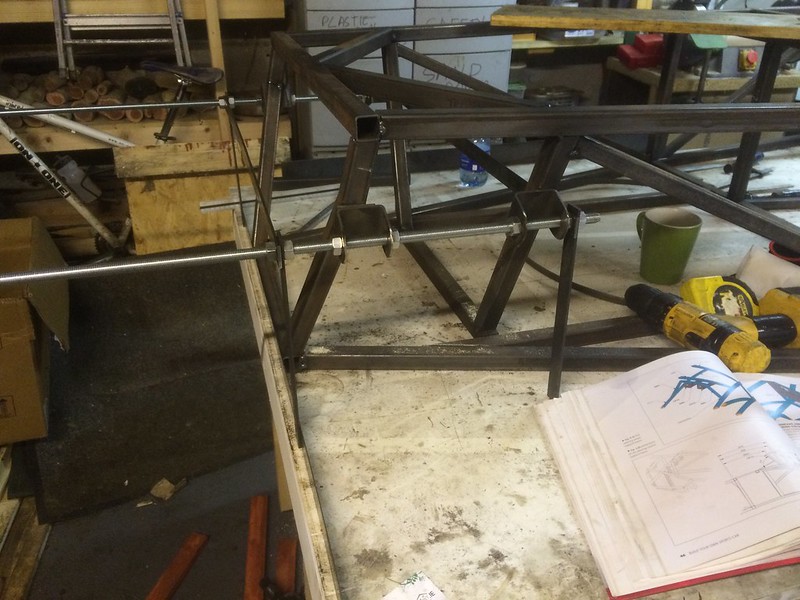 Untitled by stephen harborne, on Flickr Untitled by stephen harborne, on Flickr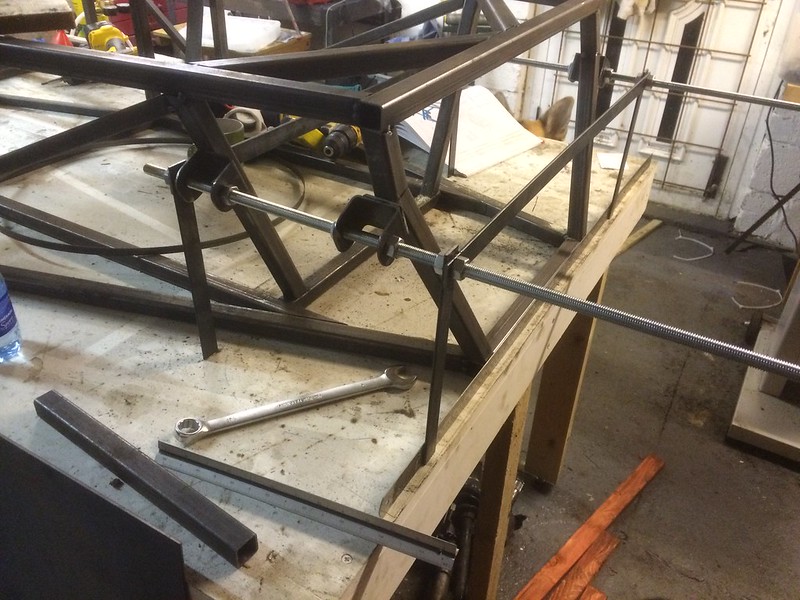 Untitled by stephen harborne, on Flickr Untitled by stephen harborne, on Flickr |
|
Brackets tacked in place
 by stephen harborne, on Flickr by stephen harborne, on Flickr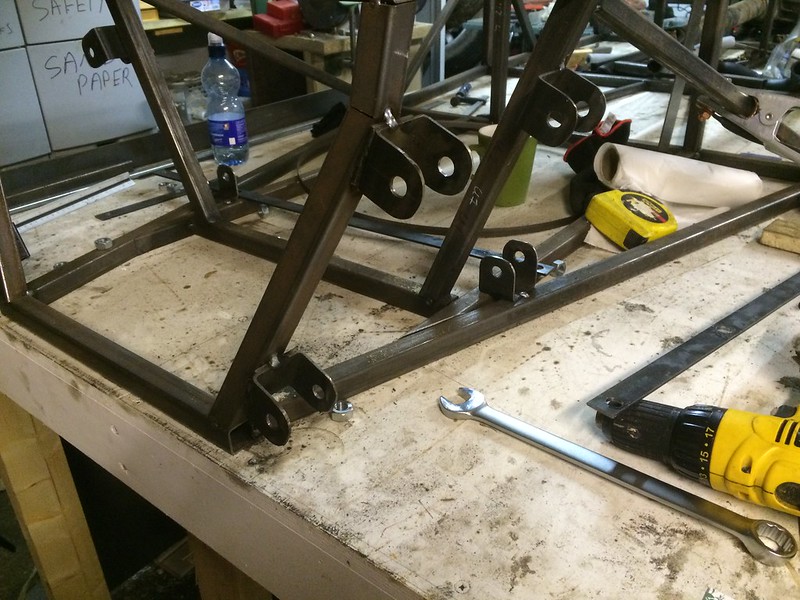 by stephen harborne, on Flickr by stephen harborne, on FlickrAlso added a support brace 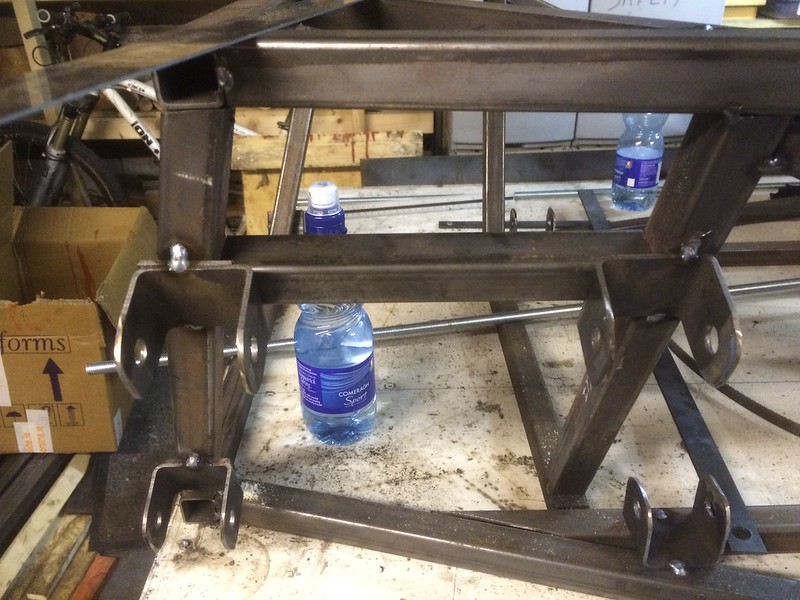 Untitled by stephen harborne, on Flickr Untitled by stephen harborne, on FlickrGot these cut for the lower adjusters for the wishbones 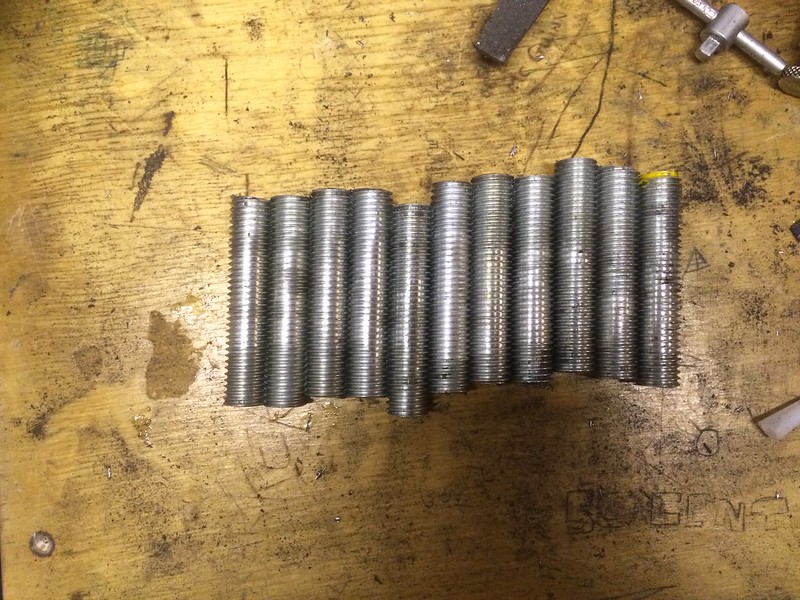 Untitled by stephen harborne, on Flickr Untitled by stephen harborne, on Flickr |
looking good there and it always feels good to get something done.
One point to throw in there is that I rose jointed my lower front wishbones and in hindsight I think I would do the lowers fixed as per original design as the top drag link is adjustable to give the required camber and obviously the track rod ends give the toe in. Origionally my idea of using the rose joints was to allow shimming fore and aft so I could adjust the castor / trail to give better self centering for the iva. Like I say I'm just throwing that wee thought out there and by no means an expert on suspension design ... lol :) anyway the weekend is here so keep up the good work :) |
Cheers
Well i have all i need to make them adjustable so i think ill do that for now. Then when its set up correctly measure them a nd make solid ones to match. Ill need something to do once finished :) |
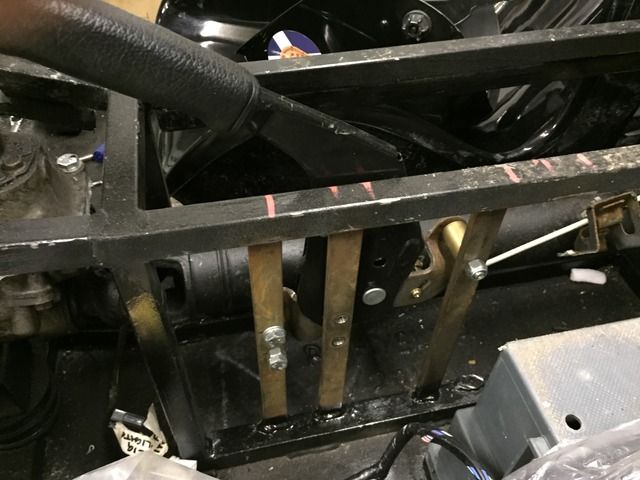
Got my hand brake mounted
 Untitled by stephen harborne, on Flickr Untitled by stephen harborne, on Flickr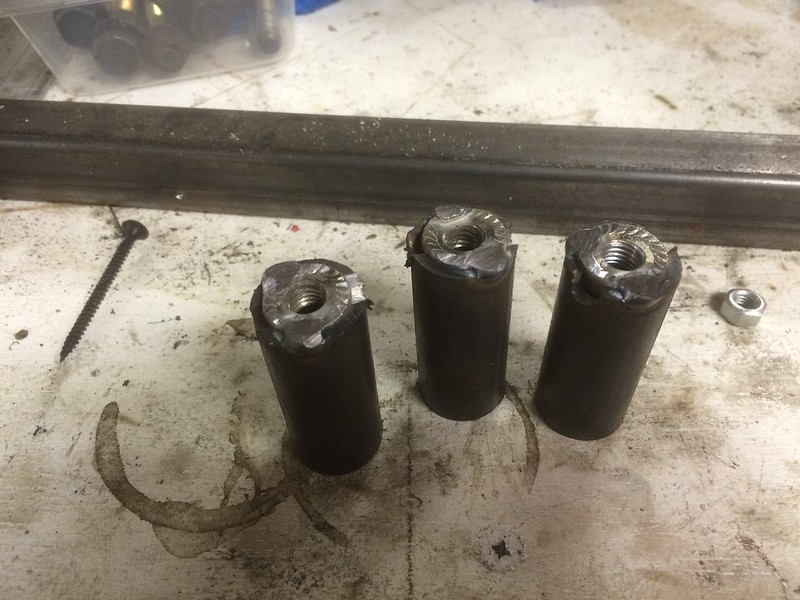 Untitled by stephen harborne, on Flickr Untitled by stephen harborne, on Flickrade these to bolt it to 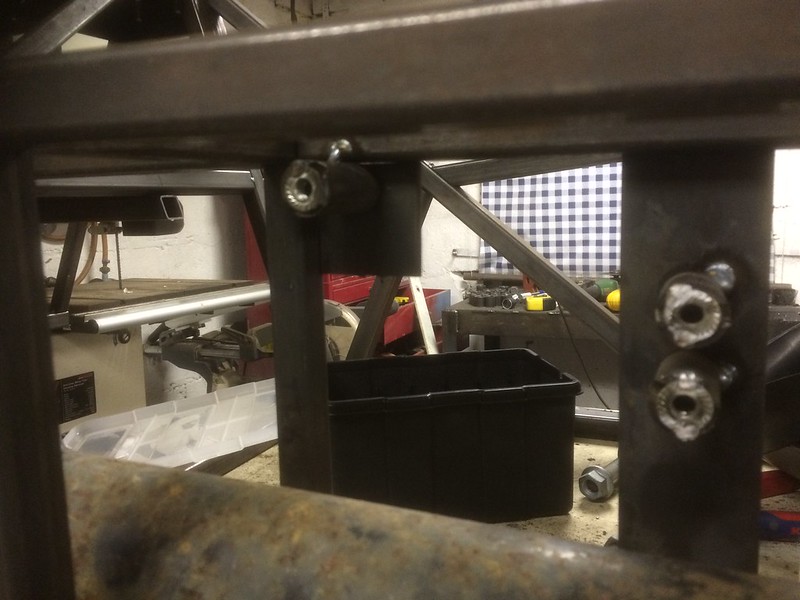 Untitled by stephen harborne, on FlickrUntitled by stephen harborne, on Flickr Untitled by stephen harborne, on FlickrUntitled by stephen harborne, on Flickr |
looks good I put mine tother side and was really happy with it, then carried on only discovered recently that I put the bolts in from the seat side then sheeted the tunnel Oooops hope it doesn't need to come out :)
Looks like your making good progress there. |
Cheers.
I work on cars for a living so im conscious of making things easy for myself in the future. |
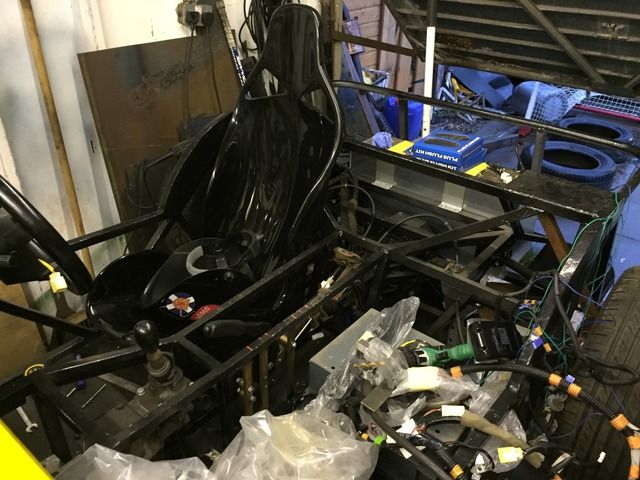
Ok so i haven't updated this in a while.
But i have been busy as i said i had to upgrade the power supply to the shed to run the welder properly so i have since done this and also installed new lights to brighten the place up a bit. So since i have most of the the chassis tacked together i decided to fully weld up as much as i can and my bandsaw had broken so i couldn't cut anymore steel anyway Im currently about 95%or more welded after about 6 to 7 hours of welding 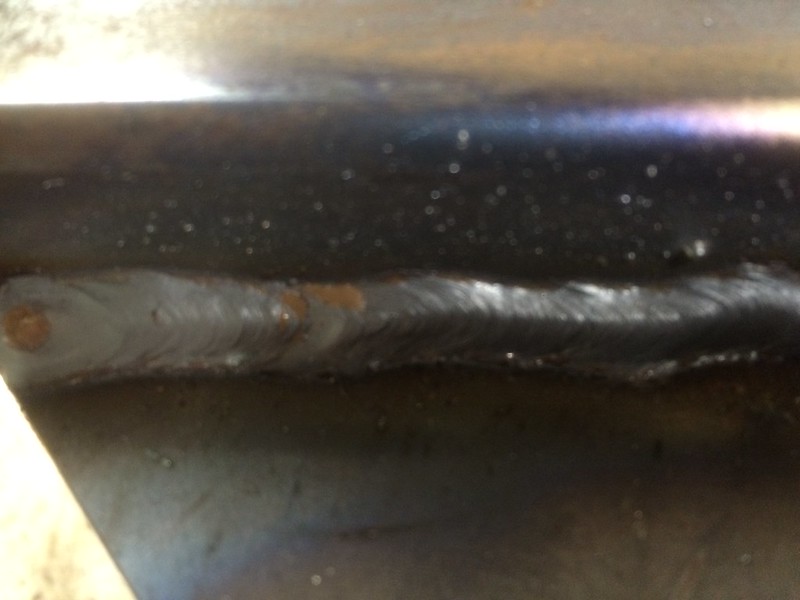 Untitled by stephen harborne, on Flickr Untitled by stephen harborne, on Flickr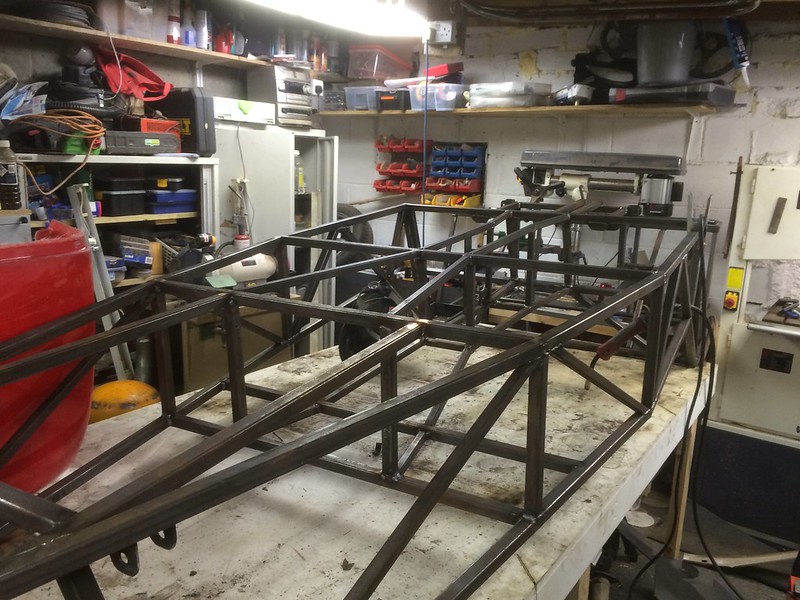 Untitled by stephen harborne, on Flickr Untitled by stephen harborne, on Flickr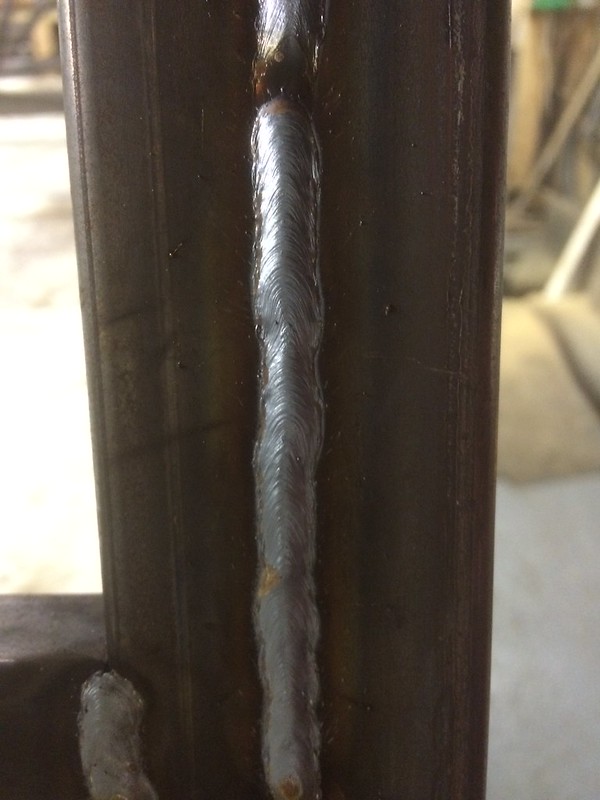 Untitled by stephen harborne, on Flickr Untitled by stephen harborne, on Flickr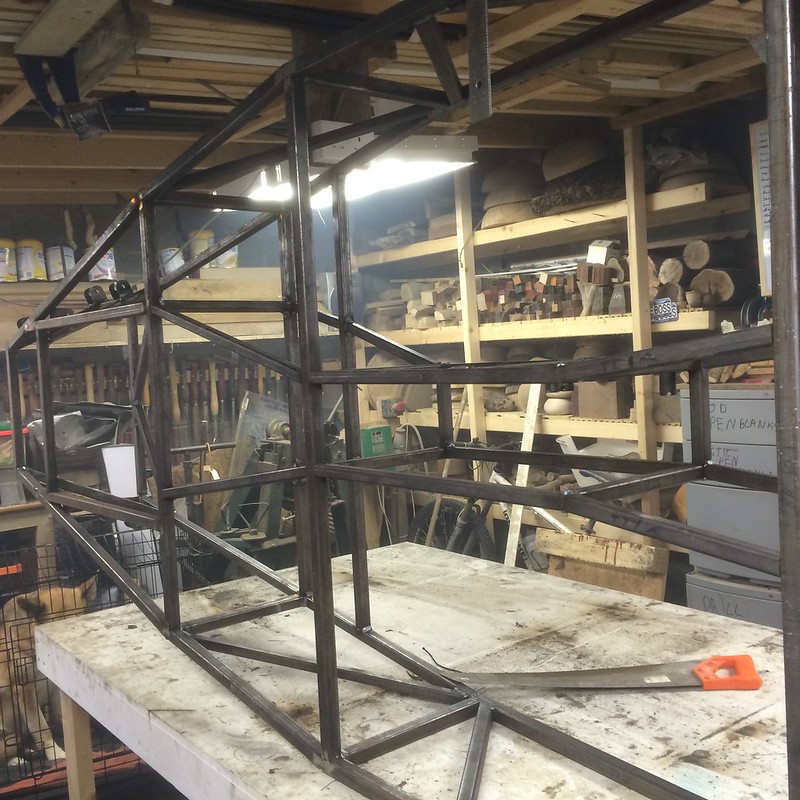 Untitled by stephen harborne, on Flickr Untitled by stephen harborne, on Flickr |
Does the dog help out much in the man cave
looking good keep the photos coming |
Looking good, welds look mint! Just carefull with all that wood about!
|
Quote:
|
Quote:
And i always hang around for at leas 20 minutes after i stop welding |
Ive also got a radiator to make up the rad mounts its from a mk3 golf
So i wasn't really sure about the mounting so there was a nose cone second on eBay and after a bit of a bidding war it was on its way across the sea i also won a dash blank 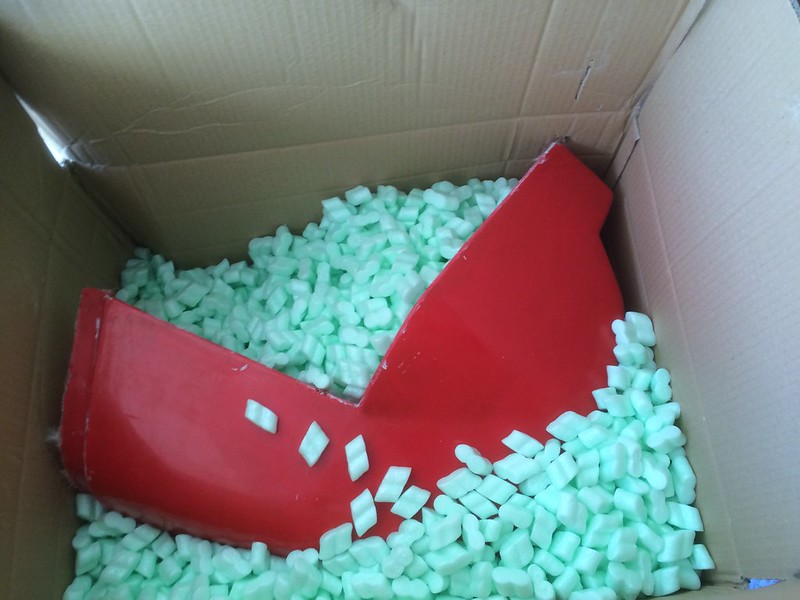 by stephen harborne, on Flickr by stephen harborne, on Flickr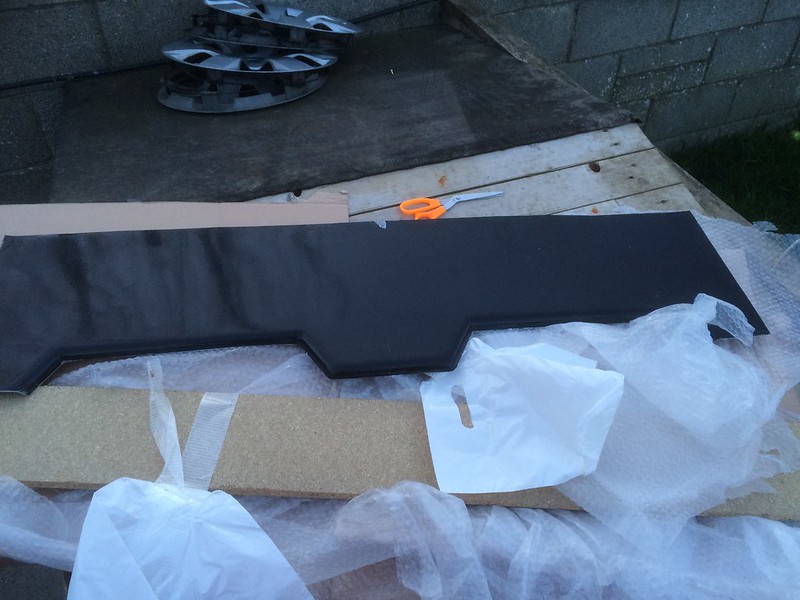 by stephen harborne, on Flickr by stephen harborne, on Flickr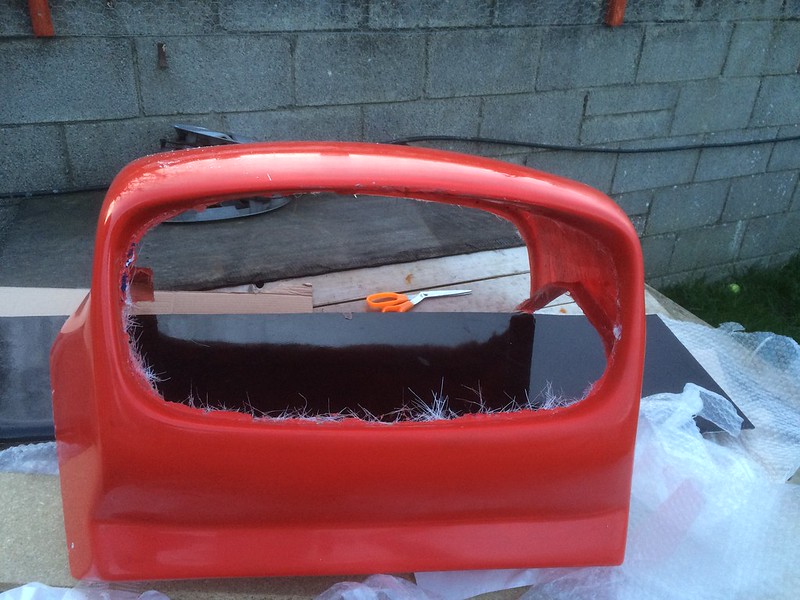 Untitled by stephen harborne, on Flickr Untitled by stephen harborne, on Flickr |
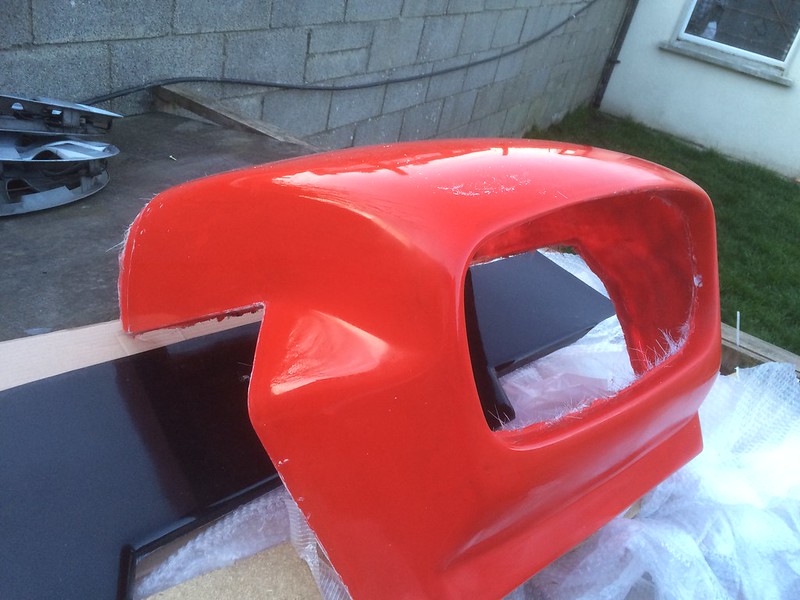 by stephen harborne, on Flickr by stephen harborne, on Flickr by stephen harborne, on Flickr by stephen harborne, on Flickr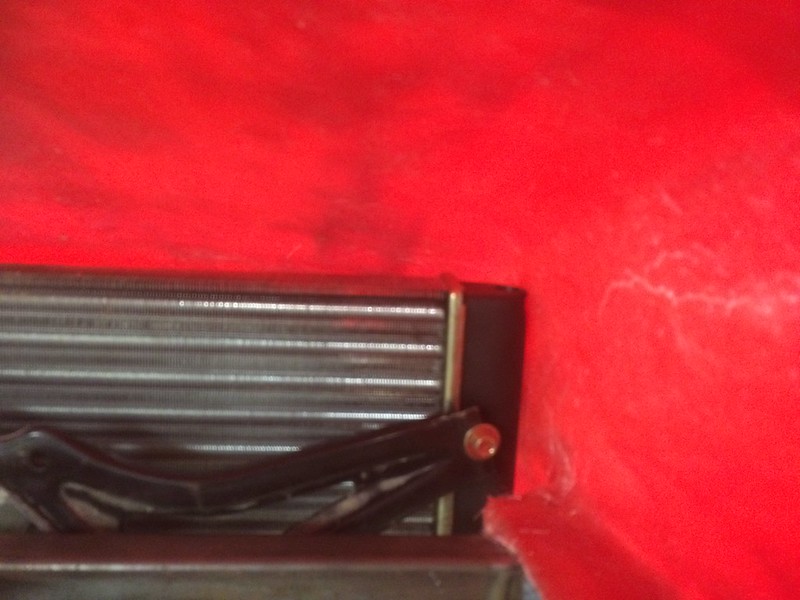 by stephen harborne, on Flickr by stephen harborne, on FlickrSo as you can see the rad was touching the nose cone so that needs to be adjusted glad i found out now Thanks to Vmax for an excellent service and even better packaging Thanks |
Glad they got there safe hope you happy with them
|
Quote:
Russ |
Depending on engine fitted the rad will go in front of it above rack mounts,where the two chassis rails run from front frame.
|
Quote:
|
Bit safer there if you bat the nose end.
I built a car to race and used Ginneta rad behind the frame worked a treat. |
Hi
Does anyone have a link to the upgraded pedalbox Thanks Stephen |
Hi Steve,
I don't know if you are talking about my "redesign", but in case, here is the link: https://drive.google.com/folderview?...Dg&usp=sharing If I had to redesign it now, I would put an angle on the throttle pedal, so when you are full throttle, your heel doesn't touch the bottom of the pedal. But it is totally drivable this way anyway. Hope this will help :) |
Quote:
Fair play to you they are some good plans thanks for sharing Thanks |
Hi, I'm using Sylvains peddle box design, one thing that i did slightly different was to weld the curved plates on the peddles differently.
I have wide feet, so I kept the brake peddle plate central, but then I placed the plate for the accelerator as far to the right as possible, but still allowing me a full weld and the clutch peddle plate I pushed to the left hand extreme if that makes sense. By doing this I get more room around the brake peddle. kind regards Arfon |
Quote:
Thanks |
So i got another little bit done
got the bulkhead tacked in place i still need to cut a hole and mount a bearing for the steering column and the pedal box is the lower half of the bulkhead. 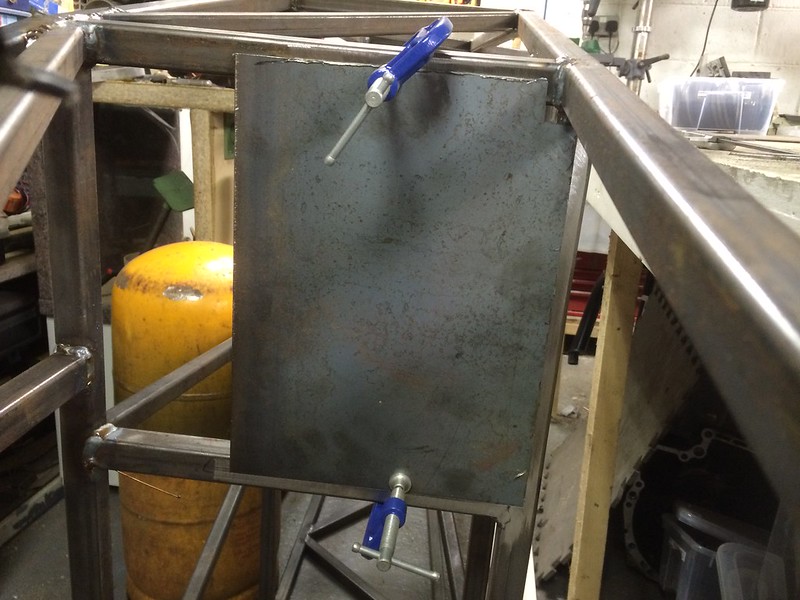 Untitled by stephen harborne, on Flickr Untitled by stephen harborne, on Flickr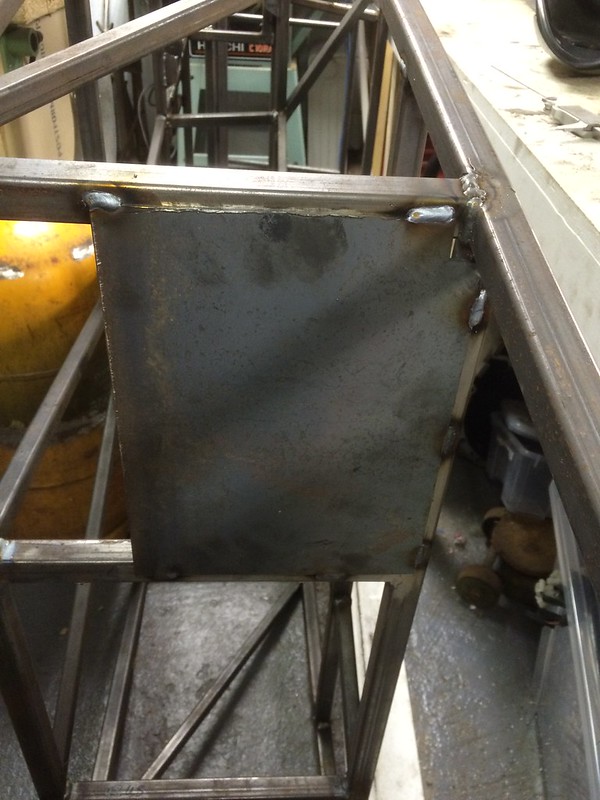 Untitled by stephen harborne, on Flickr Untitled by stephen harborne, on Flickr |
I also started on the suspension
I have made the camber adjusters for the wishbones which need to be made first to complete the wishbones 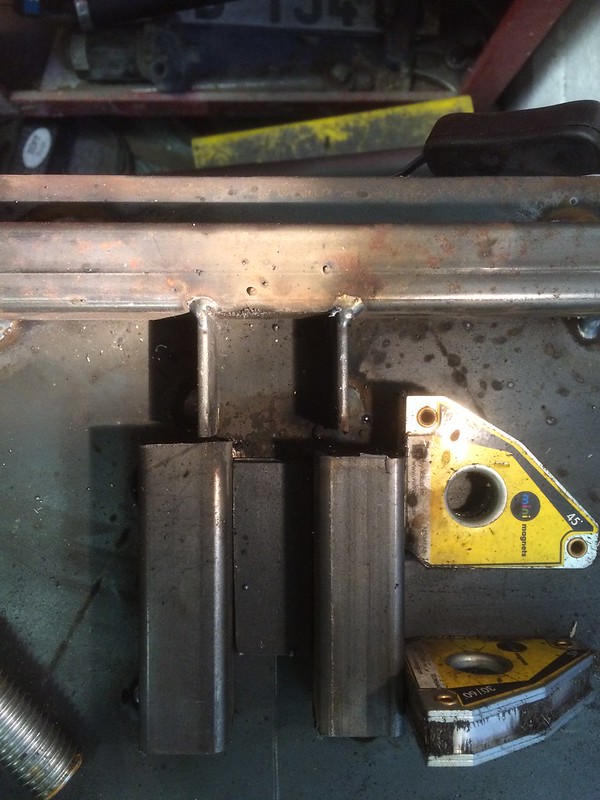 Untitled by stephen harborne, on Flickr Untitled by stephen harborne, on FlickrThe jig for aligning them  Untitled by stephen harborne, on Flickr Untitled by stephen harborne, on Flickr Untitled by stephen harborne, on Flickr Untitled by stephen harborne, on Flickr Untitled by stephen harborne, on Flickr Untitled by stephen harborne, on Flickr |
i would hold of buying and fitting a bearing, i bashed in and bought one then when the seats went in i couldnt get my knees under the steering collum, my collum goes over the first bar then under the second, i modified the bulkhead bracket already on the mx5 collum and just bolted it straight on
|
| All times are GMT +1. The time now is 12:56 AM. |
Powered by vBulletin® Version 3.6.4
Copyright ©2000 - 2024, Jelsoft Enterprises Ltd.