Ha ha, I thought you'd like that one :p
I love how they sneak these little snippets into the manual where you'd least expect them :D |
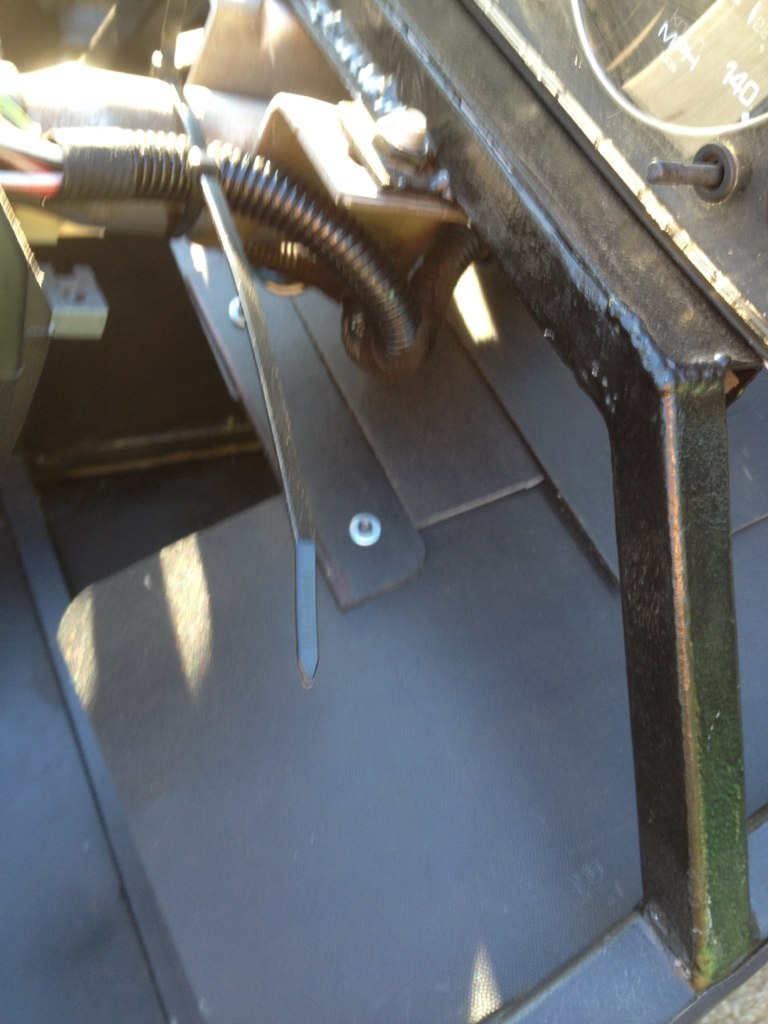
So all the car has too comp to exterior 100mm ball test and requirements. No 165mm ball test at all.
If any pedestrian I knock over finds his knee under my side of the dash then I doubt he'll be particularly concerned about his friggin knee! I'll be bloody concerned because he'll be sitting in my bloody lap! If his heads down then there then that's really worrying!:eek: |
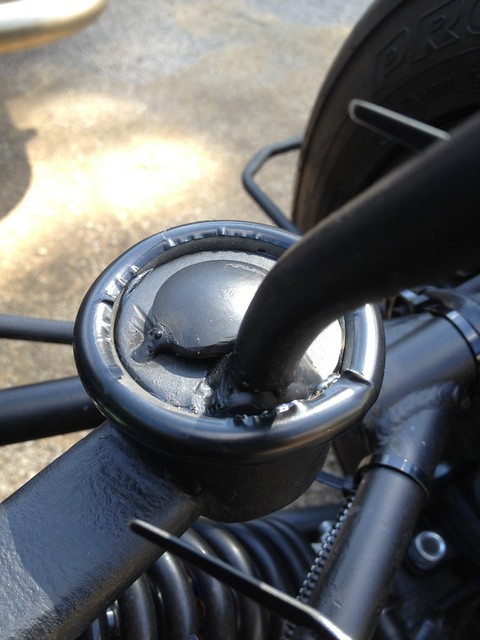
This ball is becoming quite a problem for me.
 Not anymore... 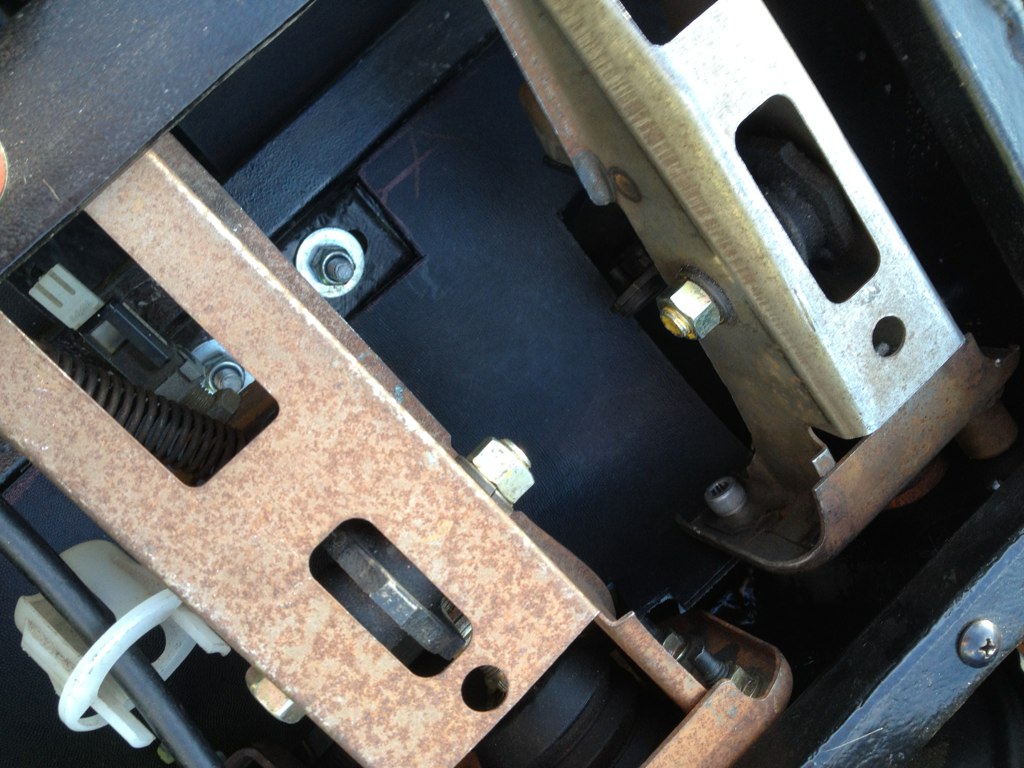  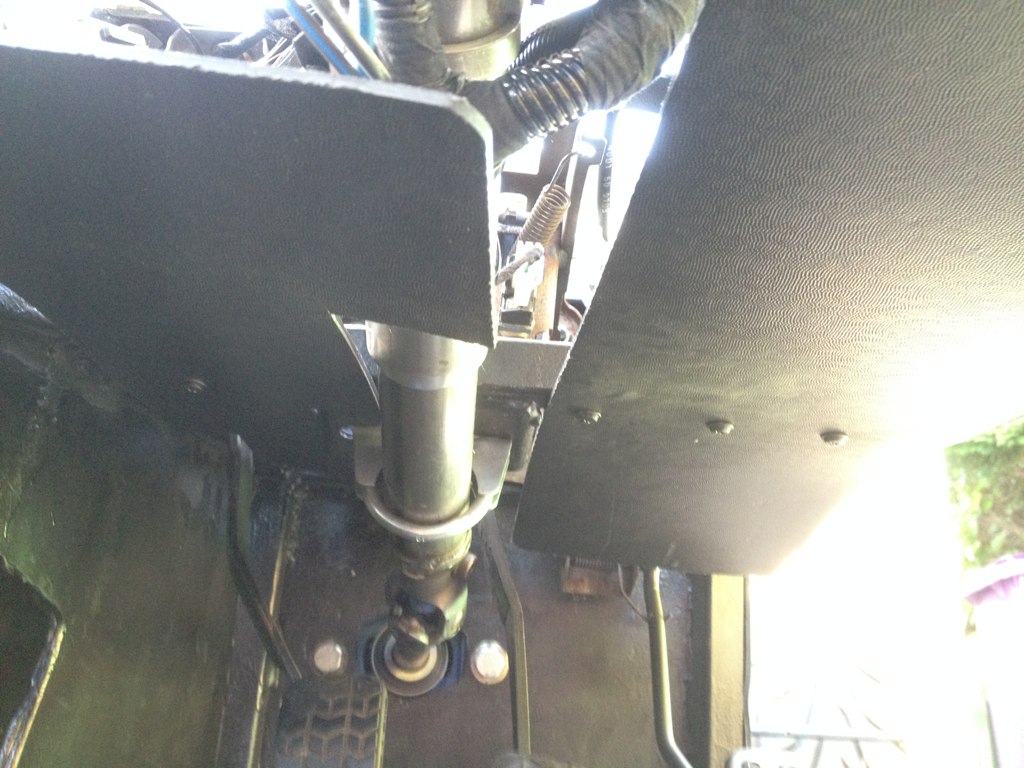 Not my best work but who's going to see it down there. And if the MAN wants to wave his balls around my undercarriage he's going to be disappointed. Obviously I have to do a bit more finishing off. This job is NOT my favourite bit! |
Classic bodging!;)
 |
Arrived this morning.....
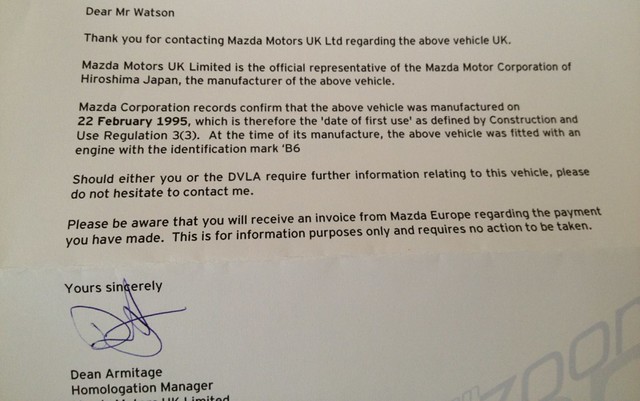 So my vehicle should follow the flow diagram path, yes, yes, no. Assuming it fails the BET test, which is likely. 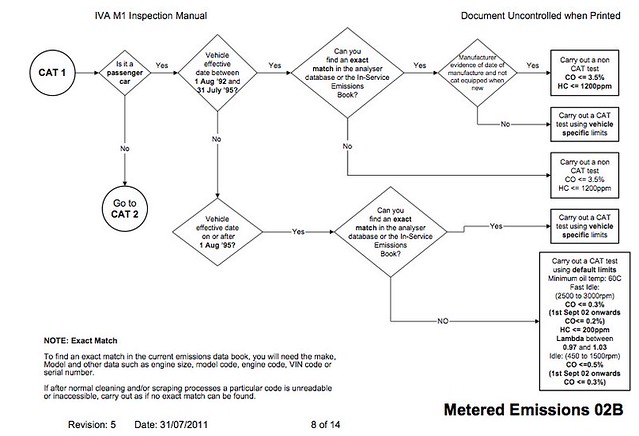 Any haynes built using an engine from a vehicle manufactured during 1995, before or after July 1995, will have an Engine manufacture 'Effective Date" of 1st January 1995 if you can prove the engines date of manufacture as the letter above does. Useful to know for other builders as older mx5 cars get rarer, which will probably happen soon I think the way the sills rust through.  |
No CAT for you :D
|
I've kind of got carried away after having to replace the garage door. I'm now replacing the rotten window and have already rewired the garage, fitted an alarm and it's now brighter than the sun in there when you turn on the lights. Oh and a tool board with shelving. I thought I'd make the garage more usable now I've nearly finished building this car! :rolleyes:
|
Piccy. Someone gave me some MDF and it was taking up space in the garage making it smaller so I reversed it into making the garage bigger! Needs more tool hangers (small screws) .
 |
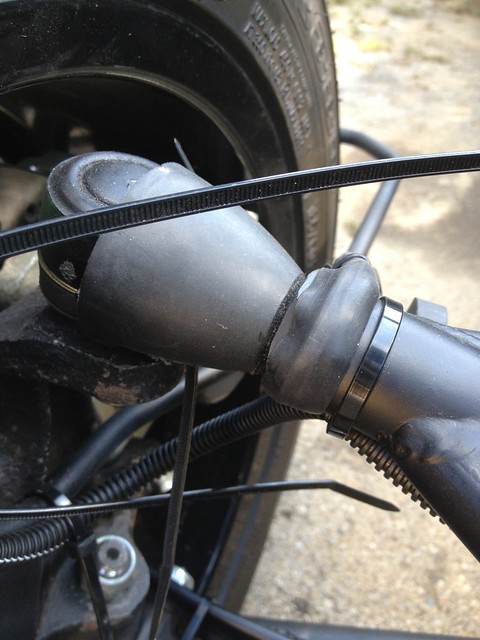
So I'm in the process of attaching lots of little bits of rubber and plastic to my car in a most unenthusiastic way. Not enjoying this bit at all.
   Decided to do a compression test on the engine. Probably out of pure boredom but it's good to know where you stand with an engine before you put it back on the road after 5+ years without any regular miles. 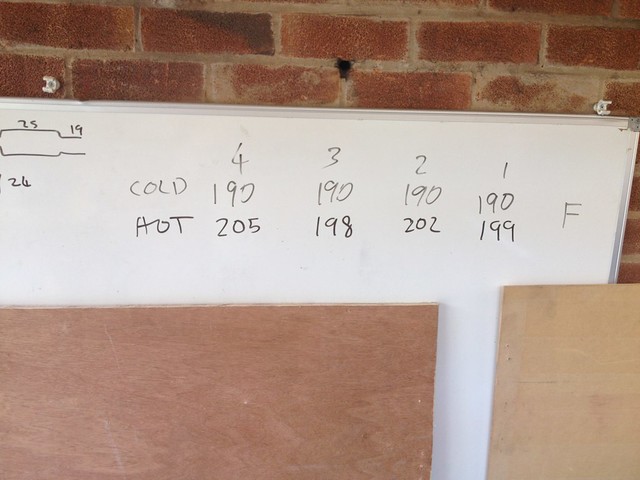 Happy with that. Couldn't get my head round the high numbers as 9.0 CR x 14.7 is around 130 odd psi bit of digging..... Quote:
|
In other news I've spoken to the new wizkid at work and he things this is doable..
Quote:
|
| All times are GMT +1. The time now is 04:04 AM. |
Powered by vBulletin® Version 3.6.4
Copyright ©2000 - 2025, Jelsoft Enterprises Ltd.
