More Bonnet badge goodness today as it was raining out so I set my machine up and made a badge master out of delrin. It took 4 hours or so to get this..
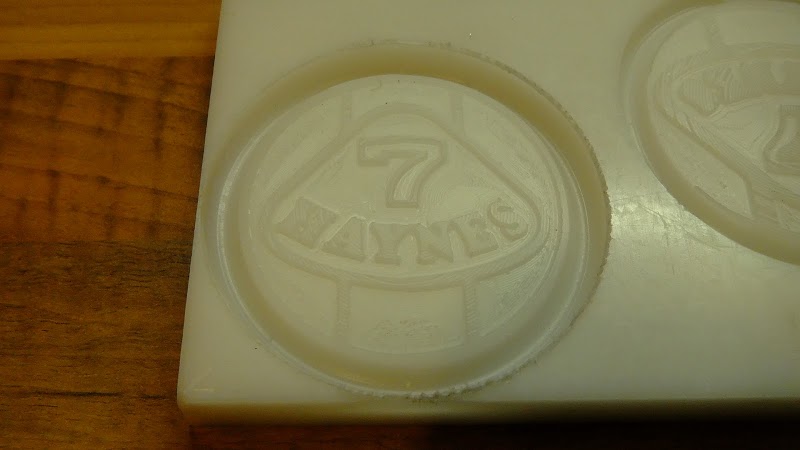 Did a time lapse video of it.. The final detail toolpath took 2 hours 47 mins. :eek: Plan is to take a mold from this, and cast a pewter or model metal badge from the mold. Cheers Stot |
it would be nice if you could do a coloured resin badge.:)
|
Quote:
Cheers Stot |
Been through a few options with the badge. The pewter option is proving difficult so Ive gone down the cold cast method which is powdered metal suspended in resin which when sanded and polished, looks like metal.
 Take a silicone mold from your master.  Fill with resin/metal mixture.  Sand and polish. The first one was poor so I used it to try out different sanding and polishing techniques, second one had a few bubbles and the last one was much better. Ready to infill with colour now. I have a method of making a master without the CNC mill to test later this week which may be of interest to those of you that want to make your own. Cheers Stot |
I certainly would be interested in buying one from you .
|
They look darn good so far!
TT |
I wont be able to make them for sale, sorry Thailoz. But I'm trying to make it easy for you guys to have a go yourselves!
The other method I was playing with on making a master to take a mold from is photopolymer plates. This is the way rubber stamps and printing plates are made. It is basically a plastic sheet covered in a UV curing resin. You print a transparency of what you want and expose it onto the sheet so that the UV cures some areas an not others.   I had an old UV sun lamp which was greatm cured the resin in about a minute. You can do it with just a plain halogen lamp and it takes about 8 mins.   Wash out the uncured areas and you have a relief version of the logo that you can take a silicone mold from. I would probably stick it to a disc of mdf or something the right diameter for the badge so I can get a deeper overall mold. Oh yeah.. Total time to make this one was 25 mins rather than 4 hours on the CNC, plus you can do more at the same time. |
If you dont want to piss about with resin casting you could just fill the mold with clay, bake and paint!
   If you want to be really posh you can buy a silver metal art clay that when fired turns to pure silver. Cost about £45 for enough to do a badge though. Cheers Stot |
Quote:
Just one small snag---a minisnag-----snagette-----snagbach(thats a Welsh snag):o ANYONE GUESS WHAT IT IS:confused: |
Quote:
Cheers Stot |
Quote:
While I was thinking about that I realised that I actually had a pair of CP10s I wont be using so thought I would come up with something using them.   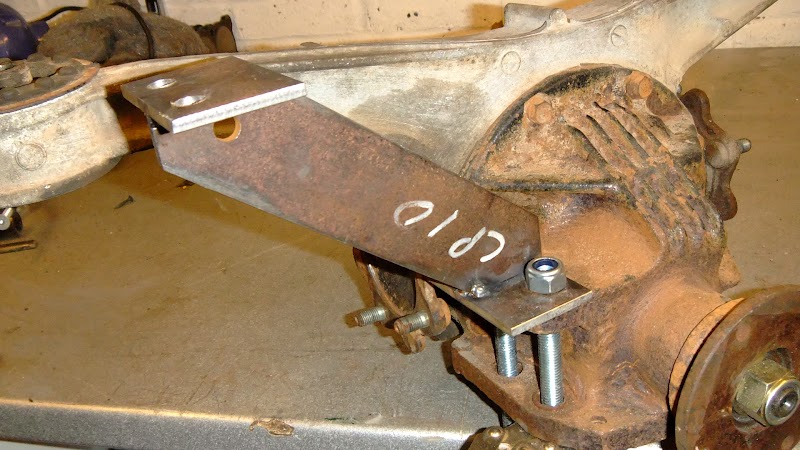 I think it should work well, and it can be unbolted for diff access. Cheers Stot |
Quote:
|
Quote:
Cheers Stot |
Quote:
|
Quote:
Quote:
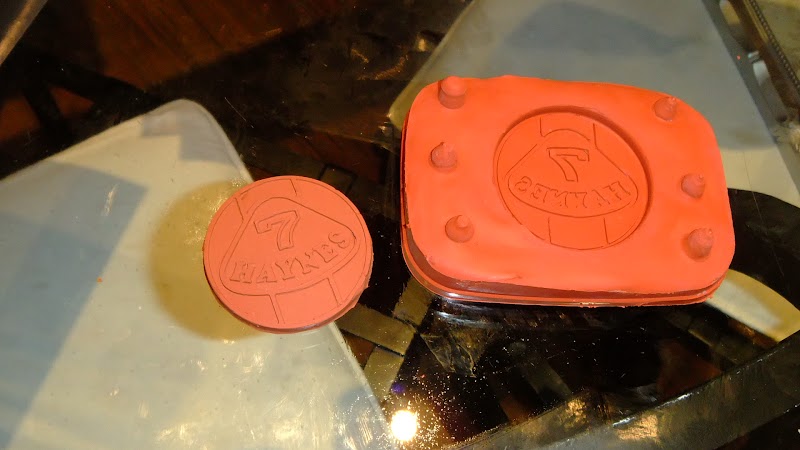
I superglued the photopolymer versions onto some discs of MDF the right size and cut round them then wrapped some electrical tape around to give a clean edge. 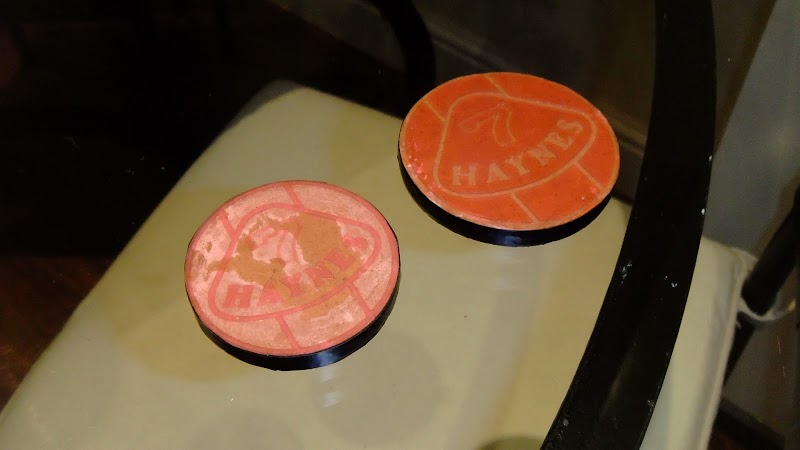 Put them in some molding forms and poured silicone onto them, left it to cure and demolded. 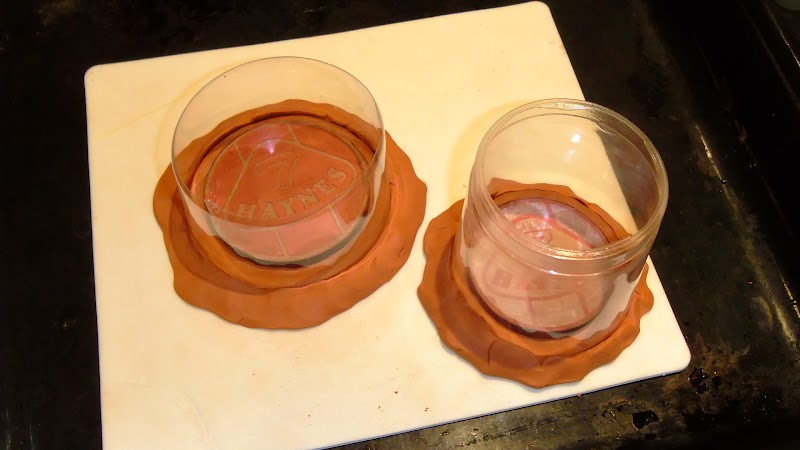 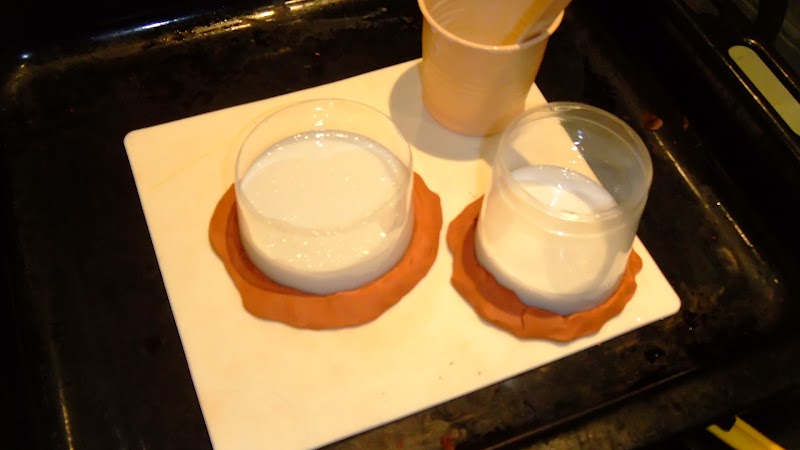 |
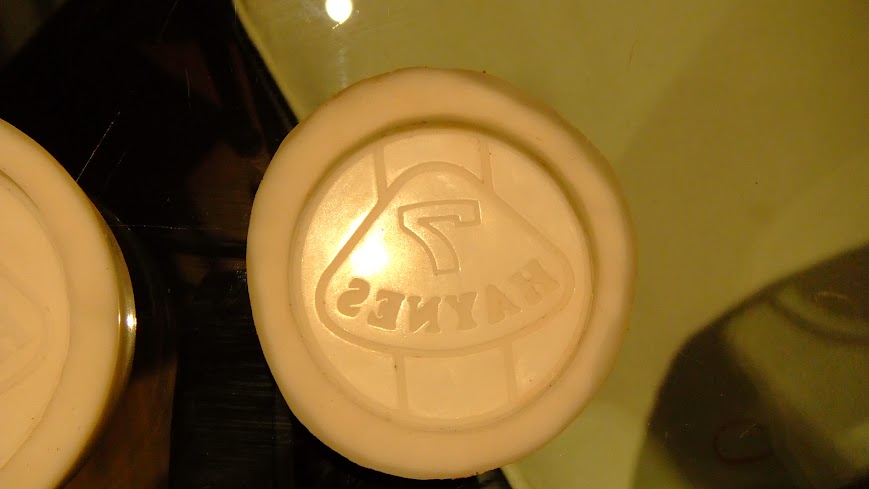 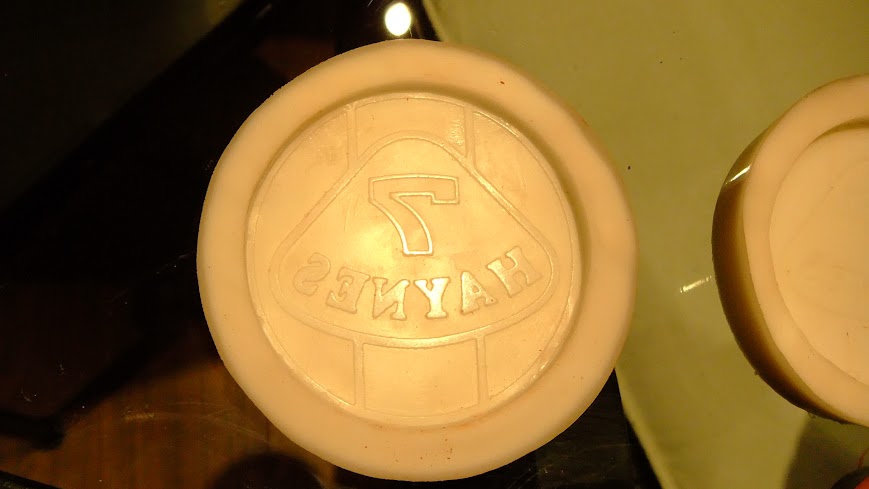 Perfect copies, a lot less finishing needed on casts from these molds as they are flat, my CNC one had a slight dome to it. The larger one is for my wheel centre caps. Heres the first casts out of the molds. 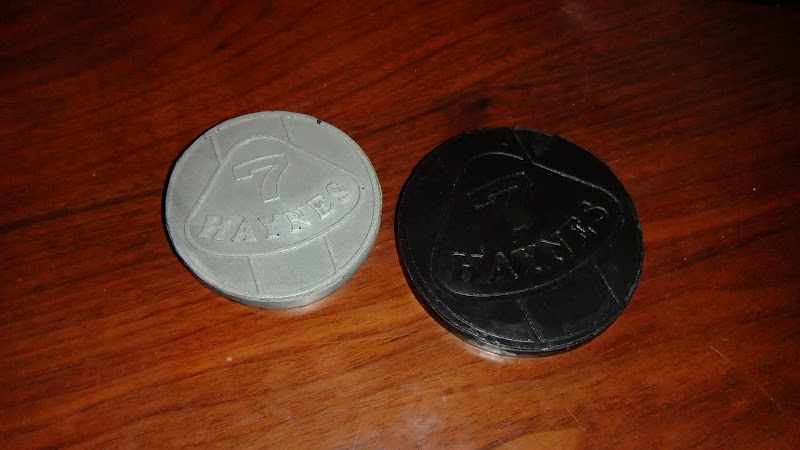 Cheers Stot |
Heres a wheel centre fitted. Spray it wheel silver again, jobs a good un.
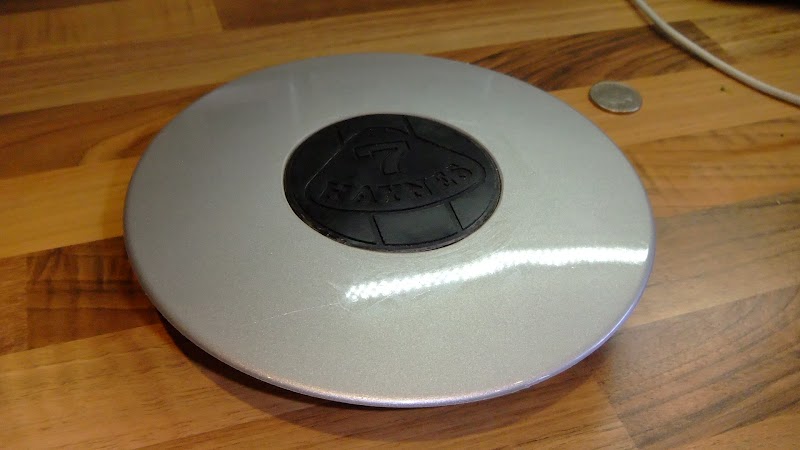 Cheers Stot |
Here my first attempt at colour infill. I filled with coloured gelcoat up the edges.
 Its really thick so hasn't really settled in the recesses. I'm going to try and overfill and sand down on the next ones. Cheers Stot |
Hi All,
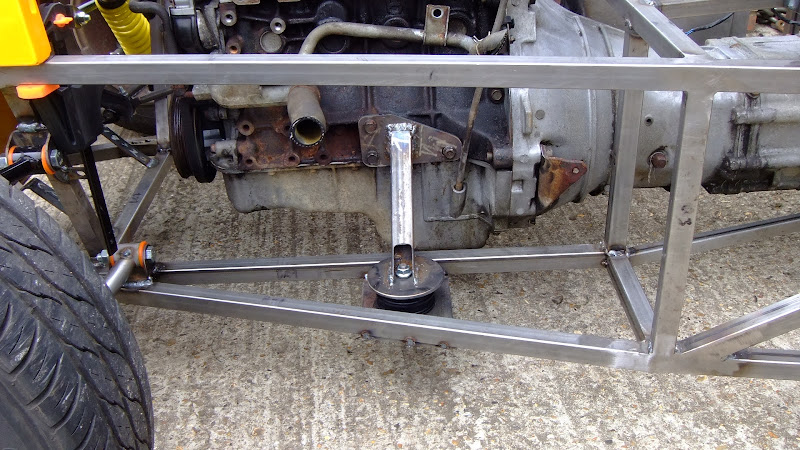
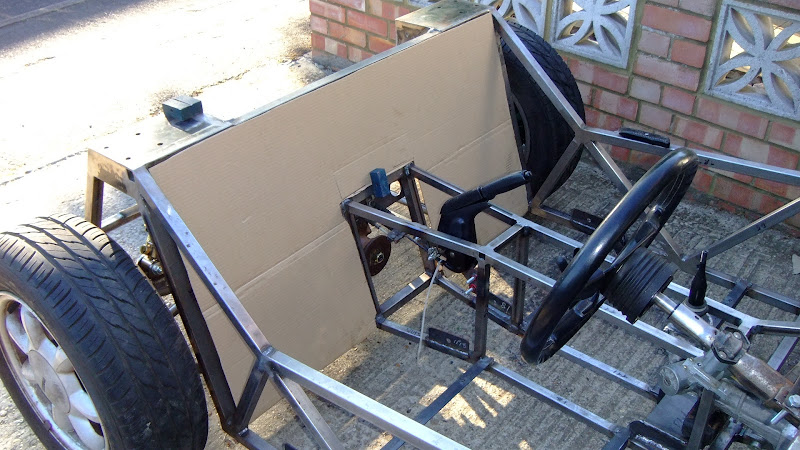
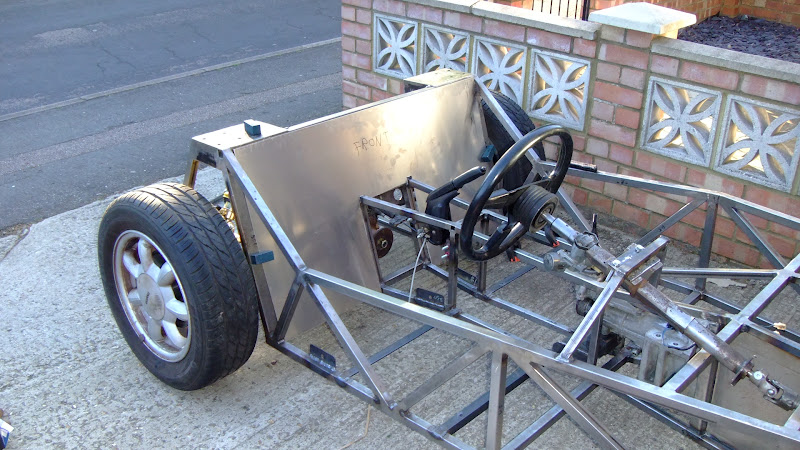
I got some real car stuff done today. I wanted to mount the diff and get the engine in. I did OK. I got the engine in and in position with the sump ~40mm below the bottom rail. It may be a little lower but thats OK. I can always shim it up under the rubbers If I have any problems and I plan to shorten the sump at some point.   Saying that with the bonnet in position I couldnt have got it any higher anyway!  Where it is positioned it is not fouling the steering column either. 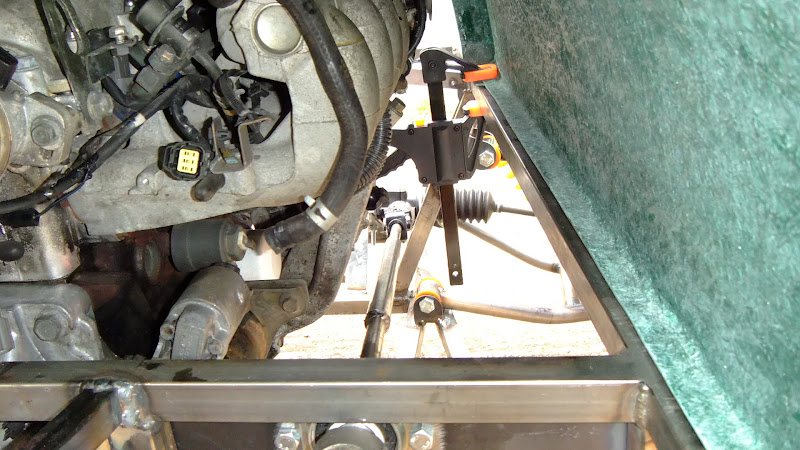 |
Diff went in easy enough.
 I will be putting 2 holes where the yellow circles are to bolt the nose hanger I made in. 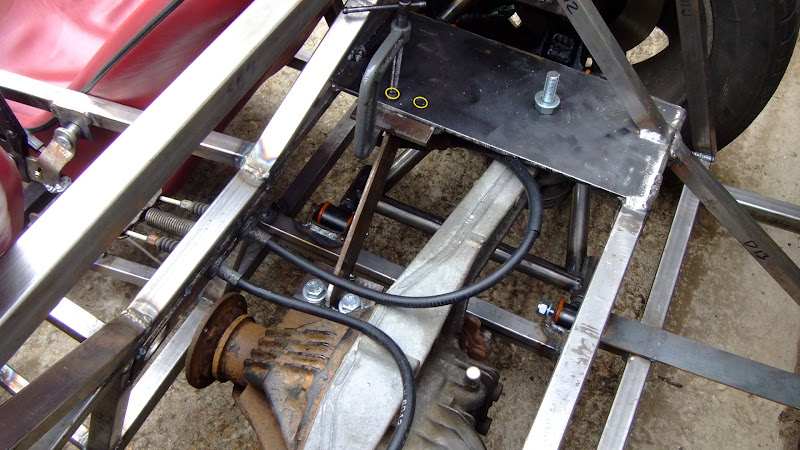 I could weld it but the diff is hard enough to get in and out of the cage as it is so being able to unbolt it will be great. |
And then I made up the engine mounts. Had the plates cnc cut to my design.
  So its rolling with engine for now. Mount the radiator and gearbox mount and I think im ready to strip it and paint or powder coat the chassis. :cool: 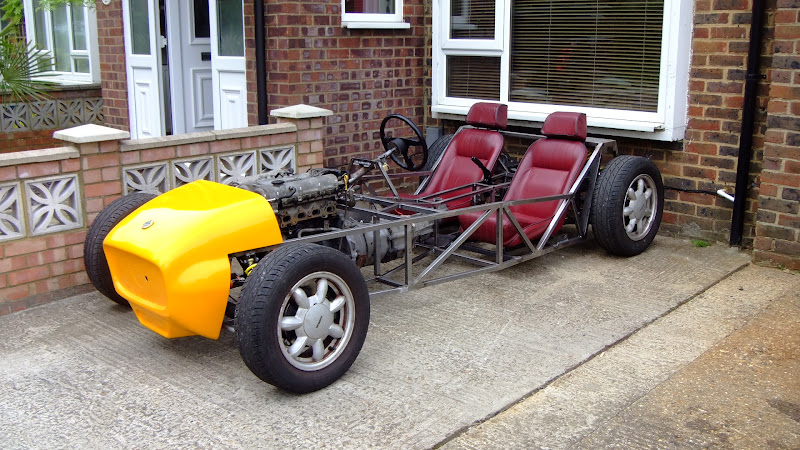 Cheers Stot |
Hi Stot,
Making some serious progress there.....:) Just a couple of observations though, I see you haven't fitted your diagonals either side of the engine yet. Also where your bracket for the nose of the diff mounts to the diff plate you may eventually get a fracture in the plate as there is no support there. Just a thought.. |
Hi Johno,
Quote:
Quote:
Cheers Stot |
Quote:
Bob |
Quote:
Phils diff box is to fit a sierra frame. It seems the better solution but too late now. :rolleyes: This is the picture Phil did I was thinking of. Mimics the PPF. Cheers Stot |
Short nose crank
Hi Stot build looking great and coming along at breakneck speed,I notice that you have a four slot pulley on your crank have you read about these early short nose crank engines havering problems with the woodruff key? also when you say that you want to solid mount your diff like it is in the mx5 I don't think it's solid mounted to the chassis in the mx5 because the ppf is bolted to the gearbox not direct to the body, what do you think?.
Regards Mick. |
The moment of the engine and gearbox (from my research, the engine and box weigh approx 175kg) would go a long way to stopping the diff rotating about the driveshaft axis.
|
I suppose the PPF did have some twist to it but I dont think it would be a as much as a rubber mount could allow.
The Sierra diff is solid mounted and has worked in plenty of locosts/roadsters, perhaps its a better idea to solid mount the MX5 diff all round. Replace the rubbers with some metal bushes and bolt the whole thing in solid. Cheers Stot |
Quote:
|
Quote:
I got my floorpan cut out today. I cut it square and clamped it up to my chassis, drew round it and cut it out with some air shears.  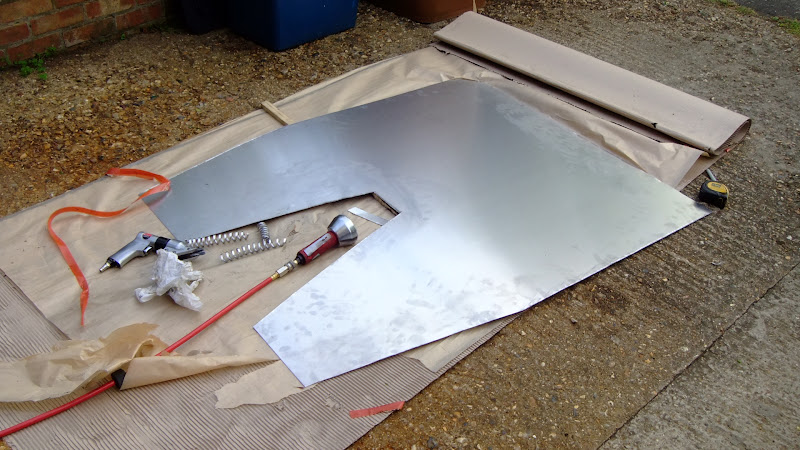  Turned out nicely, another part ready to be fitted when the painting is done. Cheers Stot |
Busy again.. Welded in my gearbox mount using the original MX5 engine mount.
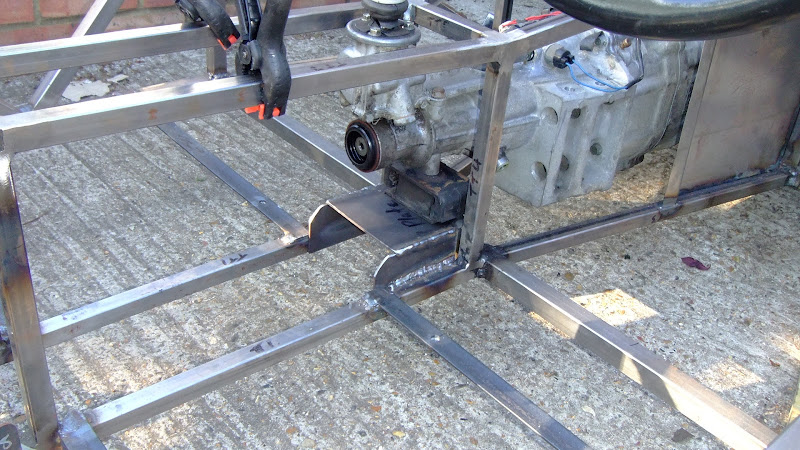 A bit over done maybe but it was some pieces of 3mm plate I had and it works. Also re-thunk my diff nose bracket. I welded a 5mm tab onto the chassis and changed the axis so the forces are feeding through more braced areas.   Ignore the dodgy bolts I need to order a bundle of M12 x 25s. |
I also started on the panels. Im using cardboard to make templates then cut out of some sheet.
   And then I stopped because I should spend some time with my wife.... :D Cheers Stot |
I like the way that the crossmember and uprights have tied up with the gearbox mounts.:cool:
Bob |
Got the wife to paint my chassis for me today. :D
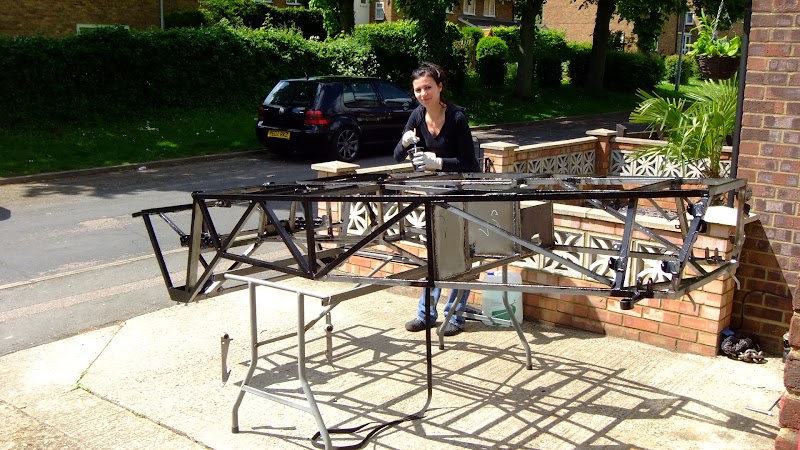  Cheers Stot |
Must be love stot lol
|
who wants to tell him .... all together now "she's missed a bit!"
|
How the heel did you manage that
Arfon |
Quote:
Its done in Epoxy Mastic chassis paint and we stippled it rather than leave brush strokes. Looks like a rollered finish. Cheers Stot |
Im on a go slow at the moment until my chassis fully cures but I got this delivered today.
 Firm down the road wanted £100+vat to shorten and £50+vat per UJ to replace. :eek: Dunning and Fairbank quoted £85 + £12 carriage + VAT to shorten, new UJs and balance. Turned out it didnt need new UJs so £45 + carriage + VAT. Bargain! :cool: Cheers Stot |
Got my floor fitted!
   I didnt use clecos, I drilled holes at every tube intersection to start and then riveted it down at 4 corners before drilling all the other holes. Drilled the 4 rivets out to clean up/deburr then sikaflexed the chassis plonked the sheet on top and riveted all round. 4 and a half hours to drill and deburr 264 holes then PU and rivet 264 rivets. Phew. Cheers Stot |
| All times are GMT +1. The time now is 08:59 PM. |
Powered by vBulletin® Version 3.6.4
Copyright ©2000 - 2024, Jelsoft Enterprises Ltd.