1 June
Well I can chalk up another 7hrs on the build; it was a good bank holiday Monday.
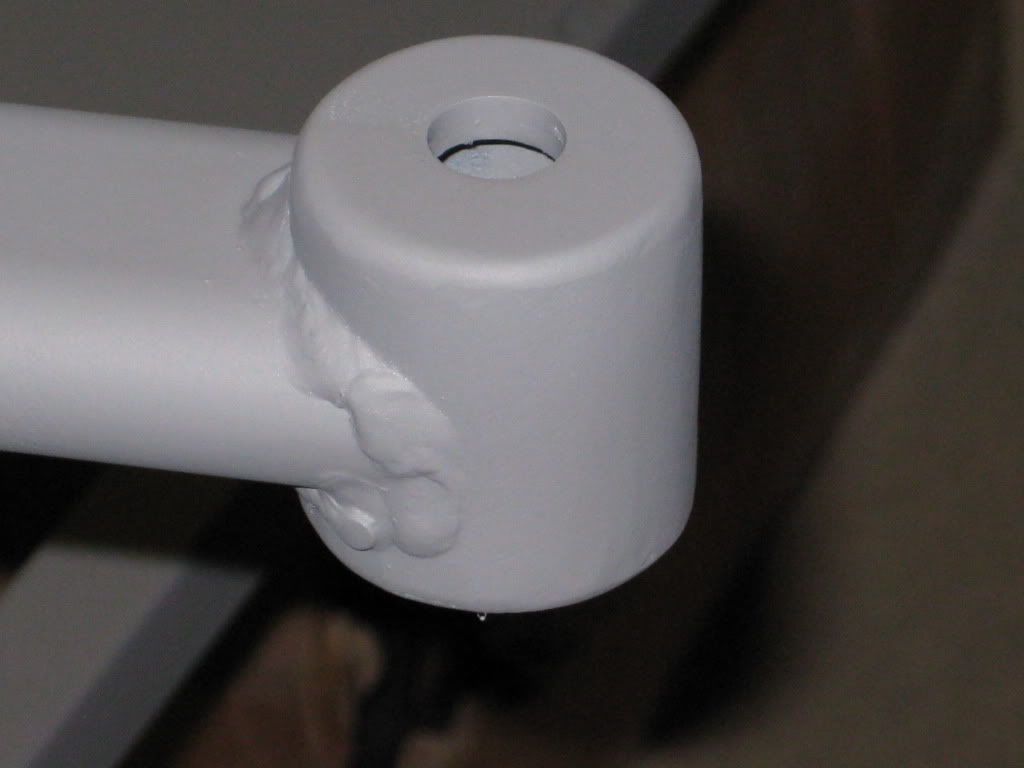
I started by fabricating the head light mounts, these are made from scratch two lengths of tube left over from my roll bar rear stays and some 5mm plate.
I used 5mm plate as I wanted to have enough material to create a nice radius. Fabrication eat into the build time as it is quite time consuming making four round pieces of steal, welded them on top and bottom of the tube then drilled a hole in one end of each for the head light bolt then used a hole cutter to make a big enough hole for the socket that is required to do the nut up. Finally hacked away at the oval that was attached to the chassis to allow the new end piece to fit nicely.
[IMG]
[/IMG]
They have turned out as I expected which is nice, and like all the small components I have attached to the chassis recently they are man enough to jack the chassis up on!
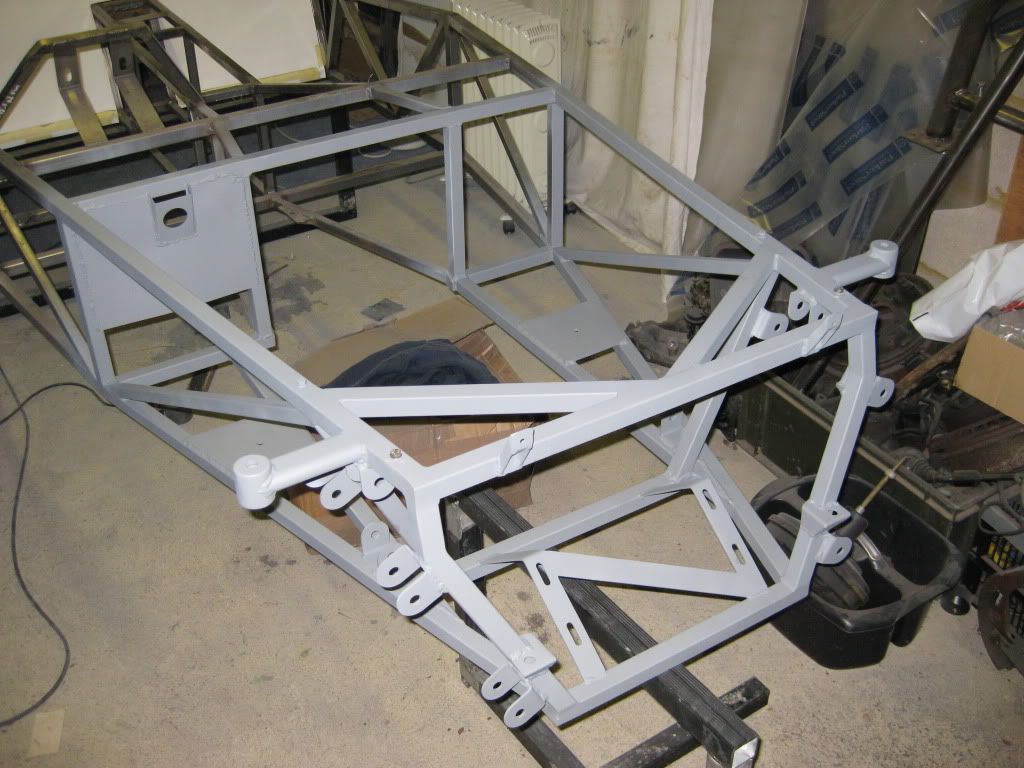
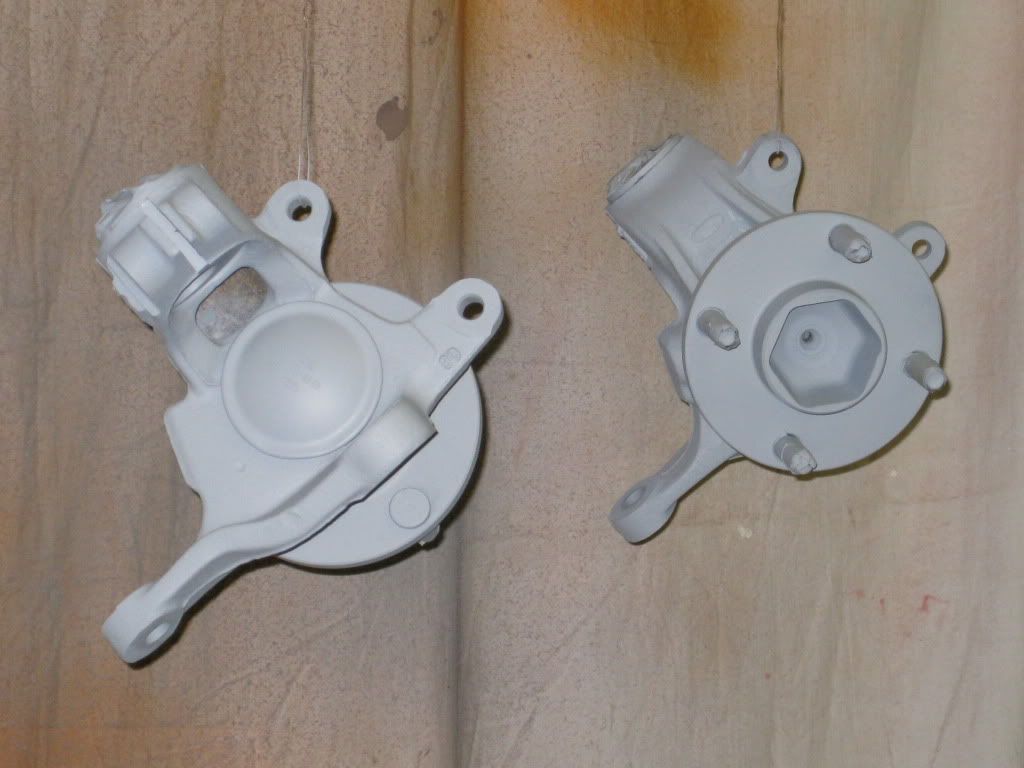
I then spent ages cleaning up the chassis back to the bulk head, as it where, ready for the application of some paint, between coats I set to re-assembling the front up rights, the bearings I got had two nuts in each box, seems a little bit of a waste but saves them stocking left and right I suppose. Really glad I had the Haynes manual for the Sierra as I confused myself trying to work out how the bearings went back in. Glaringly obvious when you look at the exploded diagram!
Last two pictures are of the front 1/3 of the chassis primed and the uprights which are getting the odd coat whenever I pop in the garage for a smoke.
[IMG]
[/IMG]
[IMG]
[/IMG]
Next weekend I must press on with chassis painting and the electrolysis process.
Cheers Ginge