
|
|
|
|
#1
 25th June 2010, 08:51 PM
|
|||
|
|||
|
Bet it feels good to get started! The chassis looks good from the photos, it's nice to have a head start. glad to see your workshop looks a bit like mine, I was starting to get concerned with all the nice, tidy, empty ones that everybody else seems to have. Nice to know there are still some normal people in this world
 
|
|
#2
25th June 2010, 11:26 PM
|
||||
|
||||
|
Sort of feels good, but I feel bad about avoiding finishing the other car first. And this is supposed to involve the 6yr old so I need to set up build sessions to involve him so he does not get board with the boring tasks that I will have to do behind the sceens..
Anyway, Measured the rackmount and it seems it's to the revised design which is good news. TT
__________________
You only get a woosh with a dump valve Build Thread Man Cave Mantiques Cecil Street Auto Repairs Garage Carlisle Build Cost £4181.65 - Last - Wheel Cylinders
|
|
#3
1st July 2010, 09:36 PM
|
||||
|
||||
|
Ok, So we have had a setback or two. One is being rectified for me.
But the big one is that all the suspension brackets are too small, and some of them ( at least two rear ones ) are in the wrong place. So my bargain second hand chassis that required no work is going to need a little fetteling an£26 worth of brackets from Dave at Rouge. So Whilst I wait for them to turn up, and for me to get the energy to sort them I am cracking on with the floors and tunnel.. This evening I marked out and cut out the passenger tunnel side, and then transferred the cut-out template to make the similar drivers ready for cutting out tomorrow..   TT
__________________
You only get a woosh with a dump valve Build Thread Man Cave Mantiques Cecil Street Auto Repairs Garage Carlisle Build Cost £4181.65 - Last - Wheel Cylinders
|
|
#4
2nd July 2010, 08:16 AM
|
|||
|
|||
|
Ooooh that's a bummer. Has someone used shock mount brackets by mistake?
I bought a lot of my brackets and wishbone bits from Rogue, they were all spot on and delivered very quickly. I figured it was not worth trying to make the suspension brackets considering how cheap they are to buy. Enoch.
|
|
#5
2nd July 2010, 08:41 AM
|
||||
|
||||
|
They Measured up at 42andasmidgen MM . I think Locost ones are 42mm so it may bee that the builder bought the wrong brackets, or measured up wrong.
TT
__________________
You only get a woosh with a dump valve Build Thread Man Cave Mantiques Cecil Street Auto Repairs Garage Carlisle Build Cost £4181.65 - Last - Wheel Cylinders
|
|
#6
2nd July 2010, 10:52 AM
|
||||
|
||||
|
Looking good there TT - now you've made a start there will be no stopping you

__________________
Gallery 2 http://www.facebook.com/album.php?ai...4&l=a9831a9319 Gallery 3 http://www.facebook.com/album.php?ai...4&l=3f0d42c523 Gallery 4 http://www.facebook.com/album.php?ai...4&l=efb083b7df Gallery 5 http://www.facebook.com/media/set/?set=a.10150244028550325.366987.601005324&l=583fd5 cd3a Gallery 6 http://www.facebook.com/media/set/?set=a.10150550640070325.430417.601005324&type=1&l =fe779b358c
|
|
#7
5th July 2010, 06:28 PM
|
||||
|
||||
|
New brackets turned up from Rouge Engineering on Saturday morning and are spot on, slide over the wishbone nicely.
Unfortunately the MK1 golf failed it's MOT so I have to do a few jobs including a tricky weld before I can get back to the roadster. TT
__________________
You only get a woosh with a dump valve Build Thread Man Cave Mantiques Cecil Street Auto Repairs Garage Carlisle Build Cost £4181.65 - Last - Wheel Cylinders
|
|
#8
12th September 2010, 06:49 PM
|
||||
|
||||
|
Today saw a little further progress.
We drilled the holes for the passenger tunnel panel, and a few guide holes for the rear seat back. The holes for the seat mounts on one side were drilled. ( note that in no way was there an error in the location of the rear mount, it was a fully intentional move to take the extra weight ") ) ) We then rotated the chassis to the horizontal and checked to see if my seat mounts were going to fit the seats. Progress was then slow as the chassis became infested with... 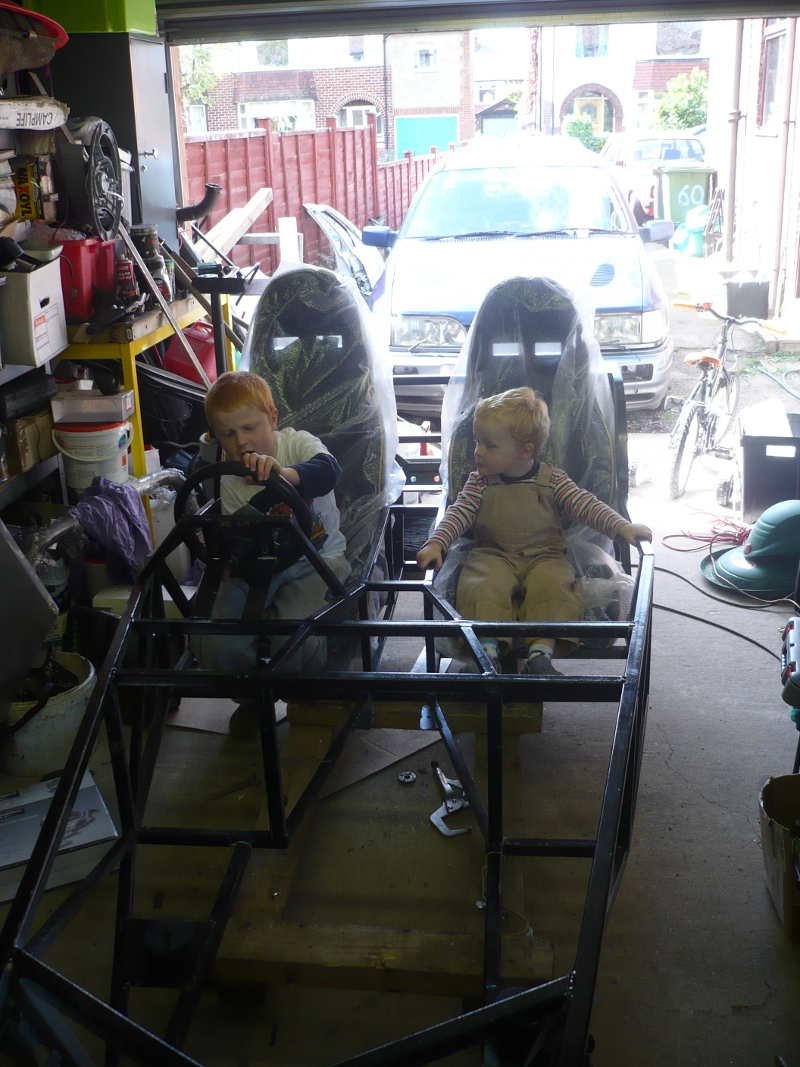 Three hours later, the chassis was back up on it's side, the tunner rails ( PSGR ) cleaned up and after applying gooop that was stickier than sticky stuff in sticky land. The panel was rivited in place.. Unfortunately the battery was flat on the camera by now. TT
__________________
You only get a woosh with a dump valve Build Thread Man Cave Mantiques Cecil Street Auto Repairs Garage Carlisle Build Cost £4181.65 - Last - Wheel Cylinders
|
|
#9
2nd October 2010, 08:58 PM
|
||||
|
||||
|
Ooooohh More progress..
Today I set out to fit the PS floorpan, Everything was ready for it so all that was required was to get the stick crap out of the caulking tube. The stuff is so dam sticky that the caulking gun broke. I had bought an air one, that was useless.. So without a gun, and the desire to get the crap out of the tube, I did the sensible thing and just cut the tube open and got the stuff out with and spread ( if you can call it spread ) it with a chissle.. That done, the floorpan was poped into place and guide rivets put in. Me and the boy then loaded the rest of the rivets, a few were tight which was strange as the holes had all been pre-drilled in one go. One or two holes had to be relived. We then popped in all the rivets, our 3yr old lent a hand at one point too... So that's one side solid. I have been out this evening and drilled the drivers transmission pannel, and then welded in the front section of the drivers panel. I also drilled the seat bearers for the seats runners. So everything is set for paneling the drivers side In between bits and bobs I have been making a start on cleaning up the engine. It's dirty slow work, but quite satisfying seeing the engine as it would have been when new. TT 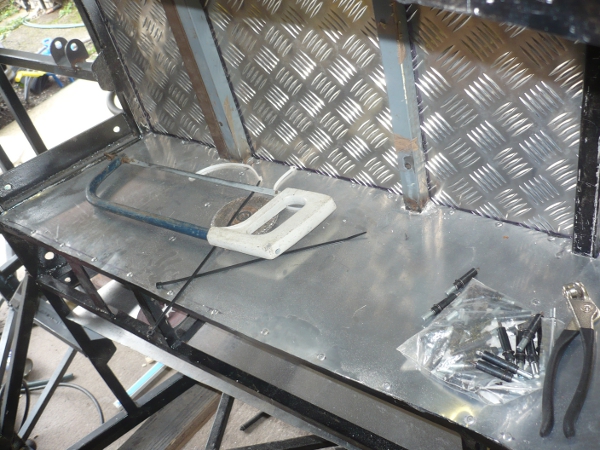 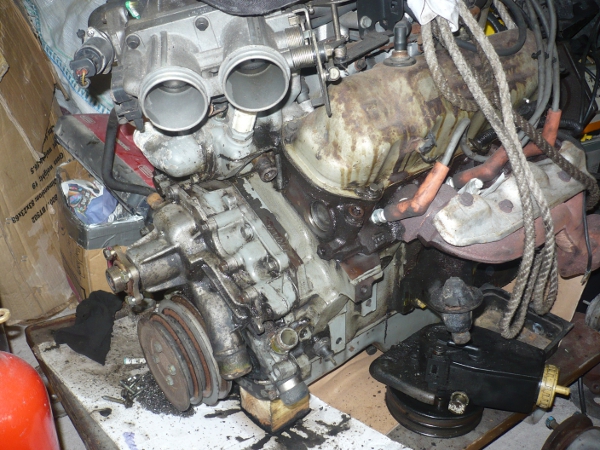 
__________________
You only get a woosh with a dump valve Build Thread Man Cave Mantiques Cecil Street Auto Repairs Garage Carlisle Build Cost £4181.65 - Last - Wheel Cylinders
|
|
#10
2nd October 2010, 09:12 PM
|
||||
|
||||
|
Nice work TT, your chassis is really starting to "come together" now
 I,m thinking ...........when your Roadster is finished & on the road, you,re gonna have a battle between your "young uns" who gets to go for a spin first  Its great that the boys are so helpful & enjoy mucking in with your build look forward to seeing photos when she,s rolling. cheers andy
|
 |
| Thread Tools | |
| Display Modes | |
|
|


 Hybrid Mode
