
|
|
#51
 14th March 2012, 10:45 PM
|
||||
|
||||
|
Just a quicky,
You can turn out polybushes if you can keep them cool enough, i had a play this morning, i got a can of pipe freeze given, works well but its bloody expensive stuff
__________________
A few build photos... www.photobucket.com/ntsengineering 
|
|
#52
15th March 2012, 08:08 PM
|
||||
|
||||
|
Hi David,
I ordered some 14mm OD by 12mm ID tube as you guys have done... easiest option I think. A 12mm bolt is plenty good enough for the job I reckon.  What roughly should the ride height be for the front and back from the bottom of the chassis rails to the floor plz. anybody know for the SSC build car. Heres the link to Photobucket... sorry not many photos. http://s1199.photobucket.com/albums/aa472/JohnoSS1/
|
|
#53
16th March 2012, 06:12 AM
|
||||
|
||||
|
Quote:
|
|
#54
18th March 2012, 10:51 PM
|
||||
|
||||
|
Quote:
Basically I could only fit the rear pass side hub to the wishbones by putting about 10˚ of camber into it. Seems the driveshaft (halfshaft) is pushing the the hub too far out. also noticed that when lifting the hub it was stopped from travelling up by the driveshaft which then bounced the other hub up so something is not right. Seems I may need to think about moving the diff slightly. Took loads of measurements to see where I went wrong but can't real account for this issue using measurements alone! http://www.haynes.co.uk/forums/showt...1417#post71417 EDIT: It's ok I found out what the issue was this morning. Last edited by CTWV50 : 19th March 2012 at 12:33 PM.
|
|
#55
2nd April 2012, 09:36 PM
|
||||
|
||||
|
Well been spending a bit of time on the build but not as much as I wished (Simon)....LOL
I was considering changing my diff mount with thinking how can I incoporate a second rubber mount with what I have already fabricated. I wasn't happy about a 10mm rubber mount holding the diff in place on a top mounted bracket. Then I read Nathans report on his test drive so that motivated me to sort it out. Had a play around with what I already have and came up with this... 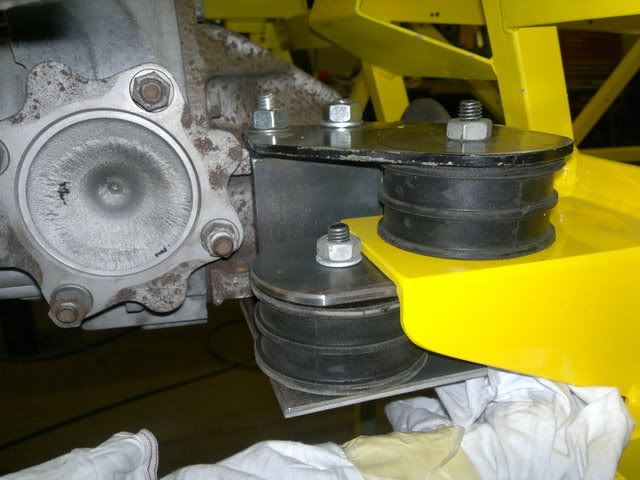 Seems more robust just a bugger to get in with it being a welded bracket to bolt to the top and bottom of the diff the same as the original frame. Also Nathan came down Sunday and delivered Lukes body kit....How about that for customer service....... Luke now a happy bunny... Damm nice fellow just doesn't speak proper Lincolnshre English....LOL  Luke let me borrow his shocks and here's part of the result. 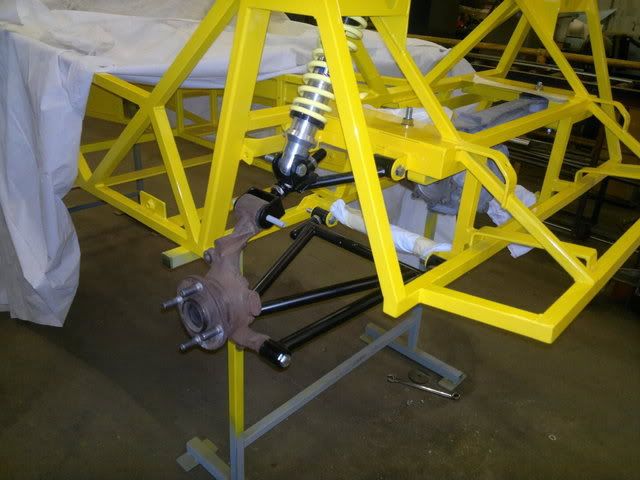 Johno
|
|
#57
4th April 2012, 08:01 PM
|
||||
|
||||
|
Well I hope so Chris, I guess only time and millage will tell...
Looking forward to working on the car this weekend with my friends who'll be working on their cars as well so hopefully we should have some piccy's to post next week. Luke's keen to get his bodykit on now so any advice about how to fit it would be most appreciated.  He's opted for an unfinished kit from NTS which he plans to paint in a metallic colour after mock fitting all the panels. Well this will be my last post for berfore Easter so I would like to wish everybody a happy "EASTER" break.,,,,, Bye for now ......Johno
|
|
#58
7th April 2012, 09:07 PM
|
||||
|
||||
|
OK I spent some time on the car the last couple of days and got a few things done.
Most of my wishbones were removed from the bubble wrap today and found a new home..... None of the bolts are the right size or tightened so need to order them this week but you get the picture... I know at the minute it's a sore point but I managed to mount my diff with it's bracketry and I'm pretty pleased with it. I managed to make a brace between the diff mount arms yesterday out of 3mm pressed steel without lowering the diff. I basically made a bracing strut of some description. It has the added benefit of contacting the rubber bush on top of the diff arm as the insert protrudes about 3mm anyway. 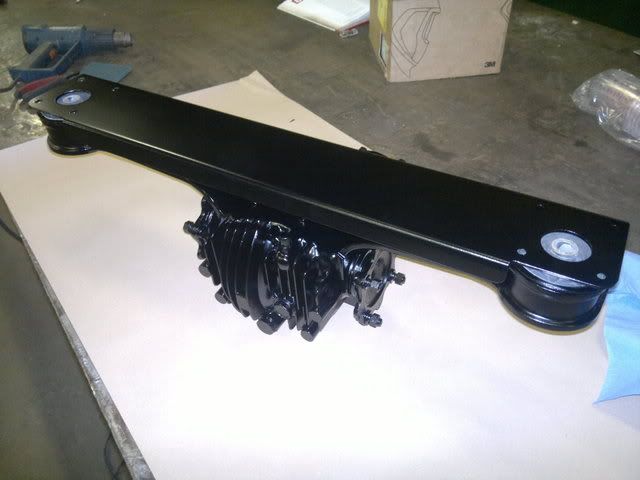 I countersunk the bolts in the plate so they did not interefere with the rubber on top of the diff. Simon got a lot done on his car this week with the rear end being all mocked up and just waiting for the front bits and pieces before he can have a rolling chassis. Out of couriosty we tried Lukes bonnet on Simons car to see if the air inlet would clear which it did with some room...pheewwwww.(thanks SKOV) 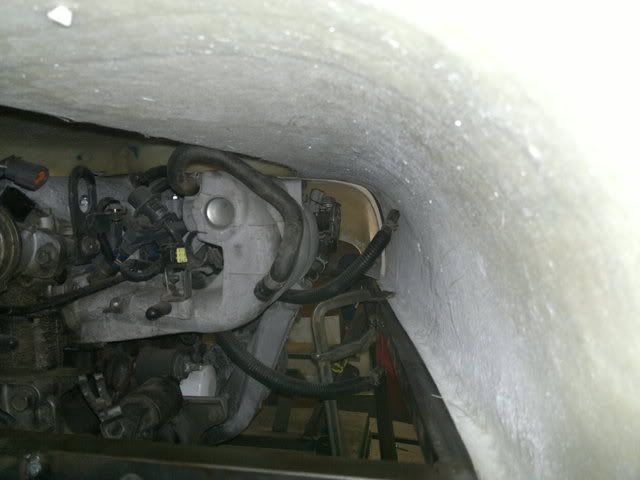 Ok pictures speek louder than words so I have updated my Photobucket tonight with the piccy's I've taken today. http://s1199.photobucket.com/albums/...1/MX5%20Build/ Well have a good weekend Johno
|
|
#59
7th April 2012, 10:44 PM
|
|||
|
|||
|
Great work!
Love the Speedglas 9100 welding helmet. I have one too fantastic bits of kit!
|
 |
| Thread Tools | |
| Display Modes | |
|
|


 Linear Mode

