
|
|
#81
 31st March 2013, 06:39 PM
|
||||
|
||||
|
Still waiting for some replacement parts so that I can get it rolling and wheel it to and from my other garage but I got the steering hashed out.
   The cast UJ from Rally Design is poor. The holes are not in the right position to stop the splined ends from pulling out. ") Ill try opening them up to allow a bigger bolt or buy the pressed steel version. Ill try opening them up to allow a bigger bolt or buy the pressed steel version.Cheers Stot
__________________
1.6 Mazda B6 : Garrett TBO339 : 420cc WRX Injectors : FMIC : Microsquirt V3 : LC-2 Wideband : Toyota COP Build Started Jan 2013 : OTR Aug 2014 : Build Pictures 
|
|
#82
31st March 2013, 09:01 PM
|
|||
|
|||
|
Looking good pal,
1 question the plate your steering column bearing is mounted to, is that still 1mm as per the book or have you beefed it up a bit? I'm just about to tackle that bit is all. Cheers Will
|
|
#83
31st March 2013, 09:19 PM
|
||||
|
||||
|
Quote:
Cheers Stot
__________________
1.6 Mazda B6 : Garrett TBO339 : 420cc WRX Injectors : FMIC : Microsquirt V3 : LC-2 Wideband : Toyota COP Build Started Jan 2013 : OTR Aug 2014 : Build Pictures
|
|
#84
31st March 2013, 10:00 PM
|
||||
|
||||
|
Quote:
__________________
Albert Haynes Roadster FAQ | Haynes Builder Locations Gallery, build thread in Lithuanian / via Google Translate.
|
|
#85
31st March 2013, 10:19 PM
|
||||
|
||||
|
Quote:
 Cheers Stot
__________________
1.6 Mazda B6 : Garrett TBO339 : 420cc WRX Injectors : FMIC : Microsquirt V3 : LC-2 Wideband : Toyota COP Build Started Jan 2013 : OTR Aug 2014 : Build Pictures
|
|
#86
1st April 2013, 12:56 PM
|
||||
|
||||
|
Quote:
__________________
Albert Haynes Roadster FAQ | Haynes Builder Locations Gallery, build thread in Lithuanian / via Google Translate.
|
|
#87
2nd April 2013, 08:41 PM
|
||||
|
||||
|
Back to the dials...
I think the MX5 Nutz guy is stopping doing them as the emails went dry. So I did a little digging and found a guide on making them yourself, although the guide has been taken down now as people were stealing the guide writers designs. Laser print a front, middle and back on acetate and paper.  Stick them together with a spray glue.  cut them out. 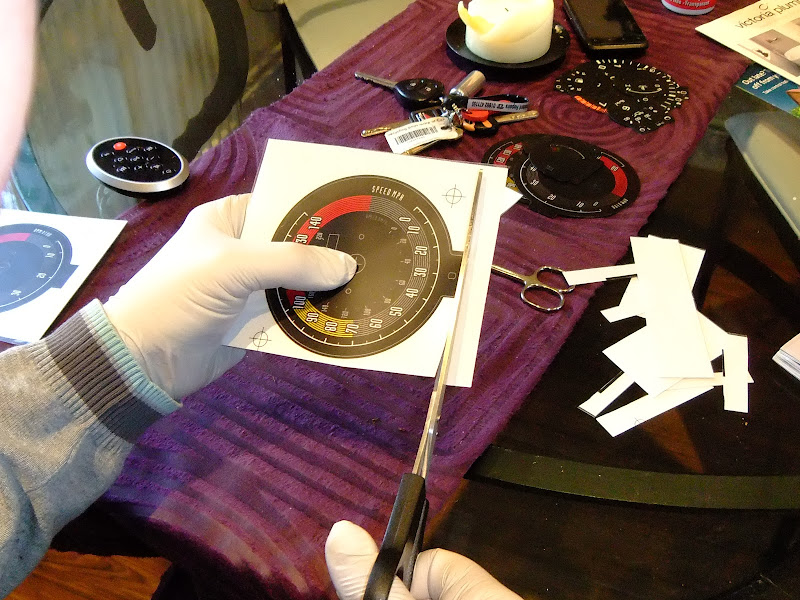 
__________________
1.6 Mazda B6 : Garrett TBO339 : 420cc WRX Injectors : FMIC : Microsquirt V3 : LC-2 Wideband : Toyota COP Build Started Jan 2013 : OTR Aug 2014 : Build Pictures Last edited by Stot : 2nd April 2013 at 08:50 PM.
|
|
#88
2nd April 2013, 08:44 PM
|
||||
|
||||
|
Add holes for the screws and locators
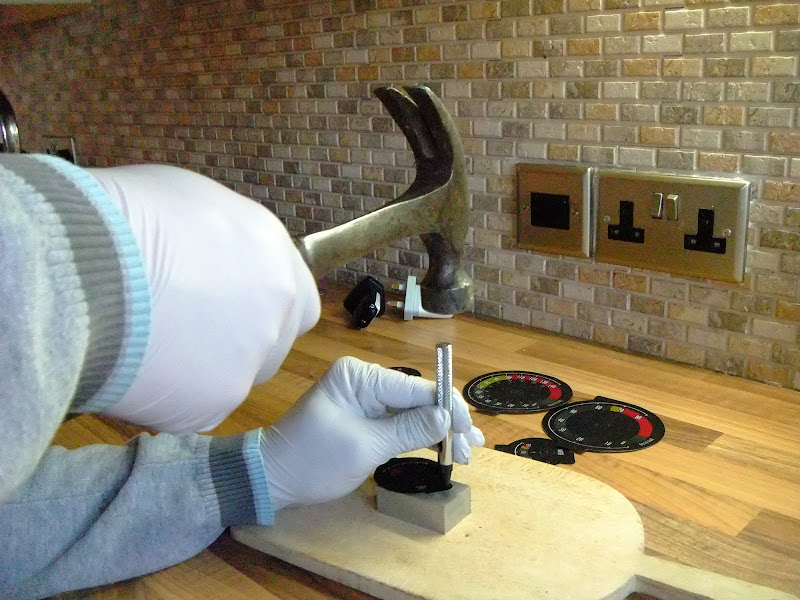 Cut out the odometer window with a craft knife. 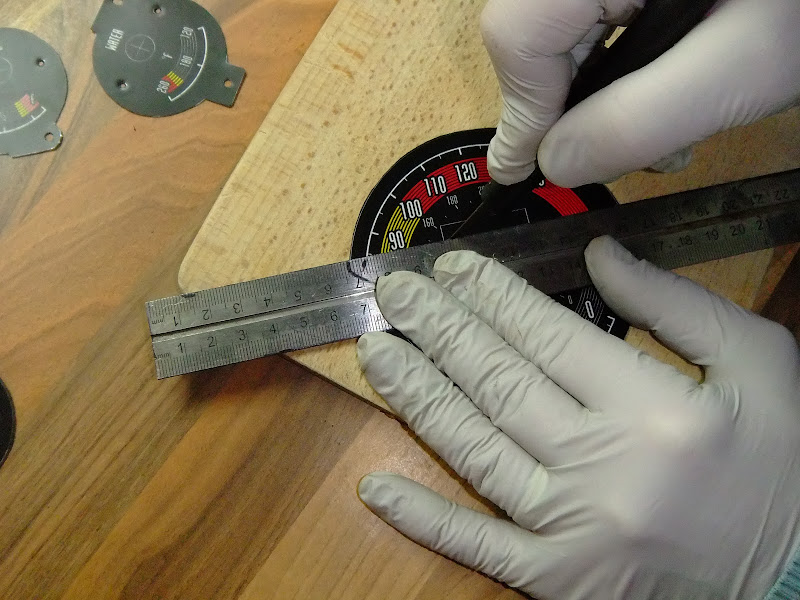 Draw round the inside of the window with a black sharpie to hide the white edge. 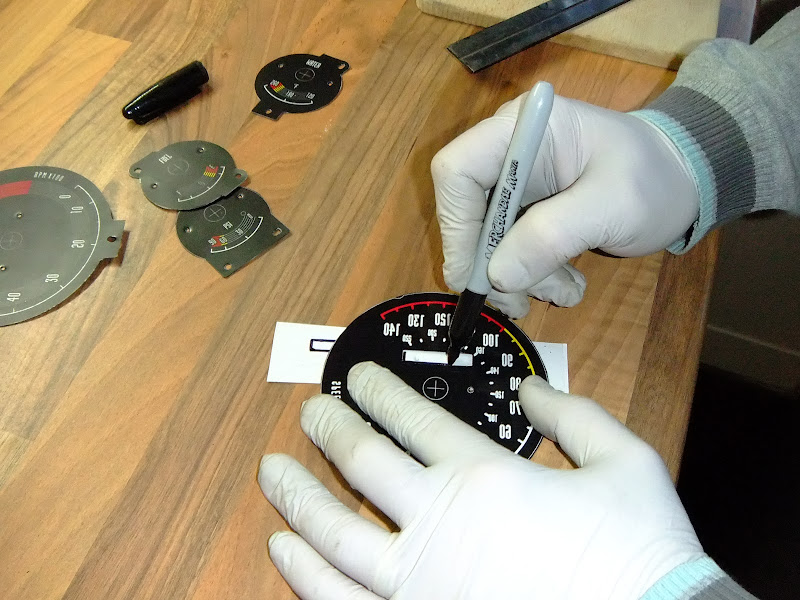 
__________________
1.6 Mazda B6 : Garrett TBO339 : 420cc WRX Injectors : FMIC : Microsquirt V3 : LC-2 Wideband : Toyota COP Build Started Jan 2013 : OTR Aug 2014 : Build Pictures
|
|
#89
2nd April 2013, 08:47 PM
|
||||
|
||||
|
Don't forget to cut the middles out like I did.
 This is how I popped off the old dial hands. levering against my fingers not the back of the dial.  As I changed where the 0 position was, I needed to remove the three tell tale lights so the whole tacho dial would illuminate.  
__________________
1.6 Mazda B6 : Garrett TBO339 : 420cc WRX Injectors : FMIC : Microsquirt V3 : LC-2 Wideband : Toyota COP Build Started Jan 2013 : OTR Aug 2014 : Build Pictures Last edited by Stot : 2nd April 2013 at 08:50 PM.
|
|
#90
2nd April 2013, 08:48 PM
|
||||
|
||||
|
Put the dial hands back on.
 Daylight  Night time  Came out nice I thought.  Cheers Stot
__________________
1.6 Mazda B6 : Garrett TBO339 : 420cc WRX Injectors : FMIC : Microsquirt V3 : LC-2 Wideband : Toyota COP Build Started Jan 2013 : OTR Aug 2014 : Build Pictures
|
 |
| Thread Tools | |
| Display Modes | |
|
|


 Linear Mode

