
|
|
#11
 4th January 2012, 08:46 PM
|
|||
|
|||
|
Ya it definitely didn't like welding the galvenized pipe, especially since I didn't grind any off at all. The wire would just push against the surface for a milisecond before arcing,(almost like faulty ground, but it wasn't) just enough that the wire would heat up and break further up, even on higher voltage. The way that worked best was to begin the weld somewhere down on the 1/8th inch plate, then work up to the pipe. Unfortunately this added much more weld overall than I would like.

|
|
#12
6th January 2012, 10:22 PM
|
||||
|
||||
|
Hi there,
I believe it was me who added round bar to the front of the pedals for strength. ") Used round bar as it is stronger than flat with better looks (in my opinion). Used round bar as it is stronger than flat with better looks (in my opinion). 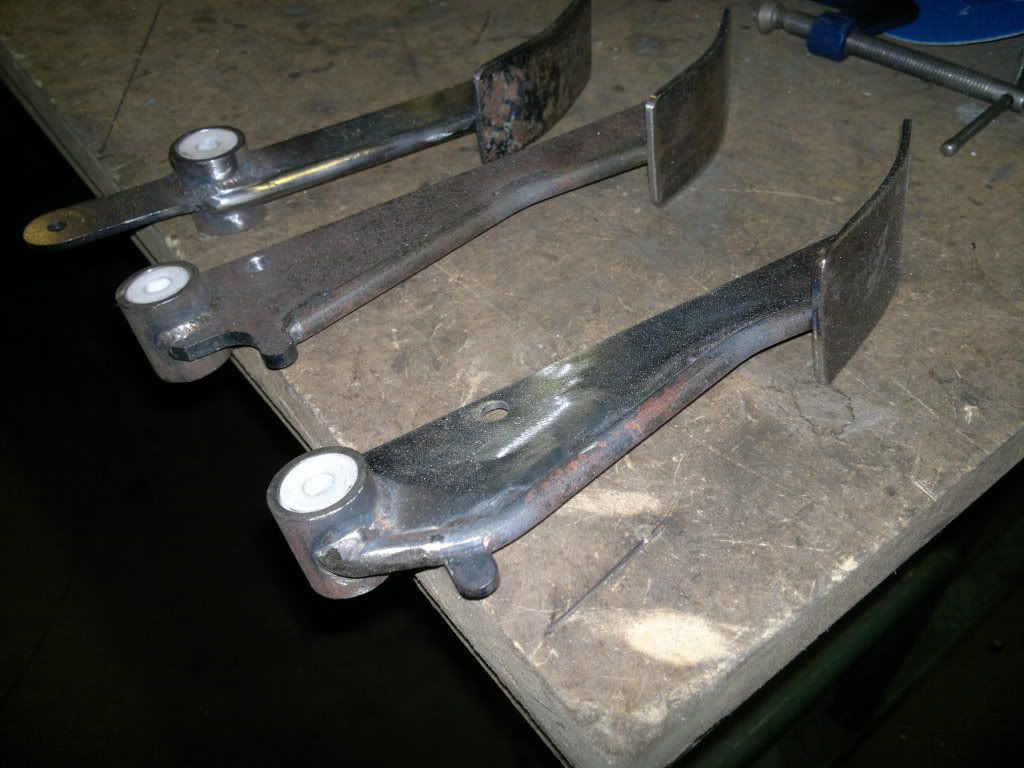 Like somebody said "beauty is in the eye of the beholder" I wouldn't weld anything to the back of the pedals espicially on MX5 build as both the clutch and brake pedal require a clevis for the master cylinders. Good luck with your buid Johno......
|
|
#13
6th January 2012, 11:27 PM
|
|||
|
|||
|
Thats more like it.
 Bob
__________________
When The Results Disagree With The Theory: Believe The Results And Invent A New Theory If I had two brains I,d still be a halfwit The cave http://s1116.photobucket.com/user/my...deshow/mancave The build http://www.haynes.co.uk/forums/showthread.php?t=12669
|
|
#14
7th January 2012, 07:25 AM
|
|||
|
|||
|
Like I said, I meant no offense, but obviously we're on the same page about the bar on the back. I'm not sure why I noticed the reason for the bar in front being that on the back would interfere with the clevis's, then immediately welded plates that will interfere with them!
Anyway as someone else stated, the way to go would be to just build them all from 3/16ths. (5mm). Hindsight......well you know. Well I also got much better @ welding galvenized! : P 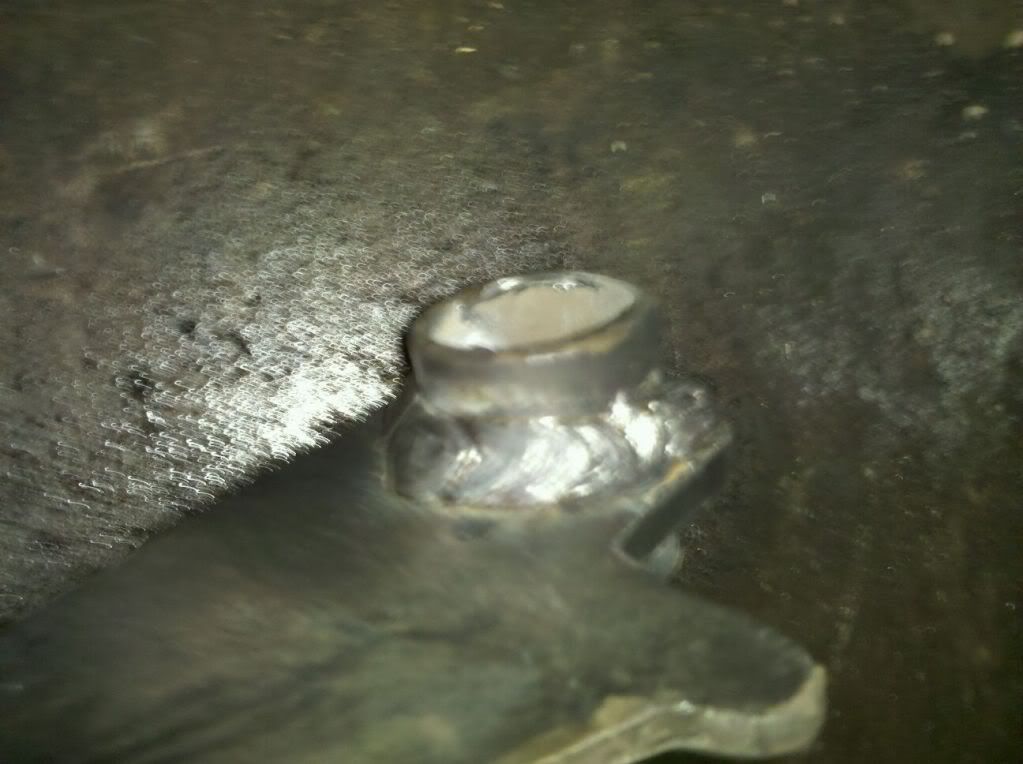 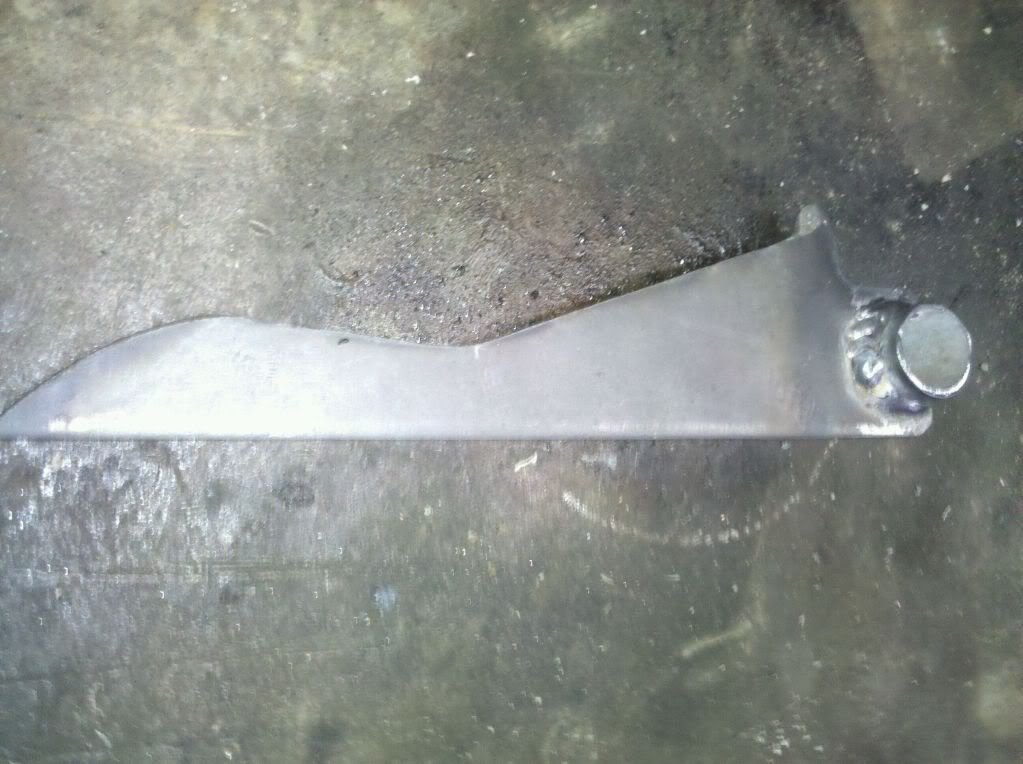 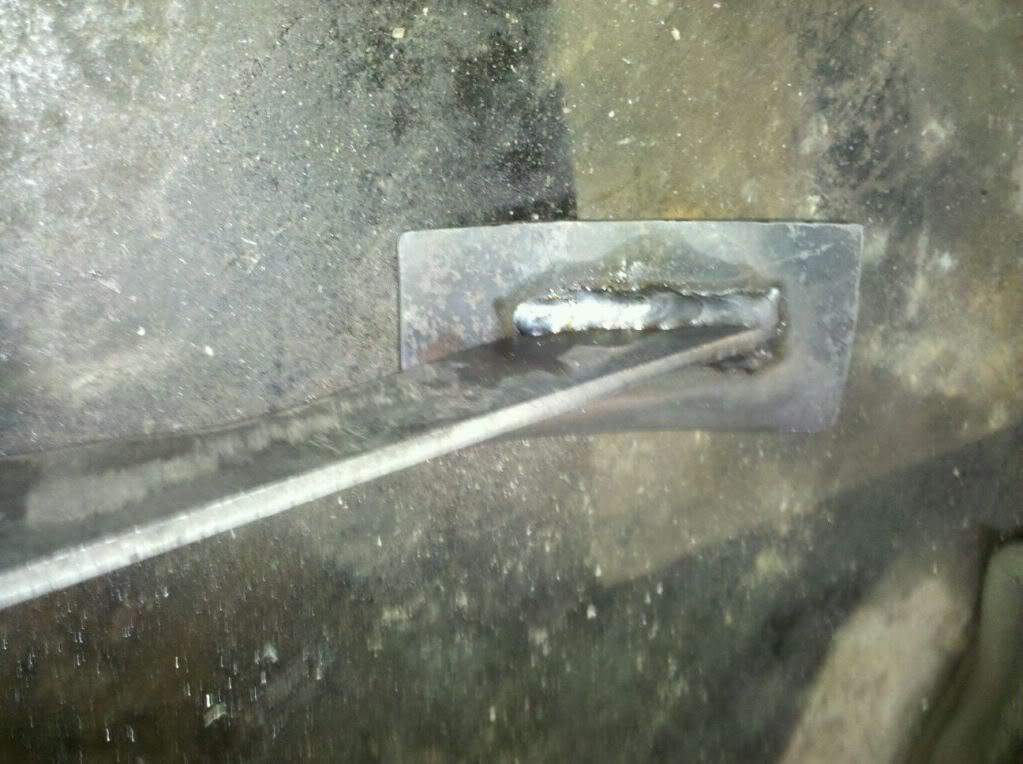 Also was nice change back to heavy plate!(I'm a heavy truck mechanic/fabricator) 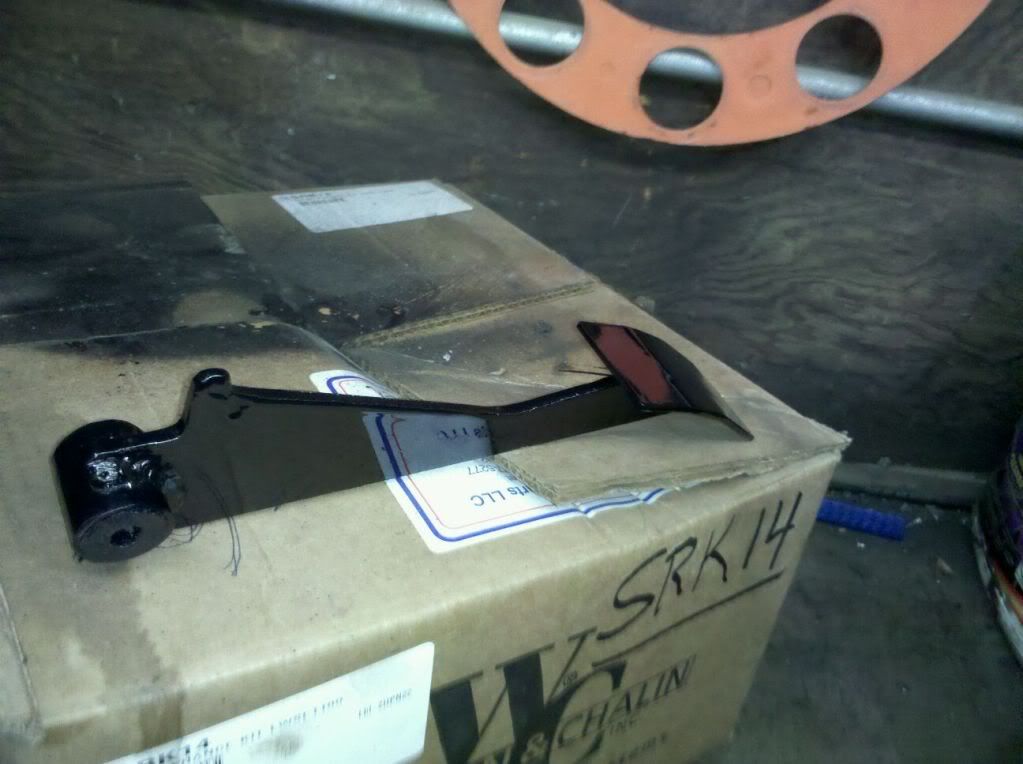 All painted up with bushing installed. We'll see how paint holds up to Oregon coast, its Valspar Tractor Emplement paint.
|
|
#15
15th January 2012, 07:00 PM
|
||||
|
||||
|
Hi,
No offence taken just pointing out it was me.... ......The problem I had with the pedals is I got the pedals laser cut before I researched here on the forum about upping the the thickness...  The reason I choose to modify the pedals instead of getting thicker ones was there a four of us building and I got four sets laser cut.....dammmmmnnnn. I looked at a few options such as flat bar, tube and then decided to weld solid 8mm to the front of the pedals which makes them very stiff and has less impact on any other parts in that area. Look forward to seeing some more pics of your build..Johno http://s1199.photobucket.com/albums/...1/MX5%20Build/
|
|
#16
23rd January 2012, 12:38 AM
|
|||
|
|||
 Here is the pedal base/box with all tabs welded on and painted. Leaving all holes undrilled until I'm ready to mount master cylinders/cable guide, ect. I had a hard time finding a sleeve for the pivot bolts. Finally found exactly what I needed in stainless, for $5.49/ft.! Luckily that did all three bushings and a castor wheel for my creeper! I actually drilled and tapped and installed some 5/32 grease zirks too, as I still perfer the idea of the nylon riding on the bolt, instead of metal on metal, might as well just use a solid 1" (25mm) spacer drilled for the pivot bolt. Either way, I suppose this will be longer lasting this way. Last edited by Toyotus : 23rd January 2012 at 12:42 AM.
|
 |
| Thread Tools | |
| Display Modes | |
|
|


 Linear Mode

