
|
|
#321
 20th March 2014, 11:51 AM
|
||||
|
||||
|
Yes they are working wheel rate out by squaring MR before they have accounted for spring angle whereas hyper coil are accounting for spring angle for MR and then squaring MR.
 So my CPM would come out at 163cpm using that method. If I reduce distance D2 by not using the centre of the tire but the lower ball joint to 15" say I get a cpm of 182cpm! It certainly doesn't feel like I'm driving a modern day ground effect or downforce racing car! lol There must be more too this we aren't aware of. 
|
|
#322
20th March 2014, 12:15 PM
|
||||
|
||||
|
Found this, It's a discussion about exactly this with some seemingly knowledgable people trying to get to the bottom of the Staniforth correction factor for angle. I'm not sure I'm able to apply it but I'll give it a go.
http://www.ten-tenths.com/forum/showthread.php?t=126399 There is this as well, but to me this is as clear as mud. I assume this is from Staniforth's book. http://enderw88.wordpress.com/automo...g-rate-theory/ Last edited by CTWV50 : 20th March 2014 at 12:44 PM.
|
|
#323
20th March 2014, 12:45 PM
|
|||
|
|||
|
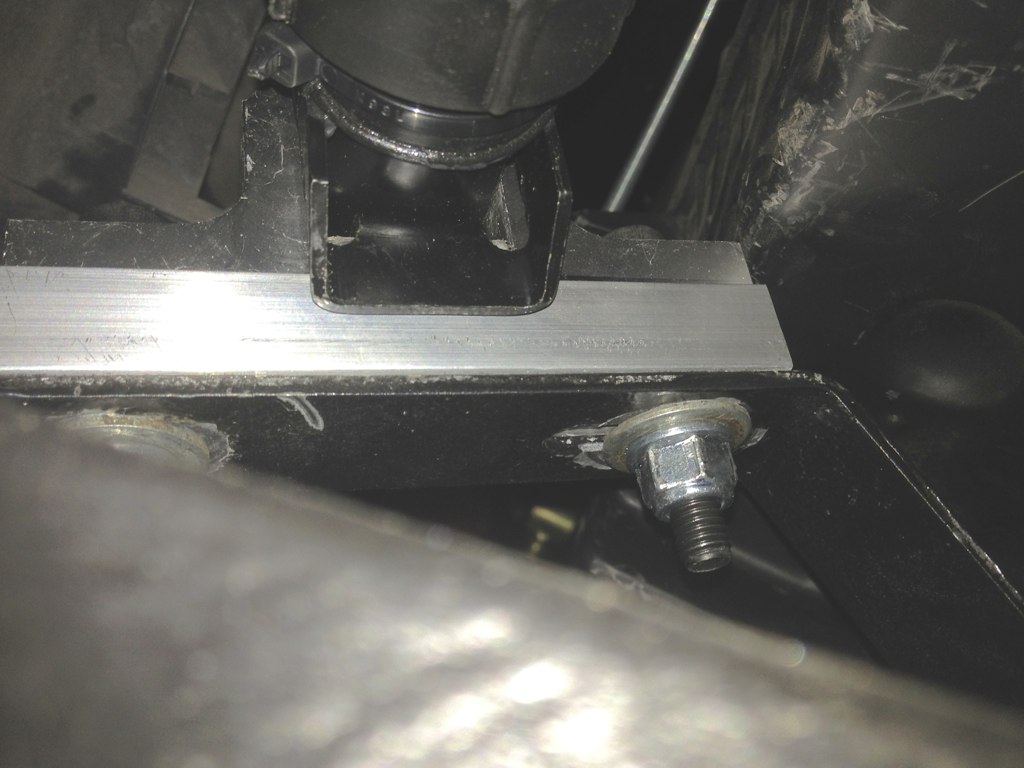
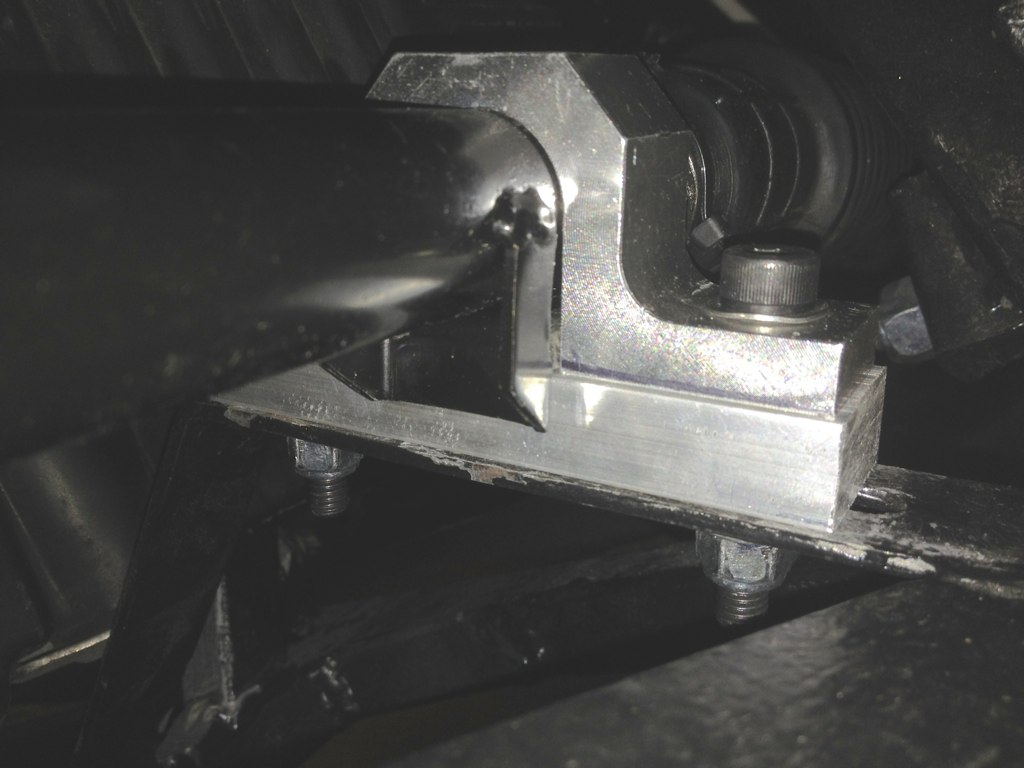
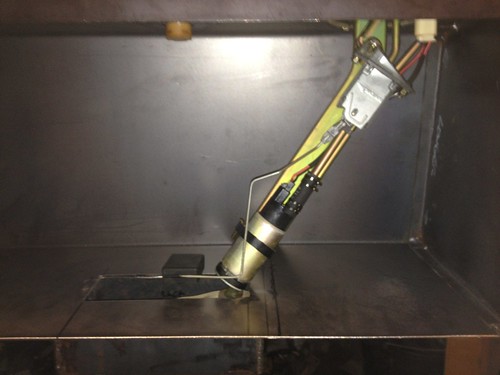
An observation and hope I am wrong,I don't think the IVA tester will like the fact that the locking nut for top suspension joint holds the flexy pipe bracket as well.
__________________
Cost : Little as possible. Thanks : To those who by their generosity my build has progressed. Its a handmade sports car not a flaming kit car !!! If at first you dont succeed,avoid skydiving... No parachute require to freefall,only if you want to do it twice.
|
|
#324
20th March 2014, 12:47 PM
|
||||
|
||||
|
Quote:
 Last edited by CTWV50 : 20th March 2014 at 12:53 PM.
|
|
#325
21st March 2014, 01:02 PM
|
||||
|
||||
|
Last night I made some spacers for the rack just to make sure mr IVA man didn't fail me due to the rack boots touching the wishbones. I'll probably remove them after the IVA as the contact is only very slight. I'm using 12.9 strength M8 hex head bolts with washers and flanged nylock nuts.
|
|
#326
25th March 2014, 02:21 PM
|
||||
|
||||
|
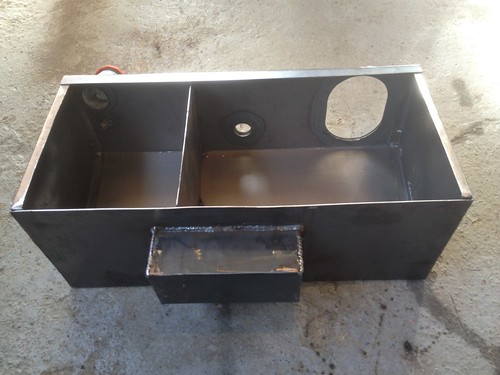
I've decided to give making my own fuel tank a go. The one I was using had a few small leaks but the main issue was keeping the steel flanges from the mazda tank attached to the ali tank. In an effort to resolve this I decided I'd make a steel tank. I wanted to originally but never thought I'd be able to. So never one to shy away from a challenge I made some tank end plates and a sump and tested them with fuel and they didn't leak! I took the end plates to a local fabing place and had them bend some sheet steel to fit by end plates.
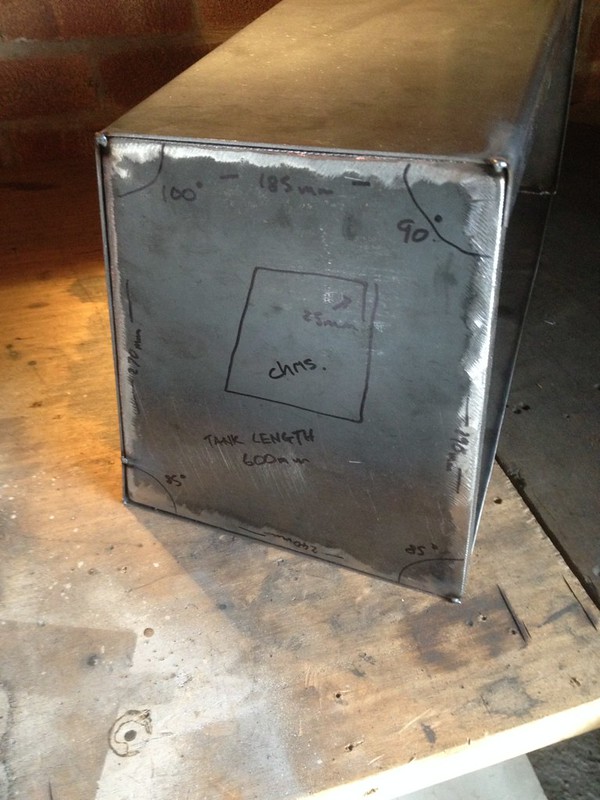 They did a good job and it was something I'd never be able to get even close with but there were a few gaps to deal with. 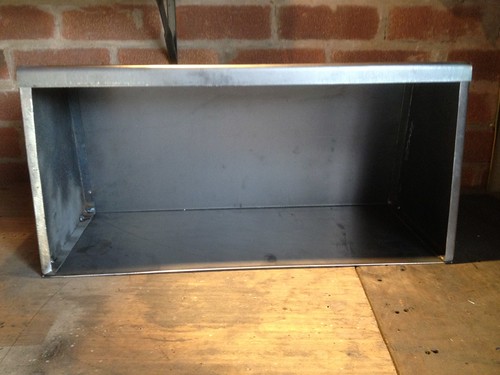 It was made in two sections as it wasn't possible even for them to bend it in one piece, but it made it really accessible to install the baffle and sump in the right place.  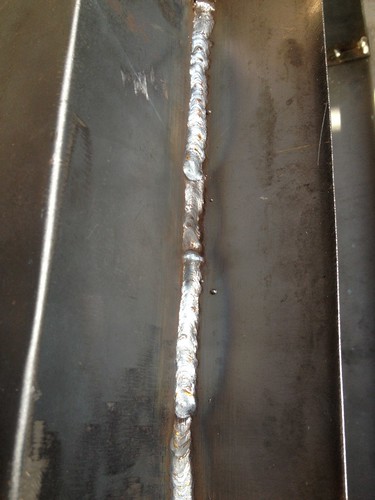 Last edited by CTWV50 : 26th March 2014 at 01:14 AM.
|
|
#327
25th March 2014, 02:25 PM
|
||||
|
||||
   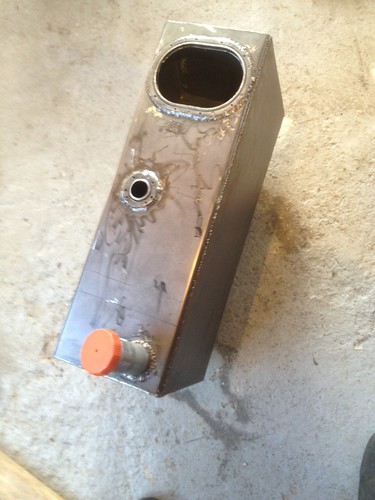 It's still not finished as I did have a few small leaks but it's getting there. To be honest I'm surprised it's gone as well as it has.
|
|
#328
27th March 2014, 02:38 PM
|
||||
|
||||
|
I was getting a lot of leaks around the pump/sender flange. Fuel was creeping around and under the old flange behind my welding (I think). I've now managed to come up with a technique to fill this gap with plumbers solder.
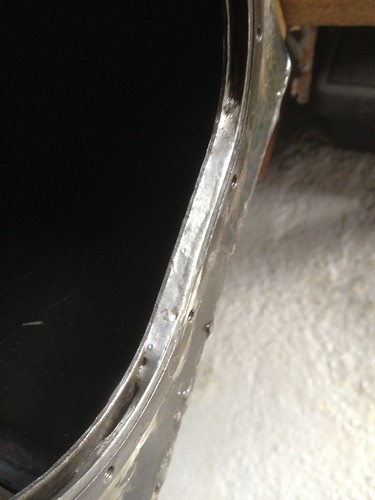 Needs finishing off.
|
|
#329
28th March 2014, 12:14 PM
|
||||
|
||||
|
Finished all the brazing needed and made a new rubber gasket from some rather expensive Viton rubber, Im using studs with nylock nuts and washers rather than the mx5 crappy screws which after being fitted and removed 100 times are pretty useless now. These studs are doing the job but they too are starting to show there excessive use so Ive ordered some M4 12.9 strength allen bolts off ebay for a couple of quid to turn into new studs as I have already broke one of these softer ones and dont want to be drilling and tapping if another one breaks.
I ground back the welding around all the flanges too to tidy it up a bit, I was also getting contact between some high parts of the welds and the sender unit cover. 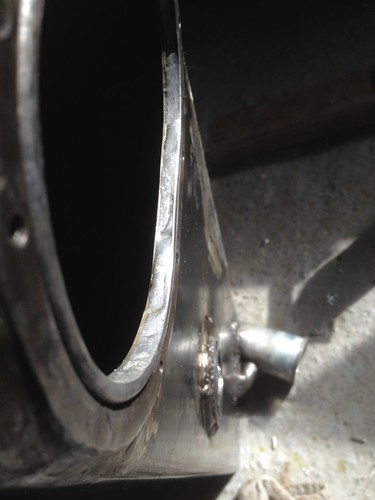 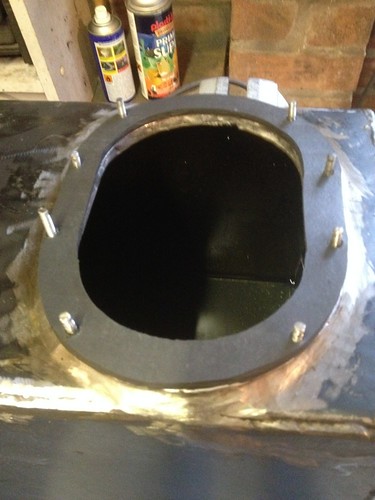 I put a couple of gallons of petrol in it last night and had the tank upside down and shook it about this morning after leaving it overnight. No leaks! Woohoo! Just a little chuffed with myself! No Goo, no JB Weld, no tank sealer or anything just metal rubber and the mazda donor parts. Mission accomplished! Just need to sort out a tethered fuel cap, weld an earth stud on, sort the vapour drain routing, do a little more tidying up and then paint it with the same paint I used on the chassis. Got the steel delivered the other day as well so I can finish the roll bar this weekend and then Ill paint that too. :-)
|
|
#330
28th March 2014, 12:54 PM
|
||||
|
||||
|
Nice work

|
 |
| Thread Tools | |
| Display Modes | |
|
|


 Linear Mode

