
|
|
#1
 18th April 2011, 06:36 PM
|
||||
|
||||
|
Hi guys,
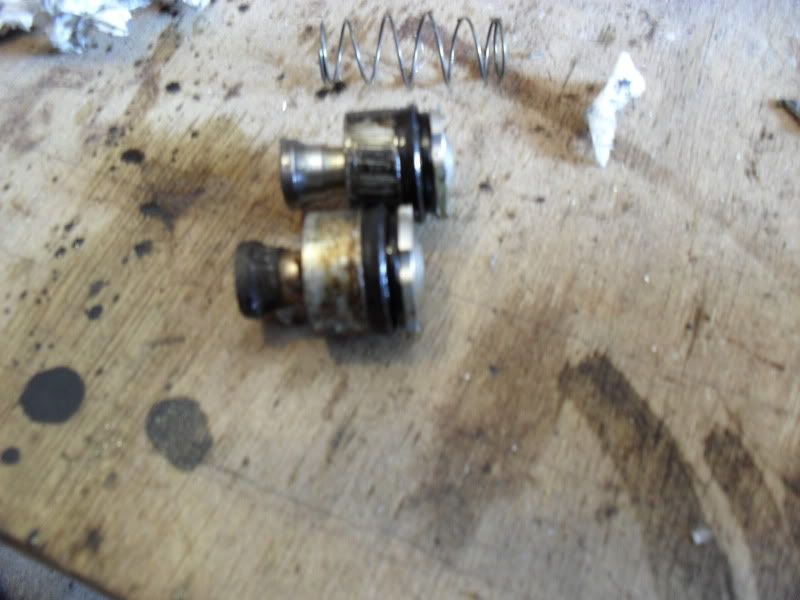
having booked the week off work on holiday, i thought i would get cracking on the car and make a good dent on the todo list. However, the missus put stop to that yesterday, coming home with a truck load of paint/wallpaper etc So instead of working on the roadster im stripping bloody wallpaper! Shes gone to work for the afternoon so i thought id skive for an hour and recon my rear brake cylinders as they were in a right mess. It only takes about thirty minutes, and i thought id share it with you guys, im not trying to teach you boys how to suck eggs but it might be useful to those who have never touched brake cylinders before. Anyway here goes: to start with the cylinders looked like this:  (edit, this was after i had taken off the dust seals) Both pistons were jammed tight with no free movement in each cylinder and they were really rusty. but after 30mins of work the pistons are nice and free and look like this:  The first step is to remove the old brake pipe union and bleed nipple. Its worth noting that these are imperial, so 3/8 socket for the nipple and 7/16 for the brake pipe union. Its important not to use metric sockets, being brass its really easy to ring them off. I held the cylinder in a vice to hold it steady as the nipple and union were mega tight. Next step is to remove the dust seals from each end of the cylinder, just prise them off gently if they are in good condition, once off, just give them a tug to pull them off the bell end of the piston. If they are ok, just wipe them clean and get the crud from the inside and wipe with a bit of sylicone grease to reuvenate the rubber, if they are knakered just buy replacements at £4 a set from unipart. Ok, now that the dust seals are off, its time to get the pistons out. They should be pulled out from each end because theres a fragile spring between the two, however it can be difficult if they are siezed, i generally put them in a vice and pull on the piston ends with a pair of mole grips. With the pistons and springs put to one side, its time to have a look at why the pistons are siezed. As you can see, the bore of the cylinder is lined with corrosion and scratches, and for the brakes to work properly we need free movement. 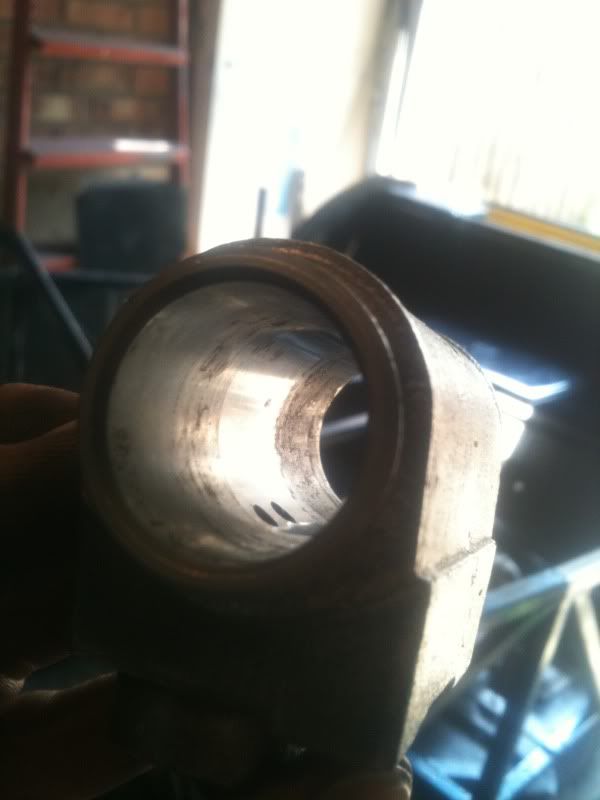
__________________
A few build photos... www.photobucket.com/ntsengineering Last edited by shh120m : 18th April 2011 at 07:03 PM. 
|
|
#2
18th April 2011, 06:43 PM
|
||||
|
||||
|
You can polish the inside of the cyilnder with wire wool i suppose but it would take forever. The best tool for the job is a small bore hone. mine cost about a tenner.
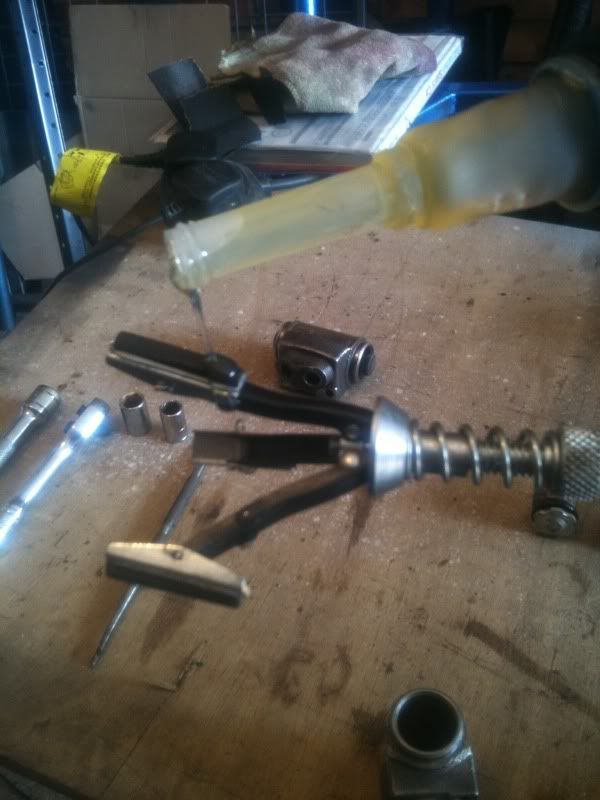 The hone is fitted into a cordless drill and inserted into the cylinder, with plenty of machine oil to keep it lubbed up, it took me about 3 minutes to polish each cylinder, being really gentle to avoid damaging the bore any more. the result is a nice shiny smooth bore, ready to accept clean pistons. 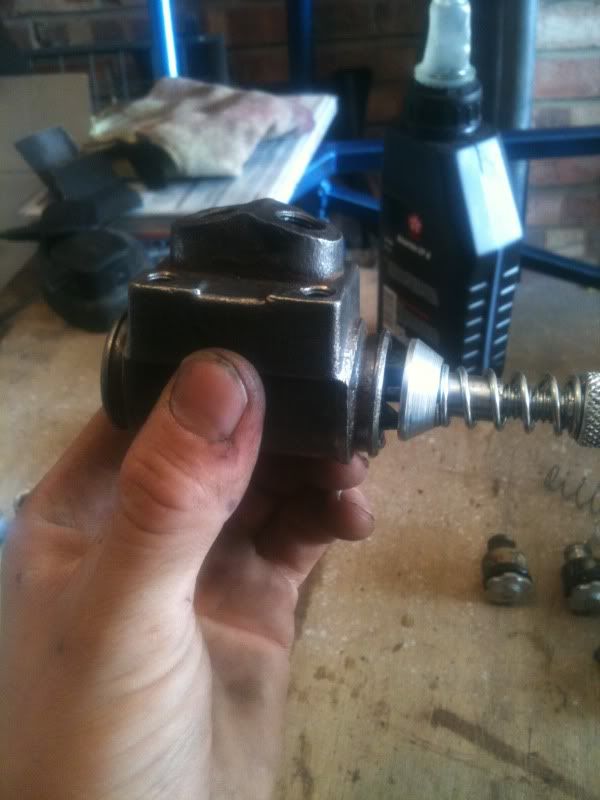 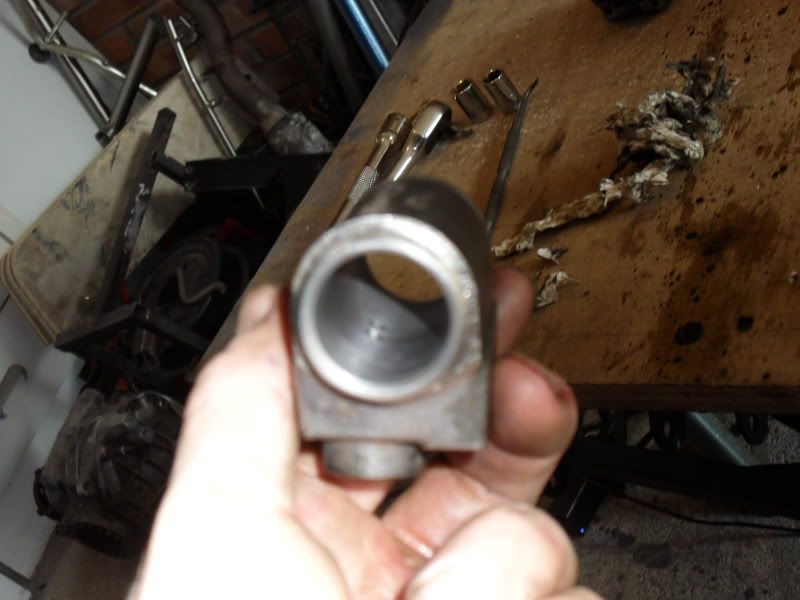 The next step is to inspect the pistons....
__________________
A few build photos... www.photobucket.com/ntsengineering
|
|
#3
18th April 2011, 07:01 PM
|
||||
|
||||
|
The chances are that your pistons will look like mine, covered in movement inhibiting crud...
 Its worth noting that the inner half of the piston is made from light ally, so its best not to go mad with a scrubbing brush!, just use a light wire wool and tisue paper to clean. if the piston seals look perished its worth replacing these also, but mine were fine so ijust smeared a bit of fluid on them. they should be as shiny as you can get them to ensure a good free movement within the cylinder... 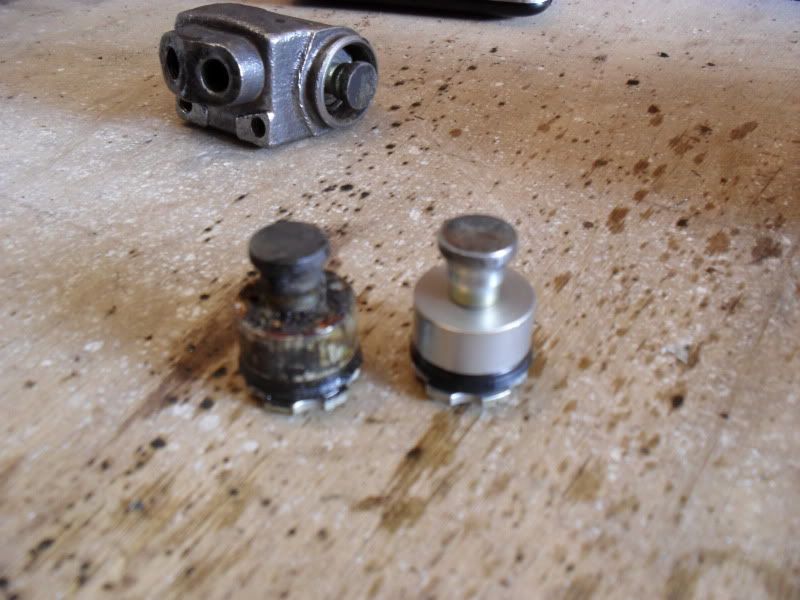 At this point its worth inspecting the spring. Before reassembly, its vital that the the inlet and bleed ports are clean, any crud in there will get pushed into the cylinder again with the fluid. Once everythings lovely and clean the reasembly beginsby lubing the cylinder up with some dot 4 and then pushing one piston into the cylinder, being careful not to damage the seal, followed by the spring, followed by the other piston. The outer dust seals can now be popped back on. Last but not least fit a new nipple and pipe union. Then admire your handywork  Hope this is of some use, now i must get back to that decorating before the missus gets back!
__________________
A few build photos... www.photobucket.com/ntsengineering
|
|
#4
18th April 2011, 09:05 PM
|
|||
|
|||
|
Nice posts, i was going to refurb mine but i thought its not worth the time and effort when i found out i could get brand new ones for £8 each!!
Well mine were anyway but the local parts place is run by my old school teacher so get some good deals on old sierra stuff thats collecting dust in his storeroom 
|
|
#5
18th April 2011, 09:30 PM
|
|||
|
|||
|
Nice write up and dialogue but I have to go with Mark on this one,its cheaper and safer to replace them.
You may find that after a few months they start to weep because of the amount of metal although small that has been removed through polishing etc. Hard to find cylinders are better repaired with a stainless liner pressed in to suit after boring,dont get me wrong I am not putting a dampner on your excellent thread and explanation. Have you got the resin off yet Nathan.
__________________
Cost : Little as possible. Thanks : To those who by their generosity my build has progressed. Its a handmade sports car not a flaming kit car !!! If at first you dont succeed,avoid skydiving... No parachute require to freefall,only if you want to do it twice.
|
|
#6
19th April 2011, 08:24 AM
|
||||
|
||||
|
Haha, yes thanks mate, although it's now been replaced by tile cement!
__________________
A few build photos... www.photobucket.com/ntsengineering
|
|
#7
19th April 2011, 01:27 PM
|
|||
|
|||
|
Some luck then even if it's not that good
 . .
__________________
Cost : Little as possible. Thanks : To those who by their generosity my build has progressed. Its a handmade sports car not a flaming kit car !!! If at first you dont succeed,avoid skydiving... No parachute require to freefall,only if you want to do it twice.
|
|
#8
20th April 2011, 09:54 PM
|
||||
|
||||
|
Newbie question lol, what do these do? Are they fitted on drum or disc brake systems??
|
|
#9
20th April 2011, 10:01 PM
|
|||
|
|||
|
Drum brakes and they force the shoes against the drum,safety critical.
__________________
Cost : Little as possible. Thanks : To those who by their generosity my build has progressed. Its a handmade sports car not a flaming kit car !!! If at first you dont succeed,avoid skydiving... No parachute require to freefall,only if you want to do it twice.
|
 |
| Thread Tools | |
| Display Modes | |
|
|


 Linear Mode

