
|
|
#131
 8th March 2012, 10:46 PM
|
||||
|
||||
|
Yeah....I know Oz....would'nt care, I have a blast cabinet, might dig it out.
I have also been working on making the pedal box, again using metal from an old compressor tank (nearly all of the 3mm plate has come from these tanks).....will be assembling it to weld tomoz......really got the bit between my teeth at the mo and loving it. pedal box parts 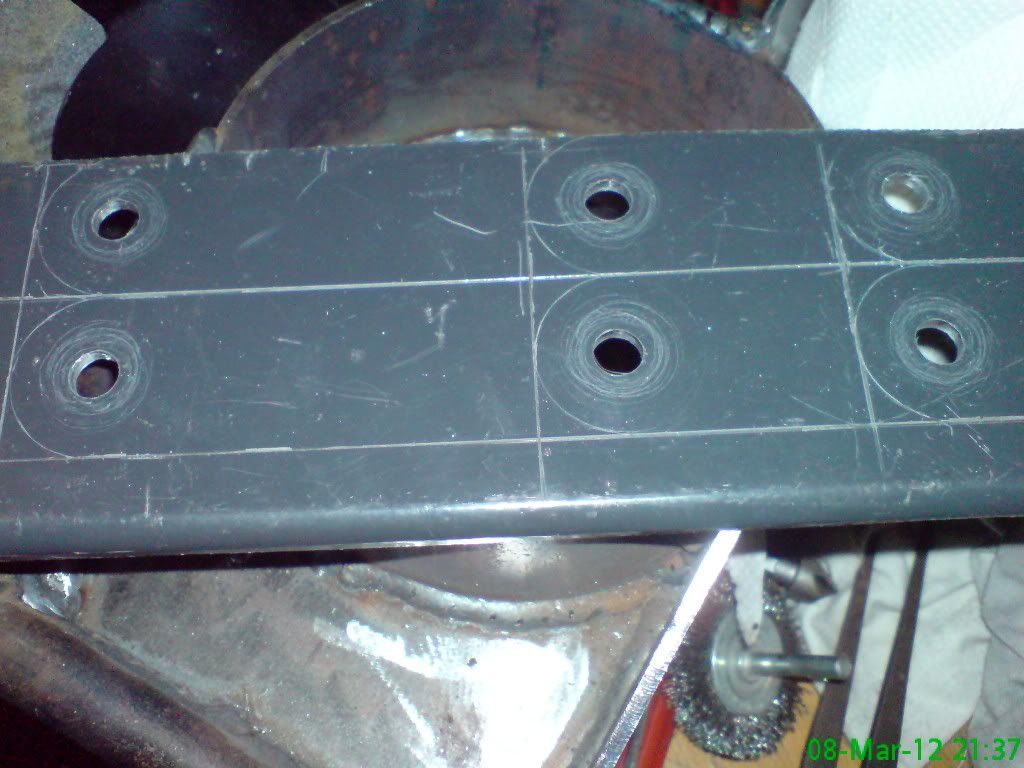 
|
|
#132
11th March 2012, 12:41 AM
|
||||
|
||||
|
I hope this is the only time I ever see the chassis in this attitude (pic 1)
been busy with bandsaw and angry grinder again.....just have to make the pedals now.....and fortunately for me I had an old set of he-man dual controls from my days of being a driving instructor so I already have a clutch and brake pedal to modify.....will be doing those today....I am still finding joints that need welding ....it makes you wonder how many cars out there that might have "dry" joints. Here are the obligatory piccies ....this time it is the pedal box that went together without a hitch, but needed a little "fettle" of the welds to get it nice and plumb.....possibly engine mount next.  pedal box 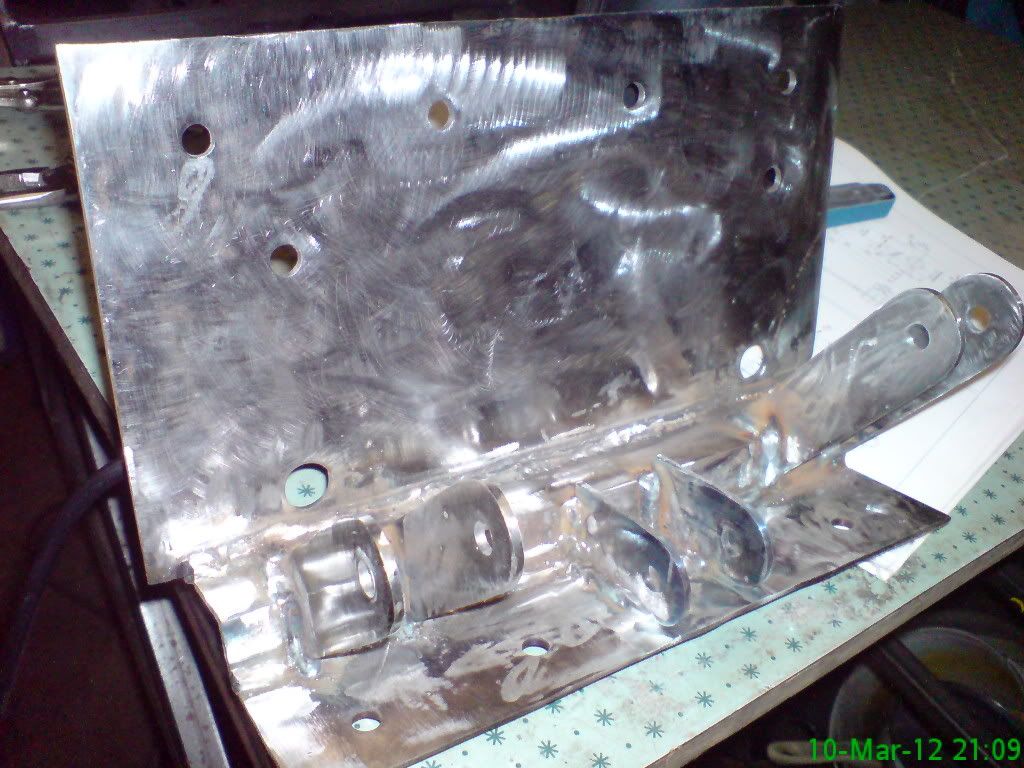 pedal box in situ 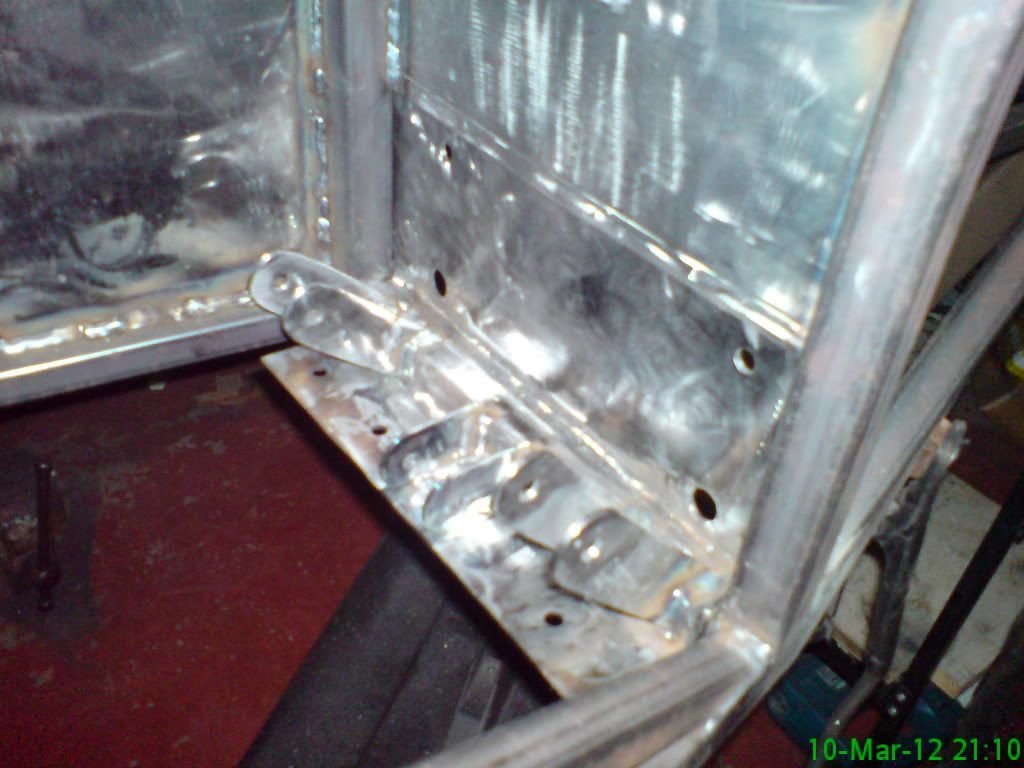
|
|
#133
11th March 2012, 11:43 AM
|
||||
|
||||
 Nice work there Kev. Nice work there Kev.Just a thought......are you intending to "slot" the holes where the handbrake cable passes thru the bracket between the SB4,s ? I found that it helps when fitting the cable & also means you only need to shorten it at 1 end  cheers andy
|
|
#134
11th March 2012, 12:47 PM
|
||||
|
||||
|
never thought about it Andy....but now that you mention it.... yep I most probably will....hey good luck on your forthcoming IVA I'm assuming it will be Beverly your going to.
Well the weather outside is dictating my next course of action .....whipping out the pinto/box from the sierra, thought it might have been another month or two but it is around 15-16c so I is gonna do it while I can.
|
|
#135
16th March 2012, 08:40 AM
|
||||
|
||||
|
With the last few days being pleasant enough to work outside, I thought I would have a go at taking out the pinto/box from the sierra .....don't you just love rusted,crudded up bolts, neck ache, back ache and that is with an engine crane
even so ...out she came 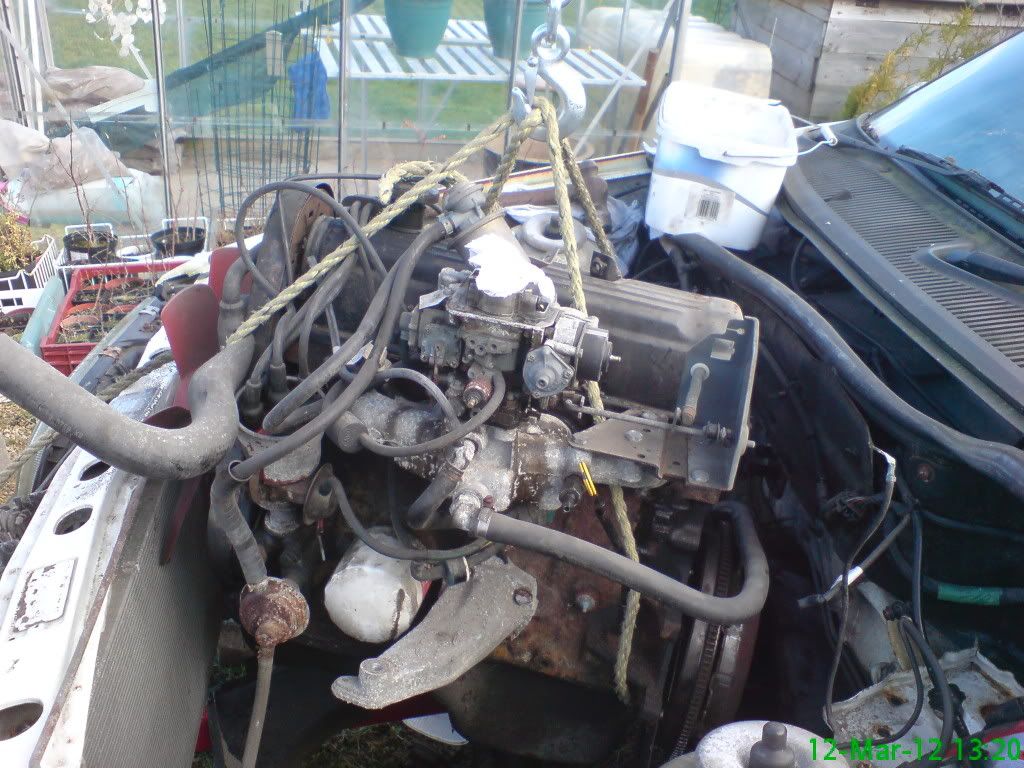 pedal box is nearing completion as well here are my pedals all bushed up, I have used an old set of dual controls for brake and clutch 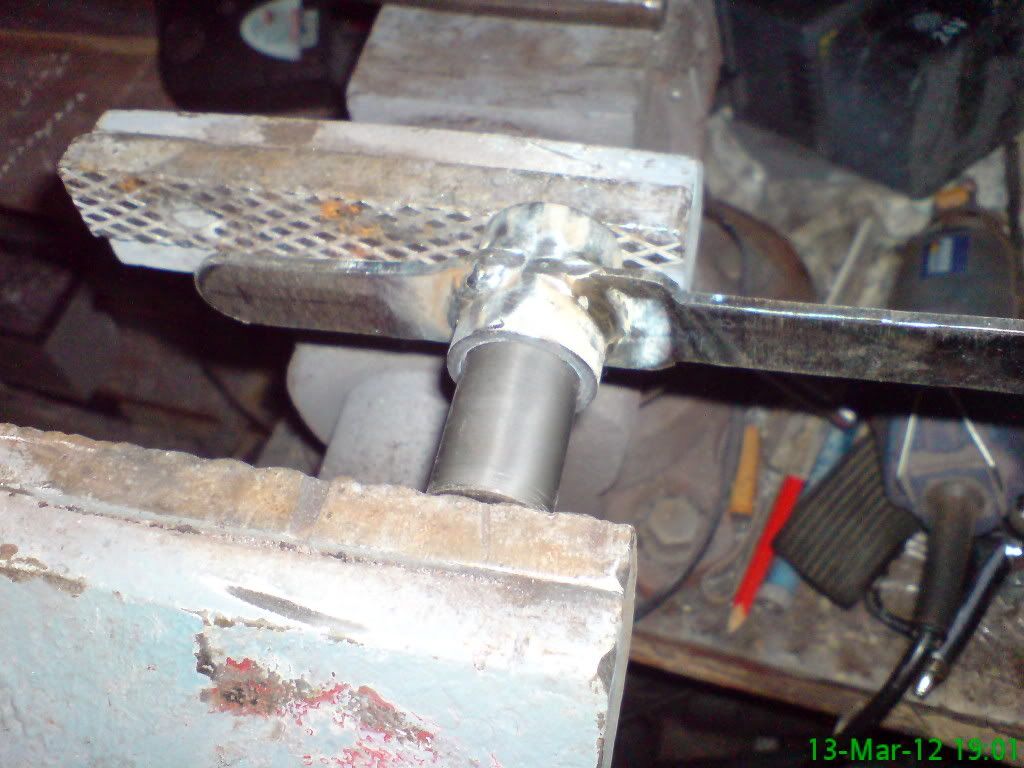 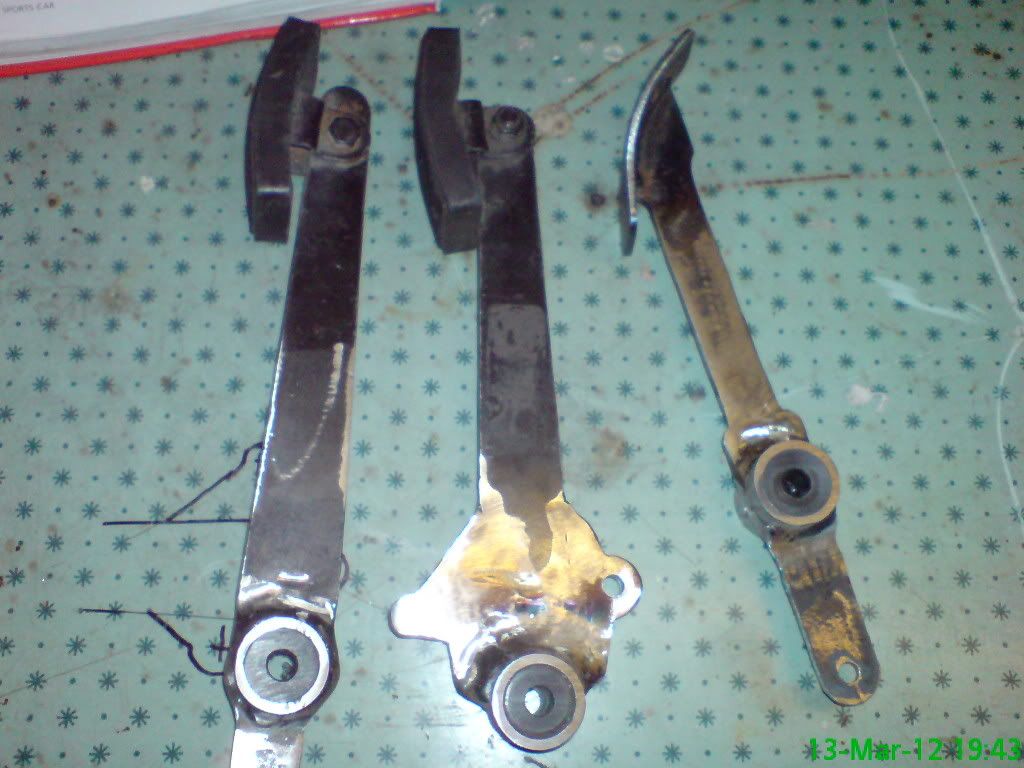
|
|
#136
23rd March 2012, 08:11 PM
|
||||
|
||||
|
Hi all ....well the refurb of the drum backplate continues....I got real tired of wire brush, grindstones, well you know the score ....so I decided it was time to revive my DIY blast cabinet.....I gave up on this a while ago because you need a REAL BIIIIIIIG compressor for these hungry media blasters so it was time to get my hands on a petrol powered hydrovane compressor the dogs..... all bells and whistles water trap, air cooler 150psi, so after some setting up I gave it a shot but I only had silver sand to try out .....yeah I know, its a big no no silicosis and so on ...anyways way too dusty so a quick mooch on www I discover a few peeps starting recommend crushed glass....cheap and no dust (my ars) so ordered some of the bay to give it a try. couple of days later and after 15-20 mins blasting I have a finished backplate....great and no dust.
Next day I refill the blast bucket and get to work on the other backplate and the first signs of dust appear....bo**ocks I thought...well plod on , now on doing my differential and I can hardly see the thing in the blast cabinet and before any one asks yes I do have a vacuum and vent running ...so I won't be buying any more of that crap. I have now ordered some steel shot that IS re usable up to 3000 times and hahaha no dust (believe when see) anyway the stuff I have done so far is coming up clean and ready to prime so here are some piccies the diff aint finished yet but soon will. 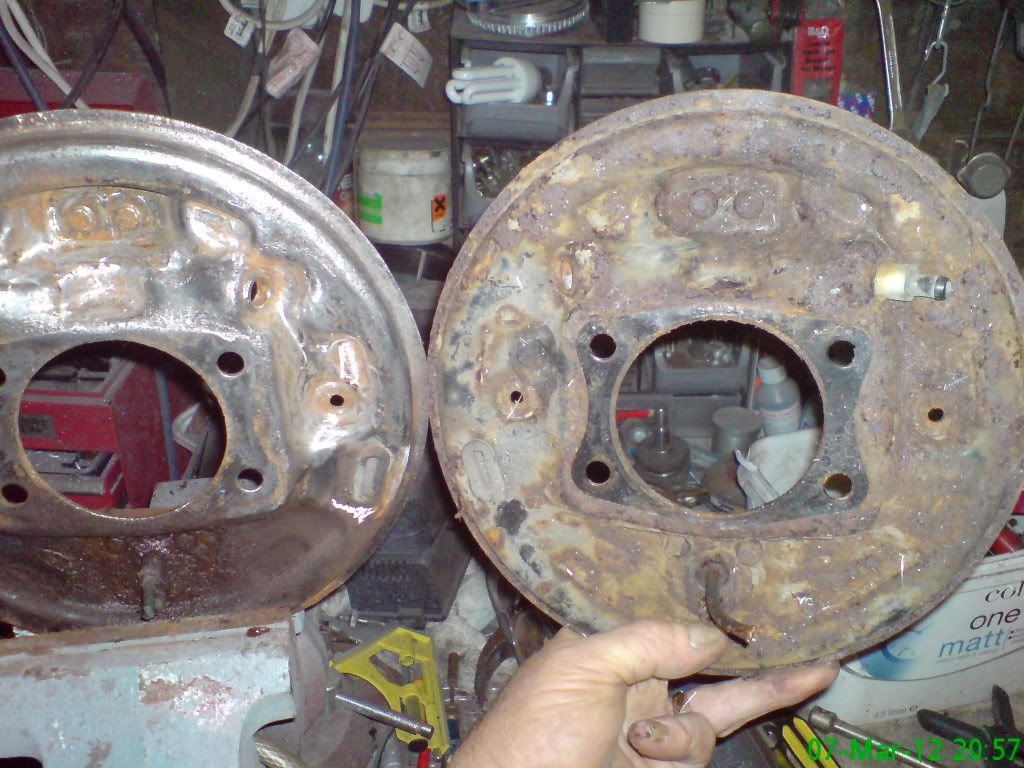 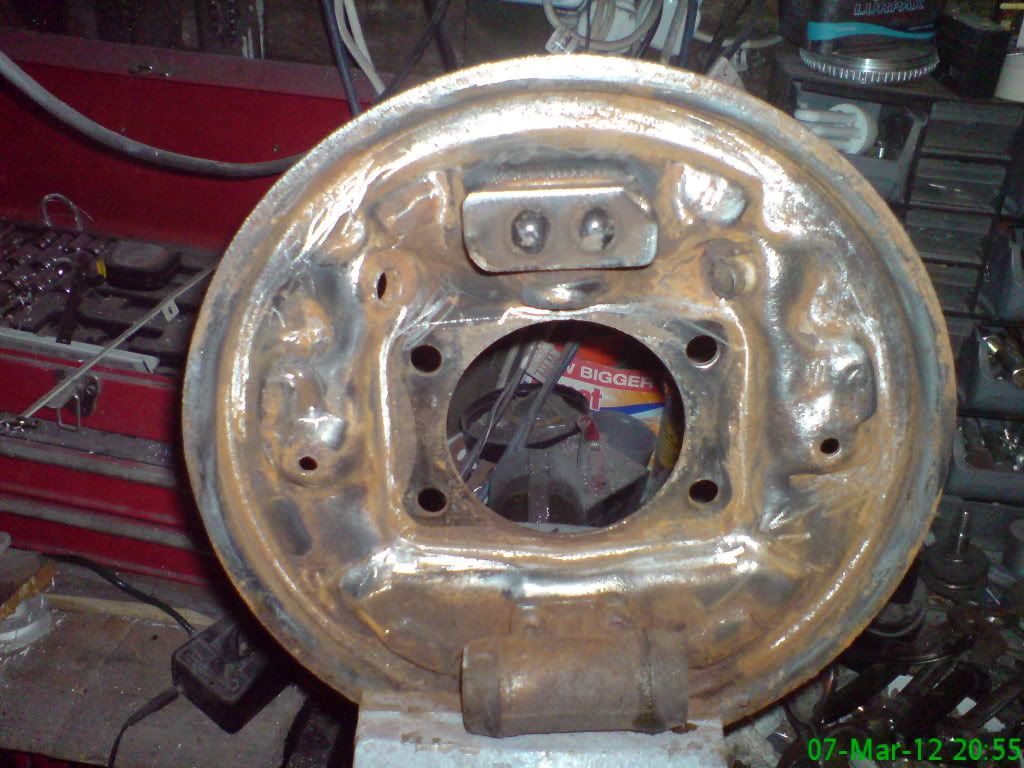 this one is the encrusted one on the right after a blast and paint. 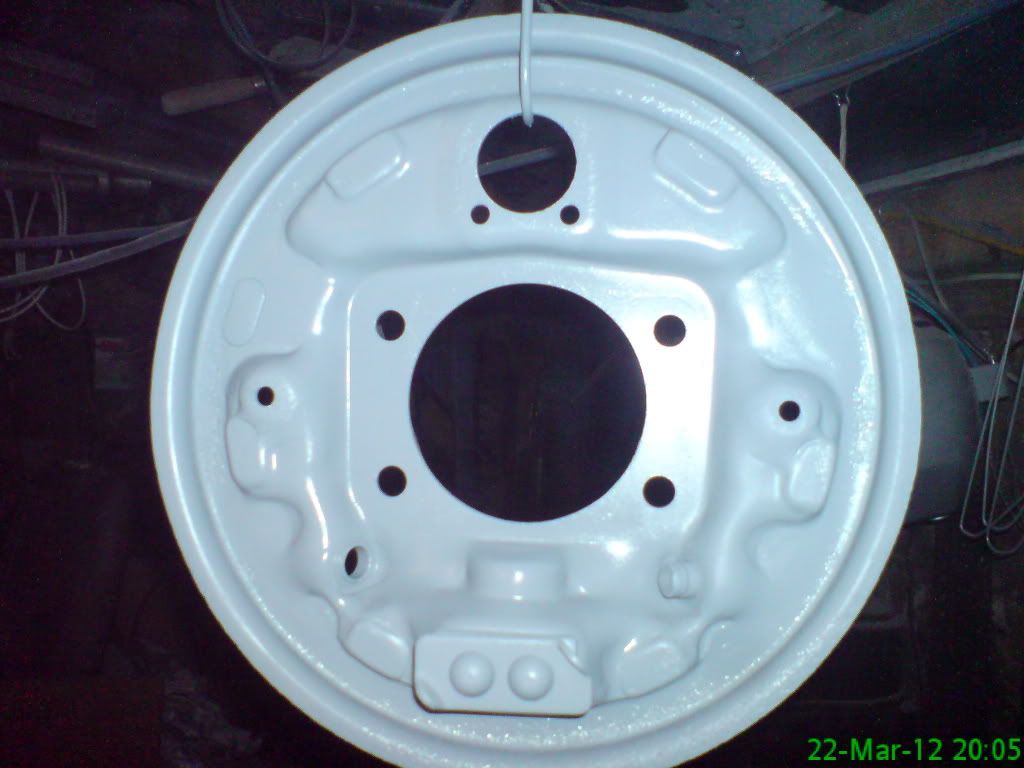 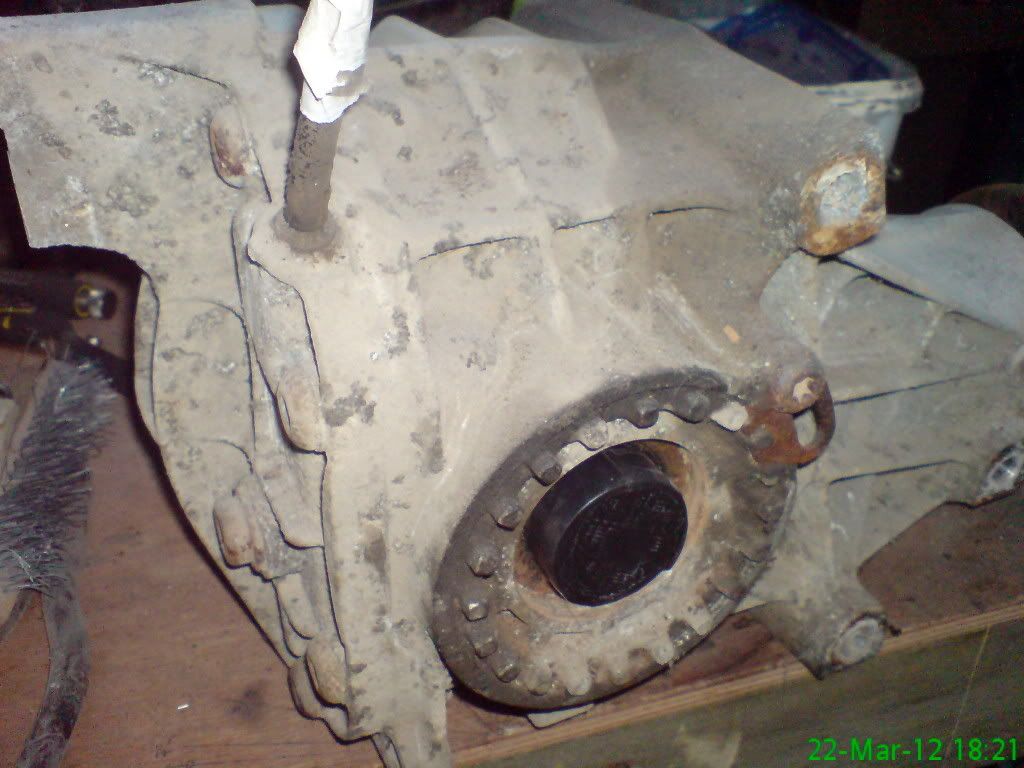
|
|
#137
25th March 2012, 10:41 AM
|
||||
|
||||
|
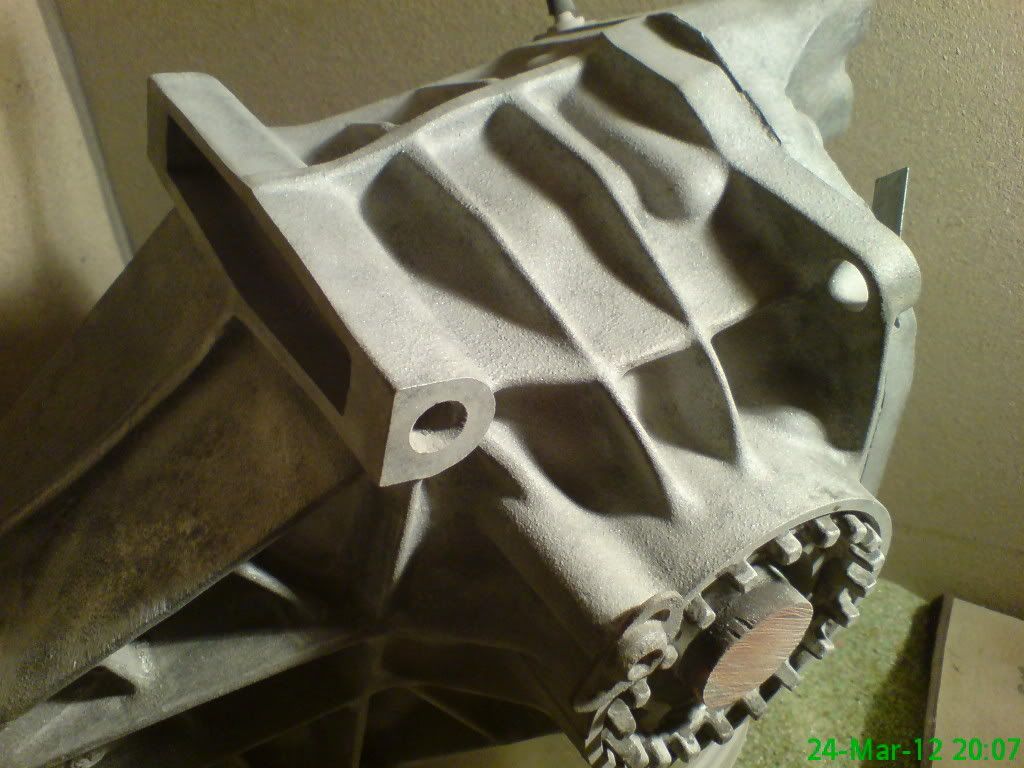
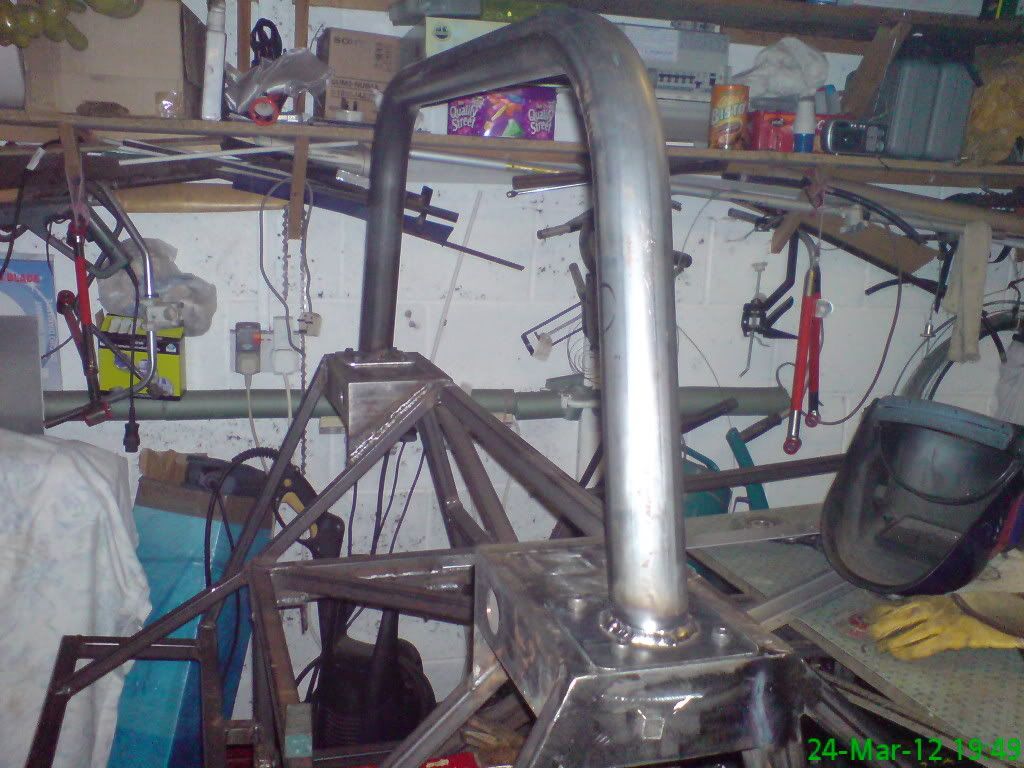
Not quite finished the diff yet but it is coming along here is what it looks like at the mo.....also started to make up the roll bar (one of ashg's) will put up some pics of that work soon.
|
|
#139
31st March 2012, 01:09 AM
|
||||
|
||||
|
Been making some great progress of late....nearly finished cleaning/painting gearbox.....rear hub carriers now painted and Diff is now painted have used hammerite and 2k and must admit the 2k paint has a far superior attributes than celly especially in this weather (warm)will be moving on to degreasing the pinto soon and look ahead to mounting the drive train anyway here are the obligatory pictures
backplates now in grey 2 pack after a few coats of acrylic grey primer 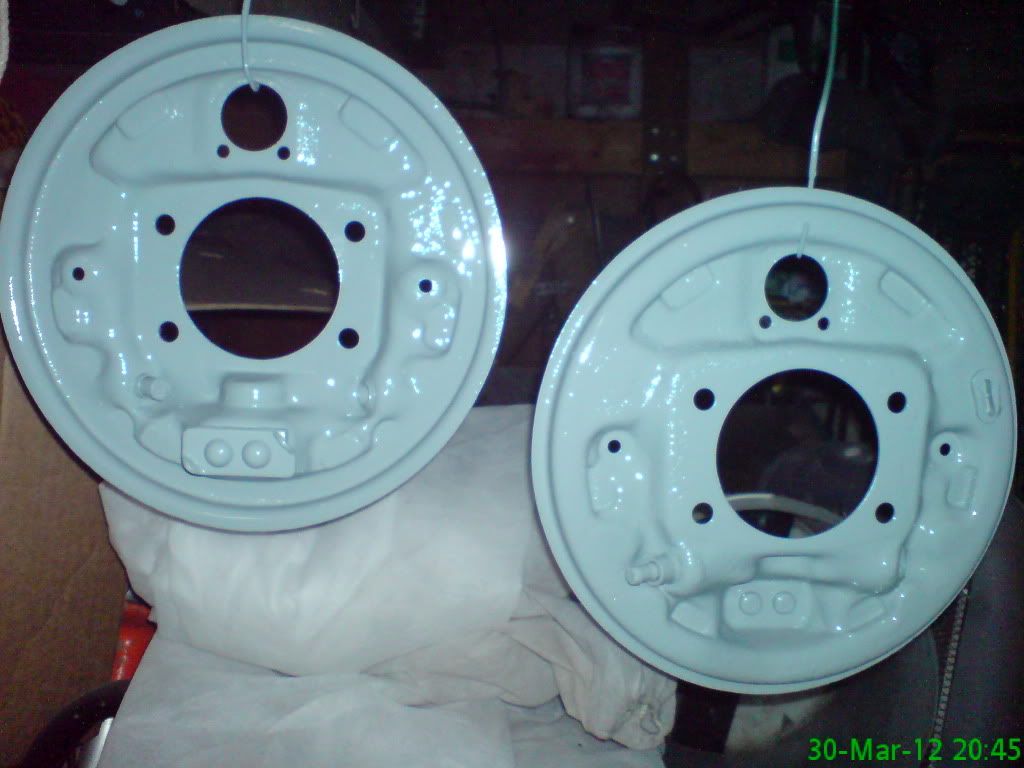 rear hub carriers again done with 2 coats of acrylic gre primer followed by grey 2 pack 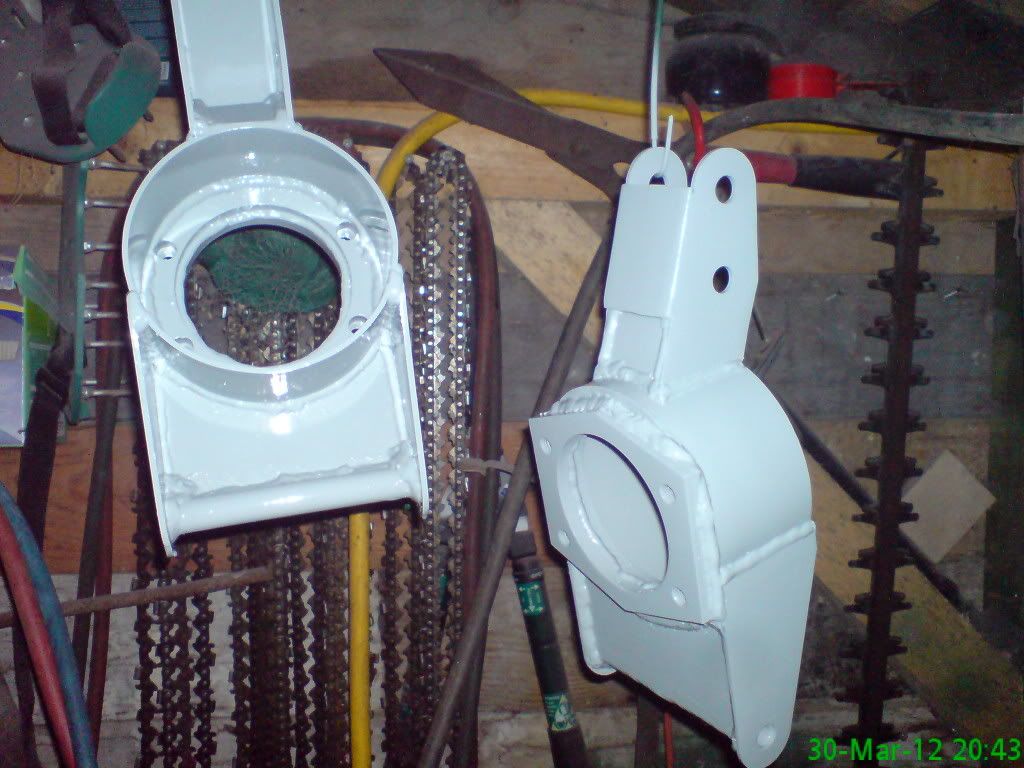 gearbox done with silver smooth hammerite bell housing to be done in black 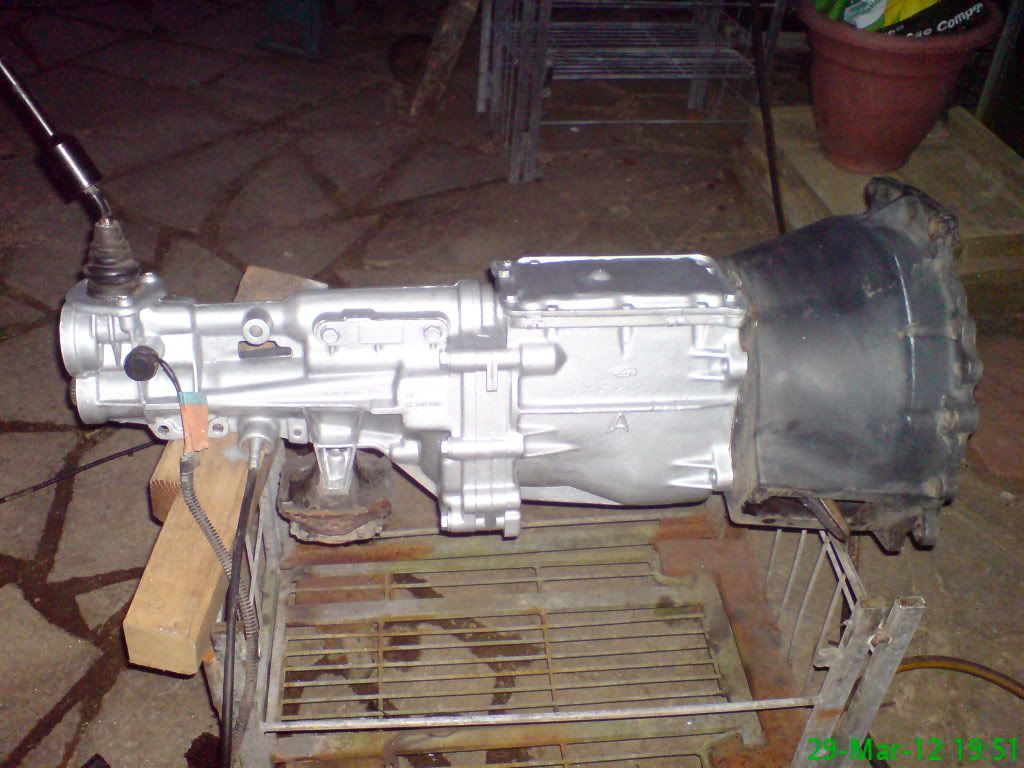 differential turned out great ,,,,again silver hammerite 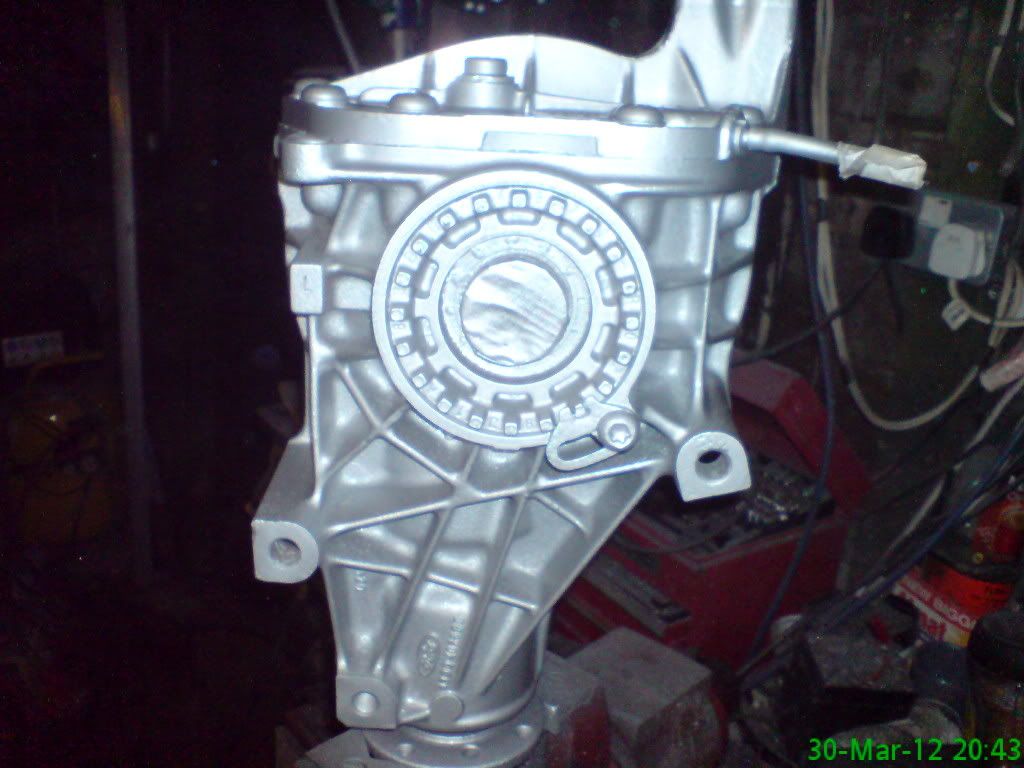
|
|
#140
10th April 2012, 10:30 AM
|
||||
|
||||
|
Now moved onto a job I was dreading.....de-rusting the rear drums..... patience, patience, patience oh and a bit more patience.....trouble is tho I another to start
 D I S A S T E R...... THE RED CALIPER PAINT monster jumped out of the tin and got me drums... GUTTED ...he got them when my back was turned derusting one of my driveshafts derusted 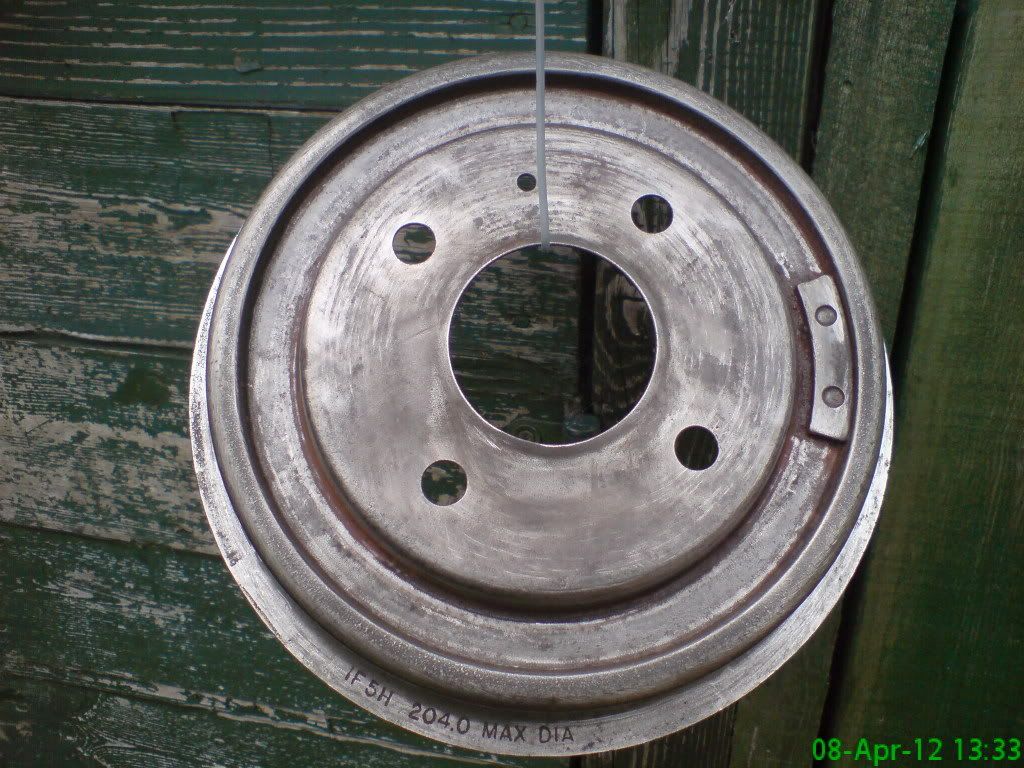 the crime scene after the THE RED CALIPER PAINT monster attack 
|
 |
| Thread Tools | |
| Display Modes | |
|
|


 Linear Mode

