
|
|
#251
 20th May 2010, 10:35 PM
|
|||
|
|||
|
Wim ik kan die dingen zakelijk inkopen vandaar maar ze kosten bruto bij een automaterialen zaak nog geen 100 euro een orginele bij de dealer zal wel meer kosten denk ik. Als jij er niet aan kan komen dan laat het maar even weten.
Sorry guys  
|
|
#252
21st May 2010, 06:48 AM
|
||||
|
||||
|
Quote:
Thank god for Google translate.....
__________________
. . David. Heaven, Warm days and Cool rides 
|
|
#253
21st May 2010, 07:17 AM
|
|||
|
|||
|
Quote:
W.
|
|
#254
21st May 2010, 07:51 AM
|
||||
|
||||
|
its all double dutch to me
sorry , couldn,t resist  cheers andy
|
|
#255
23rd May 2010, 07:13 PM
|
||||
|
||||
|
23 May
Spent all of yesterday in the garage, moved the seats up into the attic along with the nose cone which has been in my way for a while now, did it all while Nicky was taking No. 1 daughter to ballet! Then spent all day drilling 329 holes in the floor and chassis,  OMG I think I have got vibration white finger! Once I had drilled all the holes I then had to de-burr both sides of the ally floor. It is all done now the floor is ready to stick and rivet in once I have got the head light mounts finished and the chassis painted. OMG I think I have got vibration white finger! Once I had drilled all the holes I then had to de-burr both sides of the ally floor. It is all done now the floor is ready to stick and rivet in once I have got the head light mounts finished and the chassis painted.A little note on drill bits, I always used standard HSS drill bits but when I started drilling holes for the floor two or three weeks ago I snapped two 3.2mm drill bits after doing 10 holes each. So I forked out on some 3.2mm Cobalt drill bits on line, they were not too expensive under £20 for ten but one drill bit did all the holes and shows no signs of getting blunt. Worth the investment. No pictures this week as it would just be the same sheet of aluminium you have seen before with a hole every 30mm! Cheers Ginge
__________________
Sent from my iPad, from who knows where in the world I was building but I am not now!  Build Pictures Build Thread
|
|
#256
23rd May 2010, 08:46 PM
|
||||
|
||||
|
Spleki im niken ablet un luanga de la foregni
TT
__________________
You only get a woosh with a dump valve Build Thread Man Cave Mantiques Cecil Street Auto Repairs Garage Carlisle Build Cost £4181.65 - Last - Wheel Cylinders
|
|
#257
1st June 2010, 08:40 PM
|
||||
|
||||
|
1 June
Well I can chalk up another 7hrs on the build; it was a good bank holiday Monday. I started by fabricating the head light mounts, these are made from scratch two lengths of tube left over from my roll bar rear stays and some 5mm plate. I used 5mm plate as I wanted to have enough material to create a nice radius. Fabrication eat into the build time as it is quite time consuming making four round pieces of steal, welded them on top and bottom of the tube then drilled a hole in one end of each for the head light bolt then used a hole cutter to make a big enough hole for the socket that is required to do the nut up. Finally hacked away at the oval that was attached to the chassis to allow the new end piece to fit nicely. [IMG] 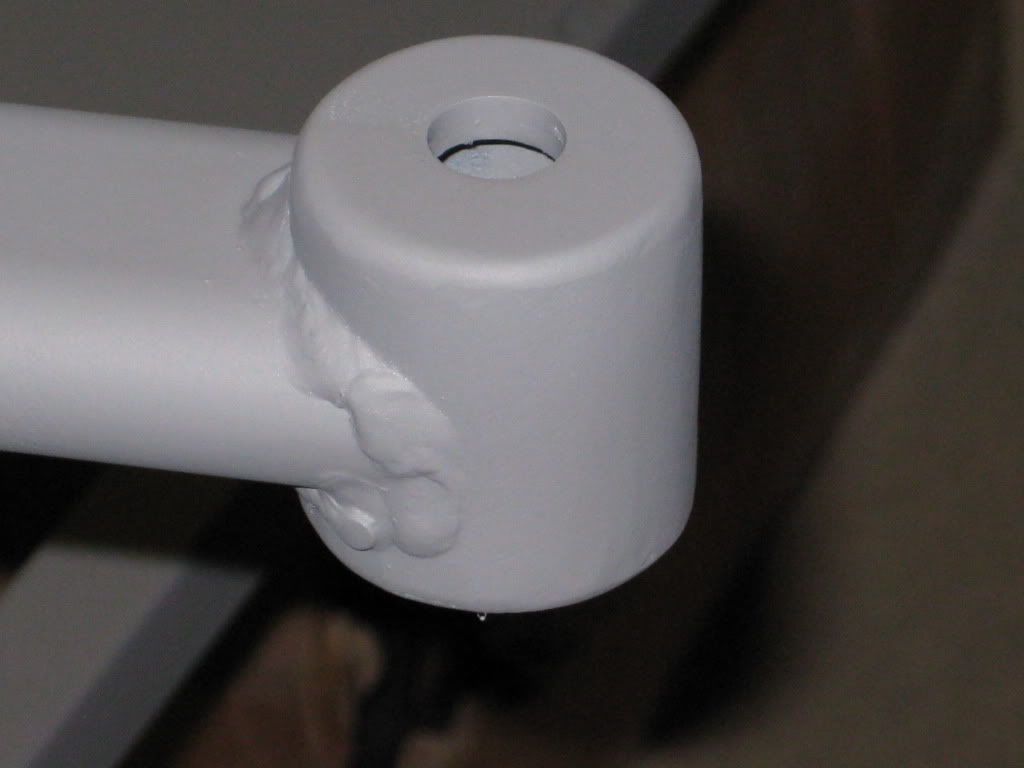 [/IMG] [/IMG]They have turned out as I expected which is nice, and like all the small components I have attached to the chassis recently they are man enough to jack the chassis up on! I then spent ages cleaning up the chassis back to the bulk head, as it where, ready for the application of some paint, between coats I set to re-assembling the front up rights, the bearings I got had two nuts in each box, seems a little bit of a waste but saves them stocking left and right I suppose. Really glad I had the Haynes manual for the Sierra as I confused myself trying to work out how the bearings went back in. Glaringly obvious when you look at the exploded diagram! Last two pictures are of the front 1/3 of the chassis primed and the uprights which are getting the odd coat whenever I pop in the garage for a smoke. [IMG] 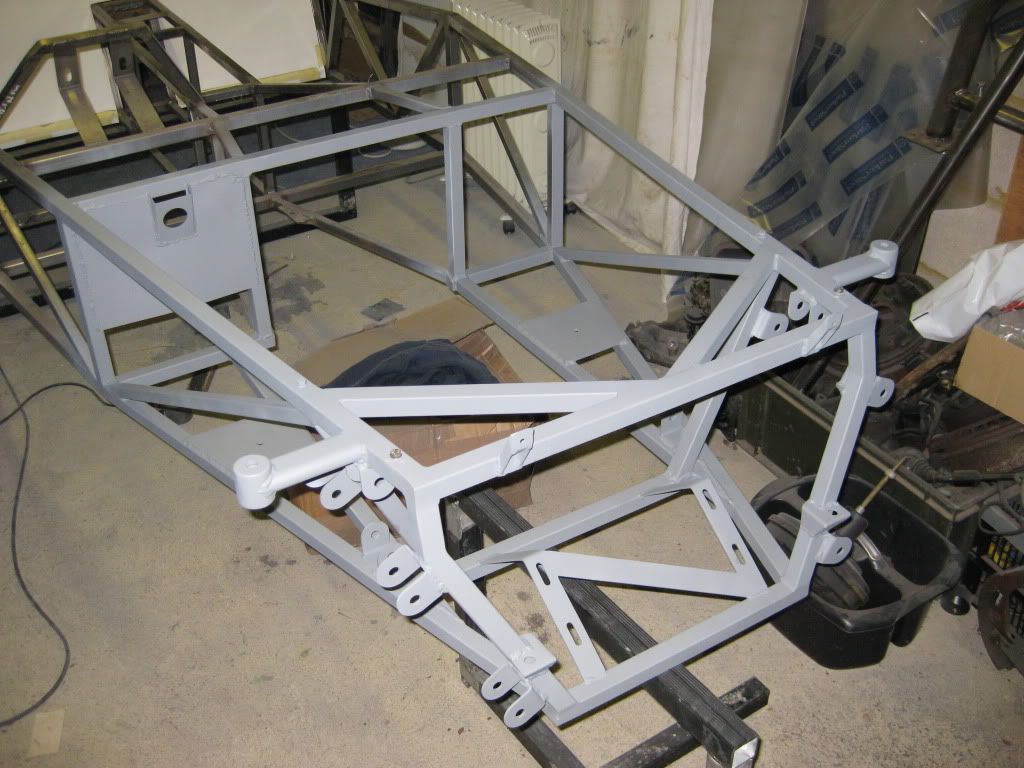 [/IMG] [/IMG][IMG] 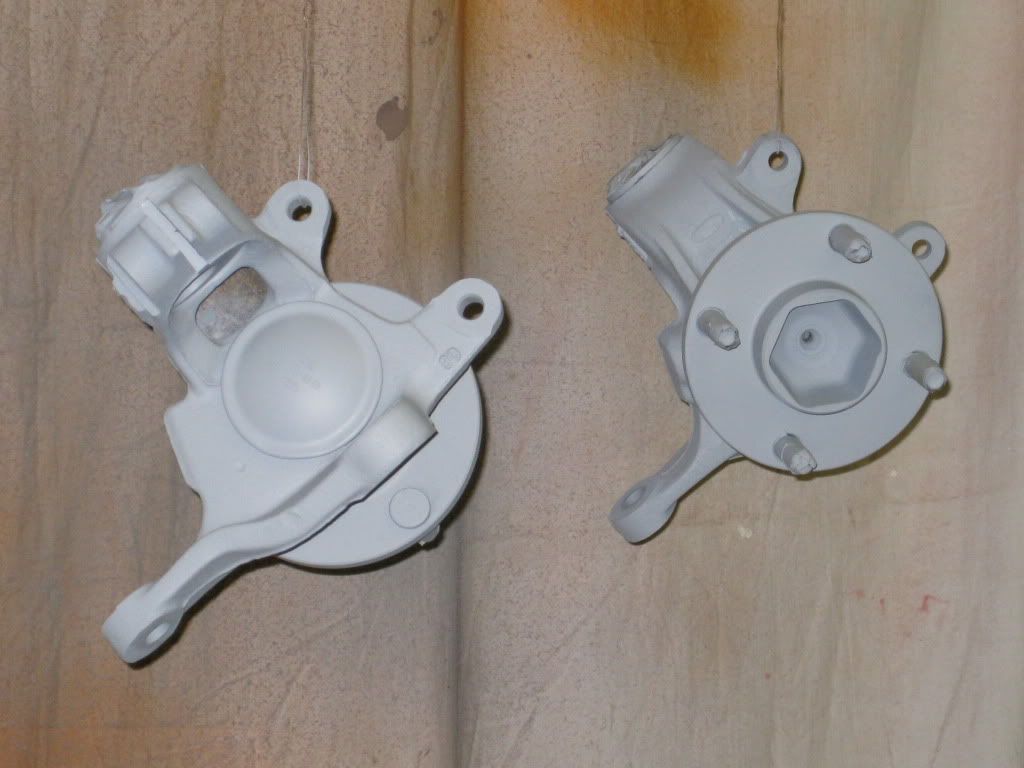 [/IMG] [/IMG]Next weekend I must press on with chassis painting and the electrolysis process. Cheers Ginge
__________________
Sent from my iPad, from who knows where in the world I was building but I am not now! Build Pictures Build Thread
|
|
#258
1st June 2010, 08:49 PM
|
||||
|
||||
|
Good progress Ginge, chassis is looking very nice.
D.
__________________
visit my website at www.cossie.davenewell.co.uk
|
|
#259
1st June 2010, 08:52 PM
|
||||
|
||||
|
Why thank you, I cant wait until it is rolling
__________________
Sent from my iPad, from who knows where in the world I was building but I am not now! Build Pictures Build Thread
|
|
#260
1st June 2010, 08:55 PM
|
||||
|
||||
|
Looking really smart Ginge
Just one point if I may? what are you doing with the passenger footwell ? what i mean is the bulkhead between passengers feet & the engine bay, As this isn,t mentioned in the book, I welded in a 3mm plate to create a bulkhead, also used 3mm plate for CP15 & 16..... Just a thought before you fully paint the chassis  cheers andy
|
 |
| Thread Tools | |
| Display Modes | |
|
|


 Linear Mode

