
|
|
#11
 7th April 2014, 10:11 PM
|
|||
|
|||
|
Evening all!
I managed a good few hours on the build tonight with some good progress (well I think so)  So I left yesterday with the base rails tacked down and the front frame aligned and tacked, today I moved on the seat rails, uprights and some top rails. I started by tacking in the two rear seat rails SB1 and then U4 and U5. 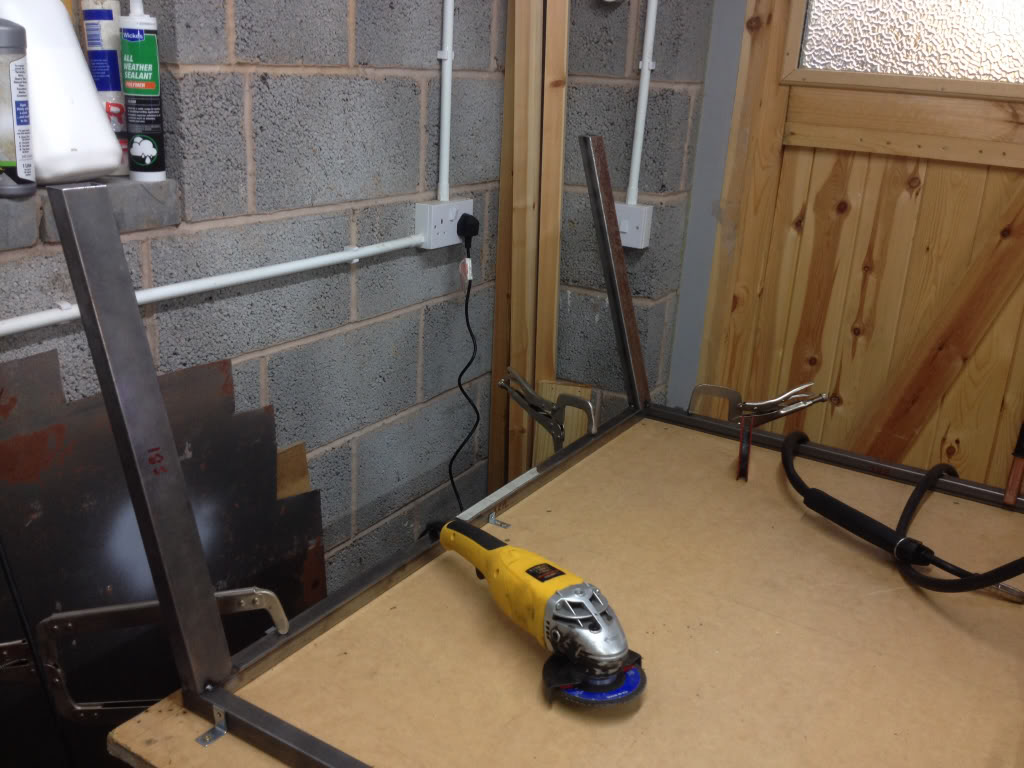 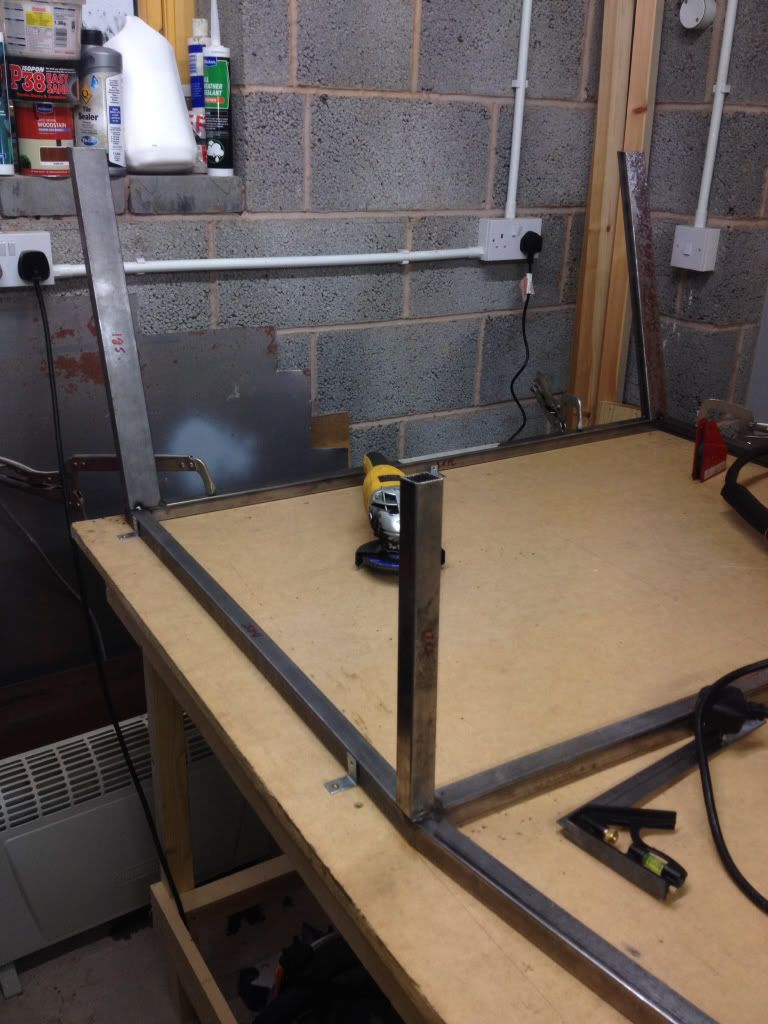 I then got d8 roughly in place and then TR4 and D10. All clamped in place and measurements checked 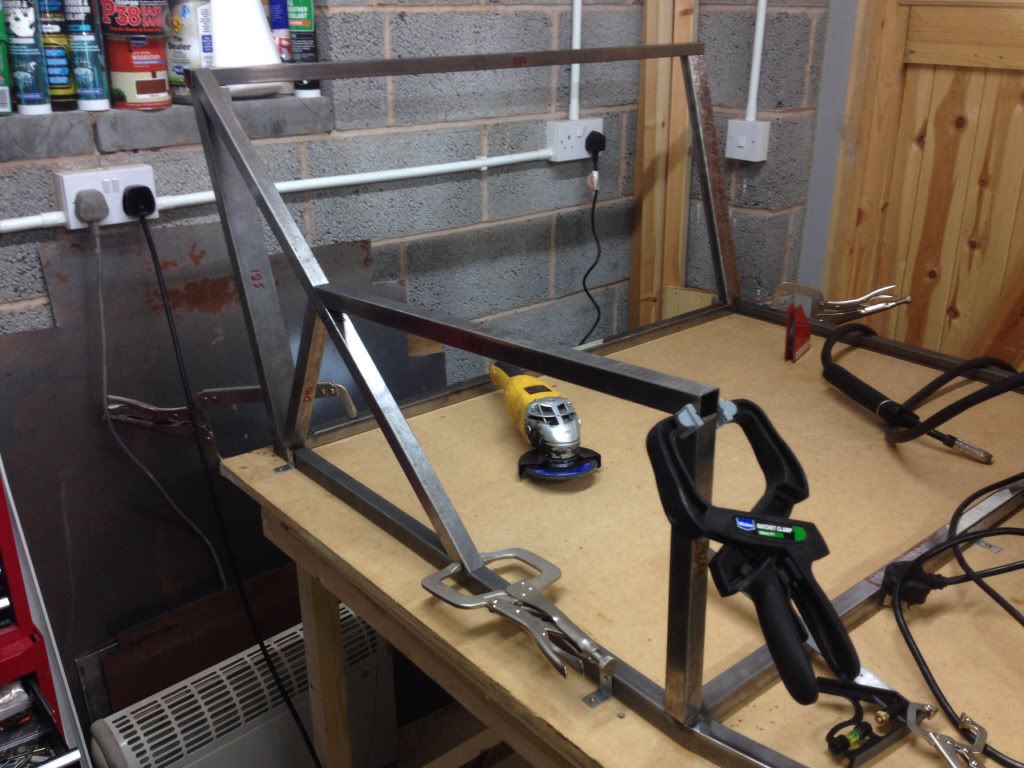 I checked, checked and checked the measurements and then tacked them in, I forgot to mention I put SB2 in place also. 
|
|
#12
7th April 2014, 10:14 PM
|
|||
|
|||
|
What I did find is that when placing D8 onto SB1/SB2, they didn't seem to fit fantastically, I can see why, so I fiddled around until I was happy enough with the portions and then tacked them in place.
First attempt with SB2 not sitting very well 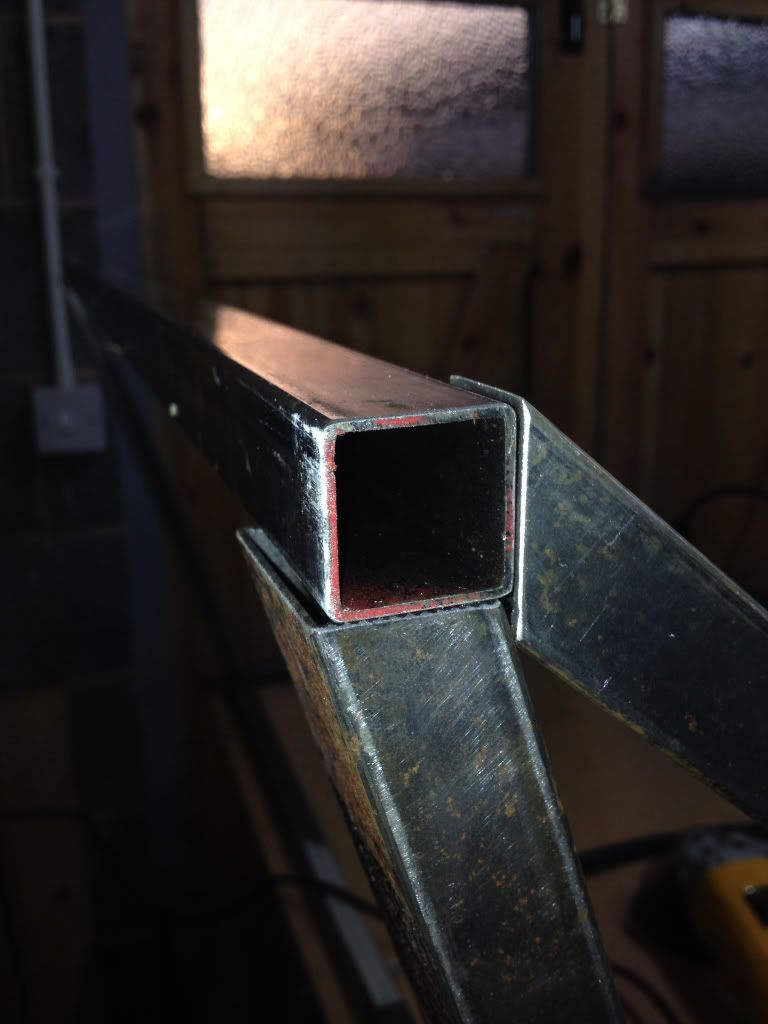 Second attempt, better, not fantastic but I was fairly happy with this and I tacked it in place, the gap at the top of D8 to SB2 looks bigger in the picture than it is. 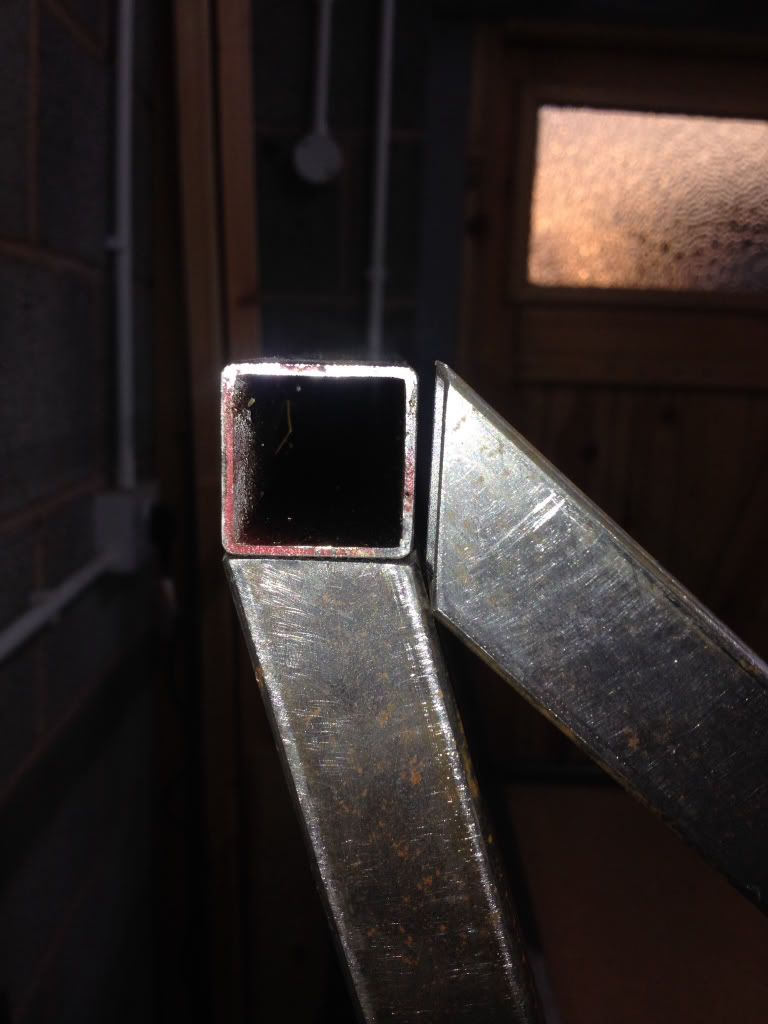 I then moved over to the passenger side and did the same and then moved onto U6,8 where I had some issues placing them, I'm still not 100% on these and there just resting in place until I figure it out tomorrow. I did fit TR1 and TR2 and got them tacked onto the front frame. 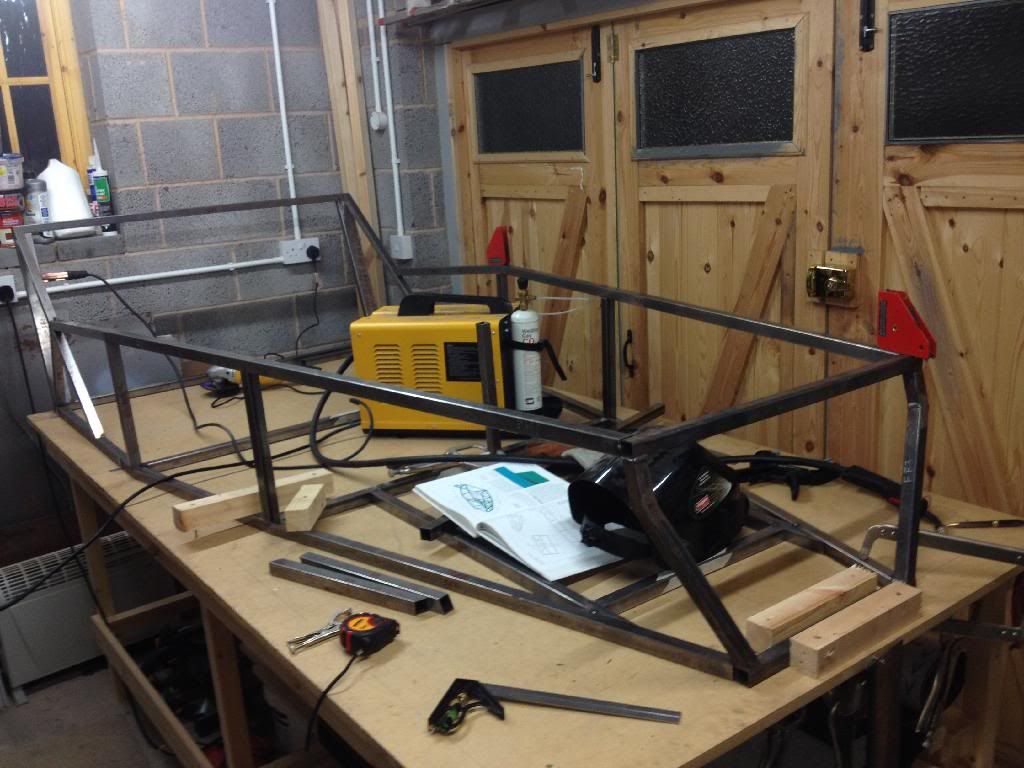
|
|
#13
7th April 2014, 10:24 PM
|
|||
|
|||
|
I left it tonight pretty much at this stage and tomorrow I'll move onto finalising U6 and U3, U8, U7 and getting TR8 in place.
If anyone could shed any light on my question in the chassis section it would be appreciated. A small note on my measurements, I've been checking before every tack my alignment of each tube and the overall chassis to check for distortion etc, I'm happy to report I'm + or - 1mm overall on all my sizes, I'll check every thing again before I fully weld. A final picture before I turned the workshop light out 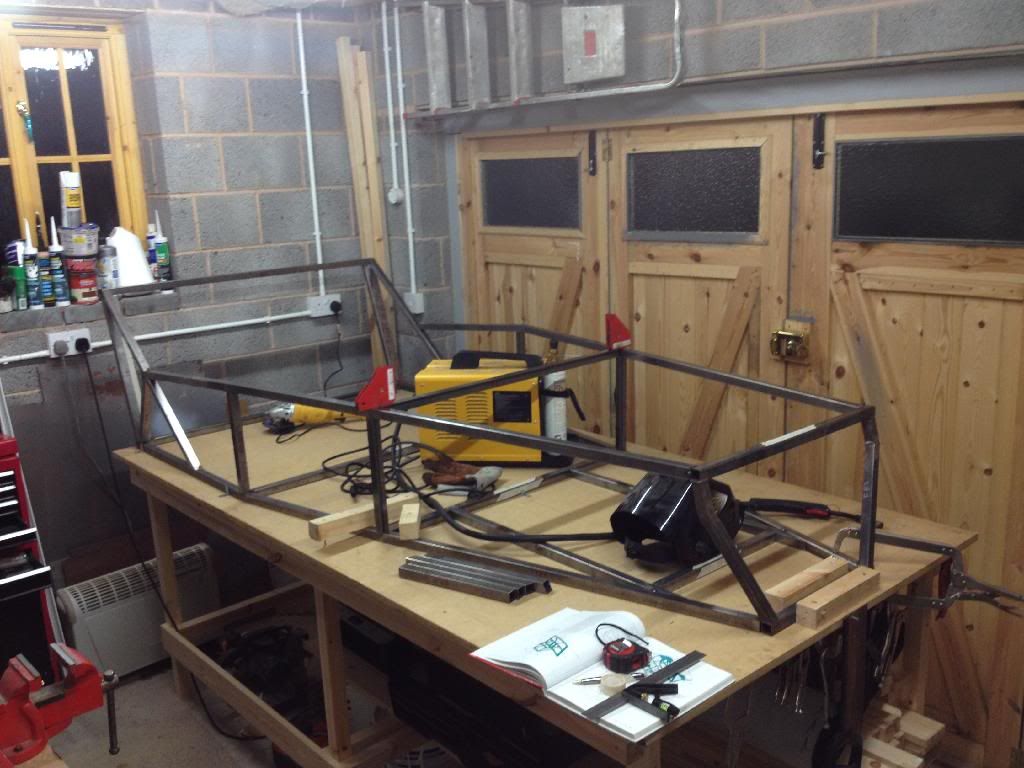 Night all.
|
|
#14
8th April 2014, 12:57 AM
|
||||
|
||||
|
You're supposed to chamfer the bottom edge of the diagonal tubes D7, D8 where they interferes with the seat back rails, see their drawing on page 165.
__________________
Albert Haynes Roadster FAQ | Haynes Builder Locations Gallery, build thread in Lithuanian / via Google Translate.
|
|
#16
9th April 2014, 01:15 PM
|
|||
|
|||
|
Fairly critical as it affects the placing of roll bar and rear shock mounts and the rest of the rear end.
Dont ask me how I know ")
__________________
Cost : Little as possible. Thanks : To those who by their generosity my build has progressed. Its a handmade sports car not a flaming kit car !!! If at first you dont succeed,avoid skydiving... No parachute require to freefall,only if you want to do it twice.
|
|
#17
5th June 2014, 09:51 PM
|
|||
|
|||
|
It's been a few weeks since I've managed any real progress on the chassis, a birthday trip to London and trying to complete some block paving at home have put pay to any real progress.
Fortunately I've managed a few hour this evening to carry on. Having tacked most of the main chassis now I decided to move on to tacking up the diff cage area. 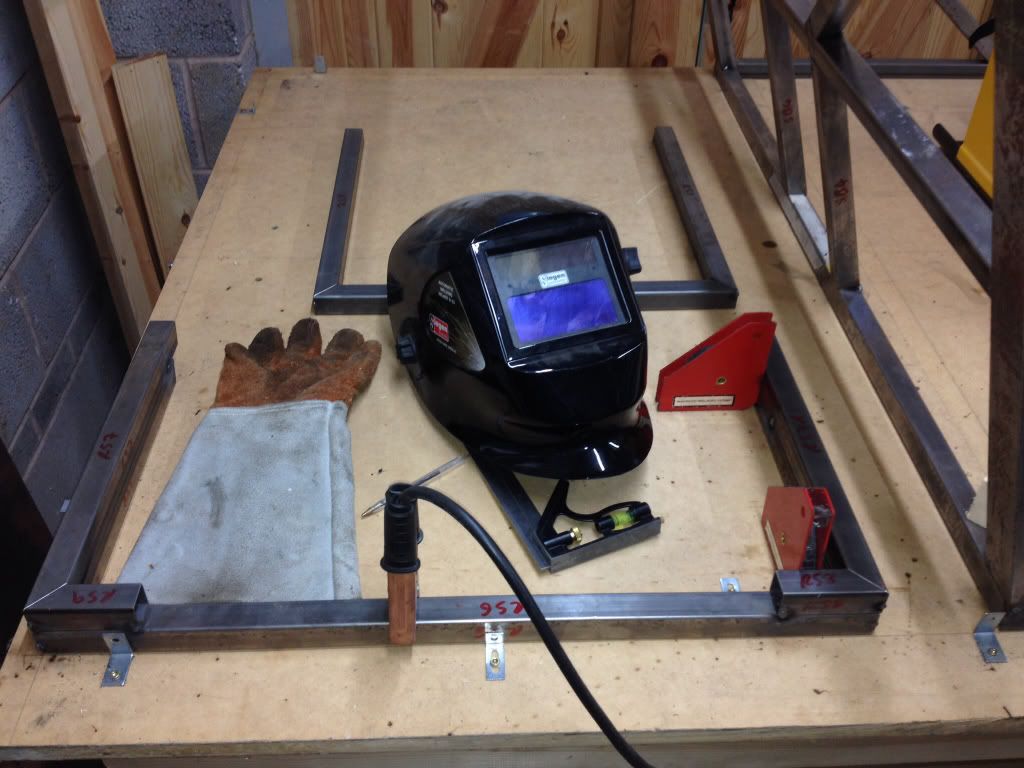 Main diff cage tacked up  And attached to the chassis 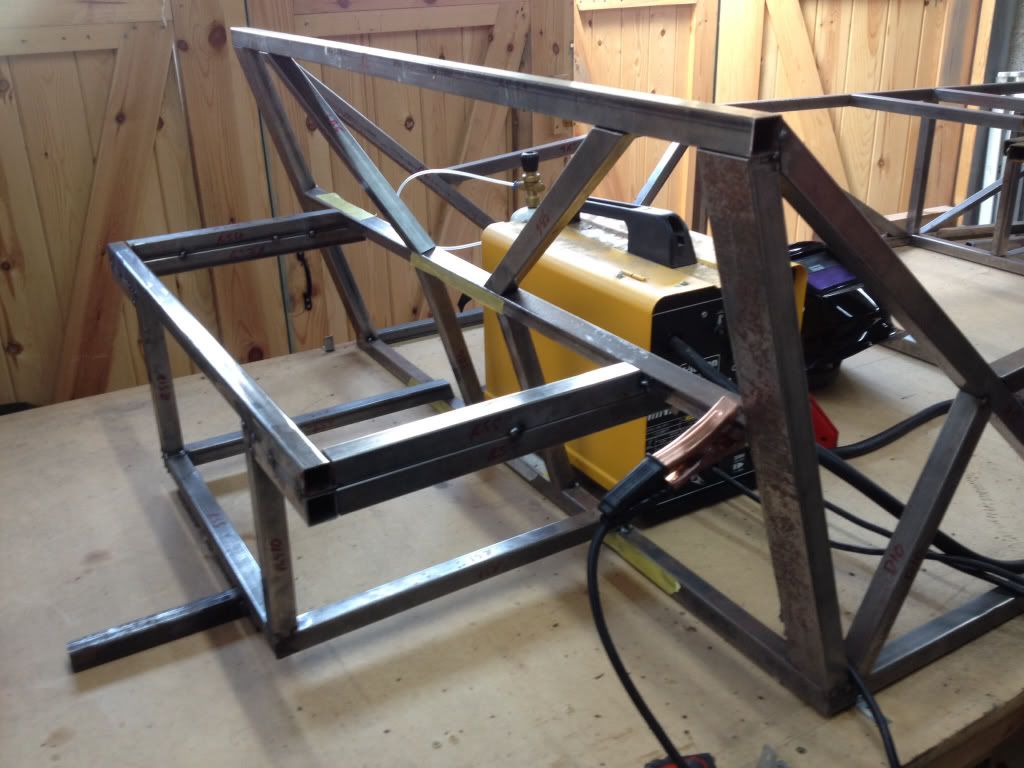 Once I'd got this tacked on I've now moved the chassis back to its original position on the build table and clamped it down in various places, I've began to check all my measurements and start to fully weld the top section of the chassis. I've decided I'm going to tweet the front frame a bit, I'm not happy with the gap between the front frame and chassis tubes, I'll un tack and grind the welds down a bit and re line up and tack. I've fully welded half of the top frame now,I need to fiddle with the welder a bit as the wire feed is playing up before I carry on. Thanks for reading.
|
 |
| Thread Tools | |
| Display Modes | |
|
|


 Linear Mode

