
|
|
#121
 4th August 2011, 08:51 AM
|
|||
|
|||
|
Dont want to muscle in on your design BUUUUUUUUUUUUt how about knocking up the mock as two tanks with a link pipe. That way it would still only need one filler/vent, may also help with the fuel sloshing about.That would be a minimum amount to loose capacity wise but might just be able to wiggle out for access. Whatever its the way to go and will keep my beady eyes on this development.
Bob
__________________
When The Results Disagree With The Theory: Believe The Results And Invent A New Theory If I had two brains I,d still be a halfwit The cave http://s1116.photobucket.com/user/my...deshow/mancave The build http://www.haynes.co.uk/forums/showthread.php?t=12669 
|
|
#122
4th August 2011, 10:19 AM
|
||||
|
||||
|
Actually when I think about it, the diff is probably the only item you would need to maintain and how often does that happen.
Thanks for that suggestion Bob I had considered it along with smaller sub tanks to the bottom right and left connected by pipes,but then I thought I am over complicating things hence one tank shape means one set of welds, and one fitment.
|
|
#123
27th August 2011, 12:54 PM
|
||||
|
||||
|
Had to slow up a bit on the build due to other commitments, but as usual I always keep one eye on the bay and came up trumps again with this little package below ...it is a charge cooler set up.... leccy pump.. purpose built radiator
and charge cooler itself.....this will help no end because now I don't have to worry about a big air/air intercooler for the turbo..... £52 posted.... pump is part alloy so it will be getting the Ano treatment in red of course....must get on with that tank as well 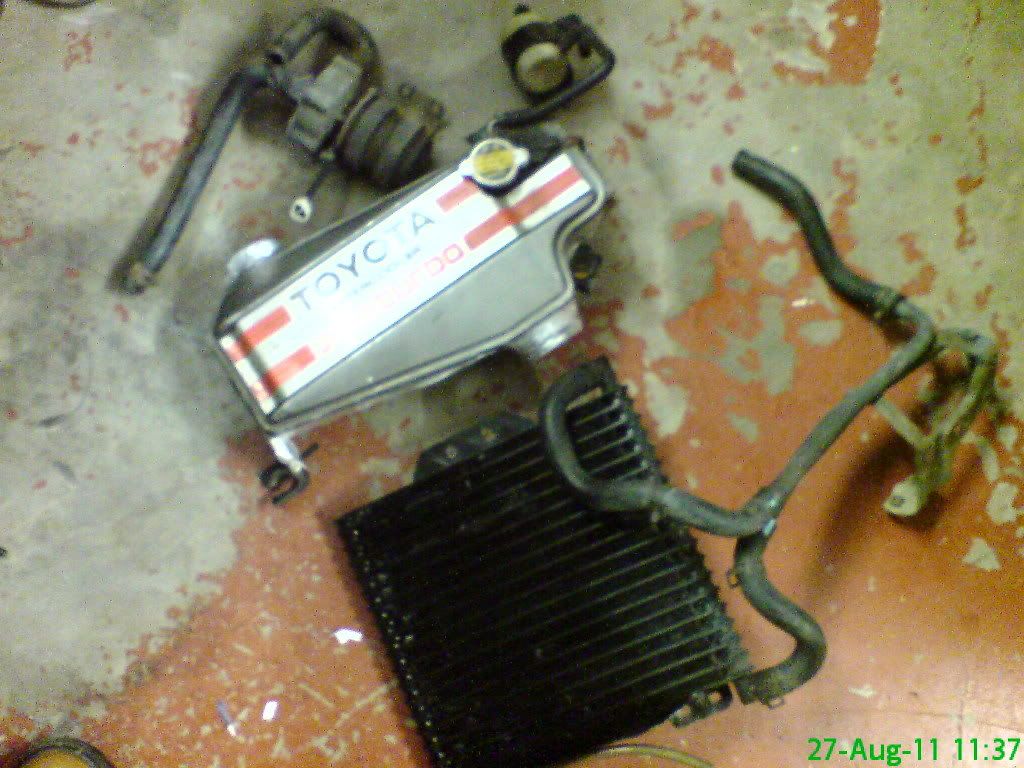 Last edited by K4KEV : 27th August 2011 at 01:36 PM.
|
|
#124
19th December 2011, 12:56 AM
|
||||
|
||||
|
Now that I have seen that time may be limited towards an easyish very "ish" IVA re the office closures.....I thought it was time to get my fingers oot.
here is my intended speedometer cluster that has come all the way from Indonesia......to make life easier I won't be fitting it until after my IVA. here is a wee clip of it firing up and the colours. It has fantastic capabilities here is a few thing it does.......it also has all the usual lights as well http://youtu.be/TTlkoRIaIIM Speedometer/tachometer digital Odometer trip meter Volt Meter Fuel Meter Thermometer Digital Clock Shift & Pre Shift Light A/F Ratio Oil Maintenance Mileage Over Temp Warning Light Max Record 8 interchangeable display light obviously the A/F ratio will require a lambda sensor but a uni one will do. Last edited by K4KEV : 19th December 2011 at 03:43 AM.
|
|
#125
4th March 2012, 11:40 AM
|
||||
|
||||
|
Well...after a longish break of doing stuff for other peeps I thought it was time to get stuck back in to my build.
After I found out about the news of the dvla offices shutting down in 2013 I have decided to simplify my build to get it to up to quick IVA status so the ca18det engine IS still getting prepped but for a later engine transplant but it goes right against the grain but I am not going to get my soap box out. So my build is going to be 1.6 pinto powered for a brief period only. I managed to get my chassis off the build table and it now sits on some trestles which makes it a lot easier to spin over to get at all the un-welded bits done and no matter how hard you look there is always one that you find later and then some after that too. Now for the update....been ebaying again and came up with an old stock polo rad for £26 delivered, have also put together my rear uprights and welded those up, have put steering rack mounts on and seatbelt harness mounts, will soon be doing my megatank. Today is going to be spent grinding the welds back where bodywork/aluminium sits Quick question.....when the rear uprights are fabricated and ready to weld, has everyone welded up the inside of the 5" pipe where there is a small thin ledge between RU7 and RU8?.....bugger to get to but easily done  
|
|
#128
5th March 2012, 09:46 AM
|
||||
|
||||
|
cheers Mark ....that confirms what I first thought.....if its a fixed joint .....weld it
I am hoping to do a bit work on the steering column today and get it trial fitted so I'd better get a move on. 
|
|
#129
8th March 2012, 12:42 PM
|
||||
|
||||
|
Have made a start on refurbing the rear drum backplates......what a effin nightmare.....did a little bit last night and ended up as manky as a coal dude, rust and iron filings in VIRTUALLY every offrice ...I wish I could say I am getting rid of ALL the rust but it is nigh on impossible.
I have nearly finished the grinding on the chassis where all the ally and glass panels offer up to the chassis frame.....that too is a manky job, you end up wreaking of iron....takes me back to my shipyard days on the wear.....ok enough I am off to get manky again. drum plates.....a work in progress 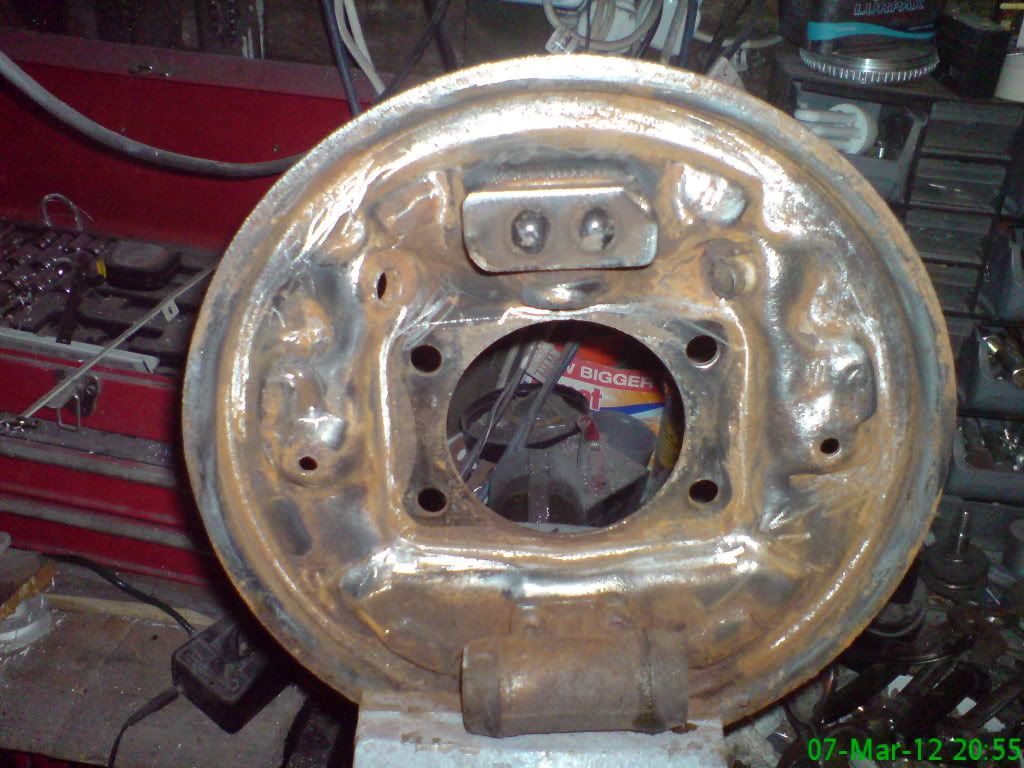 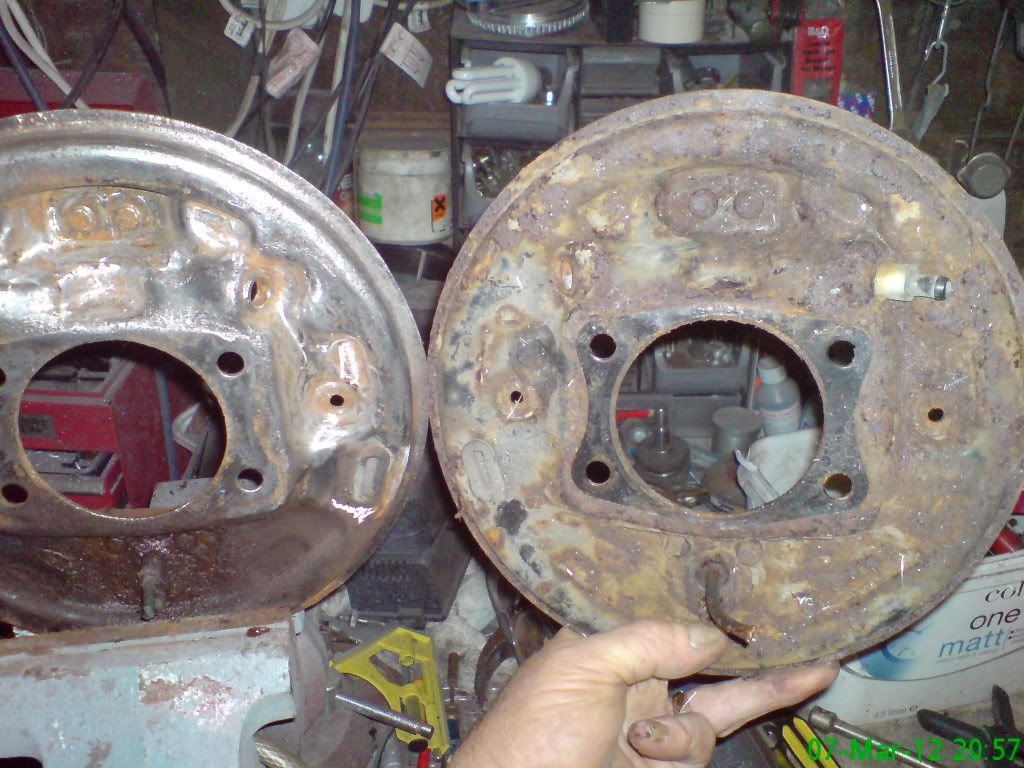
|
 |
| Thread Tools | |
| Display Modes | |
|
|


 Linear Mode

