
 |
|
#101
|
||||
|
||||
|
Just wrapped up this weeks work. Got the drivers side skinned and wrapped. Prior to riveting in the drivers panel, I went ahead and added the brake bias adjuster I forgot to install weeks back. Thankfully this task was much easier than expected.
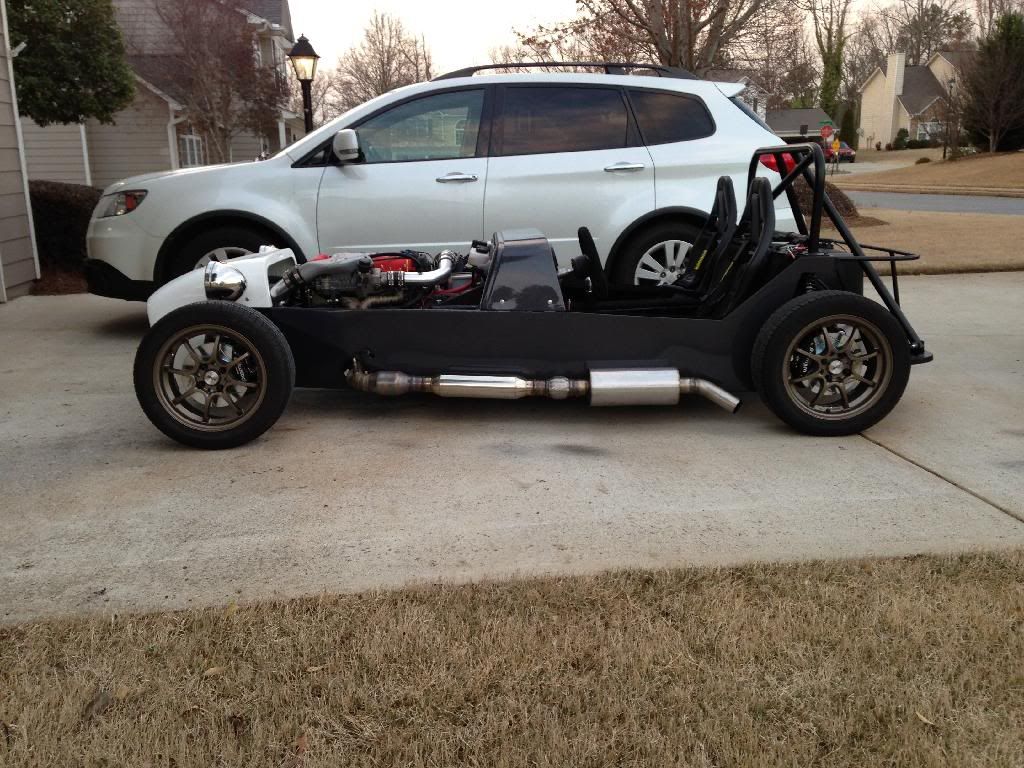 Once that was done, I decided to finish up trimming the interior. I had already wrapped the center with suede, so to finish off the look on the outside I got some trim from mcmaster http://www.mcmaster.com/#8124a37/=r7leks then wrapped that in suede and riveted it to the frame rails. This gives me a armrest on the outside of the frame as well as concealing the cut edge of the metal. I am super pleased with how this turned out. I'm going to need to get some suede water protector, in the off chance I even get caught in the rain. 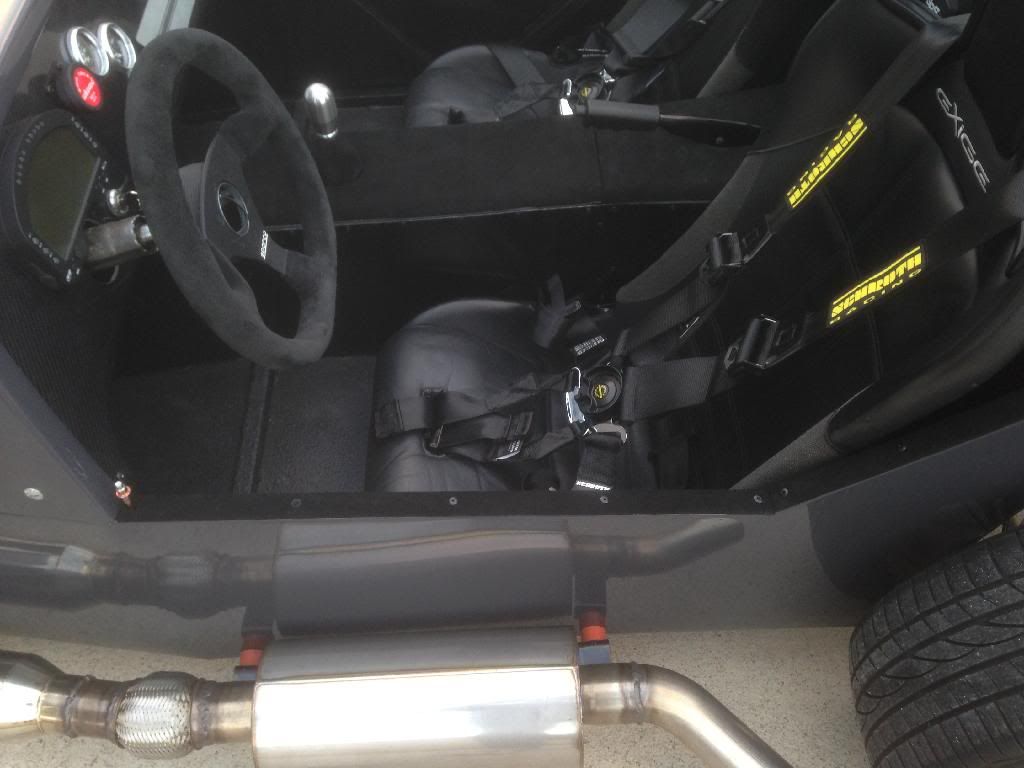 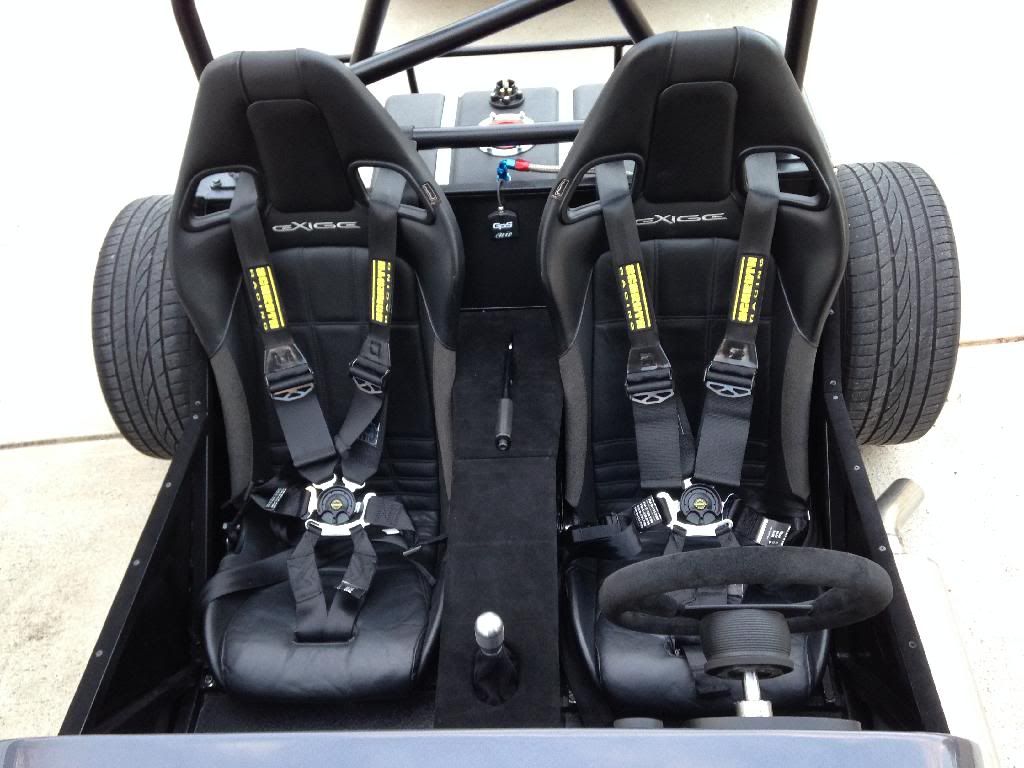 On a down note, I think my injectors are gummed up. Engine appears to only be running on 2 or 3 cylinders. Thought the fuel filter had gotten clogged after test driving it last week, but it must have been the injectors as the car will not run without the throttle opened. |
|
#102
|
||||
|
||||
|
Another saturday and another update. I can clearly see the light at the end of the tunnel now, and think I may actually have this road ready by the 1 year mark... which is insane when I think about it.
So this week, I wrapped both the fenders in the anthracite vinyl, skinned and wrapped the rear panel, installed the rear fenders, and properly riveted the outer arm rests. 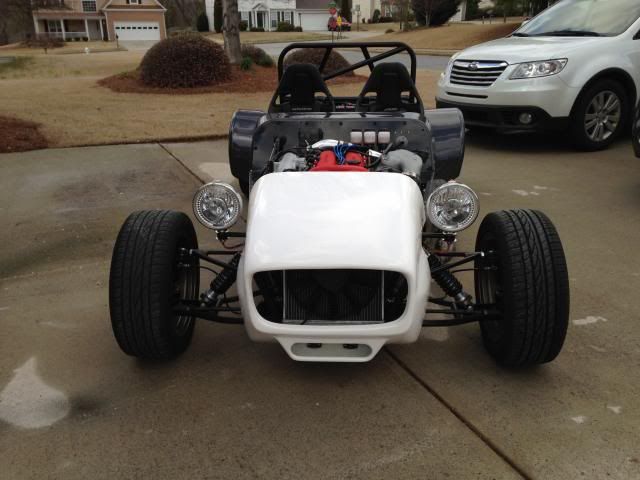 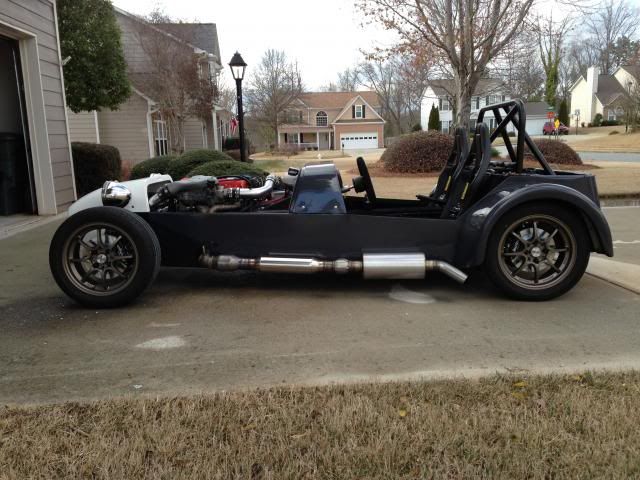 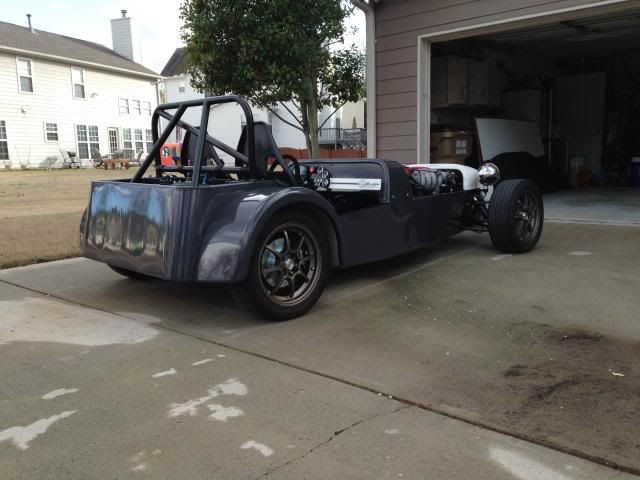 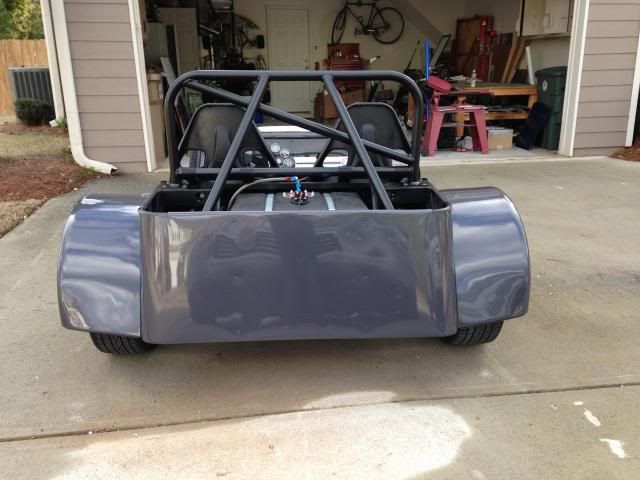 Next weeks task is the hood. |
|
#103
|
||||
|
||||
|
Can I have a couple of pints of what your'e on
 bluddy good progress mate keep it going. bluddy good progress mate keep it going. |
|
#104
|
||||
|
||||
|
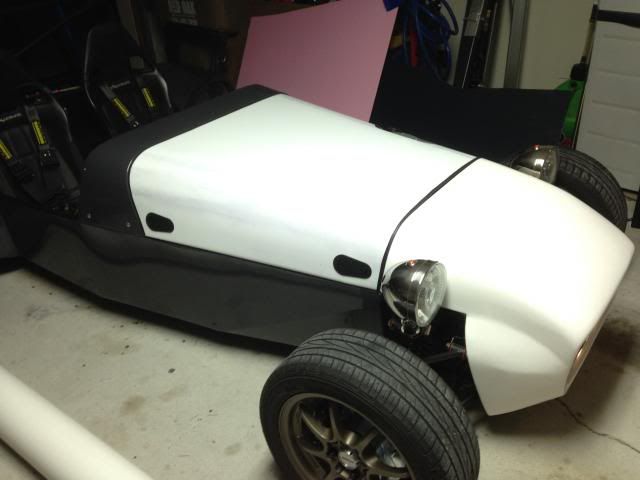
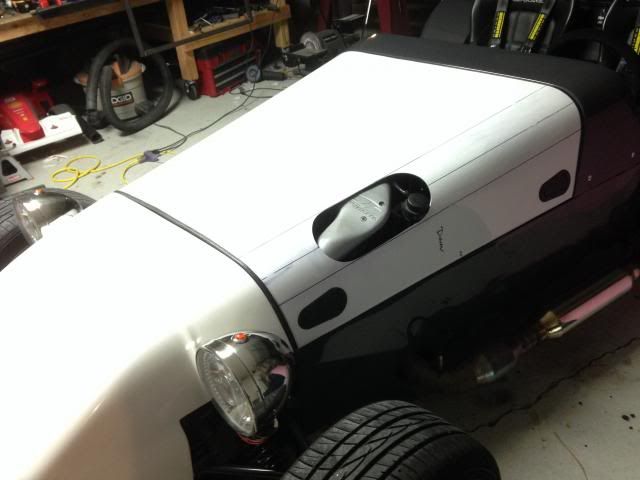
Friday Progress Report. Been super busy with work this week so its taken longer than I would have wanted. But I chipped away at it and the hood is almost done. Made it out of .060 aluminum, which was thinker than I was expecting. Bought/Borrowed a 6" pvc pipe from Lowes. Which did a very good job of matching the curves. The scuttle has a ledge for the hood so that was easy enough, and the nose has a catch molded into it, which will come in handy for leveling the front of the hood, which is about 3/16" high. So I'm going to 3d print the male end for the catch and be done with it. Only issue I've run into is the supercharger clearance. for the most part I clear with a 1/4" but the bypass valve really gets in the way. So I'm going to have to make my opening a bit wider then let the engine shape it the rest of the way.
  |
|
#105
|
||||
|
||||
|
Getting very close now.
Checklist for the week: - got necessary paperwork for vin request filled out and notarized by country tax official, then submitted to state. If a VIN number comes back, then the car will have cleared the major hurdle. - Finished hood install and cutout. Think I'm going to just leave it as is for now and paint the supercharger top in wrinkle black. It kinda looks cool like that. Also it makes for a nice heat vent. - So I don't know if I mentioned in a previous post but I began experiencing engine issues after a second test drive. Engine effectively cut out over 2000rpm and then the follow week wouldn't fire up without the throttle open. Turns out it was only running on 2 cylinders. So this led me to replace the fuel filter figuring it was clogged... which it wasn't. Replacing plugs and wire, plugs are cheap and wires were questionable... no dice. Pulling the injectors and sending them out to be cleaned... not the issue, but they did need it. Swapping out the ignition control module and coils... not the problem so I returned them. At this point I was at a loss, that covered nearly even piece of the fuel injection system. What I didn't bother to check was whether the vacuum line that runs to the megasquirt ecu was still attached. The same vacuum line that is teed into the fuel pressure regulator, and the one line that if were to disconnect from the overly small fitting would result in the engine getting very little gas. Sure enough it was off and the engine fired back up... but wait there's more. Thought I had resolved this until I test drove it and realized it was running like sh!t. Upon further investigation injector 1 and 3 were not working. Which thankfully since those were on the same wire led me to the ecu where my wire loom must have been pulling on that pin a bit much and causing the disconnect. Thankfully I found that one pretty quick and everything is working swimmingly again. Although I'm out about $200, $100 of which was unnecessary. - While researching the engine issues I realized my blowoff valve was not hooked up correctly... I kinda wish I hadn't. The friggin thing is really loud... and awesome. Finally I finished up the main body work. Had to do some bond repairs on my nose cone from when it was shipped. Then I had to make a decision on whether to cut openings for a pair on carbon fiber naca ducts I had bought with my nose cone and fenders. The problem being, I wasn't sure exactly what to use them for. The original plan was to have them feed a intercooler or to feed air back to the intake filter. Well I pulled the trigger, and while I still don't have an exact answer, I can say without a doubt they are visually worth it. So here it is. Only body work left at this point are the fenders. 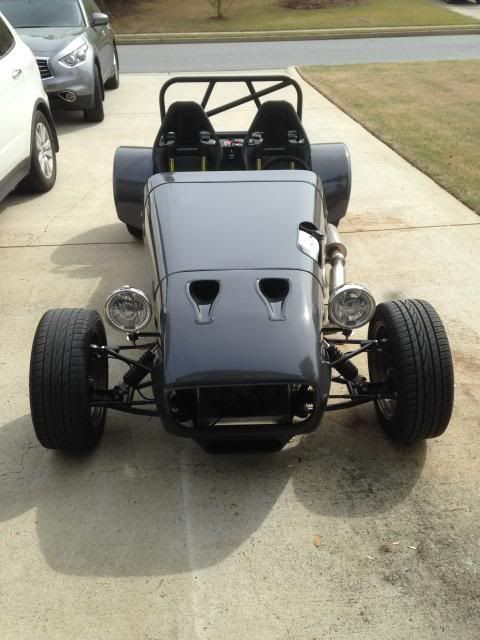 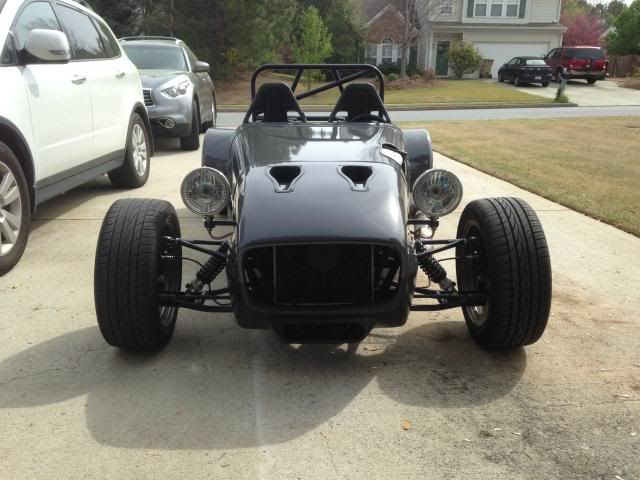 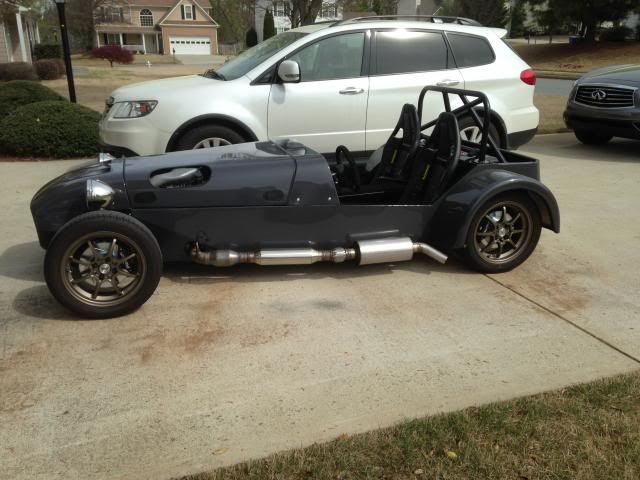 I wish I had done some sort of drawing before I started this because this has completely met my original vision of the car. Last edited by StruveD : 11th April 2014 at 06:14 PM. |
|
#106
|
||||
|
||||
|
Mid week update. This weeks goal is to get the fenders installed. Just finished welding up the first bracket. It is somewhat over built, I borrowed various design elements and think I have a fender bracket that should withstand the vibration and avoid the usual weak spot. I'll take some further pictures when I take it back off. I used 3 pickup points, lower, upper and upper brake bolt.
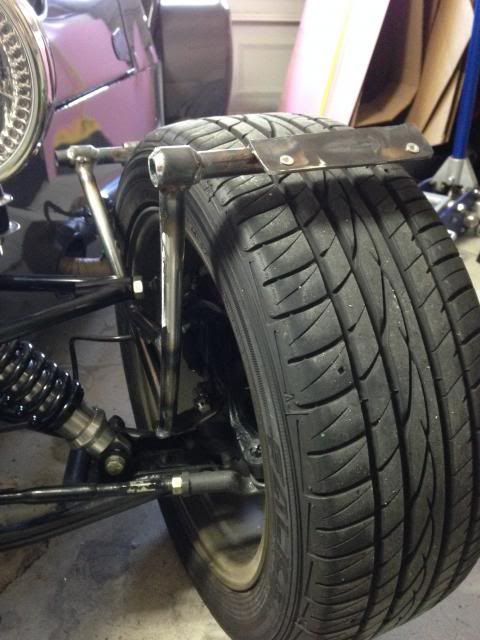 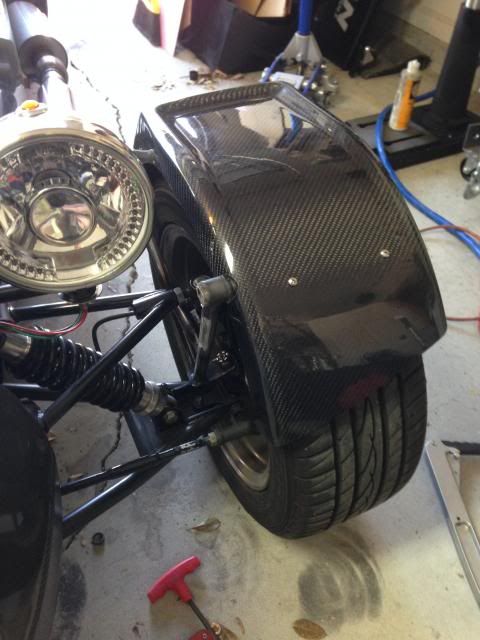 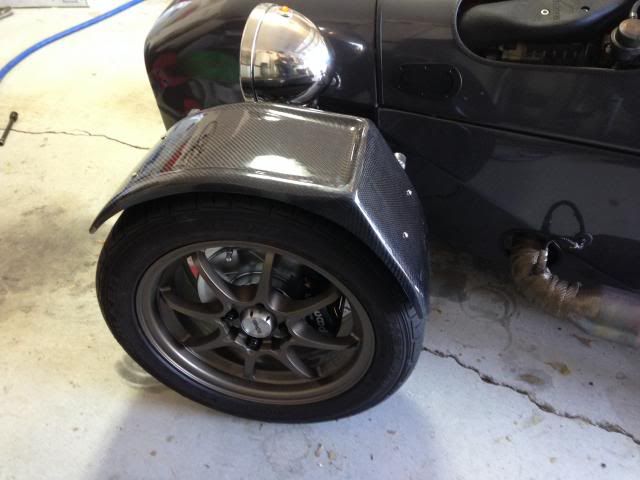 |
|
#107
|
||||
|
||||
|
|
|
#108
|
||||
|
||||
|
|
|
#109
|
||||
|
||||
|
Your car is looking smart. I wish I had got too your point as quickly.
|
|
#110
|
||||
|
||||
|
|
 |
| Thread Tools | |
| Display Modes | |
|
|