
|
|
#91
 9th May 2012, 08:49 PM
|
||||
|
||||
|
Hi Andy,
Thanks for that, the only problem I have with placement for the VIN number is I have made internal panels to cover all the box section...DOHH I know this is the passengers side photo but it's the same on the drivers side...  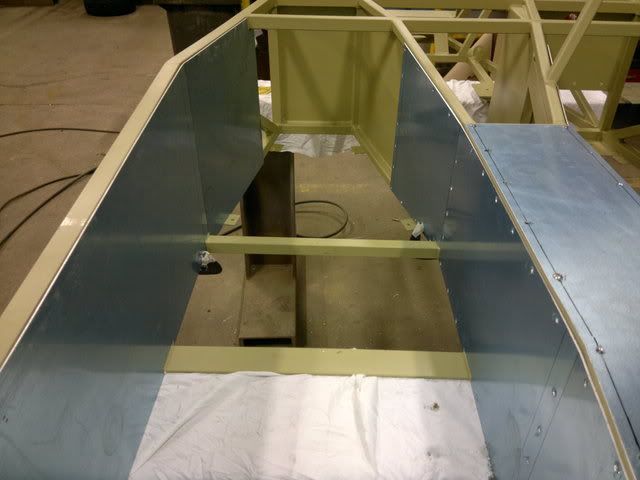 Can I put it in the engine bay or should I leave the panel off for SVA? Well when me and the guys here get our cars done where coming up North for some of what do you call them .."Monkey Burgers" Must be a Northern thing...  Thanks for your help Johno 
|
|
#92
9th May 2012, 09:02 PM
|
||||
|
||||
|
Yep its a northern thing the monkey burgers....well its more associated with Hartlepool, it,ll be good to have a get together.....just stay away from the moors ( ref Ashg,s saga,s LOL) The VIN plate position I used is the Bottom Rail that crosses the width of the chassis BELOW the drivers knee,s , .....the rail in front of that plate you have welded in to support your seats/runners, or do you intend to cover that chassis tube too? I "think" you can have the Vin in the engine bay but my train of thought was like most modern cars the Vin is usually visible on top of the dash panel looking thru the screen etc so went along that route .....just my own way of doing it, not saying its the only way/position  keep the build pics coming  ps....with the internal panels, they look really good but ( said politely ) they "might" create more sharp edges which the IVA tester will be checking. cheers andy Last edited by HandyAndy : 9th May 2012 at 09:04 PM.
|
|
#93
15th May 2012, 08:48 PM
|
||||
|
||||
|
Hi Andy,
Sounds like a good place to put the VIN. Sorry for being a bit dum but I leave the book at work and have no idea what chassis part is what.  With regard to the internal panels I have DA'd the edges and plan to pad out the transmission tunnel and make pads for some of the side panels so my knees will have some skin left on them... With the Alu panels being 2mm it's easier to put a blunted edge on them as per IVA requirements. Thank's for the heads up though. Johno
|
|
#94
24th June 2012, 07:20 PM
|
||||
|
||||
|
Well it's been a few weeks and I've hardly touched the car, but I did manage to get a day on it yesterday.
Mounted the fuel tank with its bracket for the first time after painting, just got to fit an earth strap and vent valve which I'm going to incoporate onto the original MX5 fuel sender flange. 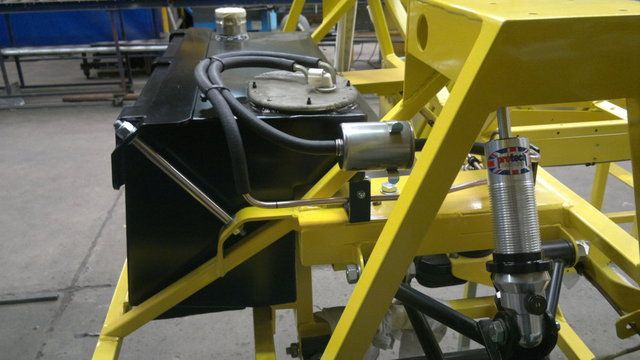 I'm going to fit another Terry clip and probably a Jubilee clip to a bracket behind the fuel filter to make it more secure, will see what it's like when I've fitted the Terry clip first but not sure if this will be good enough for IVA (will it need a Jubilee to make it impossible to come loose)? Got my front brake pipes installed at last. I've left them long at the front untill I decide where I'm going to fit the bulkhead connectors. 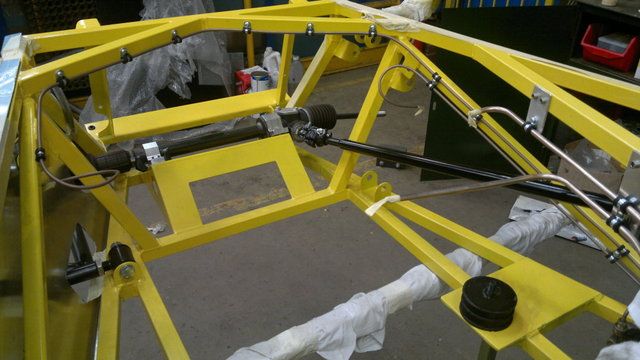 Also fitted some brackets to my fuel pipes in the engine bay which will be painted later with other stuff. All I need to do is cut them to length and either flare them somehow or solder a olive to create step for my hose clip. 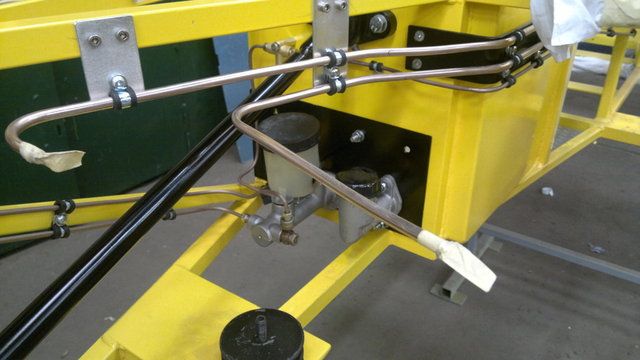 Fitted my steering column to make sure all parts in the engine bay area are clear of the shaft. 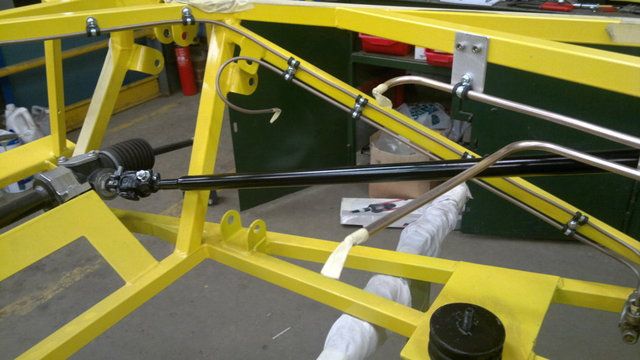 Oh bugger 4 picture rule kicked in...LOL Johno
|
|
#95
24th June 2012, 07:51 PM
|
||||
|
||||
|
Few more photo's,
Fitted my pedal box but not quite right yet. Need to fit a washer behind the circlip on the MX5 brake cylinder to stop the bolt coming out and also fit a rubber gator which Tony acquired from Newark. 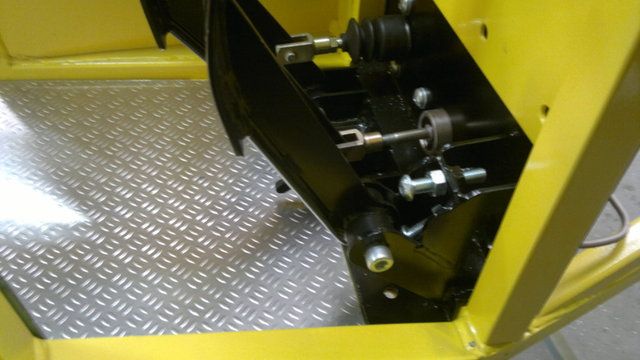 Cut up some Ally plate for the pedal box floor area which needs fixing in place. Not quite so harsh as "Chequer Plate" but still with a raised surface for some heel grip. 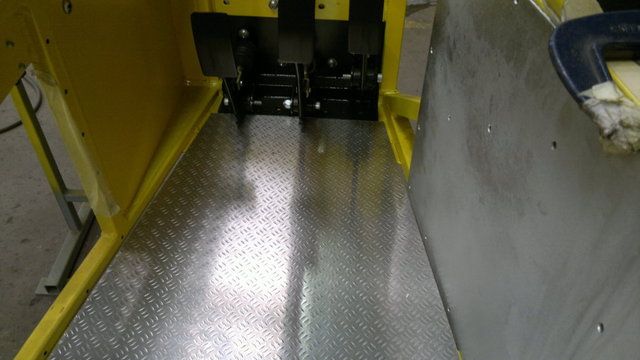 Here's another shot of my fuel tank setup..... 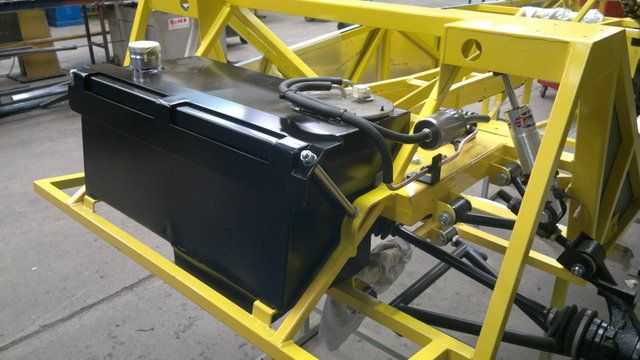 And another of my front brake pipe setup.... 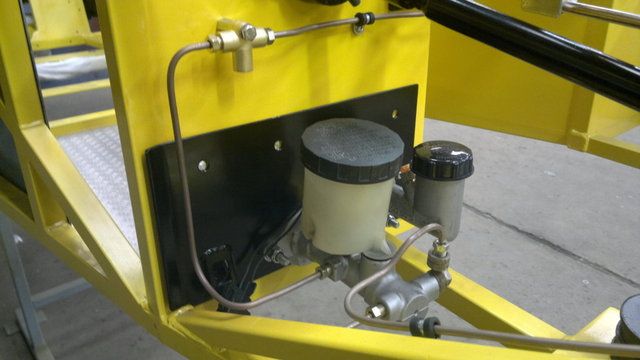 Well that's it but not had too much time available to work on it. Now I've had a day on it I now feel like getting on with it. I see the comment about the right angle drive for the speedo cable on CTW50's build thread has helped a few people which is great. I have been in contact with the Admins on here about the possibilty of including a MX5 dedicated page to focus all the MX5 topics in one area. With the Sierra becoming a bit of a "rare beast" to say the least I thought this would help ongoing builds as well as new people choosing this option. So I would like anybody who thinks this would be a good idea to back me and push the idea forward..... Well that's it for now... Johno http://s1199.photobucket.com/albums/...1/MX5%20Build/
|
|
#96
24th June 2012, 10:45 PM
|
||||
|
||||
|
Beautiful build Johno, lovin the pics
|
|
#97
24th June 2012, 11:44 PM
|
||||
|
||||
|
Your build pics look like show photos from an instructional book about how it's supposed to be done. A pleasure to look at!
__________________
Albert Haynes Roadster FAQ | Haynes Builder Locations Gallery, build thread in Lithuanian / via Google Translate.
|
|
#99
25th June 2012, 09:45 PM
|
||||
|
||||
|
Thanks guys,
Appreciate the nice comments. I had a play tonight with fitting a sort of cable fixing rail and got a bit carried away... After I finished and thought about it I'm now not sure if this is acceptable. I've "P Clipped" a solid piece of aluminium at intervals of 300mm or less (mostly 150 to 200mm) where I think I need my wiring to go. I plan to run all my wiring in varying sizes of conduit and then cable tie it to the ally bar. I've seen pictures and videos of wiring cable tied to the box section on Westfields in conduit and loom tape so though this would be OK. Should have asked the question on here first I guess....ggggrrrrr Here are some photos to show you what I've done. 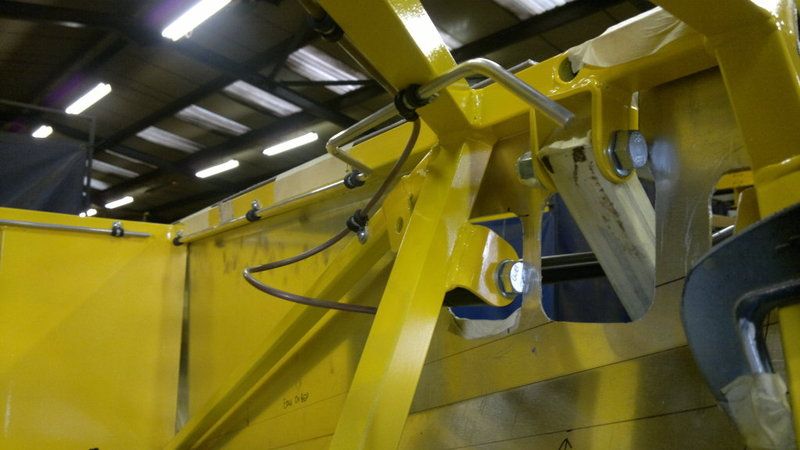 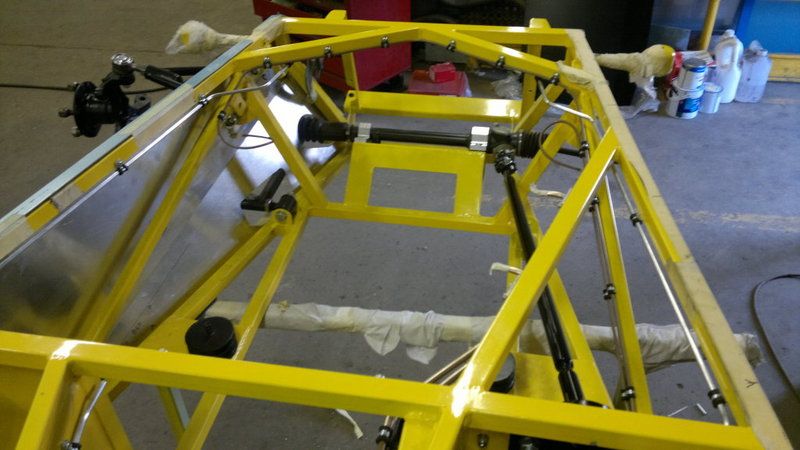 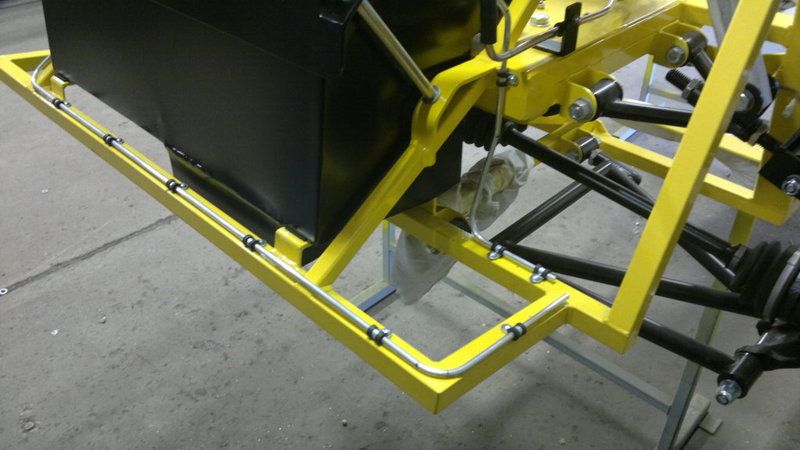 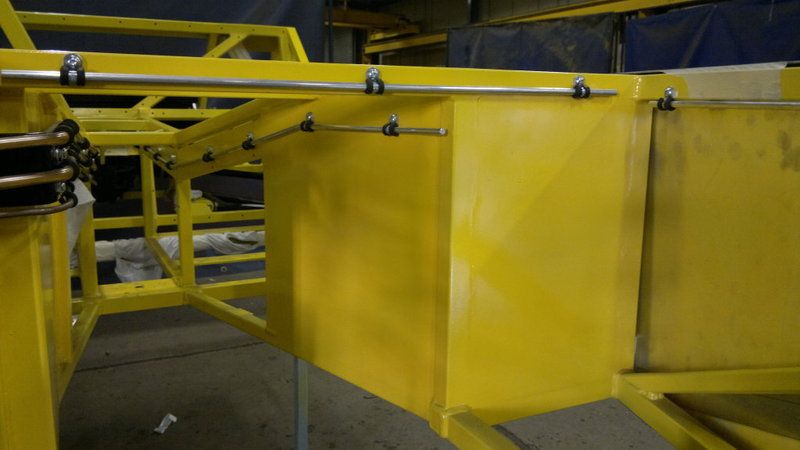 Oh I also managed to flare my fuel line ends tonight with a Sealey brake flaring tool. Seems to have done the job... Any thoughts would be most appreciated. Johno
|
 |
| Thread Tools | |
| Display Modes | |
|
|


 Linear Mode

