
|
|
#31
 1st December 2011, 08:49 PM
|
||||
|
||||
|
Hi Andy and Bonzo,
Thanks for the comments, good to know you both like the car. It seems to be coming on real quick now but I'm putting less time into it at the moment strange that. I see you noticed I have a bit of play in the suspension area Andy  , didn't want to put the bushes in until I got all the welded bits done on the chassis (saving the best untill last). , didn't want to put the bushes in until I got all the welded bits done on the chassis (saving the best untill last).I was a bit concerned about the front light brackets drilling through the top chassis rail as I did but both sides of the tube will be welded and will be no different to a crush tube I guess. I looked at old posts and it said 120mm from centre of light to edge of chassis rail is that correct? I guess also it will clear the GRP bodywork Andy without any modifications as I cant find a good photo of this. Will not weld front light brackets untill I hear from you guys. Thanks for your support Johno.... ps.. gonna order some more bushses tommorrow so hope you got some in stock Andy.....  nearly forgot you fired the old girl up yet Andy?????? nearly forgot you fired the old girl up yet Andy??????
|
|
#32
2nd December 2011, 09:28 AM
|
||||
|
||||
|
Hi Johno
Great to see your latest build progress  Wouldn't worry too much about drilling the tubes for the headlight stalks, as you say, they will act as a crush tube. Here is a picture of my build with the lights fitted. This was taken a fair while ago, sadly not much progress since then ( Engine change & remount the Rad )  My headlamp stalks are 125mm from chassis rail to light mounting centre, as you can see, there is plenty of room for the bodywork & good clearance for the front wheels. Those headlights of mine are like dustbin lids & are about as big as they go  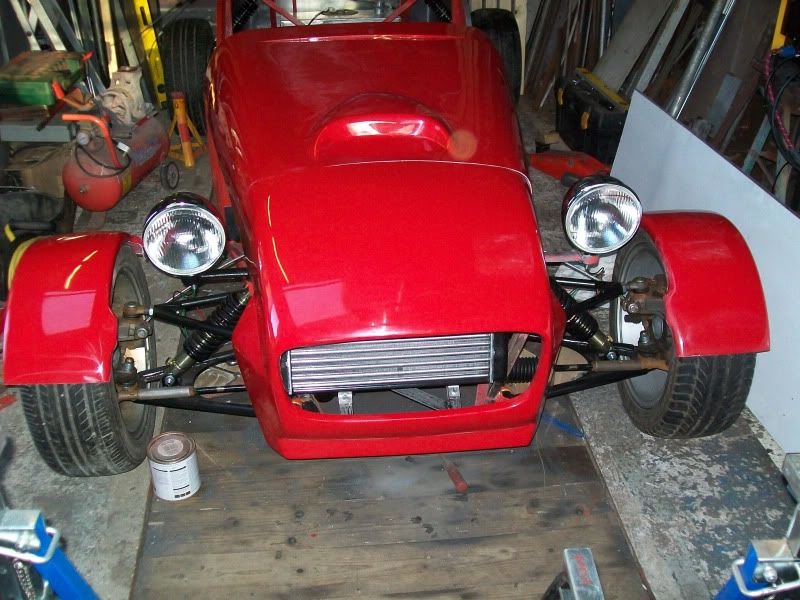 Hope that helps.
__________________
I am not a complete idiot...........Some of the parts are missing !! Ronnie www.roadster-builders.co.uk
|
|
#33
2nd December 2011, 09:50 AM
|
||||
|
||||
|
Ronnie has beaten me to it John, the crush tubes (due to the amount of colours available) are ordered in on demand but only take next day. Just waiting for an order of crush tubes coming - people seem to be buying a lot of them at the moment.
Anyway must sober up, got foster team coming to see me and the misses at 10:30 and too much to drink last night - you've got to have some stress relief at least once a week....... Got the mx5 all wired and cooled up and ready to fire yesterday but it would hardly crank, got a lack of earths so will try and get it sorted later on today. Hopefully have it out and about tomorrow. Cheers John / Ronnie.........AndyH
__________________
Haynes Roadster / Saturn GRP Bodywork. Now available direct through http://www.gillhamonline.co.uk/ or contact me direct on andrew.hugill@ntlworld.com Regards..........AndyH
|
|
#34
3rd December 2011, 08:50 PM
|
||||
|
||||
|
Hi all,
Hi Bonzo car looking really good  . Missus wanted red car but still not sure on colour I want (still thinking yellow and black) will see. Thanks for the dims you guys, tacked up the lights today at 120mm from centre of light to chassis rail with a jig for the others to follow, centre of light to centre of light is 894mm I think, is this within SVA requirements with Spuds kit? . Missus wanted red car but still not sure on colour I want (still thinking yellow and black) will see. Thanks for the dims you guys, tacked up the lights today at 120mm from centre of light to chassis rail with a jig for the others to follow, centre of light to centre of light is 894mm I think, is this within SVA requirements with Spuds kit?Hi Andy had to read your post a couple of times before I realised it was children fostering and not "Fosters"...LOL me had to many STELLAS when I read post.Managed to get a few things done this week but not spent too much time on her. I've updated photobucket so you can have a look, see what you think. One question, what is the deal with the "VEE" cut shape bracket in front of the throttle pedal pivot (guess it's something to do with spring return or stop?) I've done something different with the throttle pedal using the original MX5 cable, just need to add spring for return. Also I have moved the throttle cable mount below the inlet chamber and fixed it to its support bracket. Yes I know the diagnol brace is wrong to book (for the eagle eyed of you) but have yet to add aditional parts. Also Simon perfected his anodising technique today so gonna have some cool ally coloured parts for car soon...Well done Matey. http://s1199.photobucket.com/albums/aa472/JohnoSS1/ Home made clevis for throttle using original MX5 cable.... 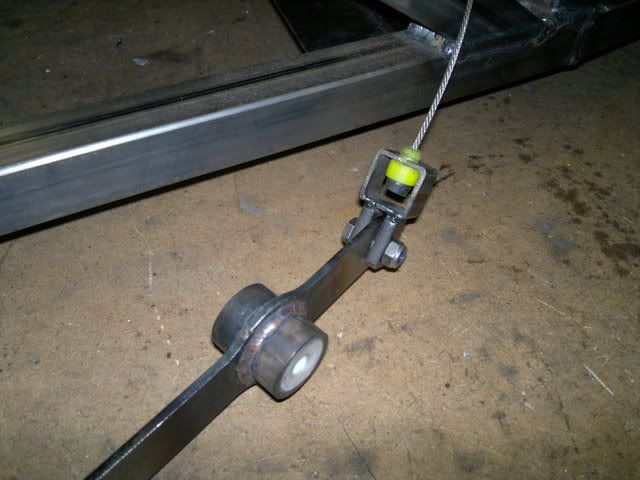 Return and full throttle stops.... 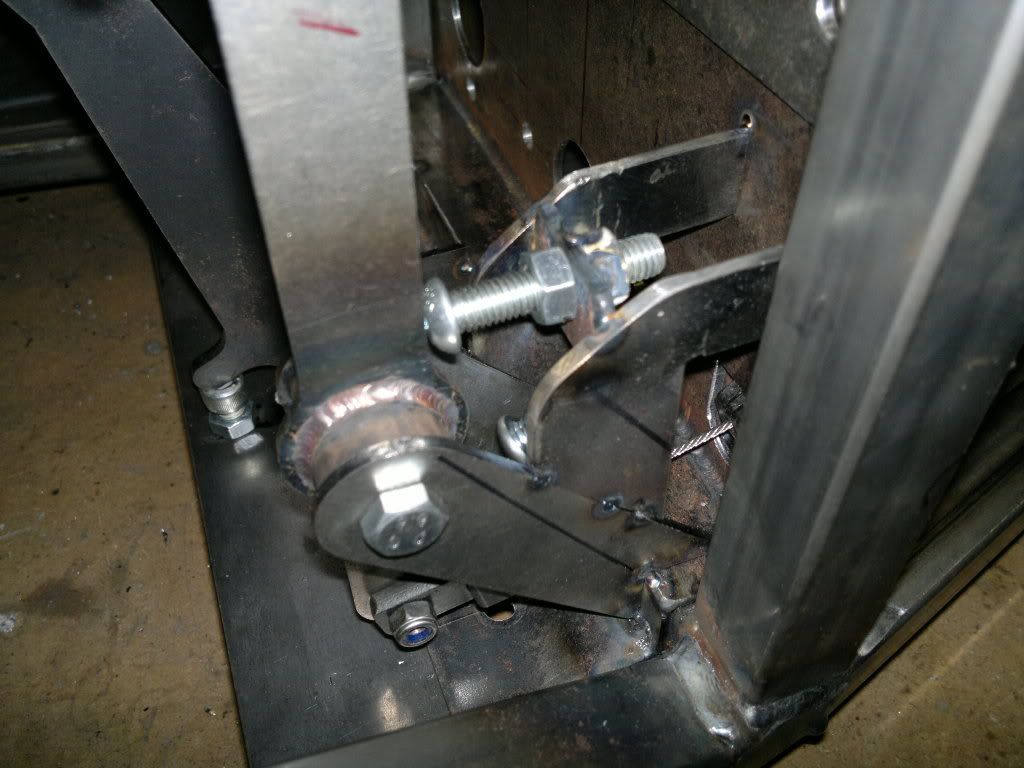 More to come tommorrow...Johno Last edited by Johno : 8th January 2012 at 06:39 PM. Reason: Added photos
|
|
#35
4th December 2011, 06:27 PM
|
|||
|
|||
|
thanks Johno,
The anodising went well, after one complete failure, heres a pic of the ali angle i tested! looks quite good although not perfect yet. its quite simple to do if anyone wants to try, or if anyone has tried it would be good for a few tips as im doing Johnos steering rack clamps next, and then if all goes well might build a bigger tank and try and anodise his fuel tank!!! and if his works well ill do mine 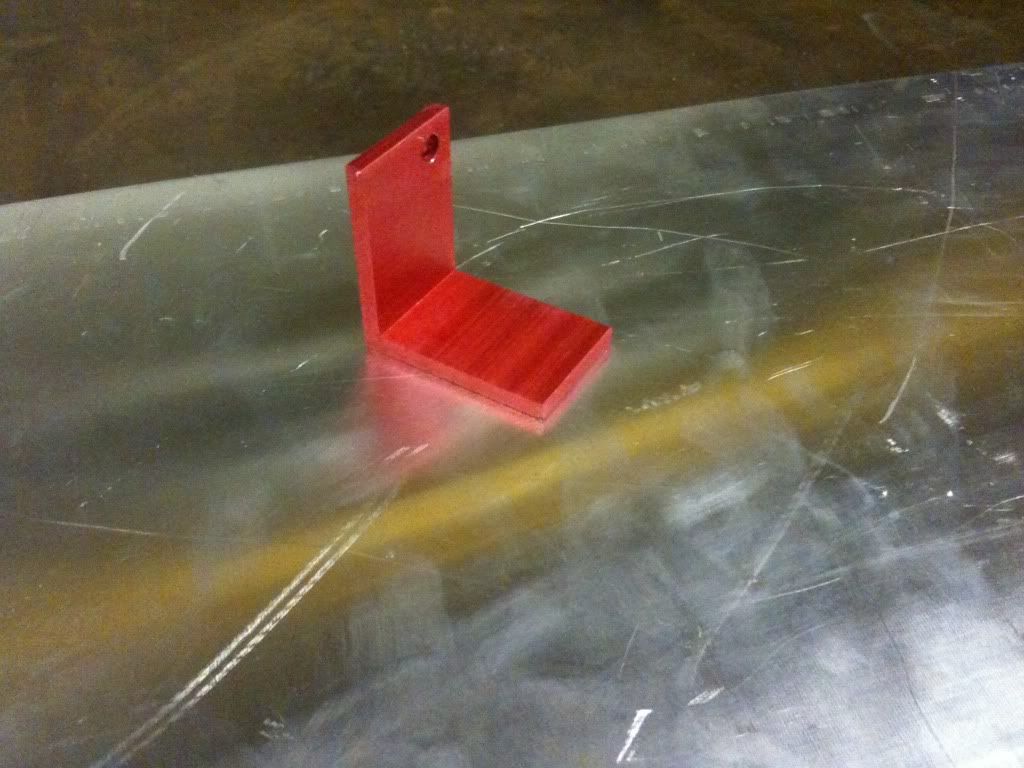 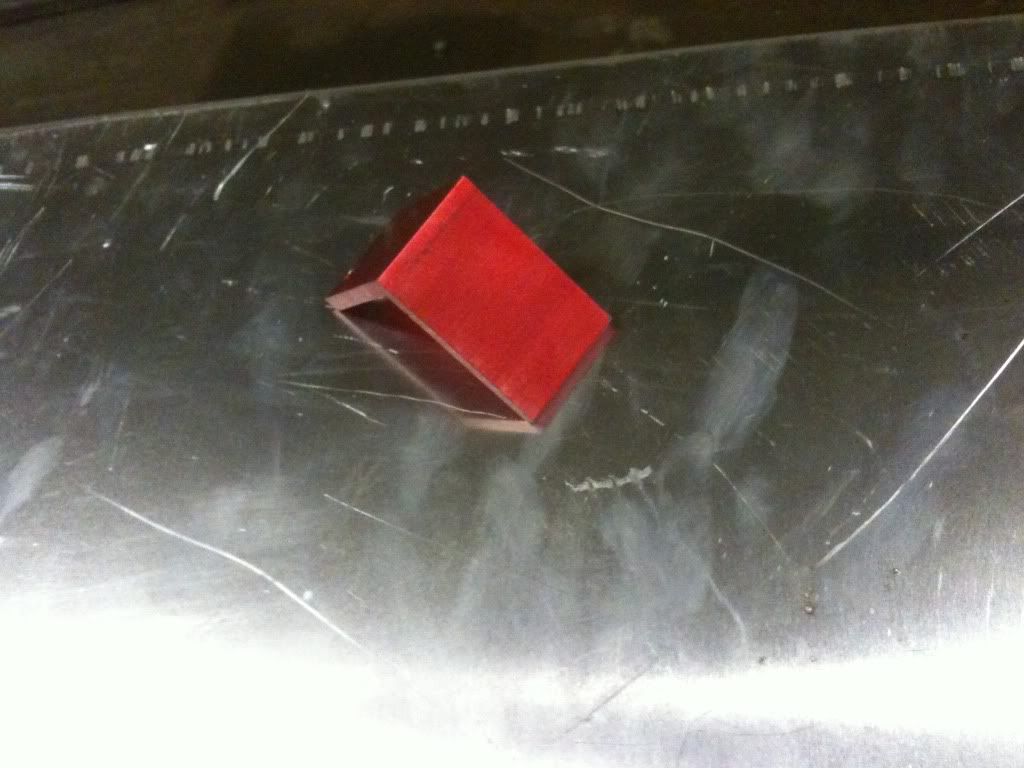 regards simon Last edited by Hodgson's : 4th December 2011 at 06:35 PM.
|
|
#36
5th December 2011, 09:27 AM
|
||||
|
||||
|
The "V" cut bracket is a pedal stop John, clamp it to your pivot bolt then rotate it to stop the pedal coming too far forward.
AndyH
__________________
Haynes Roadster / Saturn GRP Bodywork. Now available direct through http://www.gillhamonline.co.uk/ or contact me direct on andrew.hugill@ntlworld.com Regards..........AndyH
|
|
#37
10th December 2011, 08:37 PM
|
||||
|
||||
|
Hi all.
Got a few things done this week. Strengthened all the pedals with some round bar welded to the front after reading some horror stories of bent pedals whilst driving. 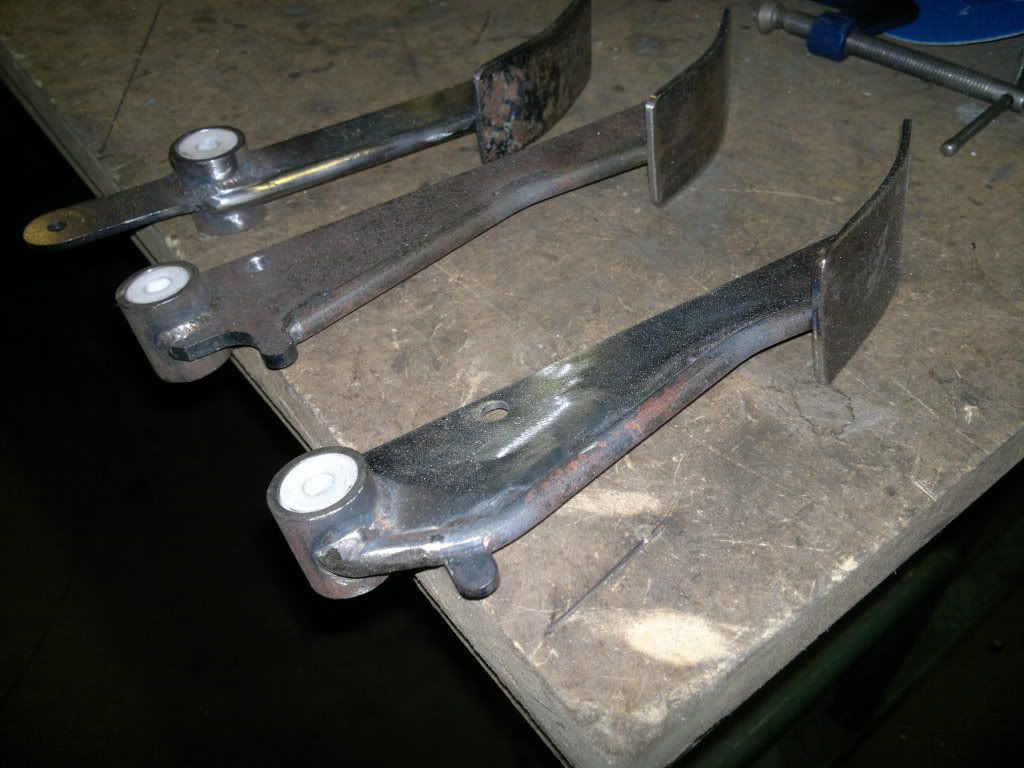 Was going to mount the fuel tank with straps but ended changing it after it took up valuble space of whats left of my dwindling luggage space  (if thats what you call it). (if thats what you call it).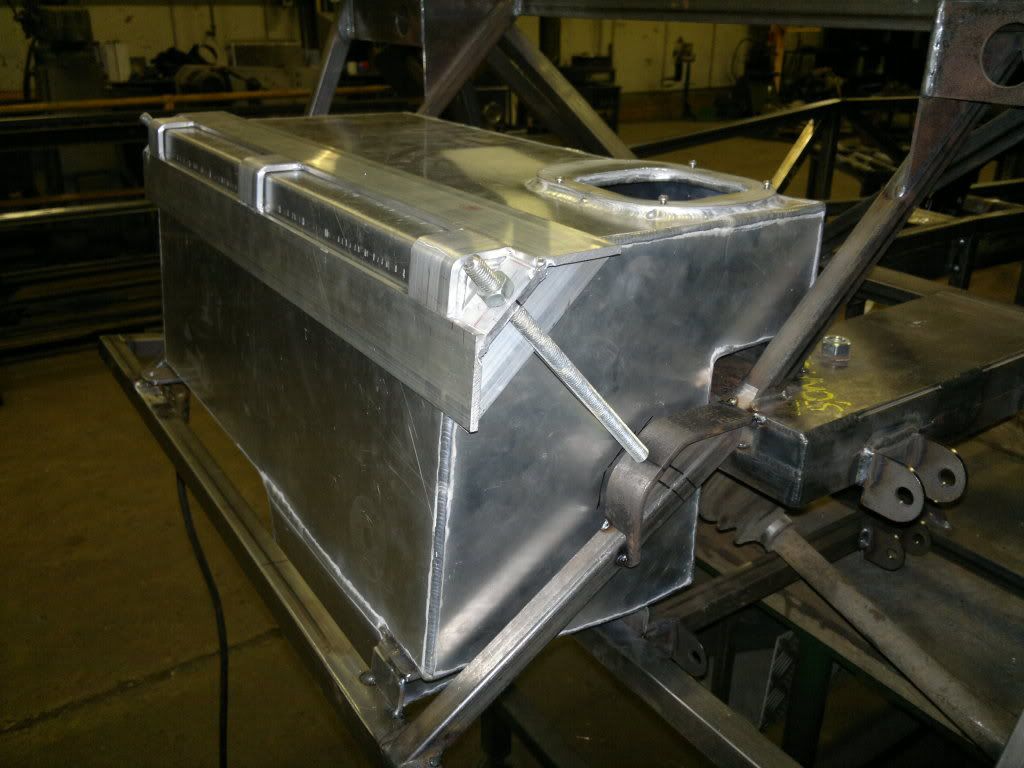 Only tacked up at the moment and needs tinkering but seems quite solid. 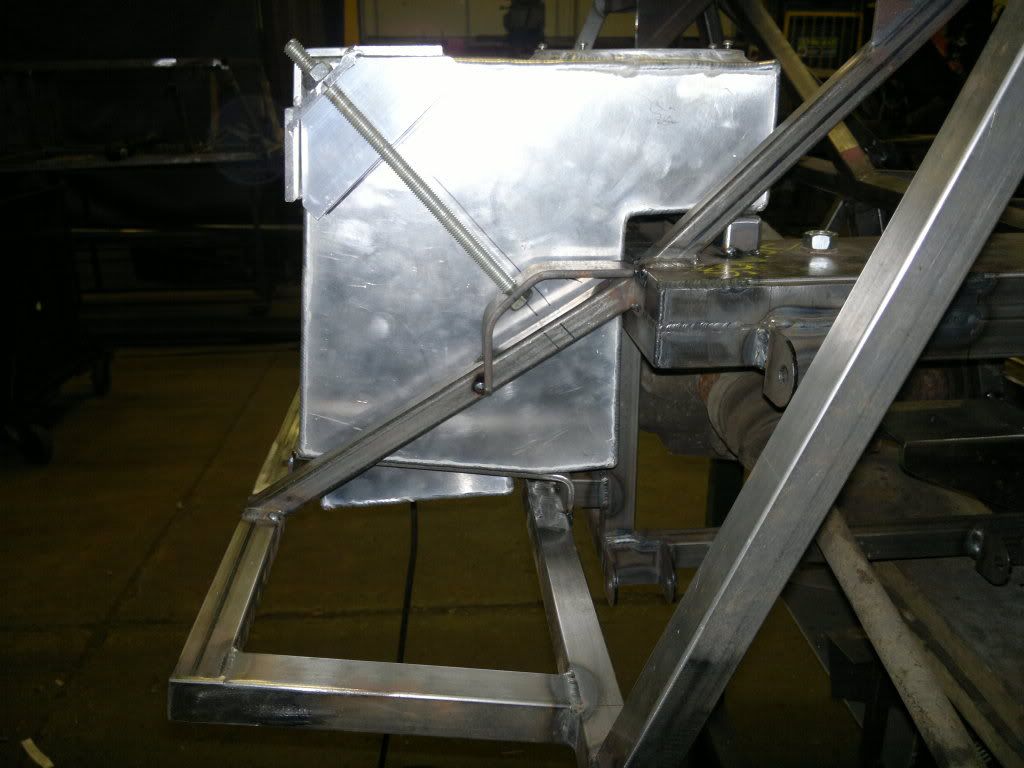 Hopefully going to take engine out tomorrow and weld up the rest of the chassis... http://s1199.photobucket.com/albums/...1/MX5%20Build/ Johno Last edited by Johno : 8th January 2012 at 06:47 PM.
|
|
#38
11th December 2011, 11:34 AM
|
||||
|
||||
|
some nice work going on there
I like the tank mounting & a nice touch on strengthening the pedals cheers andy
|
|
#39
11th December 2011, 07:39 PM
|
||||
|
||||
|
Hi Andy,
Appreciate the comments.... Removed the handbrake system off Tony's car today and trial fitted it to my chassis and realised it needed to be modified. Good job I haven't got round to welding up all of the car yet. Tony came up with a good idea to fit the handbrake system this morning, as you can see by the photo we altered the bracket on the seat rail to angle the gaiters up slightly and back. The aim of our build is to use as many parts from the donor car unaltered as possible which we believe is true to the build from the book. Also it enables us to exchange parts for new or if damaged. The rest of the guys at work are catching up real quick now and it looks like this week most of the chassis will be complete, so going to order ally sheet this week for panels and floor. Managed to DA fuel tank and weld up tank mount today as well as modify handbrake system and tack brake pipe brackets on (I seem to remember a post Andy about these should be fitted before painting...LOL) easy to forget made brackets weeks ago but only tacked them on today. Well heres a few piccy's of this weeks progress... Tank D/A with 60 grit first to remove scratches, and mount bracket welded and cleaned up. 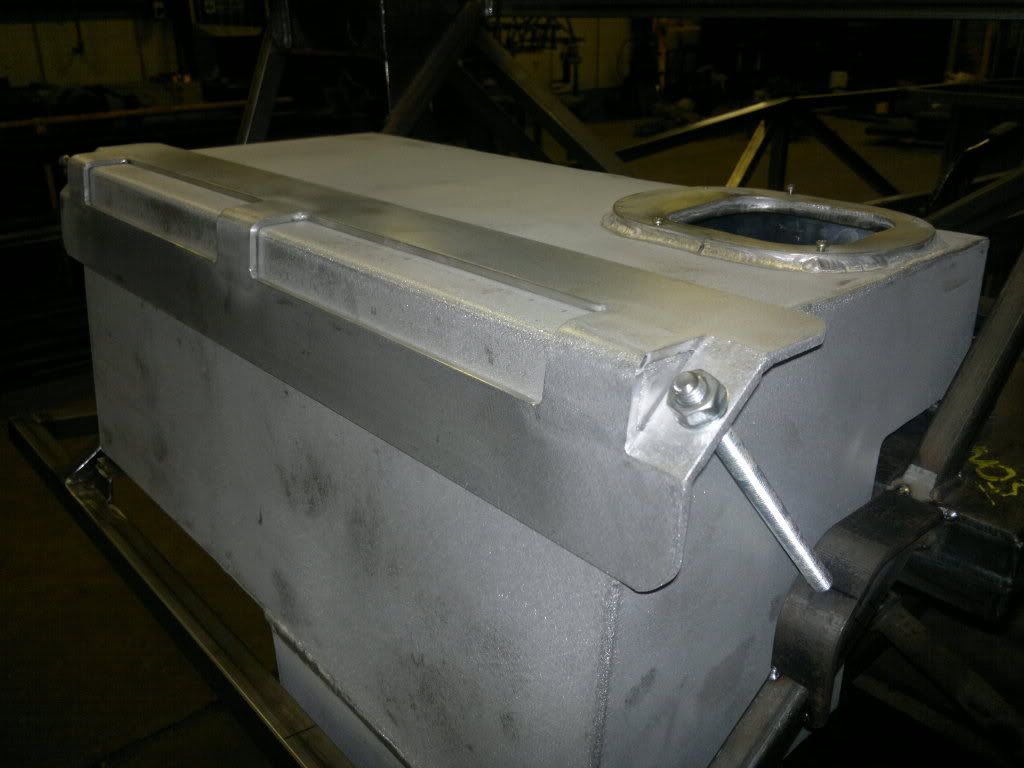 New hand brake mount to Tony's spec.... 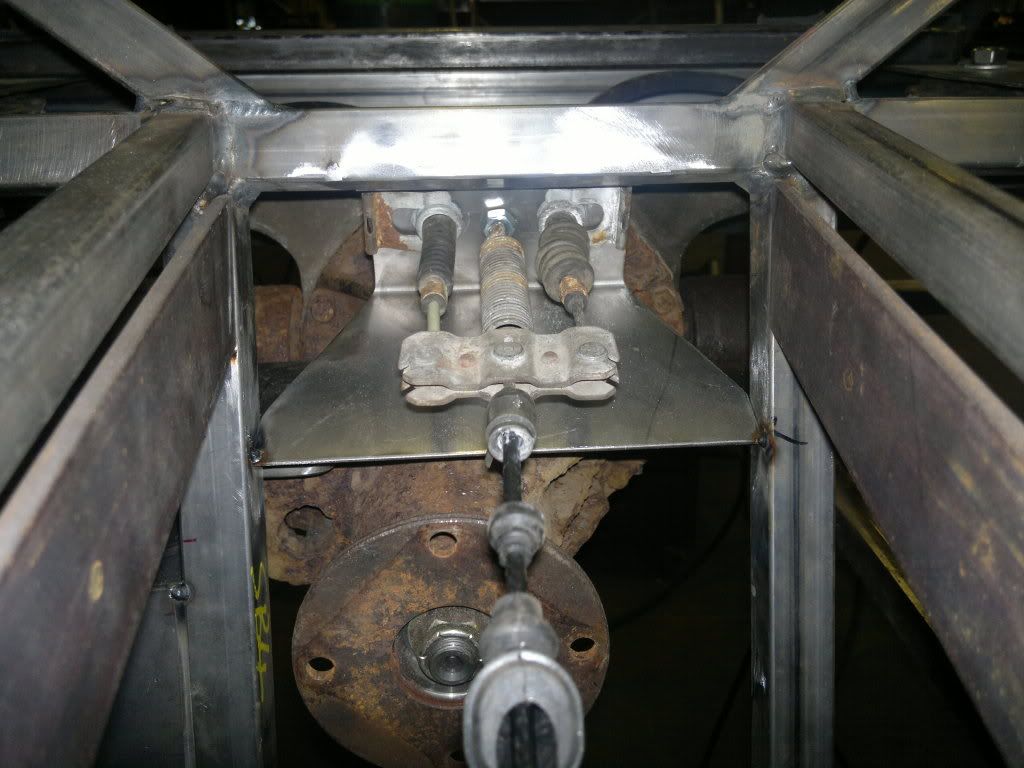 Pedal box finished... 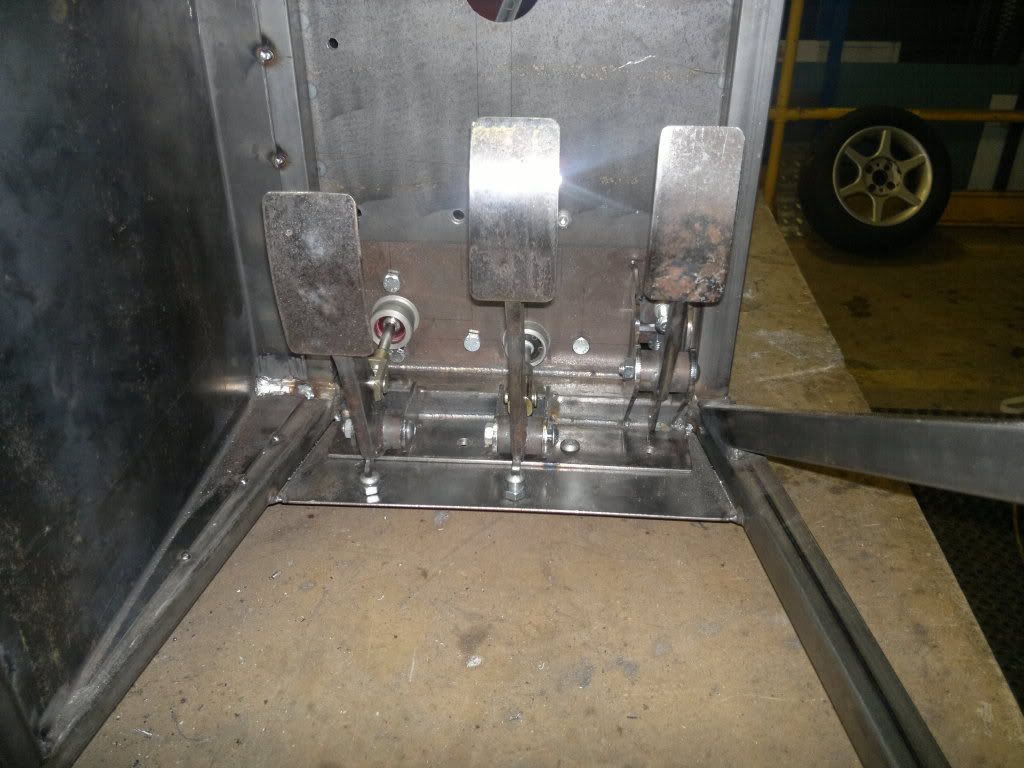 Well I updated photobucket tonight for you all to see. http://s1199.photobucket.com/albums/...1/MX5%20Build/ Johno Last edited by Johno : 8th January 2012 at 06:52 PM. Reason: Forgot link again...LOL
|
|
#40
1st January 2012, 06:52 PM
|
||||
|
||||
|
Hi all,
Not done too much on car lately due to work load but I have updated Photobucket with the latest photos of my build.  Have changed a few things that I was not happy with such as brake pipe plate positions, radiator mount position etc.. Going to organize photobucket into catergories so old links will no longer work soon. ") Hopefully tomorrow I will undercoat the chassis with etch primer... Thanks Johno http://s1199.photobucket.com/albums/...1/MX5%20Build/ Last edited by Johno : 8th January 2012 at 06:57 PM. Reason: forgot link
|
 |
| Thread Tools | |
| Display Modes | |
|
|


 Linear Mode

