
|
|
#221
 17th July 2012, 12:33 PM
|
||||
|
||||
|
Quote:
 ...nah...had not even thought of interior yet Albert....but hey you never know ...nah...had not even thought of interior yet Albert....but hey you never knowAgain thanks for all the positive comments guys.....am hoping to take out the wiring loom out of the sierra soon and sort out the stuff I do not want also would like to get the floor on so keep watching there will be an update/piccies soon 
|
|
#222
17th July 2012, 07:57 PM
|
||||
|
||||
|
I haven't been on the forum for almost a week (travelling in France), and I really want to congratulate you for the chassis, it looks really good... I wish mine could look as good
 Good job mate 
__________________
Sylvain Pictures of my completed Roadster https://www.flickr.com/photos/994983...7646799525542/ Build blog: http://vouchtroadster.blogspot.se/ https://cafrazx550.blogspot.com/
|
|
#225
22nd July 2012, 09:07 AM
|
|||
|
|||
|
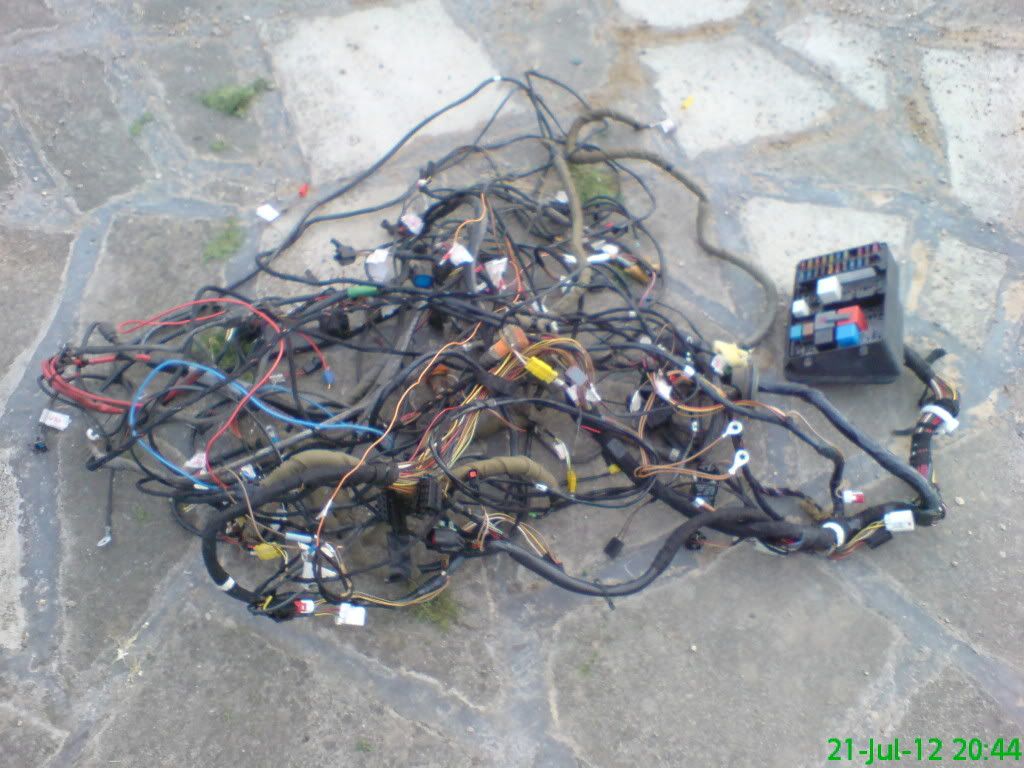
Yuk. I hate electrickery. All those supposed wires are really just lots of tubes filled with smoke ready to leak at the first opportunity
good luck with that lot KevBob
__________________
When The Results Disagree With The Theory: Believe The Results And Invent A New Theory If I had two brains I,d still be a halfwit The cave http://s1116.photobucket.com/user/my...deshow/mancave The build http://www.haynes.co.uk/forums/showthread.php?t=12669
|
|
#226
28th July 2012, 07:14 PM
|
|||
|
|||
|
Quote:
Bob
__________________
When The Results Disagree With The Theory: Believe The Results And Invent A New Theory If I had two brains I,d still be a halfwit The cave http://s1116.photobucket.com/user/my...deshow/mancave The build http://www.haynes.co.uk/forums/showthread.php?t=12669
|
|
#227
28th July 2012, 09:05 PM
|
||||
|
||||
|
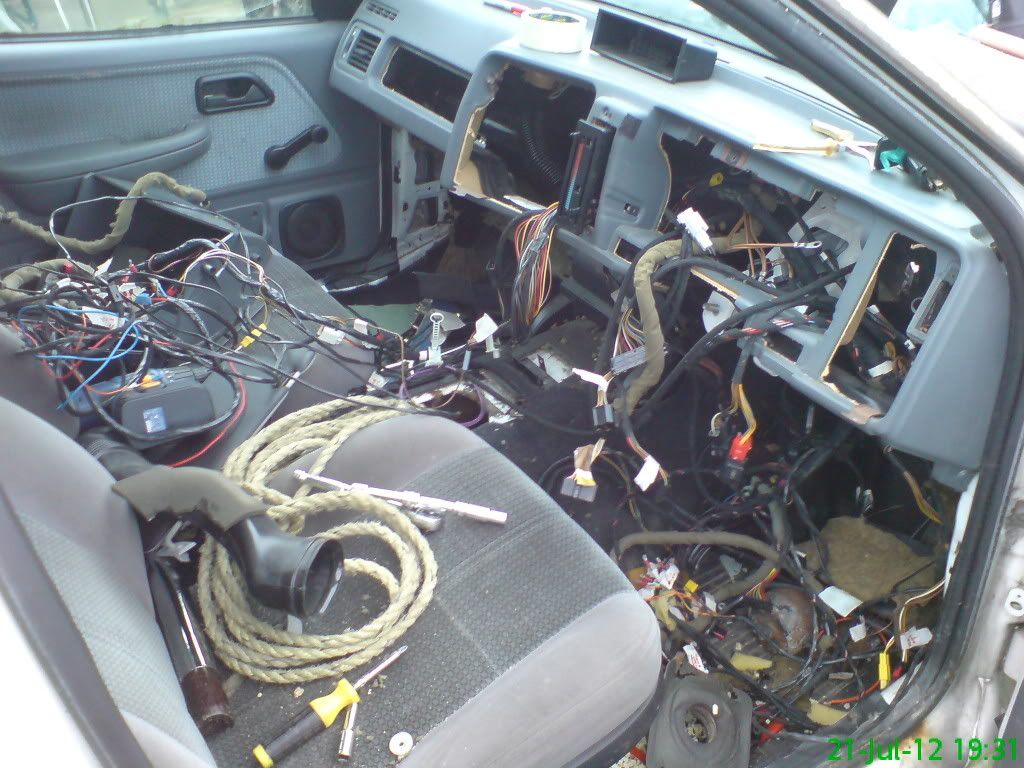
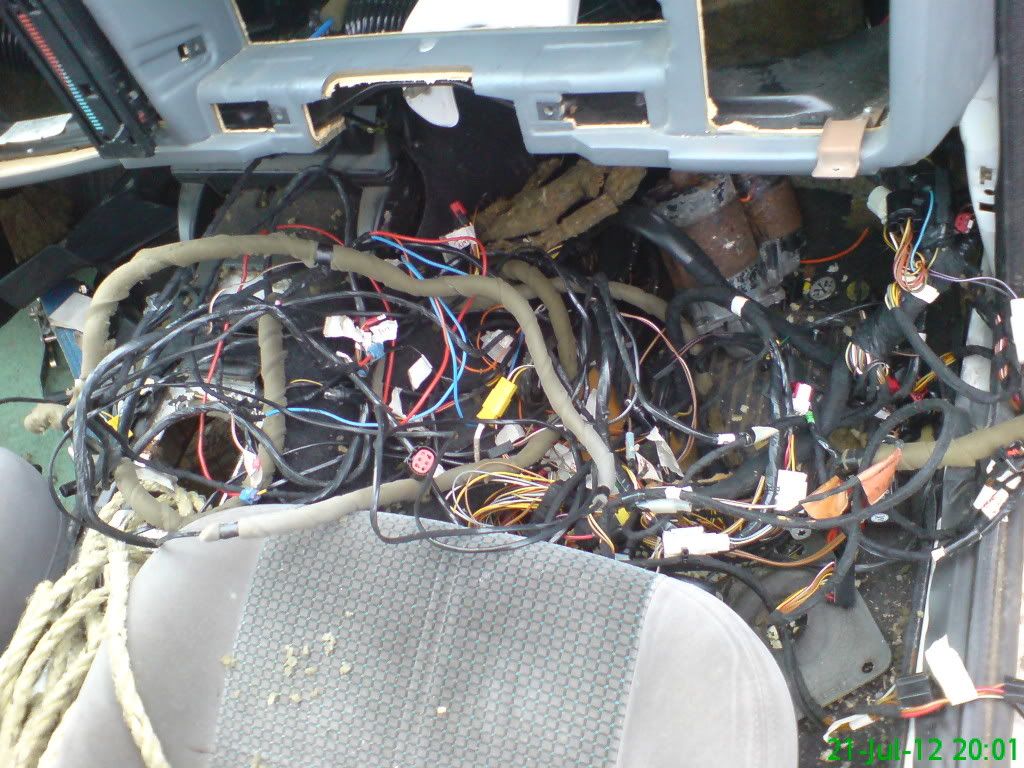
not yet Bob....want to sort the wiring out....sierra loom now half the weight that it was, but I have just been to look at the 200sx's engine loom/ecu....sh*t it looks like a sierra loom untouched ...gonna spend tomoz taking that engine out and into the shed with it. then I will be able to get to all the loom need g/box end of prop shaft anyway .....not got a lot done lately due to nice gardening weather (my other passion)
I will get around to completing the tank pretty soon I hope as the other thing I need is the fuel sender from the 200sx .
|
|
#228
26th September 2012, 10:19 AM
|
||||
|
||||
|
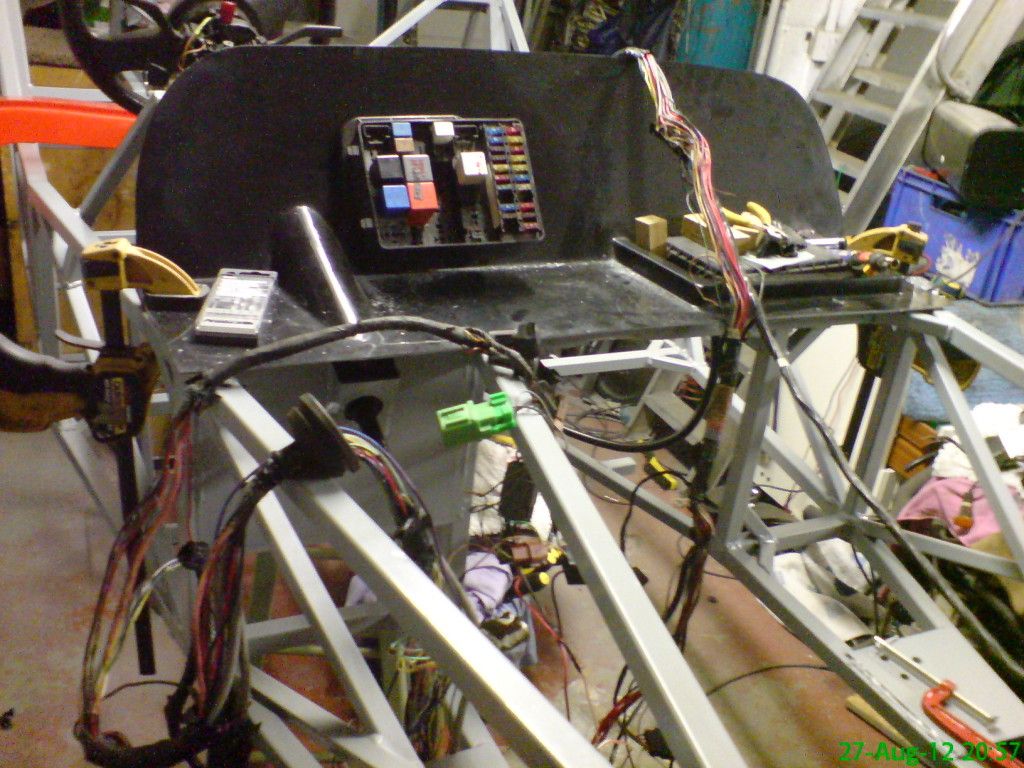
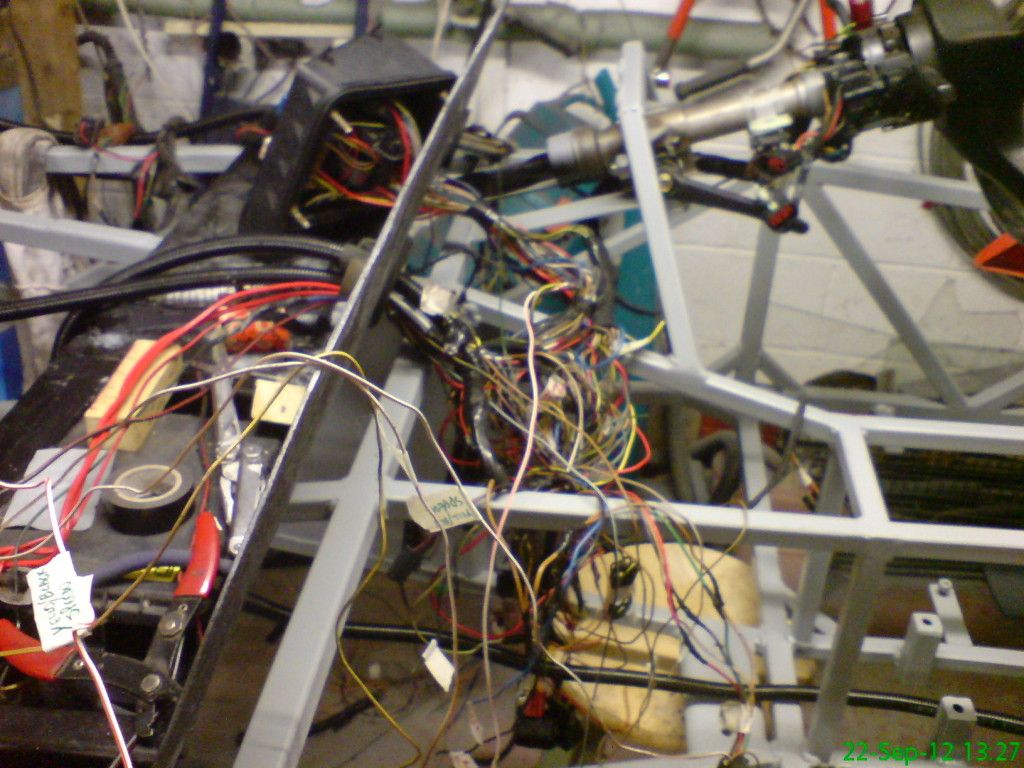
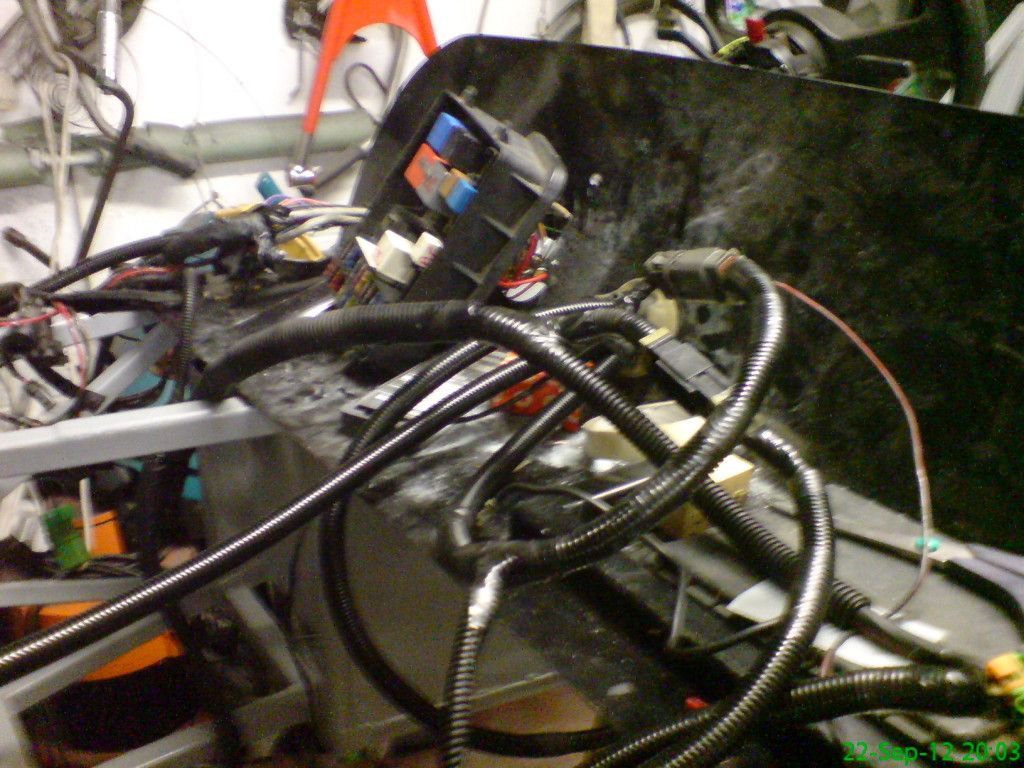
crikey ...long time since I posted on my build, currently at the stage of routing wiring loom also trying to splice in the ca18det engine/ecu loom which is a bit of a nightmare.... so many sensors etc....anyway will soon be time for me to lift off the loom to start floors and fitting mechanicals. It will come together very quickly then, as most of the other stuff I have already made, so expect a hive of activity over the next few weeks....as ever a few photo's
|
|
#229
1st October 2012, 12:37 AM
|
||||
|
||||
|
been busy prepping and cutting the floors and now at the stage of drilling and countersinking, then I am hoping tomorrow will see me with sikaflex and rivet gun
decided on 3mm ally sheet fixed at 2.5" spacing with 4mm countersunk sealed rivets temp fixed and waiting to be marked for rivets 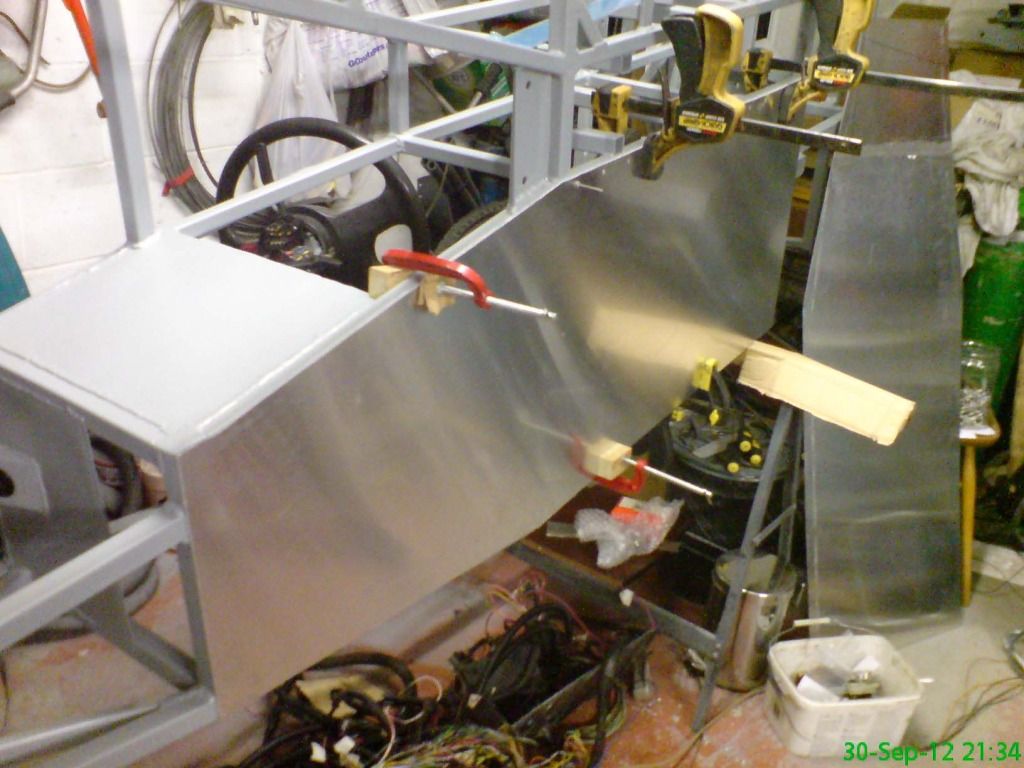 drilling holes 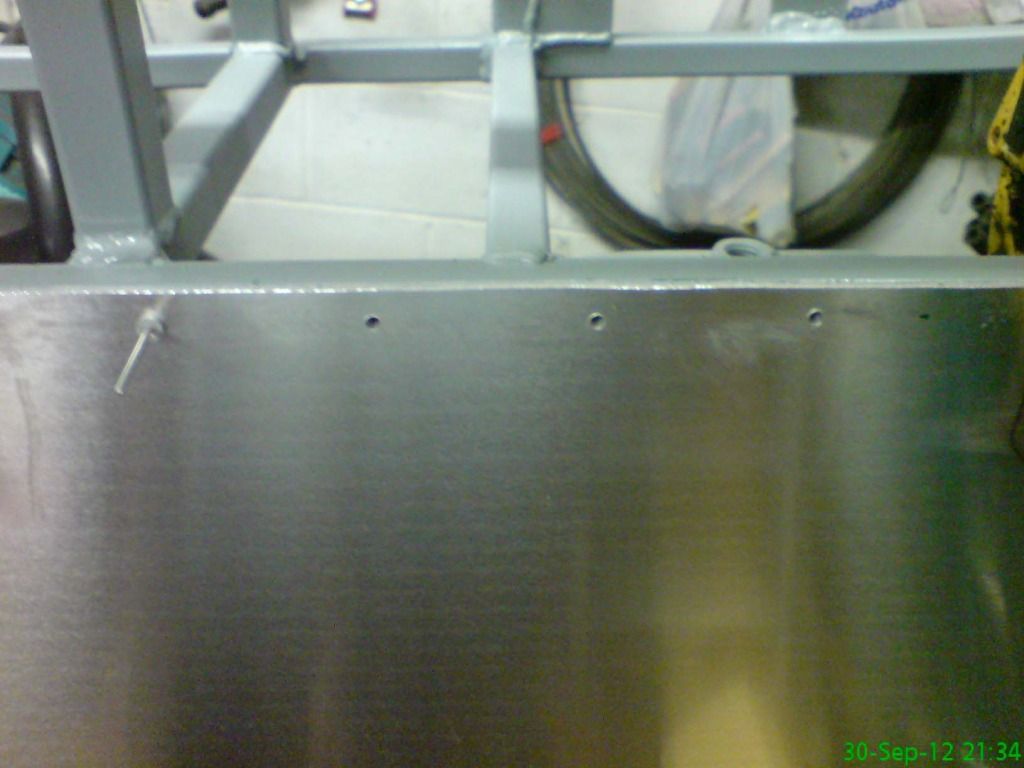 now countersinking the holes to allow a totally flush fit with coiuntersunk rivets 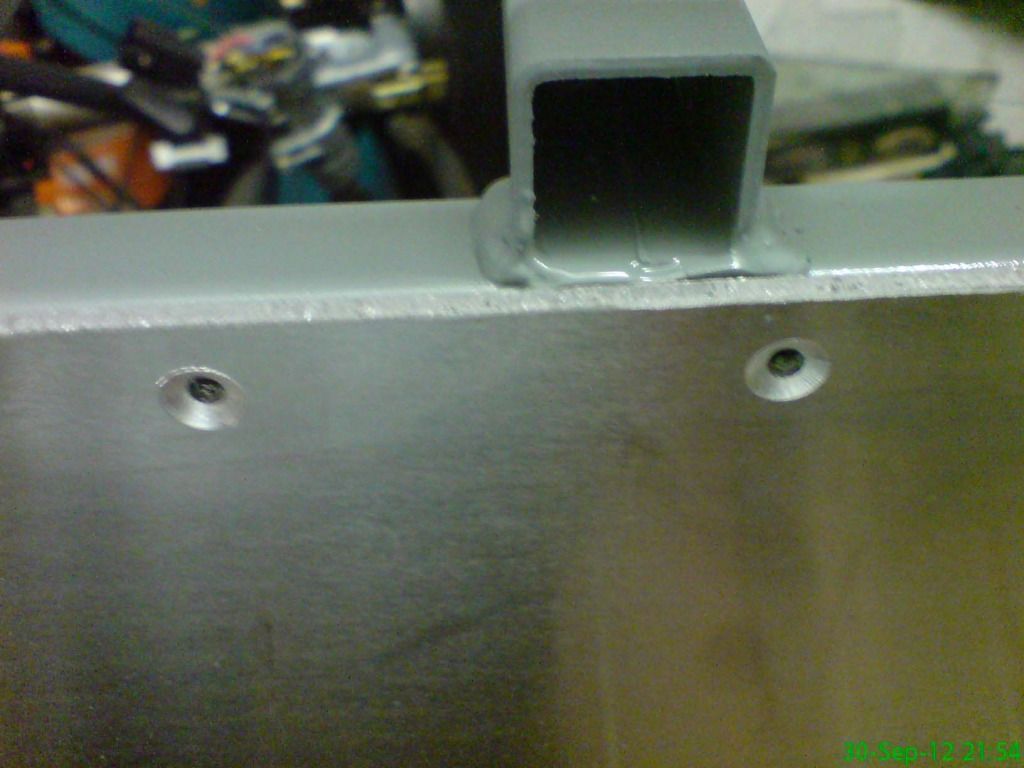
|
|
#230
2nd October 2012, 10:18 PM
|
||||
|
||||
|
managed to get the offside floor sealed and riveted on.....I'm pleased I chose csk rivets because a quick check of my side panels inner dimension top to bottom leaves no room to spare.....had I used plain rivets it would have been a "force on" issue or remove a lip....phew.
drilled up the nearside floor, so will be mounting that proper tomoz here come the piccies 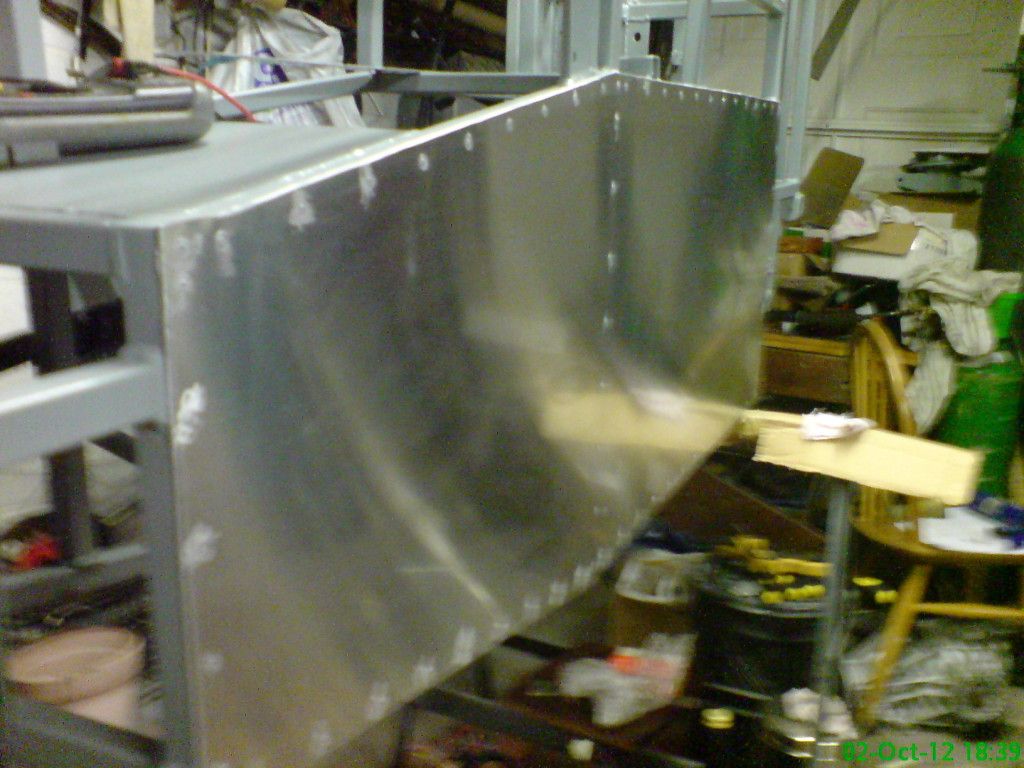 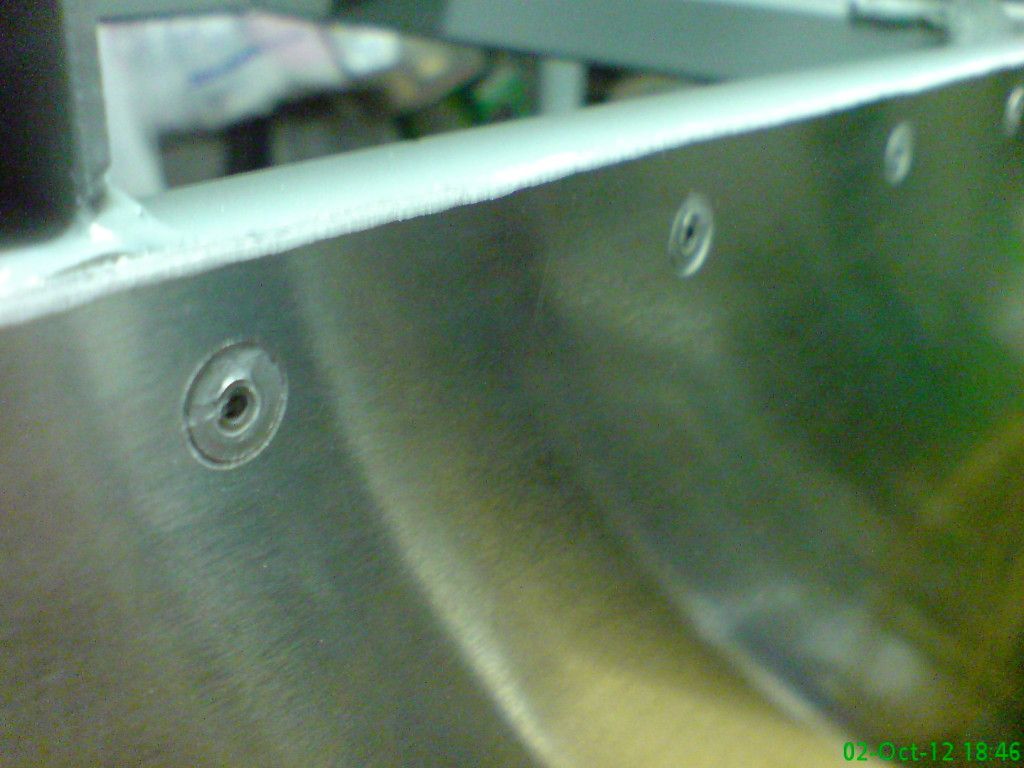 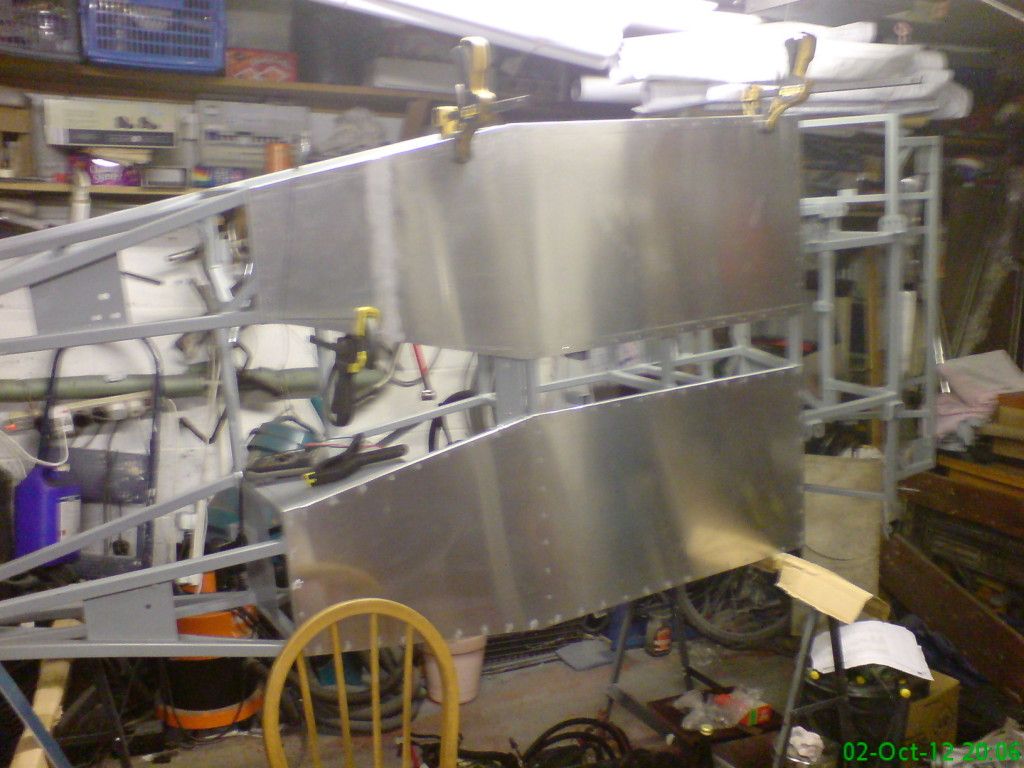
|
 |
| Thread Tools | |
| Display Modes | |
|
|


 Linear Mode

