
|
|
#41
 9th January 2012, 08:03 PM
|
||||
|
||||
|
Hi all,
At last I got some paint on my chassis and all my brackets. Everything started to get a orange haze and I had put it off long enough (didn't like the thought of cleaning all the chassis up LOL)... Gave it a few coats of 2PK Acid Etch Primer after keying all the steel up, took nearly 3 days to clean. 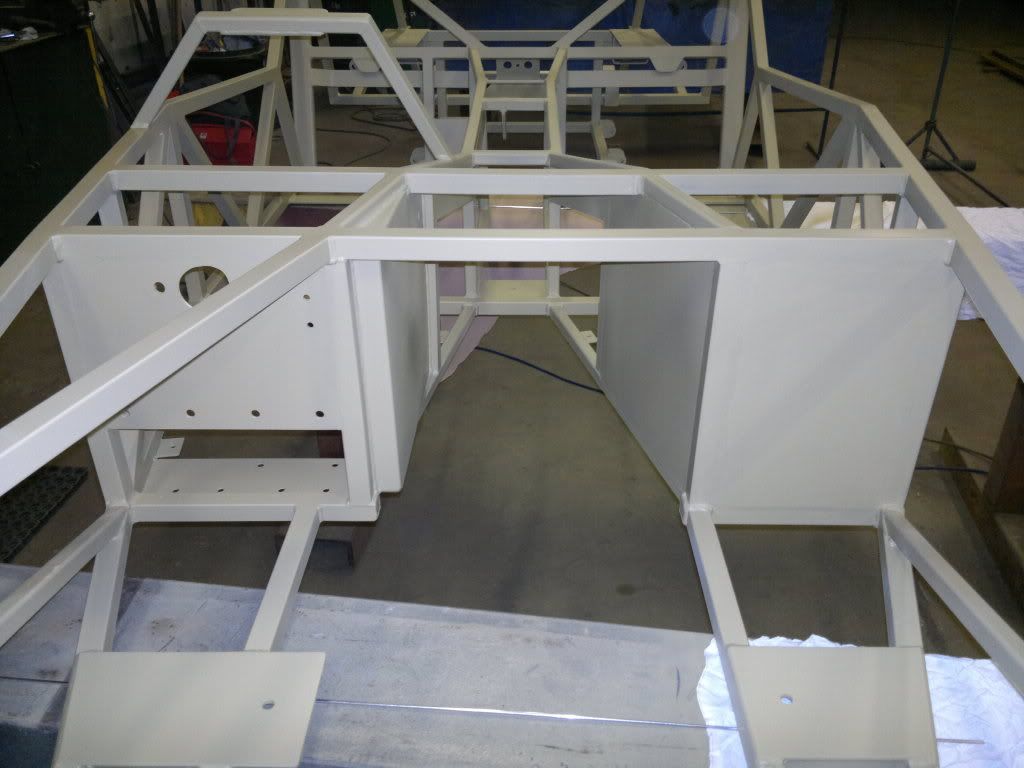 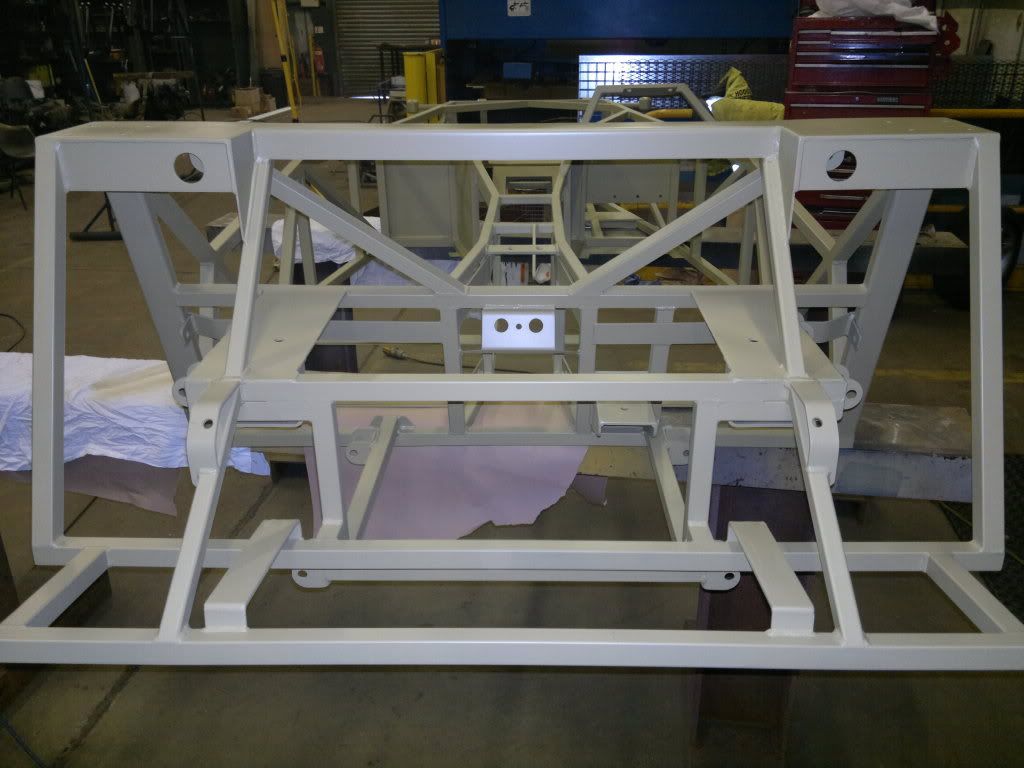  Next job is the ally panels and brake and fuel pipes. Oh bye the way TSM Locost popped in Sat morning for a recce, I believe you know him well Bonzo....LOL  There a few new photos on Photobucket to look at if interested.. http://s1199.photobucket.com/albums/...1/MX5%20Build/ All photos now in catergories in sub albums... Bye for now Johno Last edited by Johno : 11th January 2012 at 08:37 PM. Reason: Changed photobucket 
|
|
#42
9th January 2012, 09:36 PM
|
||||
|
||||
|
Looking good Johno!

|
|
#43
9th January 2012, 10:19 PM
|
|||
|
|||
|
looks amazing!
 - although white? dont fancy keeping it clean!!!!! nice and different, looks really fresh. - although white? dont fancy keeping it clean!!!!! nice and different, looks really fresh.  my renault clio race car was white inside, and was a nightmare to keep clean!!!!!!!! 
__________________
Stew
|
|
#44
11th January 2012, 08:55 PM
|
||||
|
||||
|
Lo all,
Nice to see new MX5 builders on the forum guys. Loads of info here just about everything if you use the search feature. The chassis certainly looks different with a coat of primer.... On the previous photos I posted it does look white but thats because of the flash Stew... Here's the proper colour..... 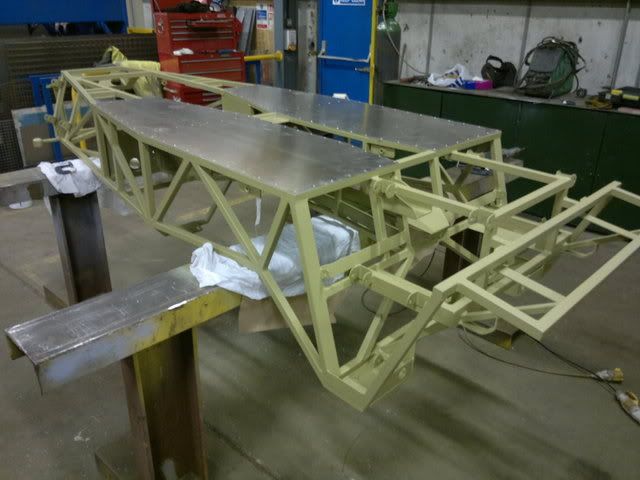 Also got my floor cut and drilled, 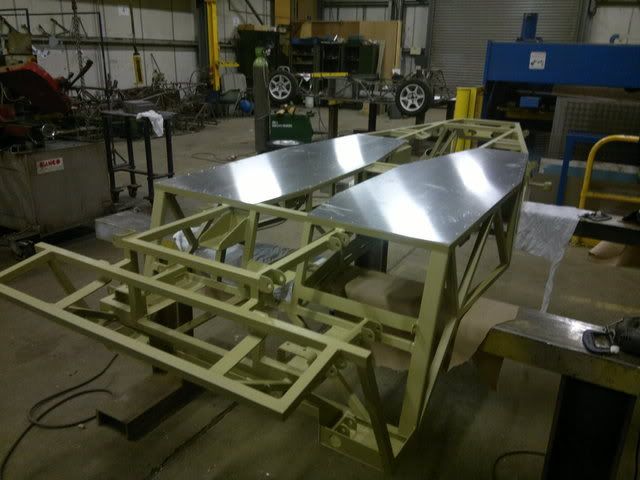 I've still got a couple of coats of grey primer then my top coat to apply yet Stew. Going to use polyurathene for the top coat but its not going to be black. Well CYA all later...Johno
|
|
#46
15th January 2012, 06:40 PM
|
||||
|
||||
|
Hi guys,
Thanks for your comments Skov and Stew. Well I got round to fitting the ally panels, It's a bit tedious with all the drilling but it's got to be done at some point I guess. I plan to drill all the holes for the panels before I give the chassis a coat of grey primer and then top coat, probably get a coat of grey on it next weekend. 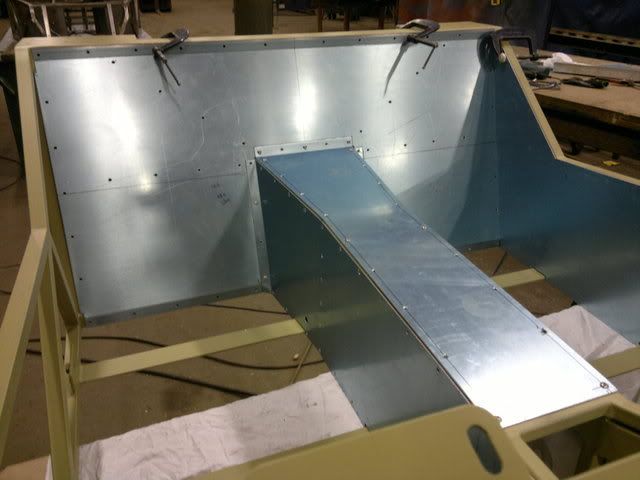 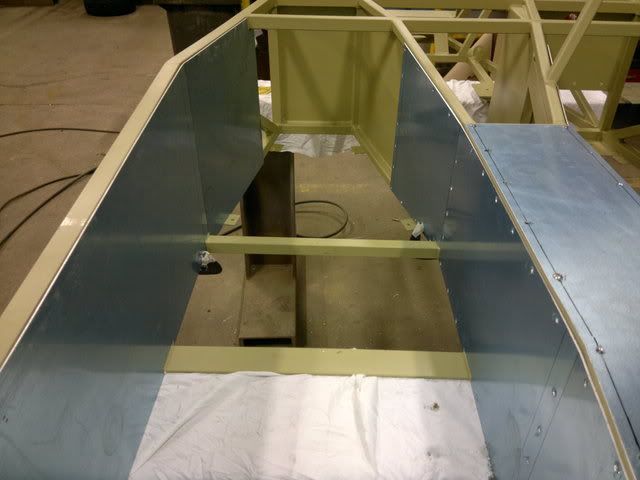  Well I guess the time is soon coming to strip my donor. The wife doesn't want me to do it as she would like to keep it......."WELL TOUGH"  http://s1199.photobucket.com/albums/...1/MX5%20Build/ Bye all...Johno....ps Stew I found how to turn the flash off at last...
|
|
#47
15th January 2012, 11:46 PM
|
|||
|
|||
|
the build looks great. I hope my alloy panels inside look as good!
Keep posting the pictures!
__________________
Click to see my build photos on Flikr http://www.flickr.com/photos/67112582@N03/ Saturn MX5 Based Chassis, Limited Slip Diff & 2.4 Quick Rack. Build cost.... seems to be spending more on tools than car bits at the moment! (they will be handy in the future though). Car iva'd and passed 15/08/2014. Finished weight 572kg.
|
|
#48
16th January 2012, 09:30 PM
|
||||
|
||||
|
Hi David,
Yeah will certainly keep the photos coming, if it helps anybody thats what it's all about. Theres a few of us now building MX5 based Roadsters to Spuds69 design and only hope we can do him justice for his hard work. Just read his post tonight and what can you say... I keep looking at all you guys building MX5 based cars it certainly helps out... Keep up the good work....Johno ps... I'm sure you will do a good job of your panels as I have been looking at your build photos.
|
|
#49
14th March 2012, 08:31 PM
|
||||
|
||||
|
Hi all,
Well it's been some time since I've updated my build so had a chance today to take some photos. Came up against a little problem as I made my bottom wishbones a little too long for the MX5 build from Saturn. As I had already finished and painted my wishbones I was a little reluctant to cut them up, so I decided to design my own top adjustable wishbones and make them easier to adjust on the car in situ. Hopefully this will cure the problem but if anybody can see a problem please let me know. Here's a photo....    Well got more to come but will update when I get time.... Johno
|
|
#50
14th March 2012, 10:03 PM
|
|||
|
|||
|
Hello johno,
looking really good. Have you inserted tube into the bottom of the rear wishbones to reduce the hole size to 12mm or used a larger 14mm crush tube on the polybush. David
__________________
Click to see my build photos on Flikr http://www.flickr.com/photos/67112582@N03/ Saturn MX5 Based Chassis, Limited Slip Diff & 2.4 Quick Rack. Build cost.... seems to be spending more on tools than car bits at the moment! (they will be handy in the future though). Car iva'd and passed 15/08/2014. Finished weight 572kg.
|
 |
| Thread Tools | |
| Display Modes | |
|
|


 Linear Mode

