Quote:
The exhaust pipe I bought hasn't got a rolled end so I am going to try using the same method as you. Ie soldering on some brake pipe. (this bit might not even fall off after its test as I know I will rip my trousers on it!!. My question is do you need a special solder to weld the copper to stainless or can I use standard solder? Thanks David |
I'd use plumbers lead solder. Electrical solder (tin) melts at around 200˚C
|
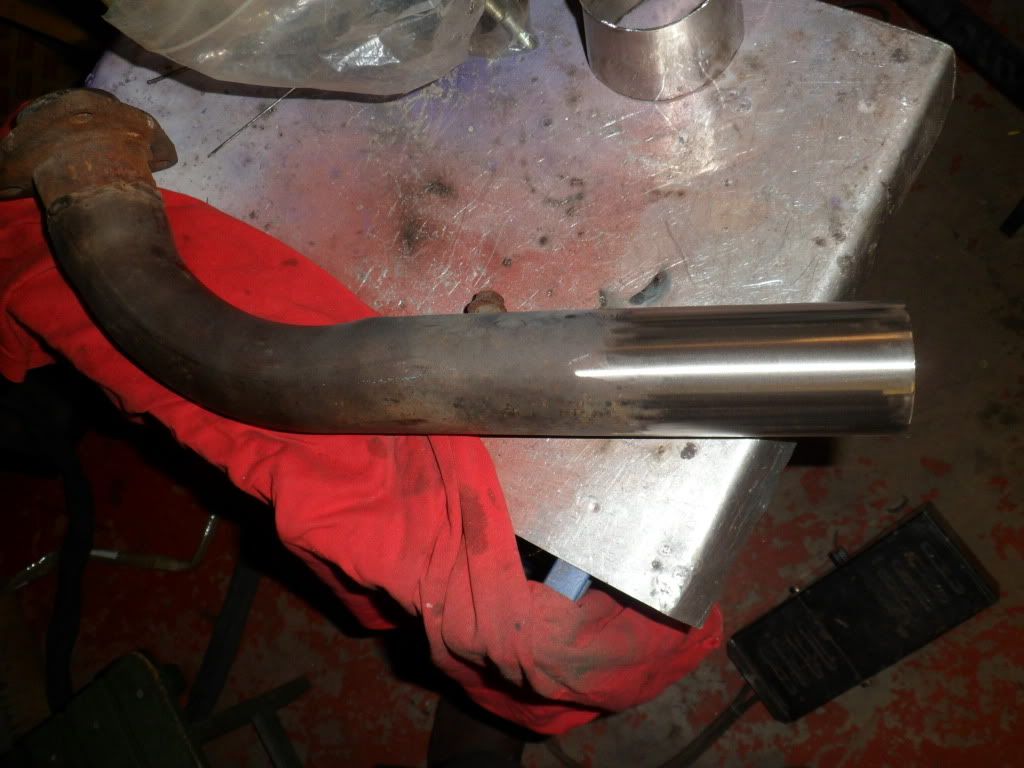
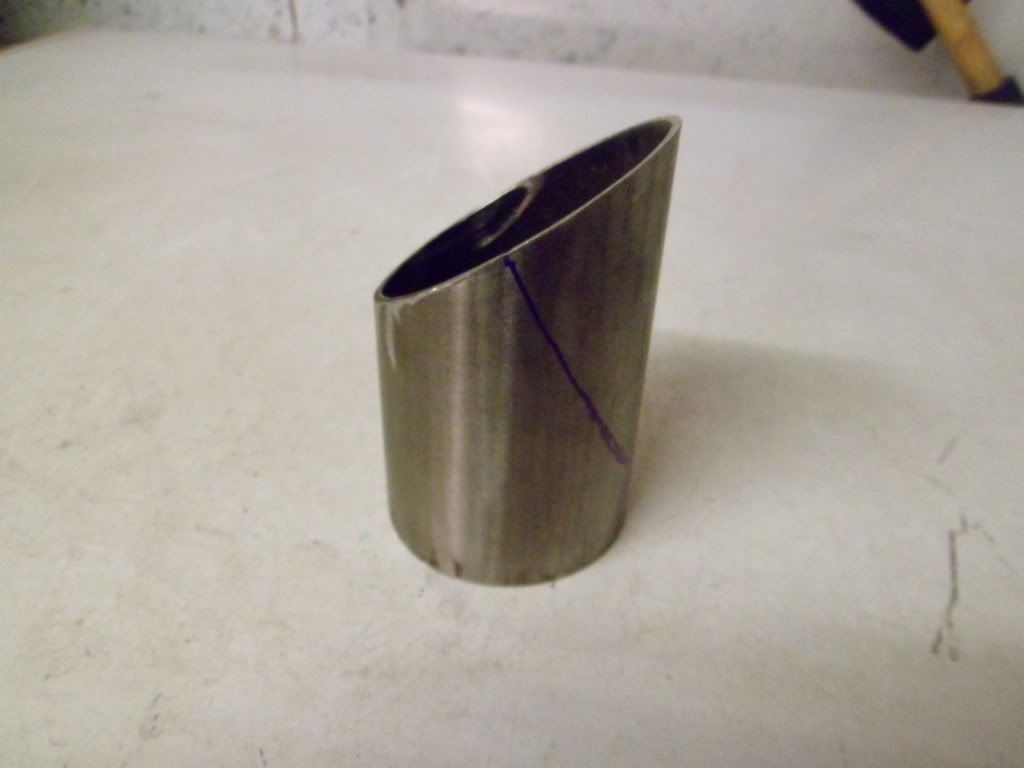
Hi David....I would be very surprised if any kind of solder would reach melting point on an exhaust tip, but I used silver solder because of its compatability with stainless steel ...trouble is you really need oxy/acet to get a good result or at least map gas, propane will work if torch is mixed with compressed air but not high pressure......a good flux is essential because the steel will readily oxidize....you know where I am if you need it doing.
Has to be a rolled tip for the IVA by the way |
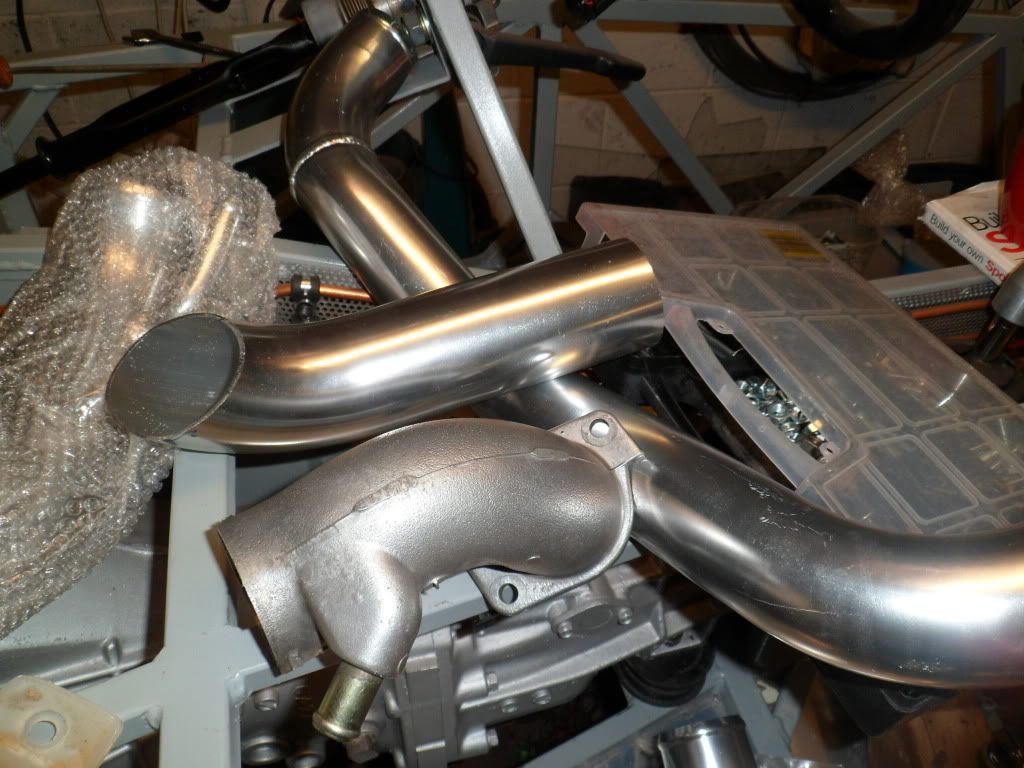
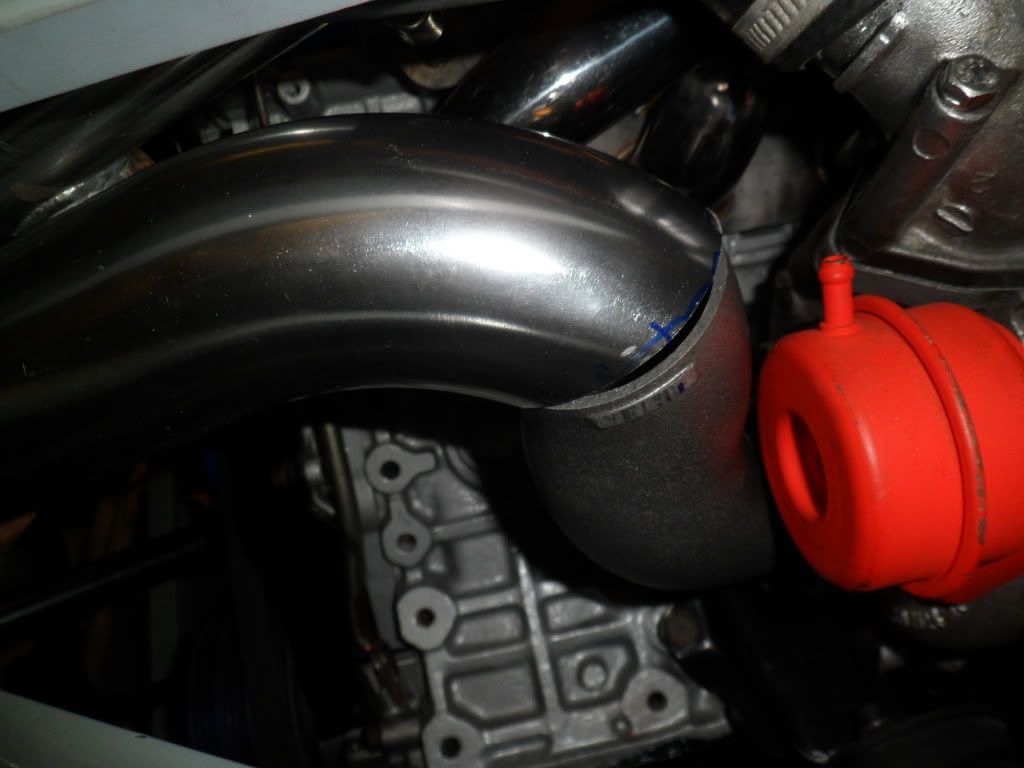
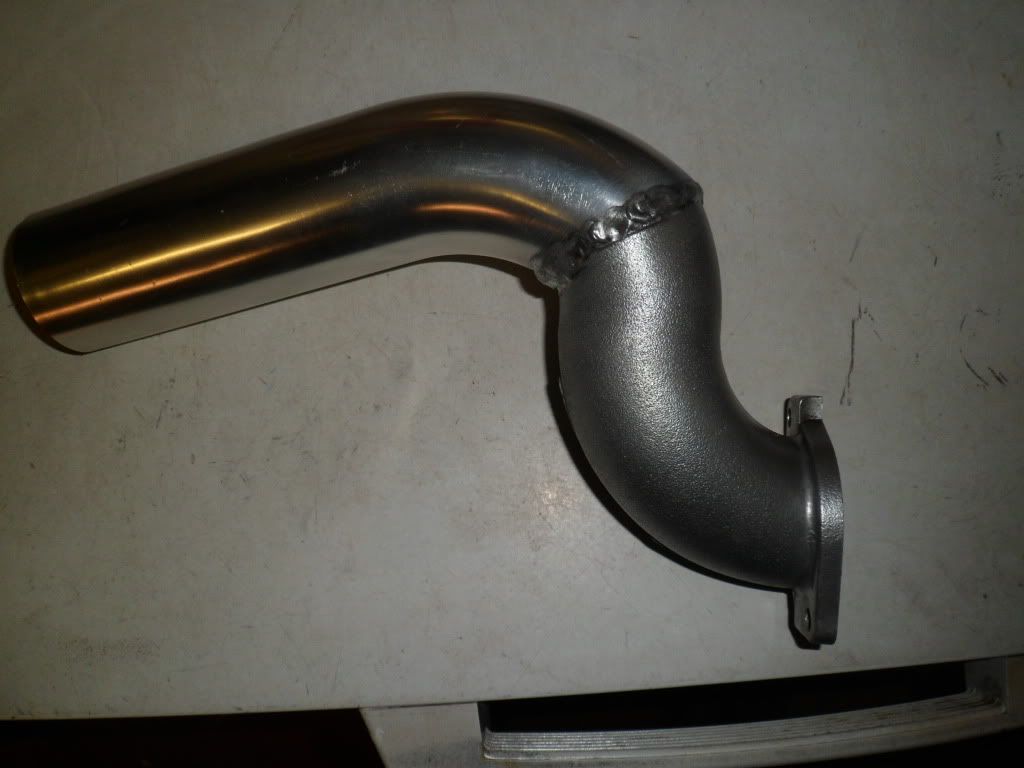
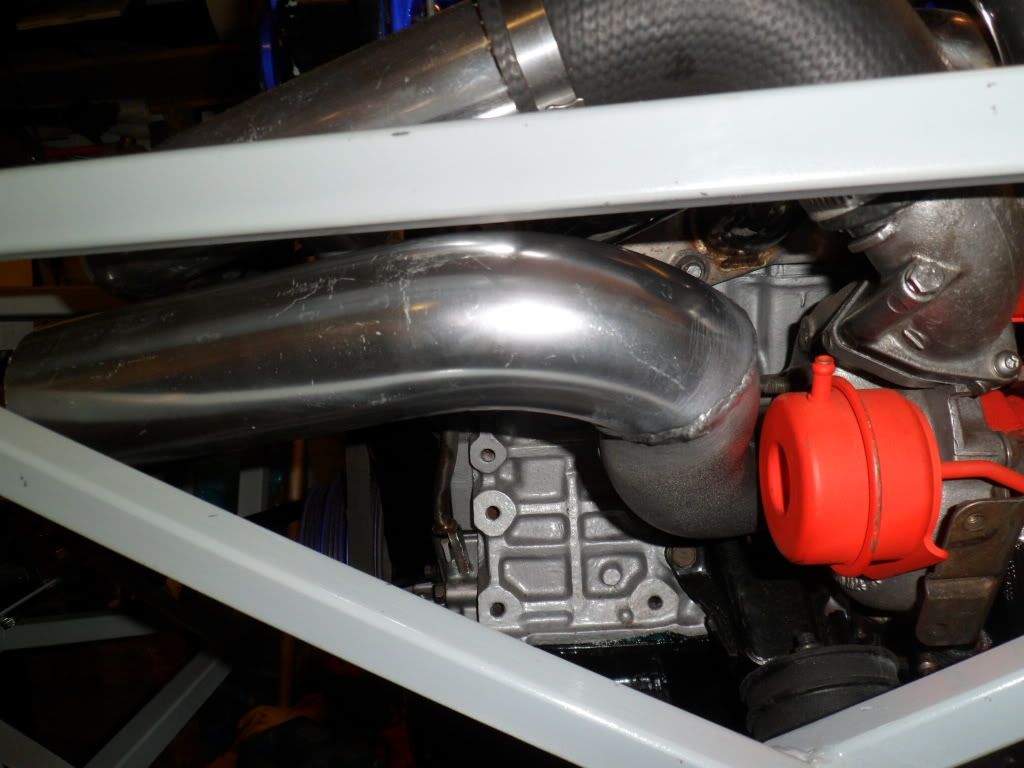
Nearly forgot that I will need my MAF connecting for an engine start, so I have had to move on to that .....air feed into the turbo was a little problematic in that there is not a great deal of space, so a little mish mash of pipes and I have a workable point from which I can gaffer tape the MAF just to get an engine start, and then plumb it up properly when I decide where to put a cone type filter. I found that welding ordinary aluminium to cast alloy requires a lot of patience and a good handfull of sharpened tungsten electrodes ....got ther in the end though
    |
It is suprising where the exhaust heat will go even at speed in the Roadster,I was in Spuds car for a few laps at Teeside and my forearm got burnt just resting on the side panel.
Should start without the MAF in a pipe Kev,just plug it in so it knows its there. |
Hi Kev just read your build thread from the start to now...I would just like to say that the standard of your build is awe inspiring , the thought and detail you have put in are really making at roadster of your own,
you have spurred me on to come to the decision to start my chassis build asap and find a donor later . Great read looking forward to you getting to the interior .:) Laurence |
Thanks for that heads up Paul and thank you for the kind words Laurence.
I had forgotten how complex the wiring was.....having to work backwards a bit to remind me how I spliced into the sierra loom, so out with my little 12v tester and multimeter. |
Leave the DLC in if you can to access the diagnostic's and I can hook up to it if needs be.
I can get wring diagrams if your stuck. |
fraid not Paul ....they do not have any DL or OBD on the CA18DET engines they are the old fashioned red/green led through a window on the ECU and count the flashes to determine the faults ( had a Cherry Turbo once with the same set up right pita) will need to make sure I place my ECU so I can see that window lol
|
Just a thought,:eek:
|
Had to neglect the build for a few days while I prepped my daily for an upcoming mot tomorrow.... should not have any probs cos where I go are brilliant (Front St garage in Shotton Colliery).
Felt really nervous tonight as it is the first time I have had the loom back on the chassis and I have painstakingly retraced all the work I did in the splicing of the nissan engine loom and the sierra .....so far so good, but a little more work needed on the instrument side of stuff, all I want to do now is see if it runs, so everything together and a couple of nice fat earths going to body and engine I fastened up the earth to a battery and checked with a multimeter if any voltage was to be had in the loom and a small whoo..ooo follows as I find nothing so it was on with the positive terminal and a careful last few checks and turn the key to ignition and look for the magic smoke......nothing....diddly squat:cool: now the great thing about crank angle sensors that are fitted to camshafts if you can take them off and just twiddle the shaft to get sparks firing and to my absolute joy there they were ....dirty great big fat blue arcs of leccy followed by the smell of ozone .....even able to count the firing order of 1342 well a woz ower the moon like. So it was obvious now what to check in the same way, that was the injectors clicking and after a few minutes I had set that up for the same and away they went clickety click 134213421342...... well this means I can now look to get the fuel pump set up tomoz and get that milestone that is the first engine start.....no pics today but here are some nice blue sparks on photobucket.....click picture for video clip 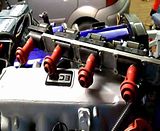 |
Well done that man !! I bet you can't wait for that first sound of suck squeeze bang blow :)
|
Well I have 2 attempts at a fire up and both were no go.....I discovered that there was some kind of inhibitor kicking in on cranking via the key so after another few sessions of playing Sherlock Holmes I decided to wire up the pump direct to the battery as well as the solenoid via a small switch and when cranked this way it gave the sparks and injector clicks, so for the 3rd time (I did video the the first two but binned them when there was no action engine wise.
This time it fired up instantly....yeeeeee haaaaaa get in ya f****er and to my joy continued to run albeit a little on the lumpy side an added bonus is the exhaust system is a lot quieter than I had expected so no worries there for IVA so I am chuffed to share with you all my 3rd attempt at a start with total success ....click the photo to watch 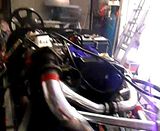 |
looking good mate you'll be on the road before you know it.
|
nice one well done
|
Thats a major step forward there Kev, that lump looked tiny in that engine bay to start with, the plumbing has filled any space that was left. Looks kin brilliant:cool:
Bob |
Super....
it's a massive relife when they fire up. TT |
Awesome :D :D :D
|
Well done Kev.:cool:
|
Looks Great, Kev !! Nice work..............Don
|
cheers guys, you don,t half get a lift from that first successful start.
As I took a closer look at the way it was running, I was sure it was only firing on three pots ..,..on taking the fuel injector lead off cyl No 4 there was no change in tickover ....so switched off and removed spark plug to check that first for wetness and it was so that pointed straight away to the plug itself being knackered, fixed everything up to check and no spark present, checked with a known good plug and totally ok. So this was what was making it run rough, Glad to say, I put another clean plug in and fired it up for a longer test run and it instantly fired into life.....I am well pleased with the tone of the exhaust, on tickover it just purrs like a hefty cat then growls like f**k when you blip the throttle body...... ran it up to temp and no leaks from the cooling system so I can move on to a proper tidy of wiring.....here is another clip of it running at normal running temp.....turn the volume up to see what I mean:D 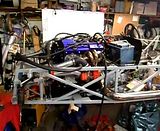 |
Wow, what a sweet sound!
|
Sounds great now kev, engine looks really good. Nice to see a garage messier than mine too!:D
|
To me that is how a roadster should sound well done
|
Excellent, sounds really good.
|
That's looking and sounding awesome!
Keep up the good work Kev, that's going to be one sweet car when it's done :cool: |
Good job Kev.:) :) :)
Like the other guys say, it looks and sounds immense (sorry got a son aged 10). Keep up the good work.... |
well done kev. you did well to weld that ali pipe to the cast elbow. little tip for the future if you buy some 4043 ali rods they weld cast ali to normal ali beautifully.
|
I'm amazed by rapidity you finished this engine with, Kev! Sounds so nice, I just love the whistling of the turbo :cool:
As a lot of us, now I can't wait to see your Roadster on the road, it is gonna be one unique car for sure! I alos like your water radiator very much, it is my conception of "liquid cooling" as well :) . I Hope that at least it is French wine ;) Congrats mate ! |
Good job Kev! Sounding good :D :D :D
|
final mounting of the exhaust system is now complete.....basically just a few stainless tabs welded onto the silencer, will need nut covers on of course (hope they don't melt)
Also felt it was time to fit my rear wishbones so I can finalize everything underneath the tank (handbrake cable, pipes, loom). One downside is I think my water pump may have a small leak, but thankfully they are cheap and only requires the timing belt to come off which I am used to now.....anyways here are some reprographic entities.     |
Well that's looking damn good Kev....:cool: :cool:
I guess it's nice bolting parts on you spent countless hours cleaning/restoring and fabricating and knowing they can stay on this time.:) |
Quote:
Gonna be fitting up the rest of the back end brake pipes (the porny ones from Sylvain) and then the tank will go in for the last time (I hope).....the local footy derby is on now so I'm off t garage. |
footy was BRILL....while listening to the match I got on with the rear brake pipes
nice fittings from Sylvain made the brake pipe to drum nice and easy  My chosen method of fitting the other end of that brake pipe to bulkhead fitting  My simple "p" bracket made from 2mm Ally that makes sure the handbrake cable does not interfere with anything else  just about all done underneath the tank and everything is missing each other, no chafing anywhere.  |
been quiet for a few days , but have now moved on to finishing my pedal box, had it more or less built before but made the alteration to bring the MC level to the ground also I have drilled holes for CMC.....decided to mount both via captive nuts welded on other sides....hoping to paint it up later today.
here is the slightly revamped pedal box    |
Got some paint on my pedal box and it looks much nicer now..... over the next few days I'm gonna be starting to put it together ready for fitting in the car
looking like an Airfix kit....now wheres me polystyrene cement:p    |
Starting to put these together now....have made a simple Clevis from a piece of rectangular table leg that had the correct dimensions and it has made the clutch really smooth to operate which was quite a surprise.....so I am going to replicate it with the brake pedal.....accelerator pedal I am having a rethink about as I might use the 200sx's pedal to match the cable and throttle linkage, work in progress that one.
   |
decided to re-hash my clutch slave as it was desparately close to the chassis, I was able to reposition the slave cylinder holder using a gearbox bolt and an additional hole and a longer pushrod (in red)
  |
I have decided to change my accelerator set up by altering the nissan stock item so as to match up with the accelerator cable.
here it is before I get around to fitting it  |
Looking great as normal Kev you really have a great eye for detail, please tell me your going to replace the roofing nuts with something a little nicer? Everything else looks so good it would be a shame not too.
|
| All times are GMT +1. The time now is 12:17 AM. |
Powered by vBulletin® Version 3.6.4
Copyright ©2000 - 2025, Jelsoft Enterprises Ltd.