
 |
they are all just normal nylocs Steve....anyway all I want at the mo is to get it IVA'd this year and soon, so I can get a little fun out of it before the autumn sets in, then I will be doing lots of mods over the winter:D
|
|
|
Looking nice kev
Just one comment tho that flexy coming of your MC as an ex MOT tester all be it many years ago looks a bit suspect |
ha ha Lawrence ...gud un...they are just the old fittings parked there to stop any dirt ingress, the rest of Sylvains specials (Exact) are being fitted tonight so dont you worry yourself now;)
|
Shame on you Lawrence,the man would not even think of it. :p
|
Very nice indeed...:D
Is everybody taking something I don't know about or what.....:confused: You all seem to be going "Hell for leather" with your builds or is it because the Suns popped it's head out and the back roads are calling you all.... Me thinks I need to pull my finger out and try to catch up with you lot...:eek: |
Quote:
:o |
you dont know him lawrence !!!;)
Thought you would like that Kev.;) |
|
Thanks Kev I can sleep now :D
As Iíve said before great looking car hope mine will be up to that standard. |
How much is a tad ?:p
Eye for detail and you know what you want......need I say more.:cool: |
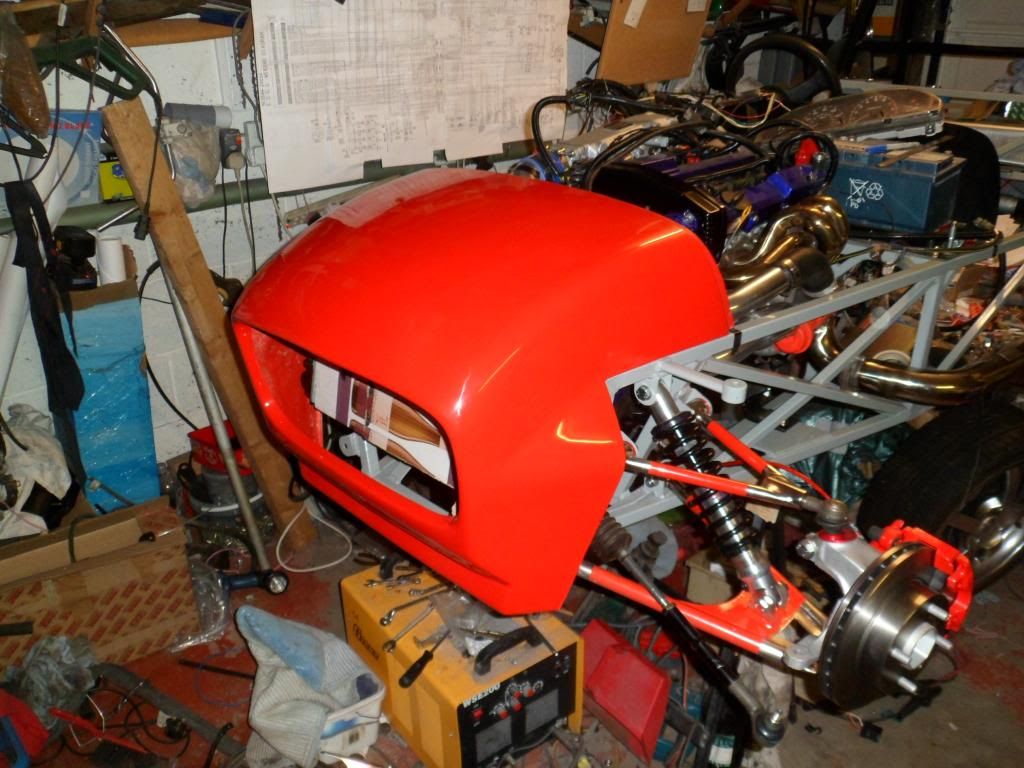
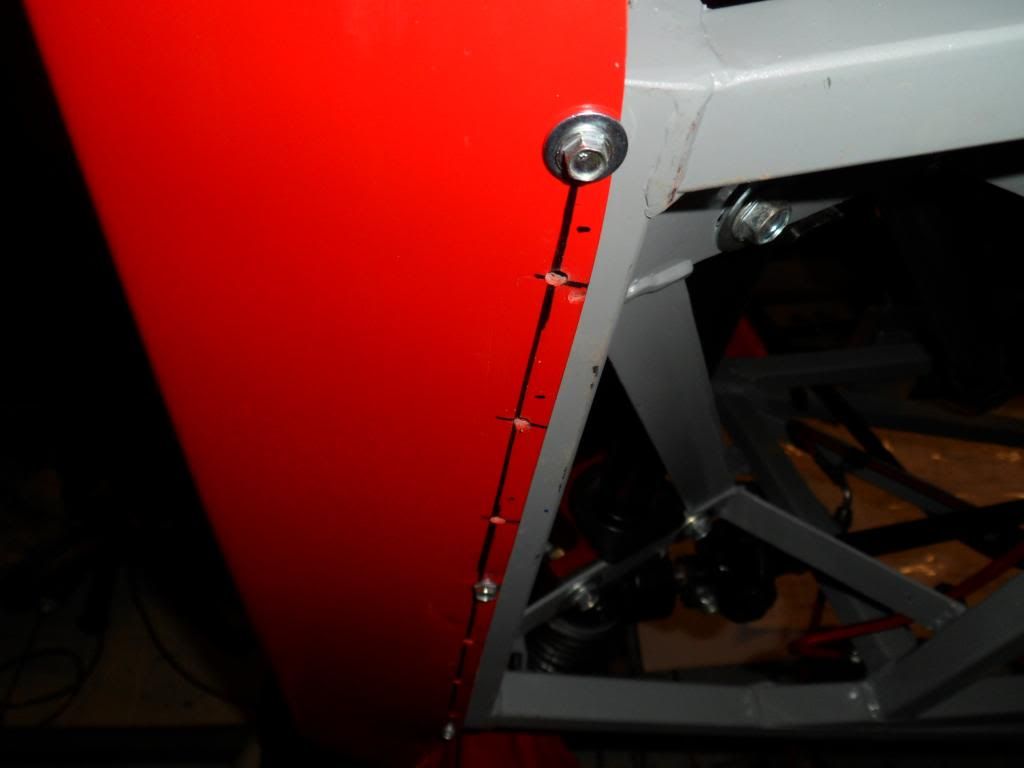
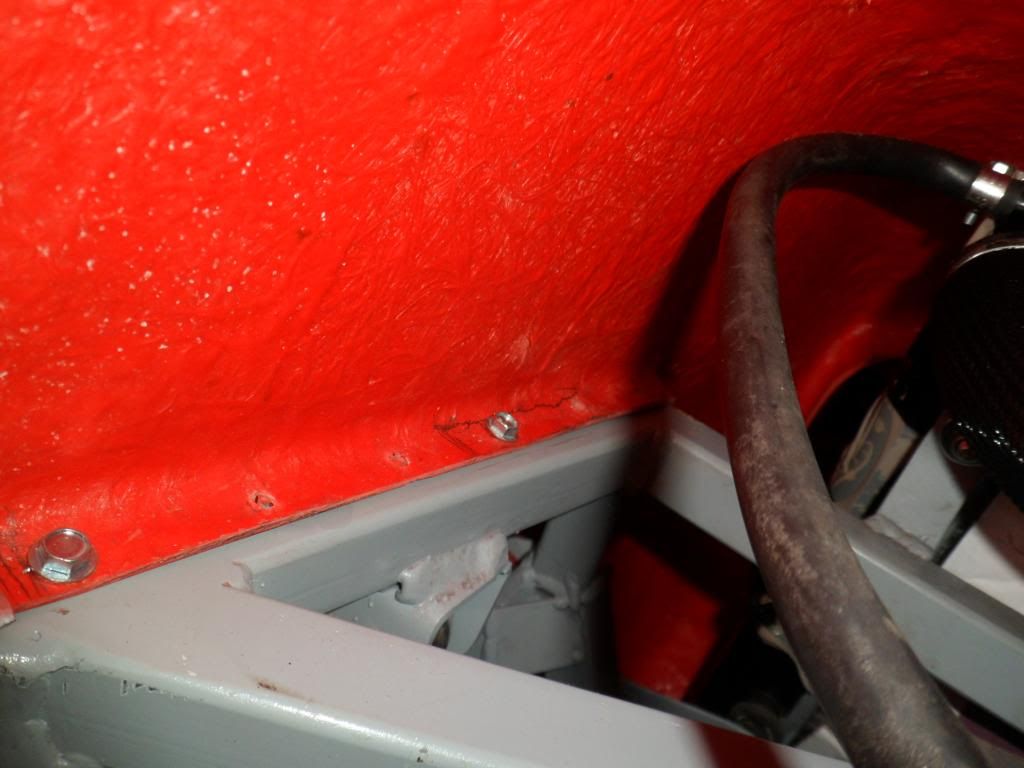
cheers Paul...anyways....time to start chucking some fg bits on.....started where everybody else does .....nosecone find it is a nice tight fit and even managed to get enough under the front to get some twin thread self tappers in.....same on the top so now I have that held on I can now measure up for the bonnet, scuttle and firewall.
   |
I would use rivnuts for the nose, it goes on and off way too often. Or is the thread cut by self-tappers strong enough?
|
I would agree with you totally if the self tappers I am using were ordinary but they are not, they have a twin screw design so I am drilling a 3mm hole and the screws are 5mm so they give away a whole 2mm to the holding thread, I only need to be careful where they are near a weld as the metal is slightly tempered, in which case I use one to cut a thread then discard it and use a new one to hold.
Rear panel and a side to go on today so pretty much flying at the mo and really enjoying seeing it evolve into a Roadster. |
My nose cone is held on with 4 x M5 cap head bolts, going into some rivnuts. Hasn't even needed tweaking in several hundred miles and motorway speeds.
|
I know what you are saying DZ but it is just the way I like to do things and it is not usually run o the mill....I know it would have been just as good to use rivnuts ....it is just my mindset that I like to have fasteners along full lengths more fool me for giving myself extra work:( :(
|
|
Quote:
The only thing I would say is it would make it harder to adjust with so many fixings if needed. Cars looking great and really coming on.:cool: |
Well at the minute Johno I am only putting two end and one mid point fasteners so as to get everything lined up and flush .....but I hope the final fit of stuff won't require any removal (yeah like that will happen) well maybe once:rolleyes: :rolleyes:
|
Do the FG side panels fit under the nose? the Saturn ones do so they need fitting before the nose.
TT |
Yeah TT I have found out the hard way.....measured and drilled holes to suit nosecone to chassis sitting flush.....so those holes will be getting elongated to suit chassis WITH side panels fitted. Also found out the side panels would not fit very well where the chassis has the cranked angle is at the floor sector ....this was down to the 3mm ally floor I am using, just too thick, so I have had to cut away a section of side panel where it goes around and up to the floor then use rivets on the side to pull it onto the chassis.....not ideal but has done the job.
Both side panels now fitted and will be moving onto the rear panel which be removable due to the tank. 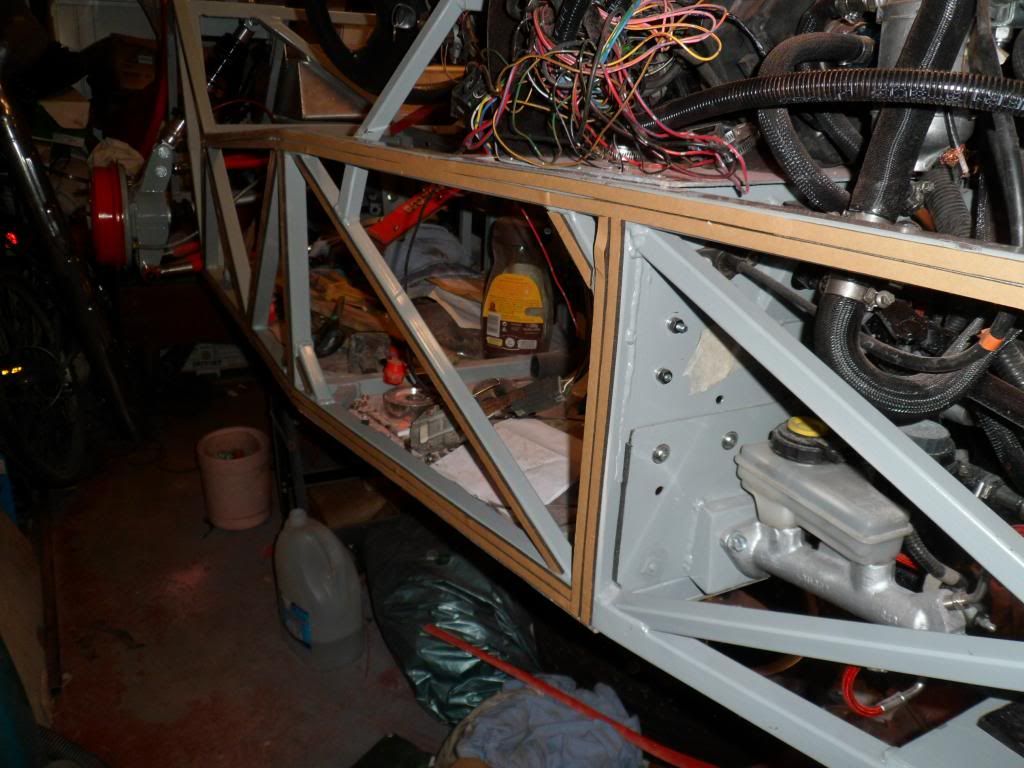 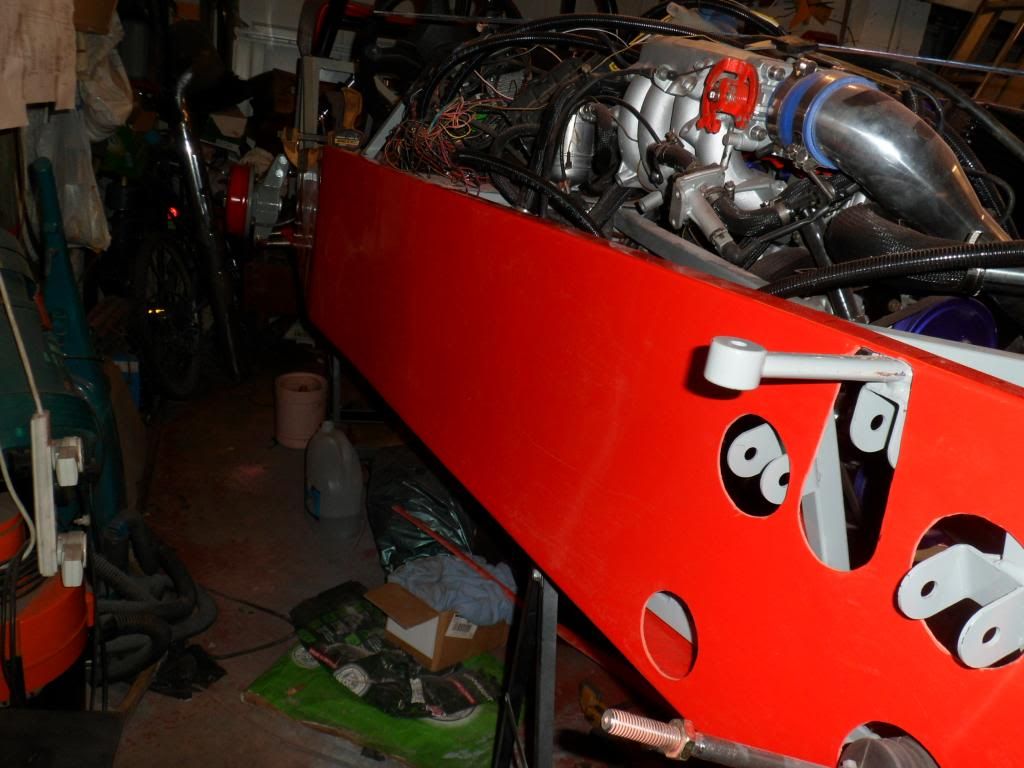 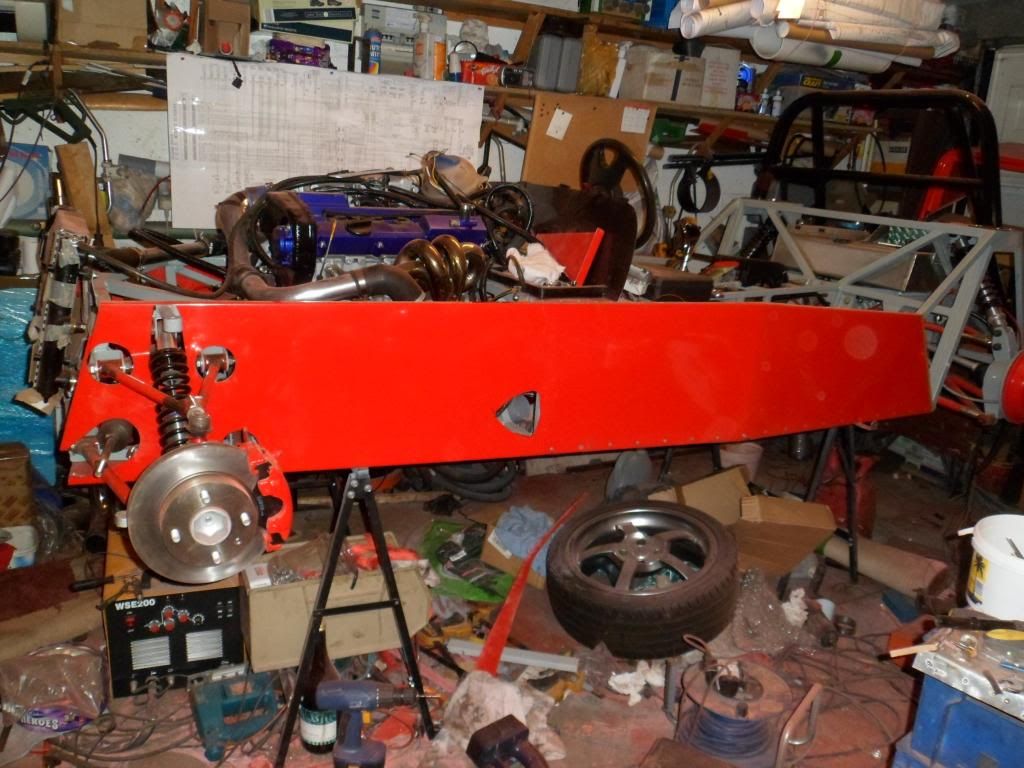 |
What double sides tape have you used between the chassis and side panels?
When you make the cutouts for the rear shocks, I made the tops quite low and for the springs caught on the rear tub. I ended up makin the shock cutout much taller but below the wing height. Also if you plan it right you can get the wings to bolt to the chassis (I used rivnuts) in most places so you don't end up double fixing the tub and wings. |
Yeah I had to cut the lower lip of the side panels too.
My fitting procedure went. Side pannels, Scuttle, Nose, Tub, Arches, Remember to level the rear of the car when fitting the tub and arches. TT |
Steve.....it was just regular double sided tape that was about 5mm thick and about 10mm wide and made of a kind of neoprene.....basically I used it only because it was there, but then again I did not want the fg panels to be a nightmare to remove if damaged which would be the case if I had used Sikaflex, so it was a no brainer for me.
As for the cut out on the rear tub, I have chosen to go all the way back to the chassis .....I figure muck will get everywhere regardless and yes I was planning on trying to tie in as many fasteners as possible to be dual purpose. I might use the DS tape for mounting my wheel arches as well as is does compress very well and gives an excellent seal while allowing a little be of "give" that might mean the difference between a crack, split or nothing with a gentle impact. Cheers TT..the arches I am just going to put where everybody else has which is tip to tip to the edges of the chassis/tub. |
Looking good Kev,what are the stands you are using to hold chassis up.
|
just foldable el cheapo's from Aldi.....I figure they have to be good for 250-300 kg each, but I am not far from chucking it onto its wheels anyway, they have been great for working on it at stomach/chest level and of course working underneath......you know I am no lightweight and I was in it yesterday so they are much stronger than they look.:D
|
Cheers Kev will keep a look out for them.;)
|
|
|
|
Yeah putting the rear arches on is a right pita. Took me ages but its worth the effort in the end.
Your build is looking great and iva can't be far off now! |
Not long now.......;)
|
All the attention to detail has paid off big time kev. :cool: :cool: :cool:
bob |
cheers guys but keep a had of yer horses yet ......got the bluddy dash to sort out yet an leets an stuff:D
|
Having never liked the front cycle wing stays I am going to set about a nice sturdy pair of my own design and as usual it will be bits of scrap I have lying around.....this time it will come from a scrapped glass top coffee table that got dismantled after the glass broke and as usual I kept it thinking that will come in handy sometime well now is the time.
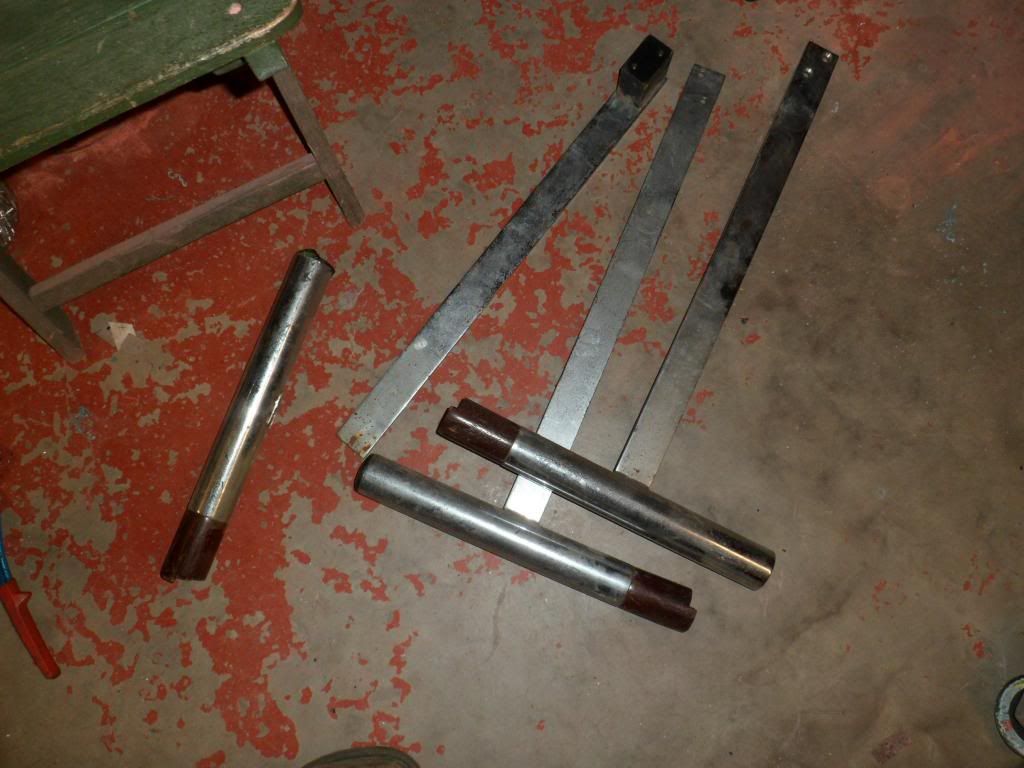 |
Point of interest,5mm flat was substituted for 3mm on the original from the book as it flexes like a bugga when you are driving.
Nothing to a man of your calibra Kev. |
I am going to remake mine at some time in the near future. They are just a blur at speed because they flap about so much. Anyone about to make their wing stays needs to be aware that the design really needs beefing up.3mm for the bits that the wing fixes to is just not enough.
|
Well those bits I am using are 6mm thick so they should not flex at all if very little....started by cutting them roughly to the dimensions I need and will be tacking them up in situ so that all I will need to do is put a generous layer of sikaflex on top and then put cycle wing on, set it up exact and leave to set, then I will be using several layers of fibreglass to make sure they don't come off
here is a start 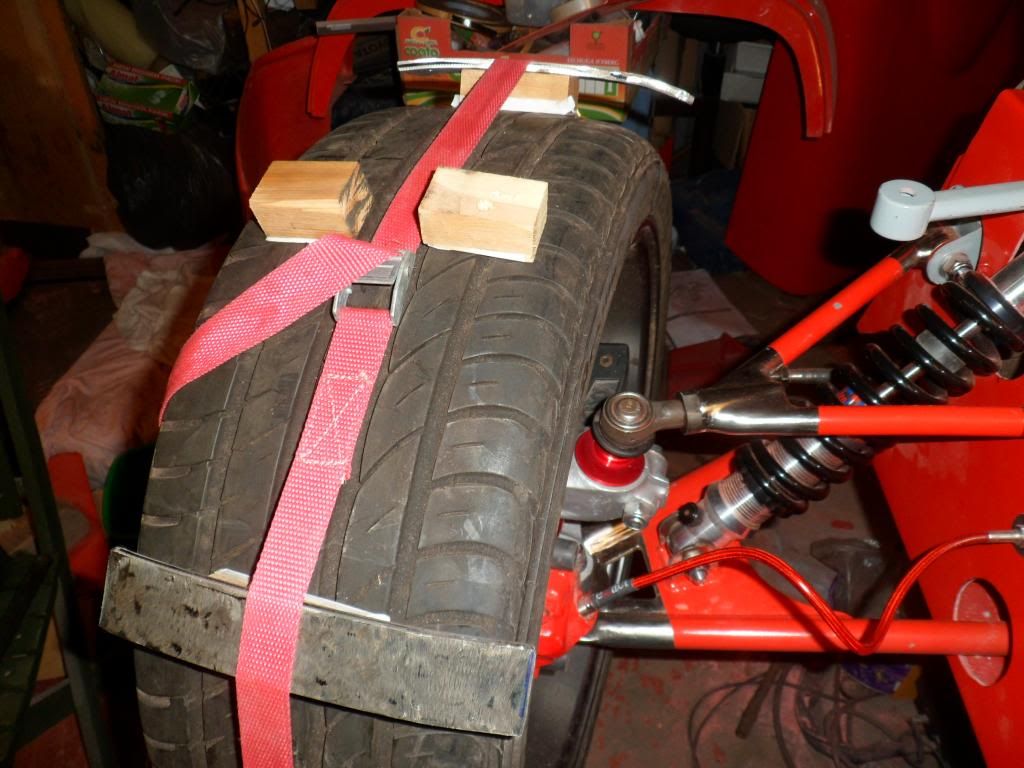 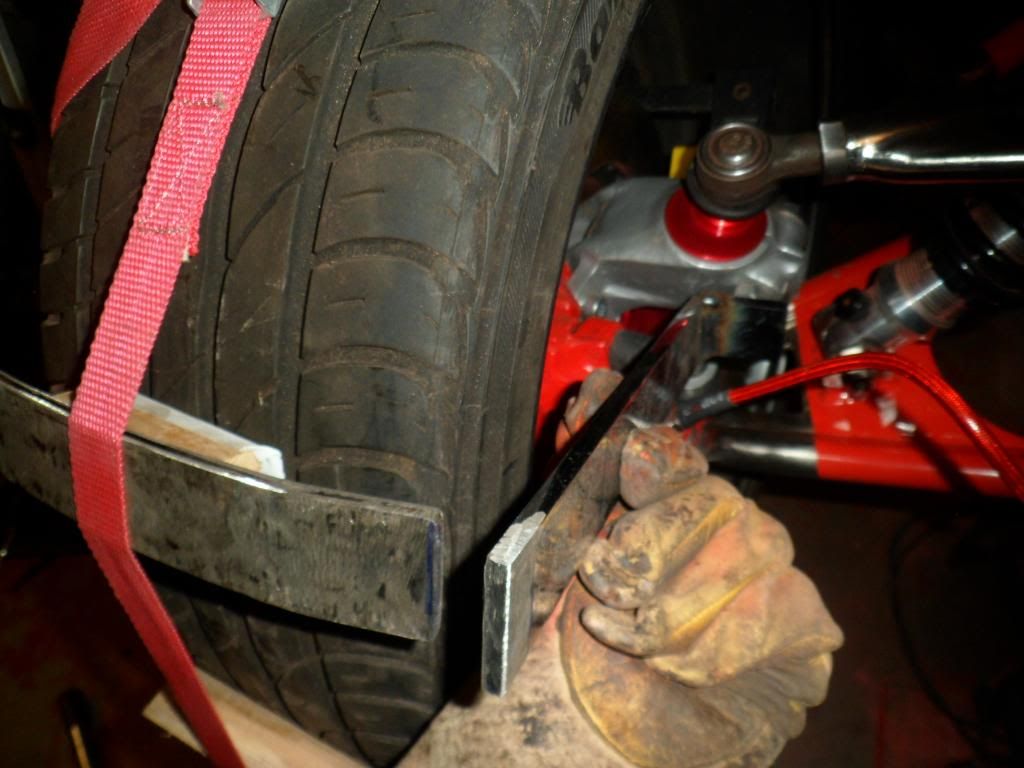 |
| All times are GMT +1. The time now is 01:28 AM. |
Powered by vBulletin® Version 3.6.4
Copyright ©2000 - 2025, Jelsoft Enterprises Ltd.