Got the rear bonnet catches done the other day.They come with IVA covers from caterham and are reasonably priced they hold the bonnet down really tight.
  Also got my pedal removable cover sorted out with a nice little hole for the speedo cable   |
ECU is now solidly mounted to the inside of the scuttle. I'm starting to sort out under the dash.I've put it off long enough.:rolleyes:
 |
hi chris just been looking at your build, really great job but I noticed that you lowered your floor which is something I am looking at doing as I'm quite tall and would like to sit abit lower in the car. Can you tell me how much you lowered by and what thickness steel you used.
cheers tony |
You could just swap BR1-12 and the bottom of the front frame for 50x25mm ERW, then just build as usual to keep every thing easy to work out. Obviously you'd be looking at custom side panels and you'd need to rework the bottom of the nose.
|
As the engine needed dropping 40mm below the bottom rails, I decided to drop the floor 40mm as well as I felt like I was sitting on top of the car. I used 3mm thick 50mm x 50mm angle iron stitch welded to the bottom rail, this added 12.75kg to the weight. The angle was welded to the inside of all the bottom rails of the drivers side but to the outer rails of the drivers side tunnel so I could run brake and fuel lines along it. A 2mm steel floor was used. On the pass side I just wanted the seat height to match. So I just lowered where the seat bolted in.
If I was doing it again. I would buy 2mm steel sheet, mark out where I wanted it bent and have the local steel yard bend it as this would save some weight, but not much. And it would be a better job I might imagine. Seats bolt straight to the floor. Hope that helps.:) |
ok thanks chris.
|
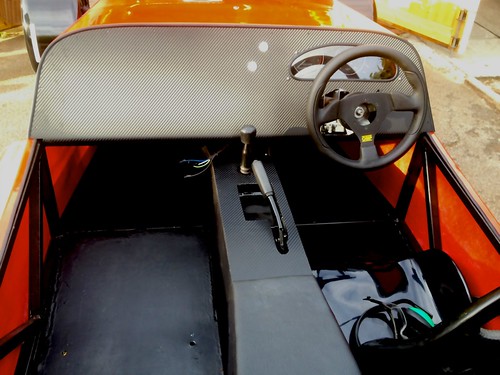
A Little job but very satisfying and motivating.
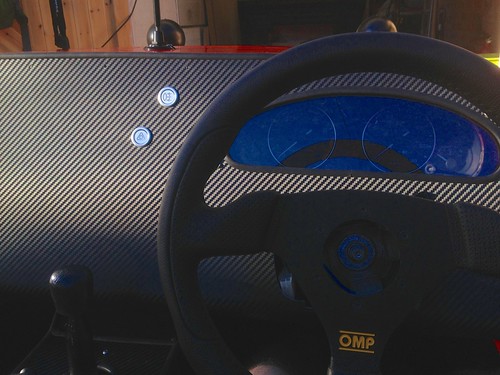
  Thank you very much David. Love the Mazda IVA cover. Wheel feels great in your hands and there's more cockpit space now for my knees. I can still see my clocks and, as an added bonus, I can get in like getting in the bath rather than getting in to a sewer pipe, like before.:D |
Let this be a lesson to all of you!
  PLAN YOUR WIRING/PANELING CAREFULLY. Took me all day that did!:roll eyes: edit: used an old filing cabinet. Hence the brown. |
nice job Chris....neater than mine:(
|
Quote:
|
Quote:
|
Quote:
Quote:
|
Ordered a CBS dash blank in black GRP, I received a GRP dash blank in various shades/finishes inc scratched, dull and flaky. What the hell is wrong with these companies!!!!
Anyway, I couldn't be arsed sending it back at this late stage so I'll cover or paint it. Sick of these companies I really am. Good news is it's strong and I don't have to worry about damaging it's perfect finish, and I managed to get it half way fitted fairly easily.     |
Thought it was worth a moan....
"Hello CBS, I received this item today, on time and well packed. Thank you. Unfortunately the items finish is really bad and is unusable as a finished item with the quality and finish of the gel coat. I was most disappointed. Not wanting to go to the effort of returning it, with it being a large item, but unhappy to accept it in it's current condition. I would consider a partial refund to go towards having it painted or covered by some means. I would accept a £25 partial refund even though this would not fully cover painting it gloss black. Best Regards" Reply..... "Hi Chris, sorry about that. I'm not happy about charging you for that either. Not sure why it was sent not polished, the warehouse guys must be packing with their eyes shut!!!!. Please keep it with my apologies, I have refunded you in full. If you would rather a replacement please let me know. Matt" :D CBS are OK! Like a good company does, they accept their mistakes and rectify them quickly. |
Thats good to hear I am happy it got sorted and CBS are a good company as i will be ordering from them soon
|
Quote:
|
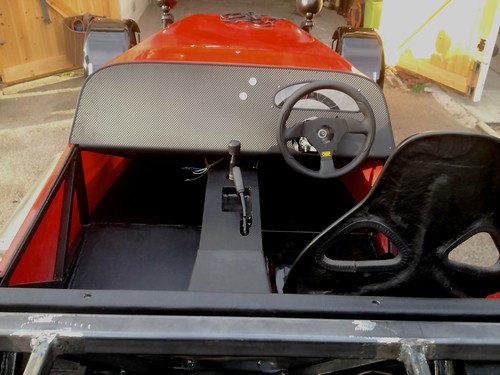
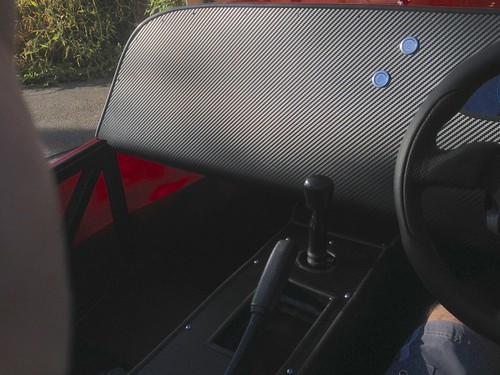
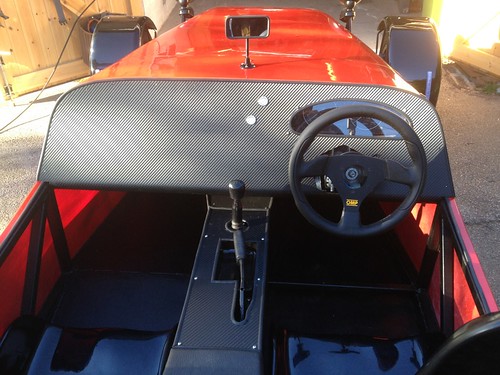
Bit more done....now I can see my dials. Ordered some perspex and some fittings for dash today. Might move on to the rear lights this weekend.
  Oh and I ordered some 3D carbon wrap!:D |
This weekend I spent the time I had with the car out the garage sorting out the rear wheel geometry, then replacing all the nuts with nylock nuts. I also discovered a problem with both rear callipers. Both weren't allowing the piston to return to the fully retracted position after disengaging the handbrake. One of these callipers I had refurbed but the handbrake pin was really stiff so I replaced the calliper with a good used one I had from the 1.8 mx5 I stripped. This one was worse as there just wasn't enough adjustment or space for the new pads and discs.:confused:
So I removed this one and made some space with a metal file. :D The other one on the right side appeared to have a weak return spring. I dug out a better one from my brake spares box and that one now works ok. After a bit of research I discovered all the rear callipers I have had (four) are all chinese copies. If I experience any more issues I might just have to buy some genuine mazda ones. I hope I don't have to. I also got the dash screwed in place, I'm just waiting for some new hazard/fog switches and some perspex to turn up and then I can wrap it and do the rubber edge trim. Re reading the IVA manual I can't be sure my upper harness mounts will pass, as once again the manual is ambiguous and fails to specify what is considered "thick" walled tube. My 7/16 UNF upper harness mount nuts are welded inside a length of 2mm walled 25x25mm box which is fully welded onto the top of the rear backrest top rail. I may order some unf bushes and weld them to the side of a piece of 40x40x3mm SHS and make a harness bar and bolt it into place instead of the roll bar I have made.:rolleyes: |
Quote:
I bought a new set as I thought my old ones were bust but then i worked out how to adjust them David |
Quote:
|
Still slogging away......
  Finally started buttoning up the tunnel 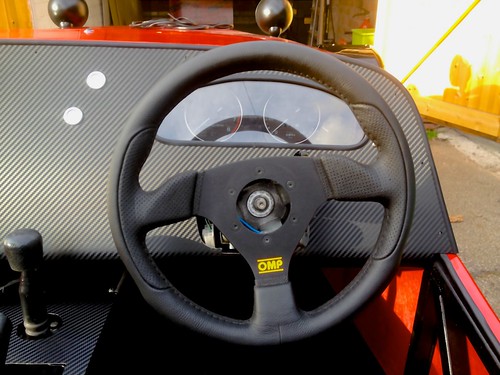 And I've started on the potentially unnecessary harness bar for the lovely IVA mans benefit. 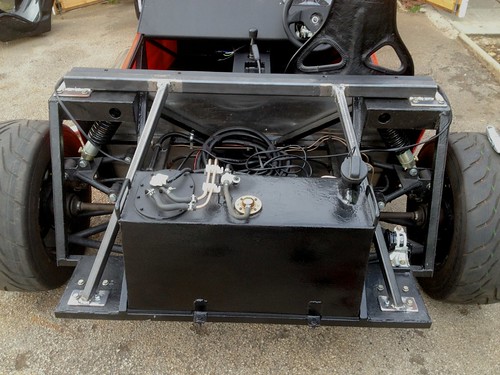 |
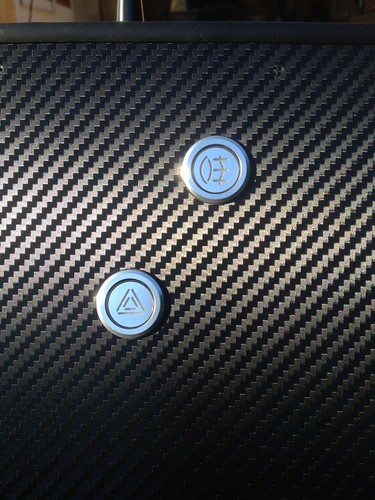
Good light today more pics of dash and buttons...
    |
Finally done the centre (laugh) console....
  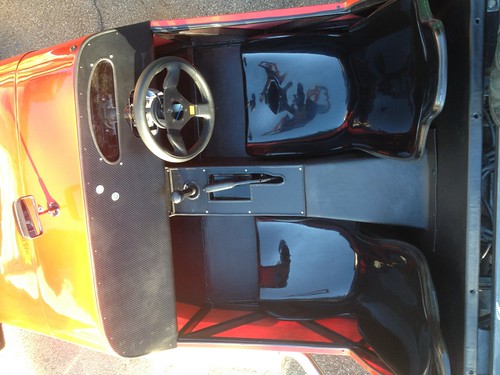 A bit DIY looking but I couldn't figure out a better way to do it.:) |
The IVA mans harness bar is finished. Lets hope he likes it!
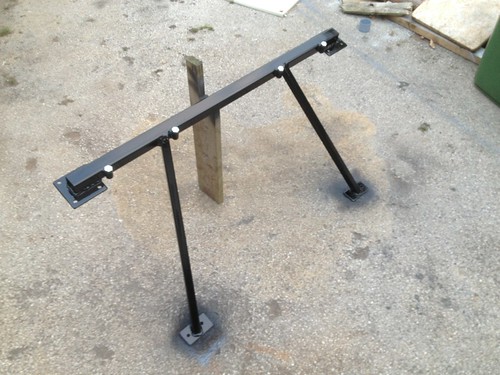   |
Need is the mother of invention ;)
Not DIY, MIY made it ya self . |
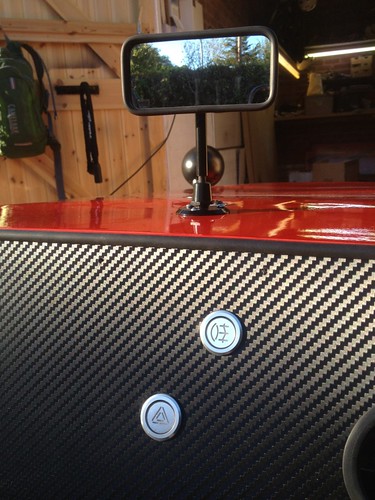
Finally got the dash all buttoned up with access covers under the dash etc. Got the IVA mans mirrors in position, lets hope he like them.
These switches for rear fog and hazard ended up being a real pita to get working so be aware. The switches were £22 from caterhamparts but then i discovered they were only momentary switches and they needed little actuator blocks to actually do anything useful. The two spade contacts that come with it are just for the switch LED. I thought these blocks would do the latching so the hazards would stay on but no they did not. Bit of research and I discovered I'd need latching relays costing £22 each!! Sod that, these switches are getting really expensive. Any how I discovered you could get a latching version of this switch for £6.50 each but I'd need to swap over all the shiny stuff and LEDs and modify the end of the switch to be able to make it function but finally got it all working. Phew! Bloody things cost be around £35 each, unbelievable. 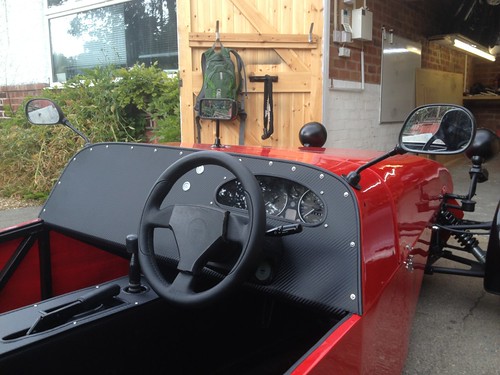 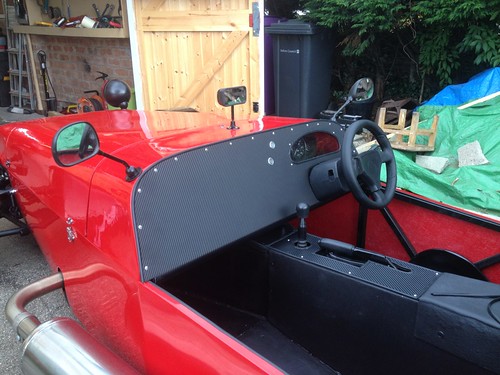 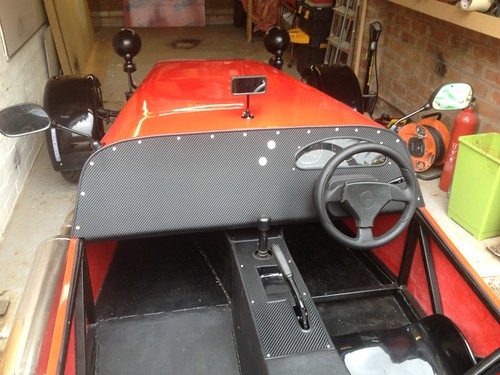  edit: wish I'd got those allen bolt straight and even. I'll have colour them black of something. |
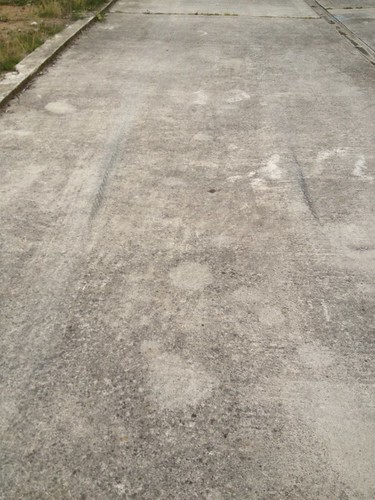
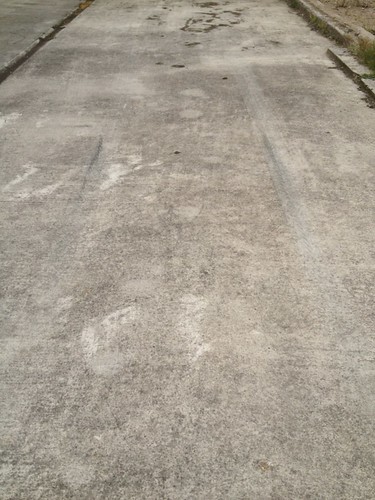
Did a brake test on some concrete, fronts appeared to lock up evenly first.
  Harness bar is on and I've routed the wires for the rear lights. 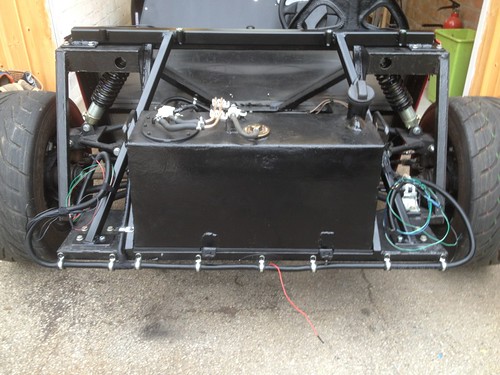 Just the back end to do really.:D |
This company sell black stainless Allen head bolts but they cost about £1 each.
They are good quality but I only used a few as they are so expensive. |
Quote:
Finished my rear lights, need to try and figure out if the fog light is the correct angle. Not easy to do on unlevel ground. Any tips? 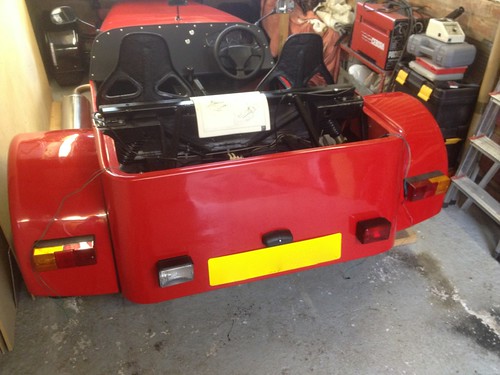 So just temporary rear cover, seat belts and seats to finish. Got a few nut covers, bolts and odds and sods still to order but I think it's getting close. Do you have to pay as soon as you apply for the IVA or does it happen later on? In this shot I hadn't wired all the lights but tonight I finished them. |
Quote:
|
Quote:
|
The IVA mans car is ready. I'm just £250 short of the cost of the test.
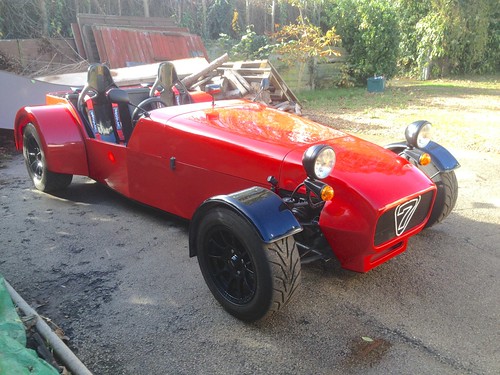 Can't say I'm going to be overly impressed if he finds something to fail it on that can't be fixed on the day. Just need some pictures printing before applying.:) Uploaded 30 finish/IVA test pictures, please take a look and see if you can spot any issues. Thanks |
Quote:
Can't see anything else though. Remember to take plenty of tools and trim. David |
I can't see anything wrong with the car, hopefully you will get a first time pass.
What is the steering boss that you've used as I need one but I don't like the collapsible ones? |
Quote:
Quote:
Boss came from David. It is collapsable but was missing the cover so I used some drainpipe and some sticky foam to cover it up for IVA purposes. I'm going to fit a quick release boss after the IVA. |
Quote:
The iva man liked the collapsibility of the boss David |
Quote:
|
I can't say for IVA, but I've watched your pictures, and I can say that I think it is a very nice build, very tidy, in all the details. I like it :)
Congratulations Chris! I wish you the best of luck for IVA! |
Quote:
Quote:
Quote:
|
Good luck with the test, looking at your pictures, I noticed you might want to consider some trim around the plastic moulding for the rear light mounts, I remember reading somewhere of someone failing on the lack of radius.
its' just a thought Arfon |
| All times are GMT +1. The time now is 03:36 PM. |
Powered by vBulletin® Version 3.6.4
Copyright ©2000 - 2025, Jelsoft Enterprises Ltd.