
 |
Welding the stays in situ is a great idea - they are a pig to get right;)
|
They look nice and sturdy!
I wish I'd made mine out of 6mm in hindsight. They're flapping all over the place just driving up and down my drive :rolleyes: You'll soon be done at this rate, keep up the good work! |
+1 on this. Nothing worse than flapping wings. I did not realize how limited the places of attachment for these brackets was. :eek: Being a forging and weldable I am surprised no one added a lug or two to the upright .
Bob |
That a good suggestion Bob ....especially to those who have not refurbed their hubs yet.
Well I have got them welded and ground back ready for paint, also nearly forgot about the lock nut on the upper wishbones both front and back, so front one I made up out of a piece of tapped out round bar I had left over from making the wishbones and ground a couple of flats on them.....the rear ones I made from cutting a large nut in half and facing them off in the lathe. 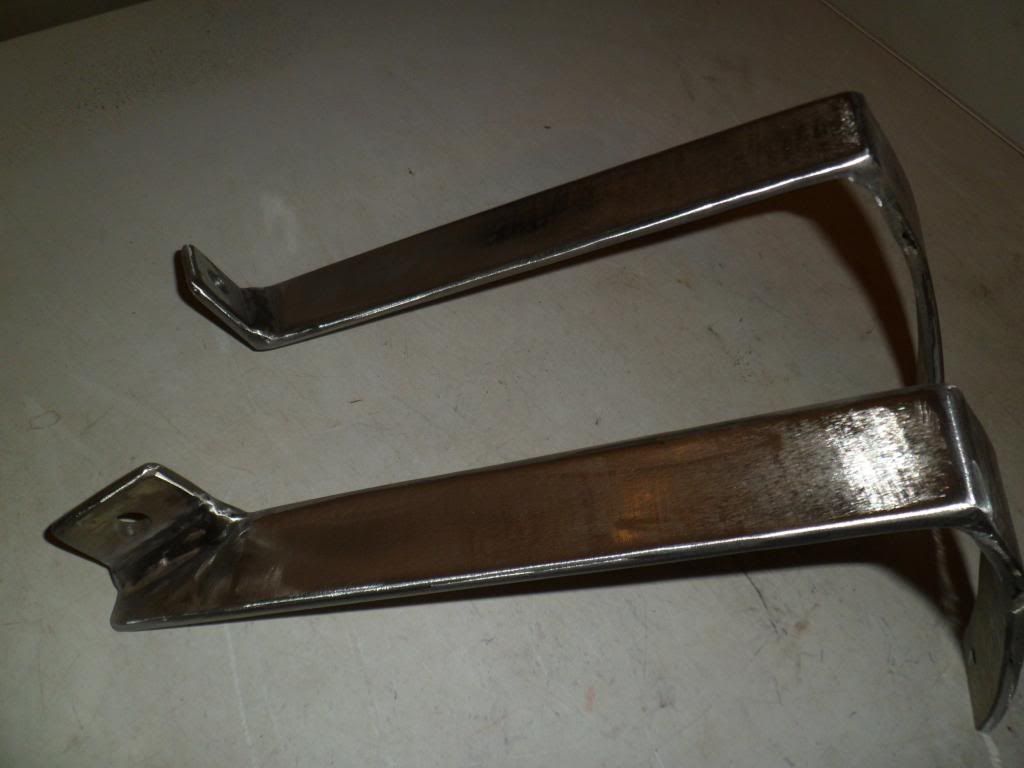 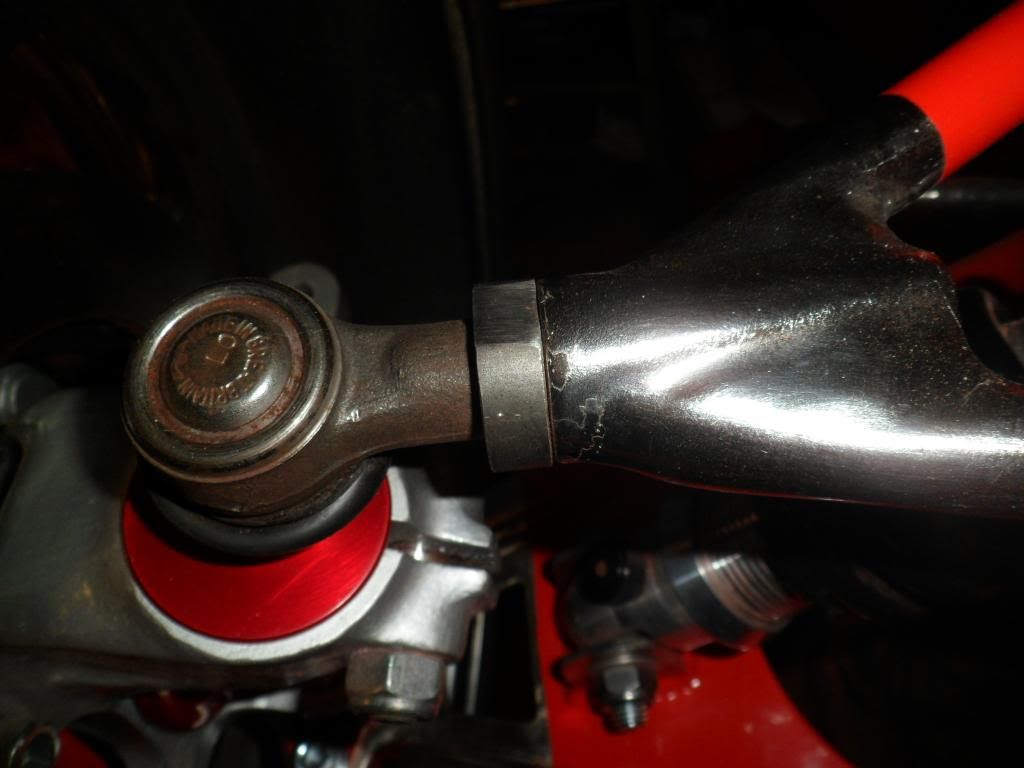 |
The wingstays look great kev, ill be stealing that idea for myself.
How have you stopped the stays rotating on the bolt? |
I will probably just put a suitabley sized bit of timber between stays and tyre/wheel and only tighten the bolt head or nut....have just painted them red and as soon as it is dry I am going to refit and sikaflex the cycle wing on.
|
|
As usual kev SUPERB :cool: . I bet that wont rattle about, sometimes you have to throw away the weight saving crap and go for some strength.
Bob |
Got to say Bob ....they are heavier than I expected so I think at a later date I will be going the carbon fibre route, but yes they are solid......going to glass the under side today maybe 4-5 layers of 300gsm CSM. At least I will have avoided the nut/bolt/rivet showing on the outside.
|
Kev in the future when you come to use carbon wing stays (if you do decide to go that route) you can use big headed fasteners, they are quite expensive but would allow your wing to be removed from the stays without passing a bolt through the wing.
http://www.bighead.co.uk/english/pro...dbigheads.html |
Looks a bit close to the side wall but bloody nice though :)
|
Simon Simon Simon!!!!!!!!!!! do you really think that ME MOI I would BUY something like that when its just a penny wesher with a bit o allthread soldered on lol.....you ought to no me better than that lol but thanks for the heads up on that one.
dualist.....it is to be honest.... but I can get some movement outwards, once I'm through the IVA |
Got the stays sikaflexed to the cycle wing and did some fibreglassing over the stays to reduce any chance of them parting company when in use......going to get a couple of layers unsderseal on today and then I suppose I will have to make the other ones.
Also found a pinhole in my tank (shock horror) when I tried to fill it up via a jerry can... so I tackled that last night wit a dollop of JB weld....will put another small dollop over that today and check for leak tonight. 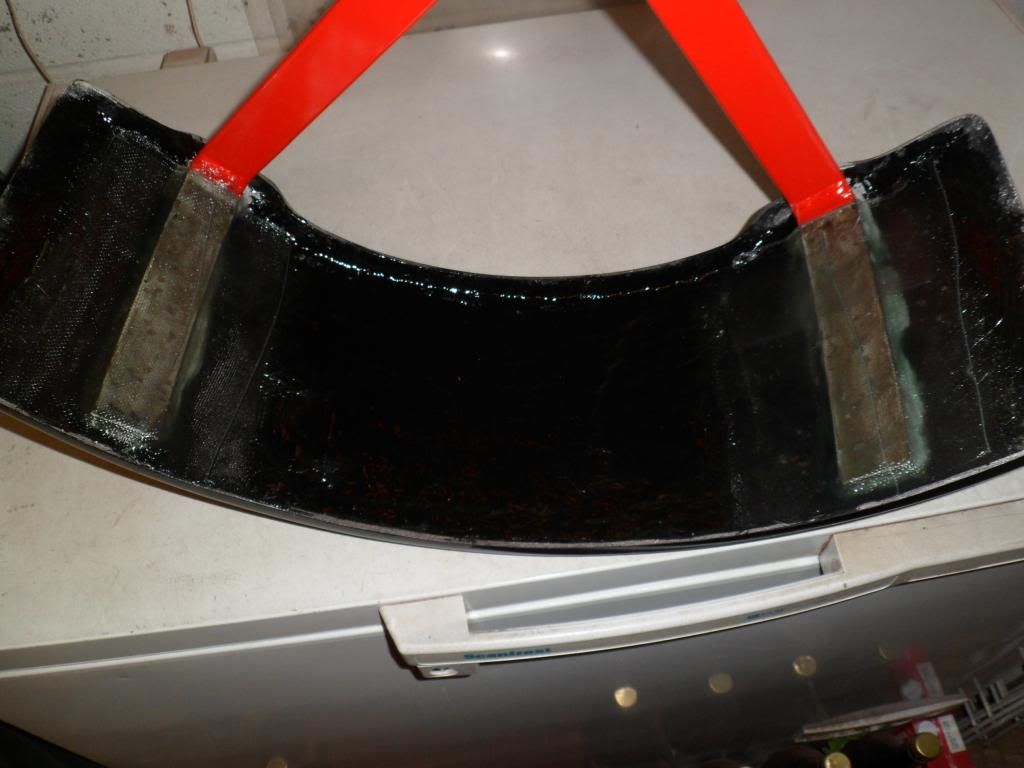 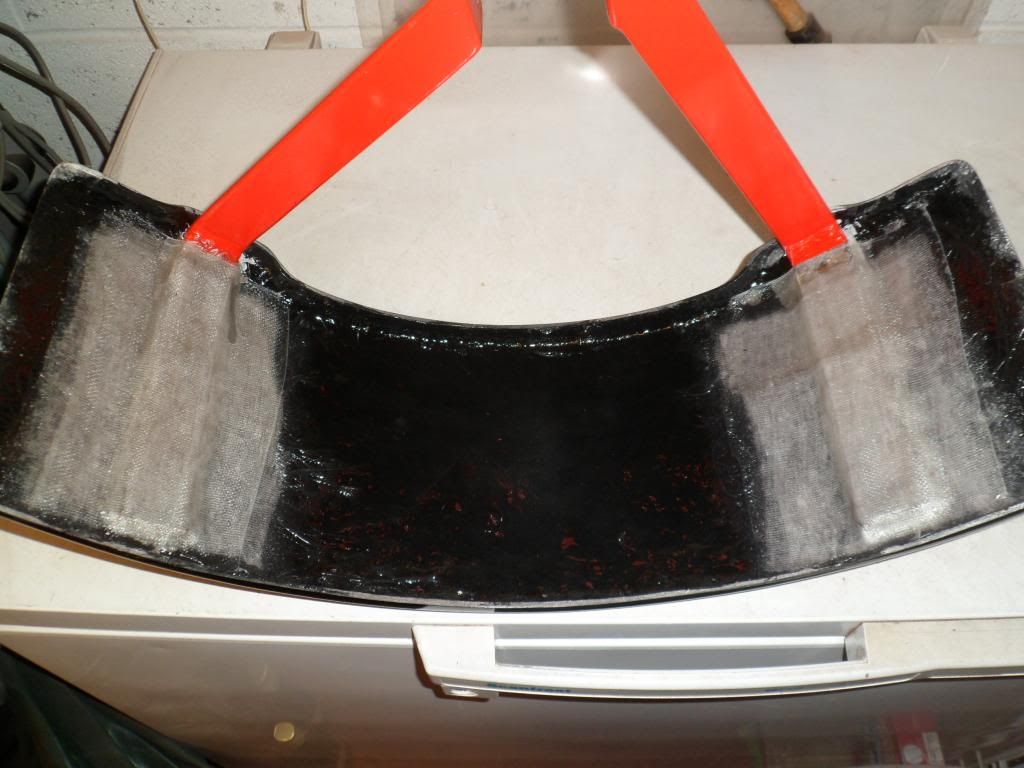 |
undersealed and put to one side to wait for edging.
now turned my attention to brake switch, which was a very simple straightforward case of mounting a push to break switch somewhere so that the brake pedal pushes it to close the circuit (no brake light) and opens the circuit when pushed......any way the piccies say it all. 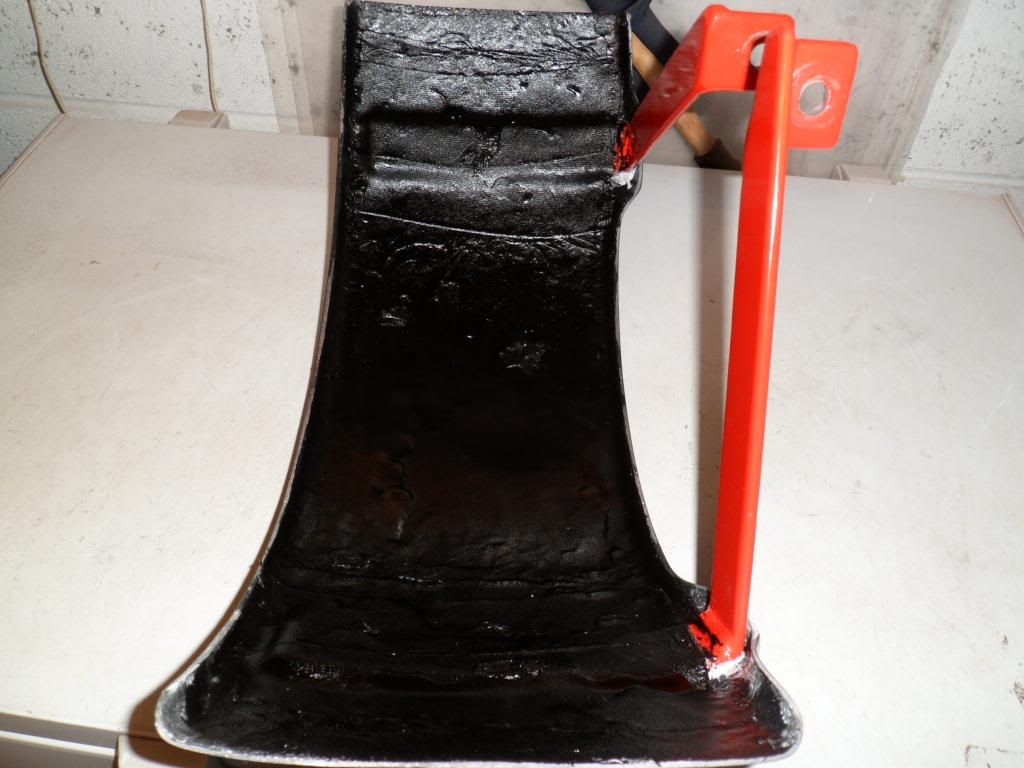 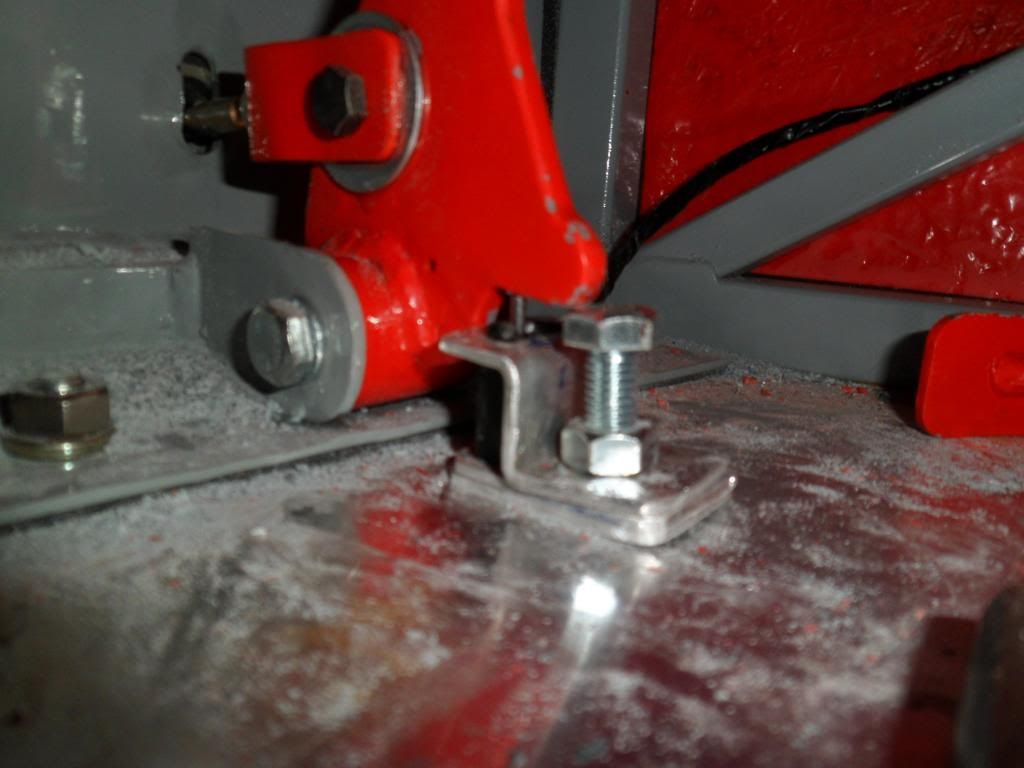 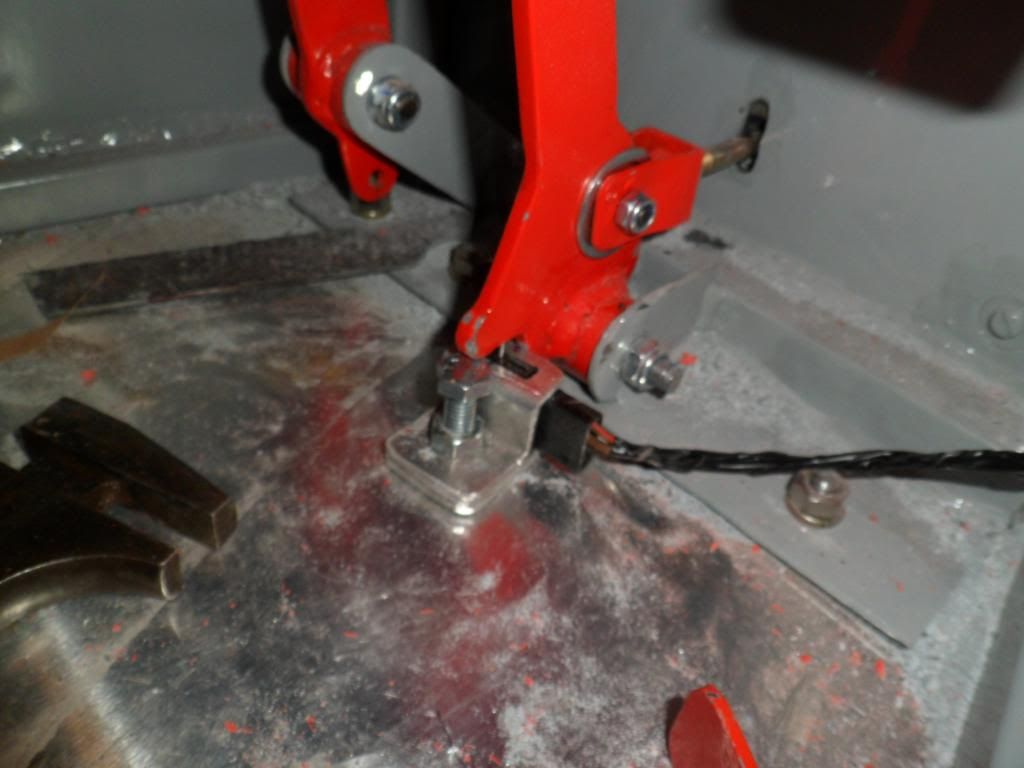 |
I had something like that brake switch but changed it for a hydraulic pressure switch. I was a bit concerned that Mr IVA man may not like the wiring around the brake pedal . However I suppose its a common thing in many production cars.:o
|
AJ.... wire will be covered and taped to either front firewall or tranny tunnel, the switch itself was a brake light switch of my Nissan so I see no reason why it should fail:confused:
I put 35 litres of fuel in the tank yesterday and pleased to say no more leaks and the JB weld repair is sound so my next job is fit the rear tub semi permanantly. JB weld repair.....two healthy dollops 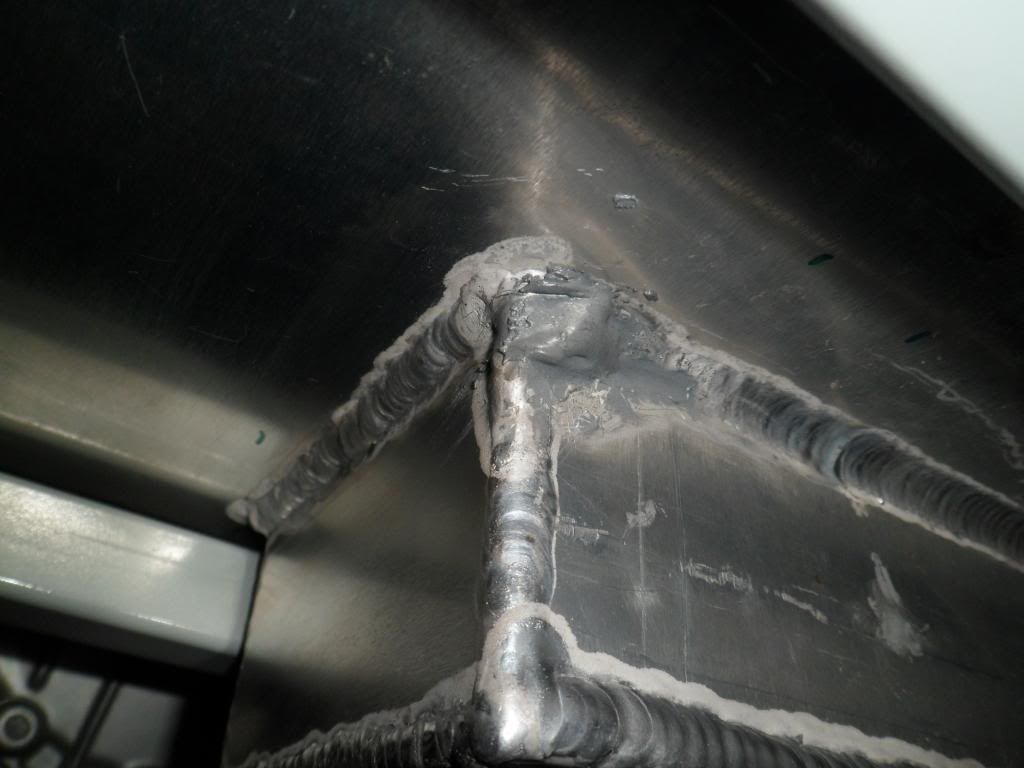 |
Hi Peeps ....had a few days off from the build, just felt I needed a break and it has done me the world of good .....I think sometimes you can go hell for leather too much and it can cause you to make mistakes.
Anyways ....I was not too happy with my brake pipe arrangement under the tank, when I planned them I did not take into account the HB cable, and two fuel pipes being crammed into one small area, so I decided to make a short cupro nickel pipe and have my t piece just behind the diff .....all done now and much happier now I have better clearance between pipes. Also have made a start on ally panelling inside rear bit first....will get that riveted in tomorrow. slightly off topic.....gonna be enjoying a few drinks in the sunshine over the next few weeks.....just finished a 25 litre wash (alcohol) of 20% ABV at around 40p litre 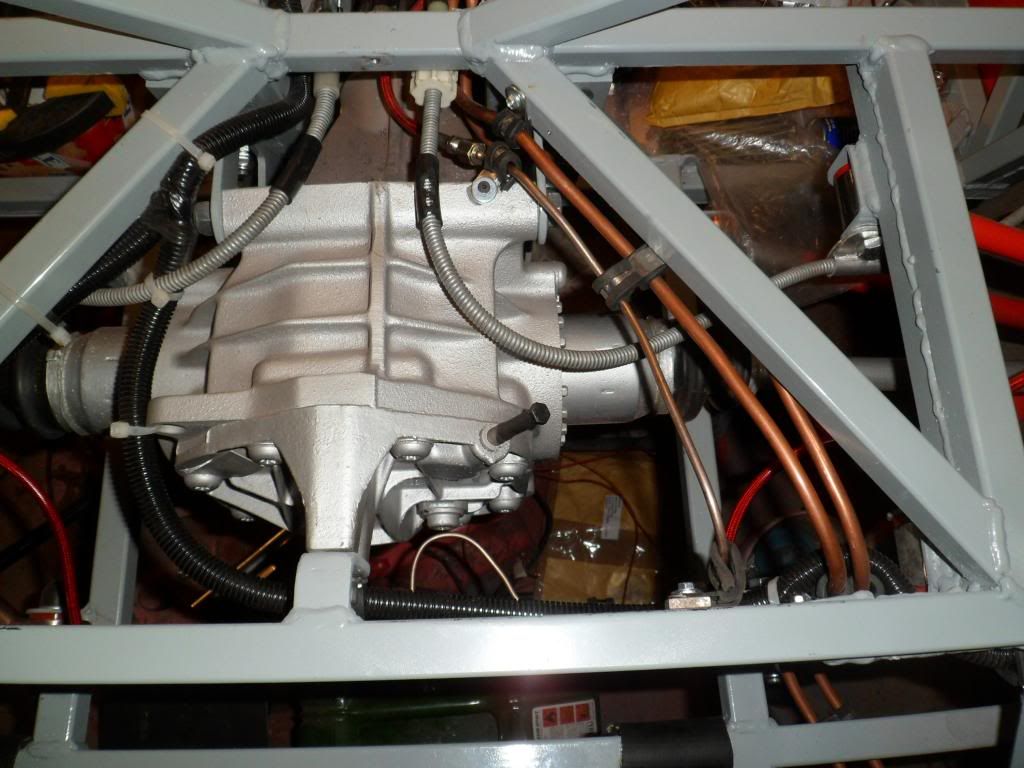 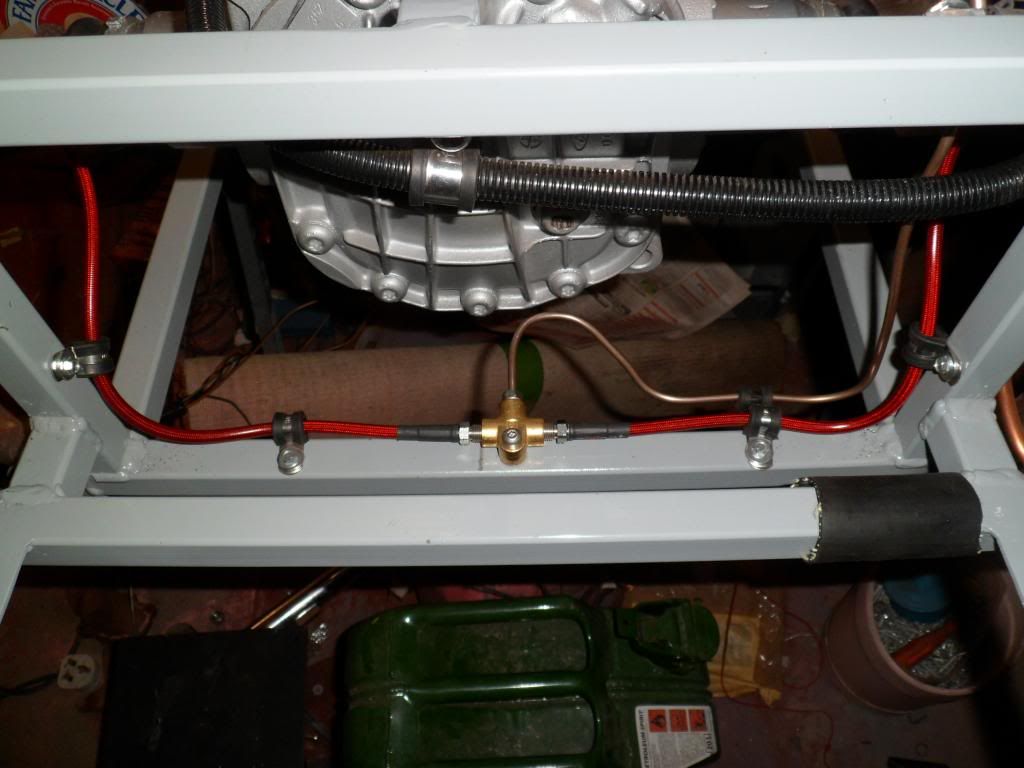 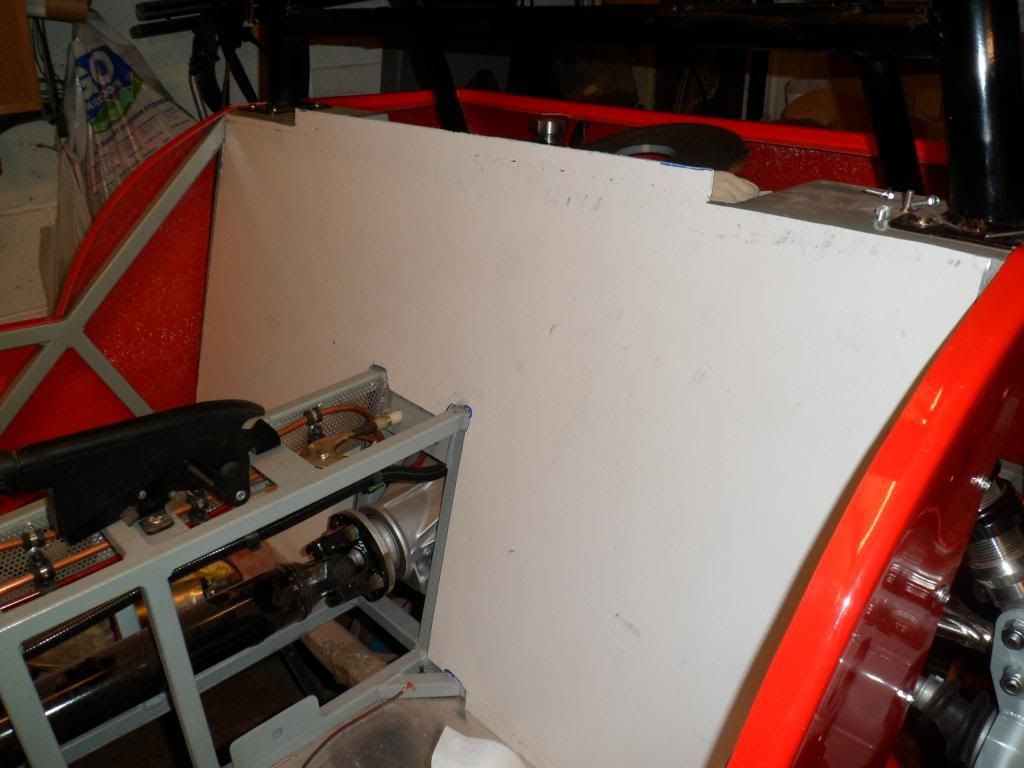 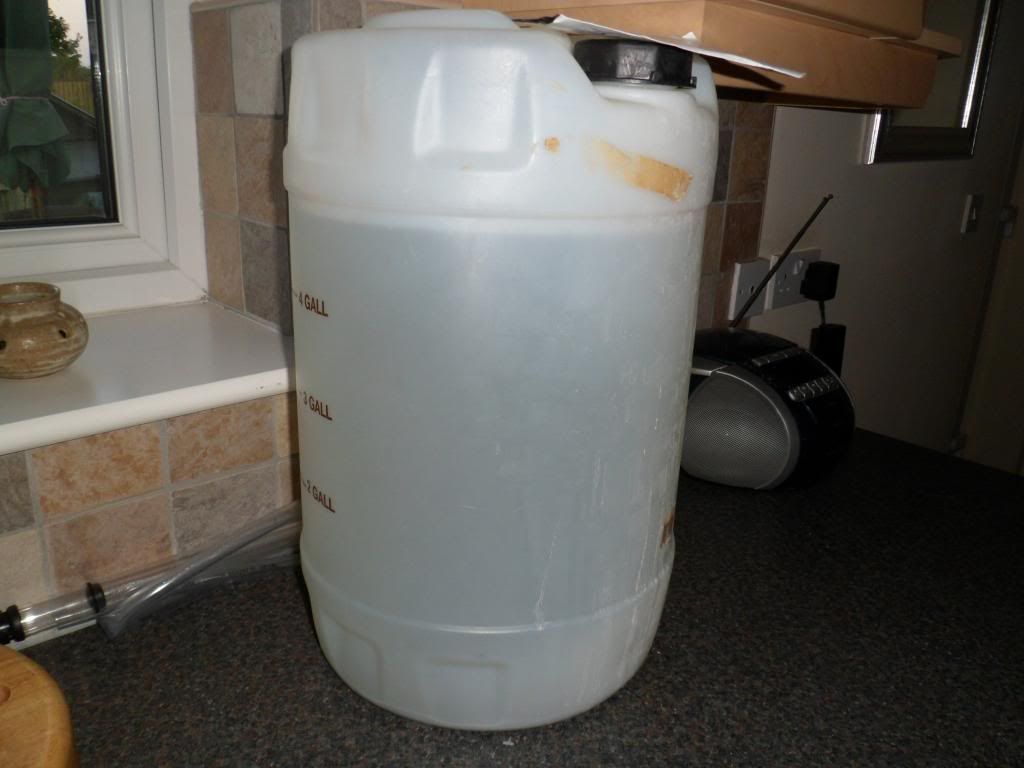 |
Thats one serious quantity of hooch kev , go steady:eek:
Bob |
Thats nowt Bob, I nearly always put another one on the go after I have bottled up......turbo yeasts and activated carbon have made home brew so easy....you dont even need as much sterilisation as the alcohol is strong enough to kill spoilage organisms:D :D
|
Not done HomeBrew in 10 years, but with the brother in law moving just 100yards down the road, and having a house to himself... I think we will be starting our own brewing company.
TT |
Quote:
|
sorry guys got me numerals wrong it is 80p a litre the 40p is when I cut it 50/50 with water (sacrilage I know) otherwise I'd be bladdered all the time cut it another 50/50 then its the strength of a 5% lager at 20p pint/500ml...its effin dynamite if left alone......I kmnow evtryeeed yt lo0l:p will do a write next week when I start another:D ....right must get back to the build.
|
been doing a bit on the trans tunnel.....yet another job which is a PIA, wish I had done it before putting on the side panels.
I have now riveted up the rear panel and the nearside trans tunnel, I have the other side marked out and ready to cut.....again I have been using double sided tape and it is working a treat, much better than messy sikaflex and no worries about whether using too much or too little#.....I will need to seal some areas but I think that is the case for everyone. 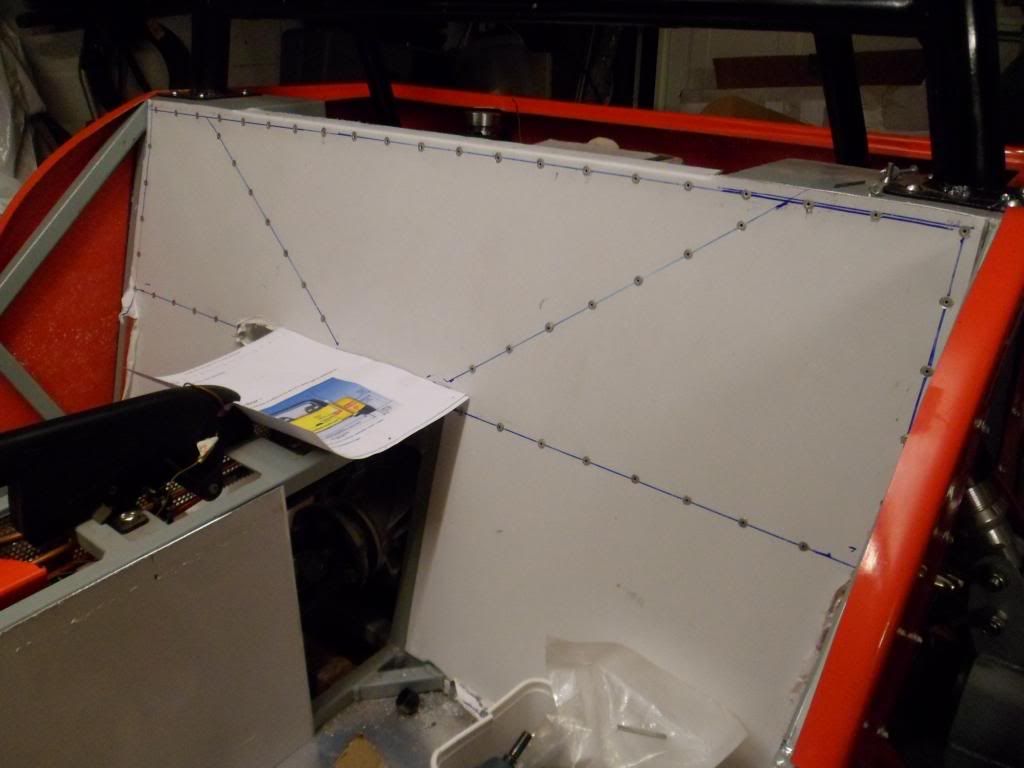 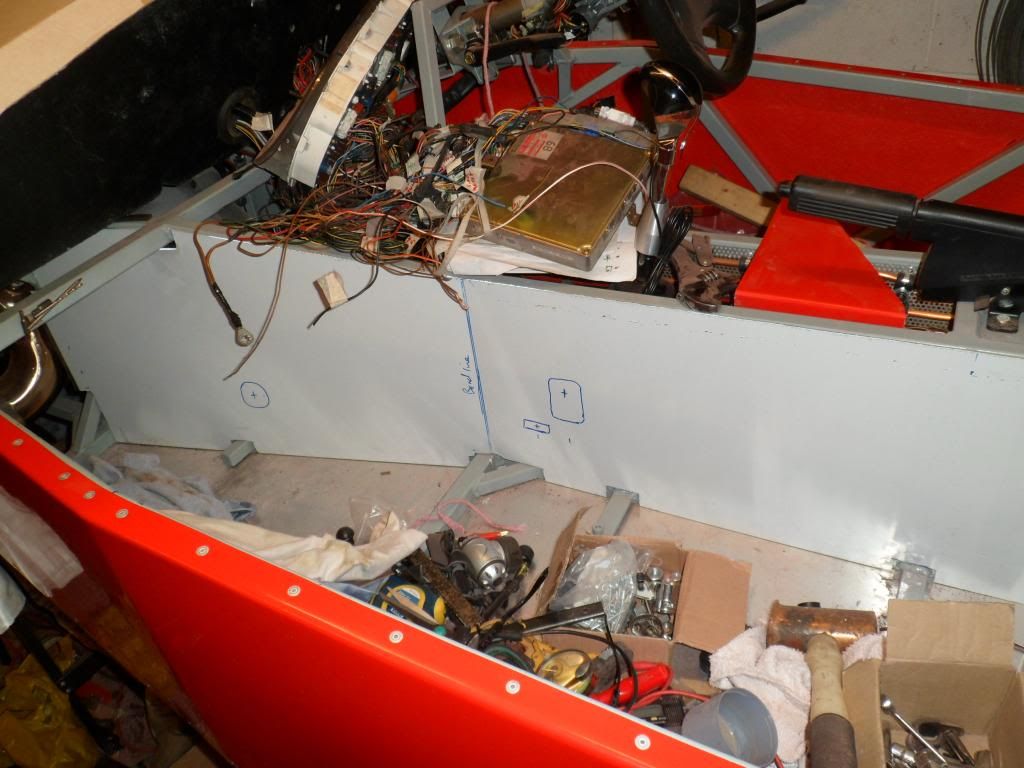 |
Kev, don't forget to drill a hole for harness mounts for the transmission side panels, I can imagine it being a PITA to do once riveted on.
|
Quote:
TT |
TT the easiest option for you may be to get a centre punch in for the top of the tunnel and lightly indent it, this should then allow you to see from the outside of the tunnel where you need to drill.
|
Dont worry guys I did not miss it, the picture just shows the panel offered up I drilled all required holes before I riveted it on ( I deemed it a good idea to have some extra inspection type holes to give easier access to gearbox oil fill hole and some mounting point spanner access:) :)
|
Nearly finished the trans tunnel, but waiting for some rivets, so while waiting I decided I wanted to make my short shifter even shorter by around 30mm, I don't want to risk any more than that, but if I do I will make it so ~I can add "some" back on if needed....I think it is one of those thing where you suck it and see
have not threaded it yet just lathed off the thicker part near the thread down to enable a 10mm thread to be cut further down. Does anyone know what the lump off Ally does on a gearstick like this? held on with a circlip. 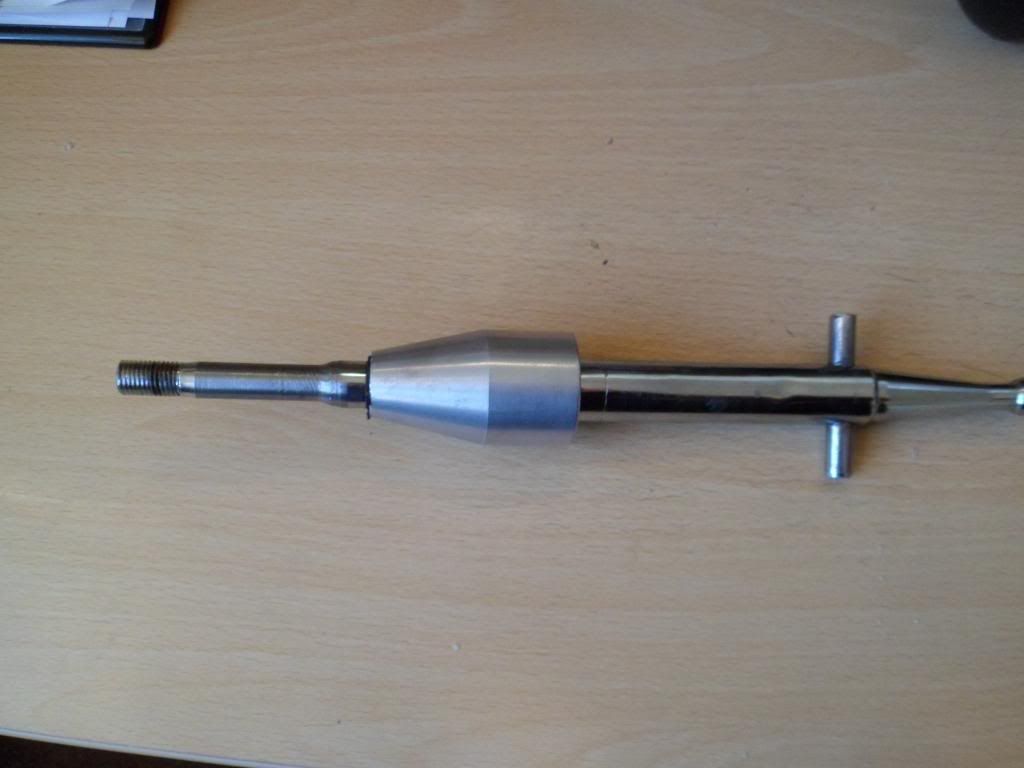 |
I reckon its a damper:cool:
|
or just a Mass to give the stick some weight.
TT |
|
Decided I needed a change today, so out came a lump of ally and off to a very hot shed and proceeded with a little lathework then various grades of sandpaper then some autosol with it chucked in an electric drill then back down to shed for a touch of anodizing followed by a tint dip then steamed off to seal in the colour
et voila...shiny new gear knob. 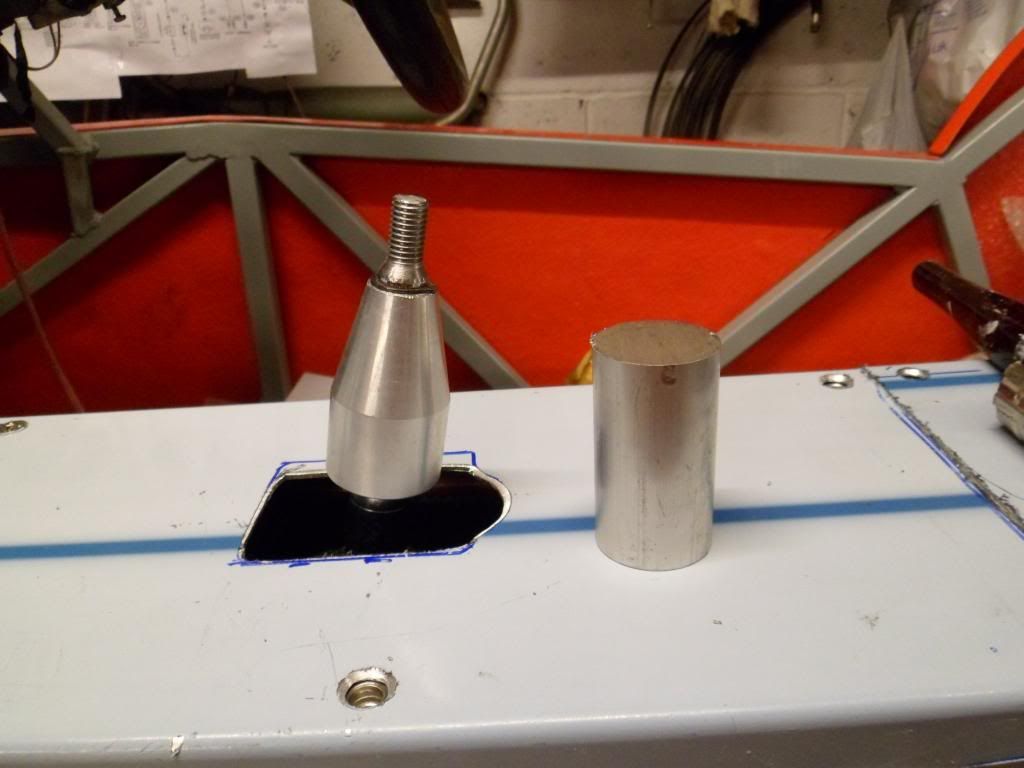 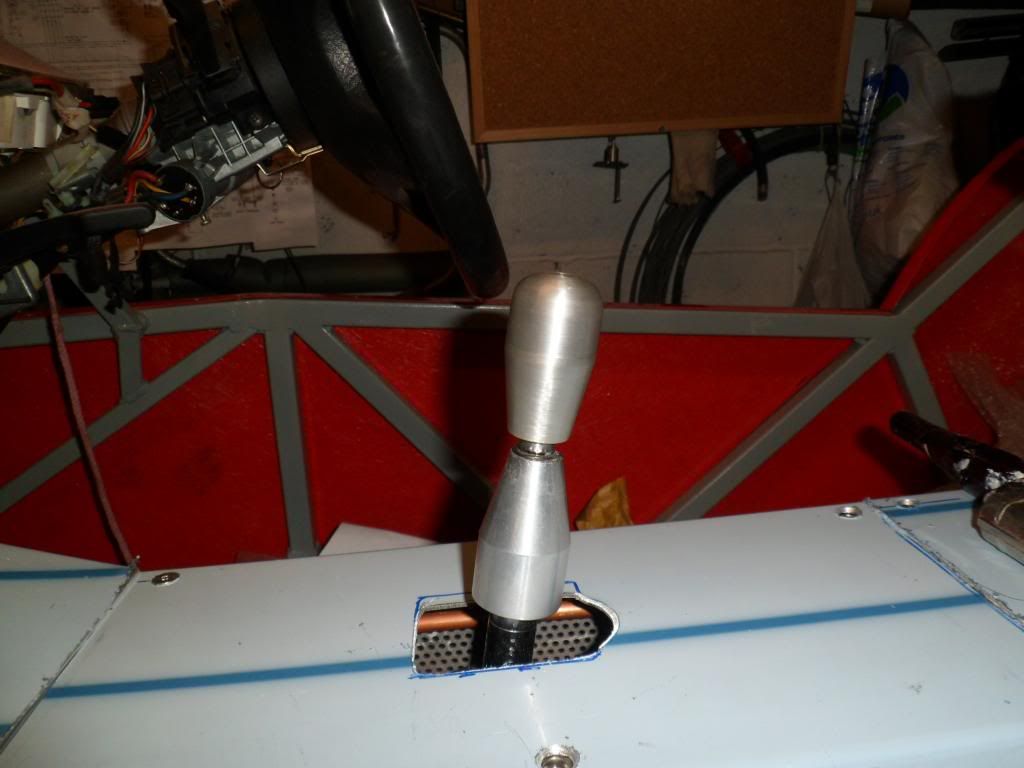 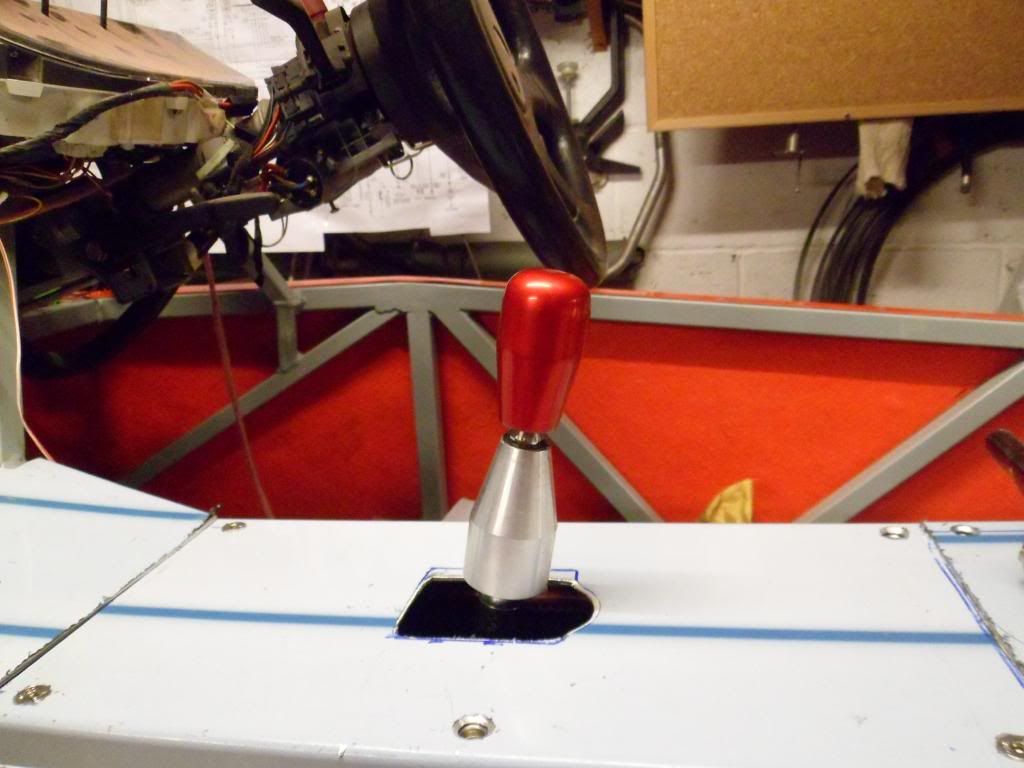 |
That's what I call a shiny new knob ! :eek:
|
|
|
Quote:
|
Red knob and nuts leads to two things,divorce and GUM clinic.:eek:
|
Ha ha ha....
postie just been with some more goodies, some nice red leather gear and handbrake gaiters which were for a z3 but a little chopping of plastic on sierra handbrake allowed a snug fit, gear lever one just needs shortening ....not bad for £13 delivered from ebay of course, I will make a nice alloy trim to finish them off.....will have to think about dashboard now so its off to b an q for a sheet of MDF. 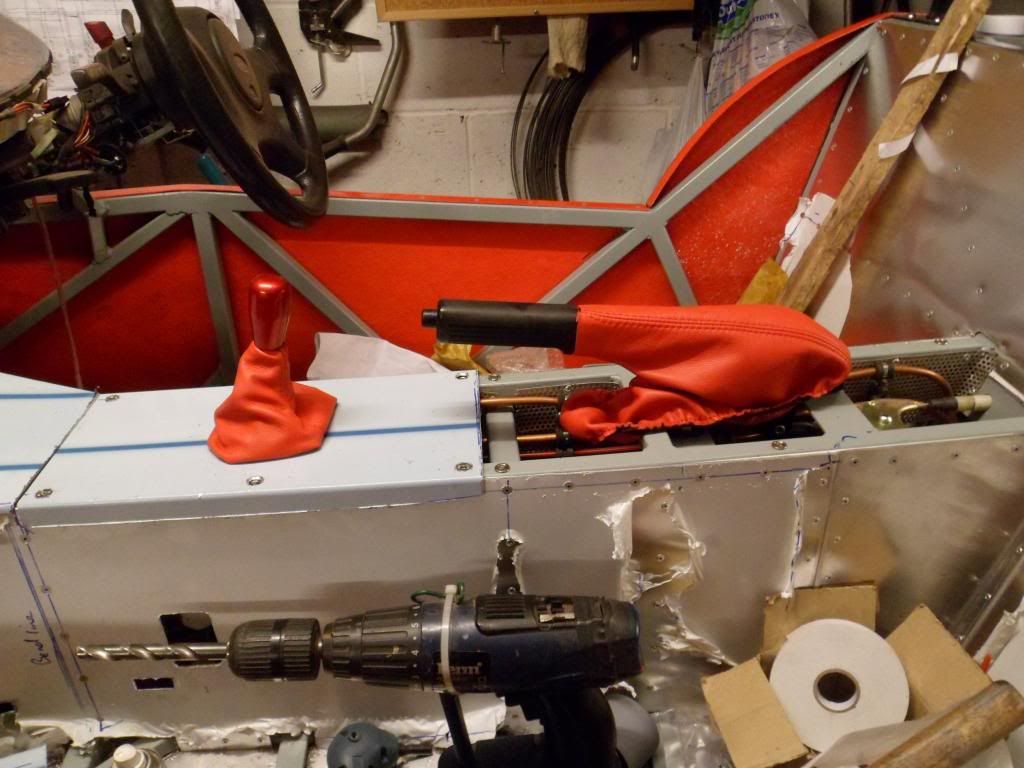 |
have you thought about how you are going to get in to the transmission tunnel in the future to service the prop or if you need to unbolt the prop from the diff to get the diff out? look like an aful lot of rivets to drill out. i made the passenger side and top of the tt bolt on items and must say they have been off a few times in the last three years.
|
| All times are GMT +1. The time now is 01:23 AM. |
Powered by vBulletin® Version 3.6.4
Copyright ©2000 - 2025, Jelsoft Enterprises Ltd.