
 |
I'm guessing that the counter sunk screws that go in to the rivnuts on the top panels will help with the access.
|
yep... on the button Phil,
Ash....both of the top tt panels are removable and if you look just above that roll of DS tape you will see a small separate riveted panel that I put there just in case, yes I would still have to drill them out but its not that many hoping that I don't have to ever but then I hear what you are saying.....always appreciate anything like that being pointed out especially as I am about to fill do my IVA form. |
next big job is looming and I'm not looking forward to it.....the dashboard...since
I am not going to keeping the dash I am putting in now, I am just going to use MDF/lilo/leatherette, route .....I am using the 200sx dash as this will keep my speedo in its correct range, no other fancy items other than the needed but my starter button will be unique in its position 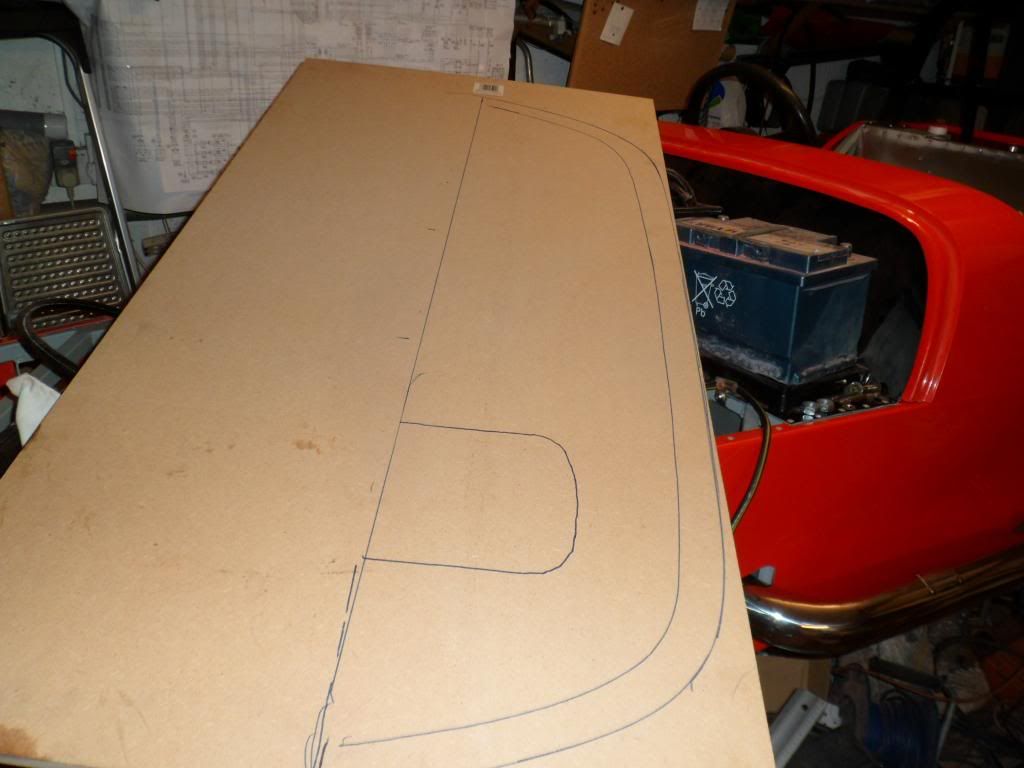 |
|
|
Hi Kev,
Sometimes the simplest ways are the best, like you say keeping the original dash will be of big help. Just a question though, are BT setting up a phone exchange behind your dash because that looks like a lot of wires...:eek: :eek: Looking good as always (the car I mean).:D :D |
Yup.... I know John its a conglomeration of sierra and 200sx and a lot of it is redundant but I don't want to start ripping it apart until I know what is ok and what is not....will be going into meter mode soon.....and if it means the redundant stuff has to stay then so be it, I won't loose any sleep over a pound or two......dash will be getting a revamp this winter anyway
|
|
Are the rear lamps "F" marked
|
Yup they sure are ....only the fog tho and that is the most important one all the other sections are E marked, just need a reverse and number plate lights.... for those I am going to use the led "bolts" that hold the number plate on.
|
I had no idea how messy making the dashboard was going to be, I used double sided tape again as it is easy to work with and does'nt go off
Also used a camp mat from argos that was 8mm thick then I had an old new camp mat that was only 3mm but was textured so I used that for the finish as the colour was near to my chassis paint 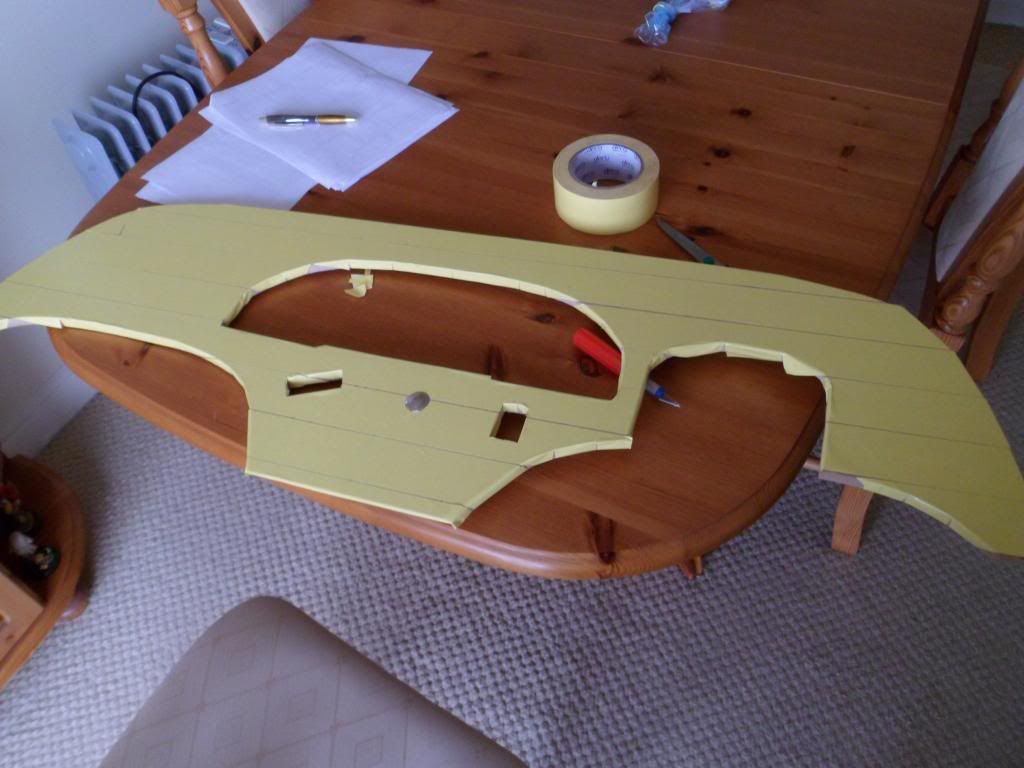 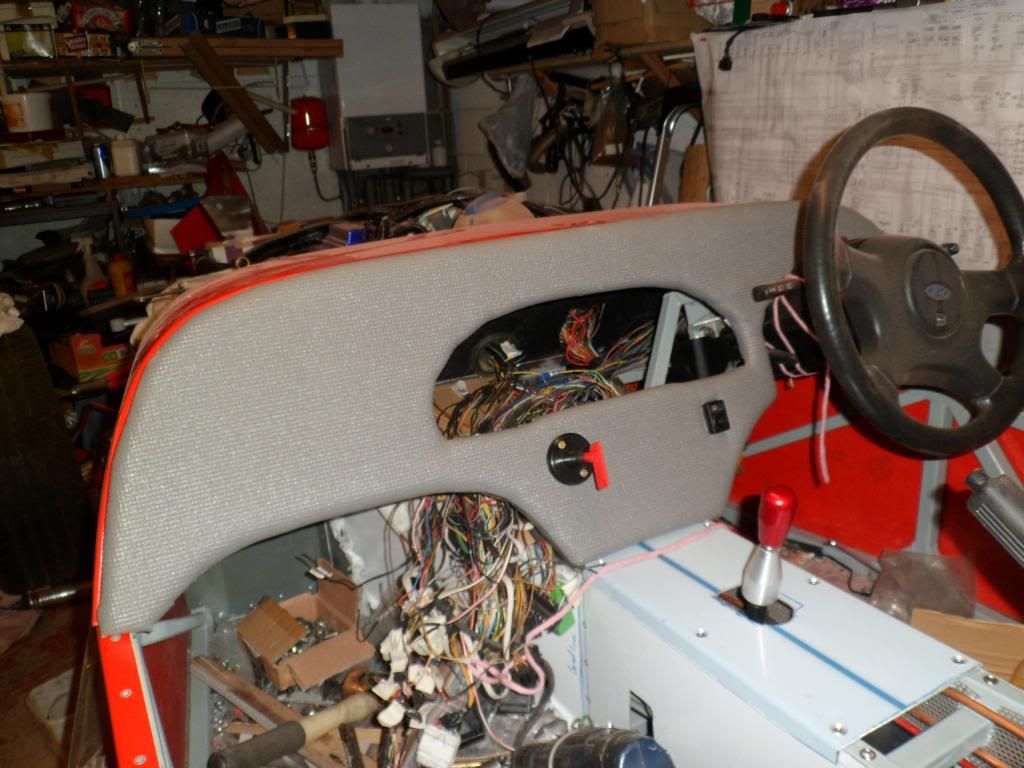 |
|
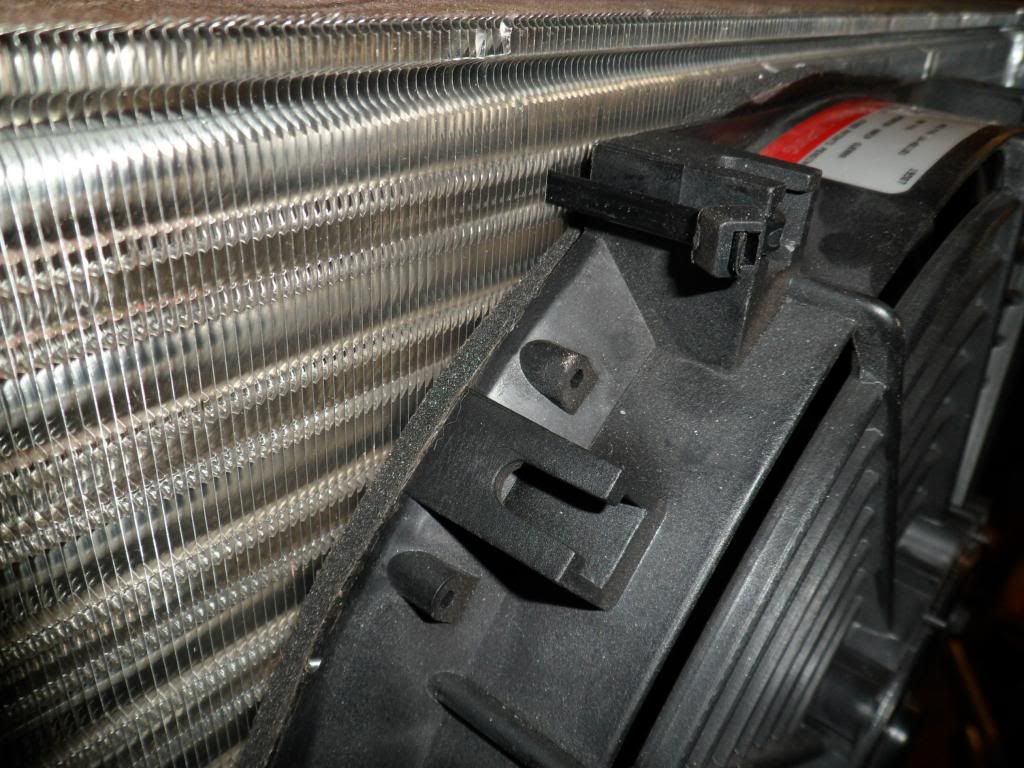
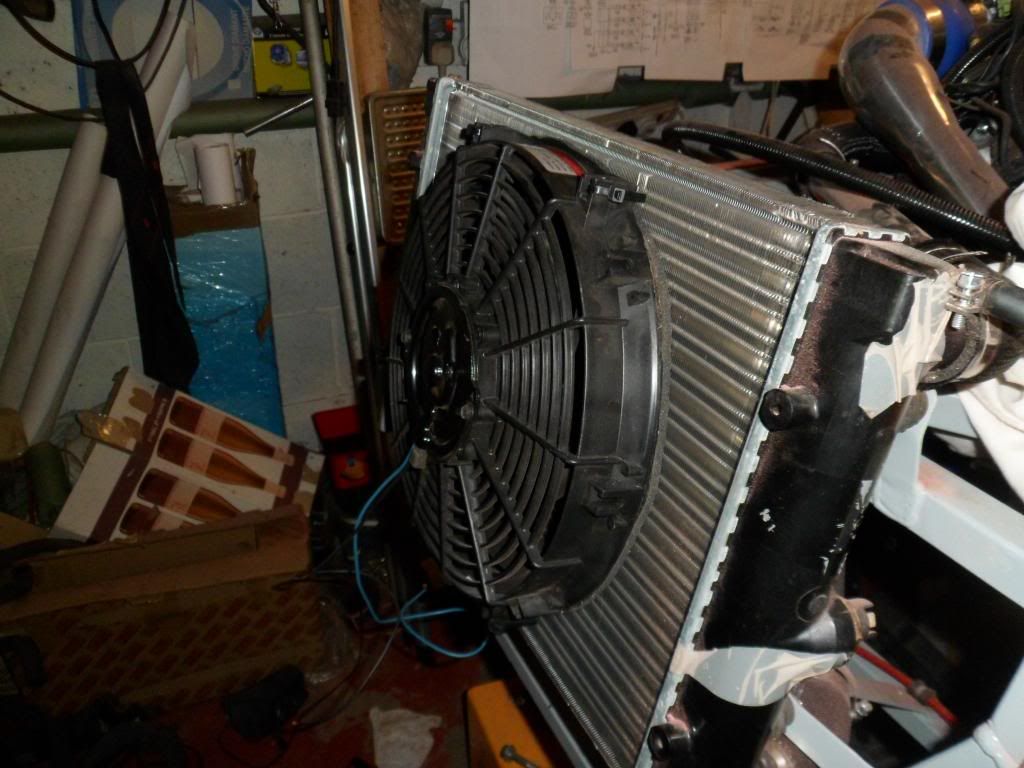
Not much done today due to catching up on garden jobs..... managed to fit the rad fan which took all of 20mins with 4 zip ties and used a strip of DS tape to cushion against the rad itself, grounded the negative to the chassis and routed the relay a positive feed wires but not clipped up yet as there might be more wiring
  |
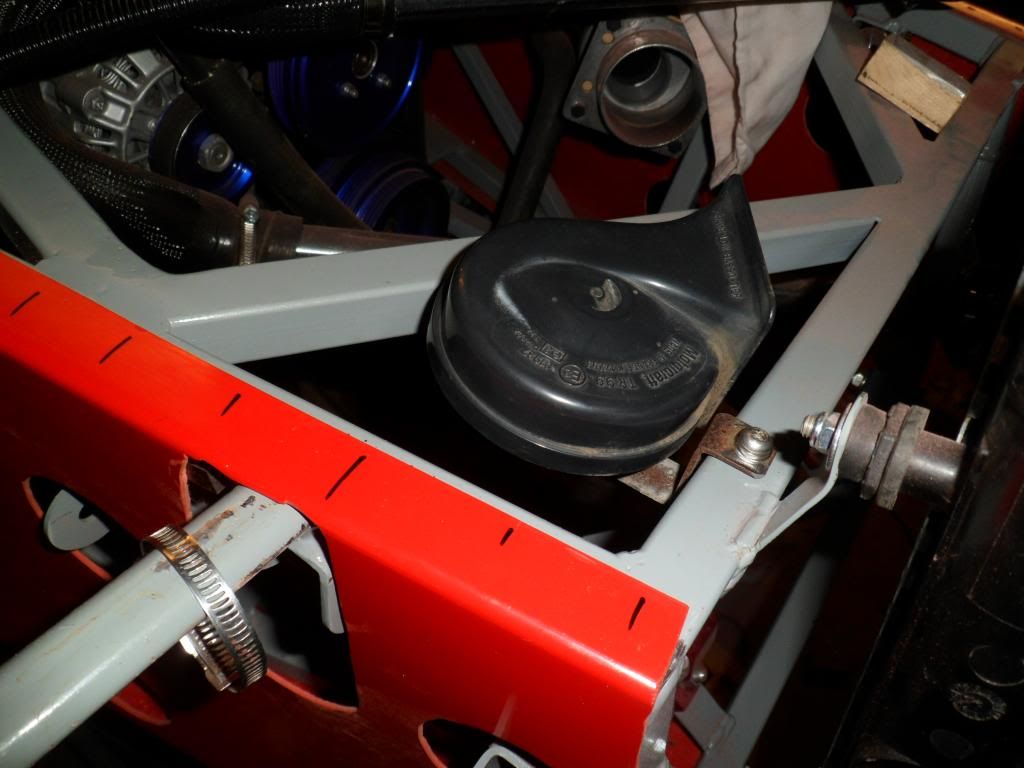
Its funny how you go through stuff and you realize you have forgotten something important......like a horn....I 'm following this wire and I think what the hell was this wire for.....yep leads eventually back to the horn button, now I spend the next two and a half hours trying to find the part, getting really stressed out and it was in the very last place I could look.....car seat of my donor....could have sworn I had brought it into the house any way fitted now .....so I'm off to hunt down some relays cos I'll need one for the rad fan, wish I had kept everything in one place now:mad:
 |
After re-appraising my exhaust, I have decided to "make sure" of a pass on iva criteria......mainly the edges so I have used a technique I have used before.
For the muffler ends I took some 6mm brake pipe and bent it to the exact diameter, then I took my b&d powerfile (you could use a flap disc) and began to grind the pipe back to just before the inside of the pipe .....I just used a knife to break through the rest, then it was a case of tweaking it to the same thickness of the muffler ends so it will fit over them and produce a "rolled tip" effect.....gonna solder them up today 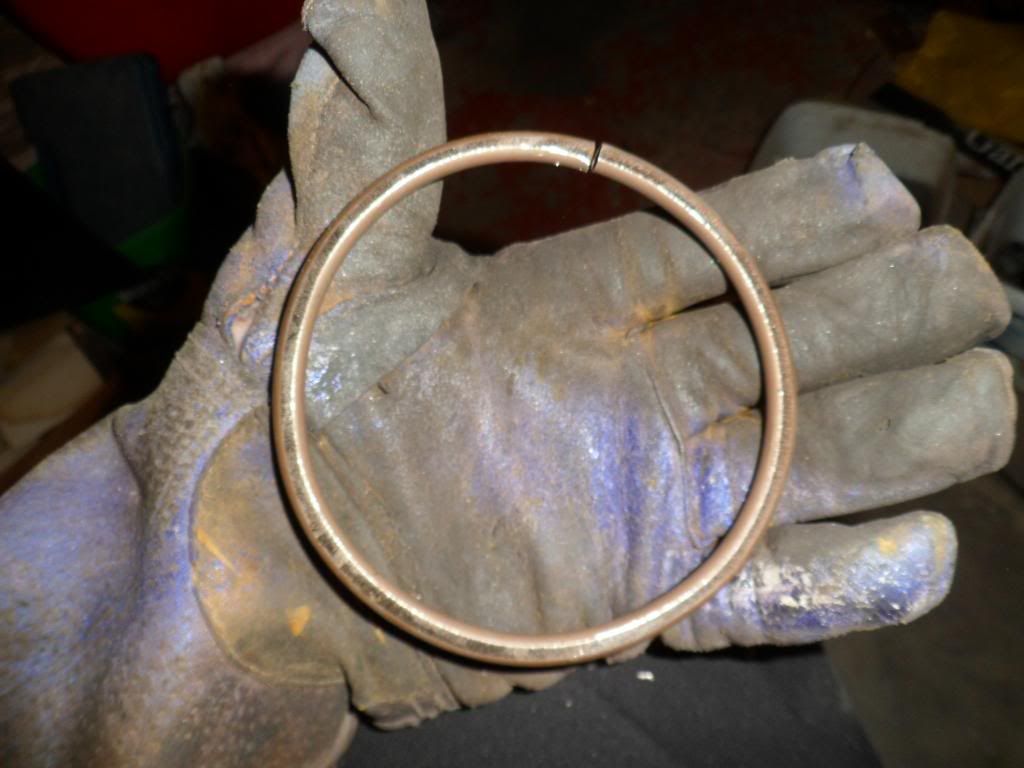 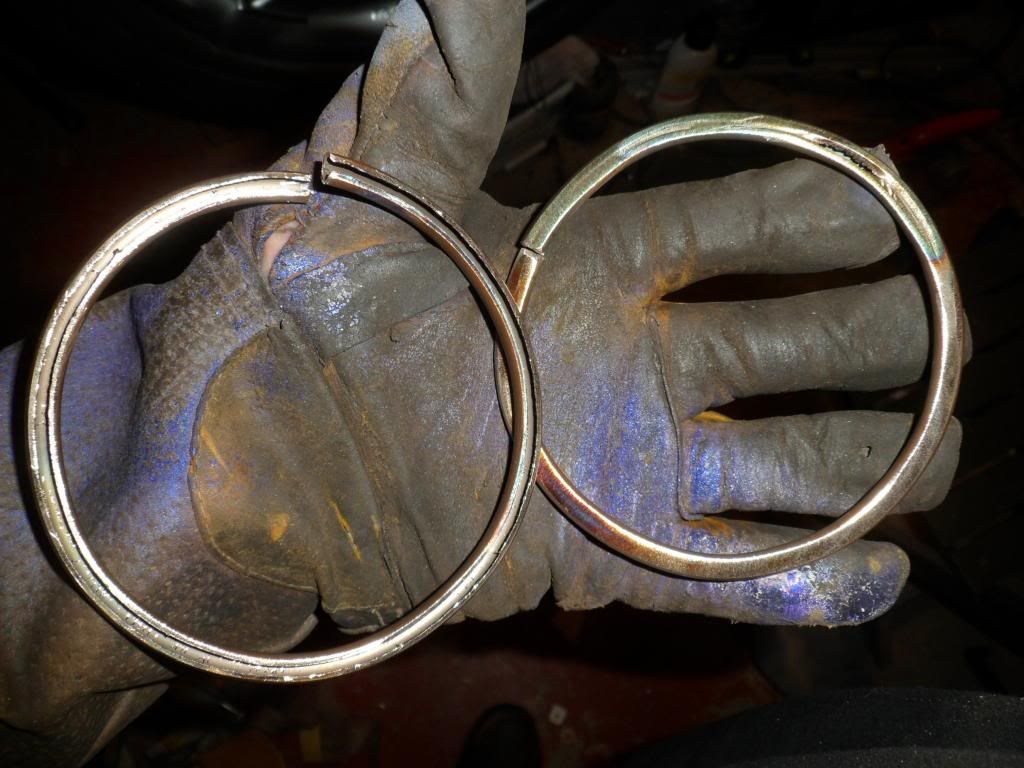 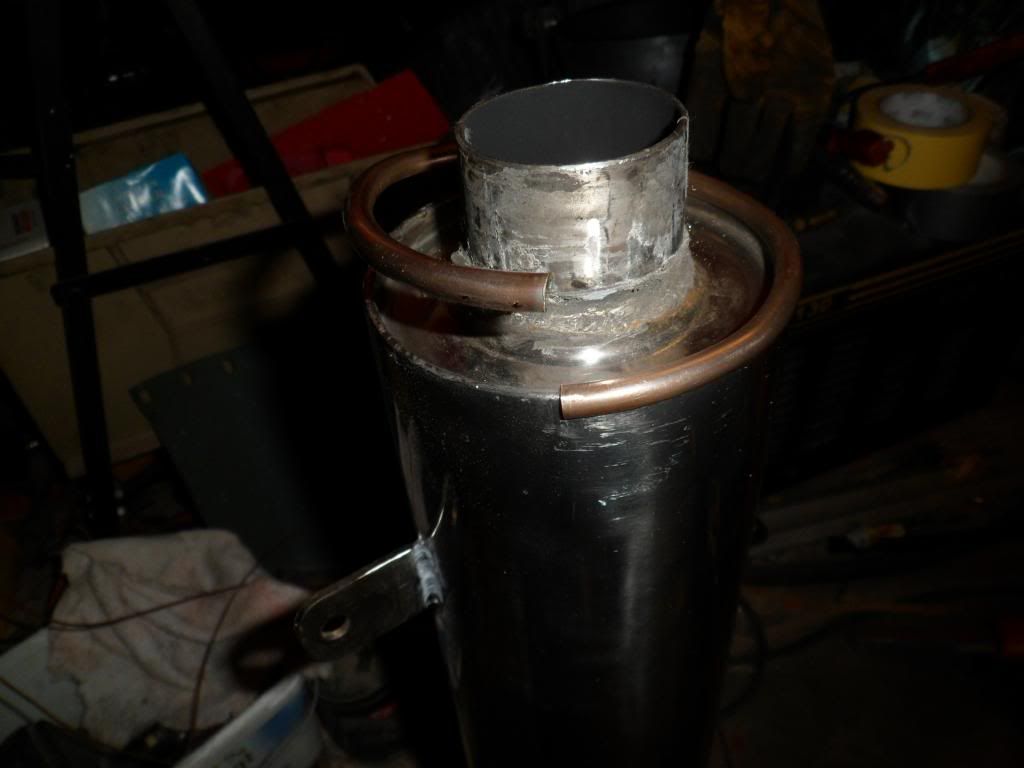 |
|
nice work Kev a great idea you wont be long before you can enjoy the fruits of your labor:D
|
Gettign there, :)
I am just going to wrap my exhaust to hopefully protect from sharp edges. BTW. Your kill switch will most likly fail the IVA. TT |
Hope so Lawrence.. hope so!
tt....it is not going to be fitted for IVA, I am going to blank it off for that then retrofit said item post IVA, I know some peeps have covered the key with some edging and got away with that, but I am not going to chance it. |
|
|
|
Looking very smart as usual kev.
|
Cheers Steve
As most of you know I like to use whatever is at hand, well I like had this very long coil of air hose similar to the stuff used on foot pumps... rubber wrapped in a glued on cloth, well in got me thinking that it would make for a nice finishing edge to the holes at the front suspension, so I very carefully slit the pipe with a very sharp modelling knife an inch at a time.....I tried some on an edge and it worked brilliantly so I did the offside first as it had no suspension items fitted, to hold it I have used loctite superglue....I did purchase some finishing trim but I will use that on the cycle wings and bonnet 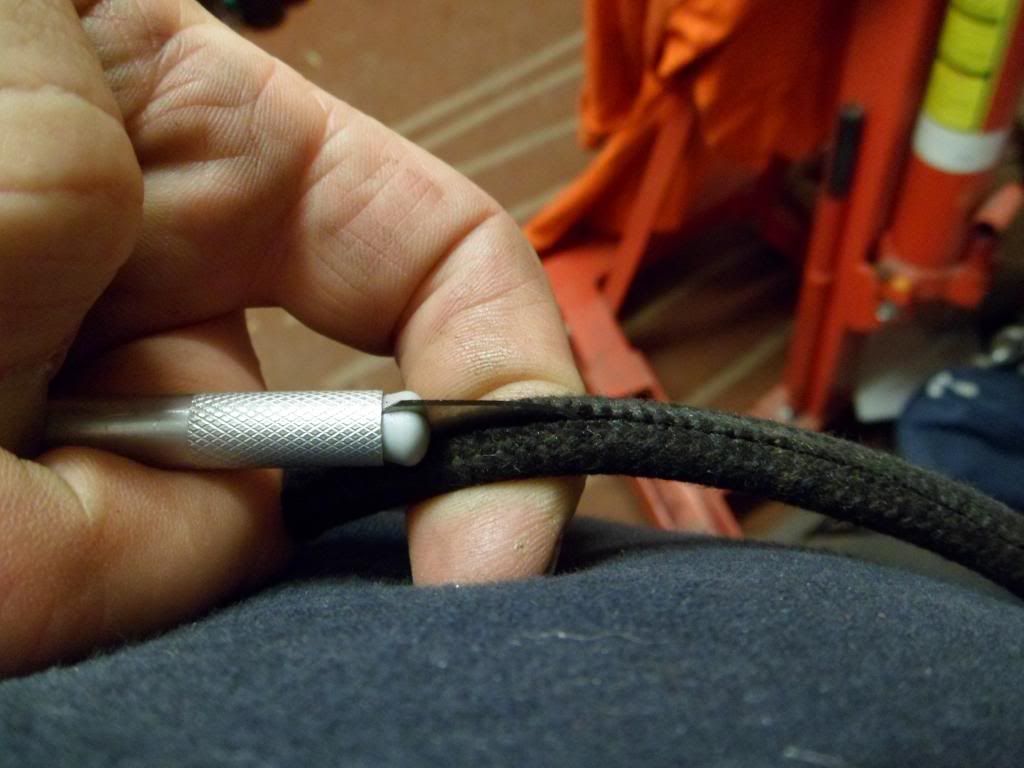 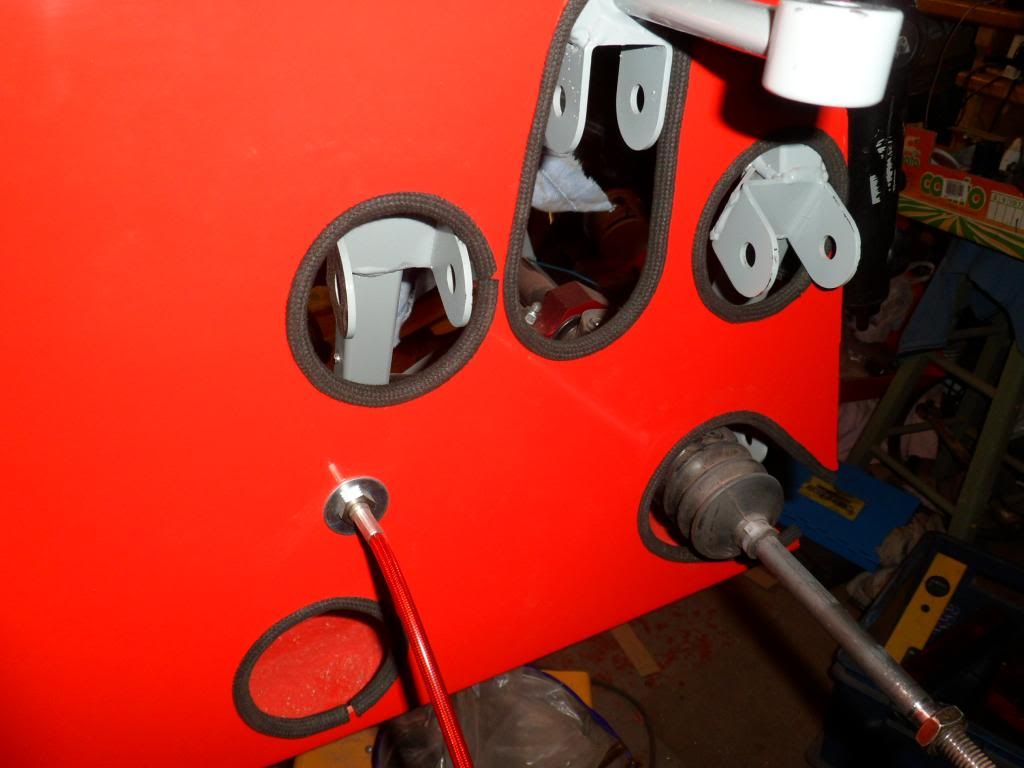 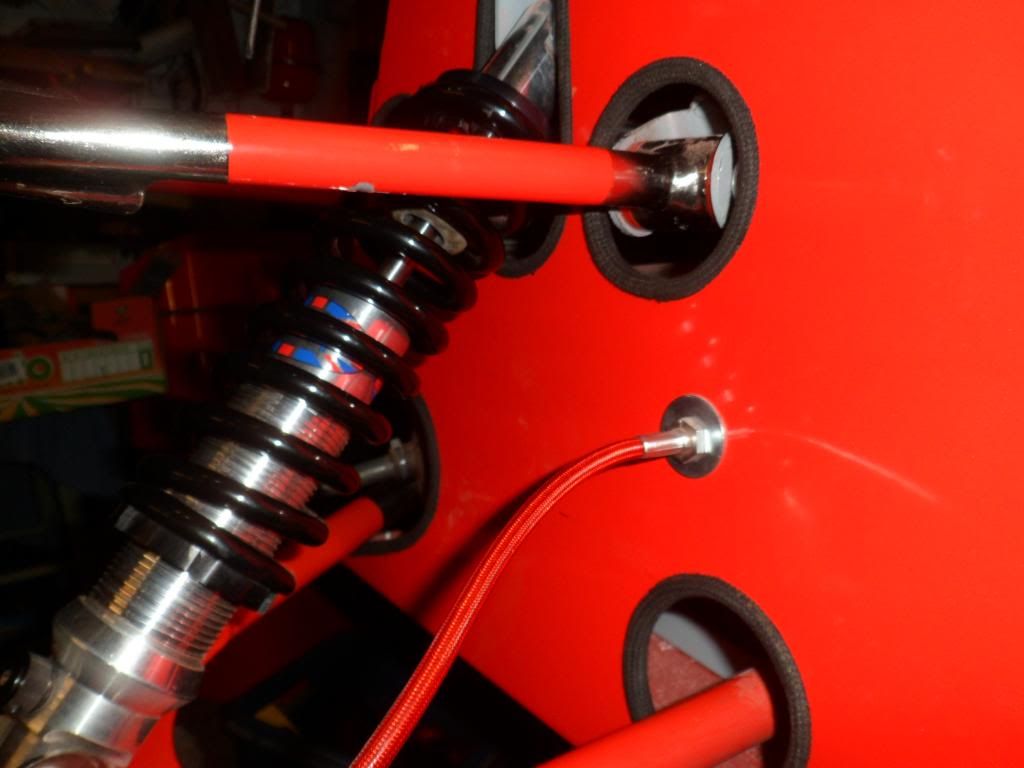 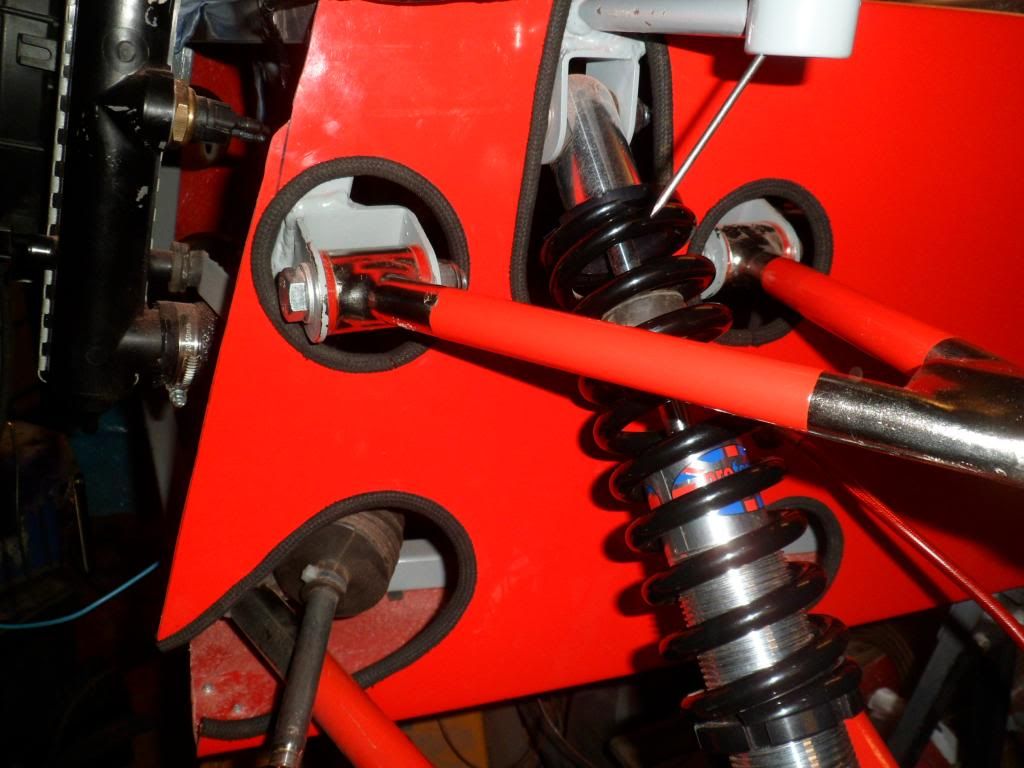 |
Here is a little tip I picked a few years ago and has saved me some work in the past....when you put a tubular conduit in any where, when you thread the wires through attach a piece of string to the end when pulled through leave about 6-8 inches of string either end so if you have something you want to add at a later date (sensors, lights etc) then you can use the string to pull any more wires through(dont forget to attach another piece of string)..... always keep it there in case you need it again
here I have done it for my rad fan feed and switch. 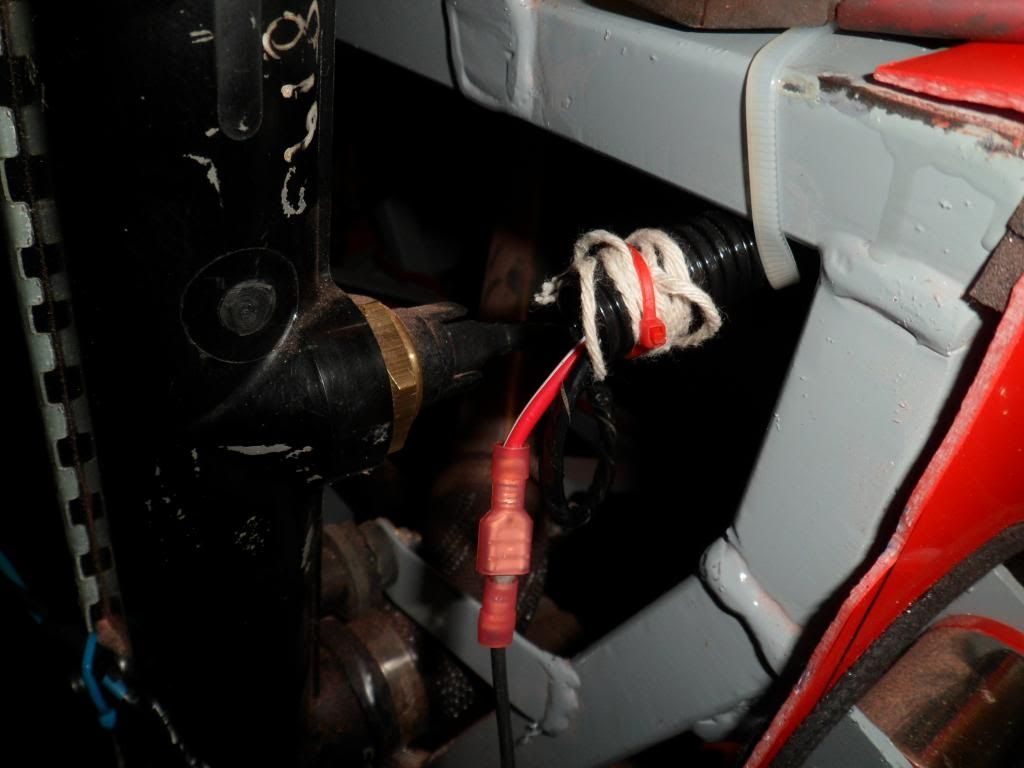 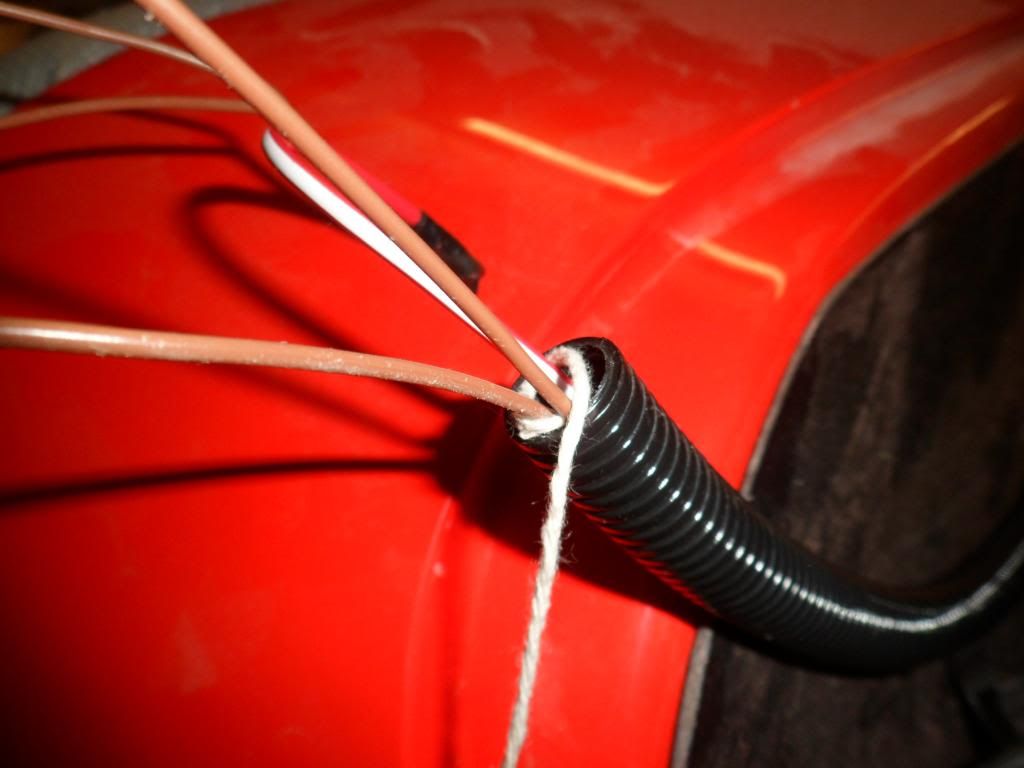 |
|
Am pleased to report that nearly all of my wiring has been sorted with a mega amount of patience and get this...... up to now only one blown fuse although that could change.....side dipped and full beam were an absolute nightmare all caused by an incorrectly placed earth above the ignition barrel once I got those sorted virtually everything else fell into place ignition light, oil light handbrake and fluid level working as they should indies all working inc hazards all tell tale illuminating when they should.....still looks like spagetti but the tidy up starts tomorrow......really ought to think about getting it off the trestles soon as well
|
Got me a nice Apexi Power Intake air filter all the way from Hong Kong, pleased to say it is the genuine item and what a price ...£17 delivered.....same filter over here is around £40.... rapidly approaching de-trestle time and onto its wheels for the first time...few days I hope ,just need to get underneath fully checked over. and bleed the brakes.
this is not the final resting position of the air filter it will be moved post IVA 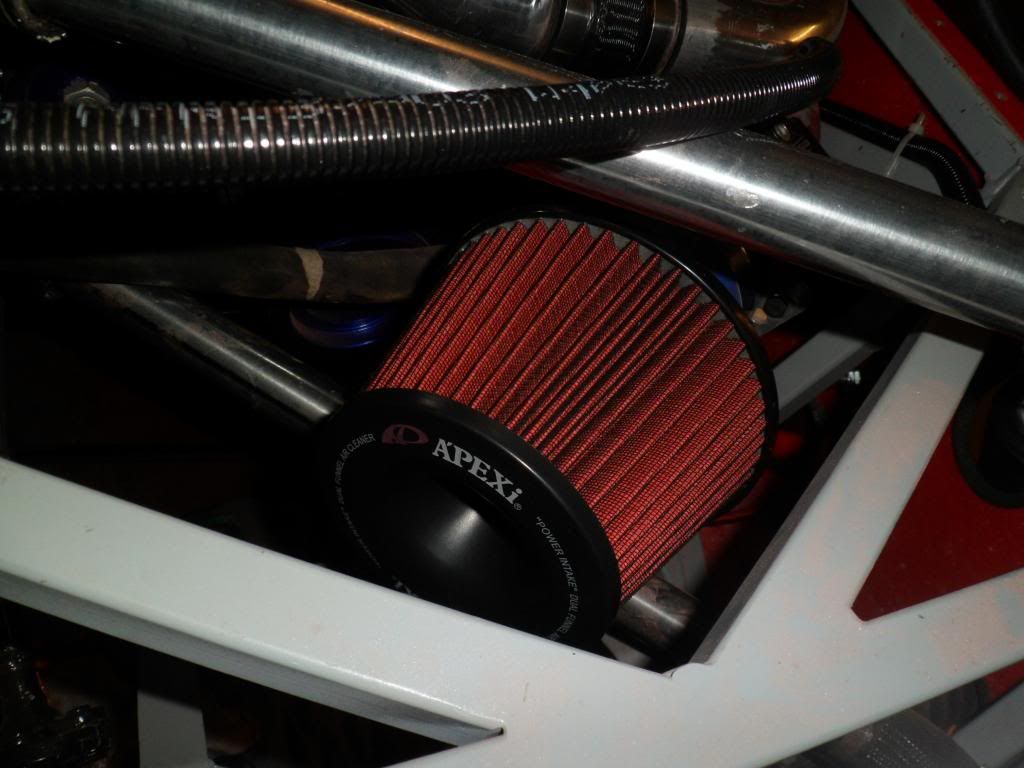 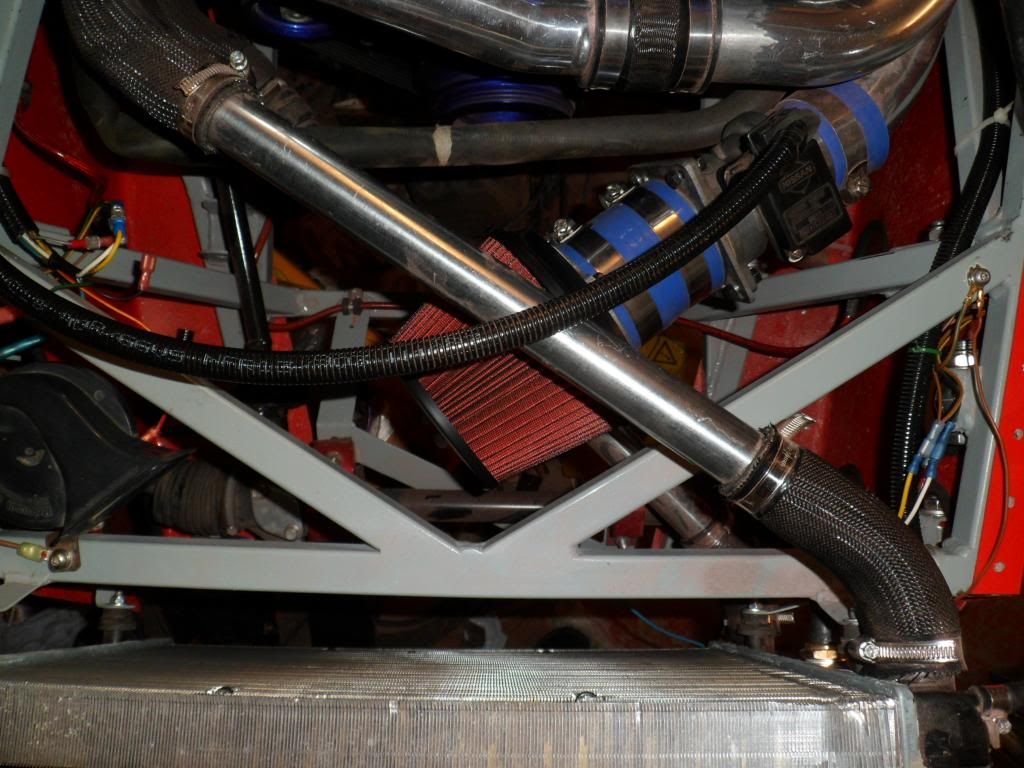 |
|
mushrooms
Hi kev what if you put the mushrooms on a lathe and cut a groove into it where the grub screw goes into so that its not able to move up just a thought
|
Builds looking awesome Kev,:cool: :cool:
Really like the exhaust and cover plate, nice touches that make a whole lot of difference. So what's next on the agenda? |
Ricky....Could have done that but by my reckoning you will only need to move it once after IVA so I will redrill and tap hole in mushy then.
Johno....yeah, cover plate is functional ...I made it that shape on purpose as it will act as a heat sink/soakaway to protect the f/glass at that closest point of exit....next up will be change water pump as there is a very slight leak so want to get it done before permanently fitting nose cone, then if everything underneath is ok it will be onto its wheels and will be sending IVA form off tomorrow:cool: |
Well I will need to get my finger out because the IVA forms have just gone to the PO....felt like going for a job interview.
|
Well done Kev ! Good luck.
|
Thats a very nice little bit of Improv with the pipe-cover-fabric. Looks like it provides a lower profiled radius than edging strip would?
Work like this makes me wonder if I'll ever have the patience to get all thse extra touches done when the time comes! Not that I'd ever have a chance of getting it as tidy as yours ;) |
It does Oscar....I have always tried to use what I have at hand, but always try to think what can I use instead ?, is it cheaper without looking sh*te, can I "make it" it.......the latter is one I have used throughout the build.
Having just had another scour of the iva manual I have chosen to leave my coolant leak till after the iva as it is more of a weep than a leak, the manual only states leaks from ...steering, brakes, fuel, suspension would be a fail, it says nothing of coolant or oil, so I am going to chance it. |
Have you decided which. Test station you are going to use?
David |
I opted for Newcastle, even though they are supposed to be pretty harsh, I did have a think about Beverley but it is a wee bit too far away and Newcastle is only 40 mins.....Carlisle was my second choice, you are welcome to come along to see what its all about David.
|
Quote:
|
| All times are GMT +1. The time now is 02:38 AM. |
Powered by vBulletin® Version 3.6.4
Copyright ©2000 - 2025, Jelsoft Enterprises Ltd.