Ha Ha Sylvain:p .....these were the type of controls a driving instructor uses, which are a brake pedal and a clutch pedal that are used from the passenger seat I have used the actual pedals themselves from a set.
As for acetal or delrin have a look on ebay there are usually loads even if it means getting it from over here. An alternative I have used before is wheely bin plastic as it is very waxy.....cut out several "washers" with a small hole saw join them together on a bolt ....bolt in lathe or drill "turn down" to bush Dia hey presto plastic bushes |
Ok, I got it now thanks! And thank you for the other tips :)
|
Started work on my steering extension ....was going to use an old strimmer shaft but decided its wall was too thin, so then decided to use some of the left over seamless tube from making the wishbones....19mm thick walled....perfect for the job also decided to use the original uj's as there was nothing wrong with them, no perishing in the rubber one and no play in the upper one. Cut the awfull triangular thing off the upper bottom part and turned it down to fit inside the extension tube, and ground down the triangle on the upper one to fit the tube then welded the bottom one up but left the upper one as I need to sort out the bearing support I intend to make.
heres the piccies 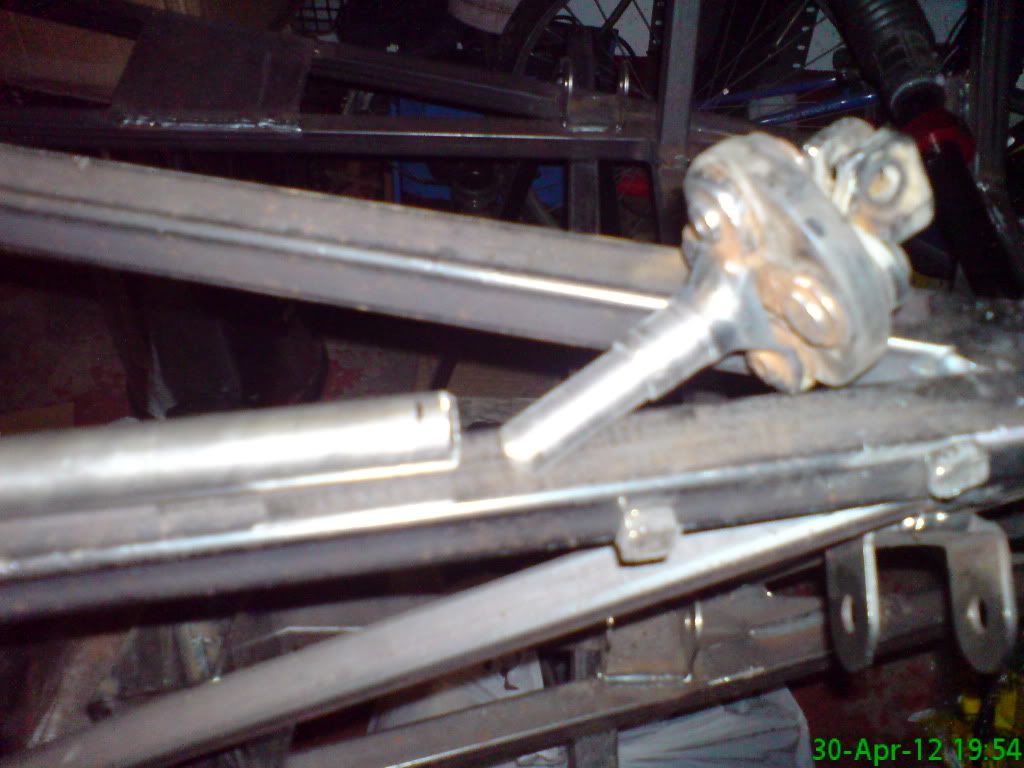 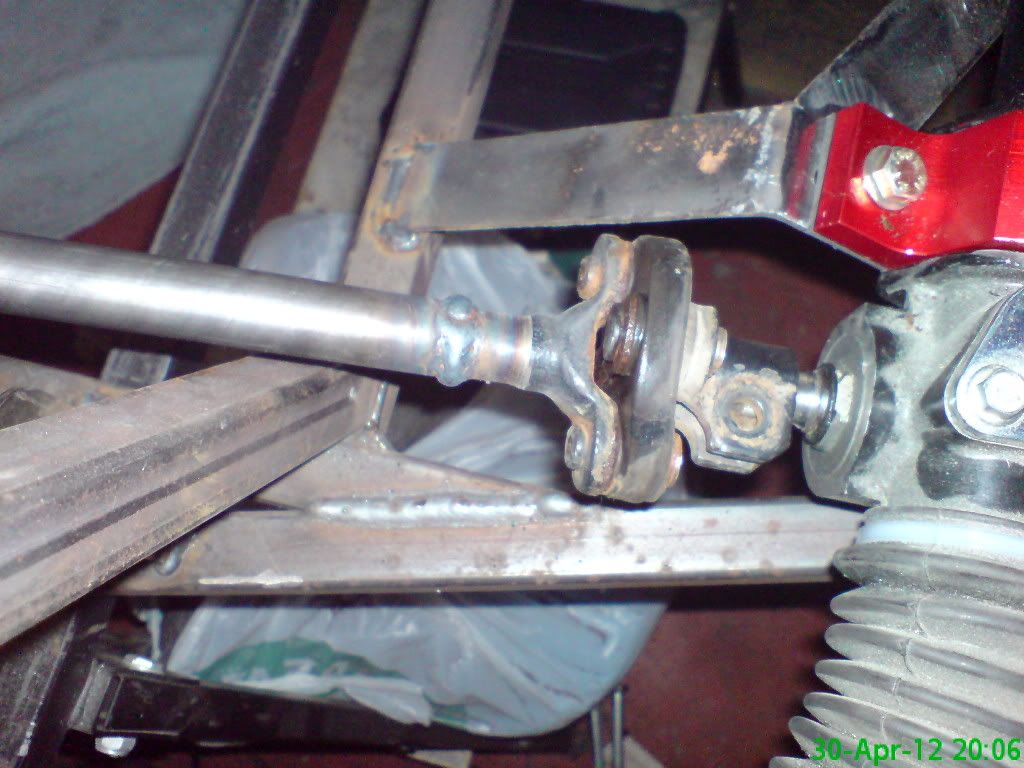  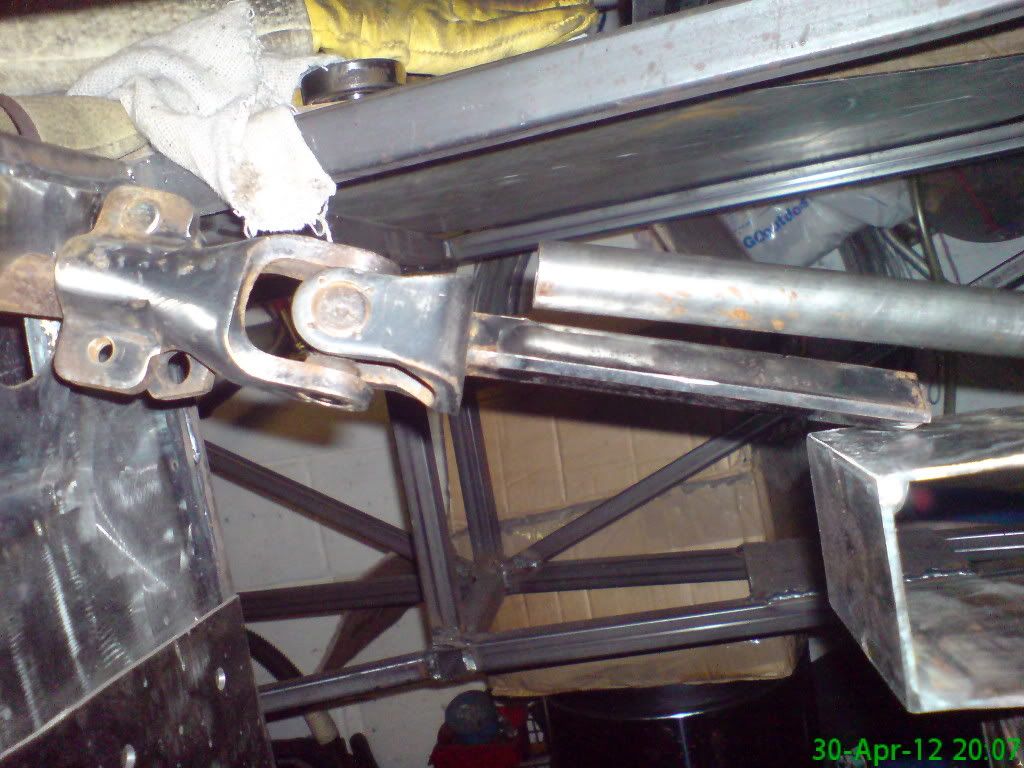 |
Now on with the bearing at the bulkhead area....my solution was to fit the bearing inside piece of thick walled ally tube then cut away the excess inside the chassis the bearing inner dimension matched the plastic triangular part from the original column so it was utilized again all this was then slid back onto the triangular part of the lower shaft, then trial fitting the st column, the bearing/ally tube sit perfectly in the fabricated "wedge that is made for the exit of the st column into the engine bay. This will have a cover that will both bolt and secure that assembly in place.......right where's me engine/box:D
piiiccceeeeeeeee's custom made alloy bearing carrier  same item in situ looking from pedal box area 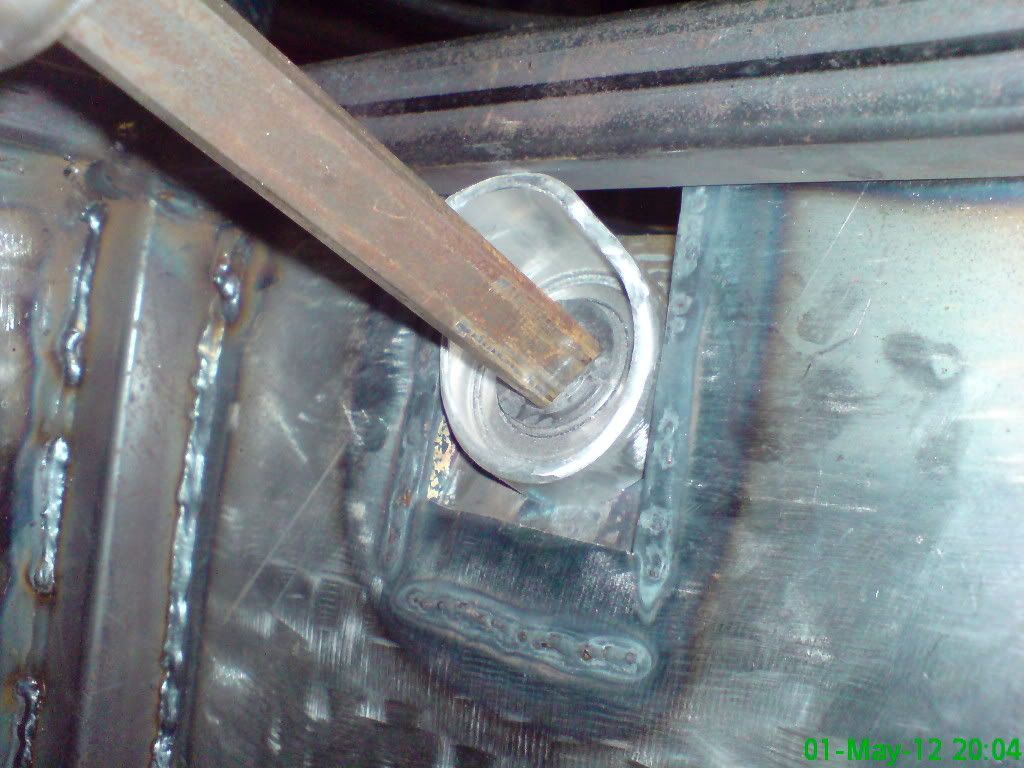 now looking from above....this is wher I will be using a bolt on plate to secure 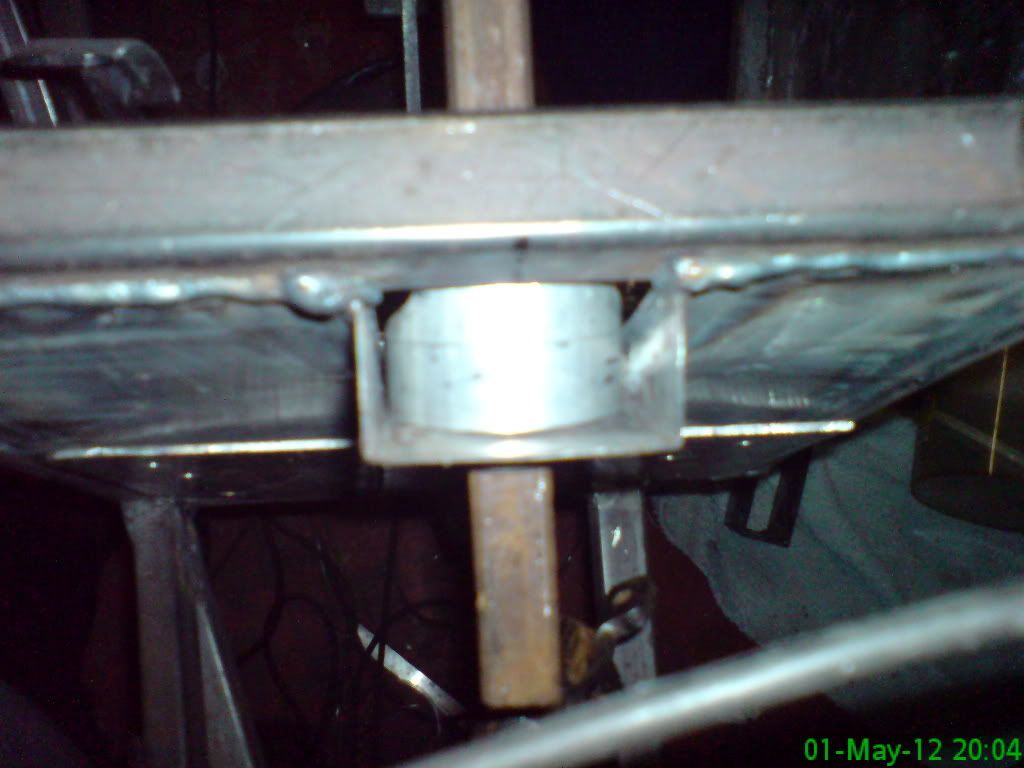 |
Continuing where I left off, I needed to secure the bearing at the bulkhead, so it was a simple case of make a plate to go on top and have a bolt through the plate then through the ally bearing holder and nut on the inside....job done and it holds it perfectly rigid....gonna move on to seat mountings tomoz, am really enjoying the build at the mo:D
this is from the engine bay side 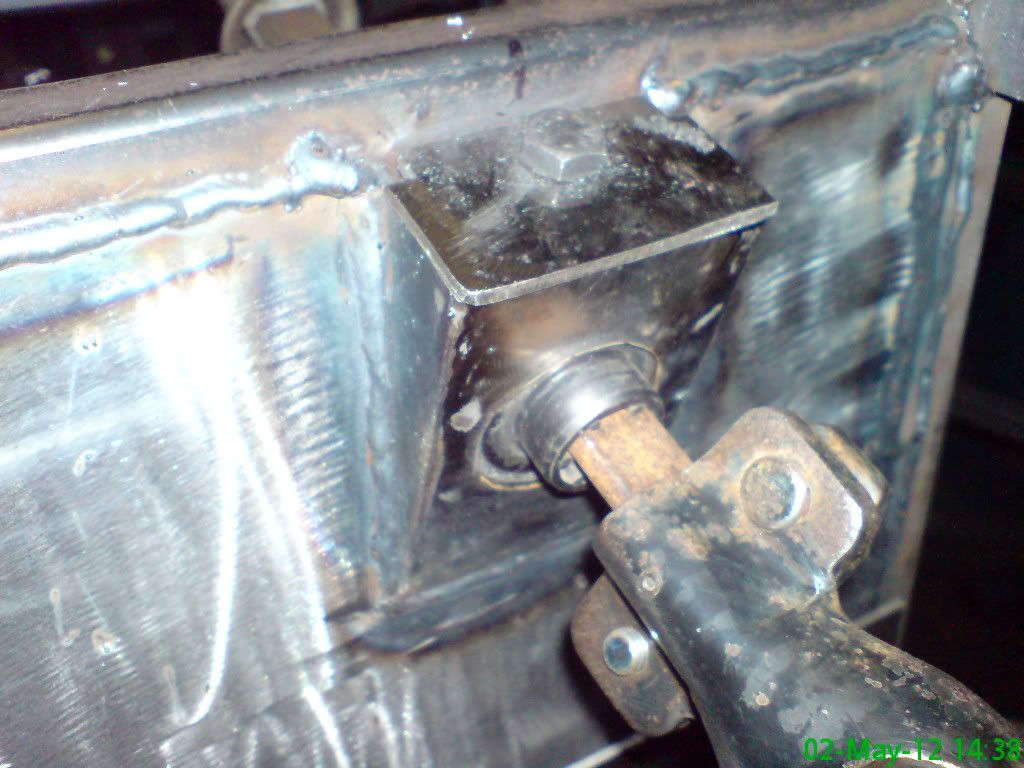 and this is from the drivers footwell side...you can just see the nut at the top underside of the bearing carrier. 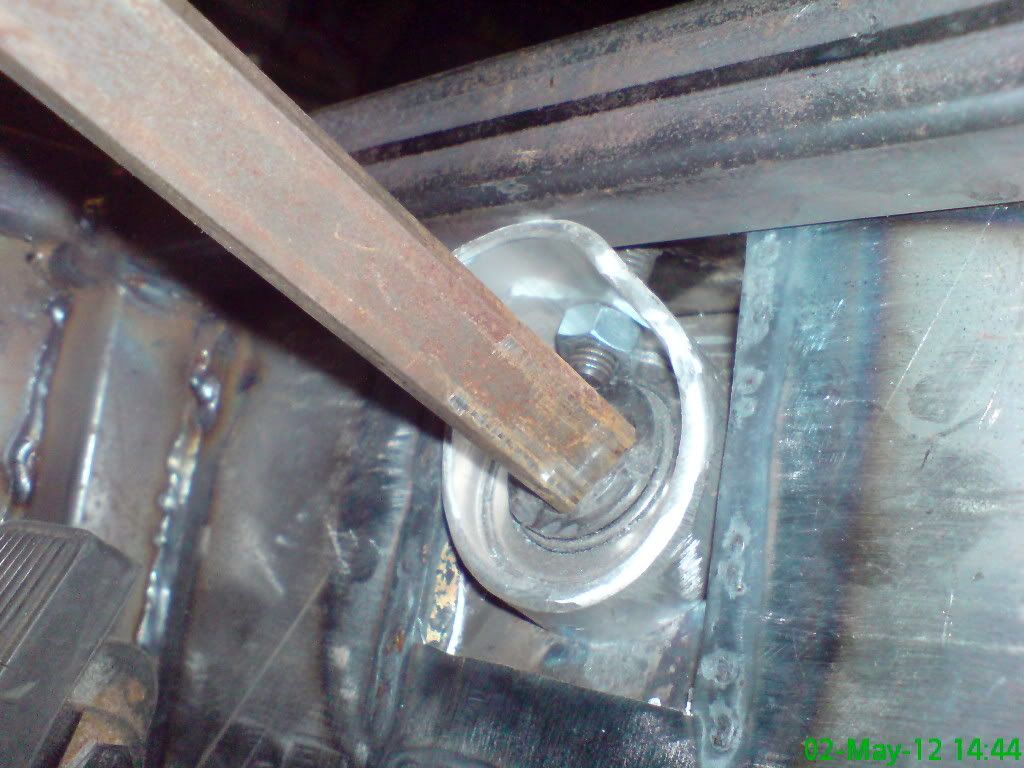 |
Have now moved on to sussing the engine and gearbox mountings, got the engine up and more or less in situ on the crane and decided to "pull" the gearbox up from below with a couple of slings.....after getting the alignment for the diff and splined shaft of the gearbox somewhere near I decided to mate the gearbox up .....much cussing then some more and an hour later the geabox makes that luuuuurrvely noise "clunk" as it mates up with the spigot bearing, good job as well the gearbox was going to get a right thrashing with a broom handle:mad:
will be double checking alignment tomoz and then drilling attaching mounts for good....then of course engine oot again engine and gearbox in situ.....and the wooden engine mount IS temporary 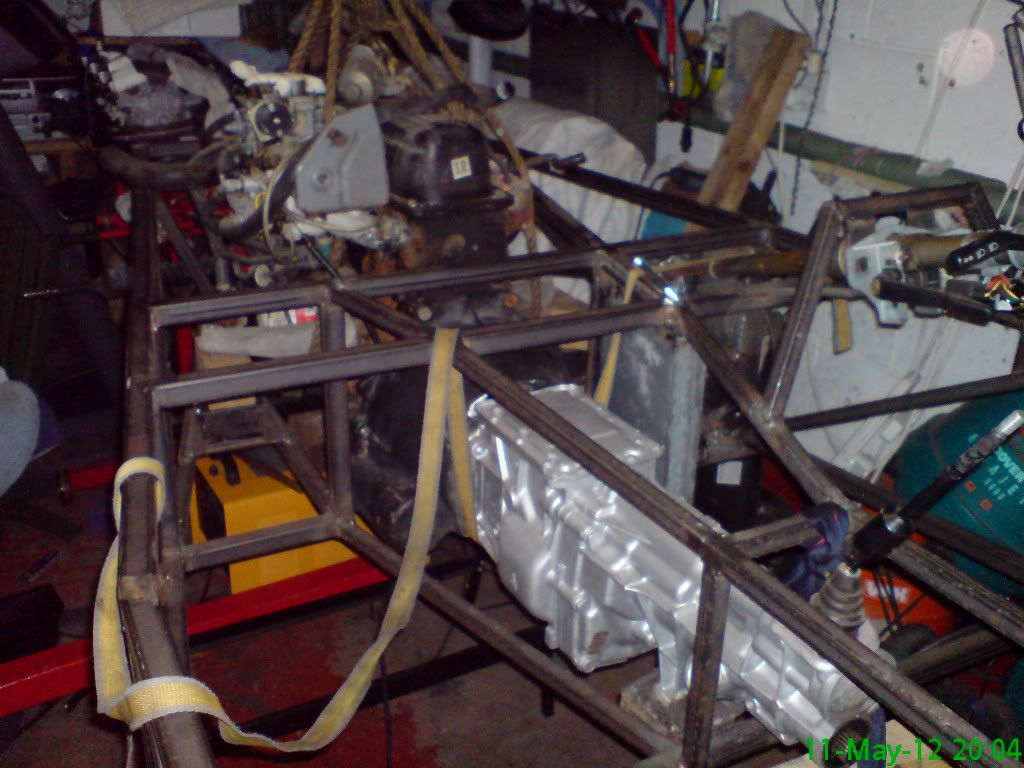 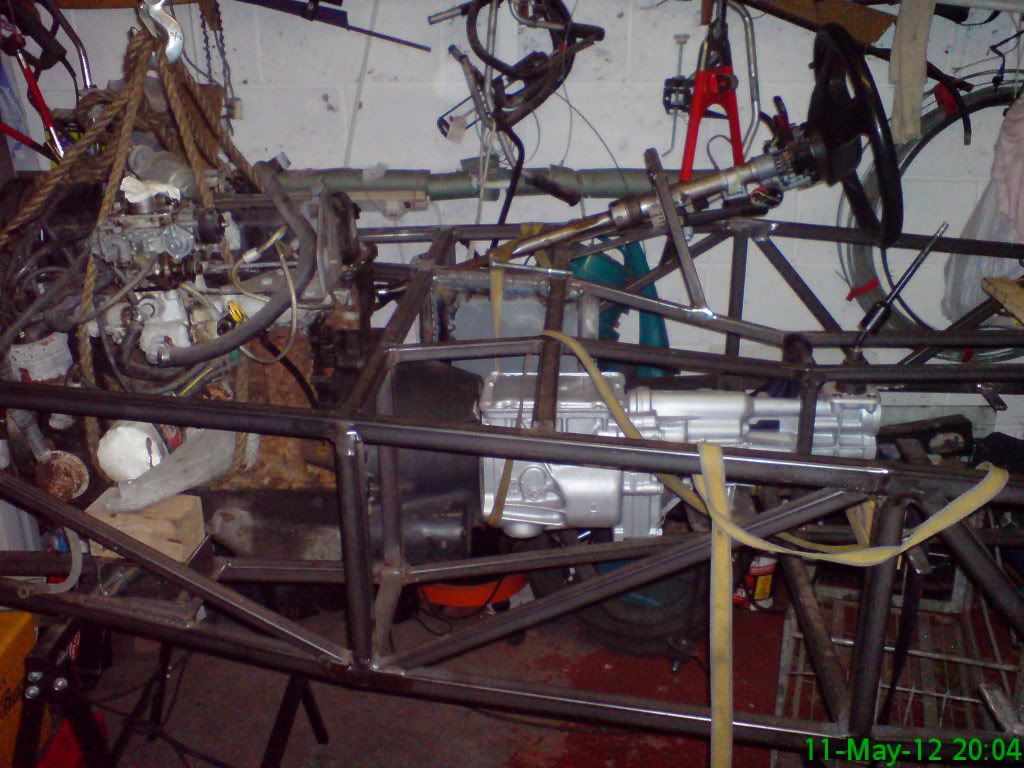 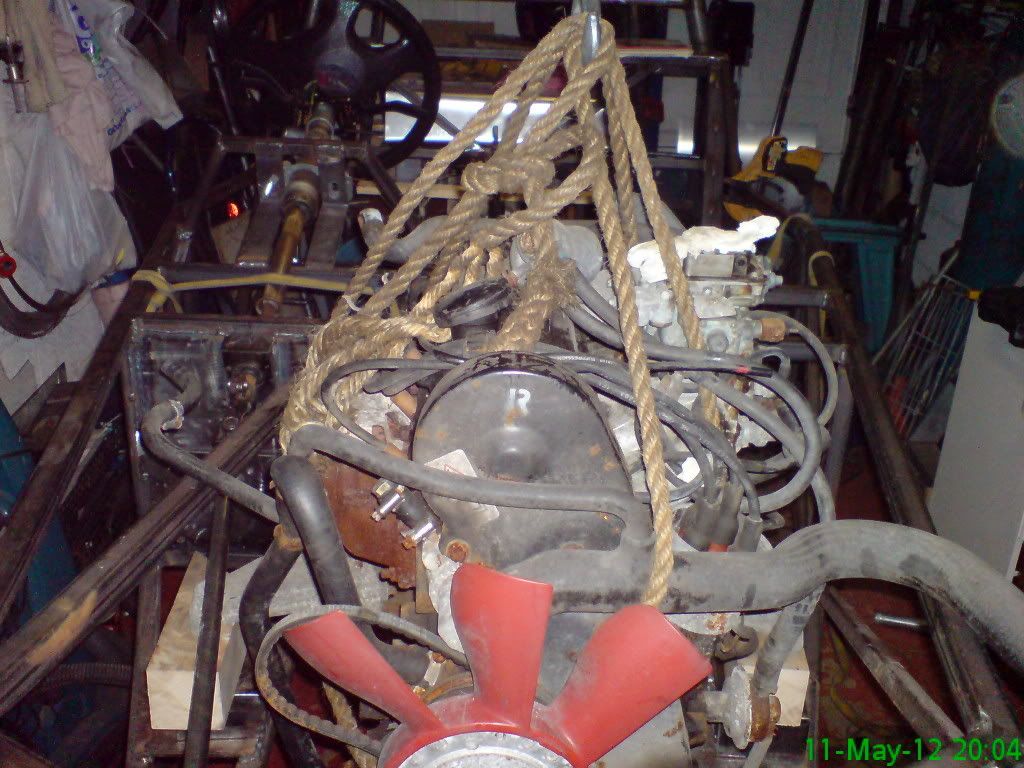 |
Made a huge decision today after deliberating hard and long re the pinto/type9 engine combo and have decided not to go that route due to the routing of exhaust pipe (opposing sides) and the cutting of a hole in the bonnet for the pinto air filter, so I am going back to my original plan and using the nissan 200sx engine from the word go ....so if anyone is interested in a 1.6 pinto with g/box and all ancillaries and 66k miles drop me a line.
|
feel a lot happier now I know which direction I am going, had a little hiccup when it came to fitting the gearbox........at the prop end there were two large nuts sticking out that stopped the gearbox from going into the trans tunnel, found out these housed the springs that allows left to right springed movement of the gear lever .....so I removed 3mm of alloy gearbox on either side and then it would fit into the tunnel then replacing the aforementioned springs and nuts but these will need to be removed each time I wish to remove/refit the gearbox.....small price to pay, because of this I have been able to get the gearbox a good way back allowing the gear lever to be level with the steering wheel.....land rover engine mounts have been utilized in the gearbox mounting
just the engine mounts to do now gearbox mounting points 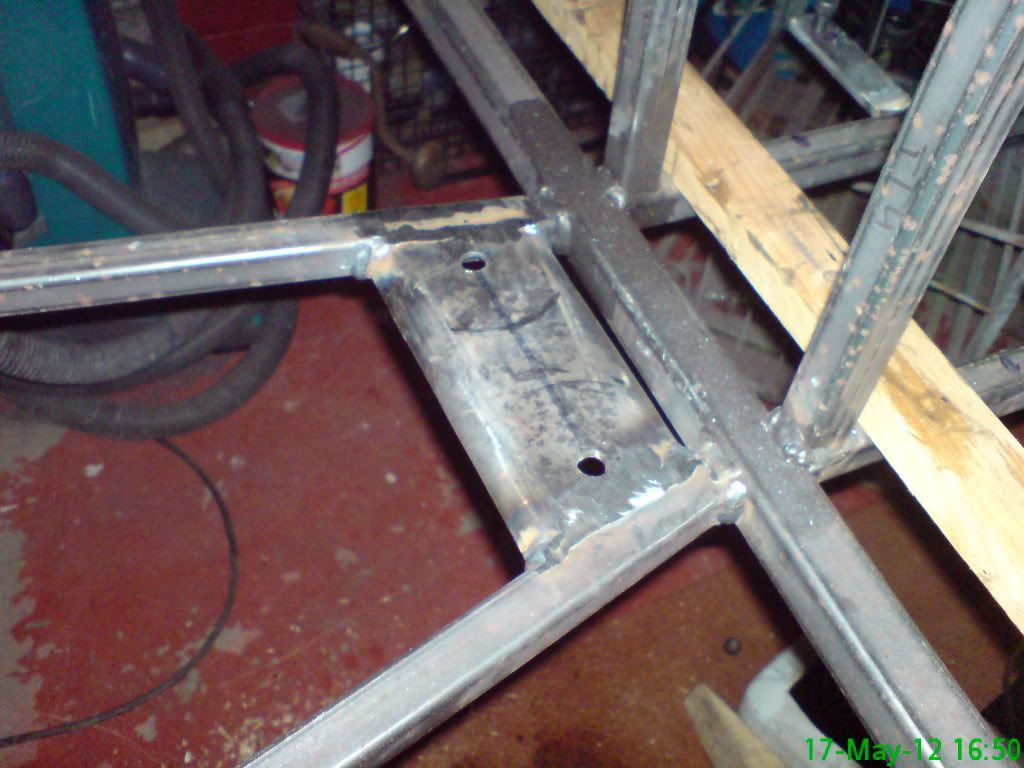 gearbox anti vibe mounts 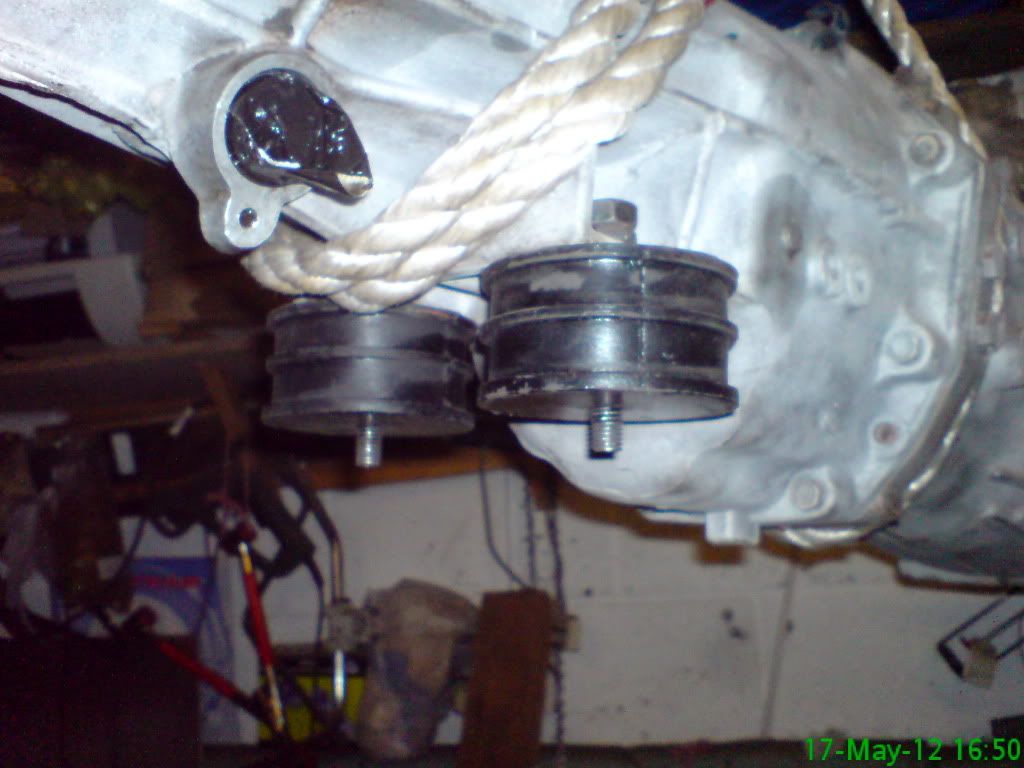 gear lever position 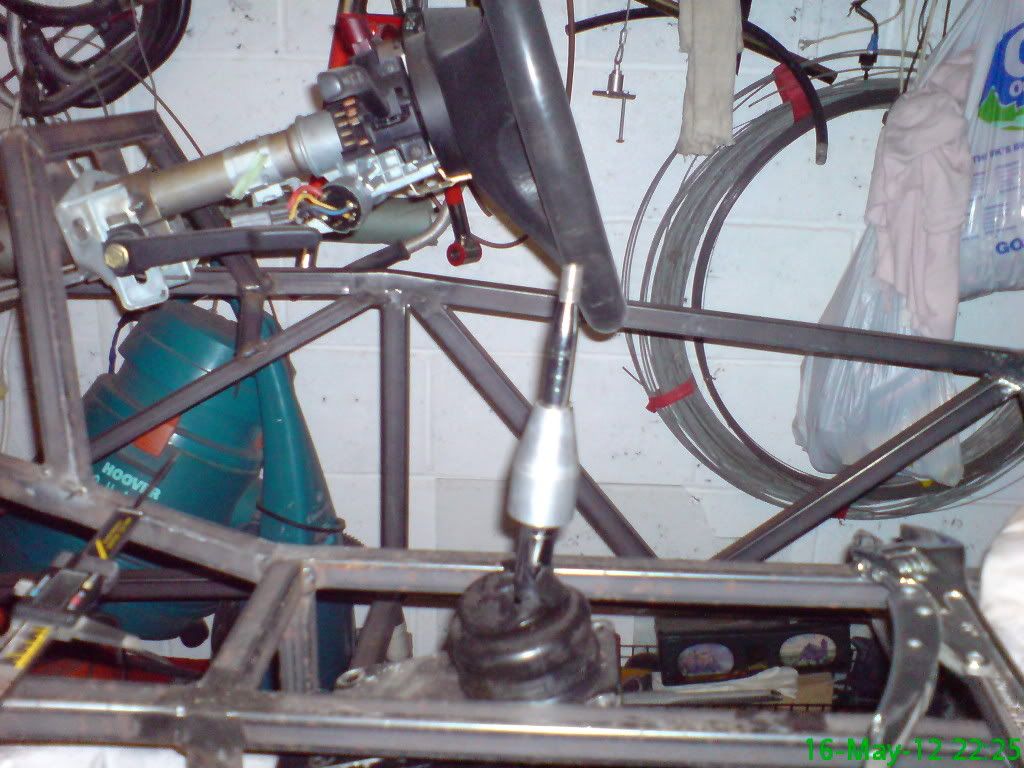 |
That's going to be one seriously quick roadster!:cool:
|
yup:D it will be Chris.....especially when I have finished the engine upgrades (stage 2)....gonna have to be very clever with my left foot that's for sure:p
|
| All times are GMT +1. The time now is 02:57 PM. |
Powered by vBulletin® Version 3.6.4
Copyright ©2000 - 2025, Jelsoft Enterprises Ltd.