    |
Last night I thought I'd have a go at modifying/completely remaking the exhaust. Well impressed with myself after an hour an half sweating.
 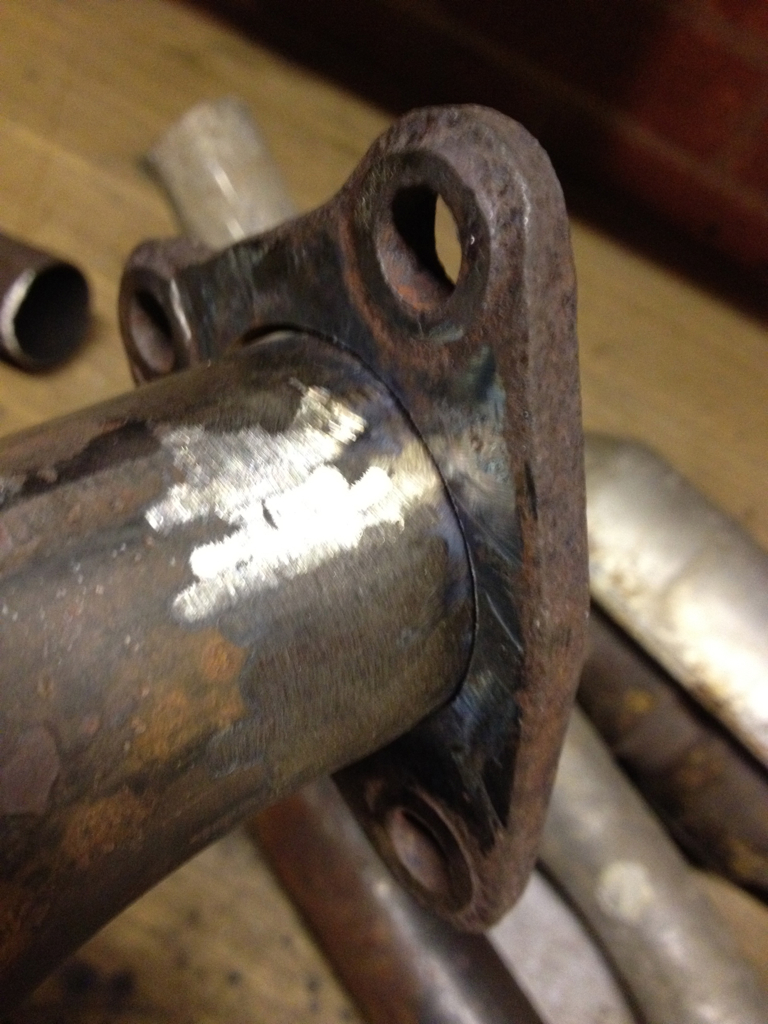  To be continued tonight!!:) |
nice progress mate :) look forward to seeing your exhaust after you have done :) I love chooobs :p
|
Will do Micheal, I like pipes too! I thought that section of the exhaust was stainless but it just seems to be really good quality steel and welded fine with the gas and wire I used for the rest of the car.
|
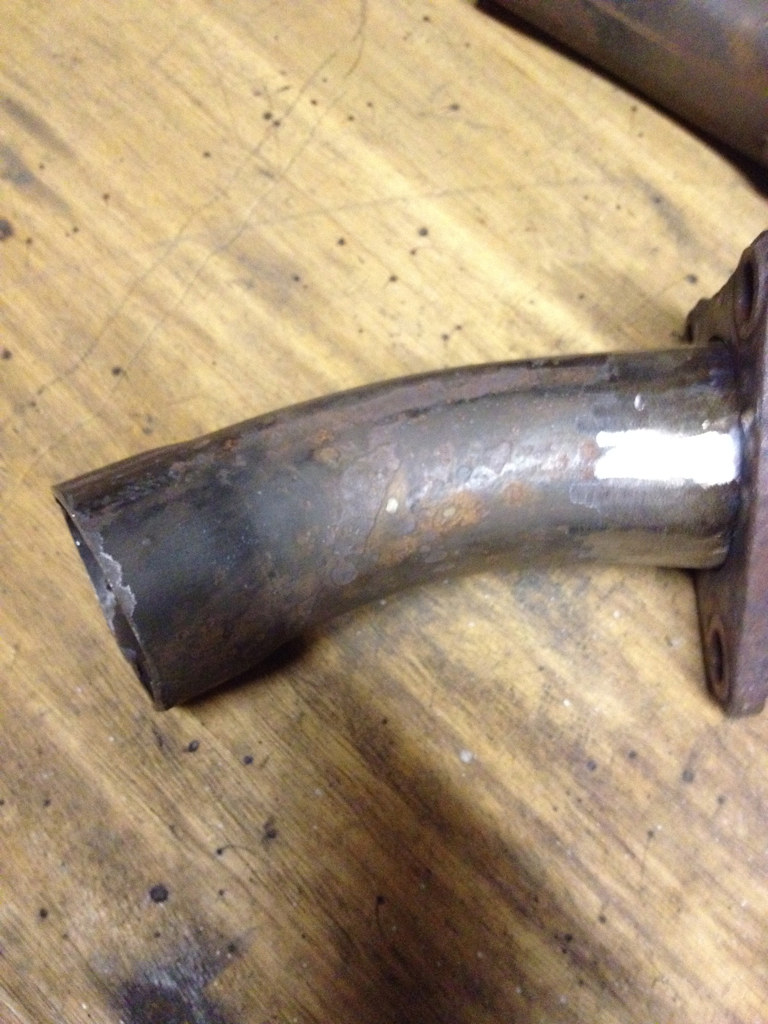
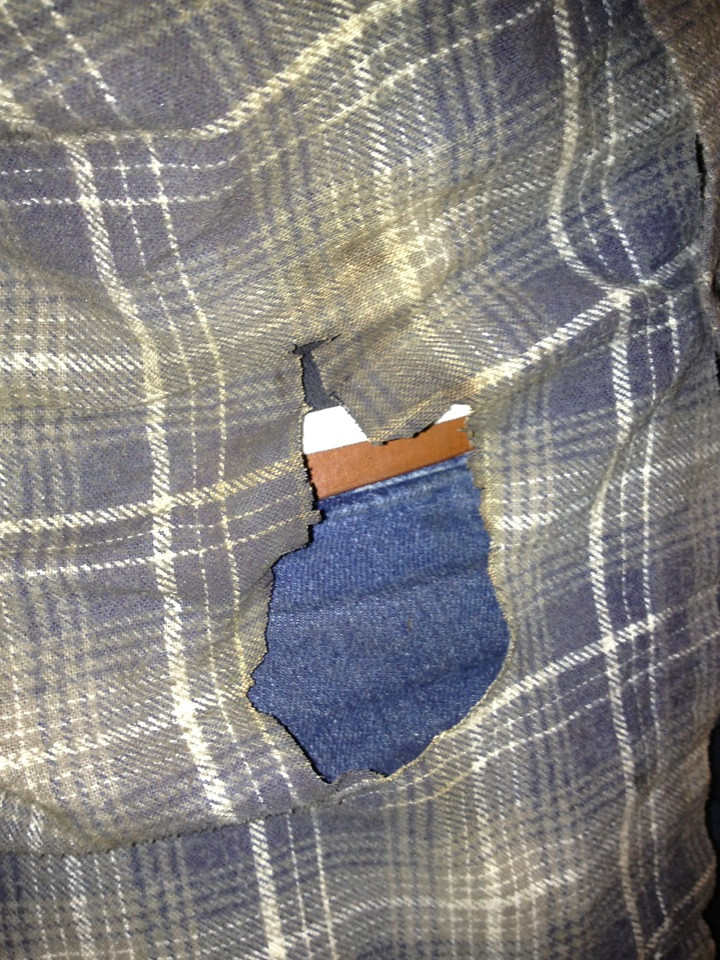
Other than momentarily setting myself on fire....
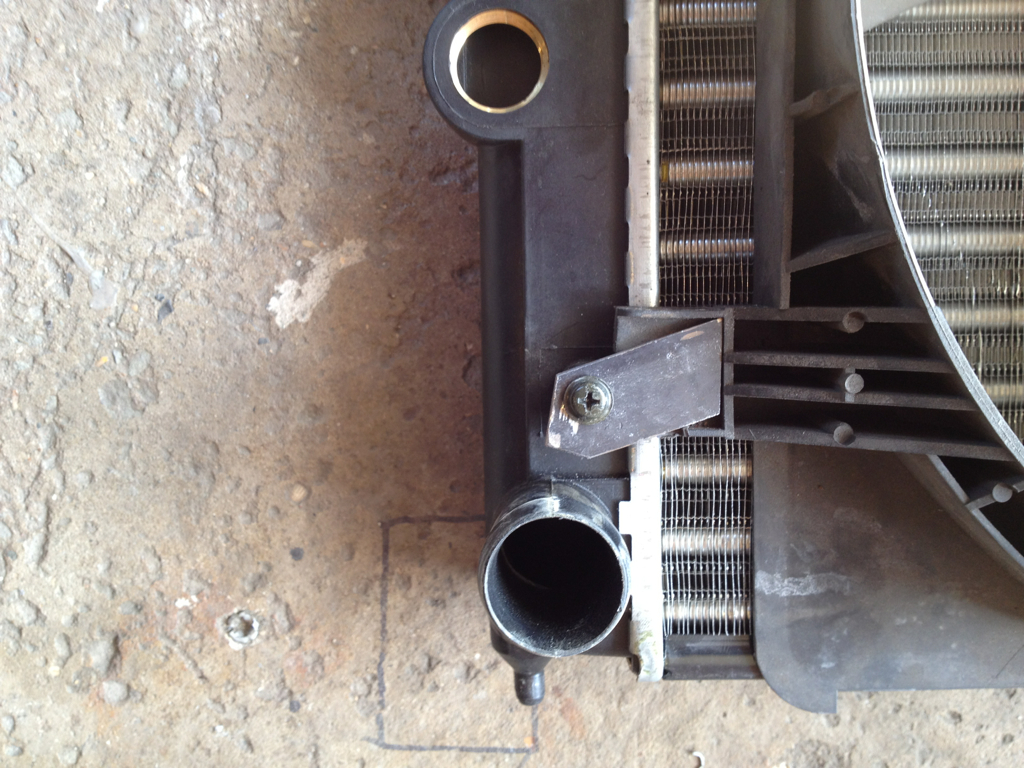
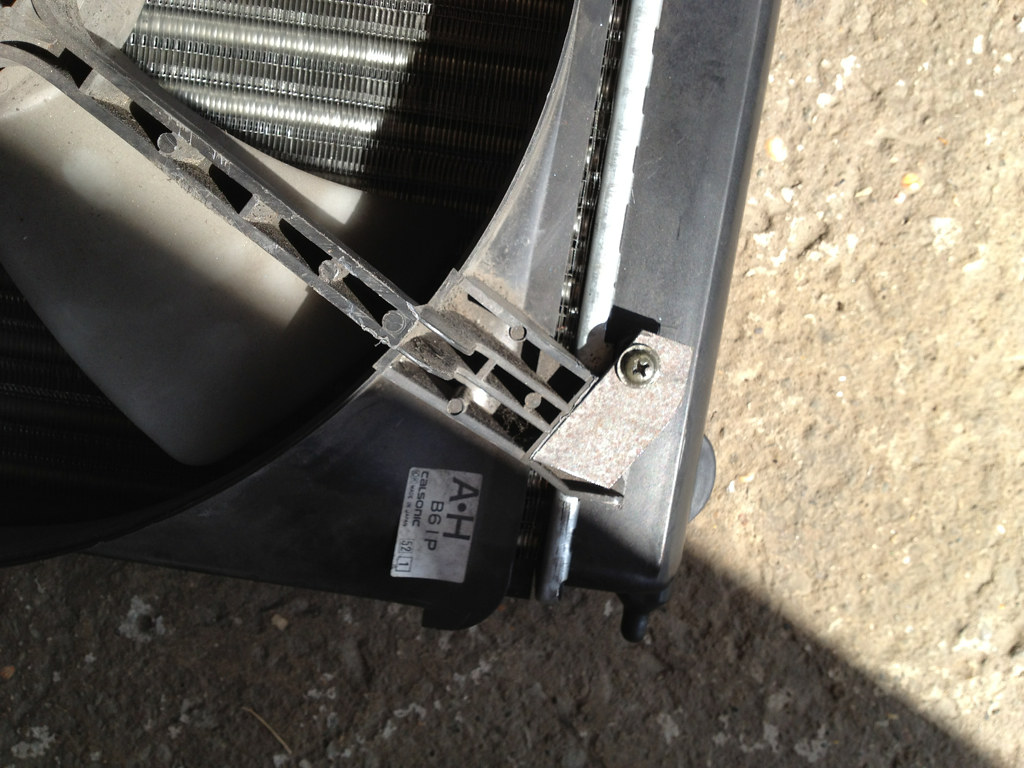
 I've been saving up for suspension and a proper exhaust silencer.... http://www.cbsonline.co.uk/product/7..._Silencer_SIL7 But in the meantime I welded up a temporary exhaust.....  When I'd finished it I couldn't stop laughing every time I looked at it. I'll keep the first bit and bin the rest. lol This weekend I mounted the radiator...  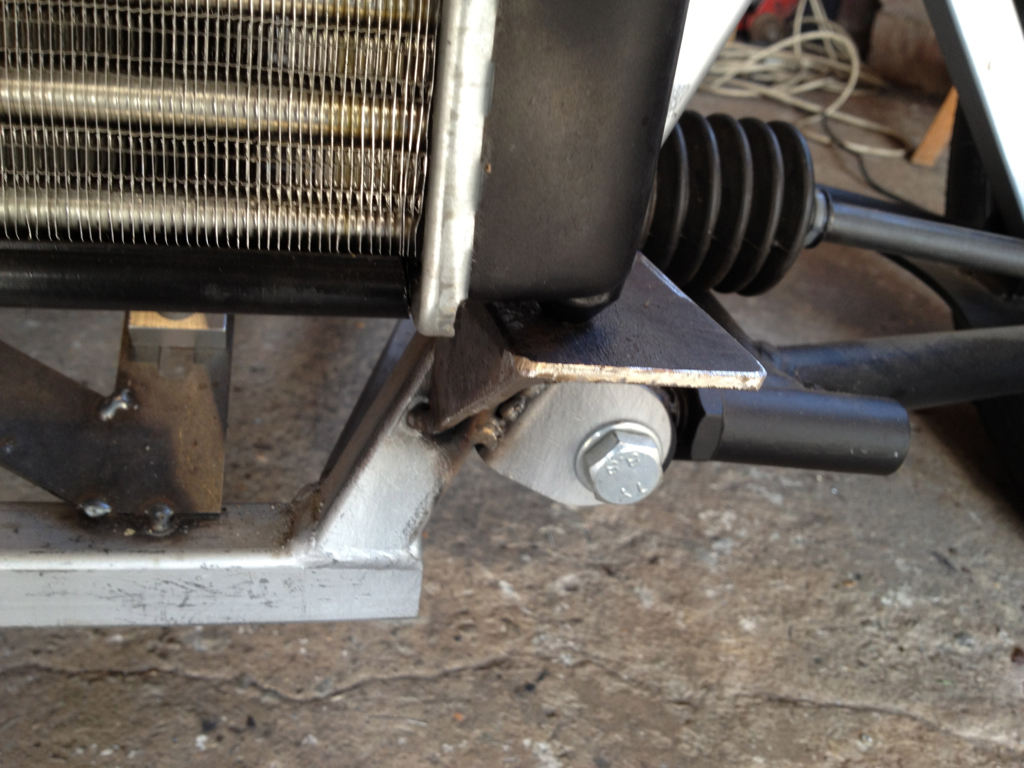 |
MX5 rad fan fits perfectly to the mk2 polo radiator with slight modifications to it.
    |
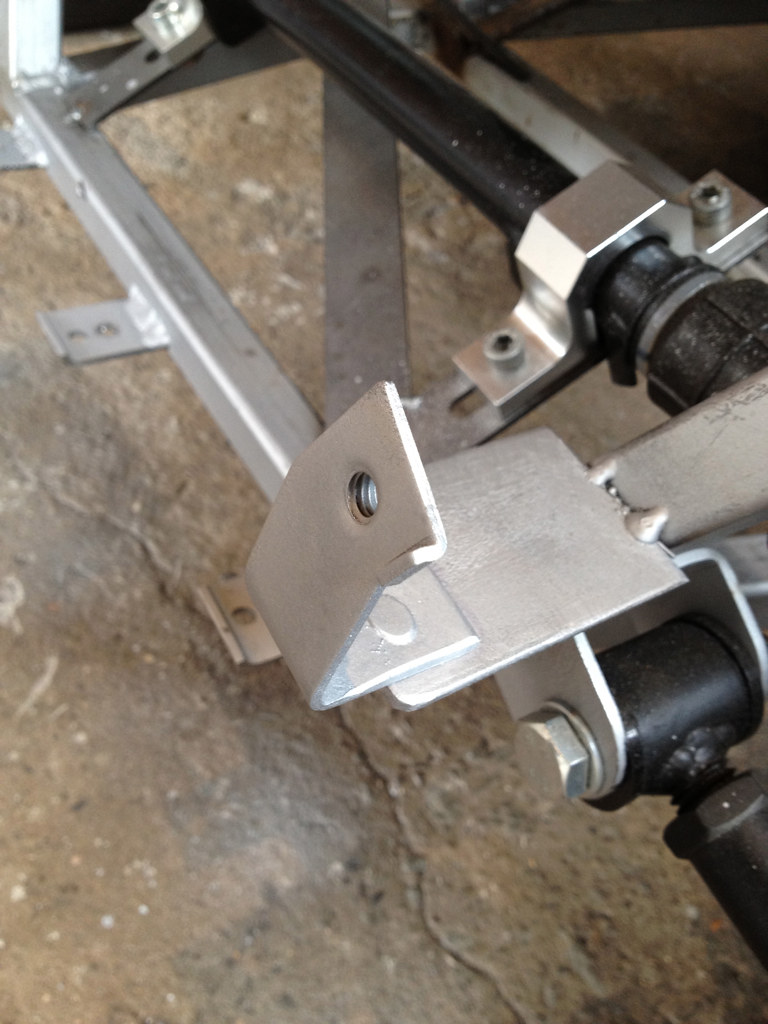
  Nosecone brackets and homemade spring clips. 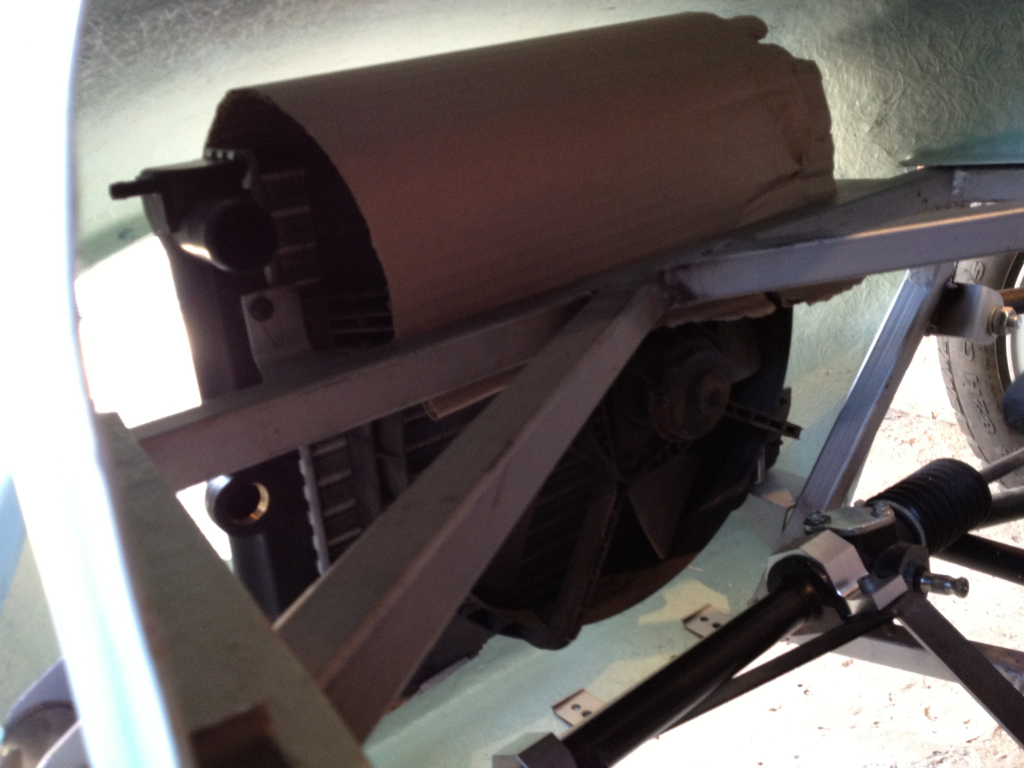  nose cone just slides on, it just needs drilling and some captive nuts for some round headed bolts coming up from underneath. |
Great---Ive just been trying to think how to locate the nose cone--thanks:D
|
hi chris,
some good progress there, you might want to trim 25mm or so off each end of the tube youve used for the seatbelt anchorages so that it clears your rear tub. |
Hi Nathan, not sure if I'm buying or making the rear tub yet. Don't suppose you could sell me a cheap scuttle to post over with that aeroscreen and mx5 track extensions you are doing for me?:)
|
Ill stick an old black one in the post with other bits foc, its off my first build thats in bits and is probably going to stay in bits. Its got a patch a couple of inches wide on the right side that was dulled with the da when noel polished it in a hurry, just needs rubbing with some 1200 and then polishing again.
|
Hi Chris,
You don't like waisting anything do you...;) You just keep coming up with new ideas and I think "why didn't I do that"... Honestly mate top notch. Keep up the good work....Johno:D |
Quote:
|
Quote:
Thanks for the compliment though, made my day. Now if I just had your superb fabrication skills I'd be a happy man.:cool: |
Quote:
|
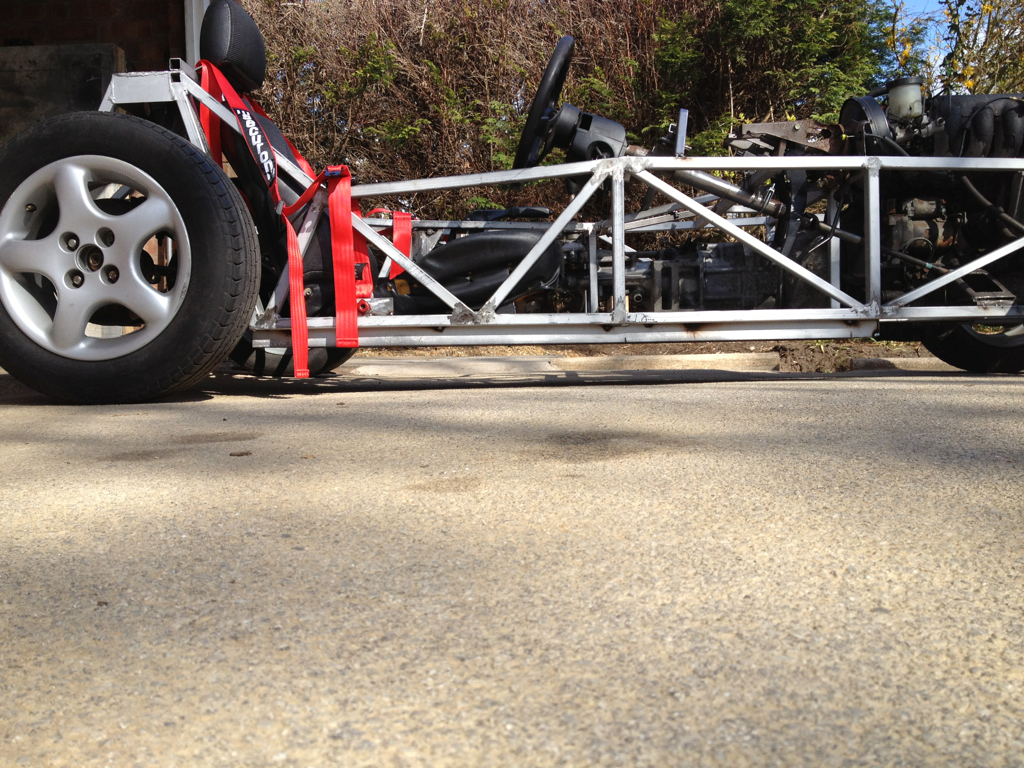
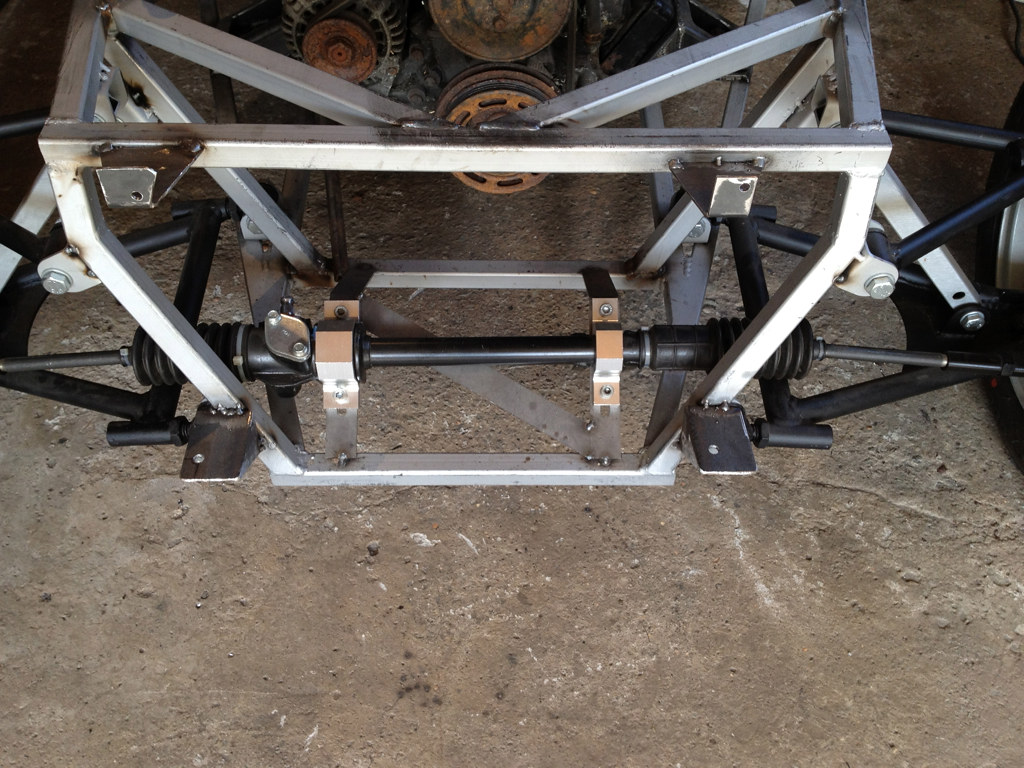
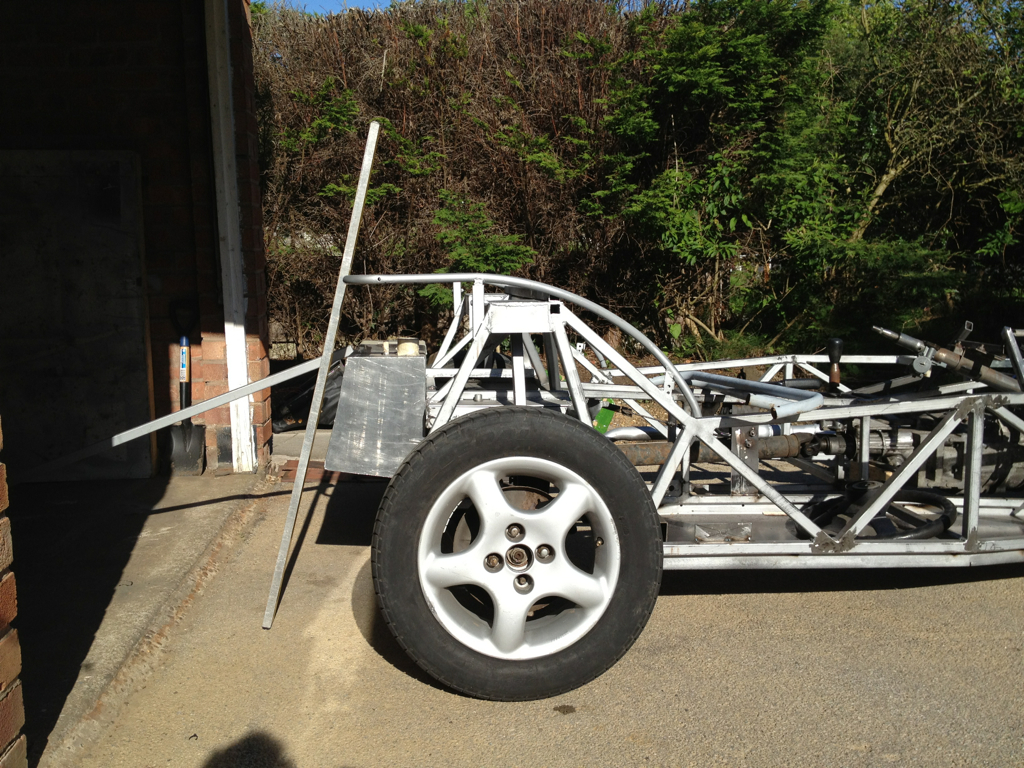
All the suspension bits arrived today...
 Not as pretty as the protechs but I'm happy with them for the money. Plenty of adjustment there and if the suspension is set with the wishbones level there's about an inch of body thread still available but if you lowered it that much there wouldn't be much shock movement available before the bump stop so you'd be firming up the damping to the max. Which as far as I can tell would give you very little suspension. Plus my arse and engine sump would be about 2 inches from the tarmac. 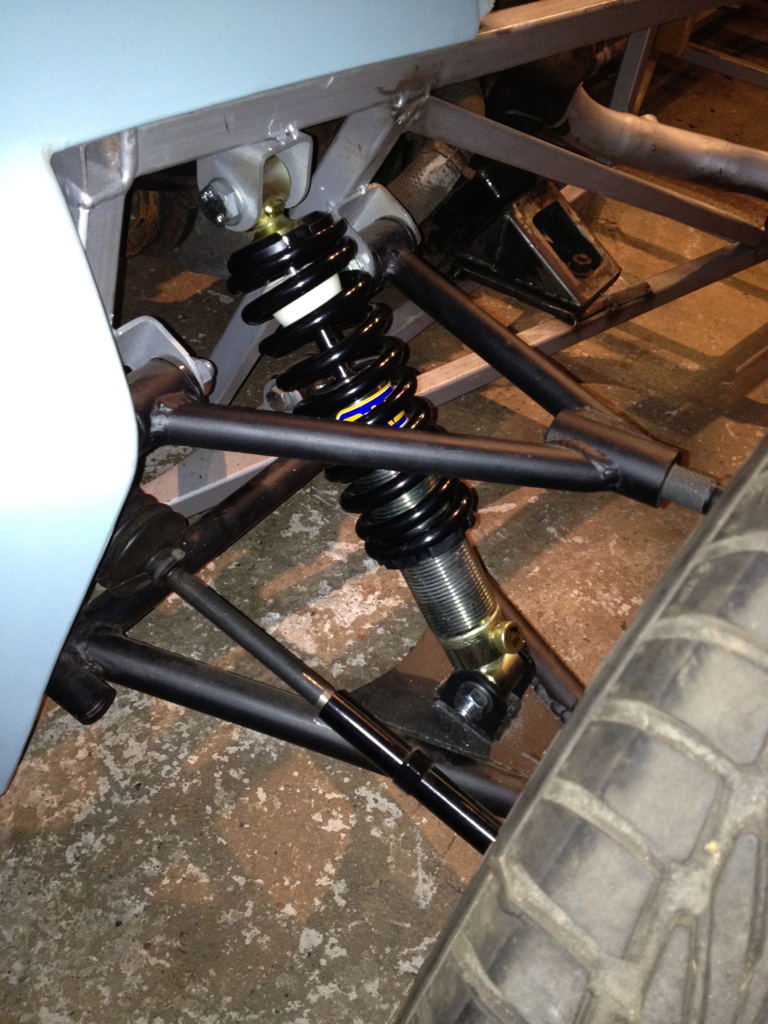 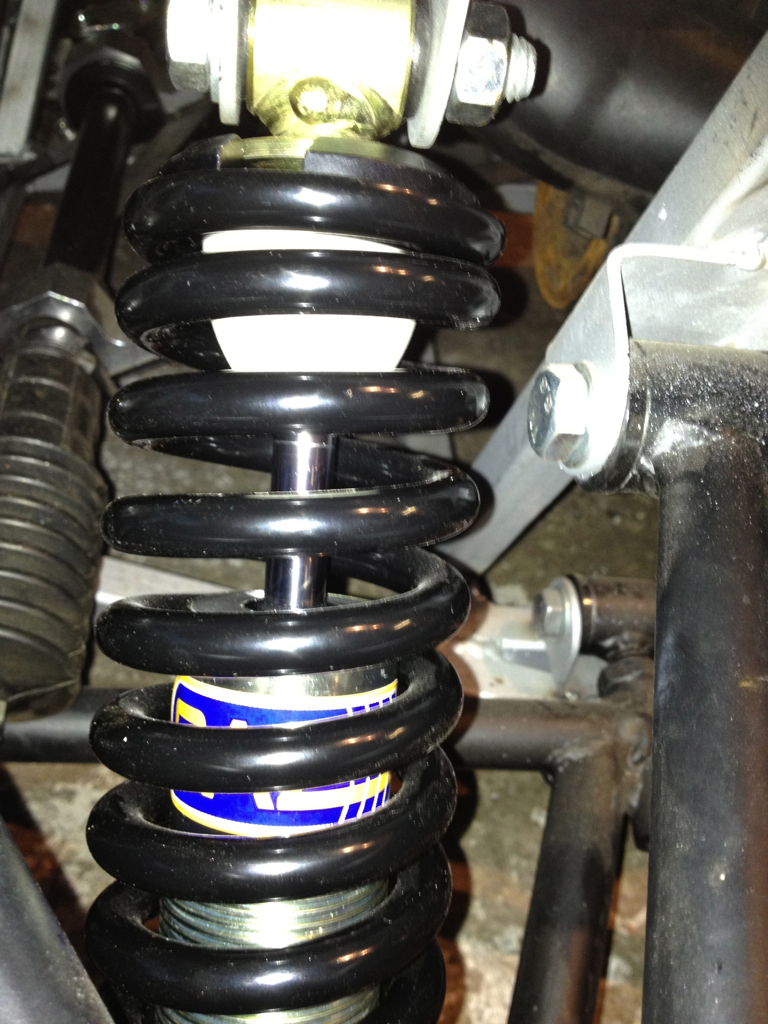 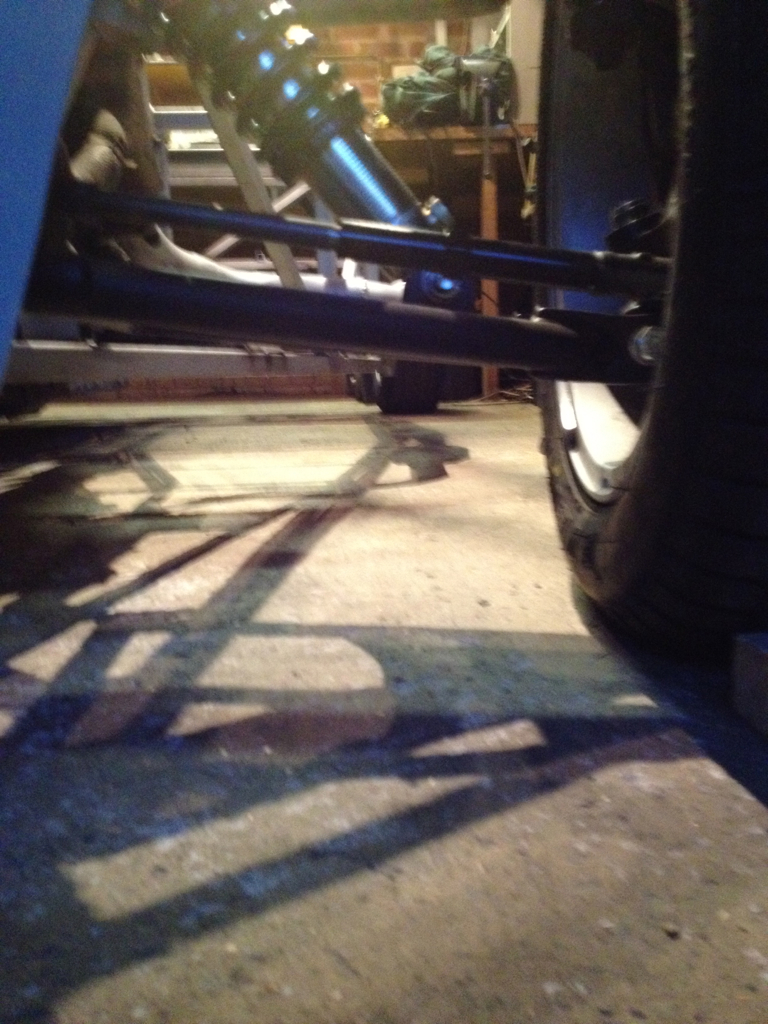 |
The back shocks and springs went on so easy and I can adjust the damping from the drivers seat! Made me laugh!:D
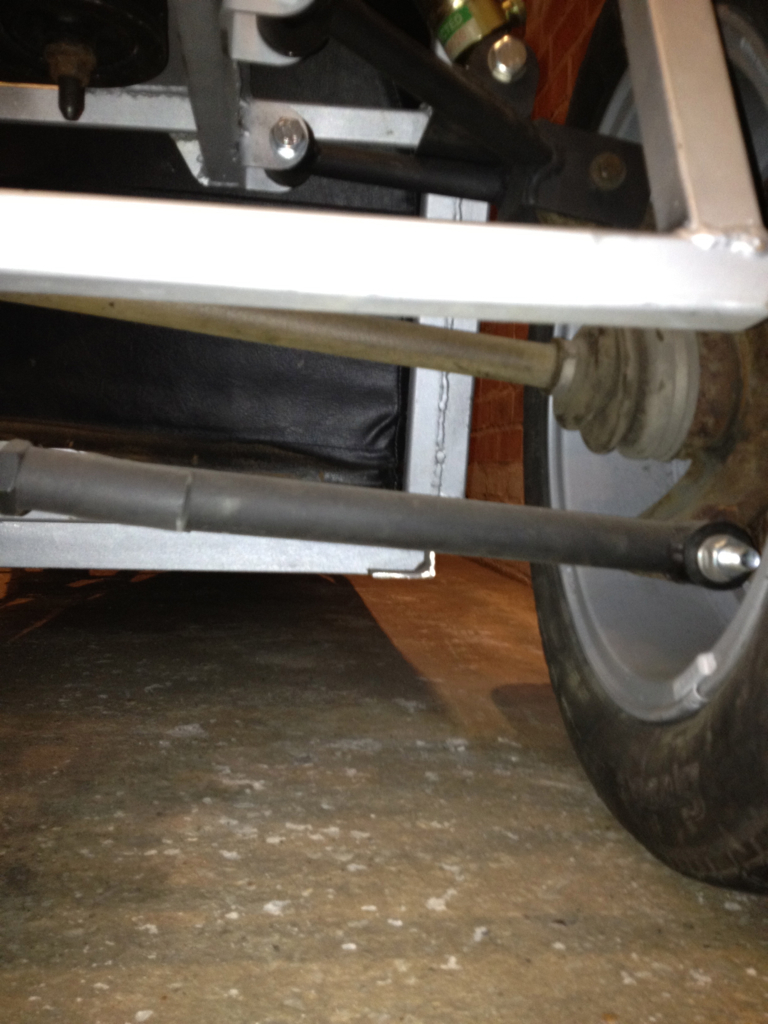 Bit high atm. 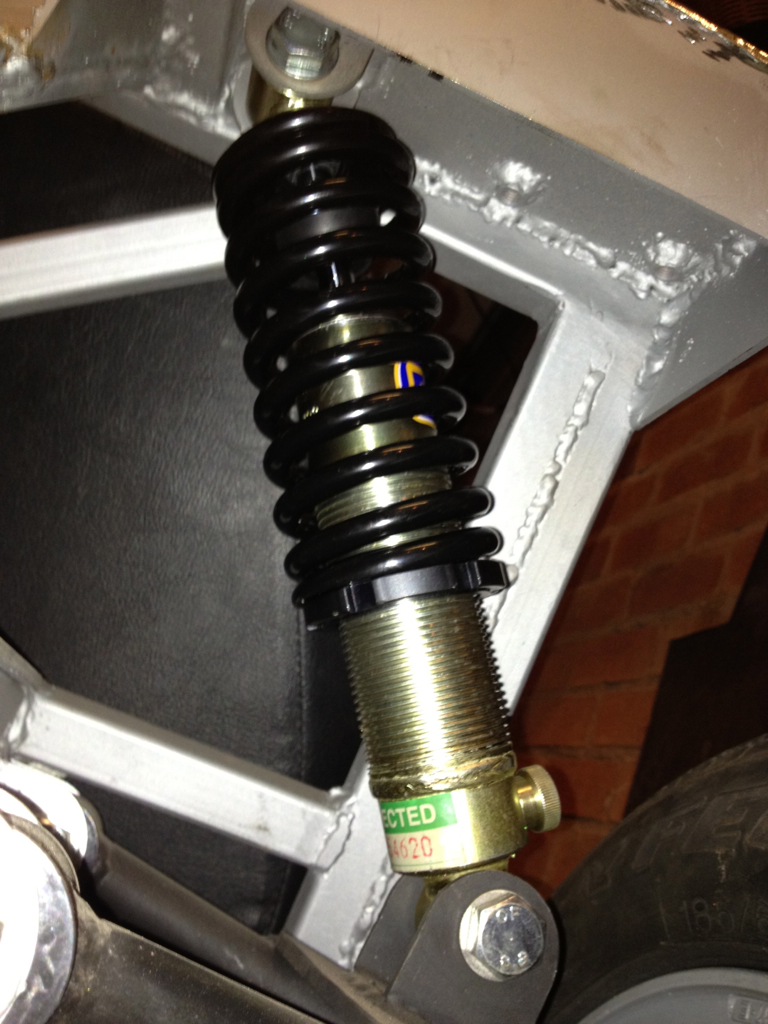 Looking a little more car like. 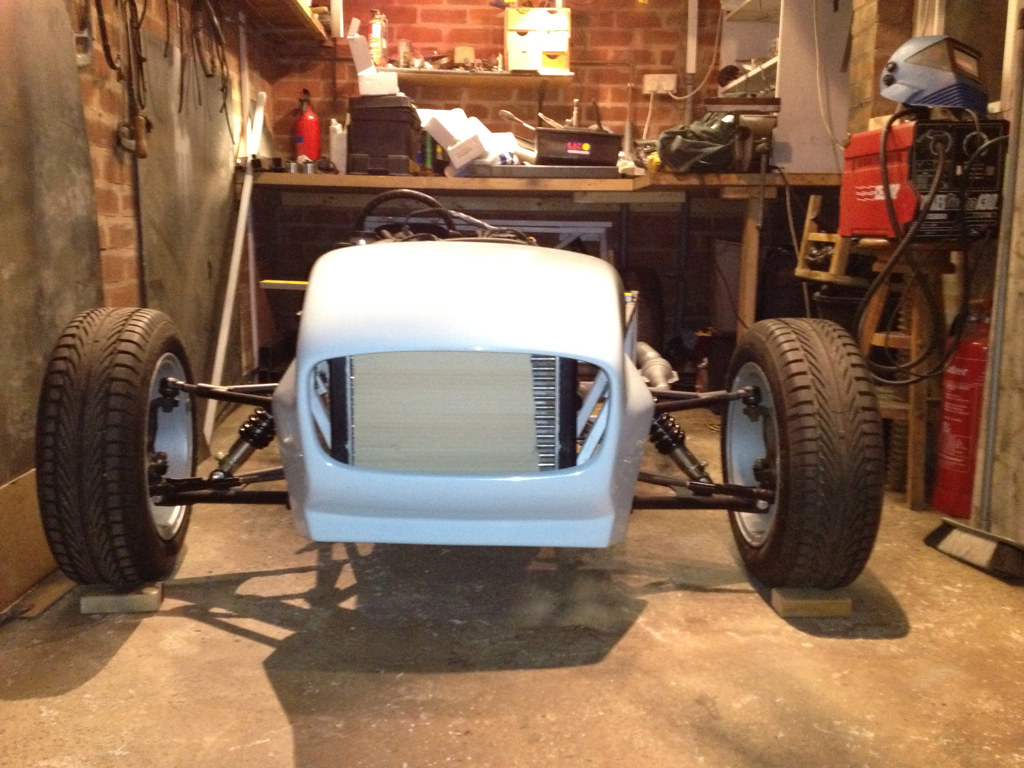 |
I bet you had a big grin on yer face when you put them bad boys on...:D
Cars really taking shape now Chris, so what's next? I guess by the look of it you plan to mount your harness to the top of the seat rail is that what the extra box is for? I believe there is a certain measurement from the base of the seat to the mounting point for the top harness fixings. Also if you go that route are you planning to ommit the rear diagonal braces to the roll bar as they are no longer required. Well by the looks of it you have a couple of extra hands to help out...LOL:) or are they quality control?..... Well Chris keep coming up with new Ideas and don't waste anything ...;) Johno |
Quote:
Quote:
Quote:
Quote:
Quote:
Quote:
Johno you're going to love this next post!!:D |
Ever wondered what to do with knackered caliper pistons and an office chair?
 LOL!!! 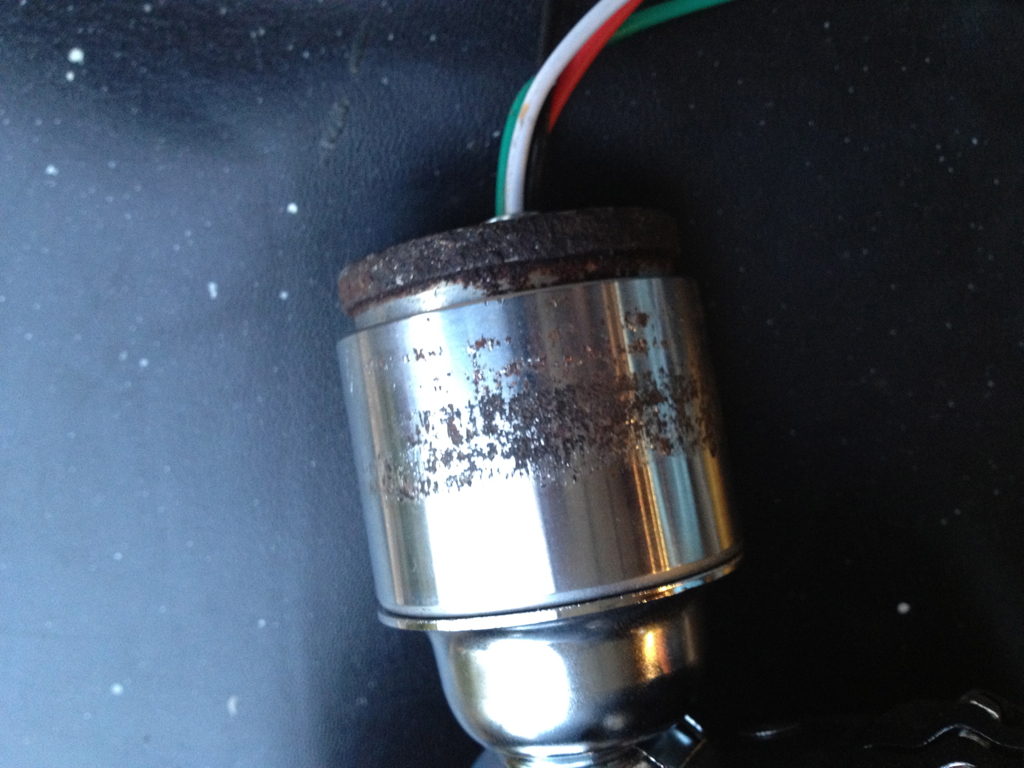  I think I'm enjoying myself too much with this reuse, reduce, recycle thing. |
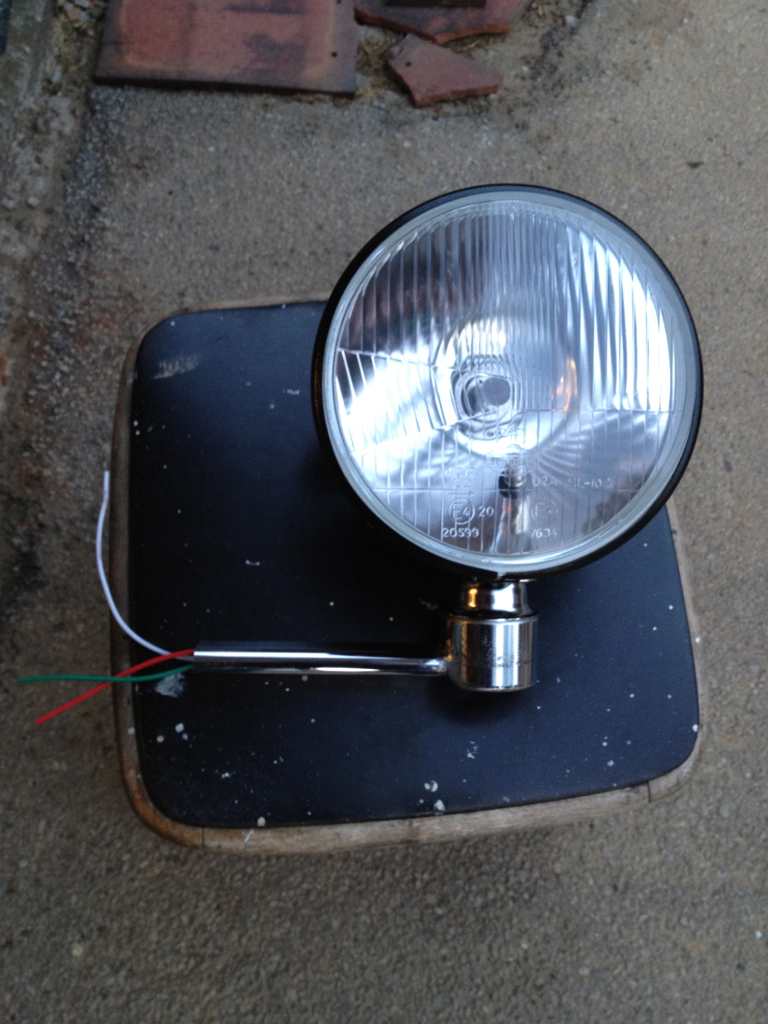
Horns and indicators mounted...
    Oh the indicators are from my dad's old mobility scooter! I just can't help myself. lol |
Chris your'e a bad bad man...lol:D
Hope the scooter was SORNed..lol:) Which vehicle are you using as the donor vehicle...:rolleyes: Seriously good work there buddy looking forward to your next recycling project... I bet you got "The Good Life on DVD"...:D Epic build (my son taught me that) Chris Keep up the good work, Johno |
CHeers for commenting Johno. My dad doesn't indicate much, bit of a mobility scooter rebel!
See this....  Well I turned it into this.... 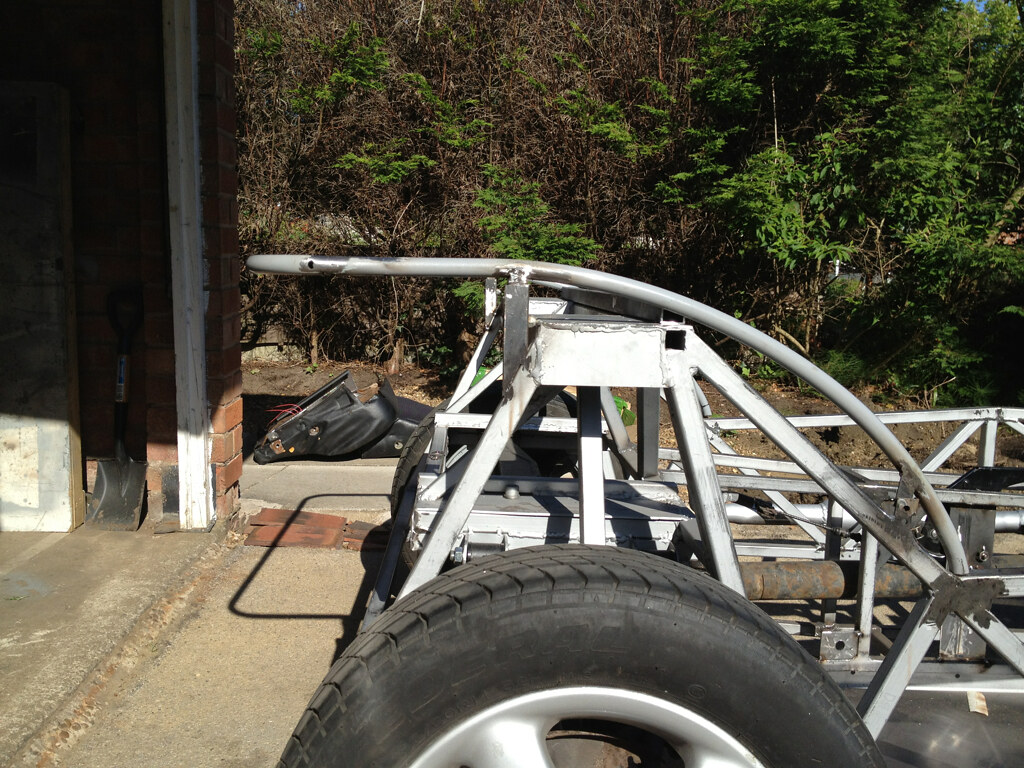 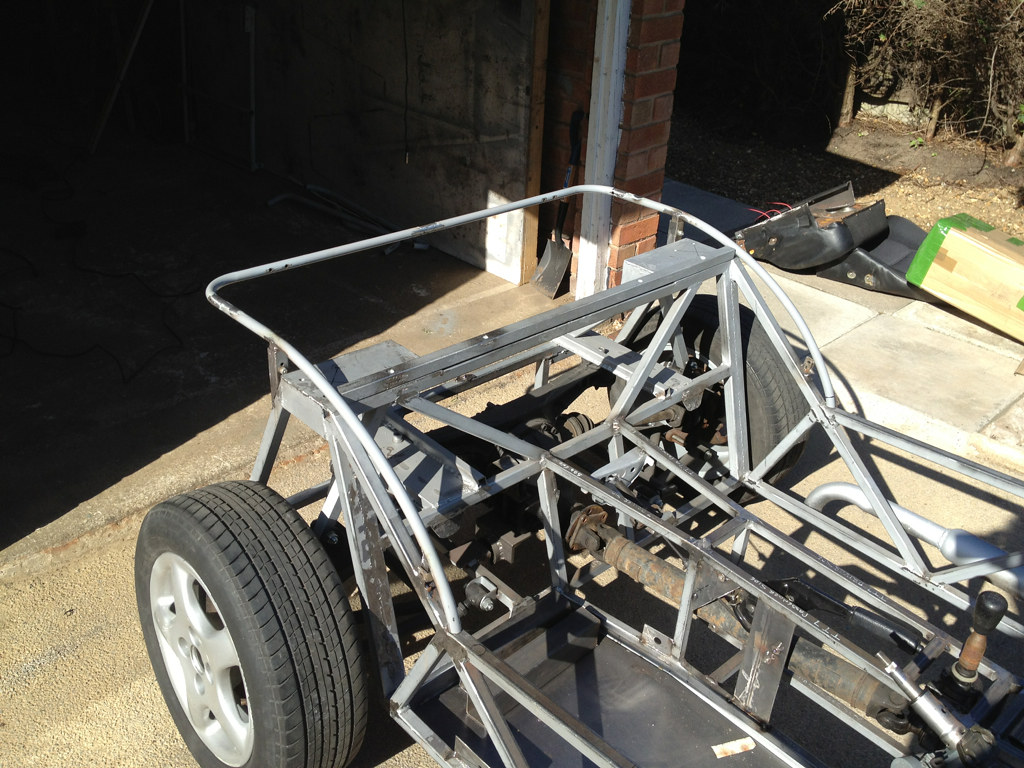 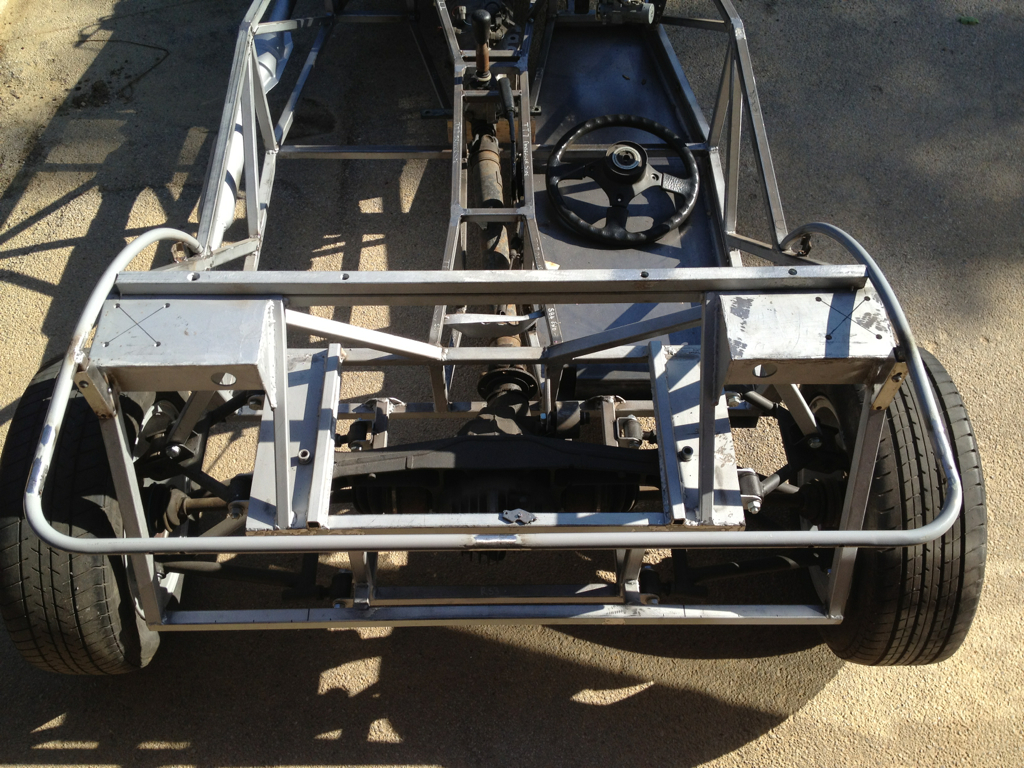 |
  Got my clocks in position... 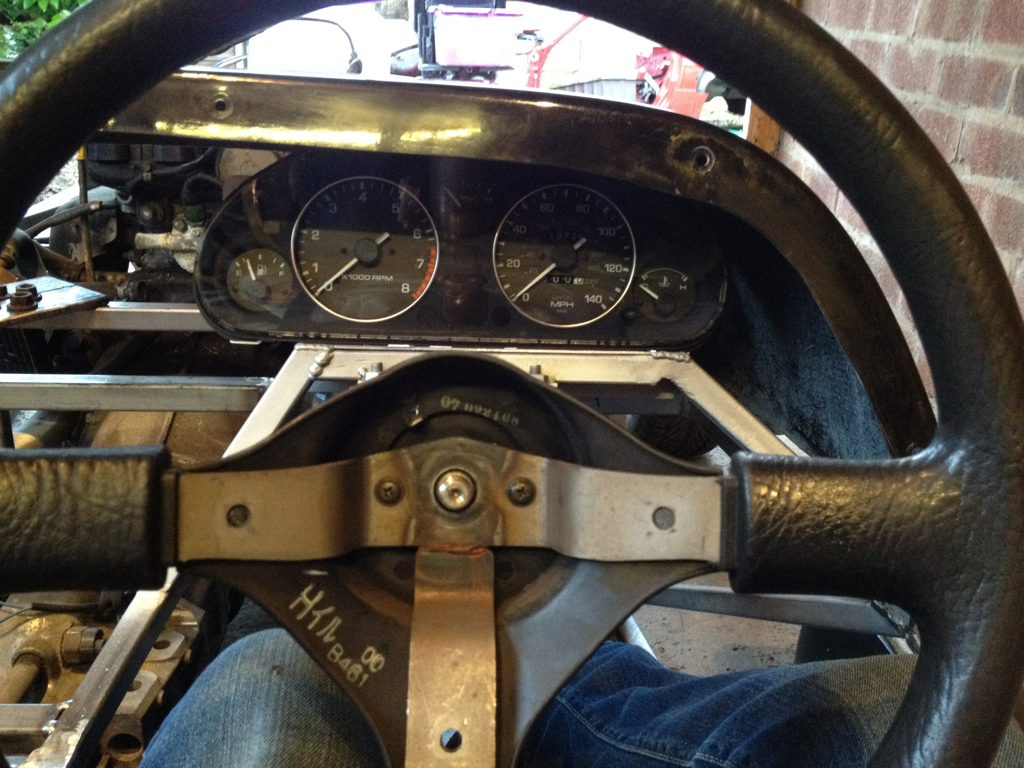 And the cowl...  |
Finally put the last bits of the chassis on for the tank...
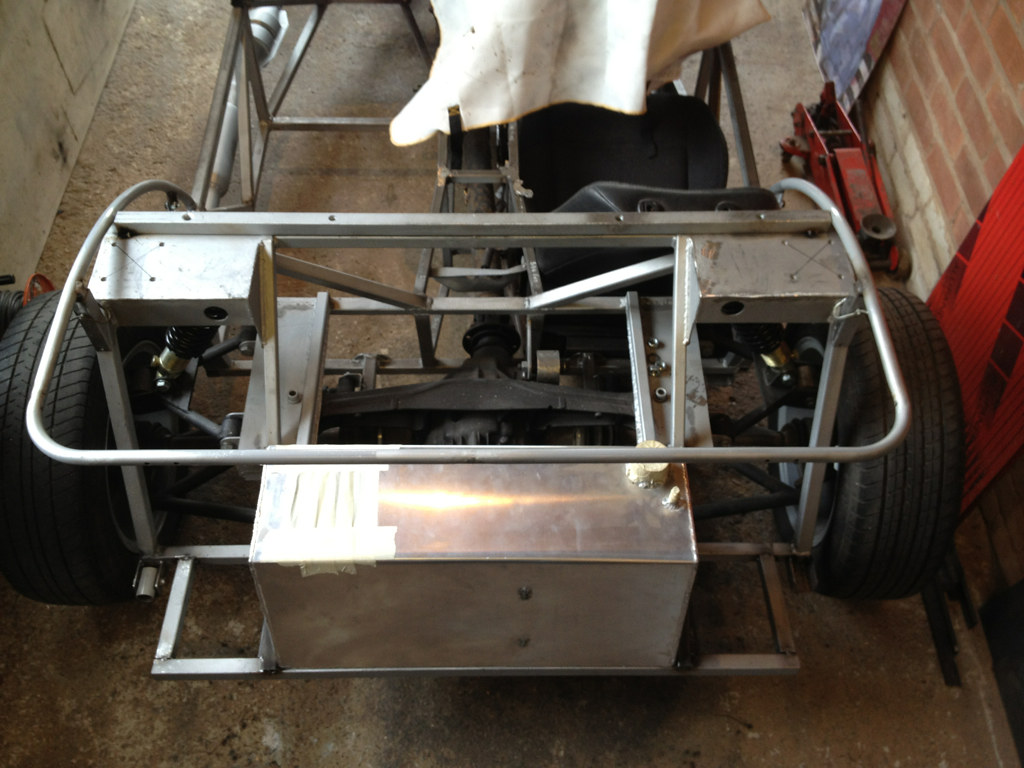 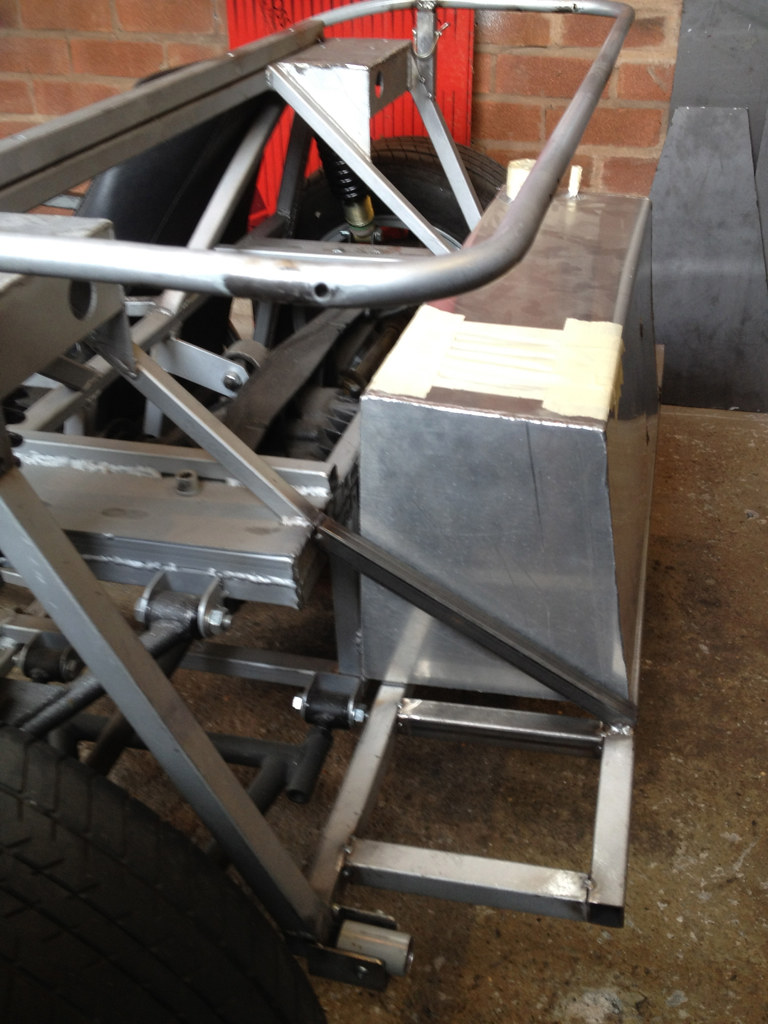 The back end will be removable by undoing 6 bolts, I wanted easy access to the rear for when I need to make setup changes or replace by diff mounts!! :eek: Oh I've refurbed the brakes but no pictures. Forgot and they are tucked away now. Managed to get a big red refurb kit for the front brakes and new chromed pistons for £30 each. backs where £15 each no pistons needed. £90 all in, not bad. |
Nice work Chris :cool:
I'm loving all your creative little detours from the book. Keep em coming! |
Cheers John. You'll have to update your build thread soon. Been keeping an eye on you on google images! :)
|
Quote:
My build's been a bit slow of late... :rolleyes: |
Quote:
|
Hi Chris,
That's a goo idea with the rear top tube:cool: I guess you intend to sheet the rear in ally and that will work out nice around the wheel arch area as it can all be in one piece. Gonna pick your'e brains now, did you lower the floor to get over the top harness anchorage points to be within IVA measurements as I'm looking to have no rear stays on my rollbar and weld spacers on my top seat rail to gain height? I see you're prop has been shortened, did you do this yourself and if so where? Also I guess you measured between the gear box ouput and diff flange and made the prop a bit shorter? by how much shorter do you make it? Regarding you instrument cluster now...:D I also intend to use the original Mazda panel but the only set back I have at the moment is the speedo cable. Anybody using the mechanical speedo drive will have problems in the transmission tunnel with the radius being too tight from the gearbox. I have read Westfields only lasting a few miles before the cable breaking on their Mazda builds. I believe there is a TOYOTA 90 degree adapter that will fit the Mazda gearbox to get over this but dammed if I can source the part...:mad: What do you intend to do? Really like what you are doing with the build Chris... Johno |
Hi Johno, glad you like it. Thought people would hate it. Just quickly though before I get to the computer tonight. Does the speedo cable have to go down the tunnel can't it come into the footwell and then go back out, through the floor in your case and under the car. Was messing around with the dash when I read your post. And thought I'd have a play with the speedo cable. Hadn't really give it much thought before, thought it would be the last thing to give me a problem.:)
Edit forgot to say a small panel could cover the offending cable! |
Quote:
Quote:
Quote:
I don't know how much I removed but my engine is probably a little further forwards than yours to clear the standard pedal box. Quote:
Quote:
Cheers Johno, I like yours too but it hurts my eyes to look at your thread.:cool: |
Hi Chris,
Yeah sorry about my photo's, paint schemes a bit loud to say the least...:D No reason why people shouldn't like your build as you've got some really good ideas there. In hindsight I wish I spent a bit more time up front sorting stuff out instead of just ploughing in like I have... :o It really pays to look at what others have done and have a choice of what you can do with the build. Regarding the Westfield builds and their problem with the mechanical drive for the speedo I've found this... Those of you who used a NA (Mk1) donor, will have found that the speedo cable makes a very sharp bend at the transmission. Every single car that I know of ended up with a broken cable because of this. The only solution is to make a hole in the body to feed the cable through or use the NB (Mk2) cluster with its electrical drive gear (its a direct swap against the mechanical drive gear). However, there is a much easier solution. The mazda gearbox has a metric M22-1.5 thread as do old 80′s and 90′s Toyotas. Most (all?) RWD Toyotas used a 90° angled drive to prevent this problem. The part is a straight fit for the Mazda transmission! The original Toyota P/N is 83770-30070 and it is meanwhile superceeded by P/N 83770-22100. 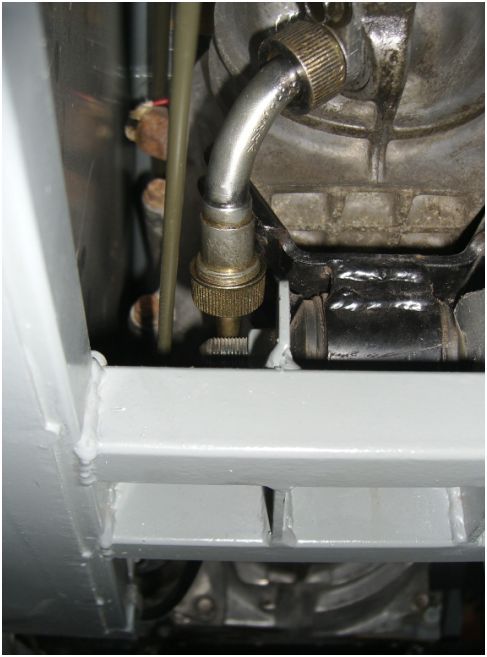 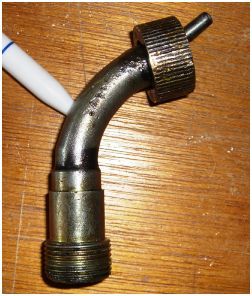 Simon phoned up Toyota today and you can still get this part for £73. I know it's expensive but it's a lot cheaper than replacing the cable every 25 miles...LOL Hope this helps..... Johno |
Chris,
How many fuel pumps are you planning to use on your car. Are you going to use on your car. Are you just using the one from insie the tank or will you add an extra one? Thanks David |
Wow £73!!:eek: don't you just love dealers! I'll be taking mine into the foot well.:D Great info through Johno you should put that info in a new thread for easy finding by others in the future.
It's not your paint scheme Johno it's cos it's so clean!.:) I'll be a little bit sad when my cars finished cos I'm enjoying building it so much so I'm taking my time on purpose and faffing about a lot. I've always wanted to build my own car so putting my own ideas in there is more important to me than building a recognisable Haynes Roadster. Hi David, well I was going to run the standard fuel pump but I do have an in tank bosch pump from a Mercedes ML320 which is cable of providing enough fuel for a 3 litre engine. I was only going to use it when I decided to push for more bhp one way or another. Why do you think you need more than one fuel pump? |
Just Ordered!
http://www.cbsonline.co.uk/product/7..._Silencer_SIL7 I'm shaking and sweating after spending so much scraped together paypal tokens on that bad boy!!:( At least my car will be fairly quiet, and look good on the right hand side!:D |
Quote:
wowser ....bet that stung |
Quote:
|
Quote:
|
Quote:
|
| All times are GMT +1. The time now is 03:26 PM. |
Powered by vBulletin® Version 3.6.4
Copyright ©2000 - 2024, Jelsoft Enterprises Ltd.