 |
are you using those adjuster on all the wishbones? its just you might find the pitch Isnt fine enough when you come to doing your alignment, I'm using fine thread rose joints (1/2" unf i belive) and its amazing how much half a turn affects things
|
Quote:
|
Quote:
|
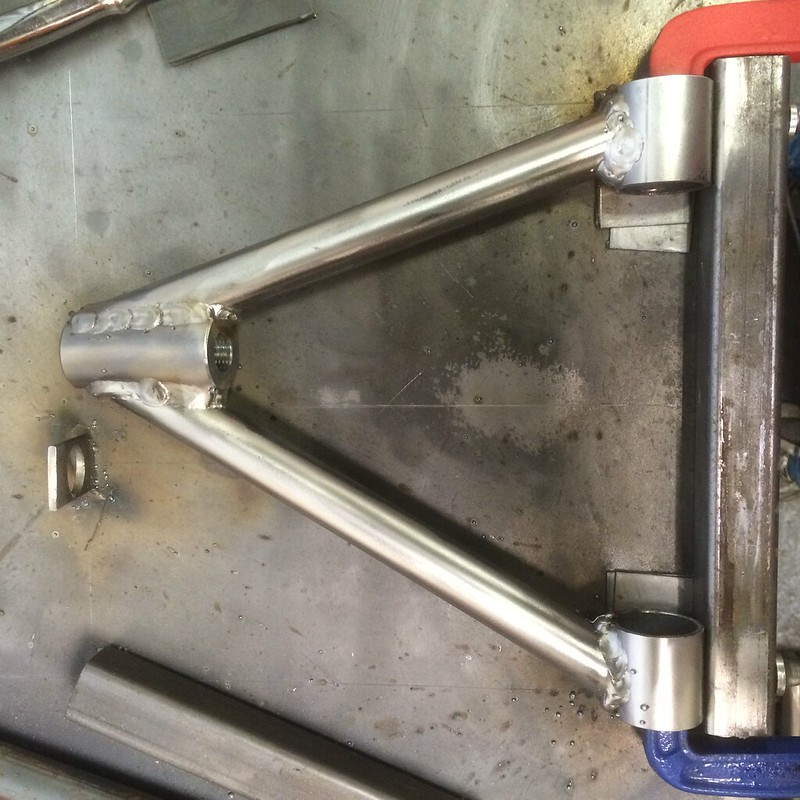
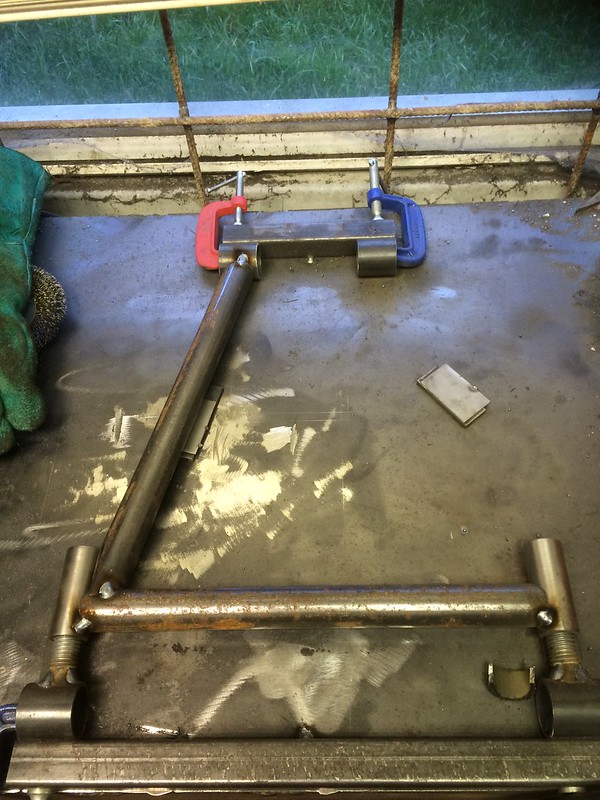
Started on my wishbones
I was dreading these a bit but the first one worked out fine 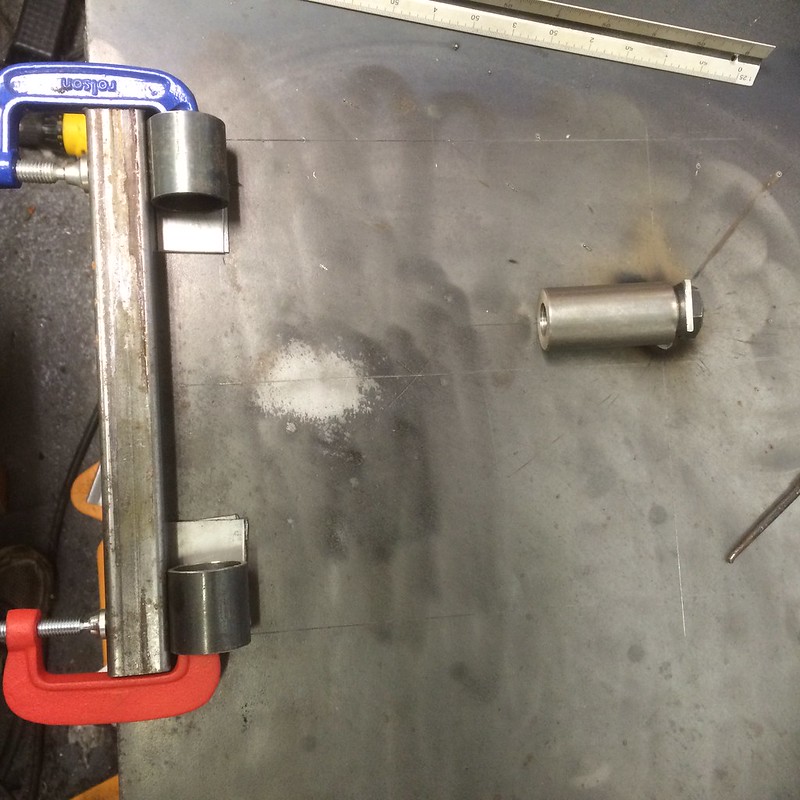 Untitled by stephen harborne, on Flickr Untitled by stephen harborne, on FlickrThe two bush tubes and the m16 x 1.5 threaded tube for the ball joint clamped in place 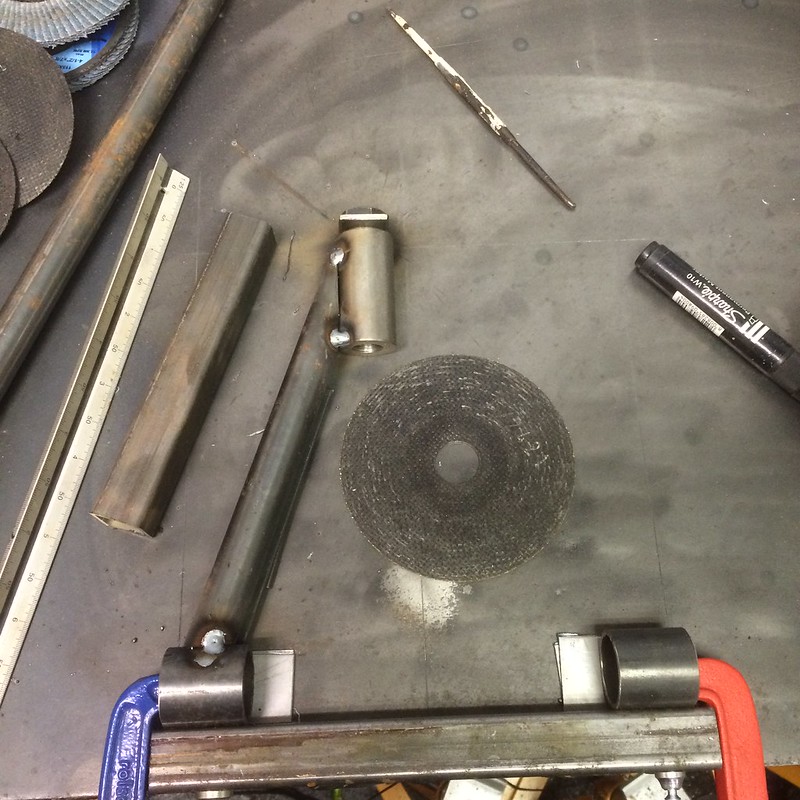 Untitled by stephen harborne, on Flickr Untitled by stephen harborne, on FlickrThe first arm tacked in place 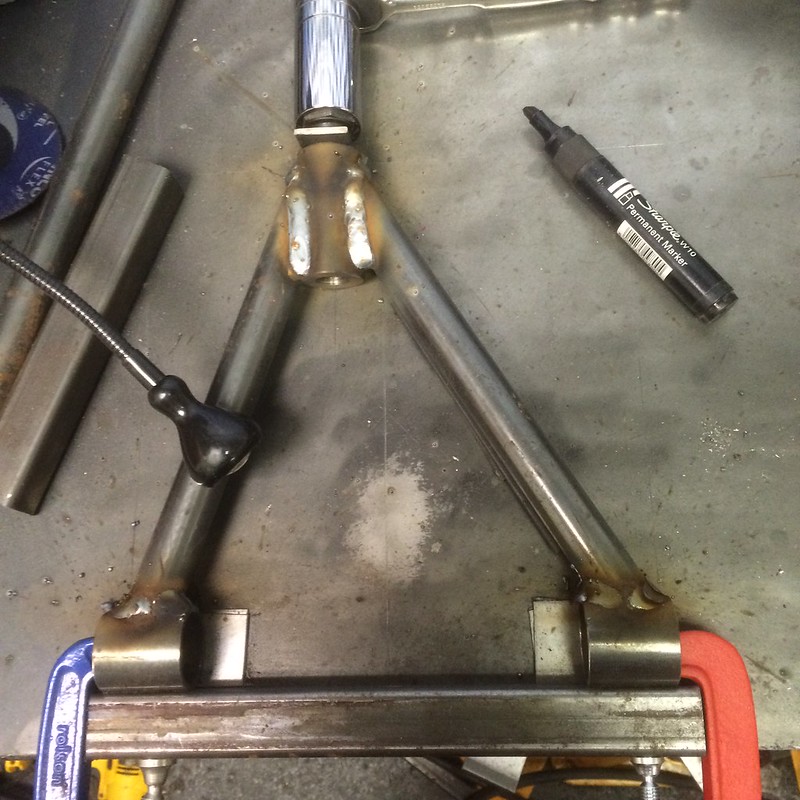 Untitled by stephen harborne, on Flickr Untitled by stephen harborne, on Flickrone side welded 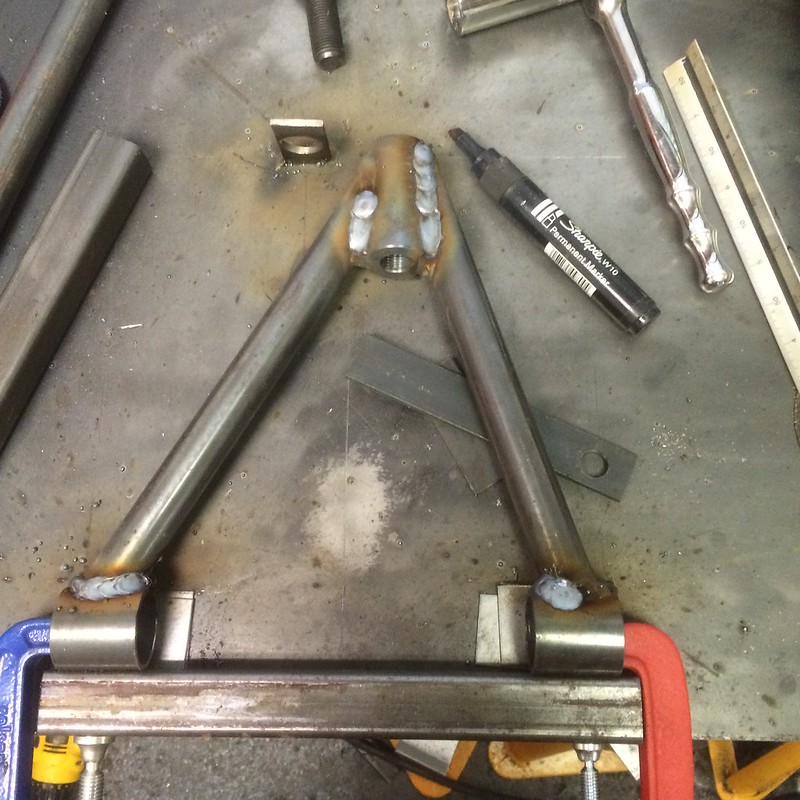 Untitled by stephen harborne, on Flickr Untitled by stephen harborne, on FlickrOther side welded |
|
Looking good following your build with interest
|
good work there, I think its all the prep that kinda makes it a though , but once you get going its fine :)
Look forward to the next 7 pics :) |
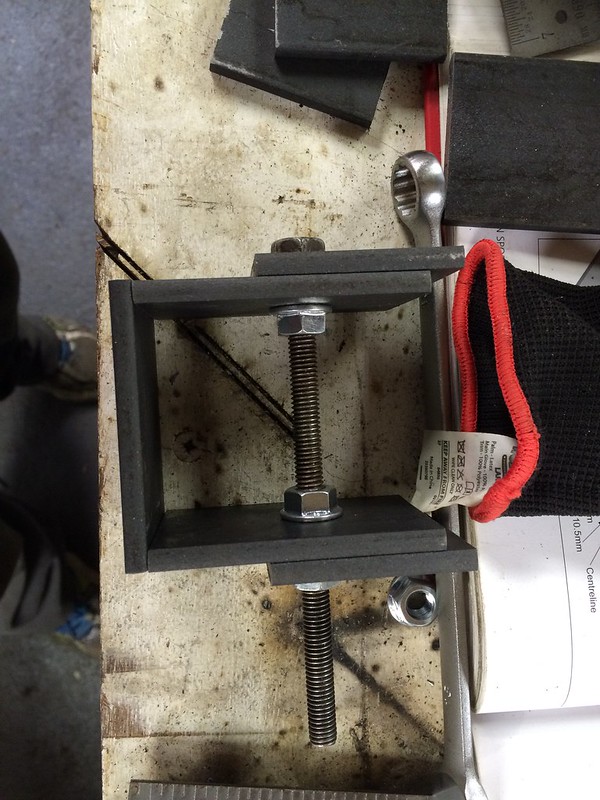
Wishbones are easy and fun, I don't get why people are making a fuss out of them. I found a ditch, and the front wishbone has buckled in the middle of the tube. My crappy amateur welds held fine. Getting the plate lasered and bent took more time than making the replacement wishbone. I had some spare bush tubes and a suspension bracket. I didn't make a full jig, just a 25x25 tube tacked onto a 3 mm sheet, with the bush tubes clamped onto it. The wishbone plate just sat on 10 mm spacers (M12 nuts probably) above the centreline marked on the jig plate.
http://locost.lt/download/file.php?id=1012&mode=view http://locost.lt/download/file.php?id=1015&mode=view |
Ok so its been a while but i have been tipping away
 Untitled by stephen harborne, on Flickr Untitled by stephen harborne, on Flickr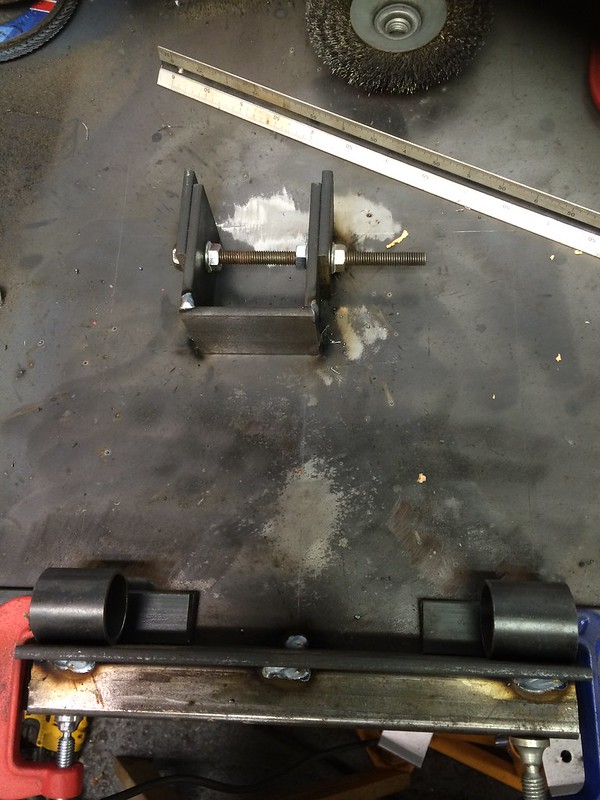 Untitled by stephen harborne, on Flickr Untitled by stephen harborne, on Flickr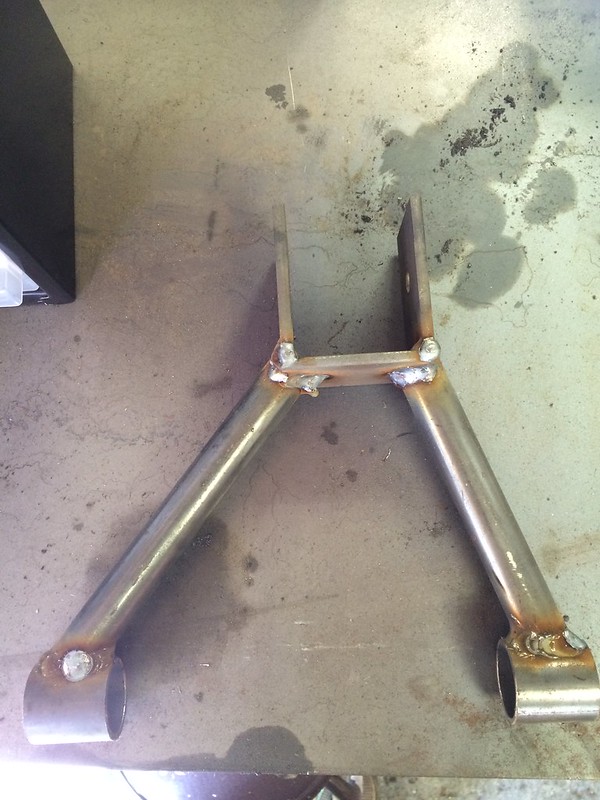 Untitled by stephen harborne, on Flickr Untitled by stephen harborne, on FlickrRear upper wishbone |
 Untitled by stephen harborne, on Flickr Untitled by stephen harborne, on FlickrRear lower 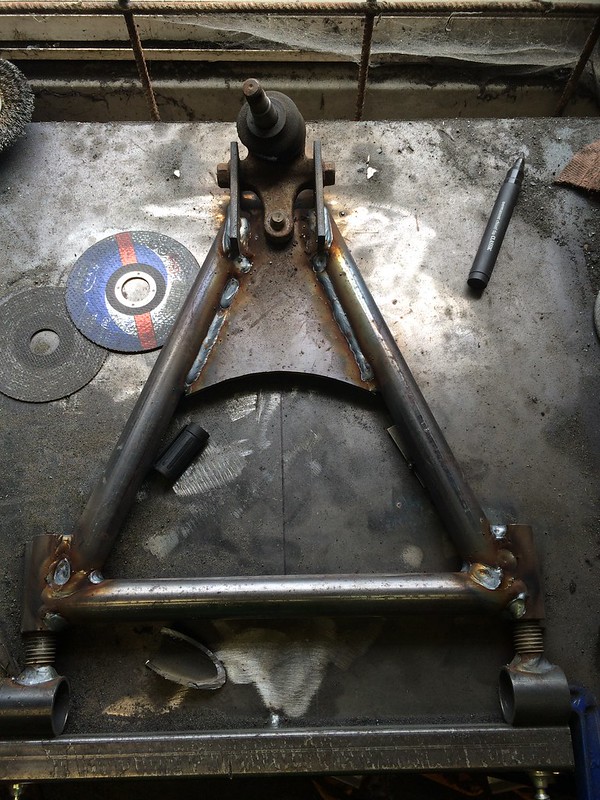 Untitled by stephen harborne, on Flickr Untitled by stephen harborne, on FlickrFront lower 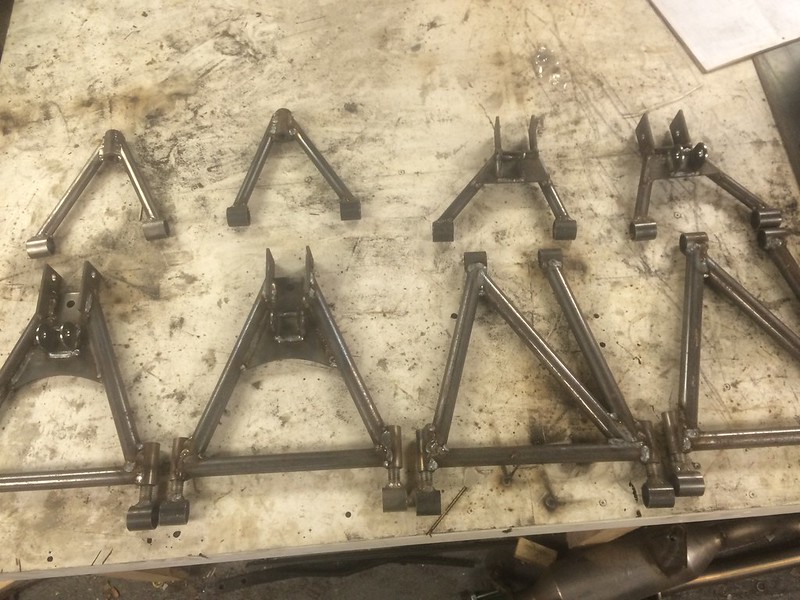 Untitled by stephen harborne, on Flickr Untitled by stephen harborne, on FlickrThese were quiet time consuming but very satisfying to make 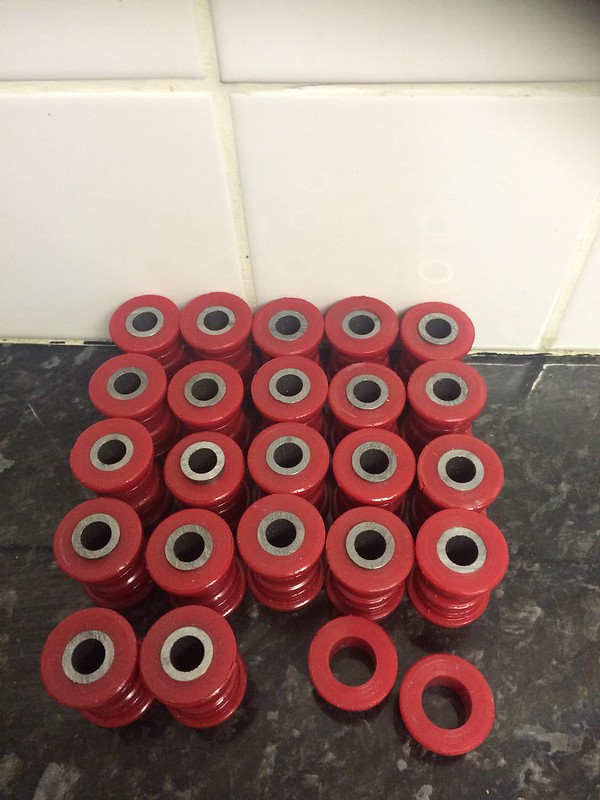 Untitled by stephen harborne, on Flickr Untitled by stephen harborne, on Flickr |
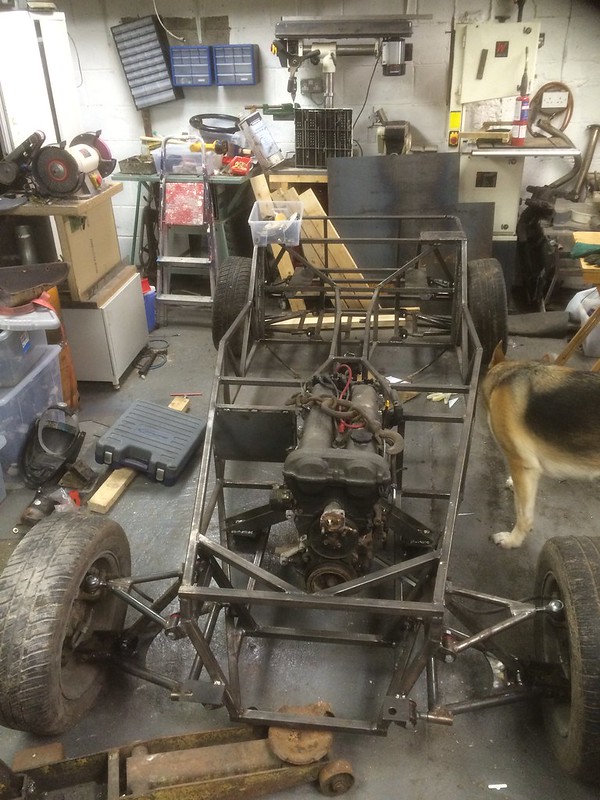
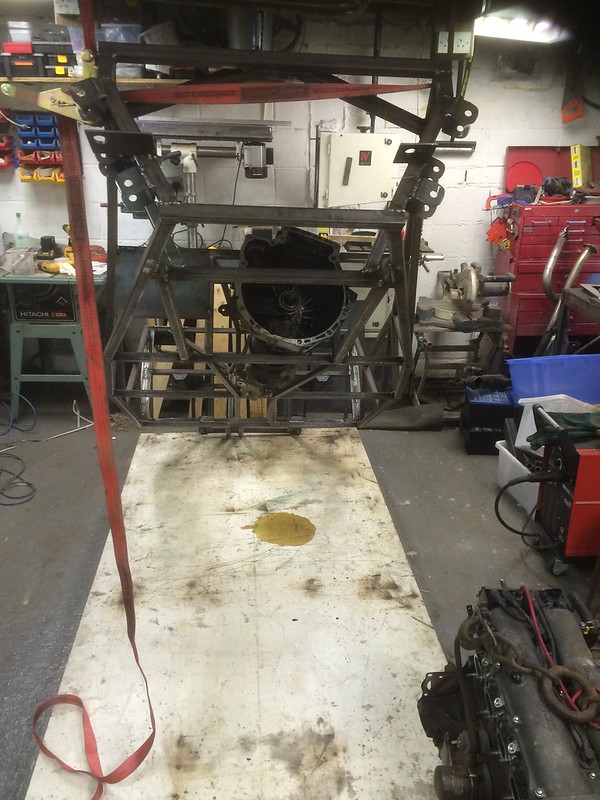 Untitled by stephen harborne, on Flickr Untitled by stephen harborne, on FlickrGetting the engine and gearbox in place 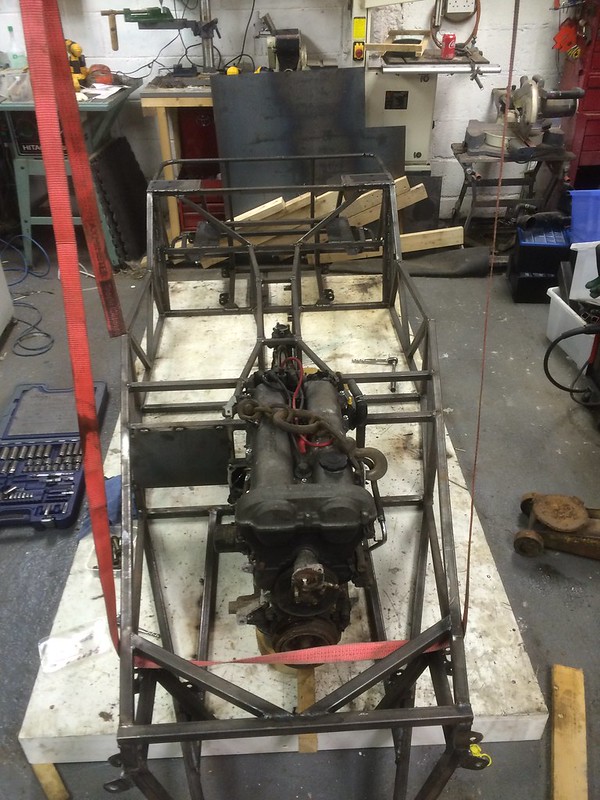 Untitled by stephen harborne, on Flickr Untitled by stephen harborne, on Flickr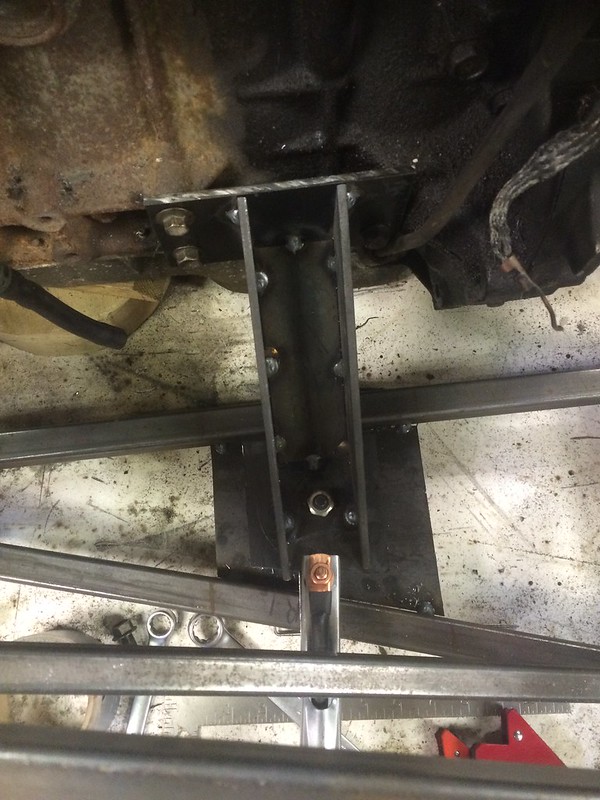 Untitled by stephen harborne, on Flickr Untitled by stephen harborne, on Flickr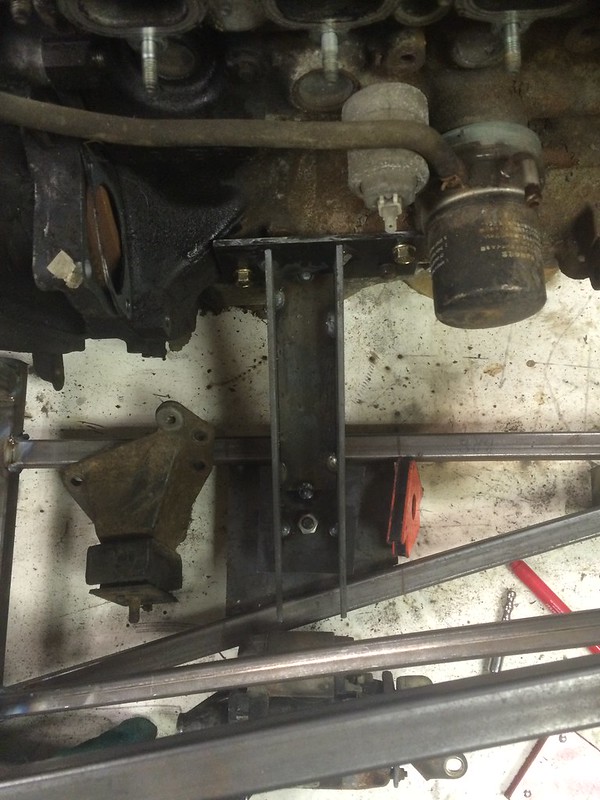 Untitled by stephen harborne, on Flickr Untitled by stephen harborne, on Flickrengine mounts tacked up gearbox mount also done |
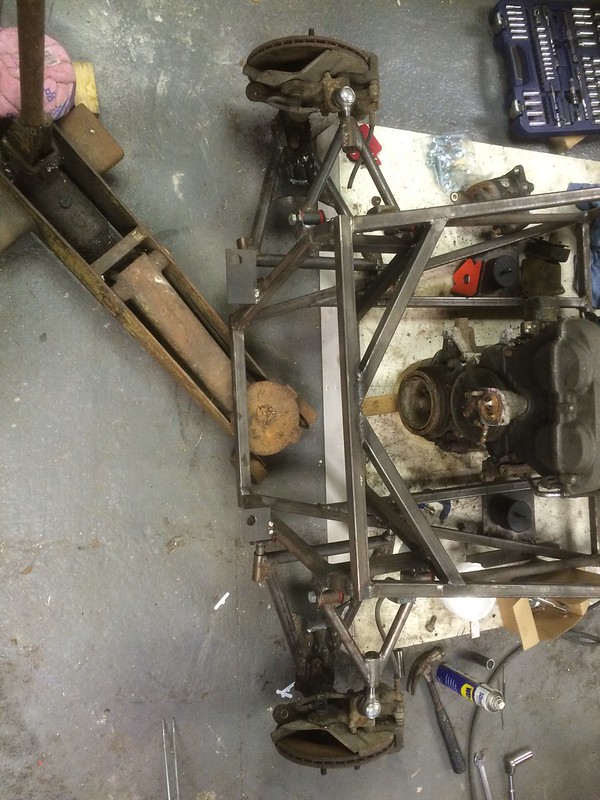 Untitled by stephen harborne, on Flickr Untitled by stephen harborne, on FlickrFront suspension in place 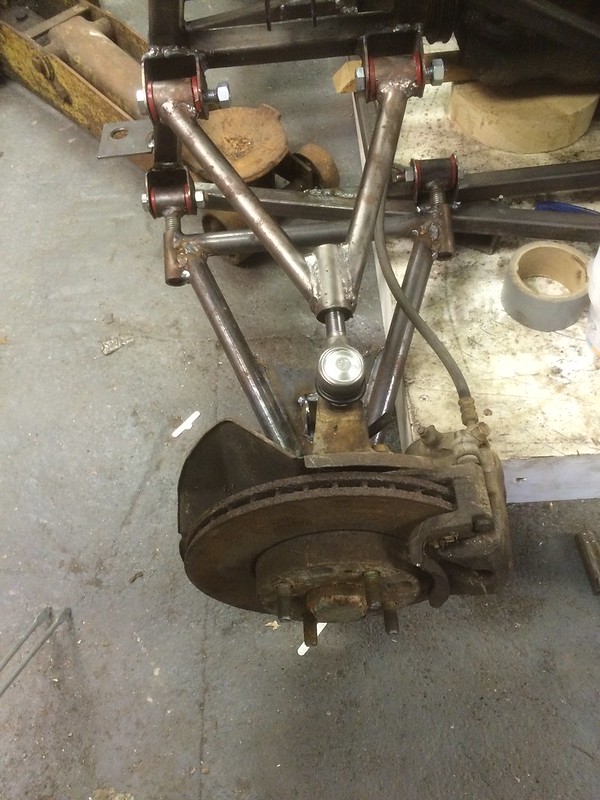 Untitled by stephen harborne, on Flickr Untitled by stephen harborne, on Flickr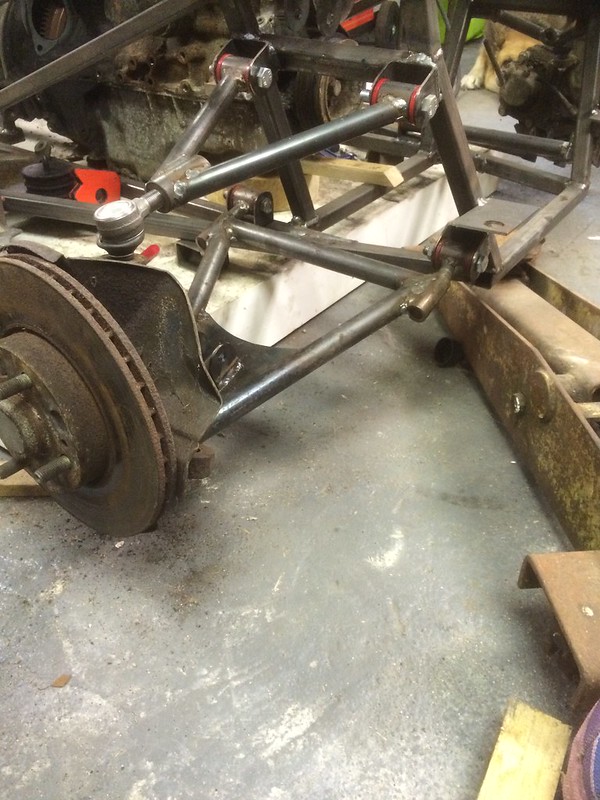 Untitled by stephen harborne, on Flickr Untitled by stephen harborne, on Flickr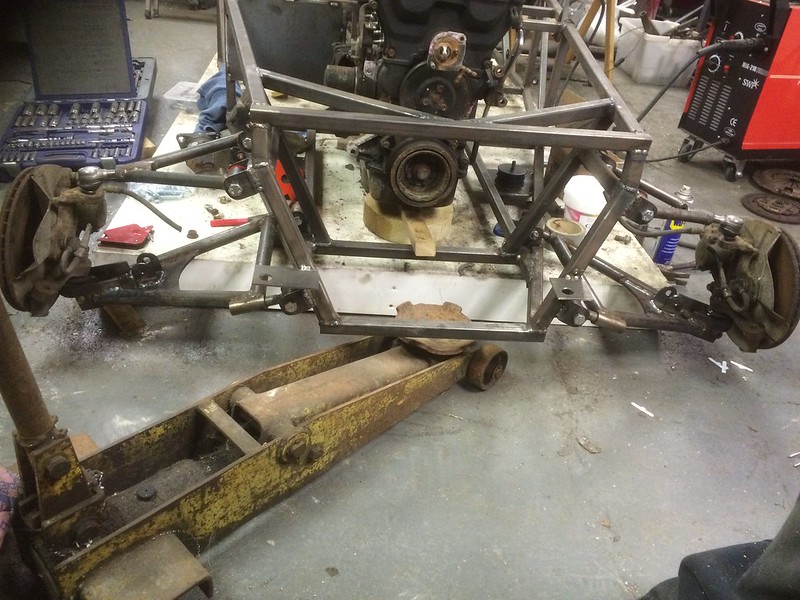 Untitled by stephen harborne, on Flickr Untitled by stephen harborne, on Flickr |
 Untitled by stephen harborne, on Flickr Untitled by stephen harborne, on FlickrWheels on 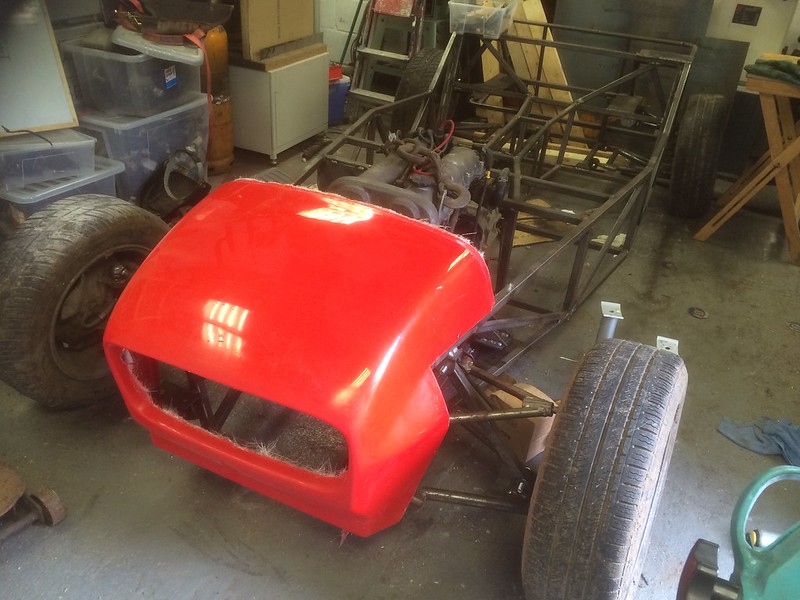 Untitled by stephen harborne, on Flickr Untitled by stephen harborne, on Flickr Untitled by stephen harborne, on Flickr Untitled by stephen harborne, on FlickrView from the door |
great work it feels really good when you can sit her on wheels doesn't it ? for now I used a length of wood with a hole top and bottom instead of shocks at least you can then wheel it back and fore
|
Yea feels like a major milestone.
Ive used 25mm box in place of the shocks at the moment. Did people find the rear upper wishbones too short on the saturn plans. |
haha yes I had to redo them as I had massive negative camber on the back, if I remember right I shortened the lowers and have spacers to bring the wheels out
|
Quote:
|
How have you mounted the gearbox?
|
Quote:
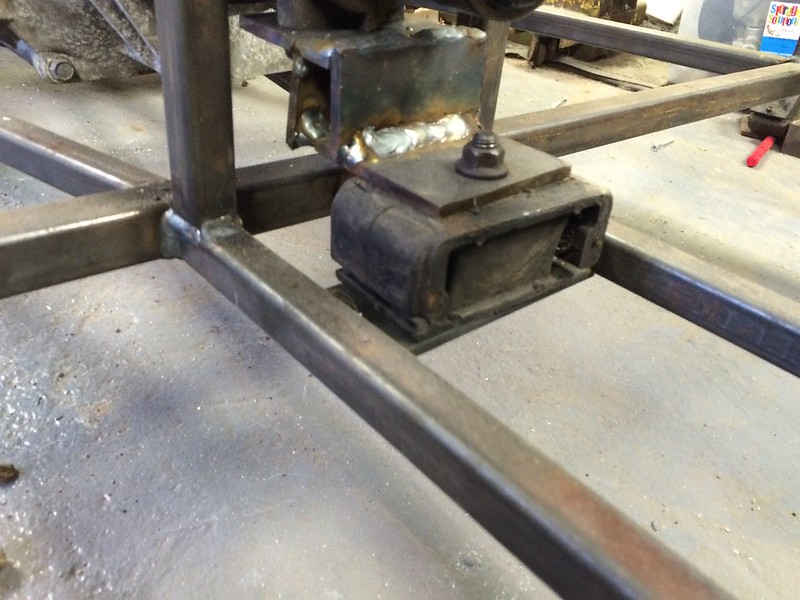 Untitled by stephen harborne, on Flickr Untitled by stephen harborne, on Flickr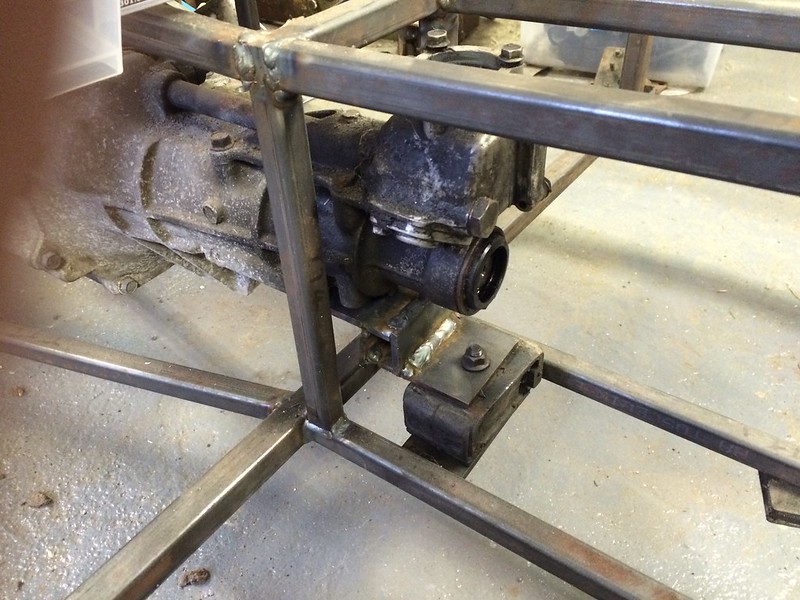 Untitled by stephen harborne, on Flickr Untitled by stephen harborne, on Flickr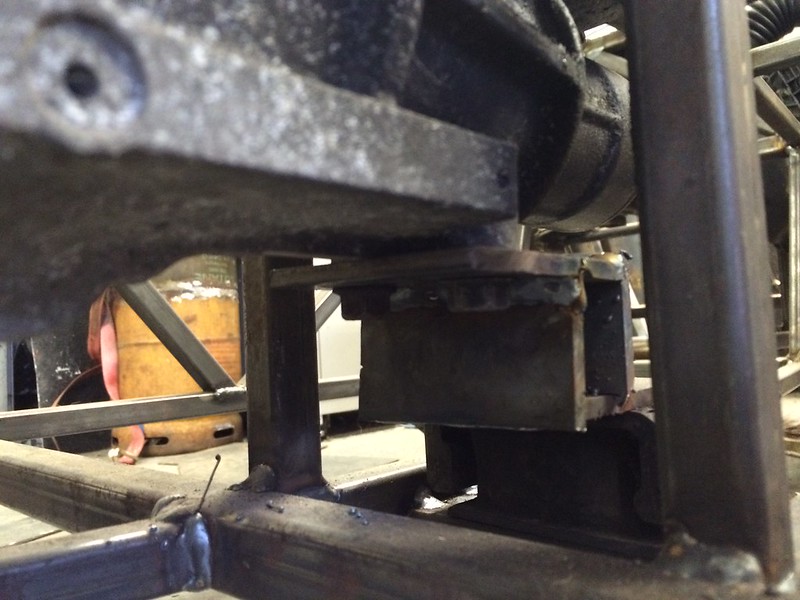 Untitled by stephen harborne, on Flickr Untitled by stephen harborne, on Flickr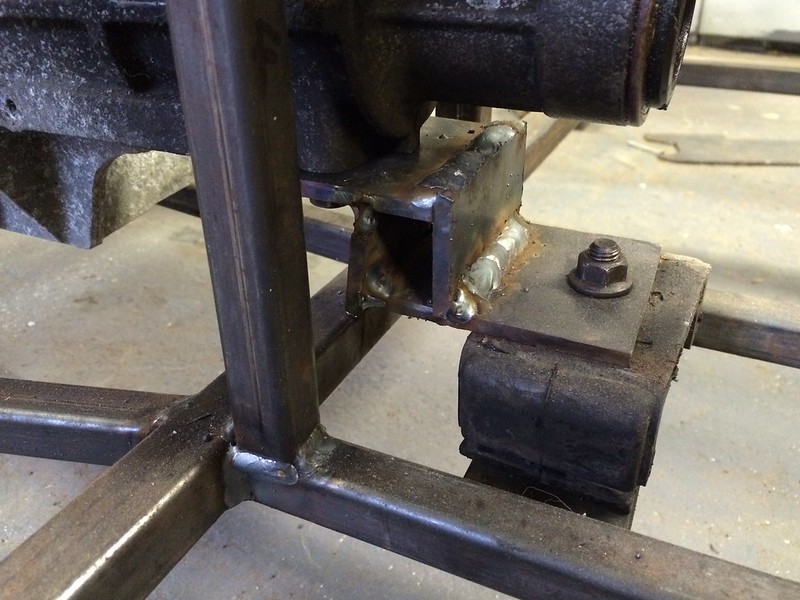 Untitled by stephen harborne, on Flickr Untitled by stephen harborne, on Flickrthe mount is an engine mount from the engine |
This may be the last update on this site
Quiet sad really Ok so here is where im at 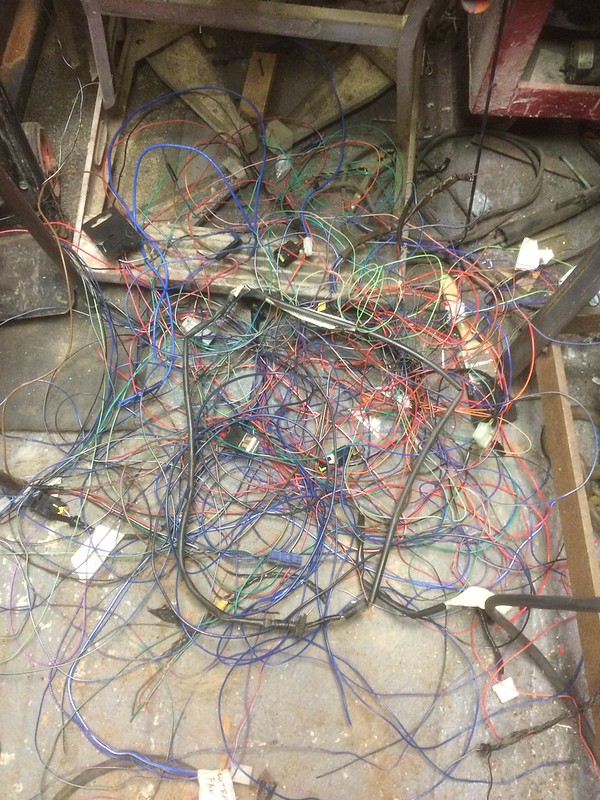 Untitled by stephen harborne, on Flickr Untitled by stephen harborne, on Flickr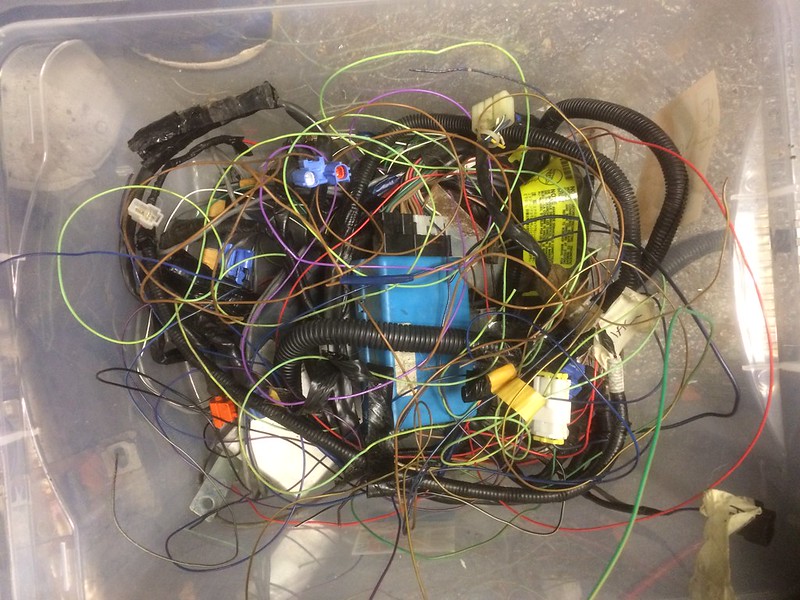 Untitled by stephen harborne, on Flickr Untitled by stephen harborne, on FlickrThis is what i have removed from the original loom Havnt had a lot of time since ive been back from holidays but been tipping awayat the wiring |
Don't throw any of it away until you are finished I remember only to well the headaches doing the wiring just keep at it and you will get there
|
Yea its all away in a box for future use.
The wiring doesnt bother me at all i have it all connected back now to see if it still runs then hopefully take it all back out and crack on withe the chassis just have to get an engine crane to lift engine out. |
been at that stage for 24 months LOL... and I have a reasonably good understanding of sierra wiring ;)
TT |
https://youtu.be/yeAGCuPd5FQ
so the engine still runs since i removed all the wires |
Hi All and happy new year
I spent a good bit of time over christmas grinding and cleaning down about the chassis To say it is a tedious job is an understatement but it is getting there slowly but surely  Untitled by stephen harborne, on Flickr Untitled by stephen harborne, on Flickr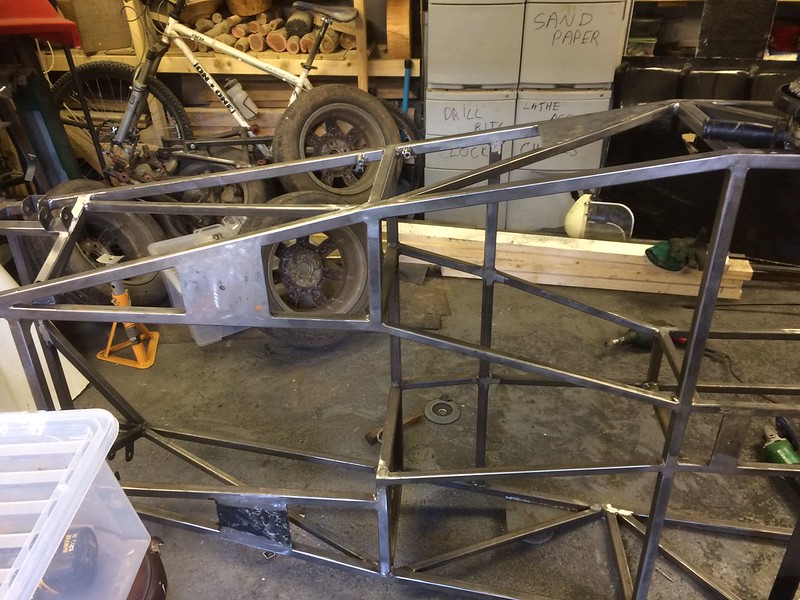 Untitled by stephen harborne, on Flickr Untitled by stephen harborne, on Flickr |
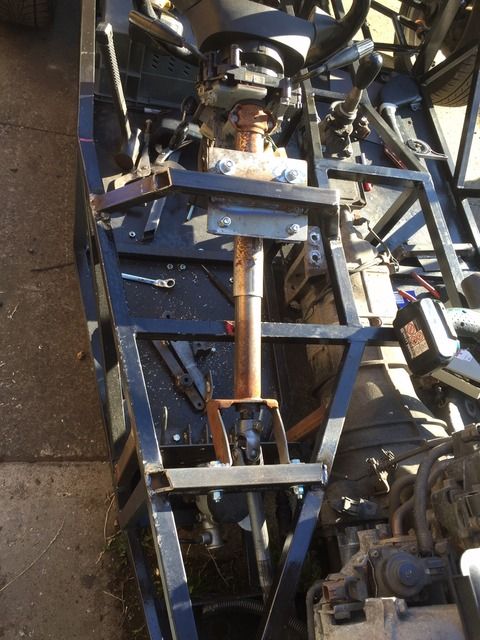
Also over christmas i got some of the parts i need for the steering
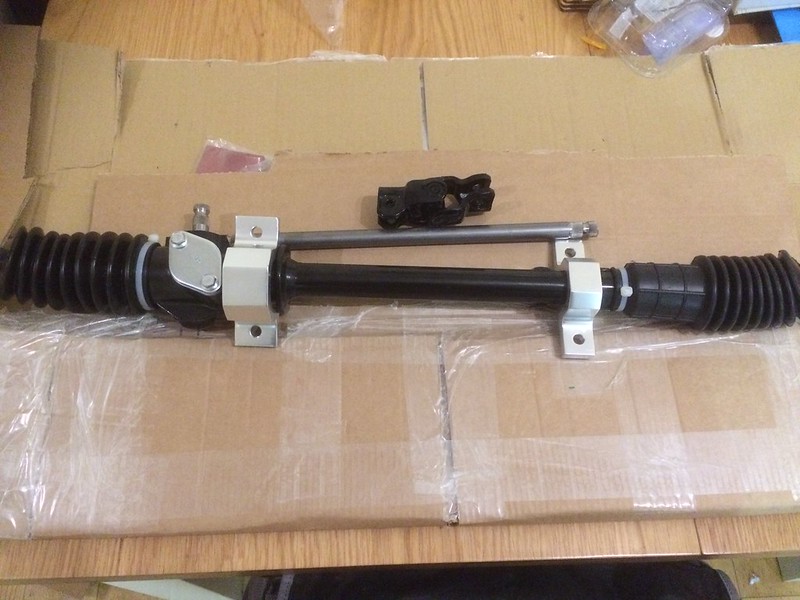 Untitled by stephen harborne, on Flickr Untitled by stephen harborne, on FlickrSo i got cracking on that to day which ment i had to put the engine back in the car to make sure the clearances were ok 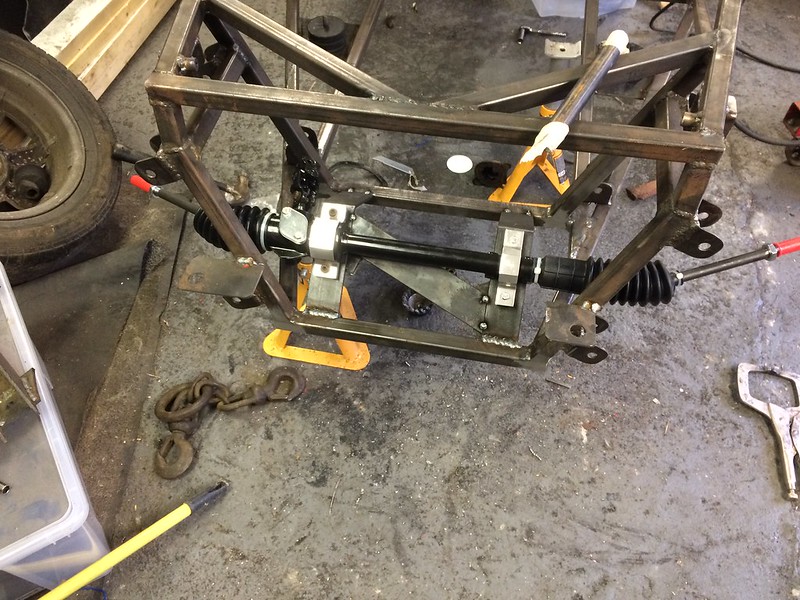 Untitled by stephen harborne, on Flickr Untitled by stephen harborne, on Flickr Untitled by stephen harborne, on Flickr Untitled by stephen harborne, on Flickr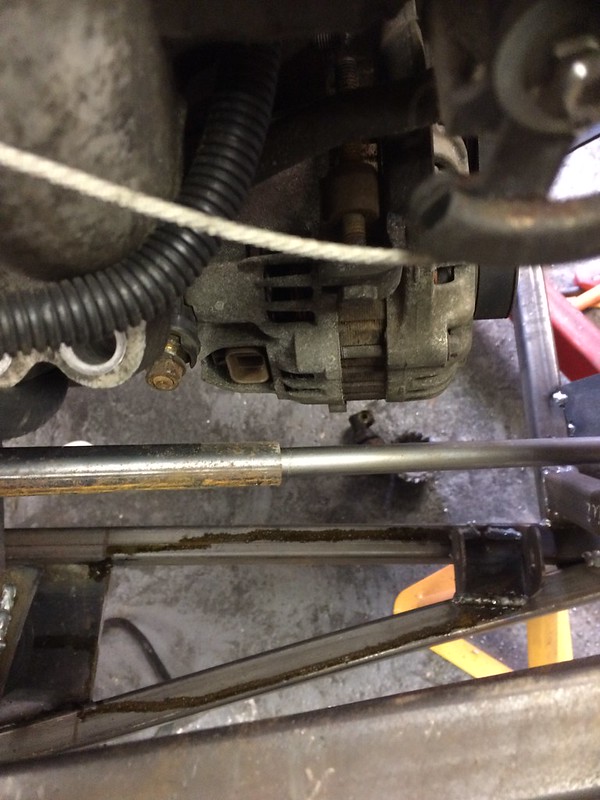 Untitled by stephen harborne, on Flickr Untitled by stephen harborne, on FlickrSteering column clearance |
|
Nice to see you getting on
A couple of points there ain't a lot of rom between the steering extension ad the alternator Re the scuttle I think I have the measurements but the best way is to stick the nose on mark rear edge on top rails add bonnet then scuttle that way you know it's right will have a look on laptop later and se if I still have that info Gary |
Thanks that would be great
And to be honest i will be quiet worried if the engine hits the steering column with that gap |
hi steve cant find the pics I took but this is the relevant text that I did for Richard;
Right measuring back from the front edge of FF4 , the front return edge is 109cm back, and the rear bottom corner of the scuttle is in line with the front edge of U5 gary |
looking at your pic with the alternator its the plug and wiring that get close to the shaft, also had to relieve my plenum support a tadge for piece of mind
|
Cheers thanks for that
Its actually lower than it looks in the pic and the support isnt in place but should be ok Thanks |
Got a bit more fabricating done
Handbrake cable mounting 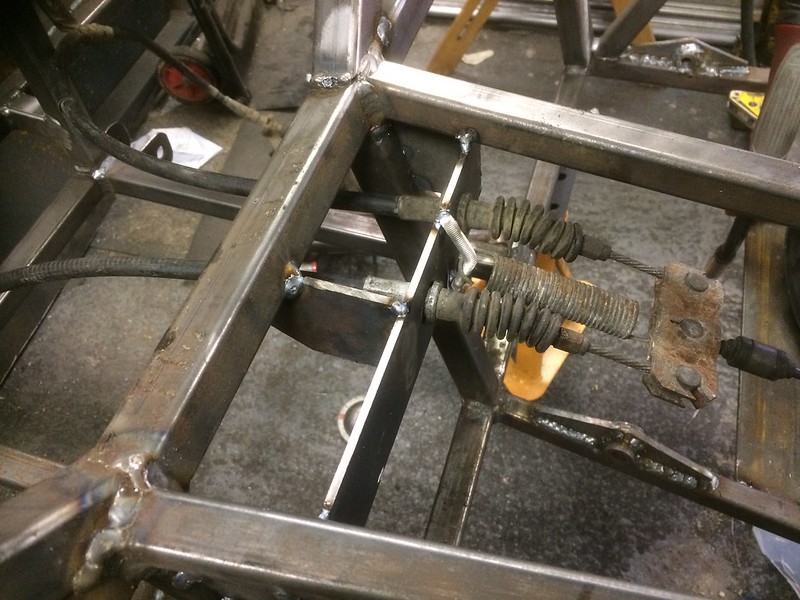 Untitled by stephen harborne, on Flickr Untitled by stephen harborne, on Flickr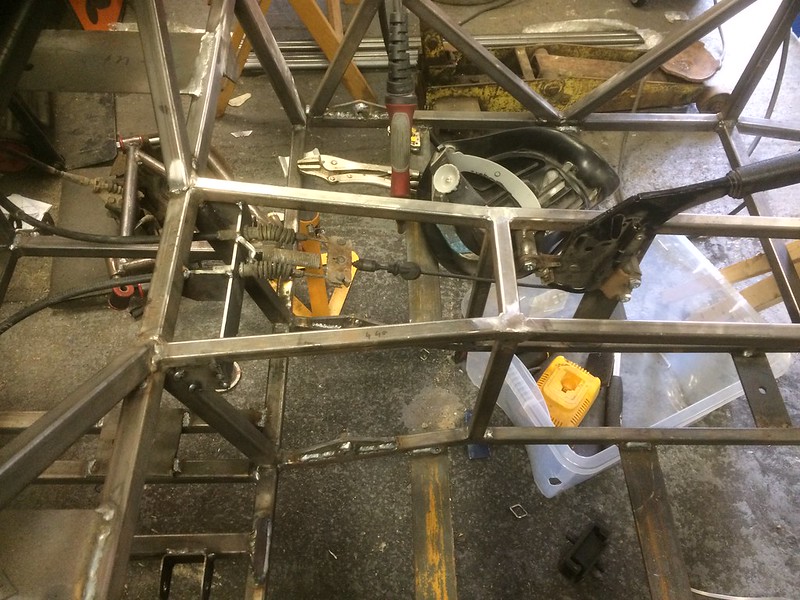 Untitled by stephen harborne, on Flickr Untitled by stephen harborne, on FlickrBrake pipe mountings  Untitled by stephen harborne, on Flickr Untitled by stephen harborne, on Flickr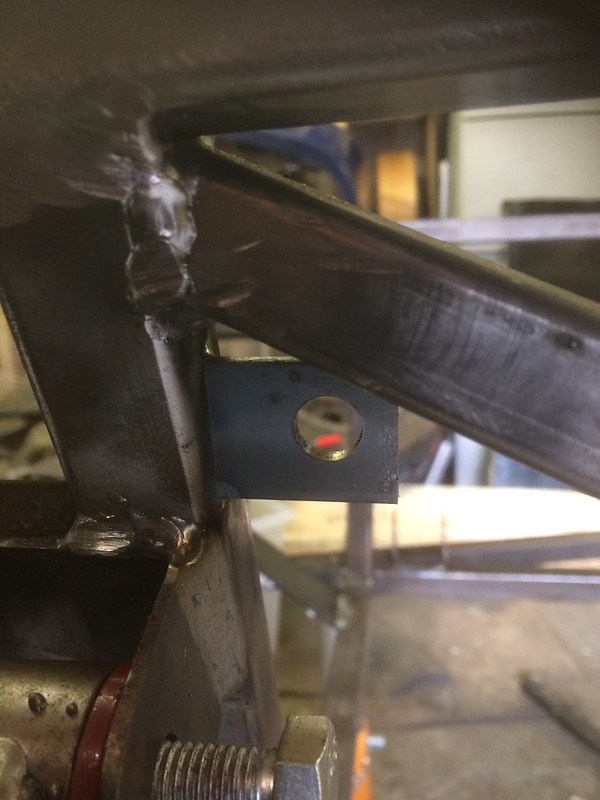 Untitled by stephen harborne, on Flickr Untitled by stephen harborne, on Flickr |
I started doing some metal turning classes before christmas and have been making some stuff for the car
Earth points 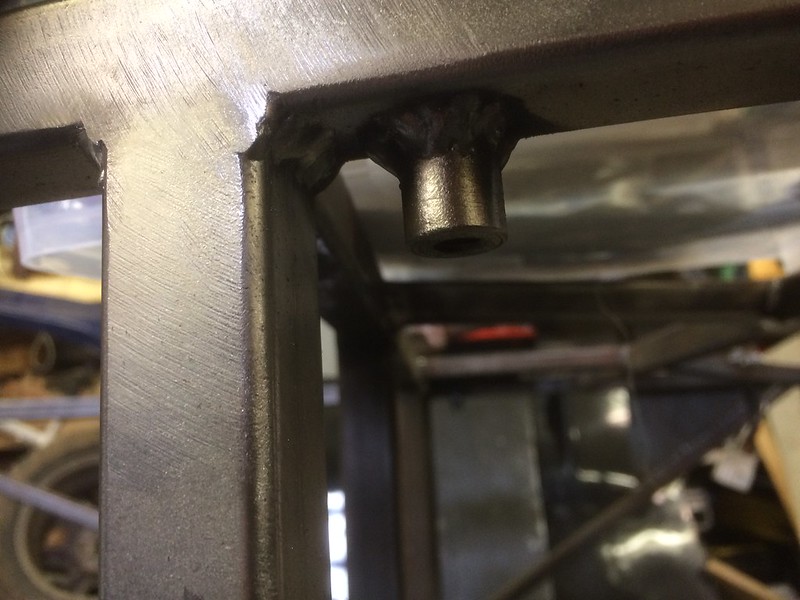 Untitled by stephen harborne, on Flickr Untitled by stephen harborne, on FlickrHeadlamp supports 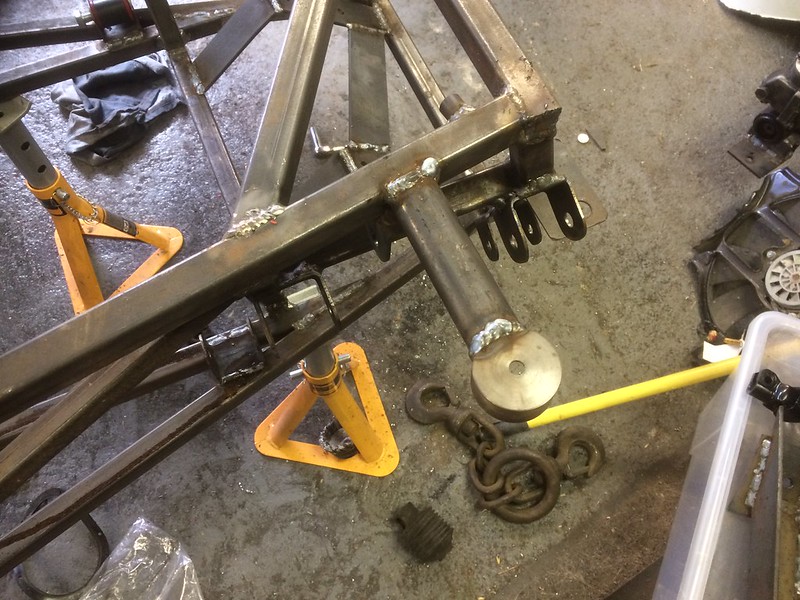 Untitled by stephen harborne, on Flickr Untitled by stephen harborne, on Flickr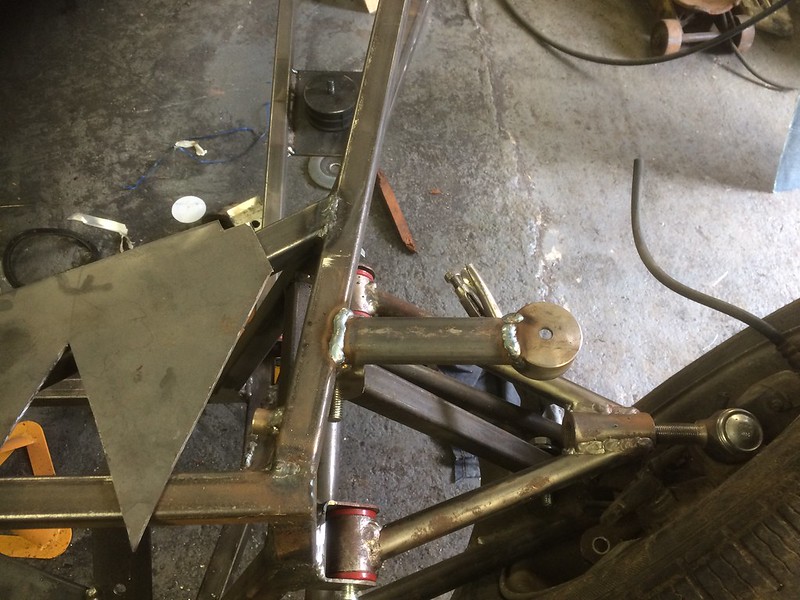 Untitled by stephen harborne, on Flickr Untitled by stephen harborne, on FlickrSteering column tube 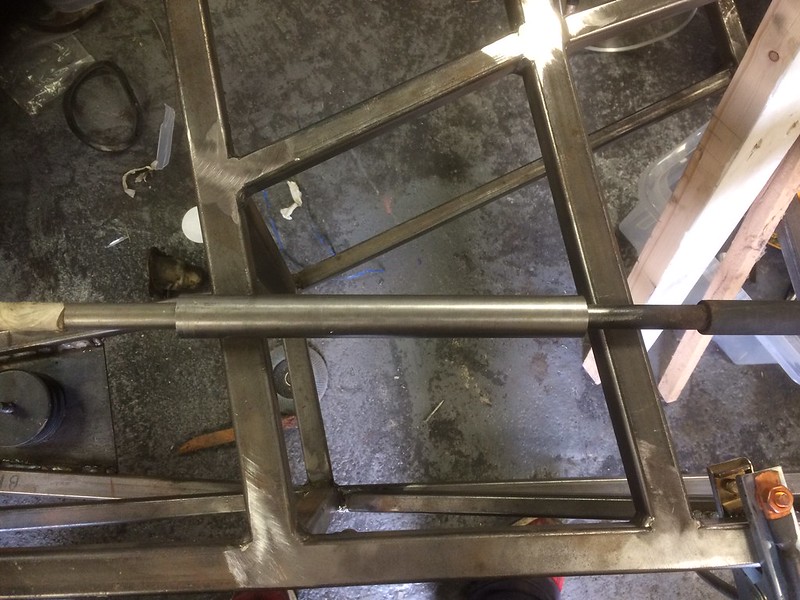 Untitled by stephen harborne, on Flickr Untitled by stephen harborne, on Flickr |
That's great work Steve, and helpful to my build as I'm about to start in handbrake location thanks
|
Quote:
I did move it over and forward from the position in the saturn plans so i can use the cables without having to change the length of them Also i think it was just in an awkward position in those plans aswell |
Your build looks great. The pictures of the wishbones are a great help. I am scratching my head about those at the moment and the Saturn plans I have are confusing me quite a bit. I hope that it will all become clear once I start making the jig and piecing parts together.
|
Anybody know what the outside diameter of the protech front springs are
Thanks |
They're 1.9" ID nominal. The front 350 lb/in ones are 68mm OD, the 250 lb/in ones are 65mm OD.
|
| All times are GMT +1. The time now is 11:36 AM. |
Powered by vBulletin® Version 3.6.4
Copyright ©2000 - 2025, Jelsoft Enterprises Ltd.