Dont want to muscle in on your design BUUUUUUUUUUUUt how about knocking up the mock as two tanks with a link pipe. That way it would still only need one filler/vent, may also help with the fuel sloshing about.That would be a minimum amount to loose capacity wise but might just be able to wiggle out for access. Whatever its the way to go and will keep my beady eyes on this development.
Bob |
Actually when I think about it, the diff is probably the only item you would need to maintain and how often does that happen.
Thanks for that suggestion Bob I had considered it along with smaller sub tanks to the bottom right and left connected by pipes,but then I thought I am over complicating things hence one tank shape means one set of welds, and one fitment. |
Had to slow up a bit on the build due to other commitments, but as usual I always keep one eye on the bay and came up trumps again with this little package below ...it is a charge cooler set up.... leccy pump.. purpose built radiator
and charge cooler itself.....this will help no end because now I don't have to worry about a big air/air intercooler for the turbo..... £52 posted.... pump is part alloy so it will be getting the Ano treatment in red of course....must get on with that tank as well 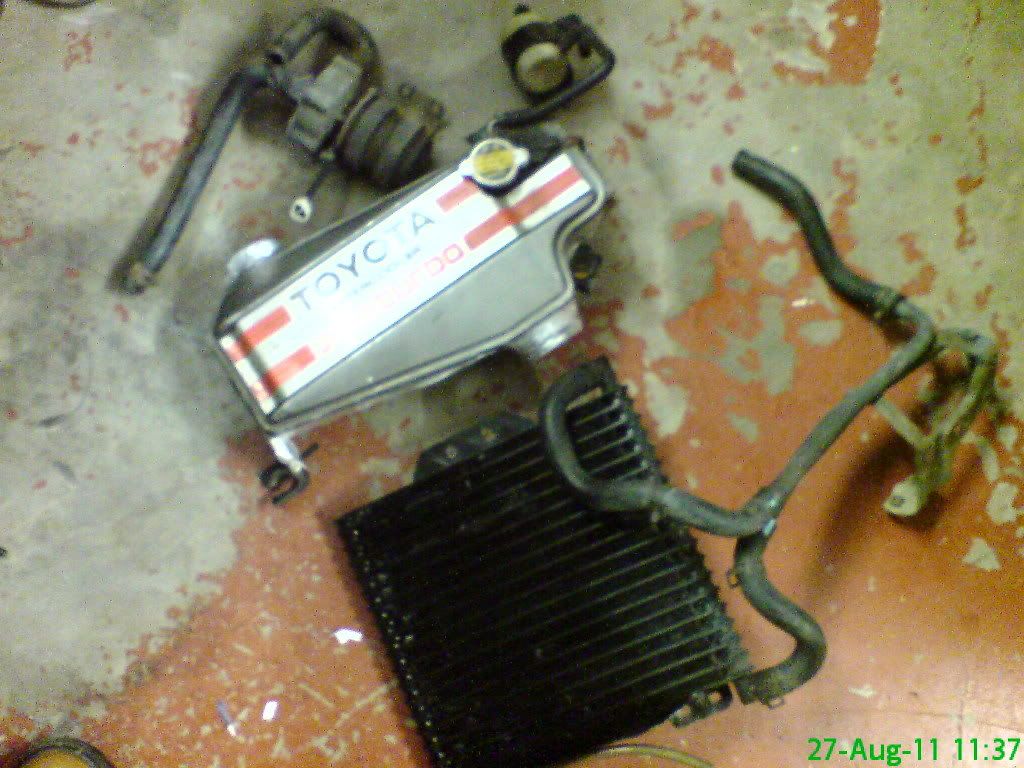 |
Now that I have seen that time may be limited towards an easyish very "ish" IVA re the office closures.....I thought it was time to get my fingers oot.
here is my intended speedometer cluster that has come all the way from Indonesia......to make life easier I won't be fitting it until after my IVA. here is a wee clip of it firing up and the colours. It has fantastic capabilities here is a few thing it does.......it also has all the usual lights as well http://youtu.be/TTlkoRIaIIM Speedometer/tachometer digital Odometer trip meter Volt Meter Fuel Meter Thermometer Digital Clock Shift & Pre Shift Light A/F Ratio Oil Maintenance Mileage Over Temp Warning Light Max Record 8 interchangeable display light obviously the A/F ratio will require a lambda sensor but a uni one will do. |
Well...after a longish break of doing stuff for other peeps I thought it was time to get stuck back in to my build.
After I found out about the news of the dvla offices shutting down in 2013 I have decided to simplify my build to get it to up to quick IVA status so the ca18det engine IS still getting prepped but for a later engine transplant but it goes right against the grain but I am not going to get my soap box out. So my build is going to be 1.6 pinto powered for a brief period only. I managed to get my chassis off the build table and it now sits on some trestles which makes it a lot easier to spin over to get at all the un-welded bits done and no matter how hard you look there is always one that you find later and then some after that too. Now for the update....been ebaying again and came up with an old stock polo rad for £26 delivered, have also put together my rear uprights and welded those up, have put steering rack mounts on and seatbelt harness mounts, will soon be doing my megatank. Today is going to be spent grinding the welds back where bodywork/aluminium sits Quick question.....when the rear uprights are fabricated and ready to weld, has everyone welded up the inside of the 5" pipe where there is a small thin ledge between RU7 and RU8?.....bugger to get to but easily done 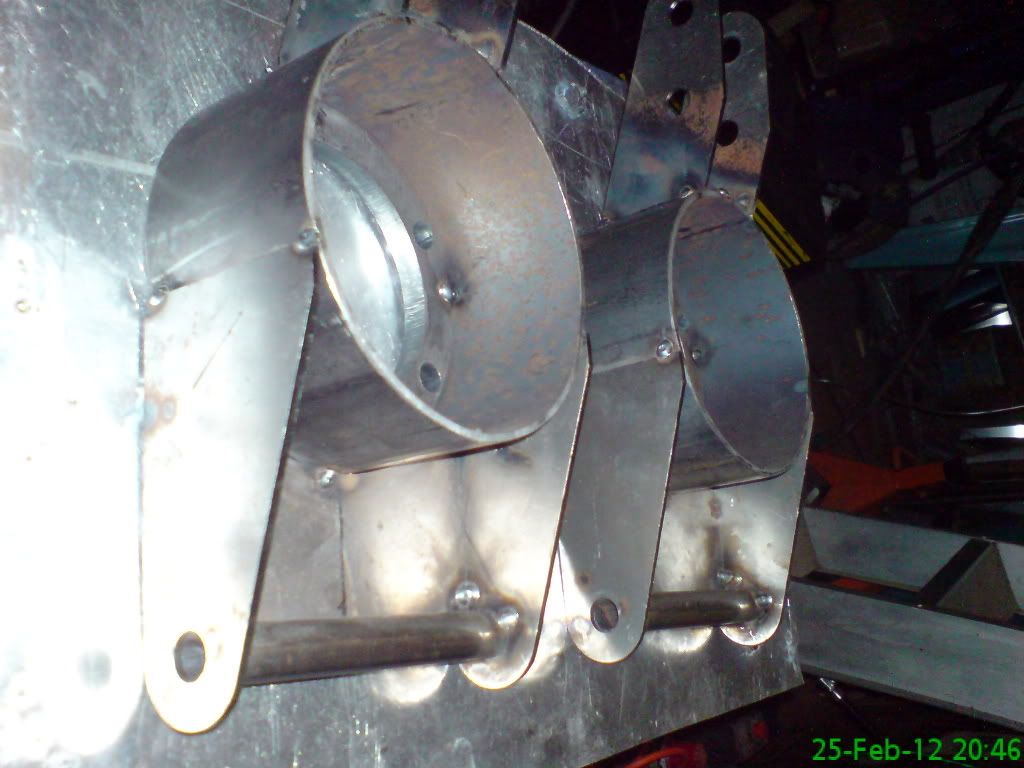 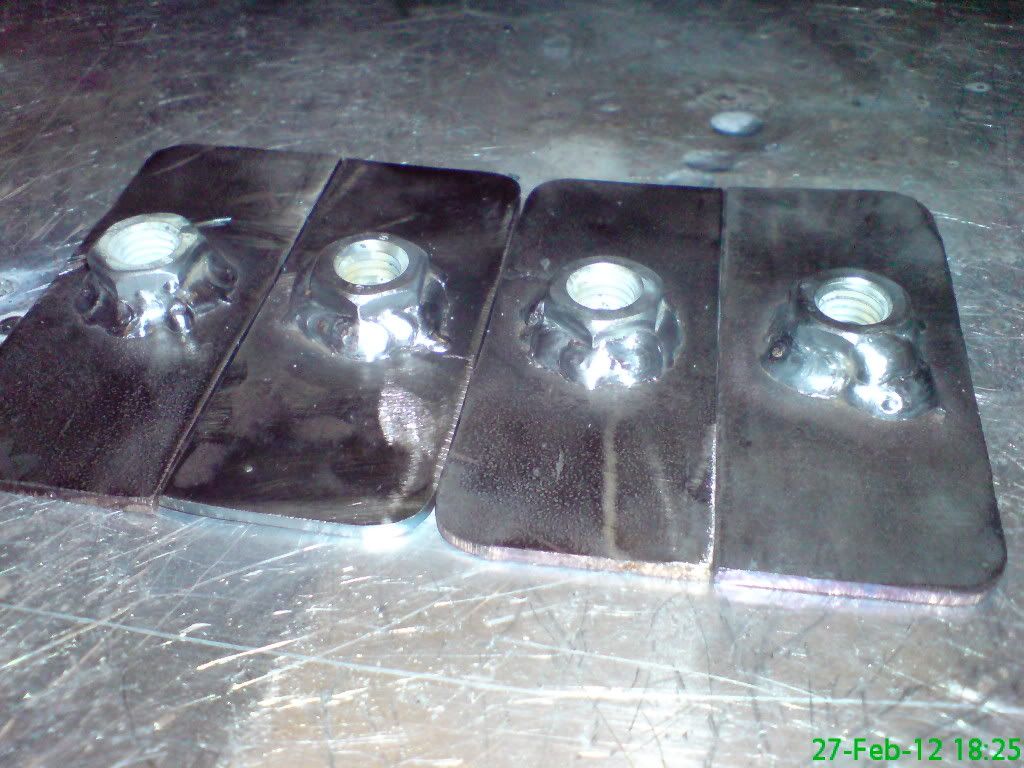 |
Nice Work. Funnily enough I decided to get stuck in once again today! :)
|
Fully weld the uprights but you may have to flash the welds down a bit to clear the drive shafts, not flat just take top of weld off to allow clearance.
|
cheers Mark ....that confirms what I first thought.....if its a fixed joint .....weld it
I am hoping to do a bit work on the steering column today and get it trial fitted so I'd better get a move on.:D :D |
Have made a start on refurbing the rear drum backplates......what a effin nightmare.....did a little bit last night and ended up as manky as a coal dude, rust and iron filings in VIRTUALLY every offrice ...I wish I could say I am getting rid of ALL the rust but it is nigh on impossible.
I have nearly finished the grinding on the chassis where all the ally and glass panels offer up to the chassis frame.....that too is a manky job, you end up wreaking of iron....takes me back to my shipyard days on the wear.....ok enough I am off to get manky again.:D drum plates.....a work in progress 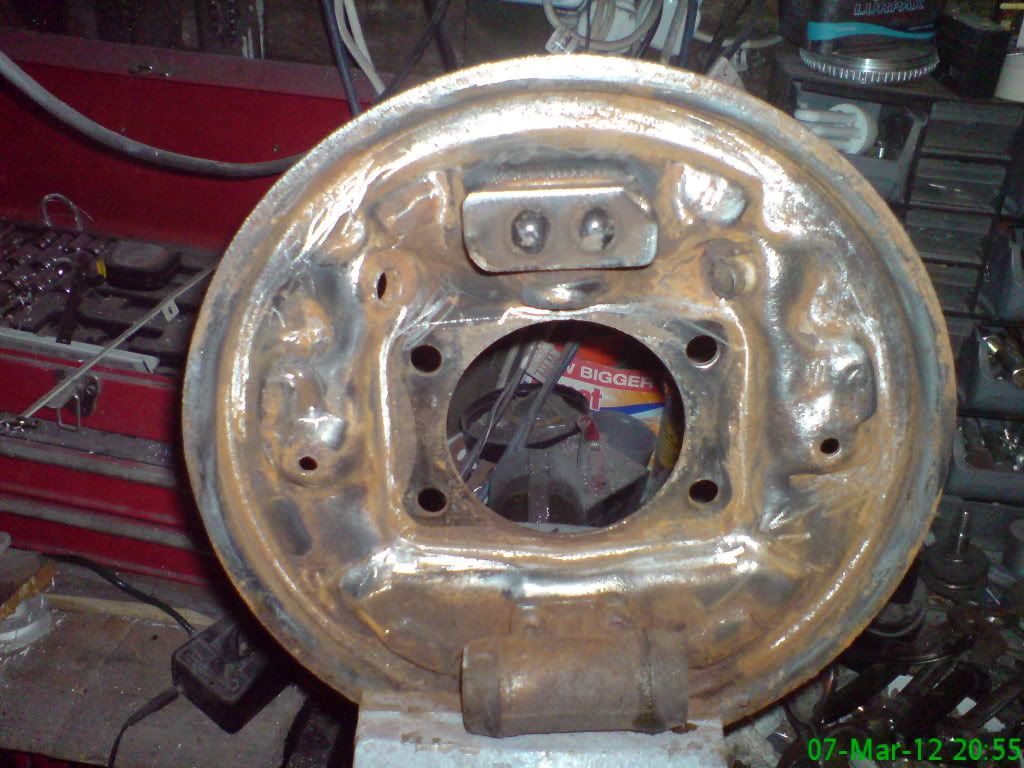 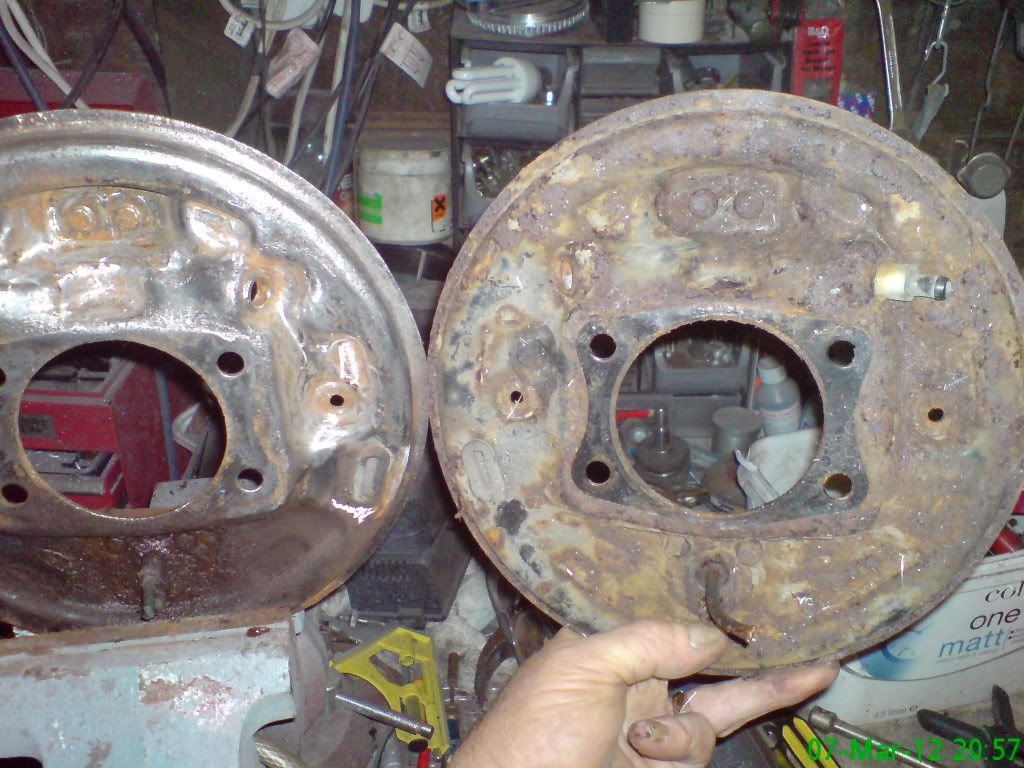 |
Sandblast them kev,worth every penny :D
|
Yeah....I know Oz....would'nt care, I have a blast cabinet, might dig it out.
I have also been working on making the pedal box, again using metal from an old compressor tank (nearly all of the 3mm plate has come from these tanks).....will be assembling it to weld tomoz......really got the bit between my teeth at the mo and loving it. pedal box parts 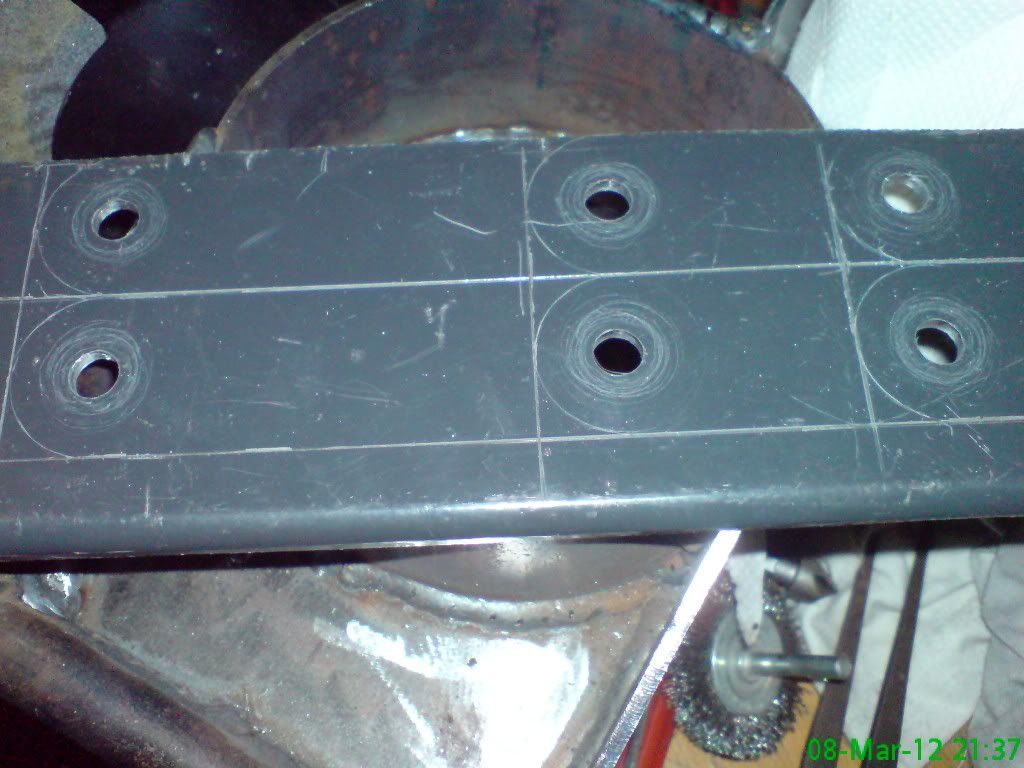 |
I hope this is the only time I ever see the chassis in this attitude (pic 1)
been busy with bandsaw and angry grinder again.....just have to make the pedals now.....and fortunately for me I had an old set of he-man dual controls from my days of being a driving instructor so I already have a clutch and brake pedal to modify.....will be doing those today....I am still finding joints that need welding ....it makes you wonder how many cars out there that might have "dry" joints. Here are the obligatory piccies ....this time it is the pedal box that went together without a hitch, but needed a little "fettle" of the welds to get it nice and plumb.....possibly engine mount next.  pedal box 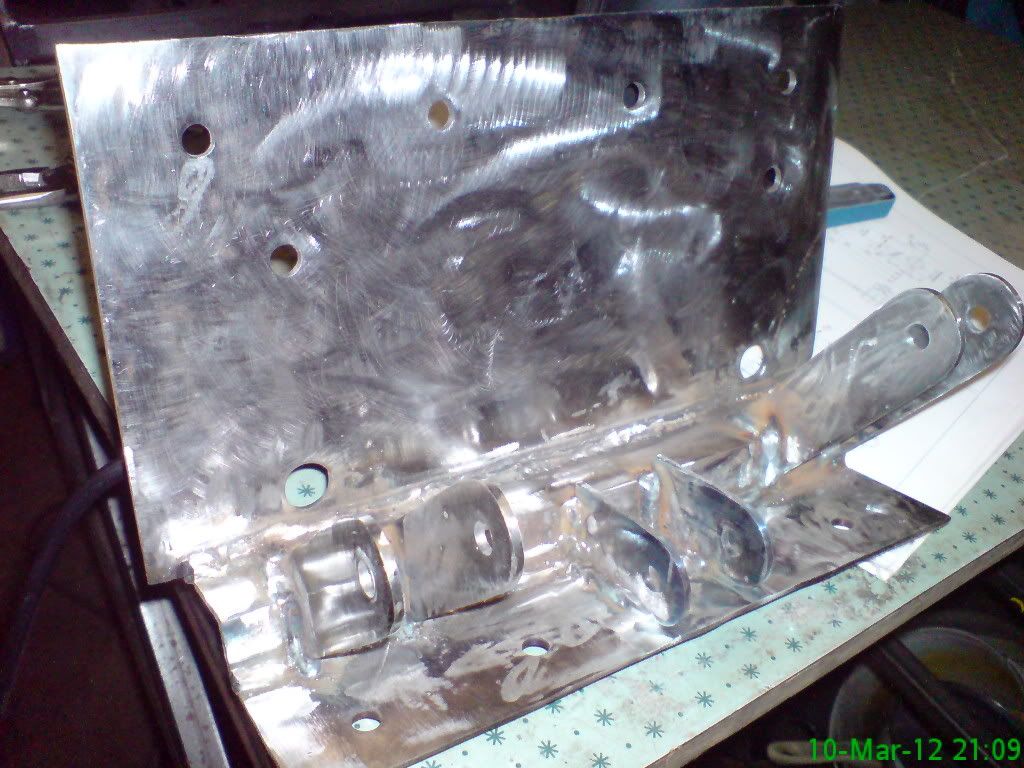 pedal box in situ 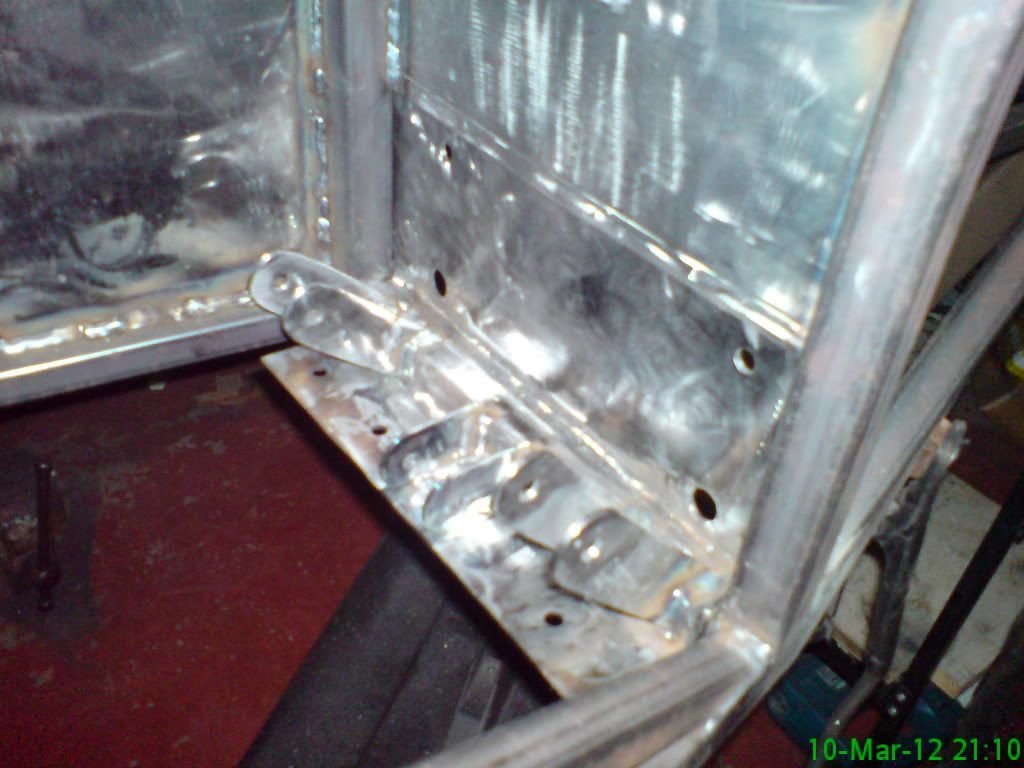 |
:cool: Nice work there Kev.
Just a thought......are you intending to "slot" the holes where the handbrake cable passes thru the bracket between the SB4,s ? I found that it helps when fitting the cable & also means you only need to shorten it at 1 end ;) cheers andy |
never thought about it Andy....but now that you mention it.... yep I most probably will....hey good luck on your forthcoming IVA I'm assuming it will be Beverly your going to.
Well the weather outside is dictating my next course of action .....whipping out the pinto/box from the sierra, thought it might have been another month or two but it is around 15-16c so I is gonna do it while I can. |
With the last few days being pleasant enough to work outside, I thought I would have a go at taking out the pinto/box from the sierra .....don't you just love rusted,crudded up bolts, neck ache, back ache and that is with an engine crane
even so ...out she came 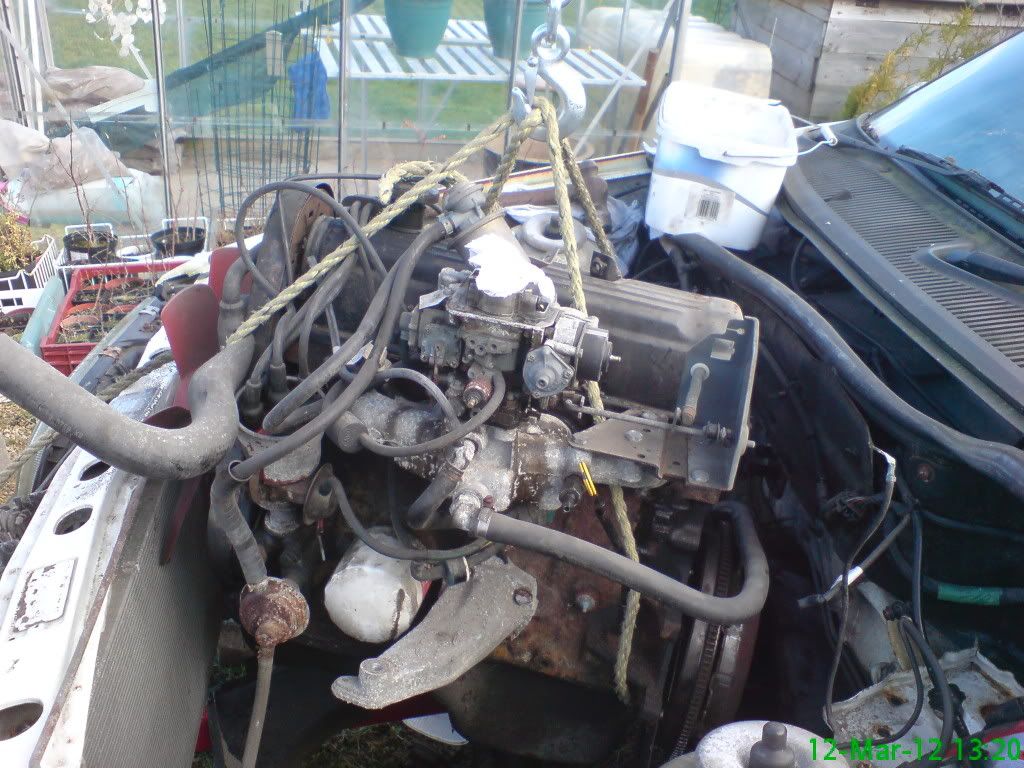 pedal box is nearing completion as well here are my pedals all bushed up, I have used an old set of dual controls for brake and clutch 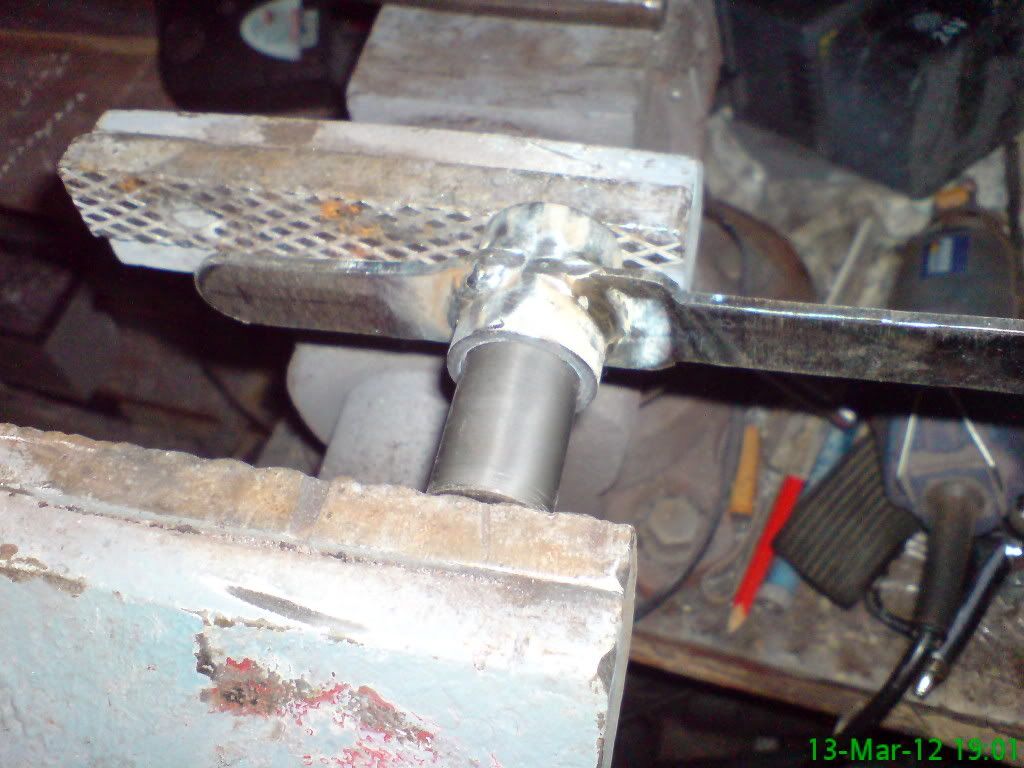 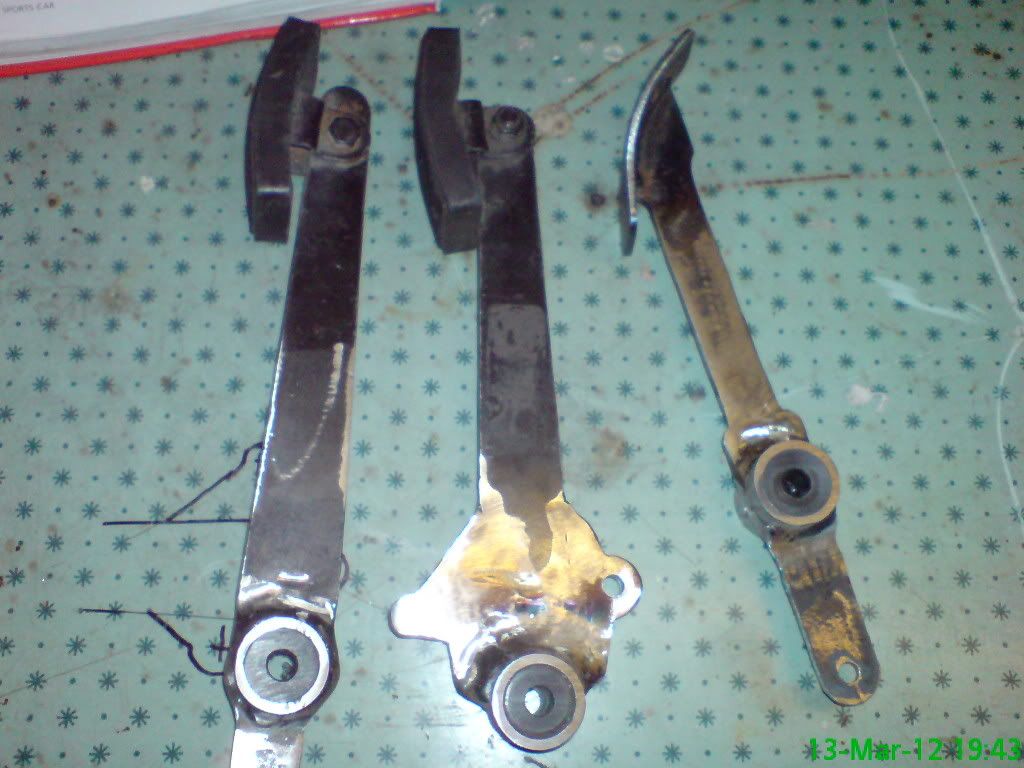 |
Hi all ....well the refurb of the drum backplate continues....I got real tired of wire brush, grindstones, well you know the score ....so I decided it was time to revive my DIY blast cabinet.....I gave up on this a while ago because you need a REAL BIIIIIIIG compressor for these hungry media blasters so it was time to get my hands on a petrol powered hydrovane compressor the dogs..... all bells and whistles water trap, air cooler 150psi, so after some setting up I gave it a shot but I only had silver sand to try out .....yeah I know, its a big no no silicosis and so on ...anyways way too dusty so a quick mooch on www I discover a few peeps starting recommend crushed glass....cheap and no dust (my ars) so ordered some of the bay to give it a try. couple of days later and after 15-20 mins blasting I have a finished backplate....great and no dust.
Next day I refill the blast bucket and get to work on the other backplate and the first signs of dust appear....bo**ocks I thought...well plod on , now on doing my differential and I can hardly see the thing in the blast cabinet and before any one asks yes I do have a vacuum and vent running ...so I won't be buying any more of that crap. I have now ordered some steel shot that IS re usable up to 3000 times and hahaha no dust (believe when see) anyway the stuff I have done so far is coming up clean and ready to prime so here are some piccies the diff aint finished yet but soon will. this one is the encrusted one on the right after a blast and paint. 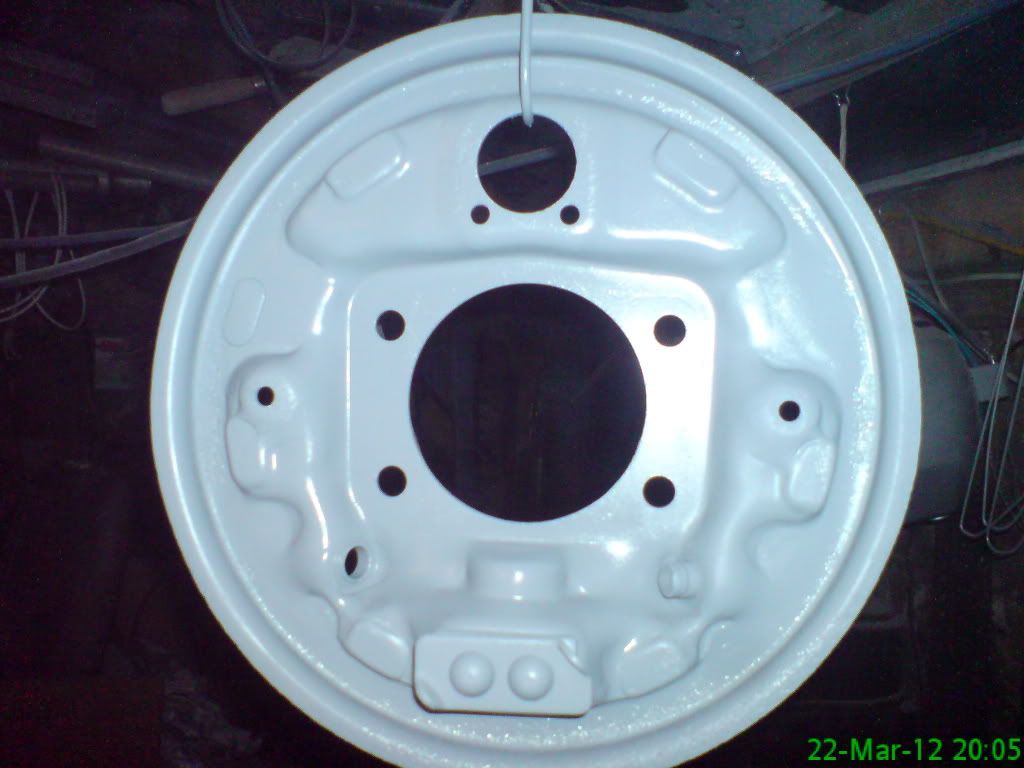 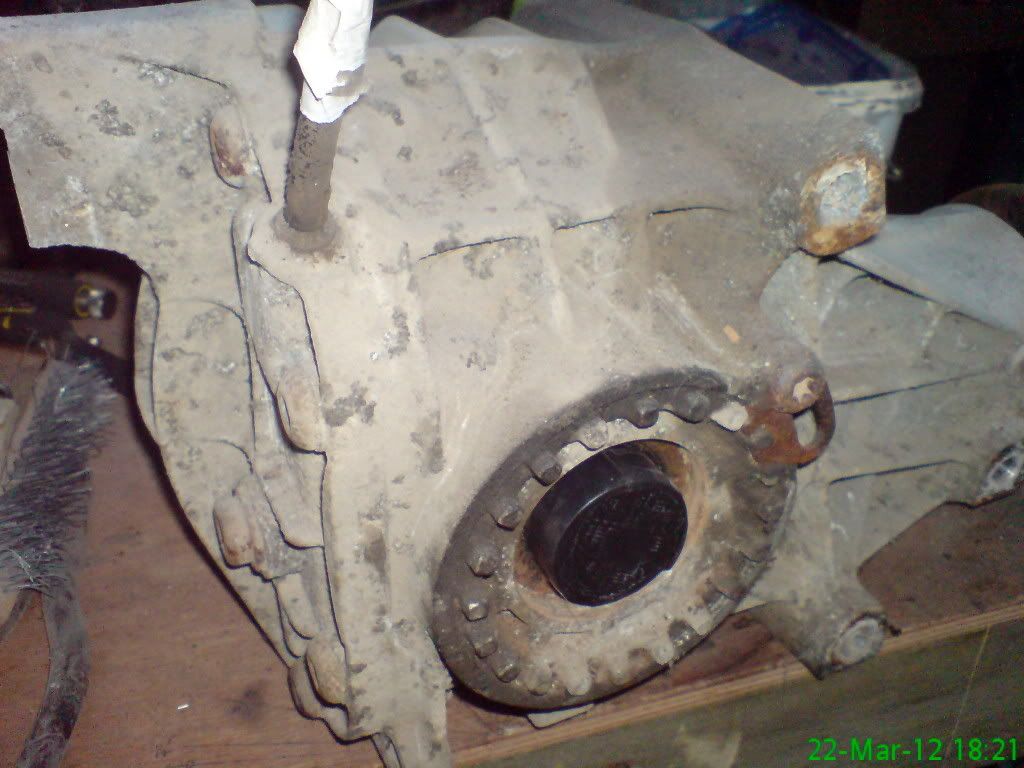 |
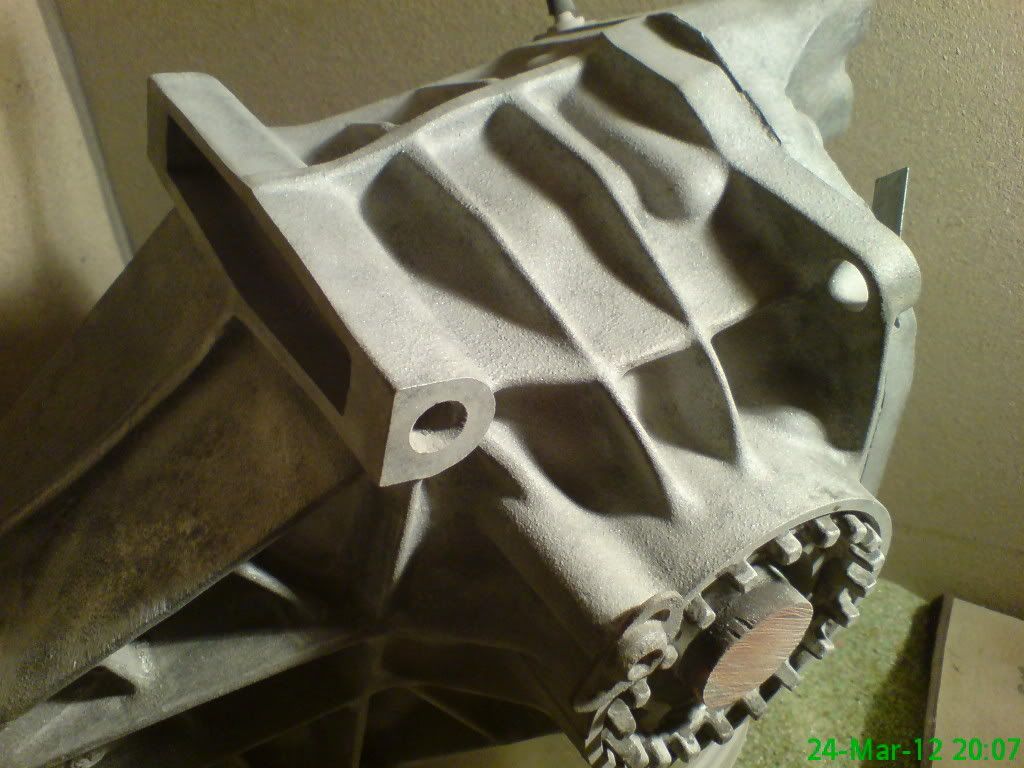
Not quite finished the diff yet but it is coming along here is what it looks like at the mo.....also started to make up the roll bar (one of ashg's) will put up some pics of that work soon.
 |
made a start on my roll bar, not much as yet just the end plates and welded them up....keep tinkering with different bits... that way I find I am not getting miffed at any one thing
  |
Been making some great progress of late....nearly finished cleaning/painting gearbox.....rear hub carriers now painted and Diff is now painted have used hammerite and 2k and must admit the 2k paint has a far superior attributes than celly especially in this weather (warm)will be moving on to degreasing the pinto soon and look ahead to mounting the drive train anyway here are the obligatory pictures
backplates now in grey 2 pack after a few coats of acrylic grey primer 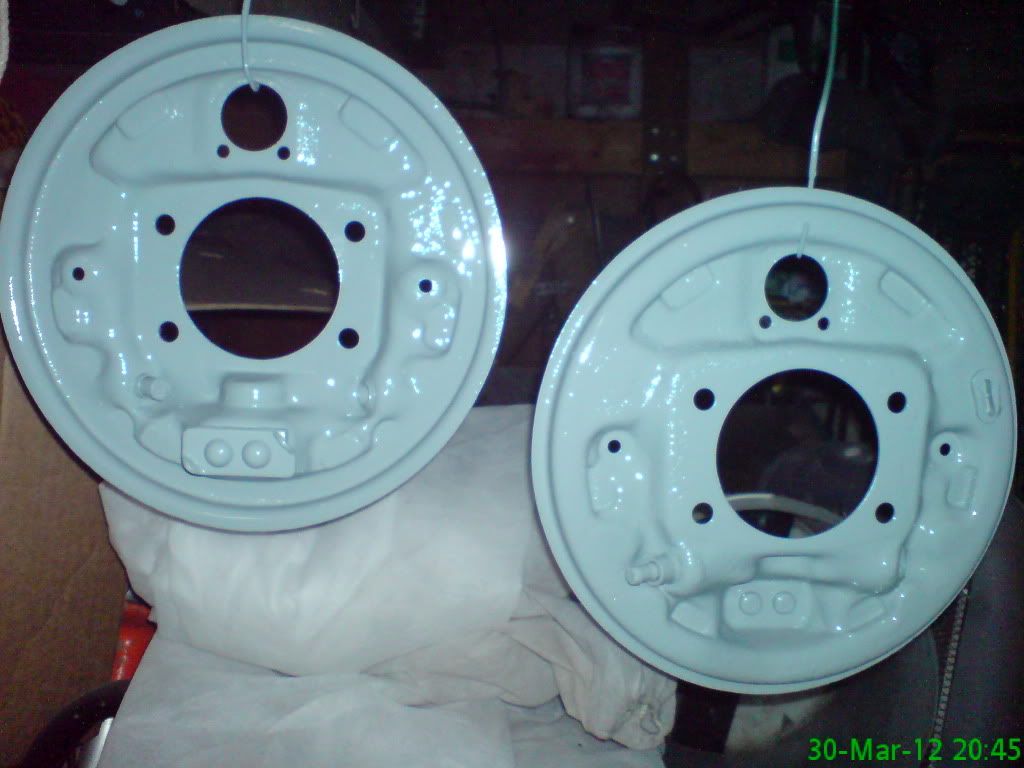 rear hub carriers again done with 2 coats of acrylic gre primer followed by grey 2 pack 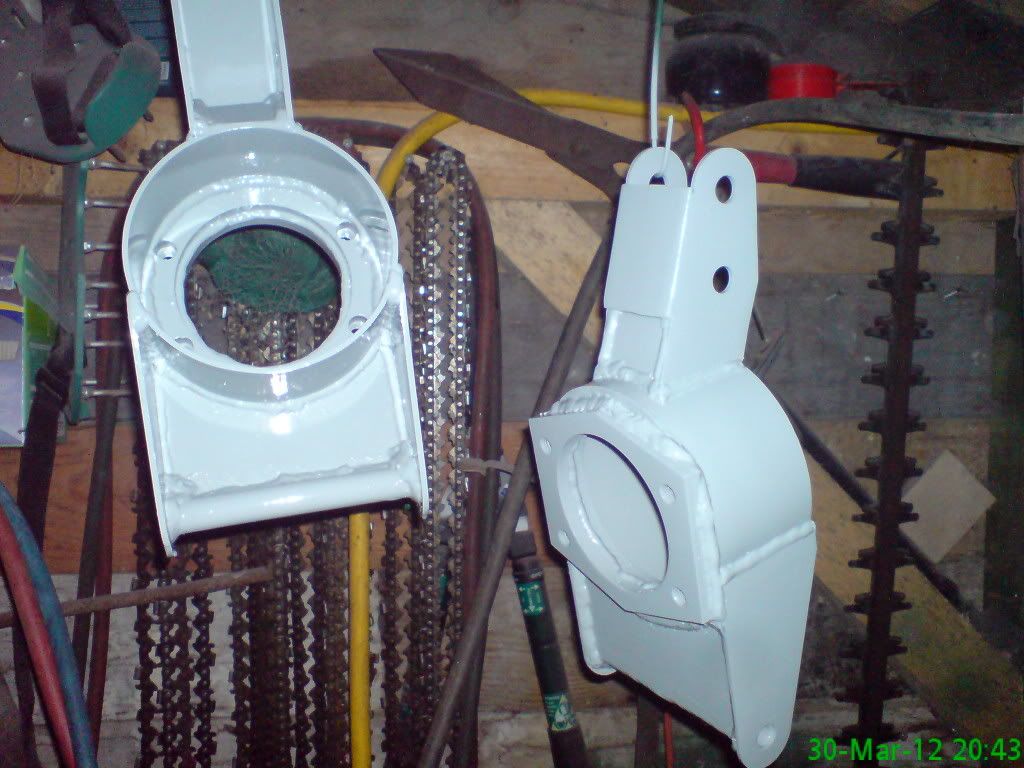 gearbox done with silver smooth hammerite bell housing to be done in black 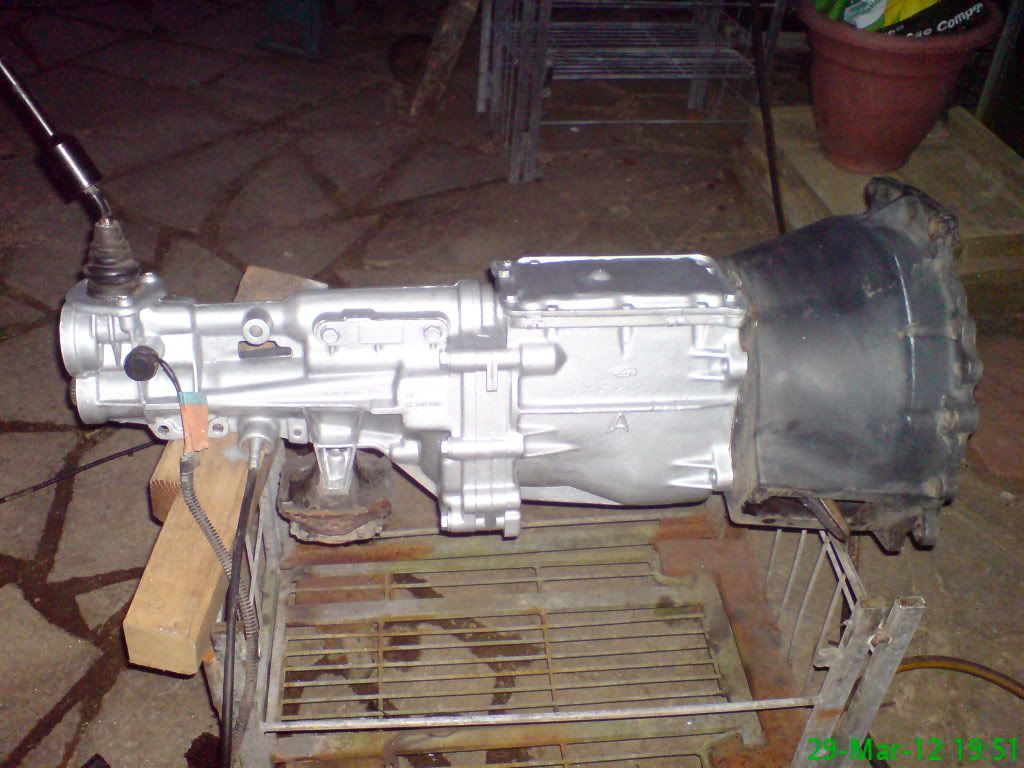 differential turned out great ,,,,again silver hammerite 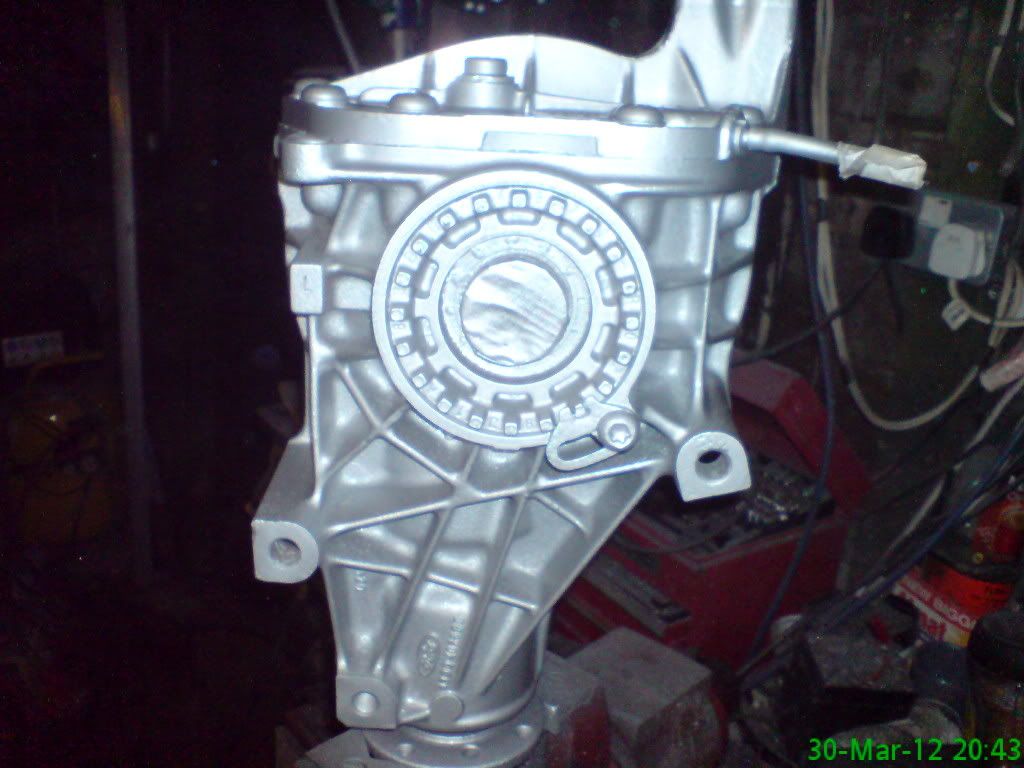 |
Now moved onto a job I was dreading.....de-rusting the rear drums..... patience, patience, patience oh and a bit more patience.....trouble is tho I another to start :(
D I S A S T E R...... THE RED CALIPER PAINT monster jumped out of the tin and got me drums... GUTTED ...he got them when my back was turned derusting one of my driveshafts derusted 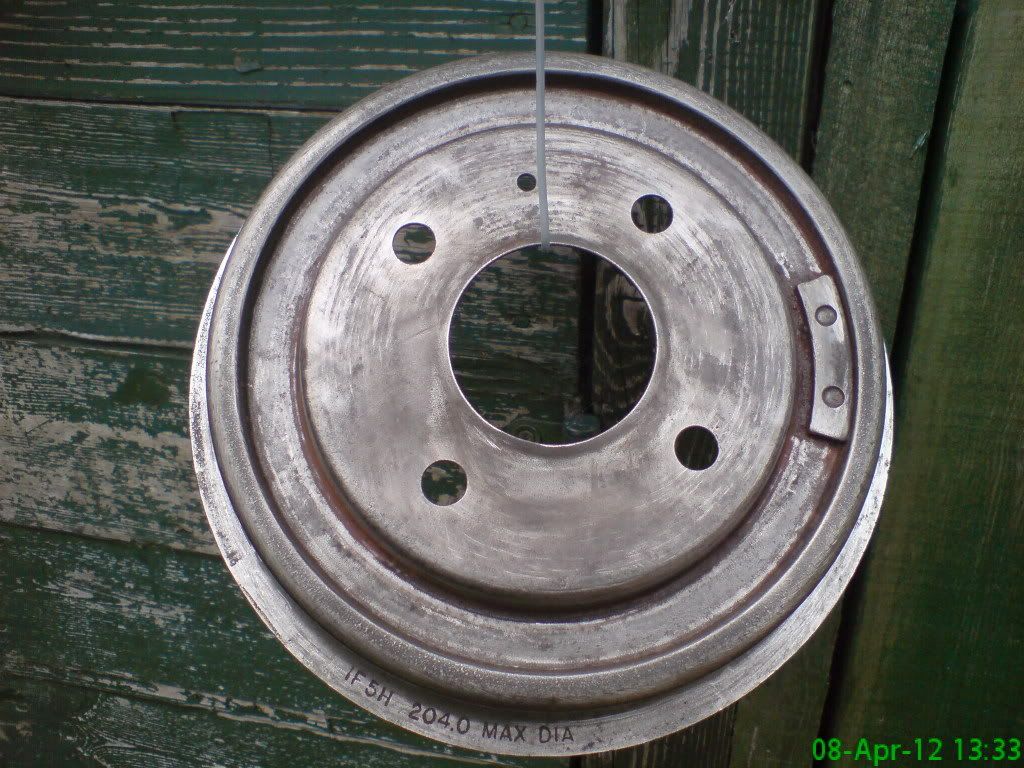 the crime scene after the THE RED CALIPER PAINT monster attack  |
Looking good Kev, be carefull when you weld in the cross bar on the roll bar. When the welds cool the metal will contract and pull the top plate holes out of line.
I welded a piece of angle to the top plates to hold them in situ. |
Hi Steve....dont know whether I would have thought of that, cheers, so will be leaving it in situ or putting a bracing bar across the bottom or a little hot/cold stress relief on the outside, opposite the lower portion of weld.....sortable either way....thanks for the heads up on that one.
kev |
At last I am starting to reach the stage of putting stuff back together and will be looking at trial fitting the diff and rear suspension components.
Rear uprights are now prepped and ready to assemble. 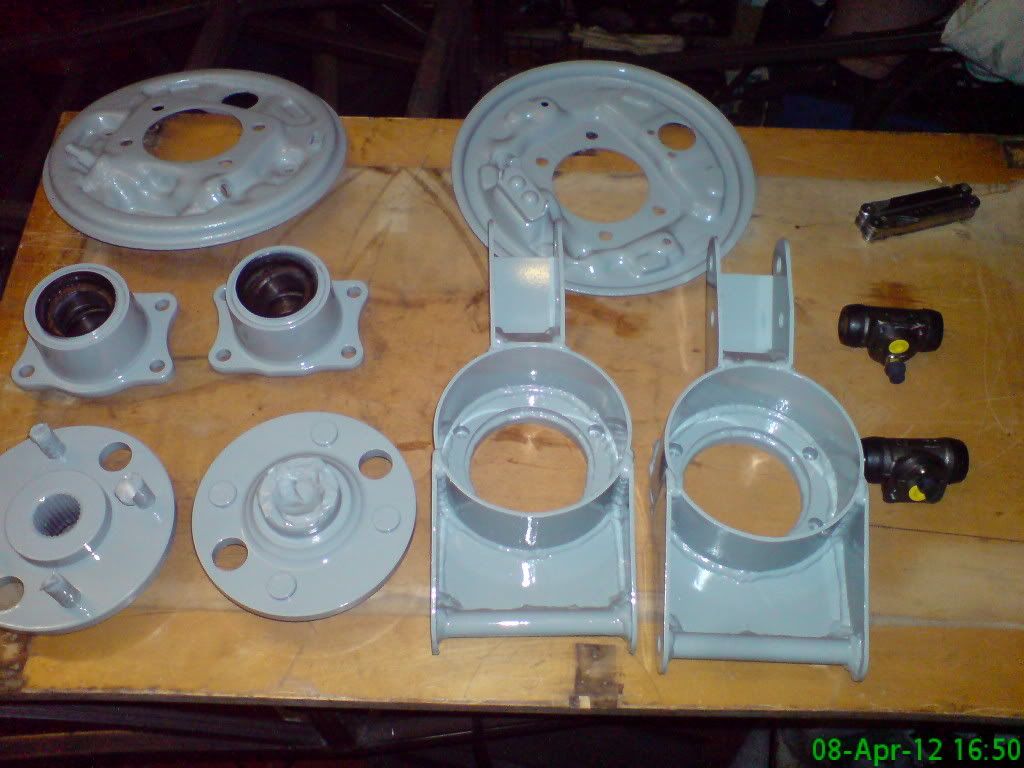 |
Very clean n tidy :cool:
Its a nice feeling when you start putting things "together" instead of stripping it all apart :cool: Nice progress . cheers andy |
Quote:
|
Started to refurb the drive shafts today.....rusty as hell, so as usual out with angry grinder to get the thick off and small hammer and screwdriver to get in to hard to reach bits. then rotary wire brush then small grinder in dremmel and the sandblasted.
even got one painted up...now for the other, also started brake calipers too, again well encrusted will be blasting then tomoz driveshaft after prep work 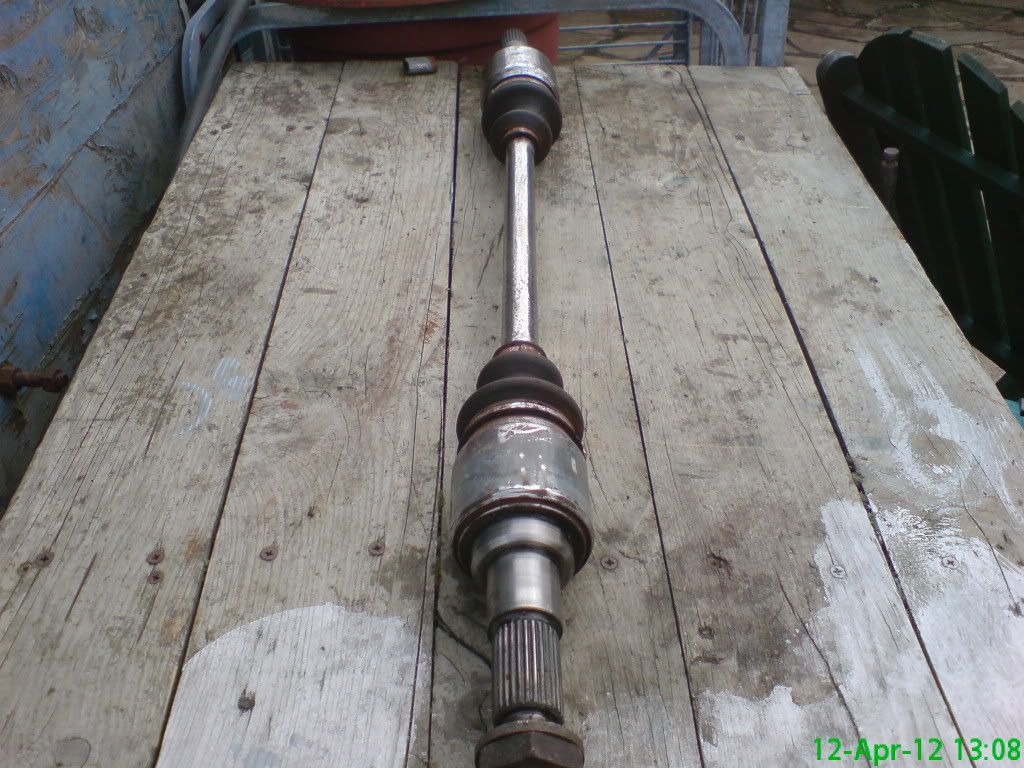 same driveshaft painted 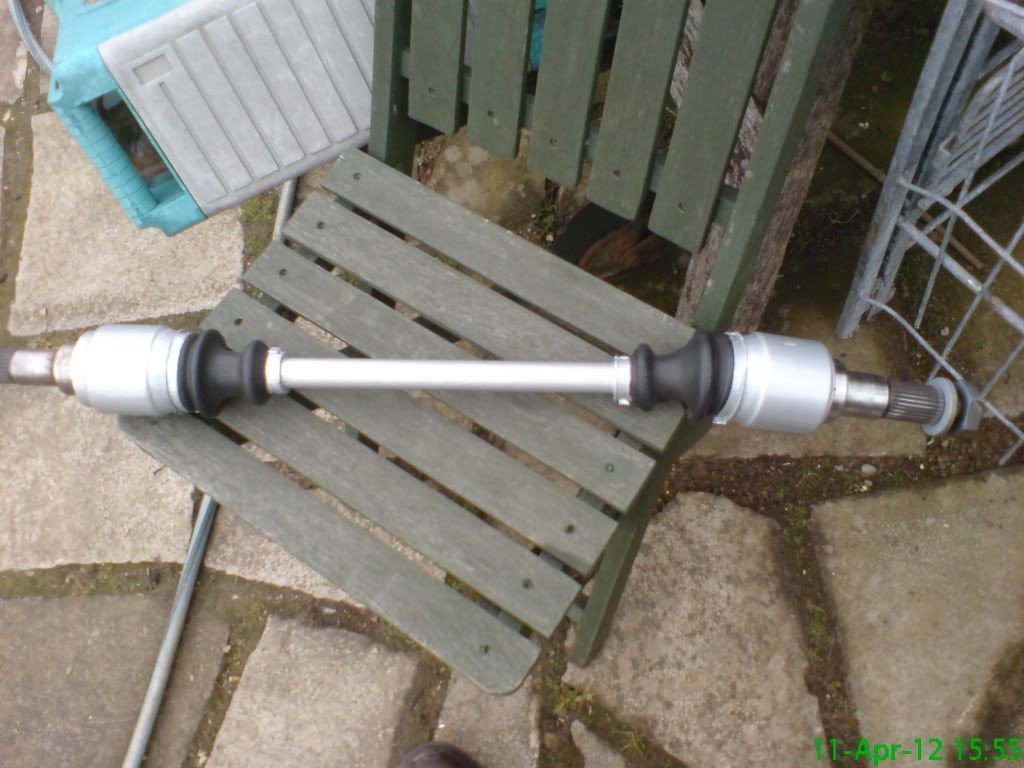 not looking forward to doing these 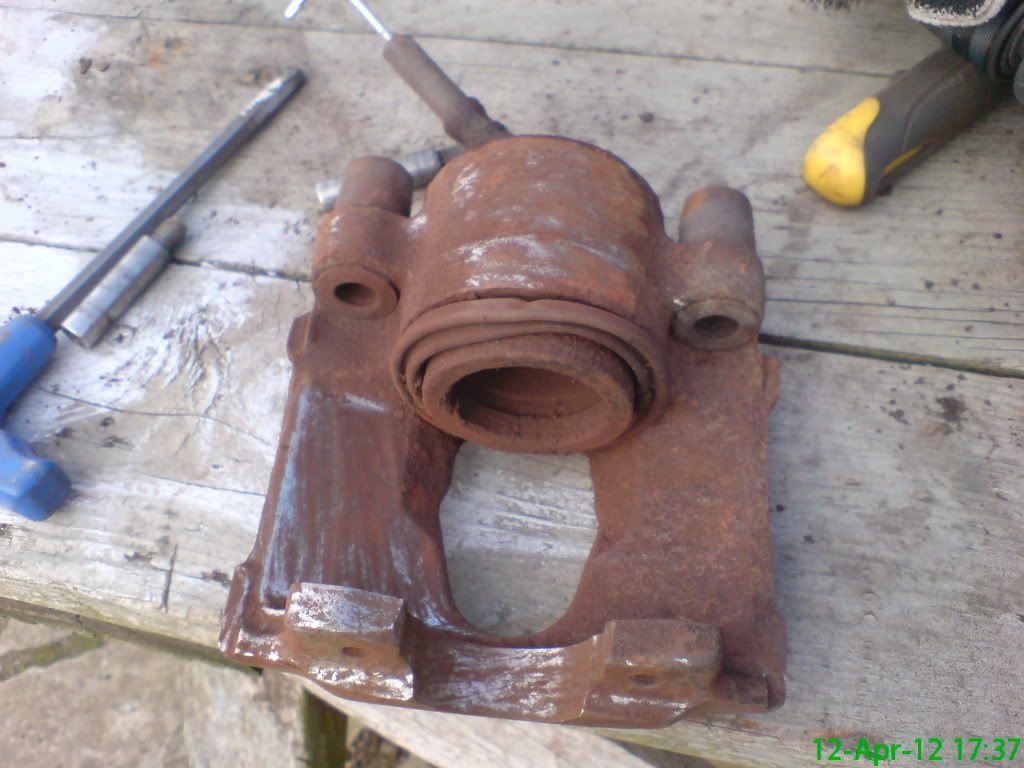 |
Looking good Kev.Can highly recommend biggred to do your calipers if you get bored.
If you do get bored you can come and do a bit of work on mine :D |
Quote:
last few days have been busy with rest of roll bar here are rear stays bottom mounts via 8mm bolt 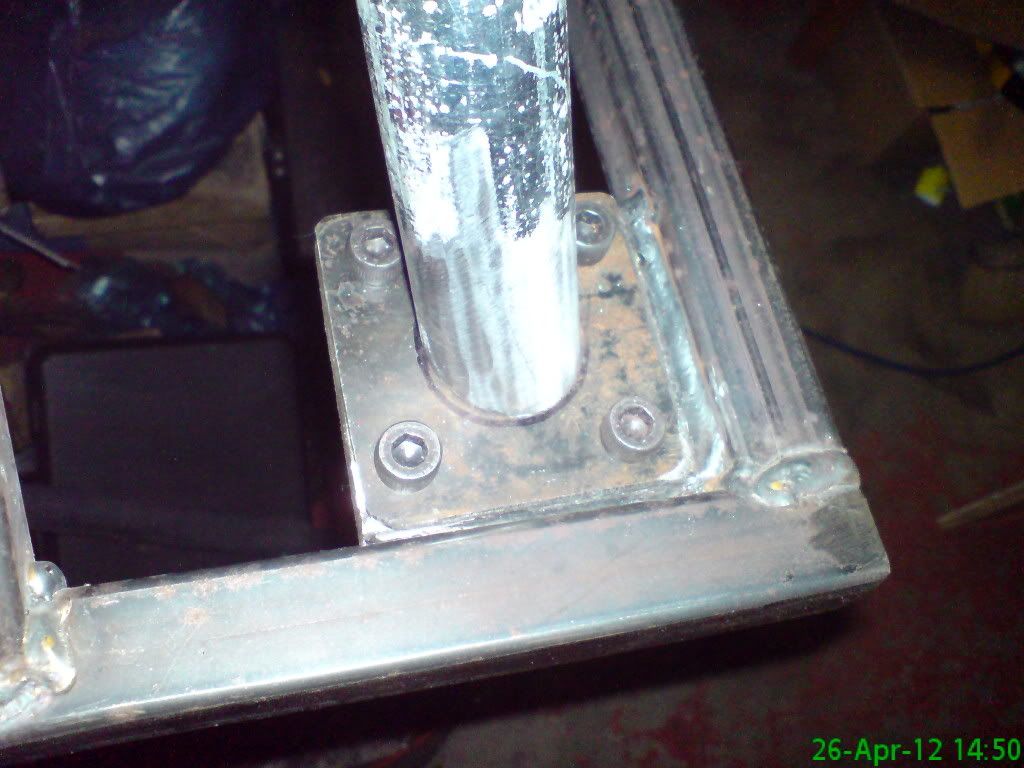 and fishmouth to roll bar due to be welded 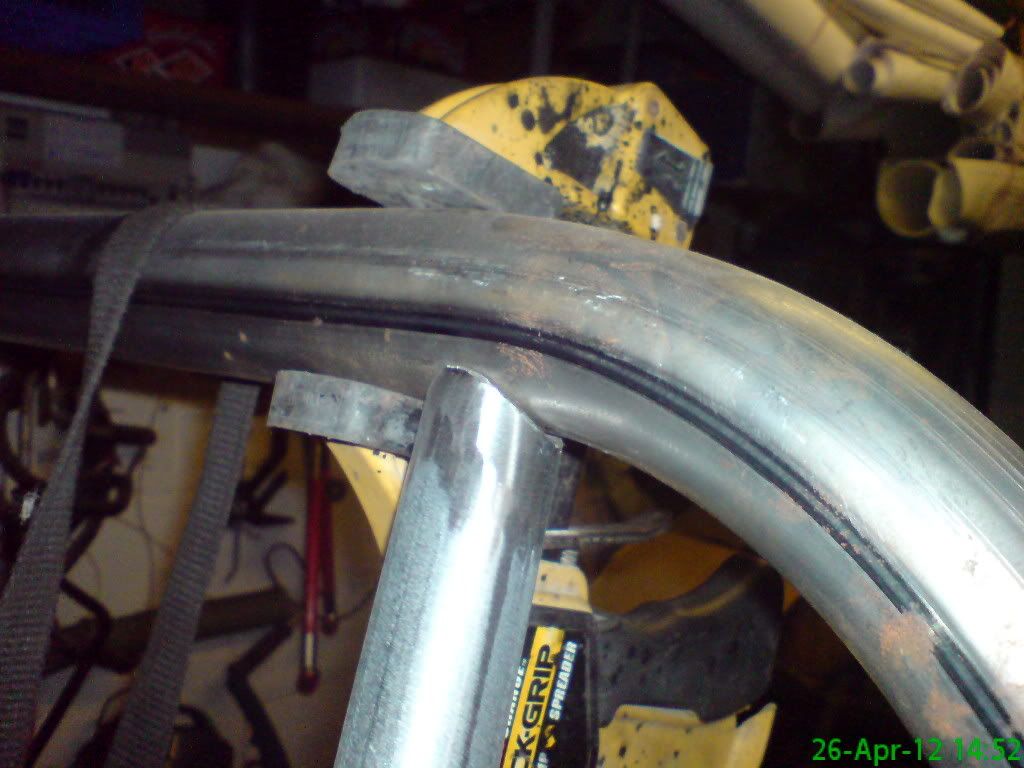 doing cross brace tomoz and incorporating rear harness anchorage points into it |
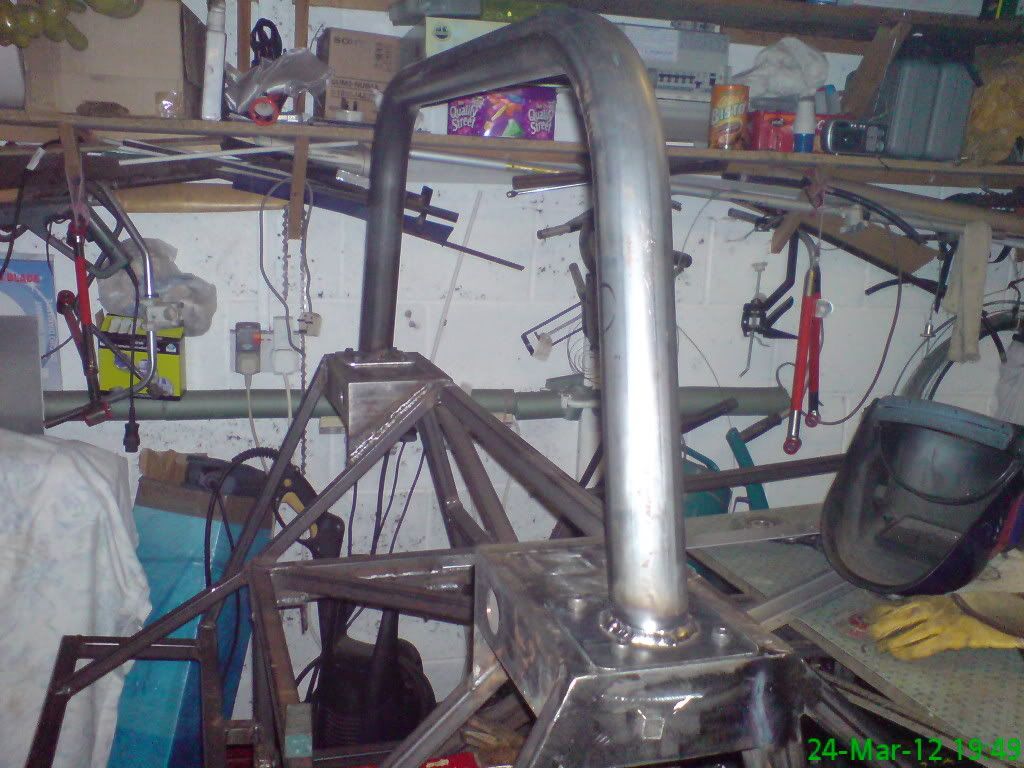
have finished roll bar now and welded it up in situ so that it will stay put
my solution for the harness mounting points was similar to others, but I have used 12mm nuts that I placed and tightened up on a bolt (4 at a time) popped the bolt into the lathe and turned the corners off the nuts then placed those in situ on/in the cross brace and welded them up....made sure the vertical height was ok for IVA. I have just dug out a strimmer shaft made of steel tube that will make me a nice extension for the steering column (bulkhead to rack) so that is the next one on the agenda pics off the roll bar 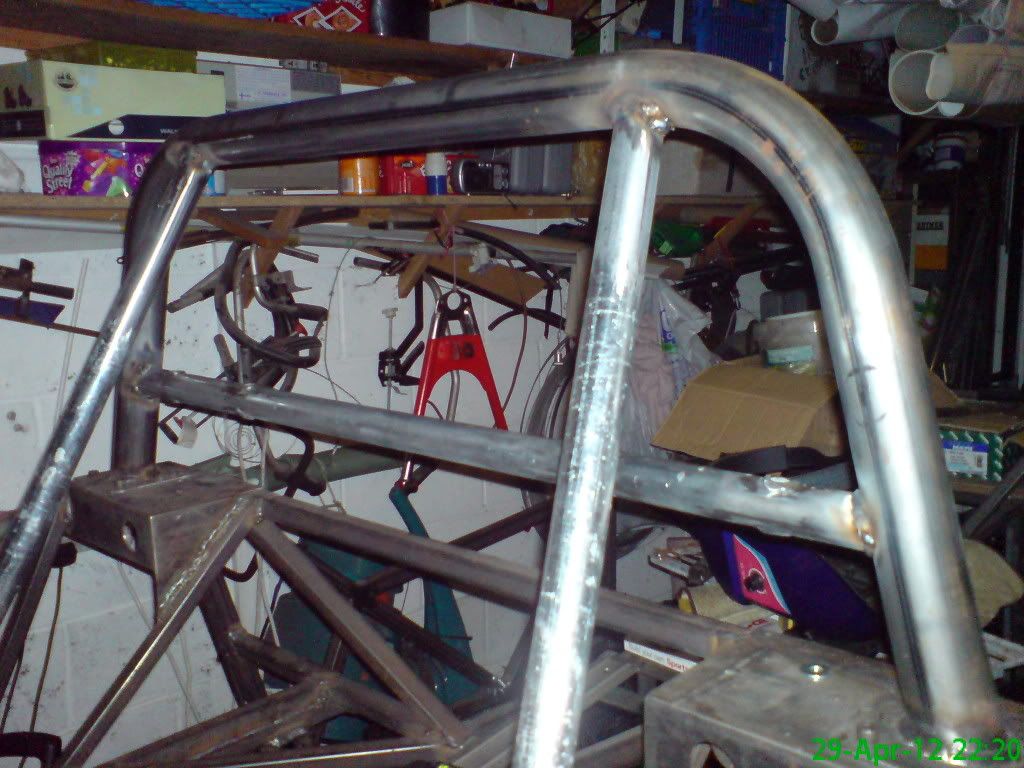 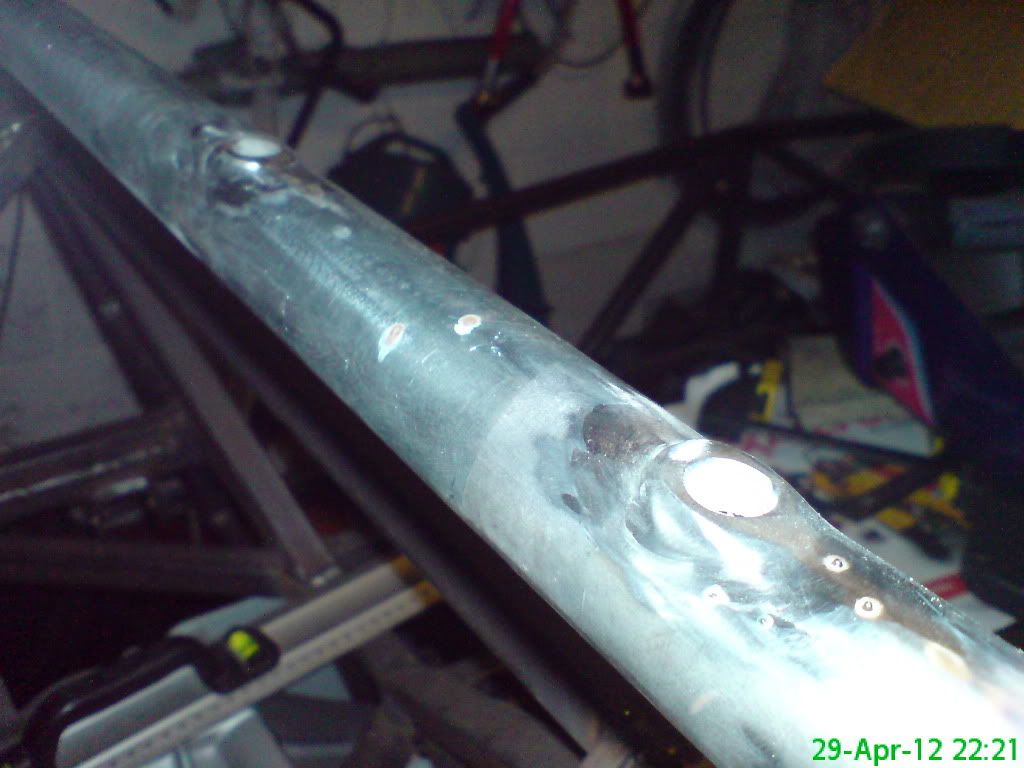 |
Quote:
|
Ha Ha Sylvain:p .....these were the type of controls a driving instructor uses, which are a brake pedal and a clutch pedal that are used from the passenger seat I have used the actual pedals themselves from a set.
As for acetal or delrin have a look on ebay there are usually loads even if it means getting it from over here. An alternative I have used before is wheely bin plastic as it is very waxy.....cut out several "washers" with a small hole saw join them together on a bolt ....bolt in lathe or drill "turn down" to bush Dia hey presto plastic bushes |
Ok, I got it now thanks! And thank you for the other tips :)
|
Started work on my steering extension ....was going to use an old strimmer shaft but decided its wall was too thin, so then decided to use some of the left over seamless tube from making the wishbones....19mm thick walled....perfect for the job also decided to use the original uj's as there was nothing wrong with them, no perishing in the rubber one and no play in the upper one. Cut the awfull triangular thing off the upper bottom part and turned it down to fit inside the extension tube, and ground down the triangle on the upper one to fit the tube then welded the bottom one up but left the upper one as I need to sort out the bearing support I intend to make.
heres the piccies 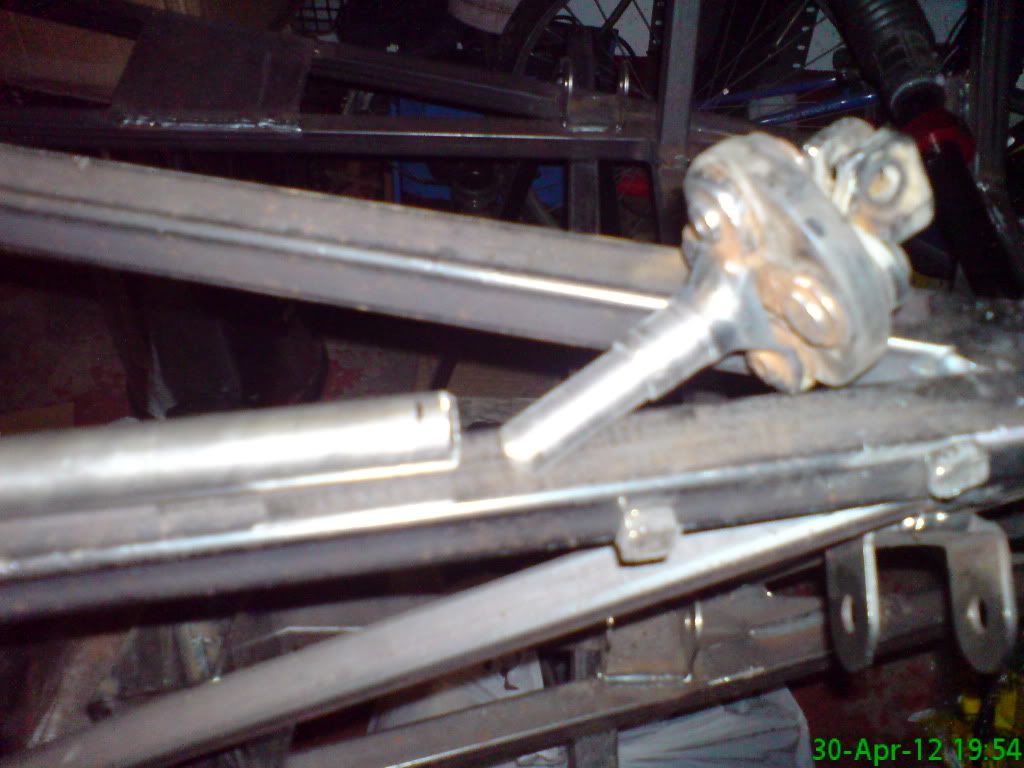 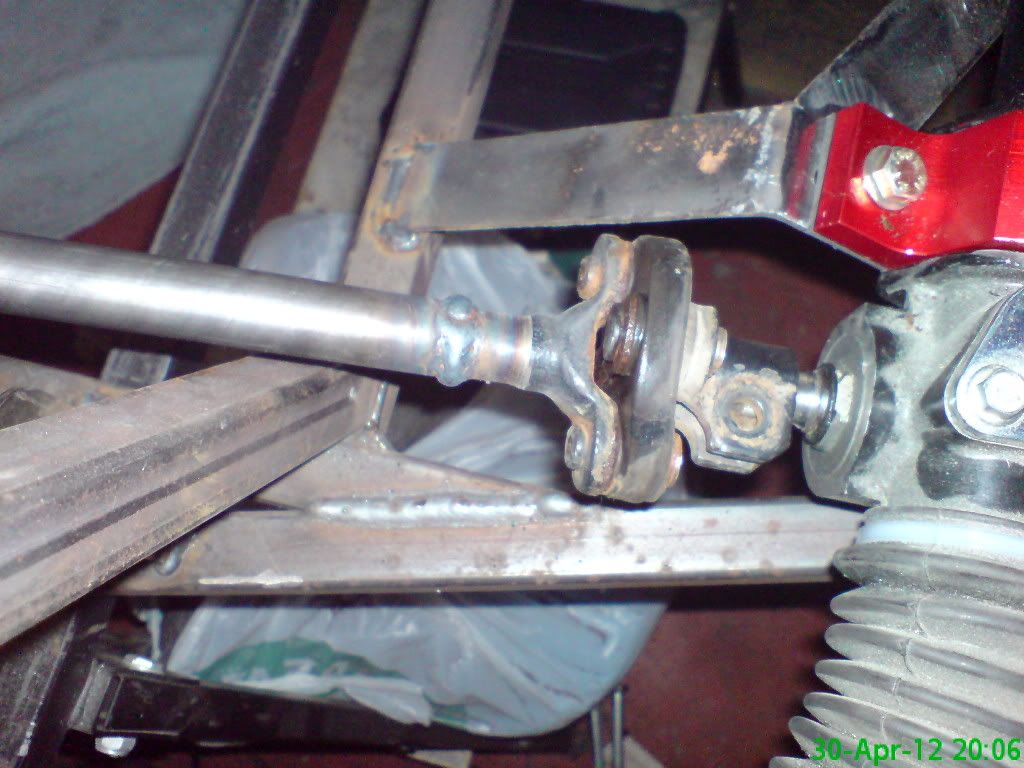  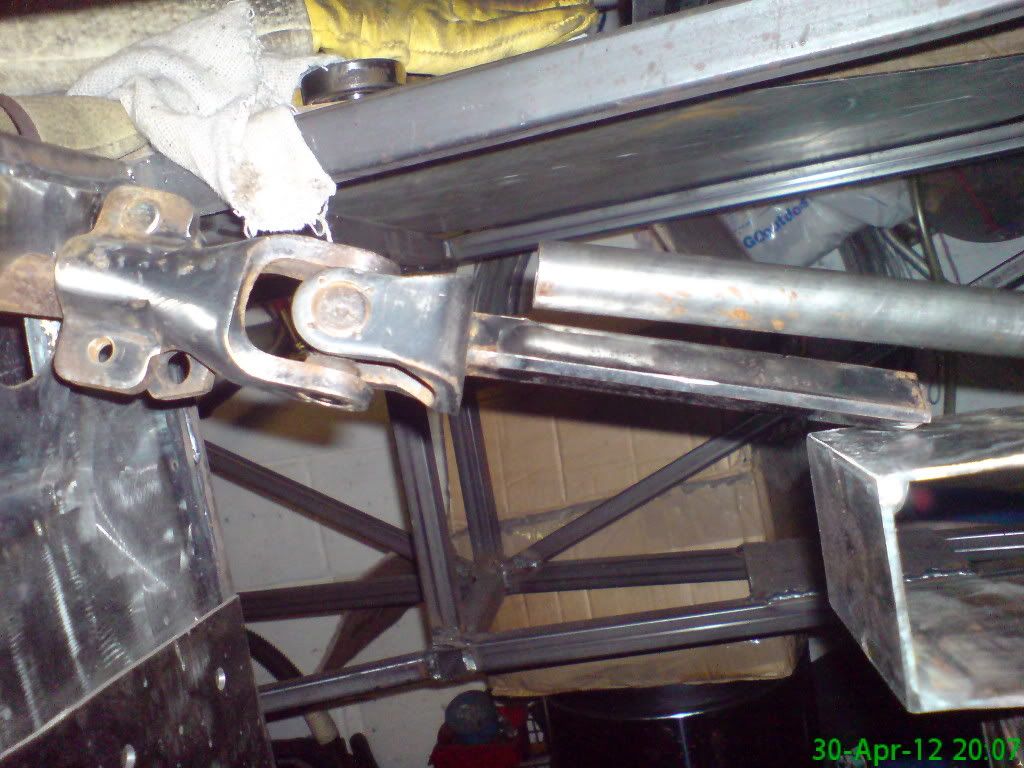 |
Now on with the bearing at the bulkhead area....my solution was to fit the bearing inside piece of thick walled ally tube then cut away the excess inside the chassis the bearing inner dimension matched the plastic triangular part from the original column so it was utilized again all this was then slid back onto the triangular part of the lower shaft, then trial fitting the st column, the bearing/ally tube sit perfectly in the fabricated "wedge that is made for the exit of the st column into the engine bay. This will have a cover that will both bolt and secure that assembly in place.......right where's me engine/box:D
piiiccceeeeeeeee's custom made alloy bearing carrier 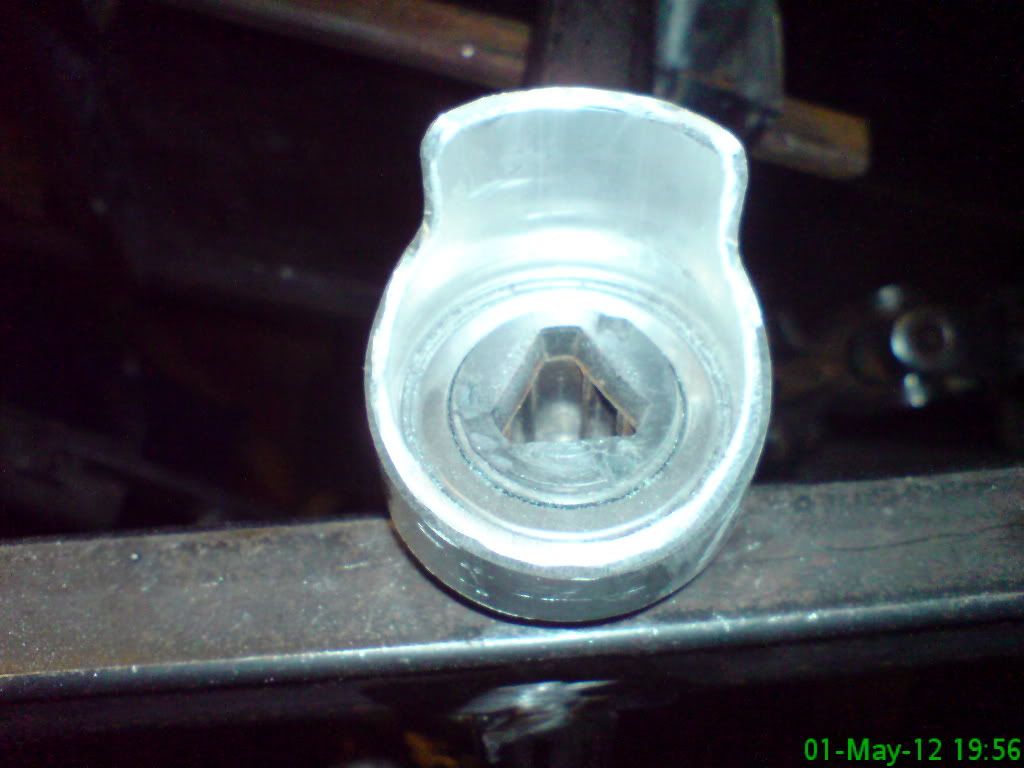 same item in situ looking from pedal box area 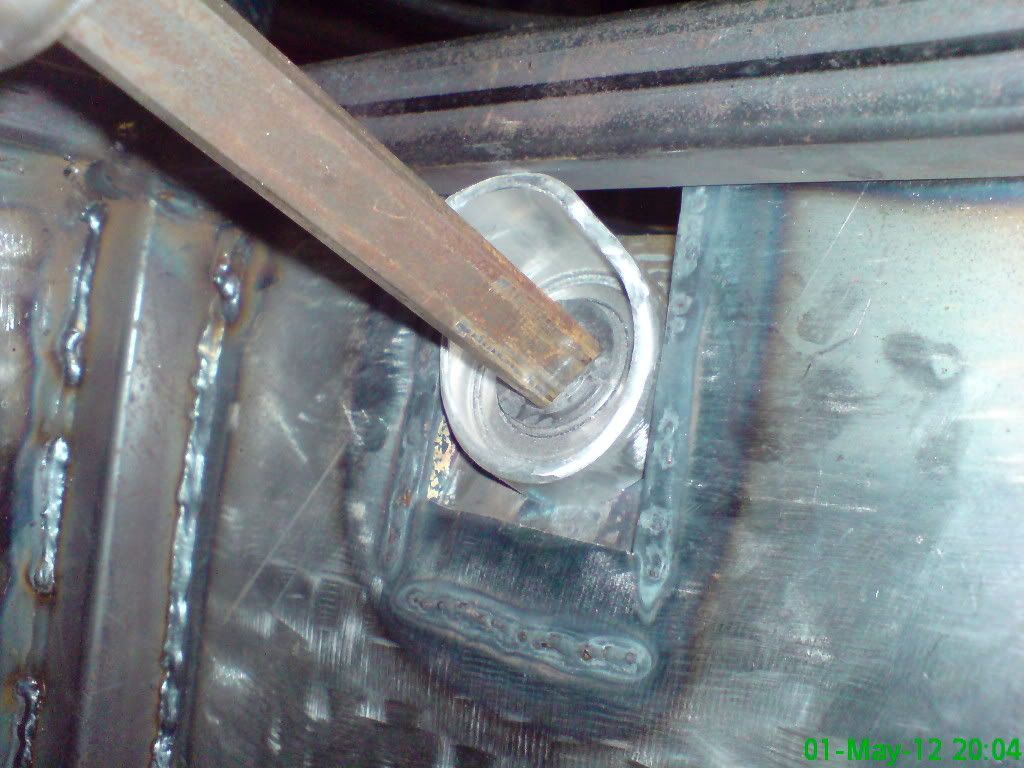 now looking from above....this is wher I will be using a bolt on plate to secure 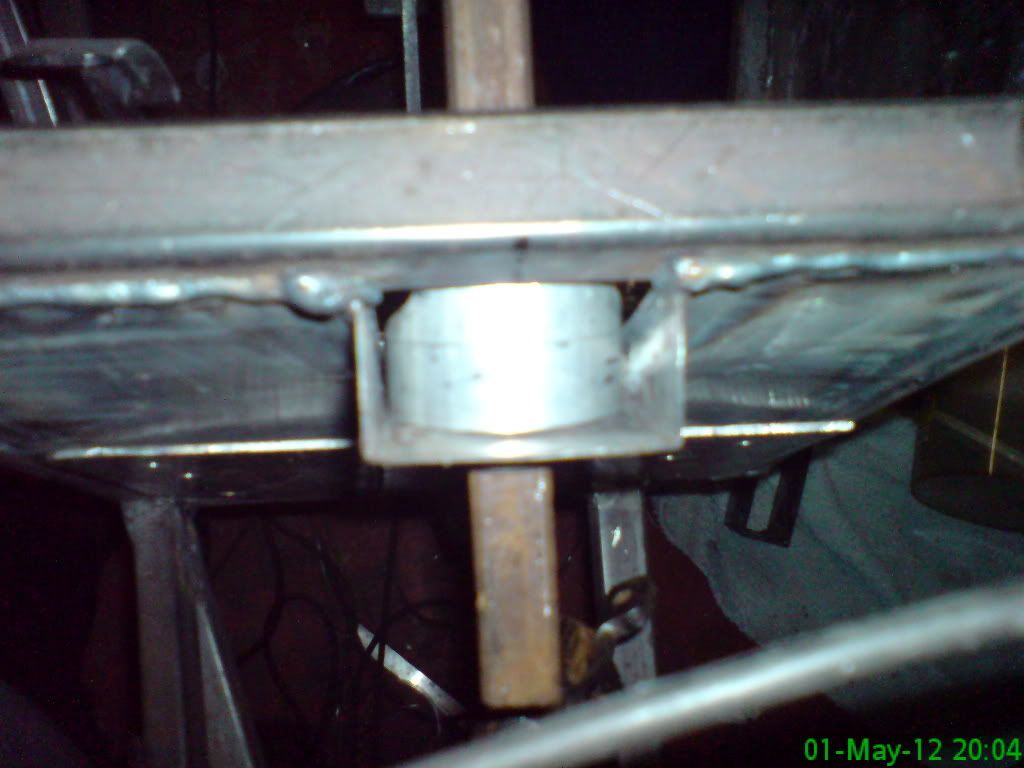 |
Continuing where I left off, I needed to secure the bearing at the bulkhead, so it was a simple case of make a plate to go on top and have a bolt through the plate then through the ally bearing holder and nut on the inside....job done and it holds it perfectly rigid....gonna move on to seat mountings tomoz, am really enjoying the build at the mo:D
this is from the engine bay side 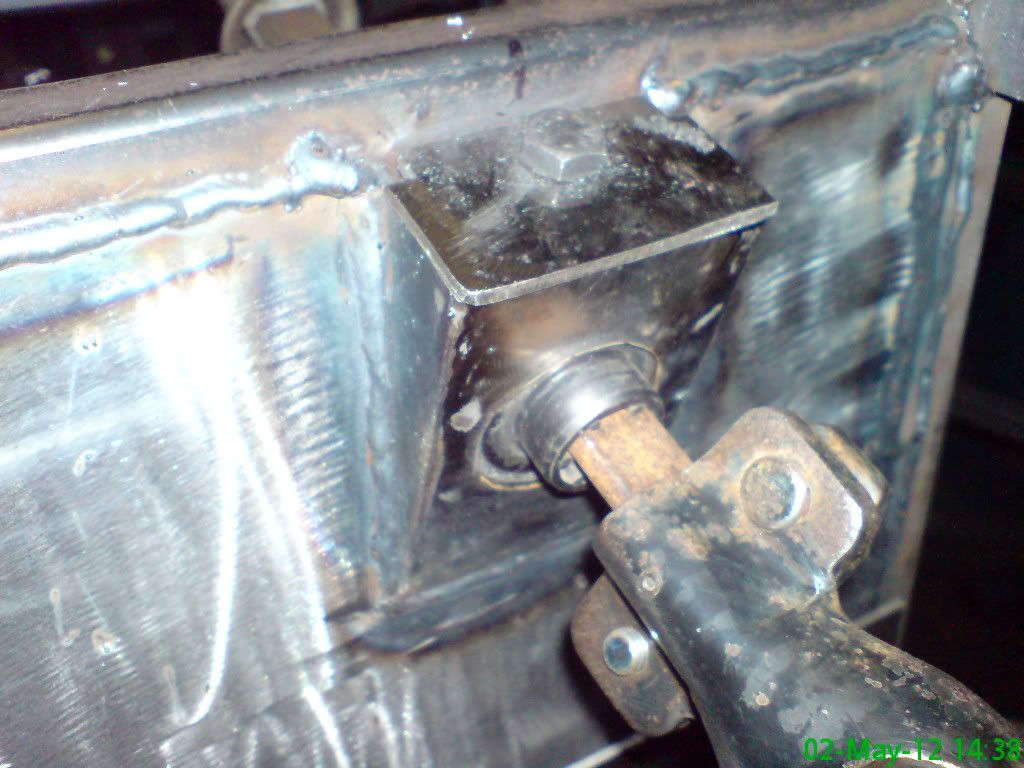 and this is from the drivers footwell side...you can just see the nut at the top underside of the bearing carrier. 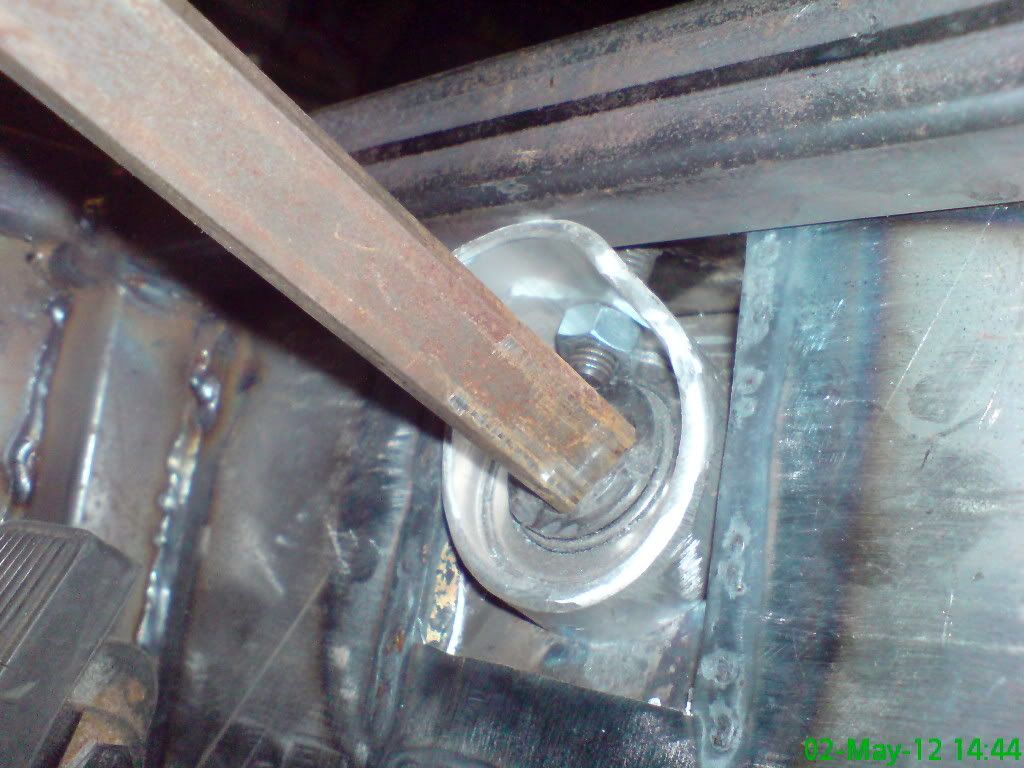 |
Have now moved on to sussing the engine and gearbox mountings, got the engine up and more or less in situ on the crane and decided to "pull" the gearbox up from below with a couple of slings.....after getting the alignment for the diff and splined shaft of the gearbox somewhere near I decided to mate the gearbox up .....much cussing then some more and an hour later the geabox makes that luuuuurrvely noise "clunk" as it mates up with the spigot bearing, good job as well the gearbox was going to get a right thrashing with a broom handle:mad:
will be double checking alignment tomoz and then drilling attaching mounts for good....then of course engine oot again engine and gearbox in situ.....and the wooden engine mount IS temporary 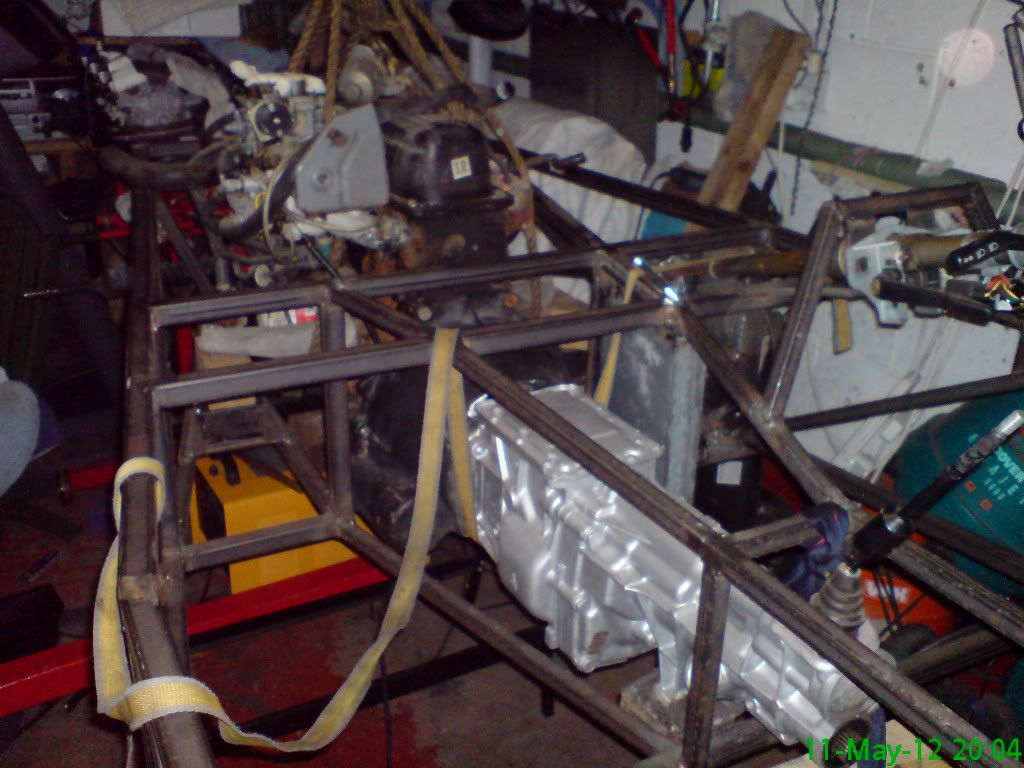 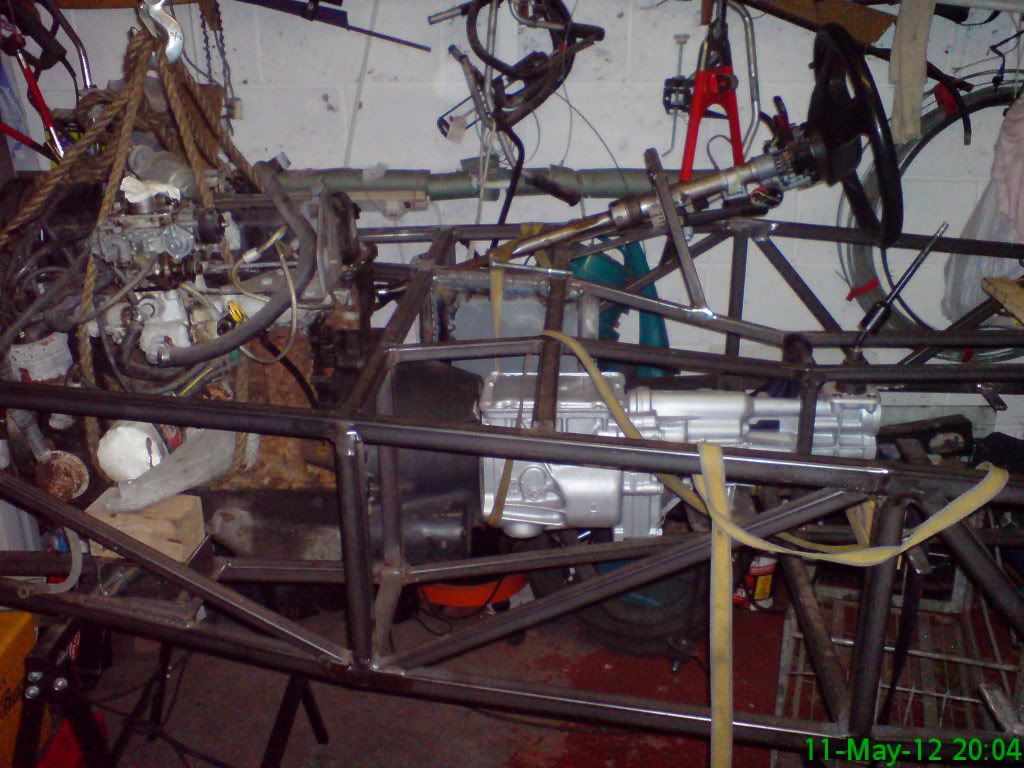 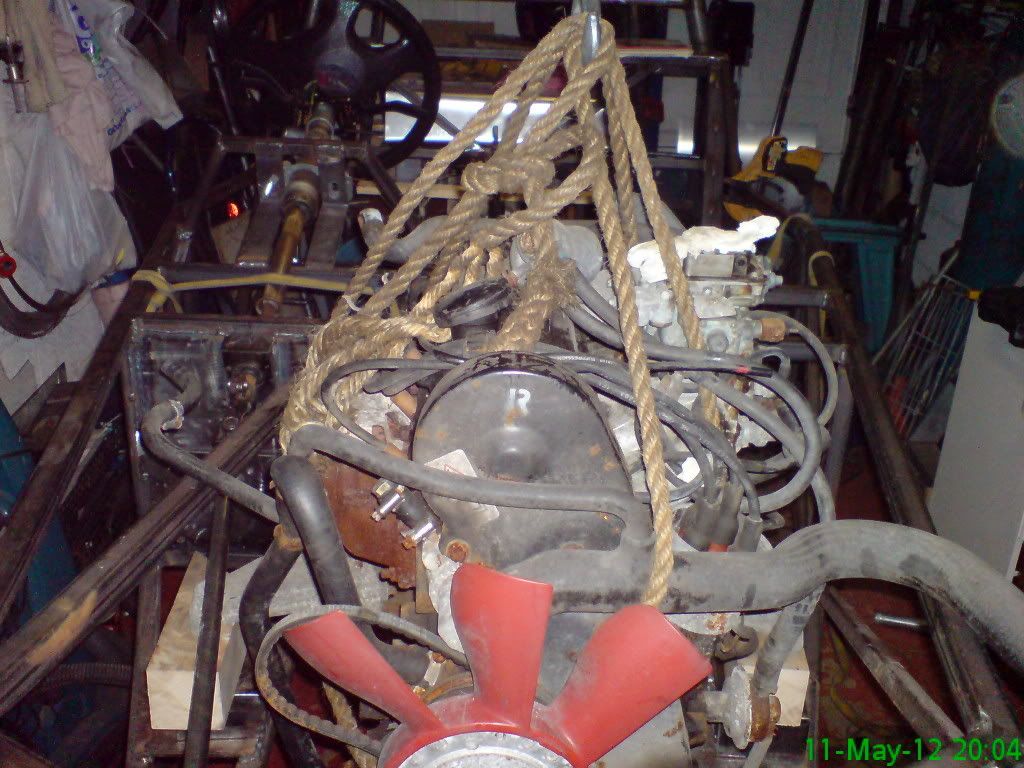 |
Made a huge decision today after deliberating hard and long re the pinto/type9 engine combo and have decided not to go that route due to the routing of exhaust pipe (opposing sides) and the cutting of a hole in the bonnet for the pinto air filter, so I am going back to my original plan and using the nissan 200sx engine from the word go ....so if anyone is interested in a 1.6 pinto with g/box and all ancillaries and 66k miles drop me a line.
|
feel a lot happier now I know which direction I am going, had a little hiccup when it came to fitting the gearbox........at the prop end there were two large nuts sticking out that stopped the gearbox from going into the trans tunnel, found out these housed the springs that allows left to right springed movement of the gear lever .....so I removed 3mm of alloy gearbox on either side and then it would fit into the tunnel then replacing the aforementioned springs and nuts but these will need to be removed each time I wish to remove/refit the gearbox.....small price to pay, because of this I have been able to get the gearbox a good way back allowing the gear lever to be level with the steering wheel.....land rover engine mounts have been utilized in the gearbox mounting
just the engine mounts to do now gearbox mounting points 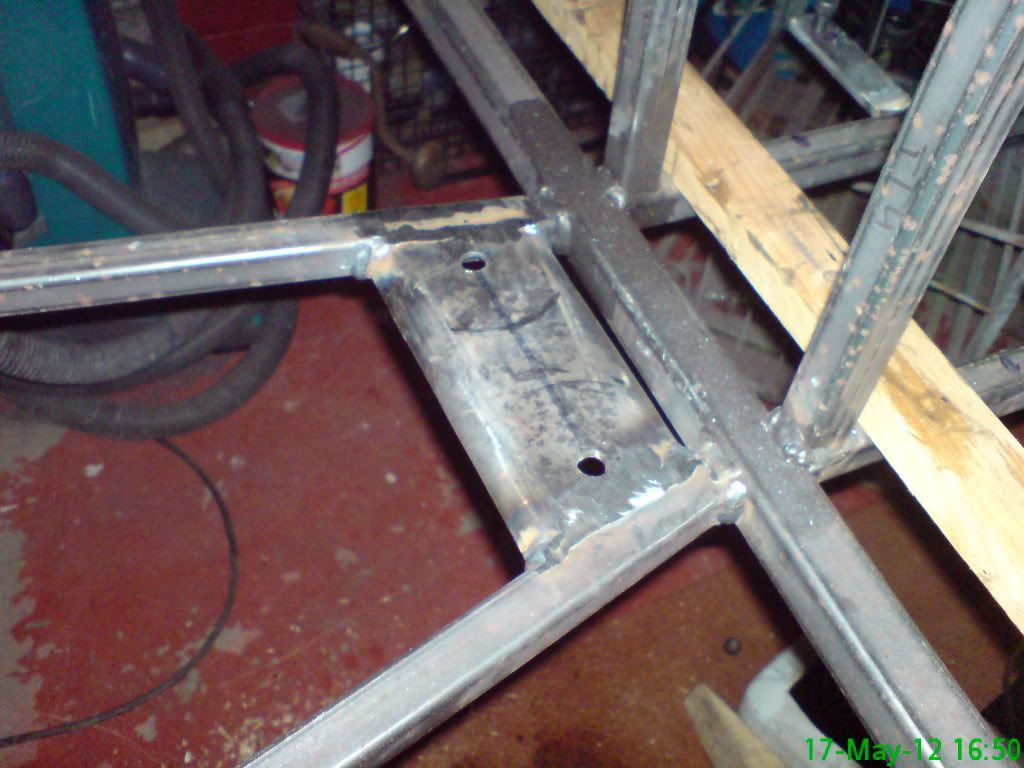 gearbox anti vibe mounts 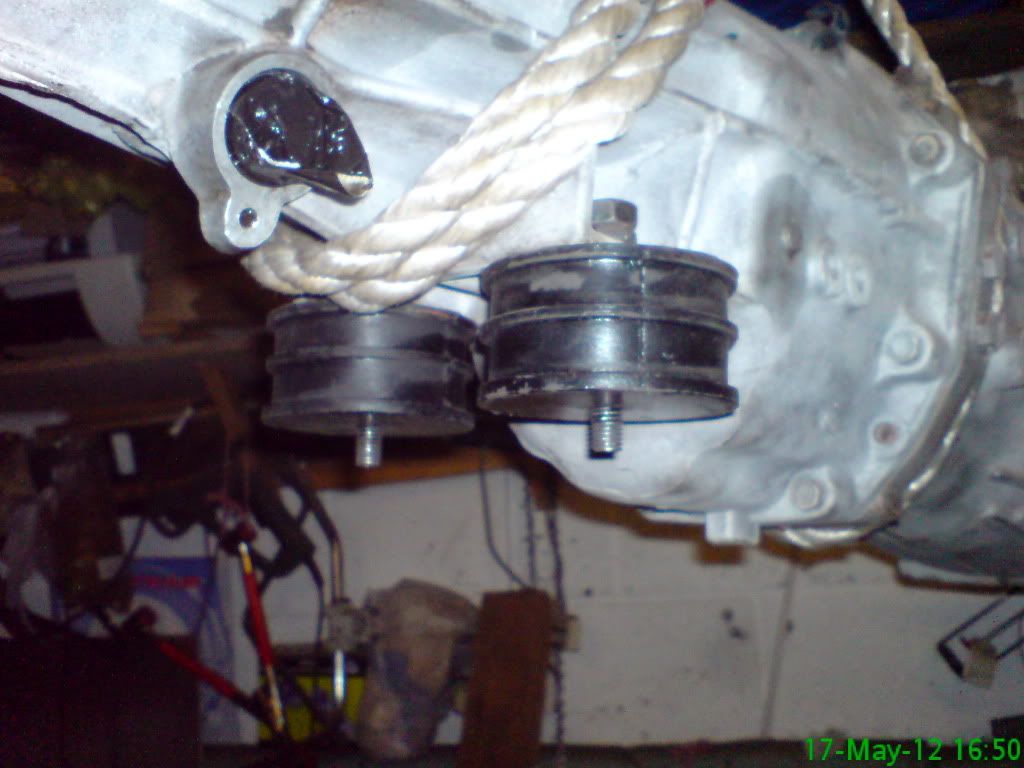 gear lever position 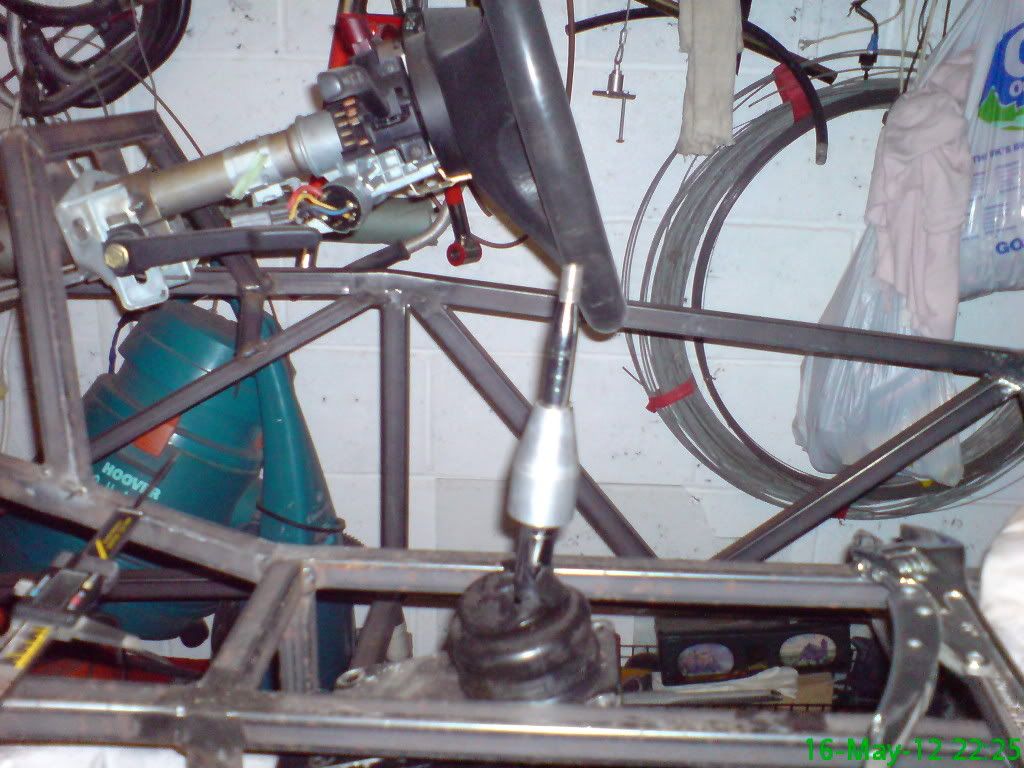 |
That's going to be one seriously quick roadster!:cool:
|
yup:D it will be Chris.....especially when I have finished the engine upgrades (stage 2)....gonna have to be very clever with my left foot that's for sure:p
|
| All times are GMT +1. The time now is 01:22 AM. |
Powered by vBulletin® Version 3.6.4
Copyright ©2000 - 2025, Jelsoft Enterprises Ltd.