Wow, the carpet makes such a difference to the look of the car! I love your colour scheme, classic.
|
Thanks Alga, Its coming together as I had imagined it. Even managed to nab a nice 12.5" wooden steering wheel on ebay for post IVA. :cool:
However, the 'time off work' onslaught continues. I stripped this lot out of my loom.  Fitted the scuttle upper and bulkhead in too. I have made them both removable held on with rivnuts.   It even turned over, some fuel and the AFM and it may even start! Cheers Stot |
Positioned one of the headlights and front clams today. Dont think this will get through IVA.
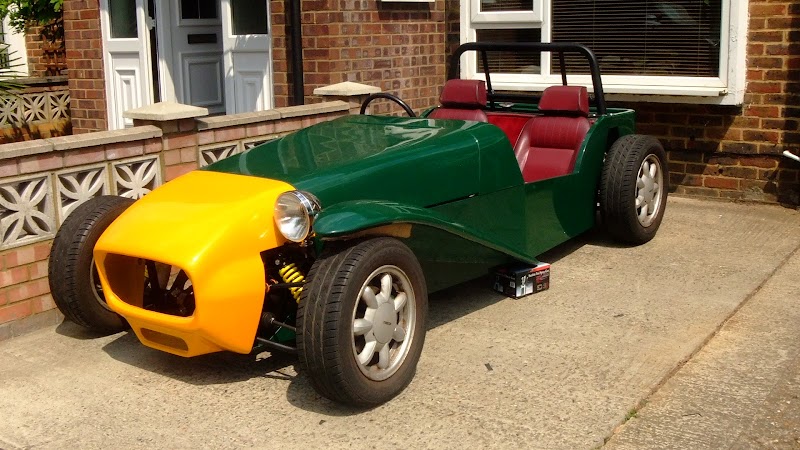    I wouldn't be able to move them any further forward as you can see and the wing only just gets to 30 degree forward at its tip so not covering the full tread width. If any kind soul wants to lend me a pair of cycle wings and brackets for my test when I eventually book it let me know. Cheers Stot |
You, Sir are a genius. That car is looking well sweet.:)
|
Thanks Enoch.
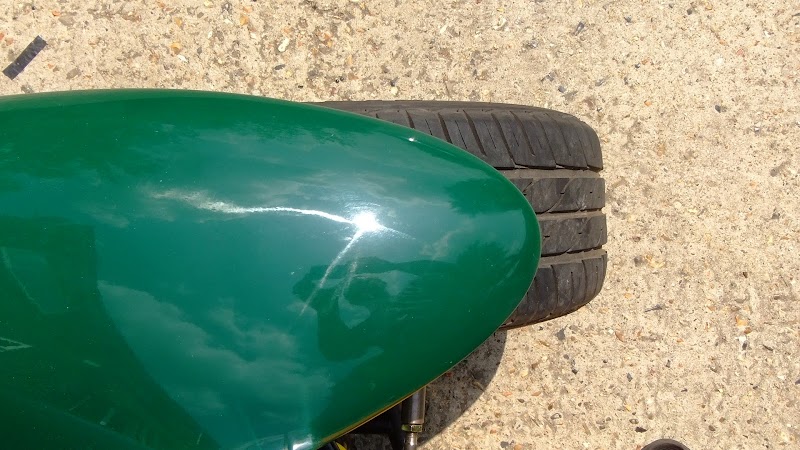
Took another look at my wings, I realised I need to leave room for the silencer. 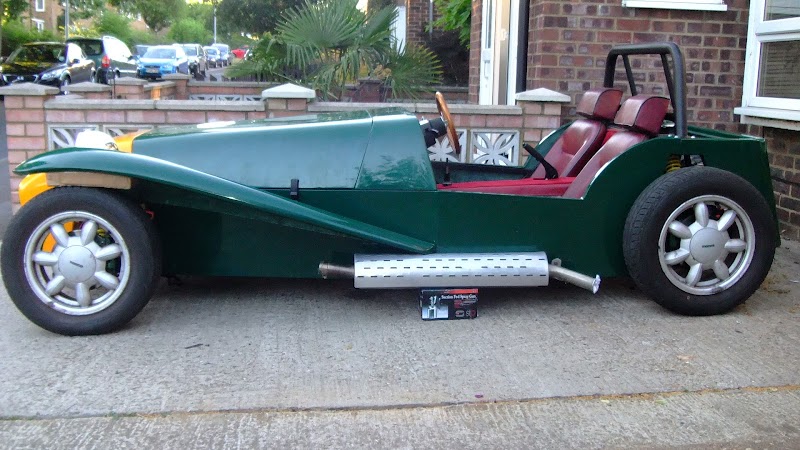 I raised the headlights up an inch and a half I can get a better angle on the wing with room for the silencer to the point where I believe it should be able to pass IVA. 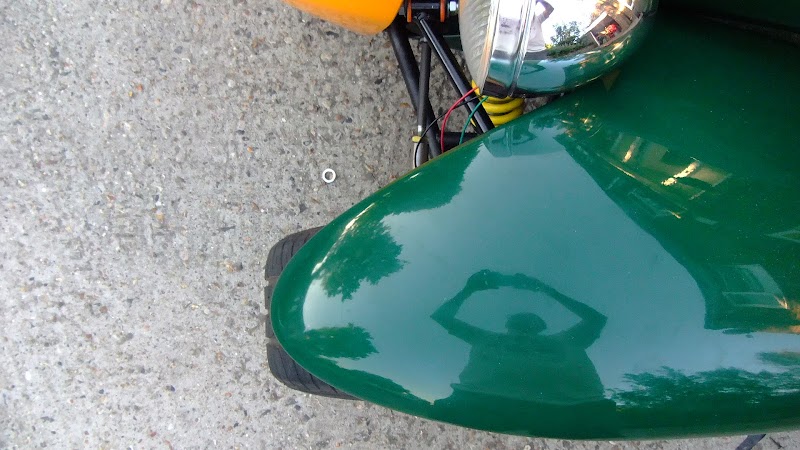 Cut my dash center panel too.  I may end up with a standard MX5 dash for IVA and put this on afterwards because of possible radius issues around the edges unless I can come up with something. Cheers Stot |
Mmm, I'm not sure but this guy might be able to help you out...
 |
He said to put the car in one of these for IVA and all radius issues are solved.
 Cheers Stot |
Haha, like the dash by the way, looks very OEM!
|
1 Attachment(s)
If you cover your mdf in sleepmat but continue the sleepmat round the edge and fix to rear making a soft edge you can eliminate the radius problem :D
Attachment 1702 This is my second attempt at my dash, think I have it so I like it now :eek: Russ |
Quote:
That will work for the main edges, but the way my dials are mounted I wont be able to do that round the edges of the dials as it would end up too 'plump'. I may do it how I plan and put a perspex cover over the dials. Or I may be able to use Kevs idea and do rings of copper tubing as bezzels to give a radius. Cheers Stot |
Ah gotcha, just looked closer and see what u mean...could be a bit awkward. Any way u could mount your dials actually in the mdf?
Russ |
Hi Stot,
Blooming heck mate you on a mission or what.......:D At this rate It'll be done next week....:eek: :eek: Cars looking great with many fresh ideas. As you are going the "retro" look are you planning to fit a windscreen or Brooklands type aeroscreen post IVA. |
Quote:
I actually should have a first start tomorrow! Its got my full extra curricular attention anyway. ;) I want a full windscreen post IVA, my wife wont want to be wearing goggles. :D I picked up a mini windscreen wiper set with stainless blades for £15 and the electrics are all still there for it so it should be a straight forward addition and cheaper than the Brooklands aeros overall I recon. Cheers Stot |
Quote:
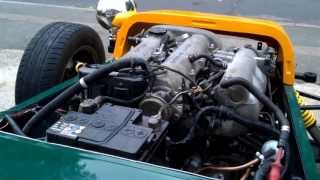 Haynes Roadster MX5 First Start I can get on with battoning down the electrics now I know it runs. :D Cheers Stot |
Nice one Stot!
|
Well done! With your pace you should be enjoying the rides before the winter sets in.
|
Looking good.bet you must be pleased with that won't be long before you are on the road.
|
Hopefully get my diff and prop in this weekend.
I decided that as the Sierra build solid mounts the diff then the MX5 diff could be solid mounted too. The main reason for the diff being on rubbers in the MX5 in the first place is to stop the transfer of diff noise into the chassis. Curtailing noises aren't such a consideration on a 7 style kit car. In preparation I removed the rubber diff bushes and made up these.   With the nose being solid mounted too hopefully it will stay solid and intact. Cheers Stot |
Just been looking at your start up video, congratulations on a major milestone, I seem to remember seeing somewhere that for the IVA your steering wheel cannot have holes or slots, I maybe wrong but just double check would hate you to fail on something stupid like that, that's why most leave on the original wheel then swap it post IVA
Arfon |
Cheers Arfon. I have the original momo from the MX5 that has a face pad on it so ill chuck that on for IVA. :cool:
 The wood one needs a refurb anyway but its only 12.5" so will suit the car a lot better, especially once the wood efect dash is in. Cheers Stot |
Not knocking it mate looks sound I haven't even thought about steering wheel yet
Arfon |
Mounted up my diff tonight. When I built the chassis I positioned the diff plates by bolting them to the diff, clamping them up in position and then tacking the plates down. Now that I have solid bushes with no play and...
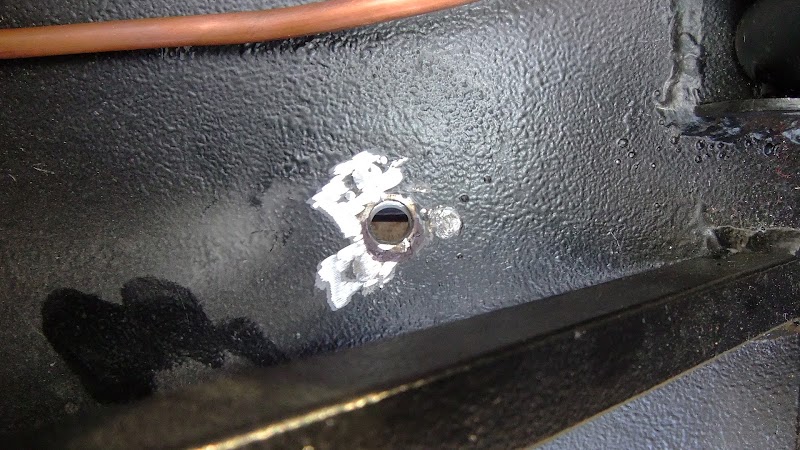 ...the holes are of course slightly out. Nothing a rotary burr cant sort. 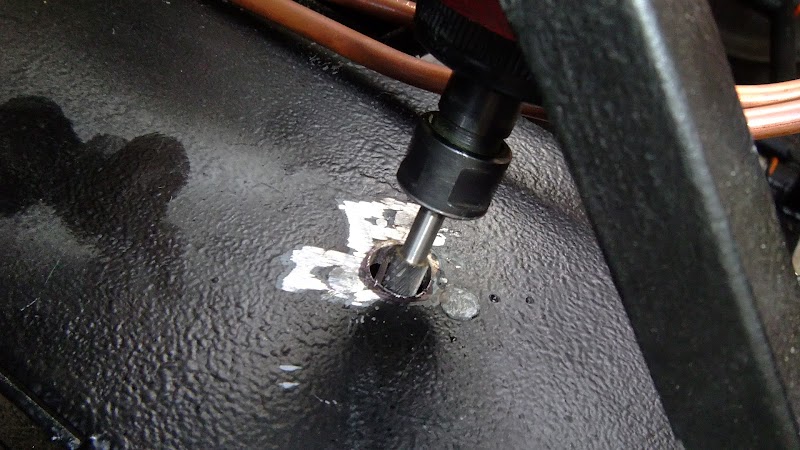  |
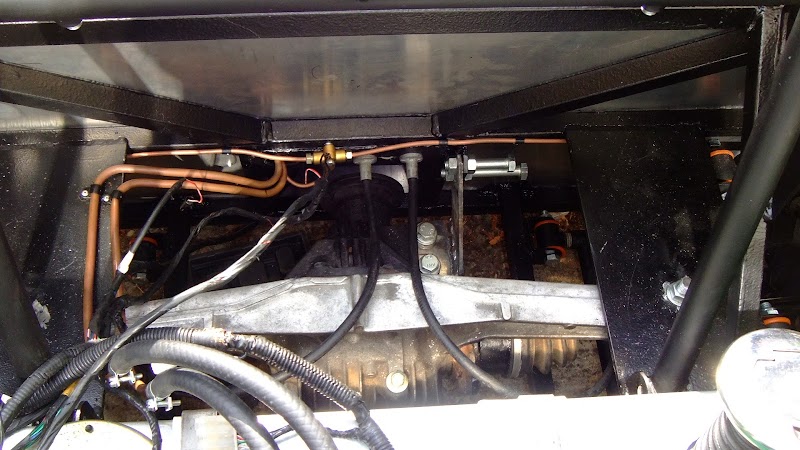
Very solid in there now.
    I need to adjust my nose bracket now too, again because there is no play and I made the nose bracket when there was play, the holes don't line up. Cheers Stot |
Altered my nose bracket to fit, it just needed to be about 4-5mm shorter.
   Proper sized bolts and some spray paint will finish it off. :cool: Cheers Stot |
Moving on quickly!
Good work. TT |
Cheers TT. Got to try and do 'something' every day.
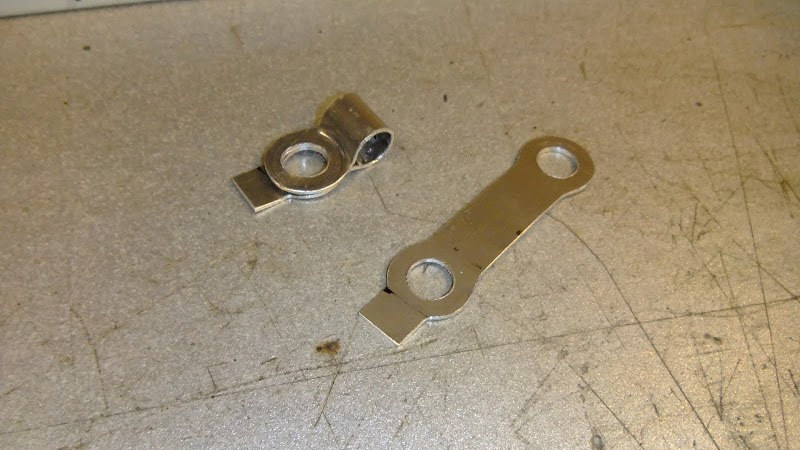
I made up some brackets to hold my handbrake cables in place. I wanted to bolt them directly to the diff bolt which is 12mm and although the original MX5 brackets could just handle a 12mm hole, they twisted to buggery when I tried to drill them. Cut these out on the CNC Mill. 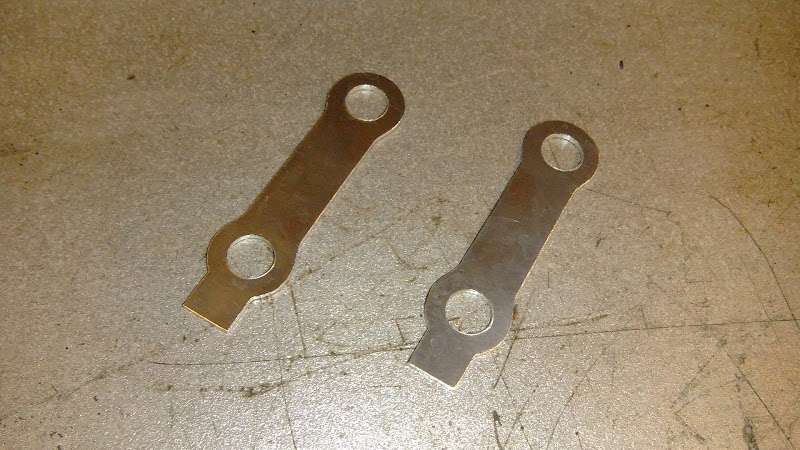 I annealed the center section using sharpie marks as indicators. The threaded rod and vice are acting as a heat sinks so the ring parts don't anneal. 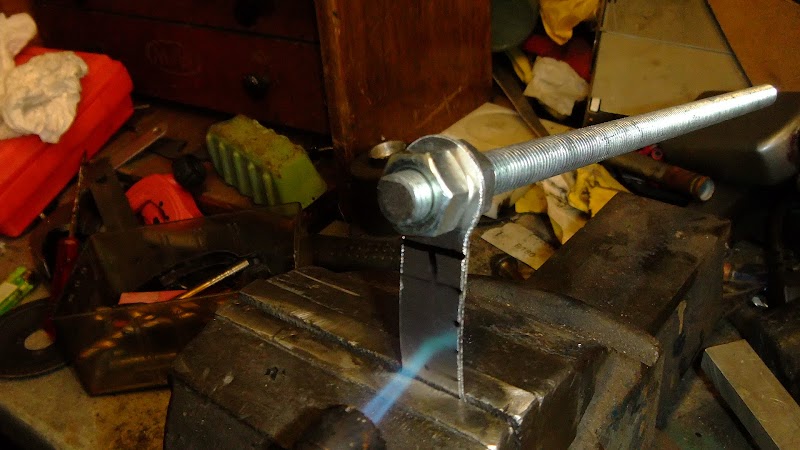 The tab at the end will bend round and conform to the nut/bolt head when fitted so that needs annealing too. 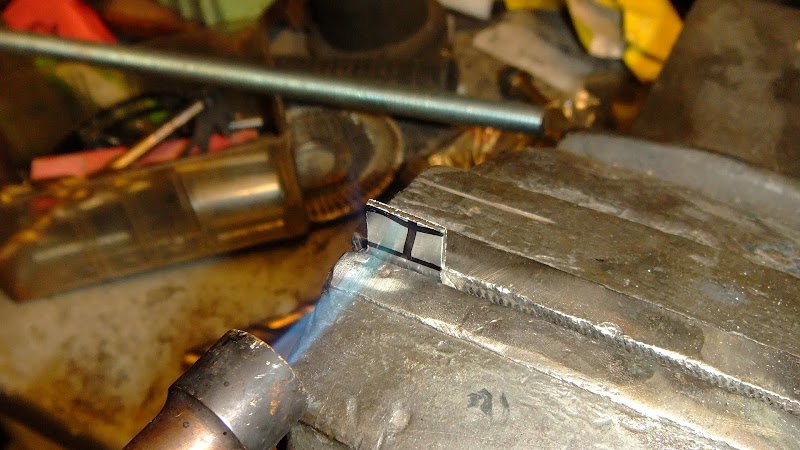 Then I bent it in half round a form then put the threaded rod thorough it and tightened 2 sockets on it to pinch it into shape.  |
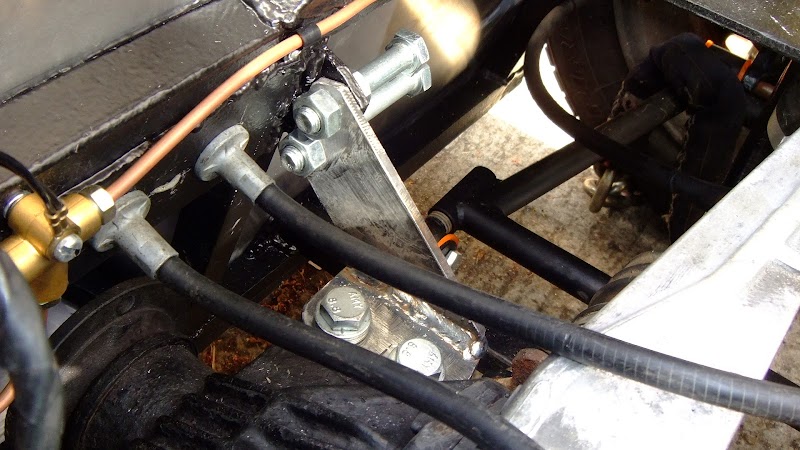
And this is what I ended up with.
 I had to open them up and re-pinch them to get them on the cables. 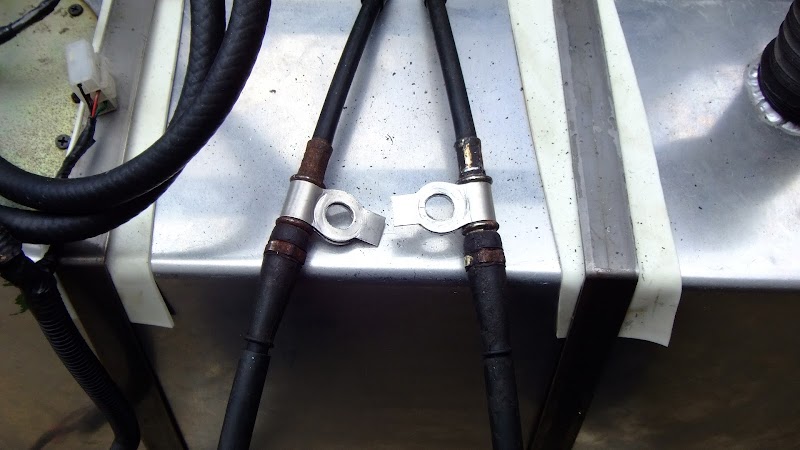 And then bolted them to the underside of the diff bushes. 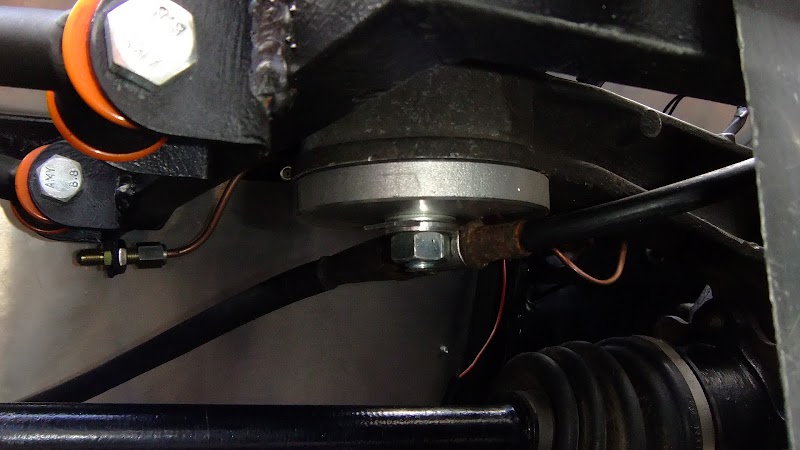 Jobs a good un. Cheers Stot |
Luv it bud.....you think exactly along the lines that I do and it is refreshing for me to see it somewhere else being done.:cool: :cool:
|
Thanks Kev. Its good to find alternative solutions so I can use my toys.
Speaking of which. I adapted my handbrake caliper mounts, rather than cuting and welding them I drilled a new hole and re profiled the stops.  When mounted up they give me plenty of clearance from the seat back.   Cheers Stot |
I bought this this week for my post IVA build. £15. Who can guess why? :D
 Cheers Stot |
PHU...personal heater unit.:D
|
Quote:
Pretty much the same thing as one of these. Cheers Stot |
Got my new wheels booted up with some Toyo Proxes TR1s so I trial fitted them.
  The hub caps still have to have the logo added to them properly but I think they go well with the classic look. Cheers Stot |
I wa snt sure about the clam wing look, but those pics make your car look MINT!
|
Well tidy
Arfon |
Cheers guys.
I made my hub caps up properly over the past couple of days. I had done a badge in the center of the hubcaps before...  ...but I wasn't happy with the look so decided rather than gluing a badge into the hole, I would cast a slightly smaller badge directly into the hubcap. Using one of my nose badge casts and some body filler I made up a master hub cap and took a silicone mold from it. By placing a hub cap with a hole in it in the mold I could cast the badge directly onto the hubcap. 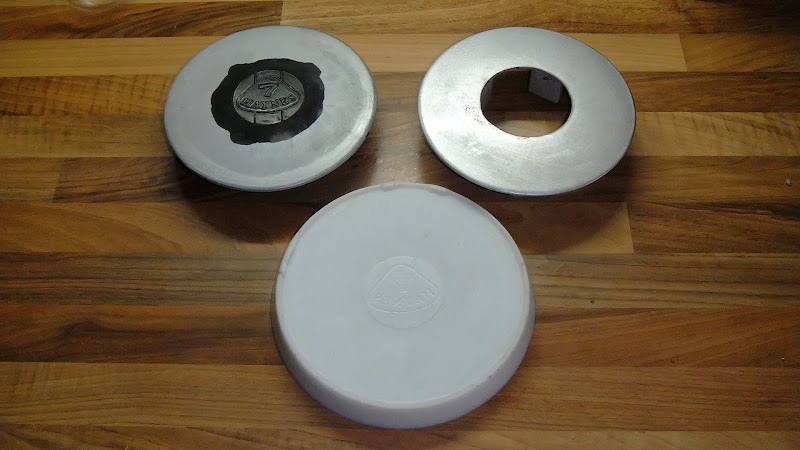 This is the various stages of the casting from empty hub cap to a sanded smooth hub cap with logo.  |
Then all I had to do was paint them, with some plastic filler primer, white primer, silver wheel paint and lacquer.
   The final colour match isn't great so I may try and find a better silver, but they didn't turn out bad!  Cheers Stot |
very nice touch Stot and still making good progress, keep it up bud
|
Very trick ;)
TT |
Its the little things that make them 'yours'. :D
Cheers Stot |
| All times are GMT +1. The time now is 02:41 PM. |
Powered by vBulletin® Version 3.6.4
Copyright ©2000 - 2025, Jelsoft Enterprises Ltd.