Looking forward to some more pics Kev, I do like reading your build :D
|
Here you go then DoS
checked my roll bar this morning and I am a little disappointed as its got a little bit of orange peel about it.....nothing that a little wet and dry won't fix ....just more work Started on the chassis tonight..yyaaaaaayyyy its first coat of grey....moving on to white fairly soon.....here sum piccies 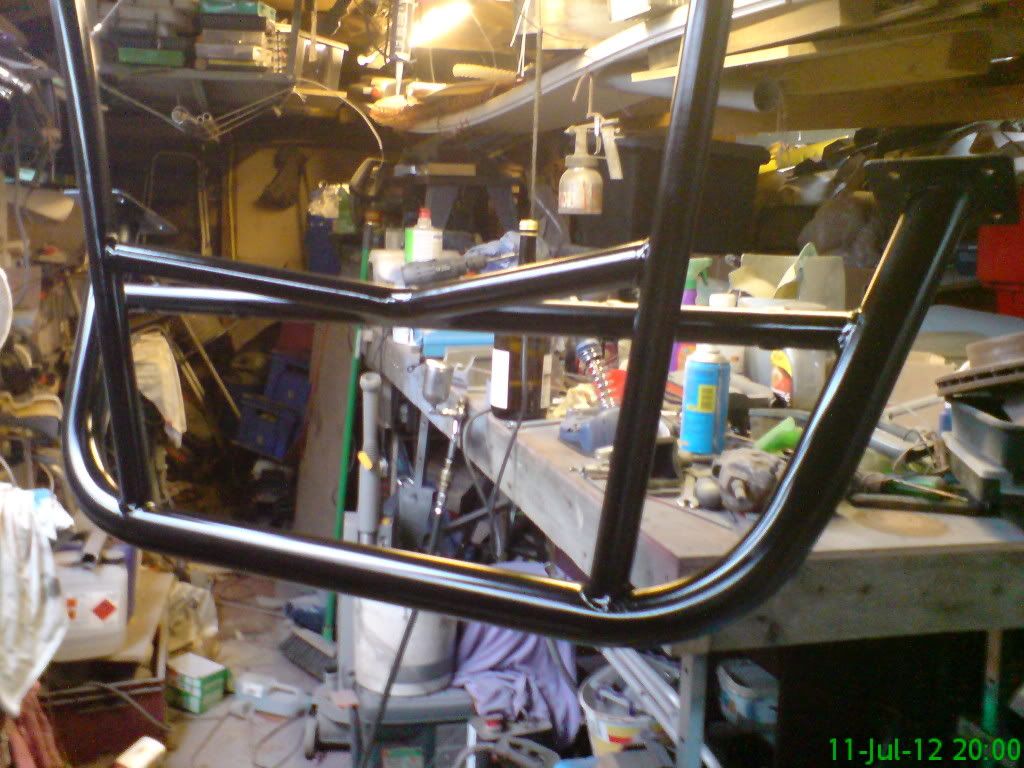 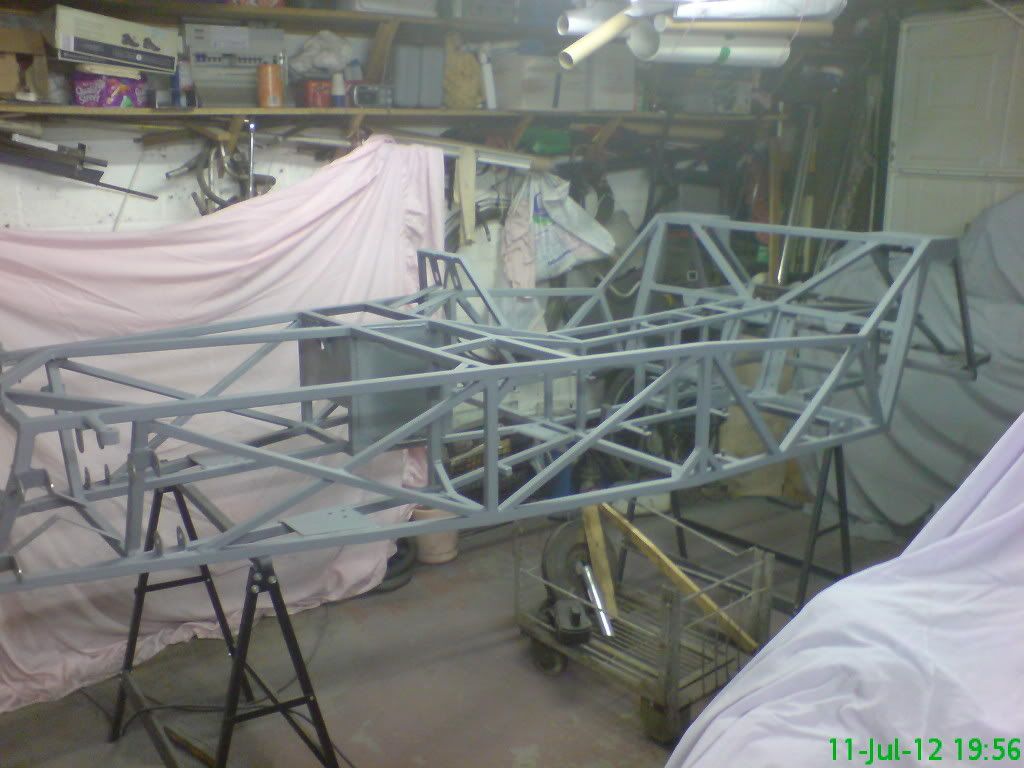 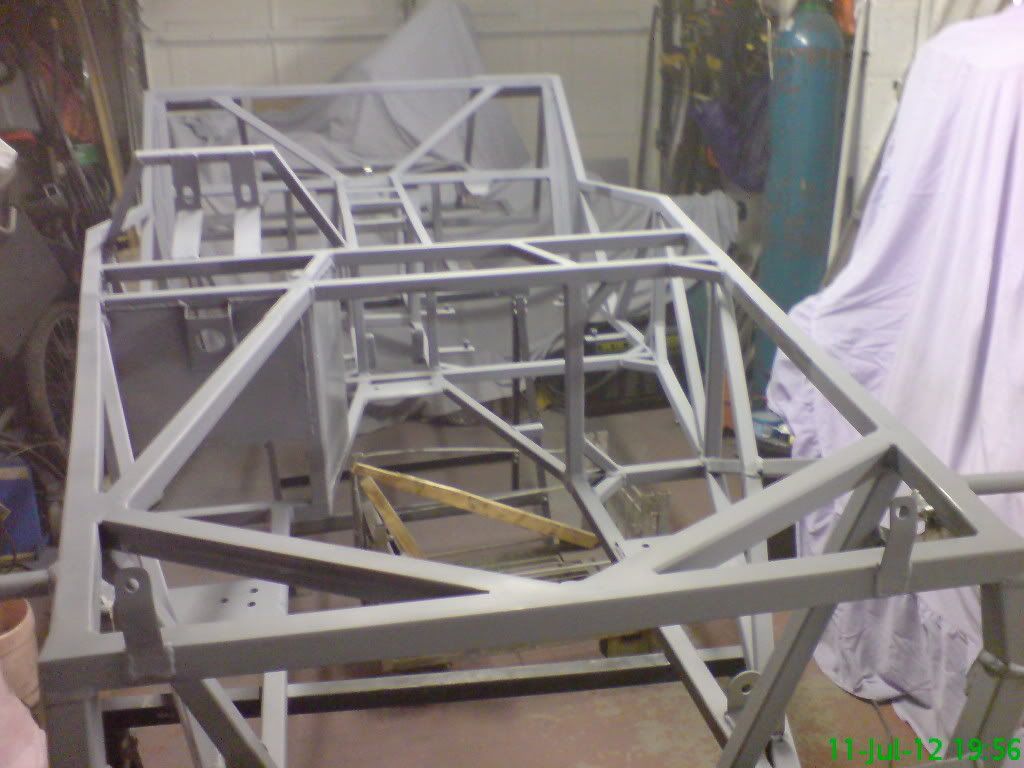 |
That is more than just a coat of paint its a milestone. I am gobsmacked by the amount of effort thats gone into the cleaning up of all the build parts in this project, I dont have the enthusiasm so its sand blasting for me:o . Anyway paints nearly done so its spanner time soon :cool:
Bob |
Quote:
most of the other stuff is done and it will be nice to start to bolt things on in the knowledge they are there to stay.....to see paint on the chassis is defo a milestone as it feels "final".. I suspect the same feeling when the last snagging point is done and the iva is booked.....having said that I have forgotten about first engine start and rolling ......well I have those to look forward too also:D :D |
Must feel good getting to that stage :) I'm definitely looking forward to seeing your final build progress and seeing it all come together.
|
Now it is in White....which will make coverage much easier to see when I do the 2k grey top coat...which I have found if you get just right looks like powder coating....one of the other bonus's I will have is the Sikaflex I will be using to bond stuff is nigh on a perfect colour match
so here it is in white primer. 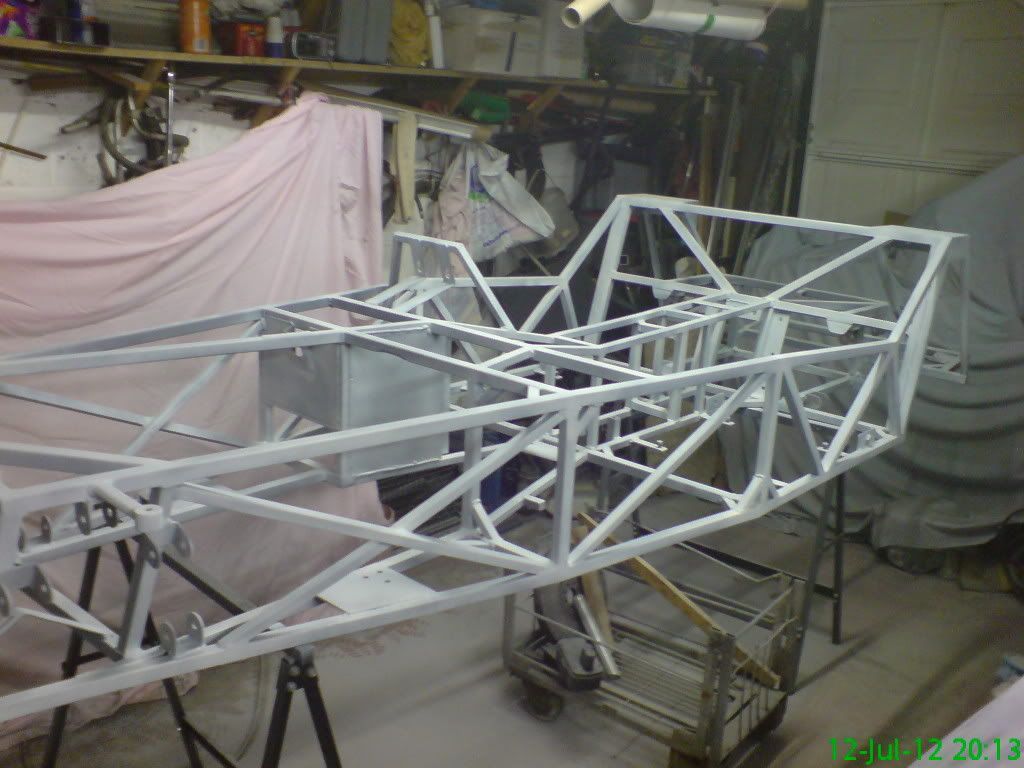 |
Kev what are you spraying the chassis with,is it a full size gun or an airbrush?
Bob |
Rob.....all the priming has been done with rattle cans ..simply because they were
litre for litre cheaper than buying primer and thinners (£2.45 400ml can) but not only that they are acrylic which ties in with the 2k acrylic top coat that I have, celly would not have liked that:mad: .....the other spraying I have been doing has been done with a cheap and cheerfull ebay mini spraygun like this http://www.ebay.co.uk/itm/Spray-Gun-...ht_1675wt_1063 it has the bonus of not needing to set pressure as it has both fluid and air control screws.....a little patience and it does reward you with a credible finish. |
Thats the nuts that gun it would save its price in the paint saving let alone the kin mess and grief of overspray on everything. I going to get one:) Kev can you stand the roll bar up the right way its making me nervous looking at it:eek:
Bob |
Hey Kev,
Was just re-reading the bit about the headlight supports (a link in another thread sent me there, I noticed my name and got curious :D ) and only just realised what you said: Oval bar made by squashing round bar?!?! :eek: Why didn't I think of that? Was starting to plan buying oval justfor that bit!!! Did you need to apply any heat during the process or just take it carefully? |
hi Oscar..... tube wall needs to be a minimum of 2mm and you will need a hefty vice and an extension bar to increase pressure on vice toggle/handle then it is just steady pressure until it deforms into an oval but take care not to use too much pressure or it will start to deform into a figure of 8.....the ideal vice jaws would need to be around 1" x 5" no heat was used.
|
Quote:
I have used it many many times now as an airbrush on steriods and my bigger guns are and have been collecting dust for the last 2 years so yes I would recommend this little gem for intricate touch up or chassis spraying. |
I agree that little gun is a cracker after seeing the outcome of it last night,cheers for the fan Kev and it was good to catch up with you again.
Citroen sorted ? |
Once again looking very nice indeed...:cool:
It's a nice sight to see the chassis in some colour. It's a shame to think most of it will be covered in... Looking forward to seeing more photos along the way...:) Johno |
Well, just my pedal box to paint now......got the painting of the chassis complete today and chuffed with the outcome as it is the first time I have used 2k paint and I was well impressed with the finish (see shine in photo's)....now I just need a good wesh .....(wash in mackemspeak).....wowser to think I can start putting bits on in a few days time ooooo oooo now Kev calm down calm down......gonna hammerite the g/box next
photy's now 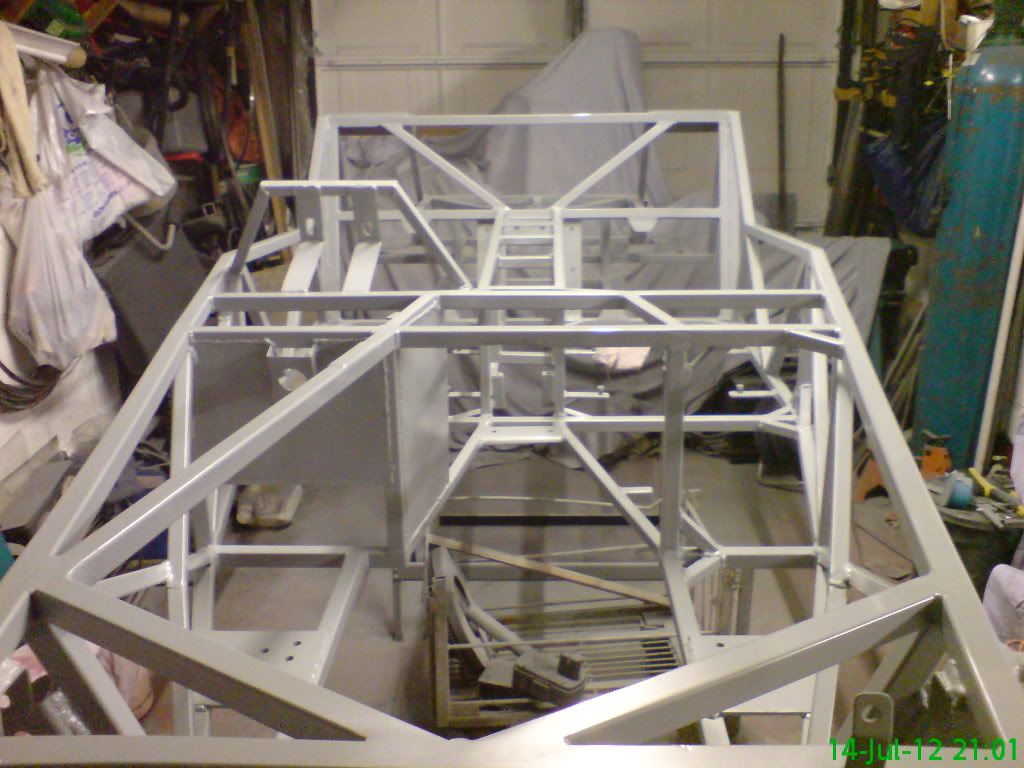 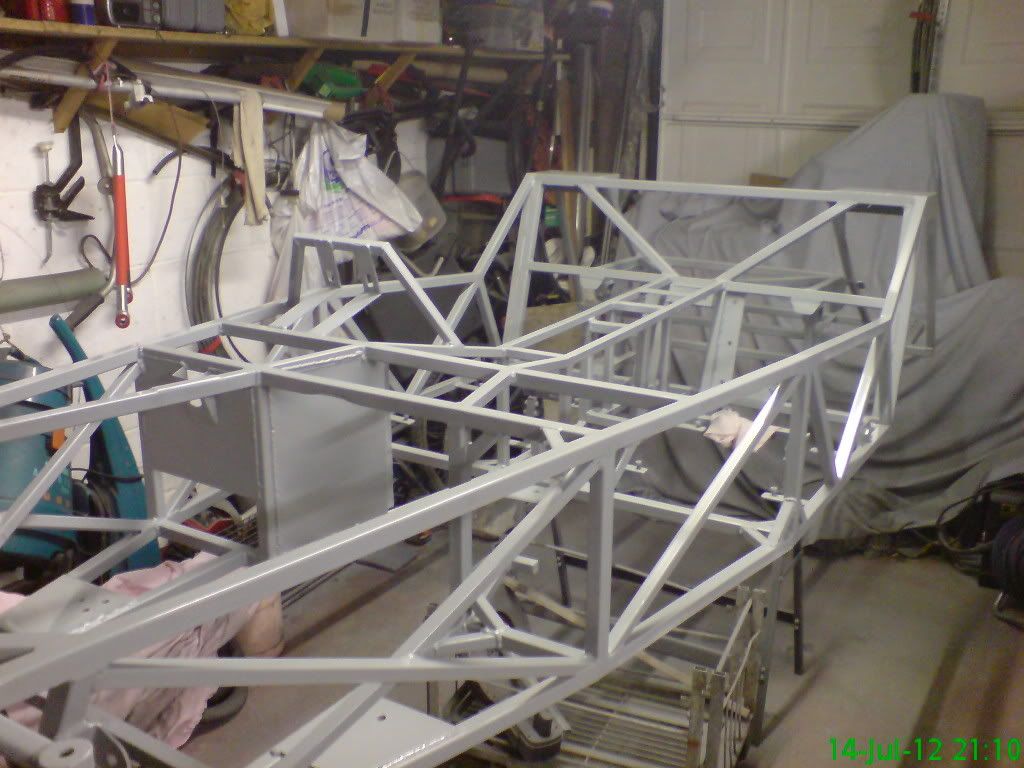 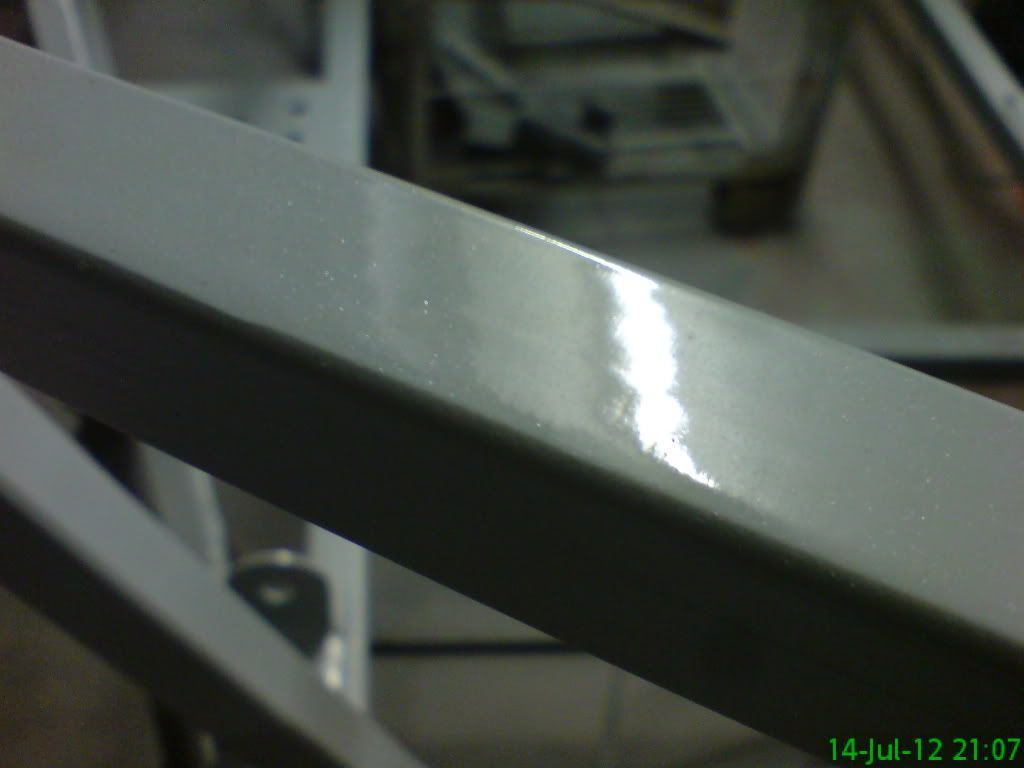 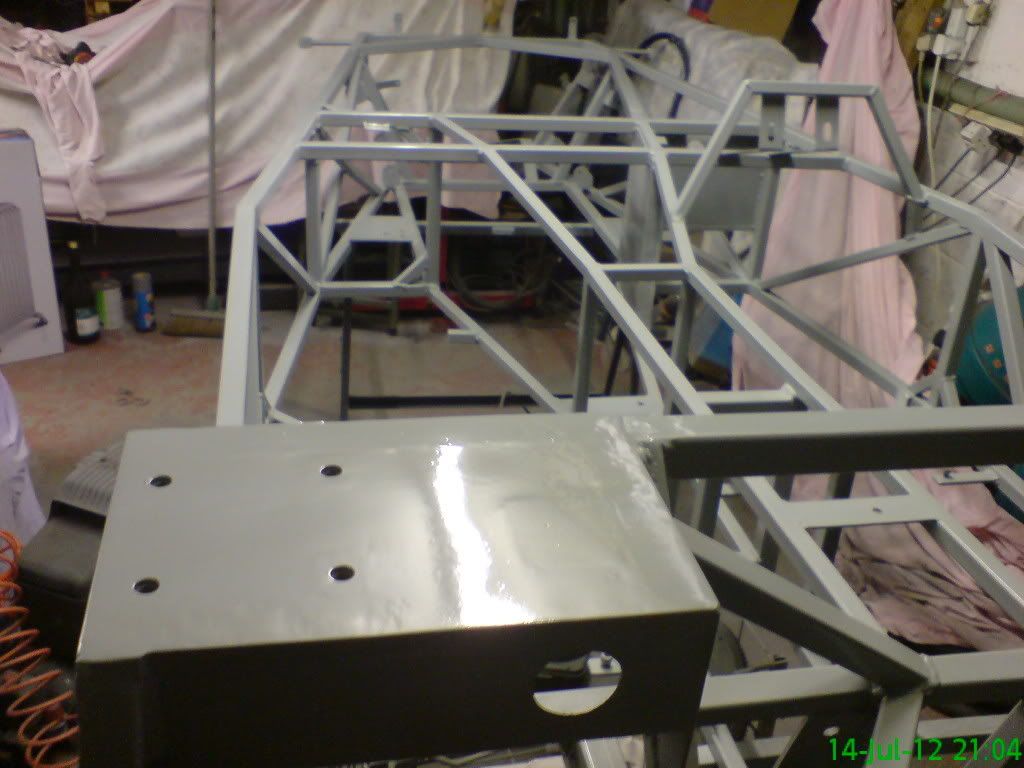 |
And chuffed you should be:) I see what you mean about the small gun , it hasn`t gagged a ton of paint on there has it .Its now ready for a spanner attack :cool:
Bob |
Fantastic paint job! But did you forget to put your drill battery somewhere safe? :D
Carefull not scratch it as you bolt all those bits on! Will definately be trying the squished tube trick, will let you know when I mess it up... |
:eek: Stunning work Kev .......as per usual from you :cool:
I really like that chassis , the extra bracing & all the "little" touches etc, obviously a well thought out build from start to finish :cool: Can,t wait to see the finished car, its gonna be a cracker :cool: cheers andy |
Hi Kev,
Looks like you've got the painting bug now...:D Where's it all gonna end.:eek: Superb paint job there matey.:cool: Johno |
Johno ir right! Now when it comes to interior trim I would not be surprised if you mastered the leatherwork on a sewing machine!
|
Quote:
Again thanks for all the positive comments guys.....am hoping to take out the wiring loom out of the sierra soon and sort out the stuff I do not want also would like to get the floor on so keep watching there will be an update/piccies soon |
I haven't been on the forum for almost a week (travelling in France), and I really want to congratulate you for the chassis, it looks really good... I wish mine could look as good :eek:
Good job mate :cool: |
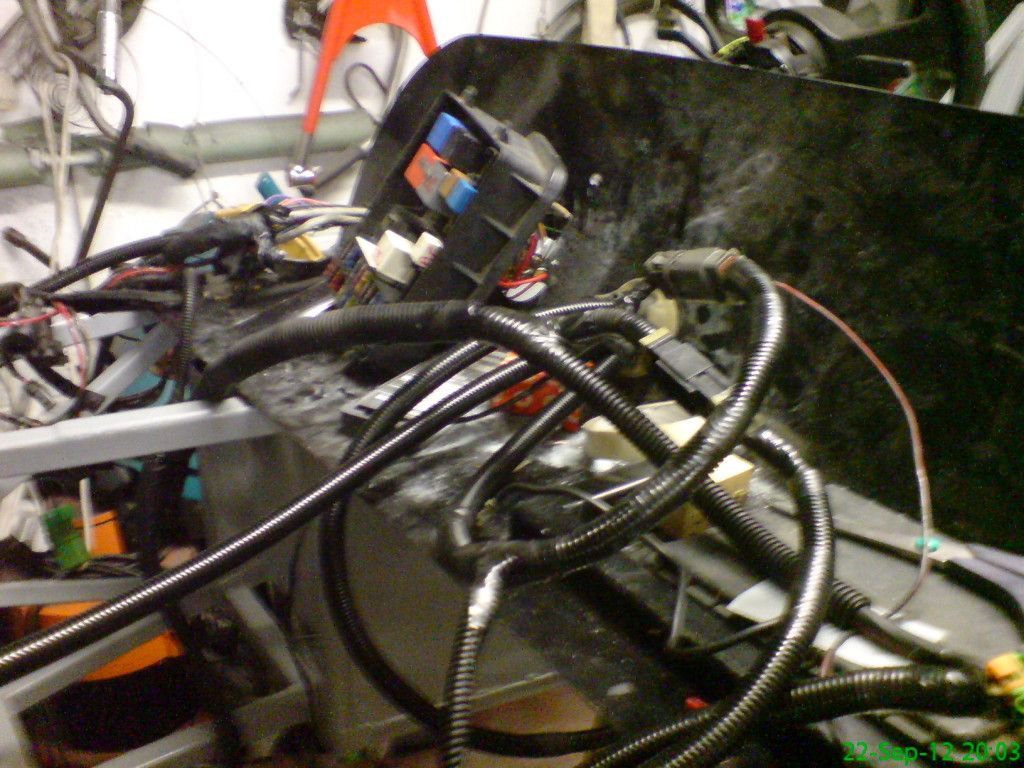
aaaaaarrrrrrrrrgggghhhh
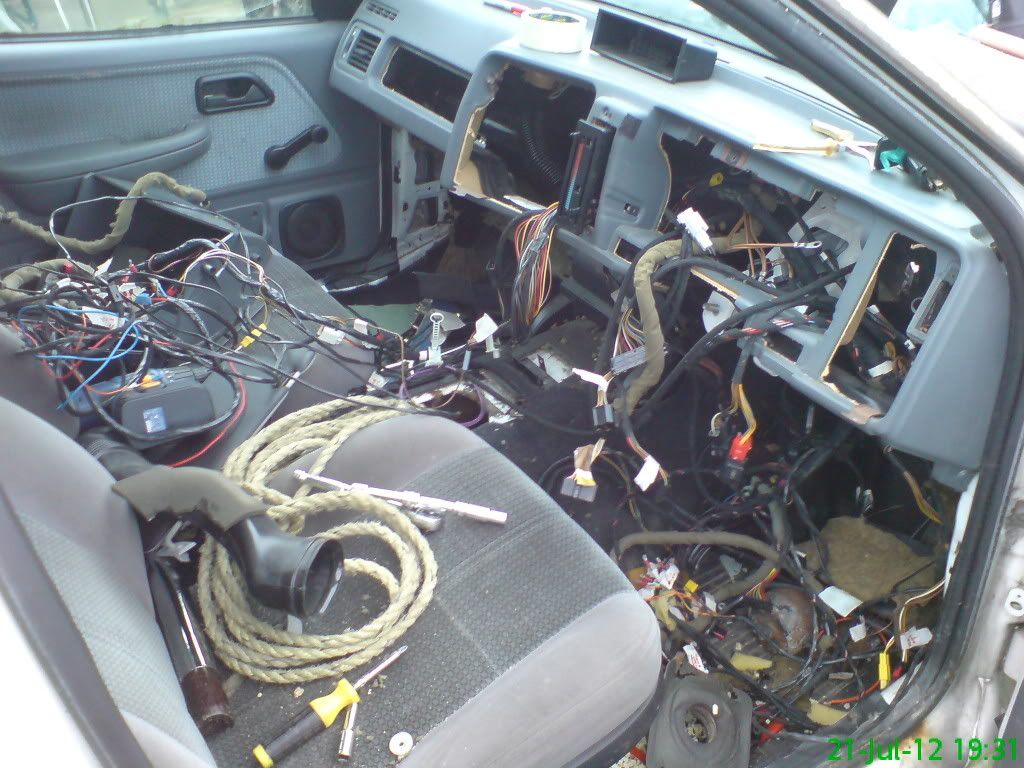 AAAAAAAARRRRRRRRRRGGGGHHHH:mad: 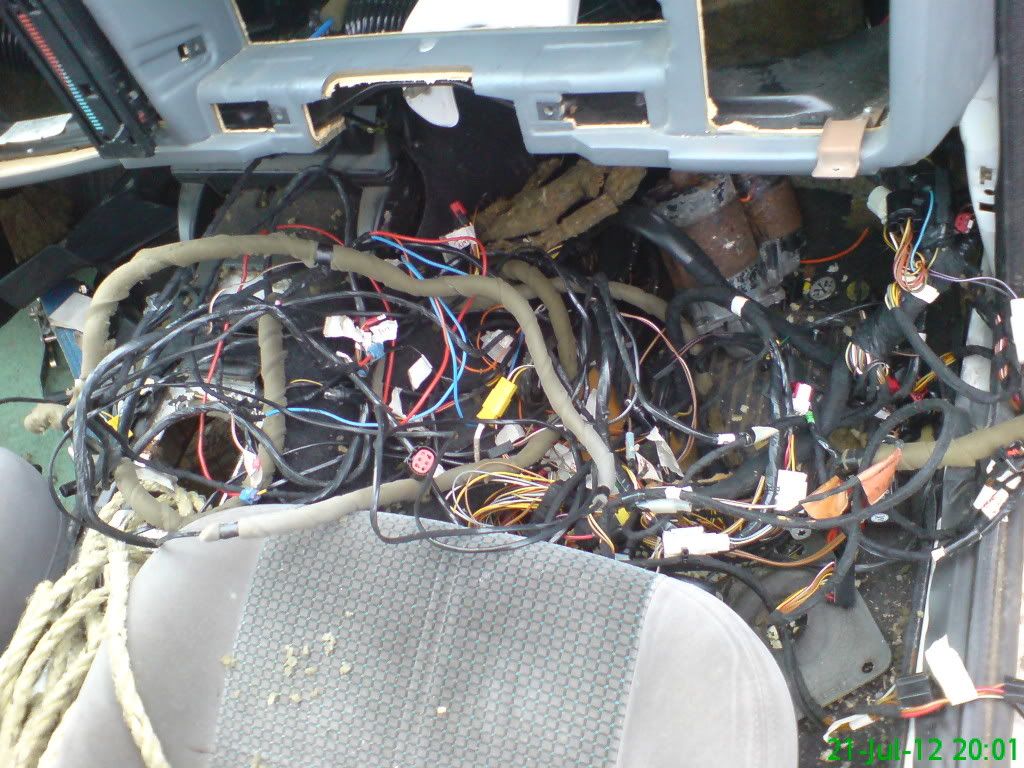 PHEW....TFFT 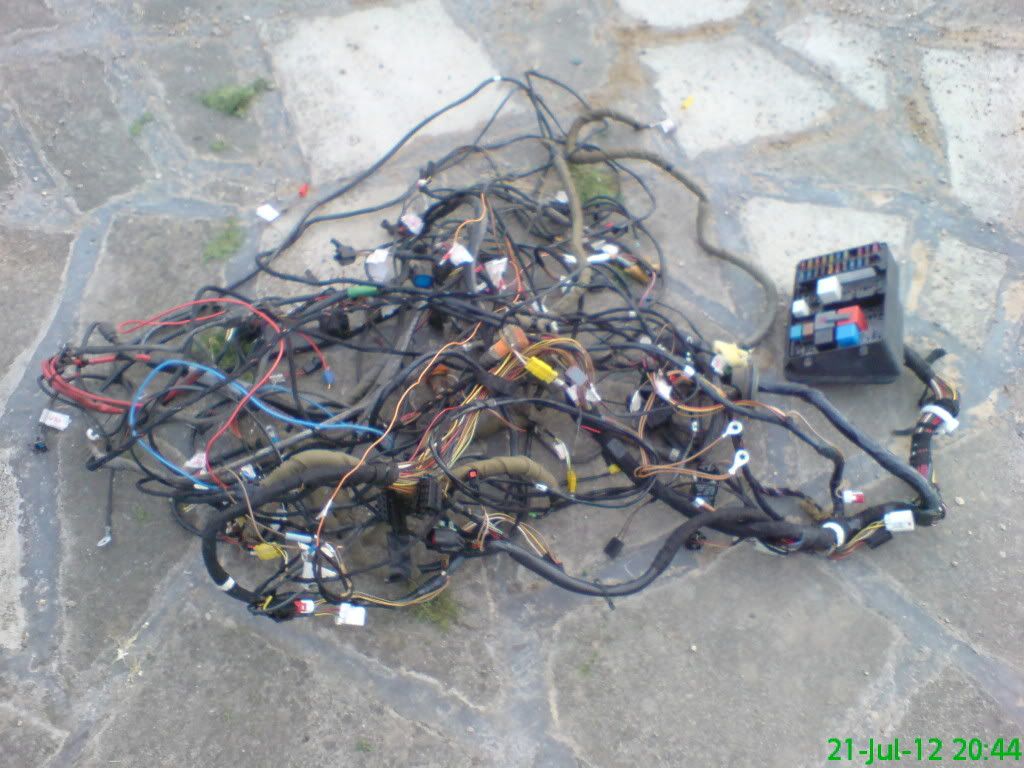 |
Would it be spaghetti time kev
|
Yuk. I hate electrickery. All those supposed wires are really just lots of tubes filled with smoke ready to leak at the first opportunity:eek: :eek: good luck with that lot Kev
Bob:p |
Quote:
Bob |
not yet Bob....want to sort the wiring out....sierra loom now half the weight that it was, but I have just been to look at the 200sx's engine loom/ecu....sh*t it looks like a sierra loom untouched ...gonna spend tomoz taking that engine out and into the shed with it. then I will be able to get to all the loom need g/box end of prop shaft anyway .....not got a lot done lately due to nice gardening weather (my other passion)
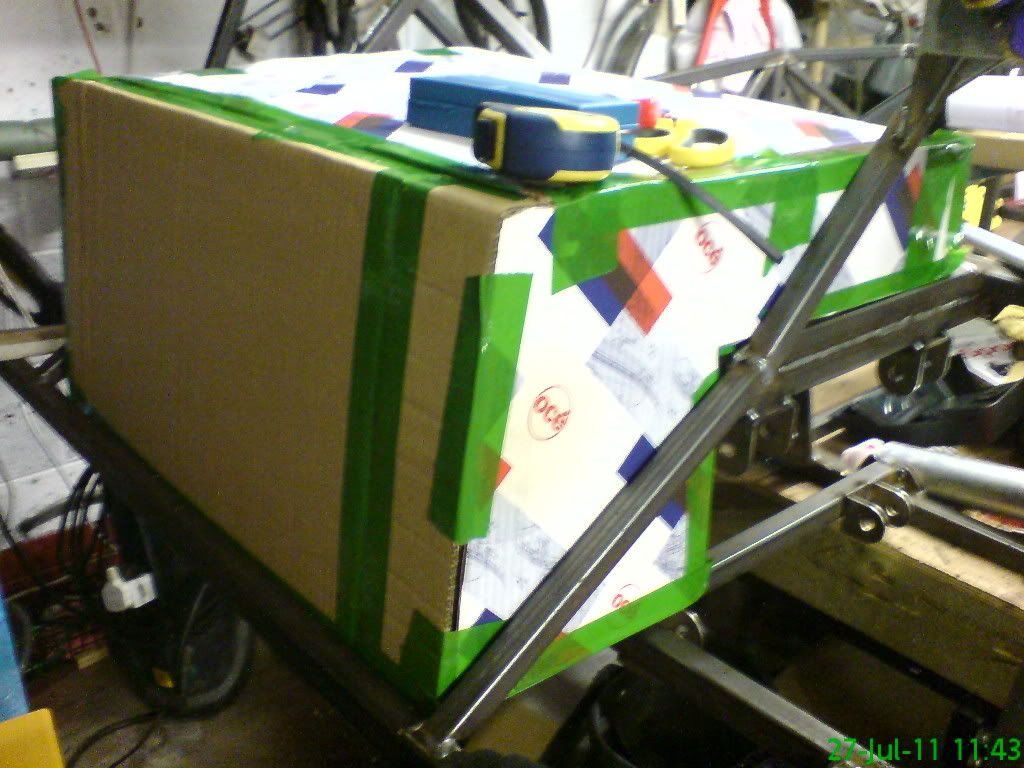
I will get around to completing the tank pretty soon I hope as the other thing I need is the fuel sender from the 200sx . |
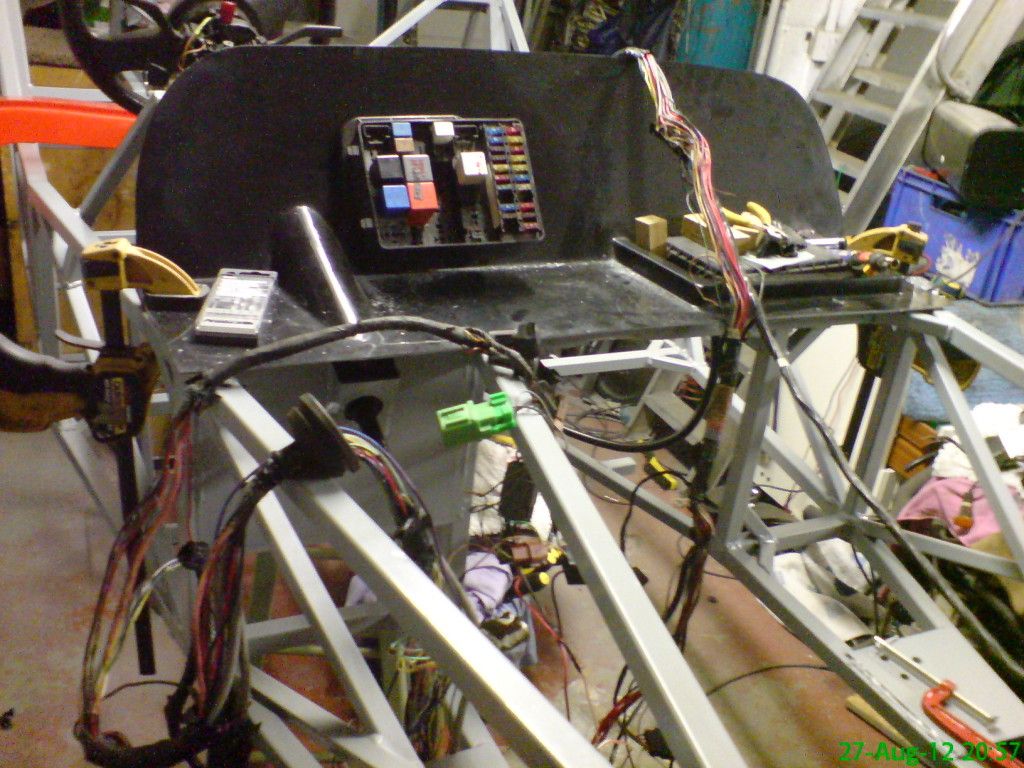
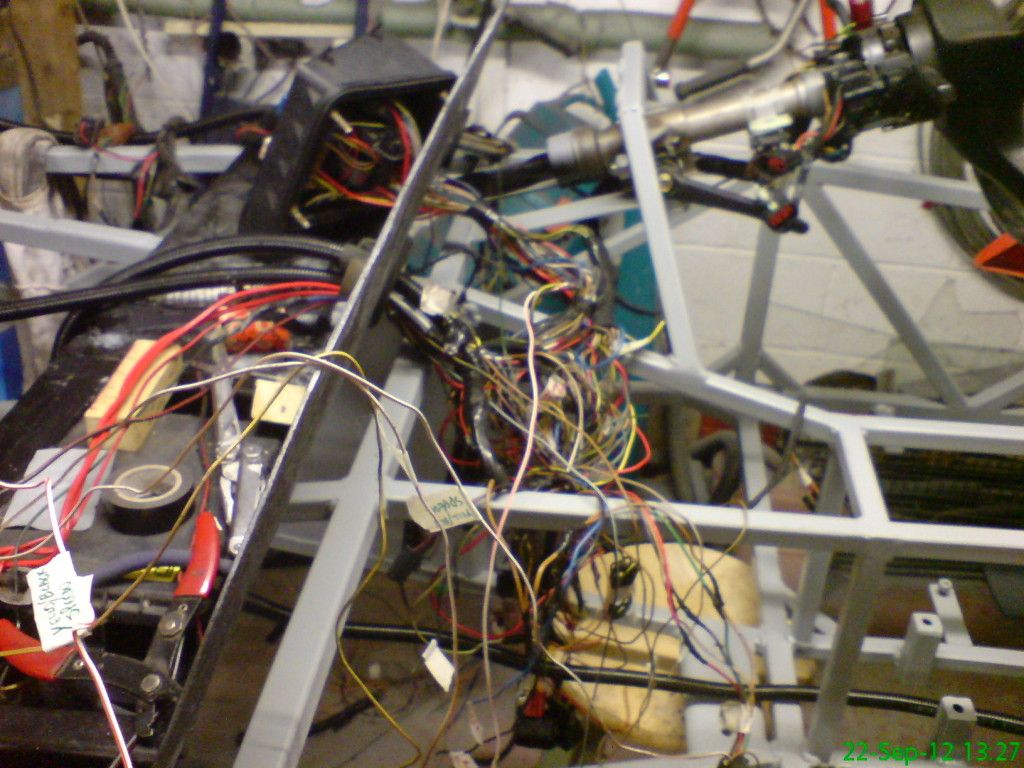
crikey ...long time since I posted on my build, currently at the stage of routing wiring loom also trying to splice in the ca18det engine/ecu loom which is a bit of a nightmare.... so many sensors etc....anyway will soon be time for me to lift off the loom to start floors and fitting mechanicals. It will come together very quickly then, as most of the other stuff I have already made, so expect a hive of activity over the next few weeks....as ever a few photo's
   |
been busy prepping and cutting the floors and now at the stage of drilling and countersinking, then I am hoping tomorrow will see me with sikaflex and rivet gun
decided on 3mm ally sheet fixed at 2.5" spacing with 4mm countersunk sealed rivets temp fixed and waiting to be marked for rivets 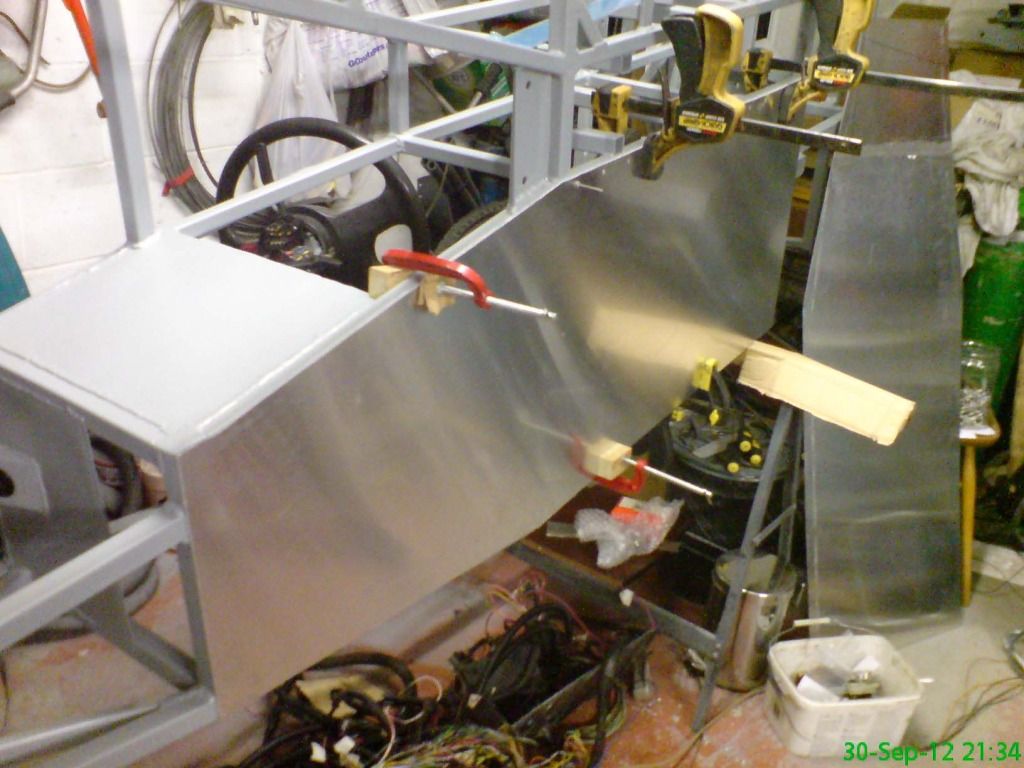 drilling holes 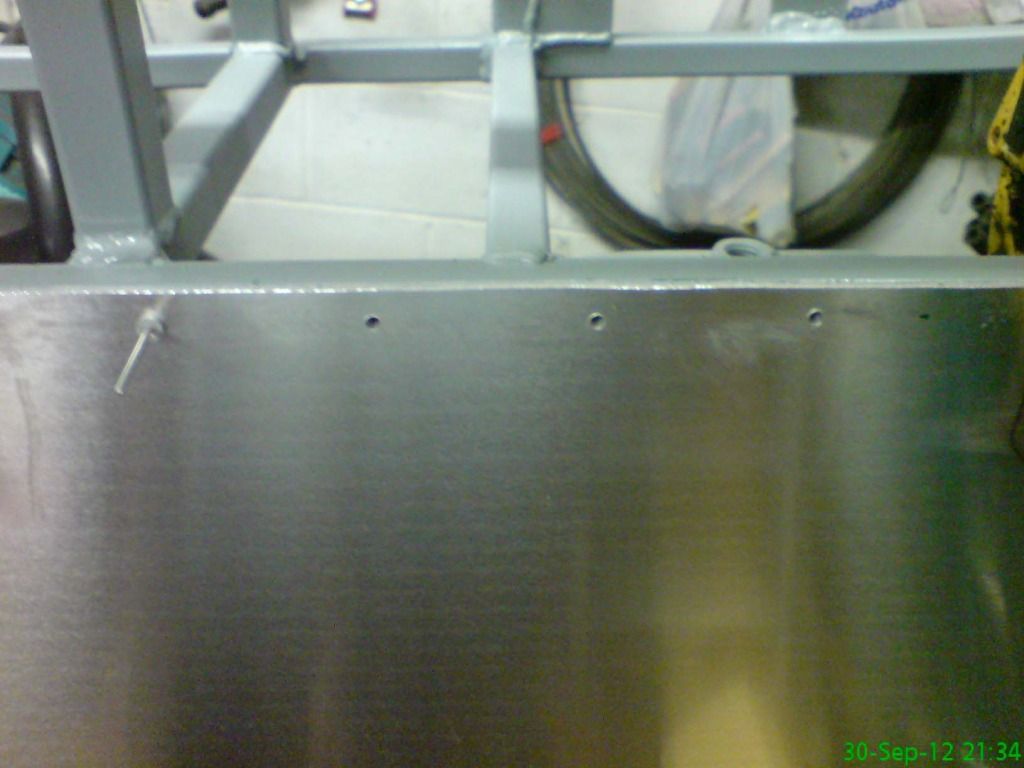 now countersinking the holes to allow a totally flush fit with coiuntersunk rivets 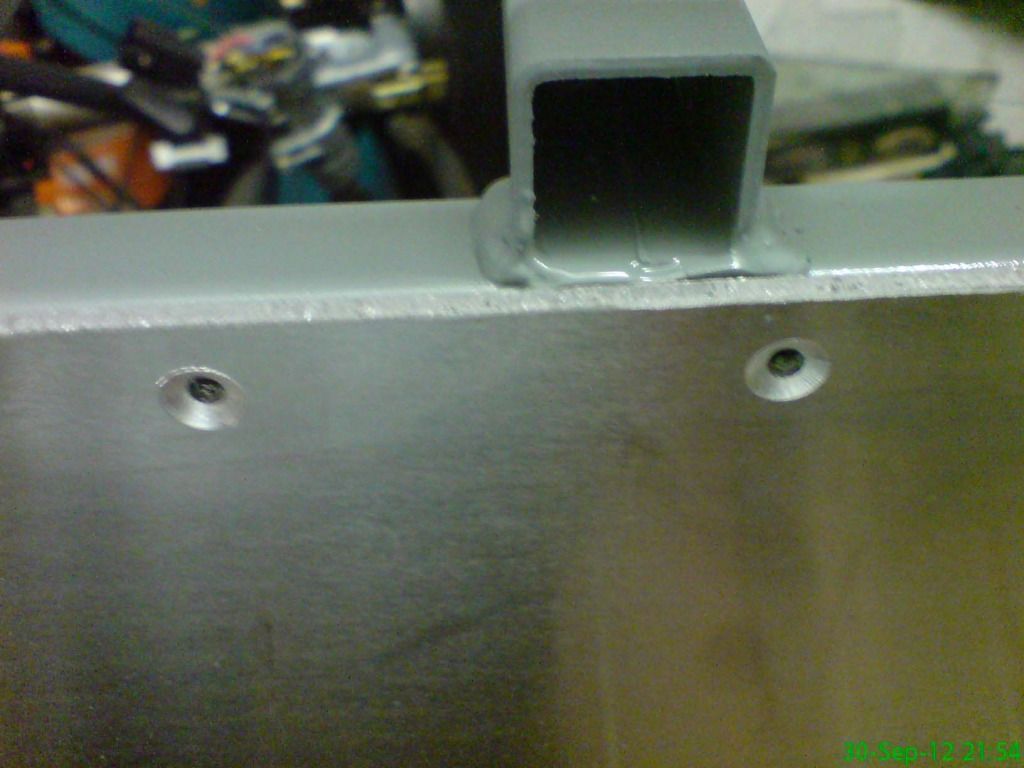 |
managed to get the offside floor sealed and riveted on.....I'm pleased I chose csk rivets because a quick check of my side panels inner dimension top to bottom leaves no room to spare.....had I used plain rivets it would have been a "force on" issue or remove a lip....phew.
drilled up the nearside floor, so will be mounting that proper tomoz here come the piccies 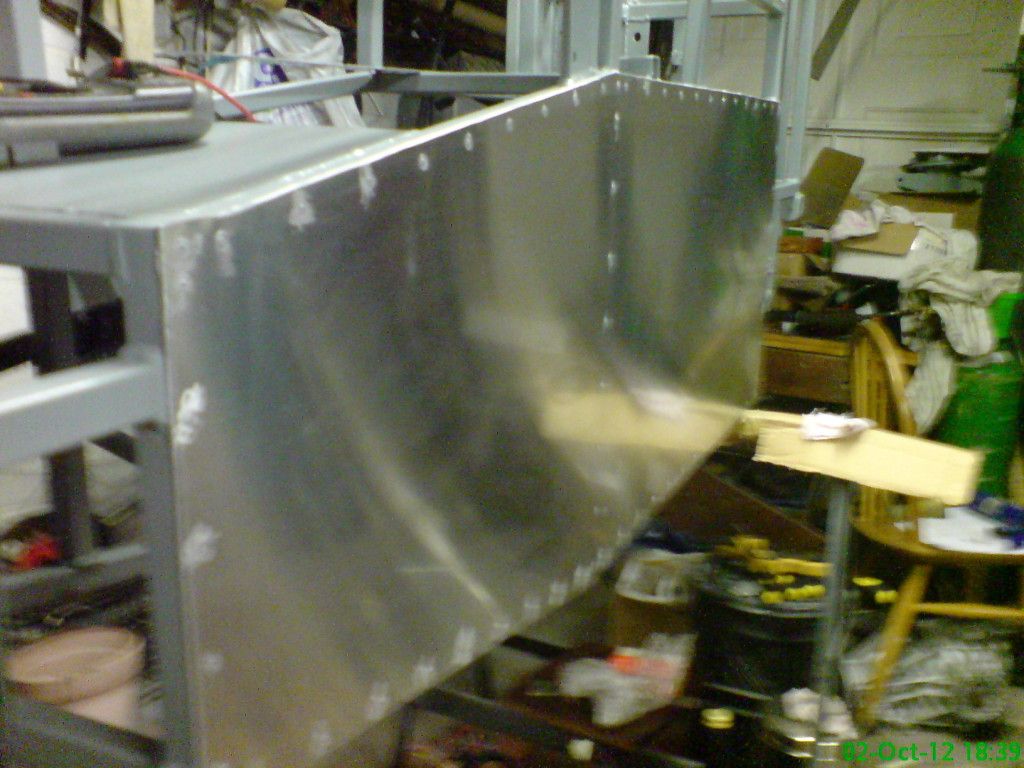 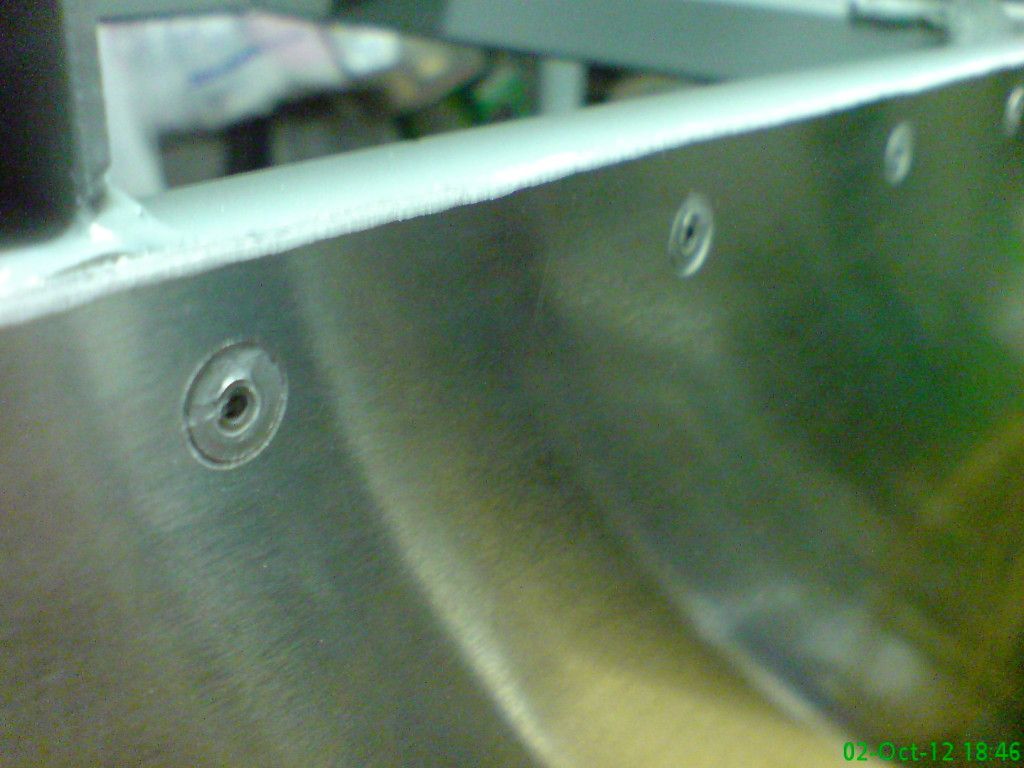 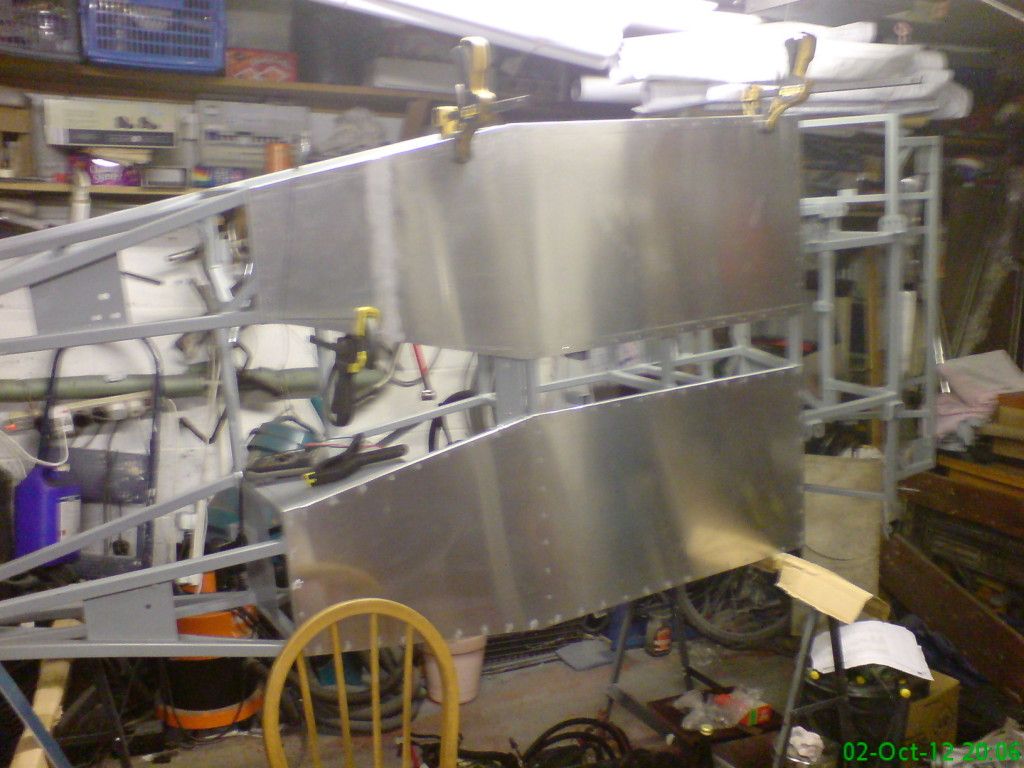 |
Looks nice Kevin but you may need to clear some room to work in there ;)
It's only when people fit 2mm chequer plate to the floor it becomes a tight fit. Andy |
Would the lower outer chassis rail going forward of the floorpan now need a 3mm strip put on to maintain the same line when the side panels go on.?
bob |
No there is enough give for the lip to pull in to the lower chassis rail, or if in doubt you can use a washer to space it out a little bit.
Cheers........Andy |
Rob....yep, am going to put a full 1" strip all the way along to give them total rigidity.
Andy....as above really did think about a packing piece or washers but then thought for rigidity and no allowance for movement would reduce the possibiltity of stress fractures, not only that .....I'm bluddy fussy:cool: |
I like the idea of the 3mm ali floor, its probably rigid enough to bolt the seat runners too without the need for any extra supports.:cool: I have been a believer in a decent floor since a local lad left the road in a car and ended up with a fencing stake between his legs:eek: that was very close to being an enema:eek: :eek:
Bob |
I think I used a 3mm floor with normal rivets. Will the side panels fit over these? (saturn ones)
David. p.s sorry for the thread hijack |
Quote:
I've got no problem casting a 15cm strip of the relevant bit out of the side panel mold if you want to give it a try. Should be fine, fabby did make them a tight fit though, but best to be sure. Regards.....Andy |
hi Dave ....you could always countersink or drill the inside of the bottom of the panels where the pop rivets touch
|
Bob....the 3mm stuff was left over from the soon to be finished tank , seemed a shame not to use it for the floor....I came to the conclusion that 3mm for the tanks is/was overkill so my tank will remain the only one in 3mm ally.
Busy bending my 8mm copper fuel pipes at the mo and have decided it will be a lot easier to 'P' clip everything down one side of the tunnel this way I will only need 10 fasteners to hold petrol pipes (feed and return) and brake pipe in the trans tunnel area.....how you might say ...well watch this space. |
Don't forget Kevin that there is a minimum spacing for clipping of pipes along the tranny tunnel, sure it's every 6" but check this first (don't have my IVA manual on this computer and my brain is not working)
Also dont post again, you're on 666 posts - Cool Andy |
| All times are GMT +1. The time now is 02:38 AM. |
Powered by vBulletin® Version 3.6.4
Copyright ©2000 - 2025, Jelsoft Enterprises Ltd.