I did exactly the same thing I used 3 mm Ali for floor and tank I used 3/16 rivets and sika I used countersunk rivets on the edge where the side panels go I am hoping the panels will go over
|
Queer thing is Andy my current Ebay feedback is 999 ....me thinks something devilish is going on:D :D
mg you should be ok as long all the dimensions are correct but it will be close, which is what you want anyway:D |
Started on pipework today and got some p clipped inside the trans tunnel
the ally I'm using to mount p clips to is a corner strengthener that plasterers use I cut along the apex to give me two flat bits. I purposely left the nearside floor off to make fitting the pipes easier 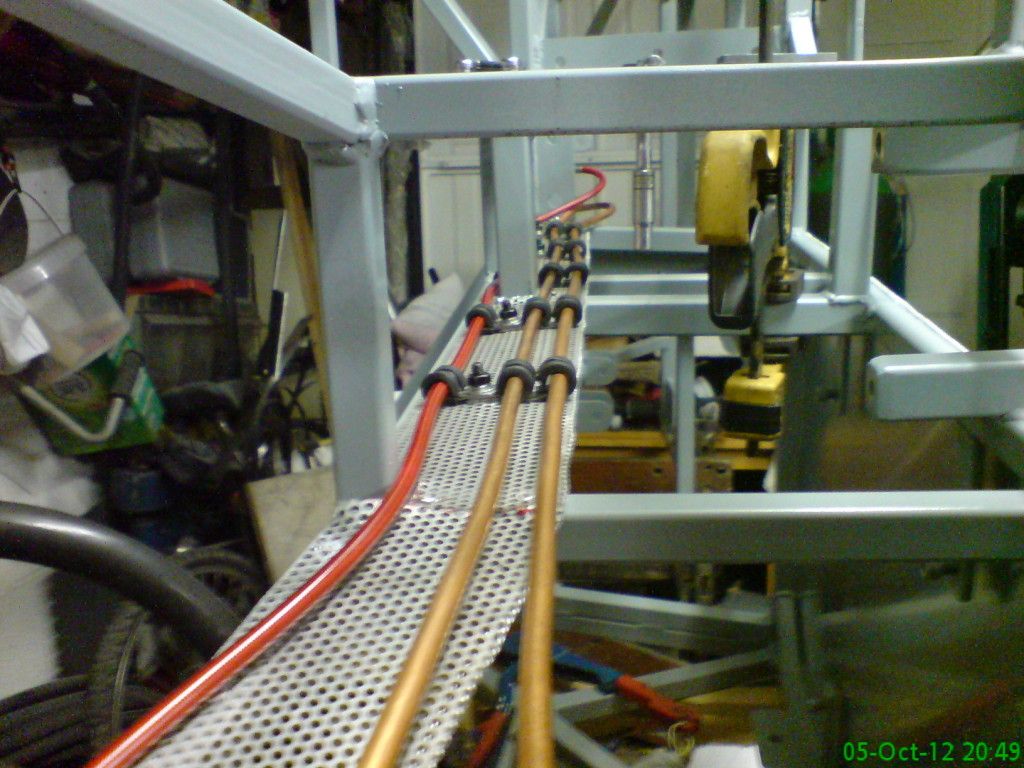 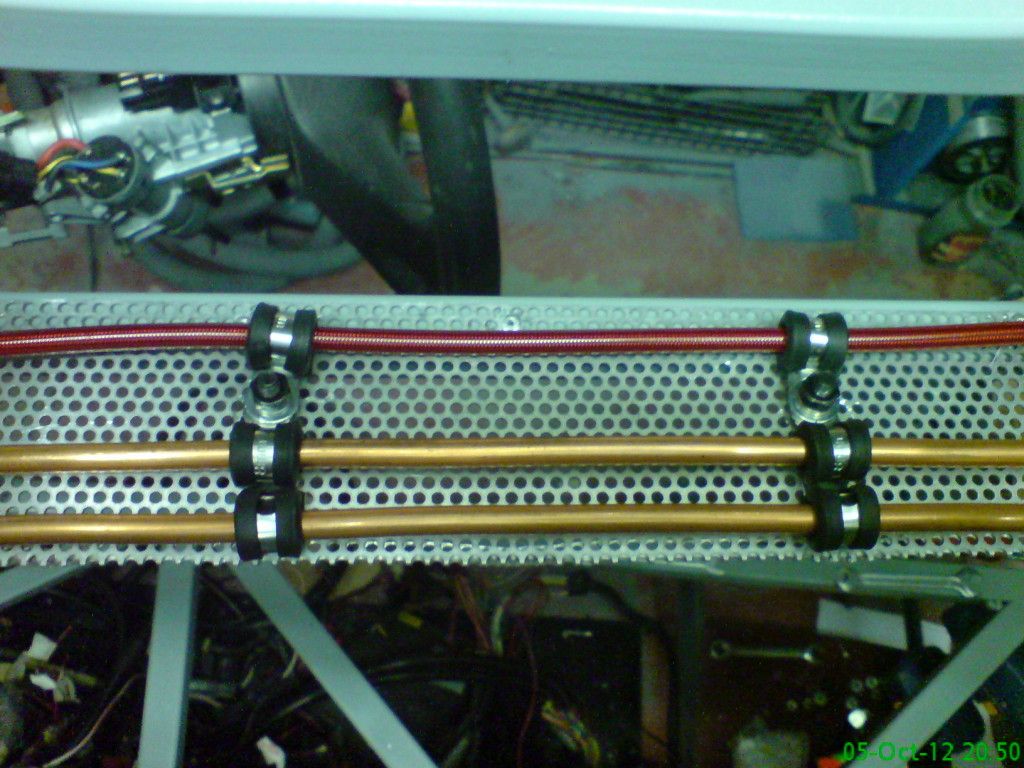  |
This is what I love about this forum, the ingenuity!
Will have to have a word with my cousin (a master plasterer) about getting some of that, the greatest form of flattery is imitation! ;) |
good progress today....have just about completed the petrol and brake pipe mounting throughout the trans tunnel, got a bit busy on that side so decided to mount the loom clips on the other side....will be getting the other floor on later today
I did manage to do the trans tunnel with just 10 fixings from the engine bay 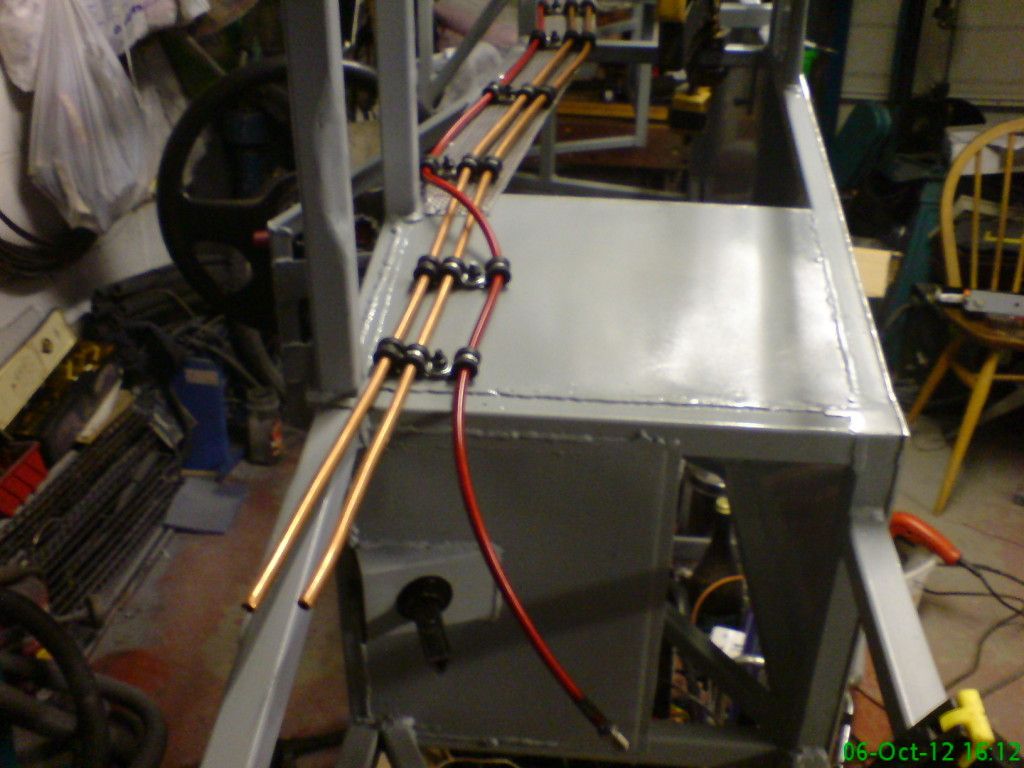 complicated bending near the diff mount  one of Sylvains flexy lines was easy to hop over the fuel feed/return  |
Quote:
Bob |
Very neat installation Kev, it is brilliant (and looks good :) )
Just a question: why the central brake line has to cross the fuel lines? Why haven't you routed the fuel lines all the way on top of the brake line, which would have been routed all the way on the lowest part of your ally strip? It would also have allowed a larger curve-radius on the bend of the brake line to turn around CP14 and connect to the tee-piece. But I'm sure there is a reason ;) |
Liking the progress Kev
|
Mmmm....might try to swap those around Sylvain or at least top one for bottom one.....got the diff area all p clipped off
rob....I will list everything that I have used as a part off at the end of my build and the list will be quite comprehensive  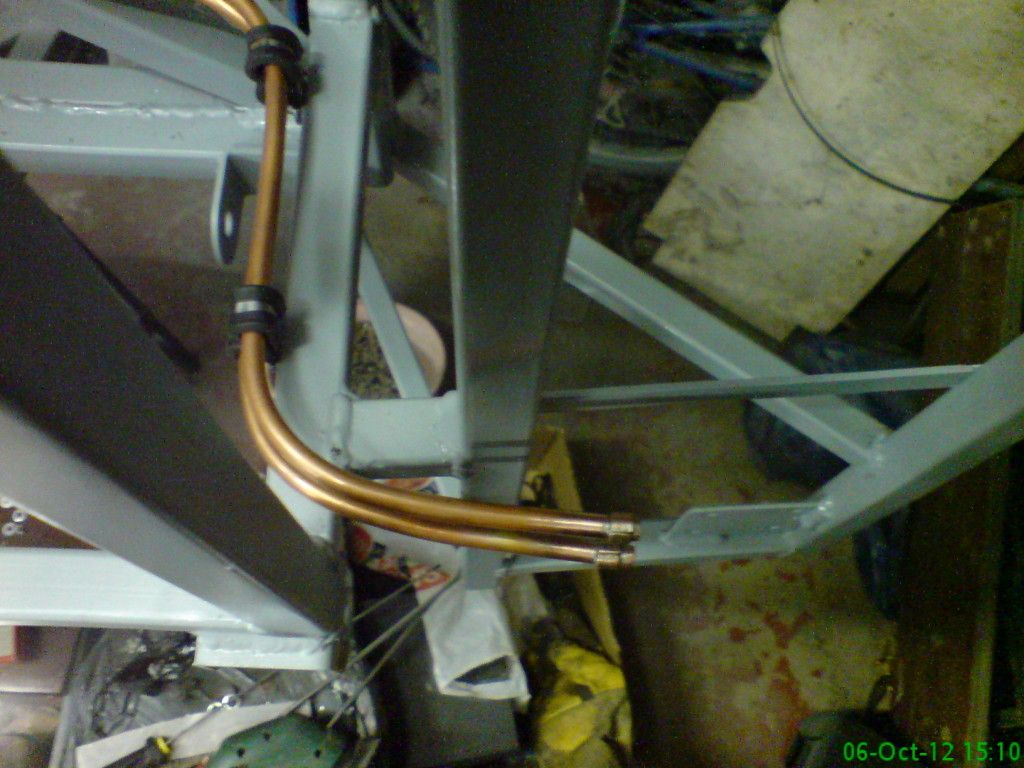 plastic clips pop riveted on to hold loom in place  |
I have had a little rethink regarding my pipework down the trans tunnel.....not having the diff or handbrake cable mounted meant my guesswork regarding them was way out, so I have reworked them to clear the above items, one pipe I had to feed through the diff bracket which worked out quite well and I have moved the brake pipe down to the bottom to stop from crossing over as Sylvain pointed out, so here are the new trans tunnel pipework photo's
From the engine bay 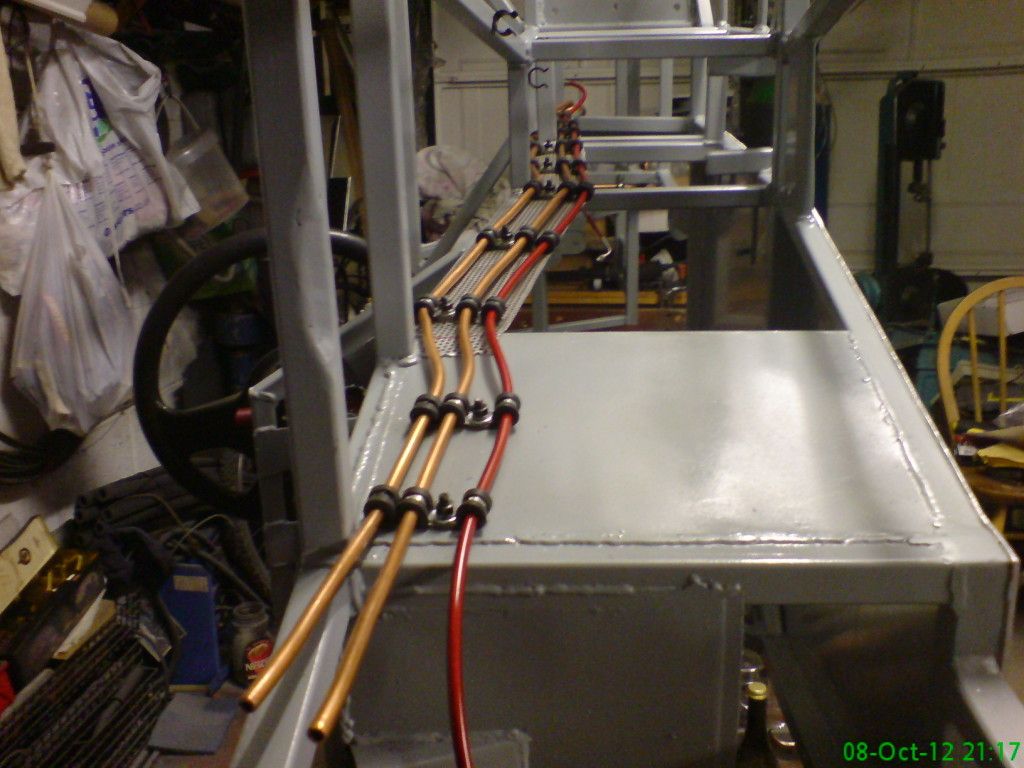 to the tank (feed & return) with homemade olives soldered on 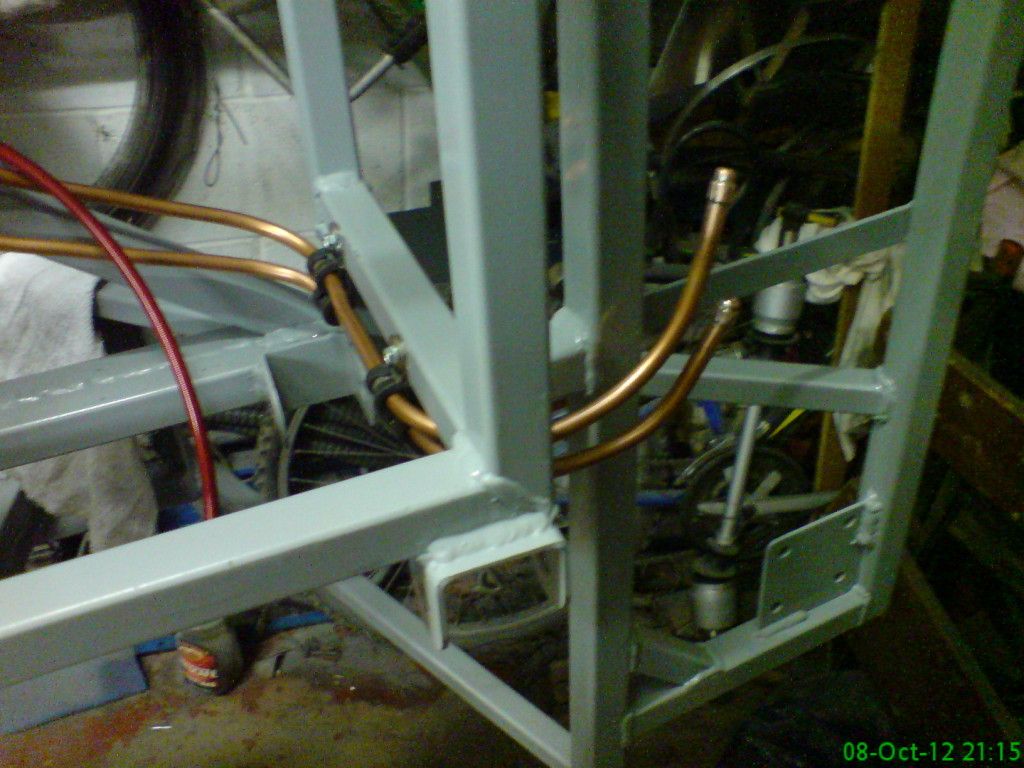 getting around the diff with out fouling 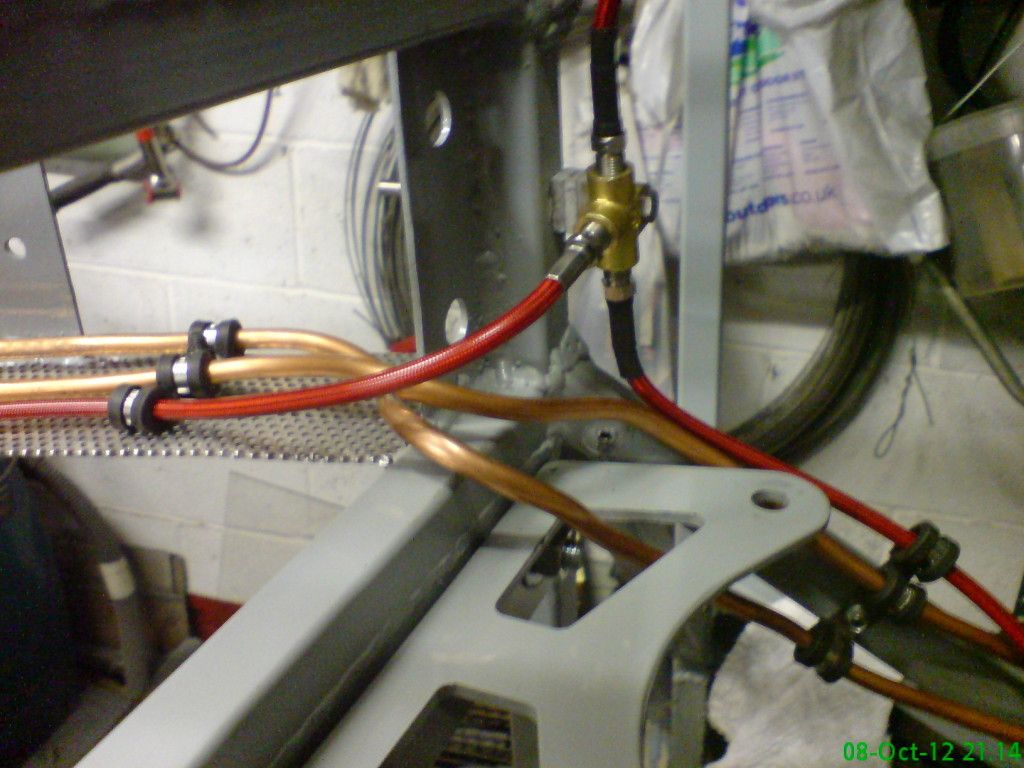 another angle 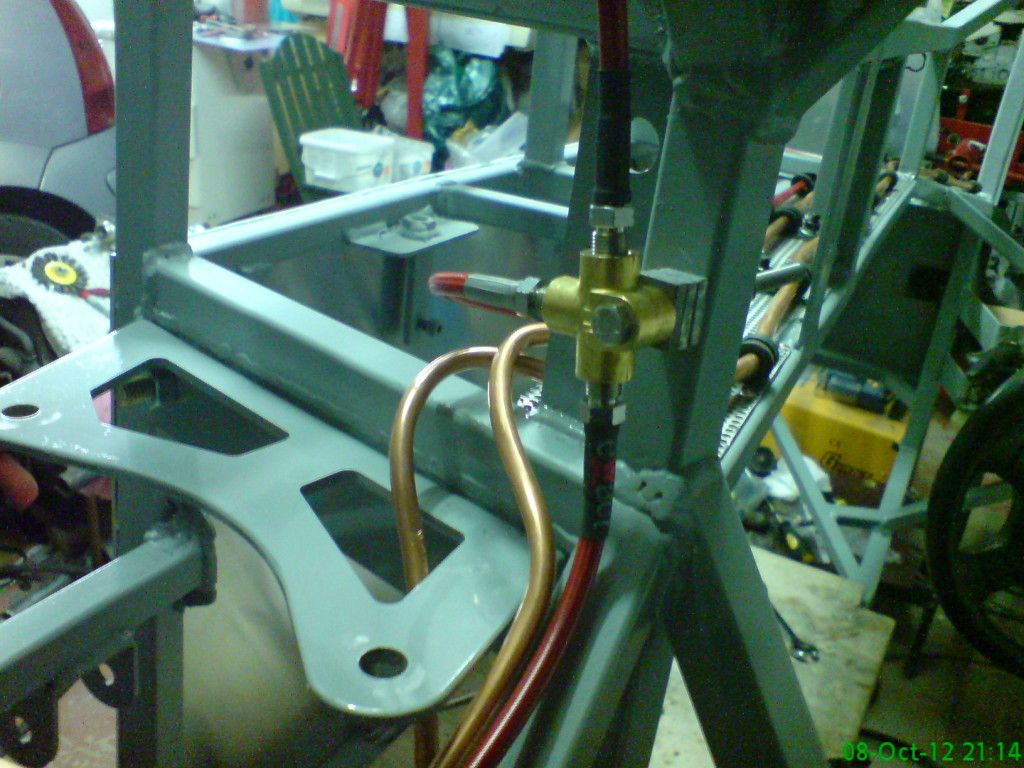 |
Got the chassis right way up now and it will be staying that way from now on.
Nearside floor now fitted and spent last night fitting the diff, went in well with no conflict from pipework.....only thing I had to do was pack out the brake T union to reduce the sharp bending of the pipes. 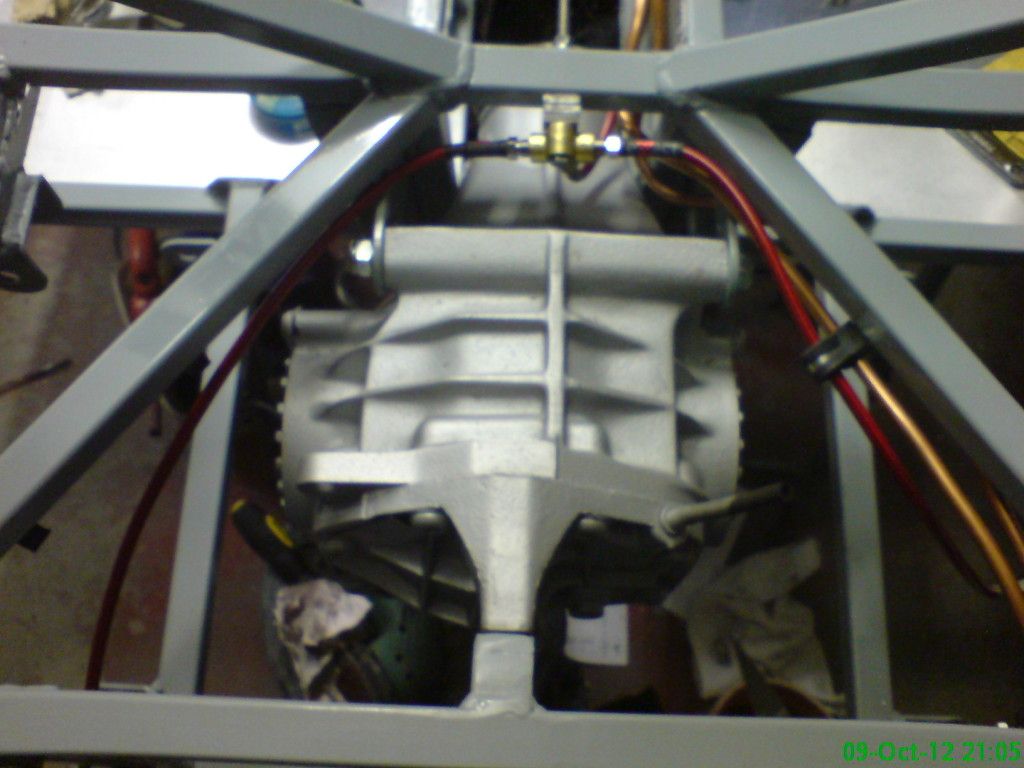 |
That looks good Kevin, very neat. Also like the way you have mounted the diff on the back end to using the threaded insert on the diff.
Keep it up..........Andy |
Nice touch indeed! Did you trial fit the handbrake cables? Looks like it's going to be quite busy there above the diff nose.
|
Andy....that came from Ash when he was up here and I also drilled two extra mounting holes on the brackets where they face the handbrake ....put it this way that diff ain't going anywhere;)
Albert.....yep....got that to come to but it should not cause me any headaches as they are bending the right way to start with but yes it will be a "busy area" |
not much done today....only managed to paint gearbox with silver hammerite smooth.
Also had a trip to dragonville IE to a propshaft place called Major & Aspinal and left them with my prop shaft ends to make up a new propshaft gbox  |
still catching up with lots of build progress threads after my break,
Very nice work indeed Kev:cool: cheers andy |
Hope your going to be more active yourself ;)
TT |
The gearbox looks very nice Kev :cool:
I have 2 questions: 1 - To paint it with Hammerite, did you use a brush, a spray, or an air brush? If you used an airbrush, I guess Hammerite is to thick and you have to dilute it, no? 2 - how did you clean the gearbox (and diff) before painting them? Mine are very dirty (mud and rust I guess). Sandblasting? High pressure jet? Or just a steel brush and your arm strength? Thanks in advance for the tip, I'll have to do it soon too :) |
theres a thinning guide on the hammerite tin last time i looked.
I did an engine years ago, had to use a combination of degreaser, brushes and a steam paper stripper. TT |
yep I used a sand blaster with some crushed glass then gave it all a good wipe down with celly thinners......I know the hammerite tin will say use their thinners, but I have always just used celly to thin down all hammerite products I have used.
The gearbox was sprayed with a little cheapo gun exactly the same as this one http://www.ebay.co.uk/itm/Spray-Gun-...ht_4325wt_1139 it's spray pattern is variable up to 2" so there is little wastage due to overspray two healthy coats and looks as good as new, you are supposed to use a special primer for ally but I have never used it and have had no problems with paint coming off |
Another decent paint for mechanical items is the engine enamel from frost. It sprays ok and has a decent heat range. Its also a lot more chip resistant than hammerite. ok on brake calipers etc
http://www.frost.co.uk/automotive-pa...int-473ml.html Bob |
Dug my half built tank out the other day to forge on with that while I am waiting for my prop and crank to be done, so out came the tig and I hope to have it finished by tomorrow......cocked up on my fuel pipes tho cos I routed them thinking I was going to the tank from the bottom only to realize yesterday that I will be utilizing the 200sx's pump and sender assembly, which has entry and return built into the top.....bugger....anyway it gave me a chance to upgrade my fuel pump to a Walbro 255 which is smaller than the stock item yet delivers higher volume/pressure.
anyway here is where I am at with the tank built in surge tank where the fuel pump sock will sit  view down to the central baffle plate 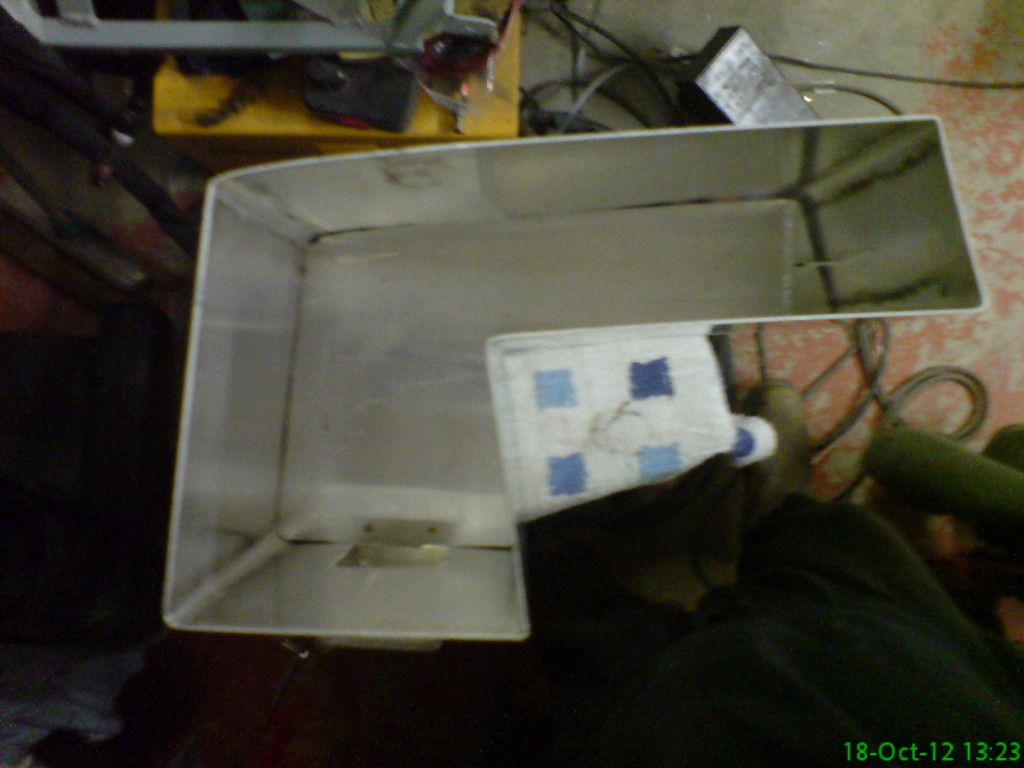 one end of the tank tigged on 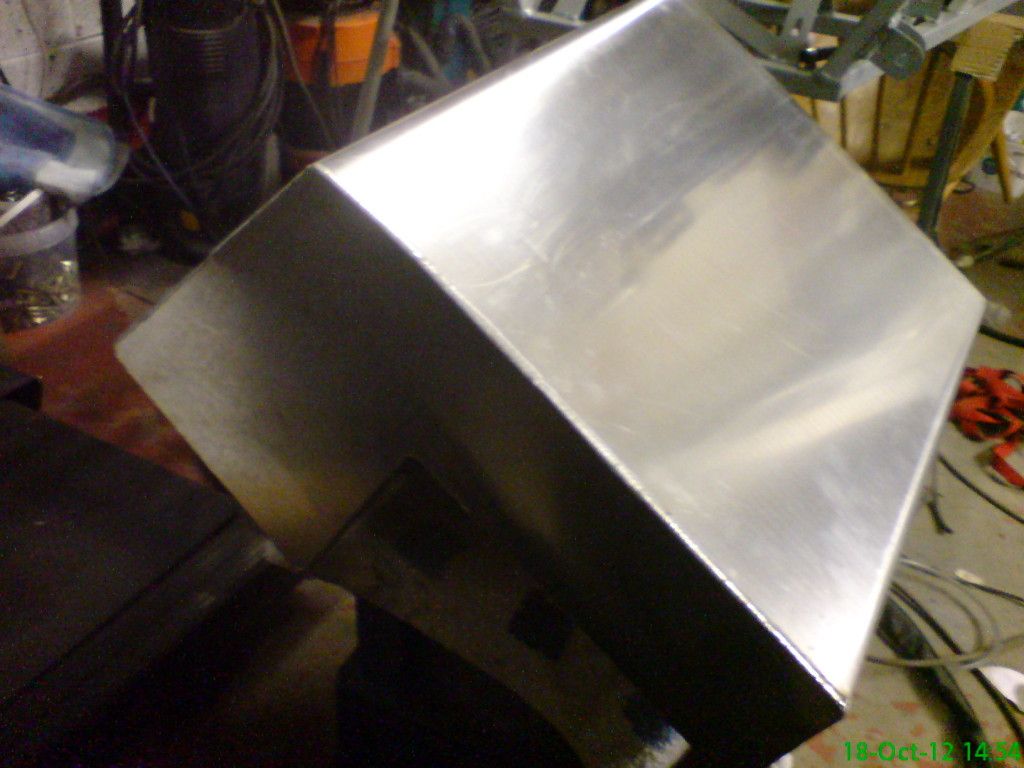 |
bit more of the tank done tonight ....it is now fully welded apart from the vent and fill pipes, also managed to cut out hole for sender/pump assembly
good old fashioned chain drilling 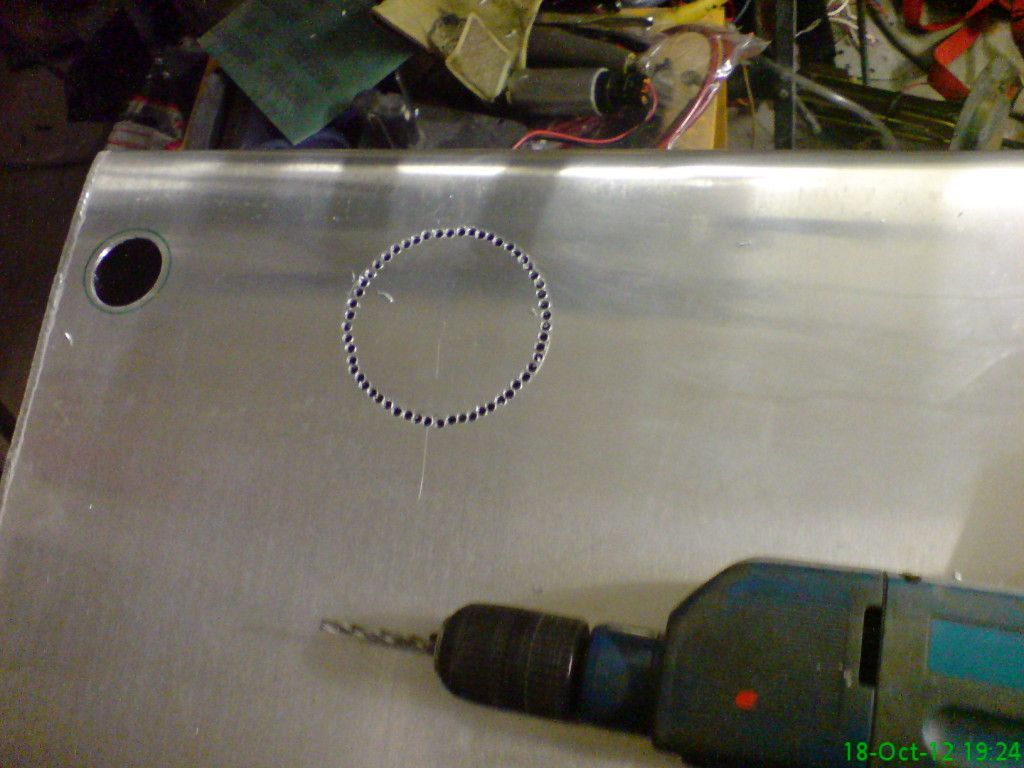 nearly done now 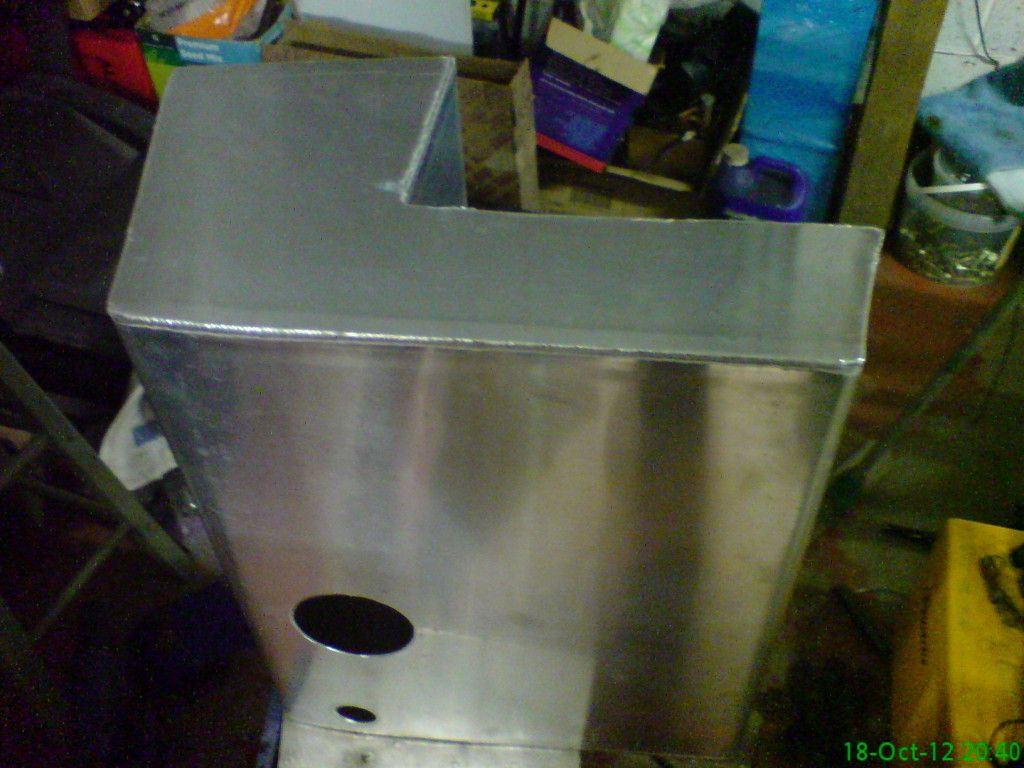 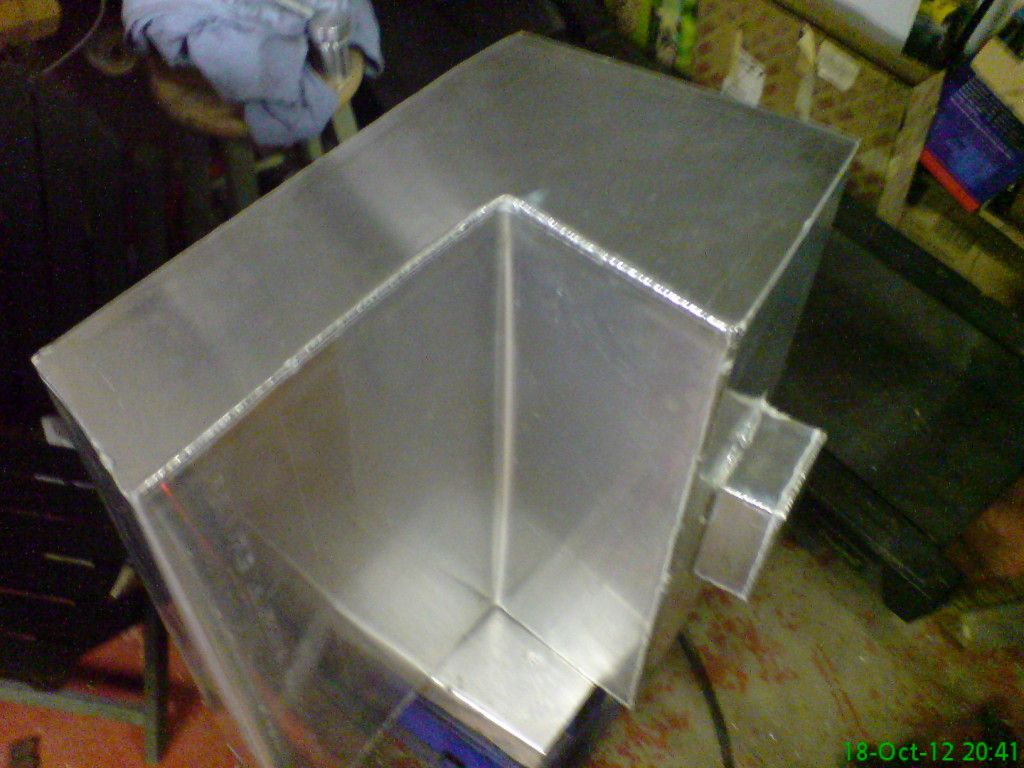 |
Moved on to the sender/pump assembly yesterday ....it needed to be lengthened by around 6" twisted and angled to be able to put the filter sock into the surge tank so I cut the mounting frame in the middle and fabricated an aluminium extension piece to facilitate all of the above. the Walbro pump was a little slack when mounted so a clamp was altered to help make it a lot more solid
Here is a picture of it sitting as it would be if it were inside the tank. 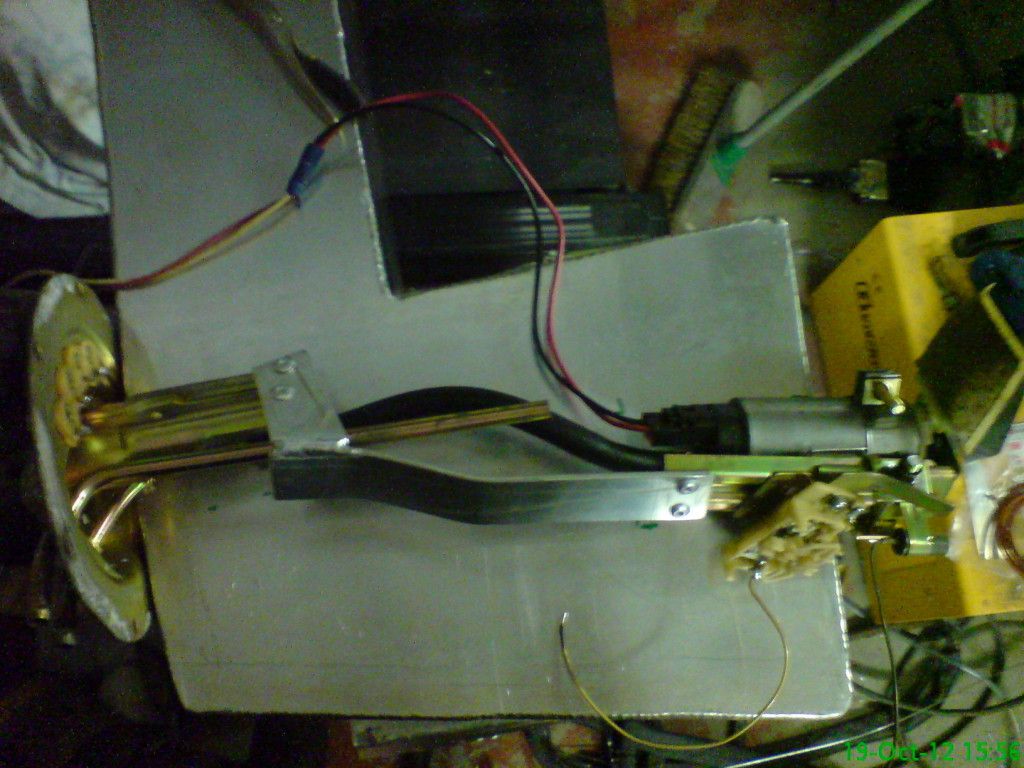 |
Have decided to mount the tank on with rubber bobbin type mounts rather than the typical straps ....had some lying around so it seemed a shame not to use them
tank protectors made from rubber hose 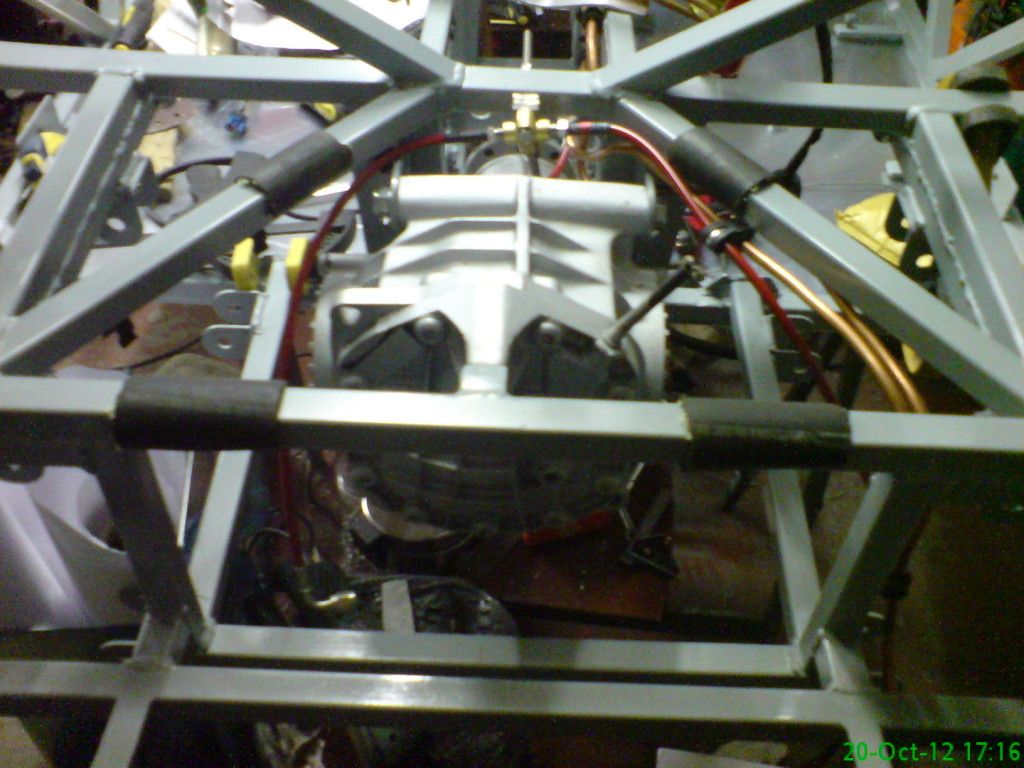 upper tank mount (bobbin) tank bracket not welded on yet 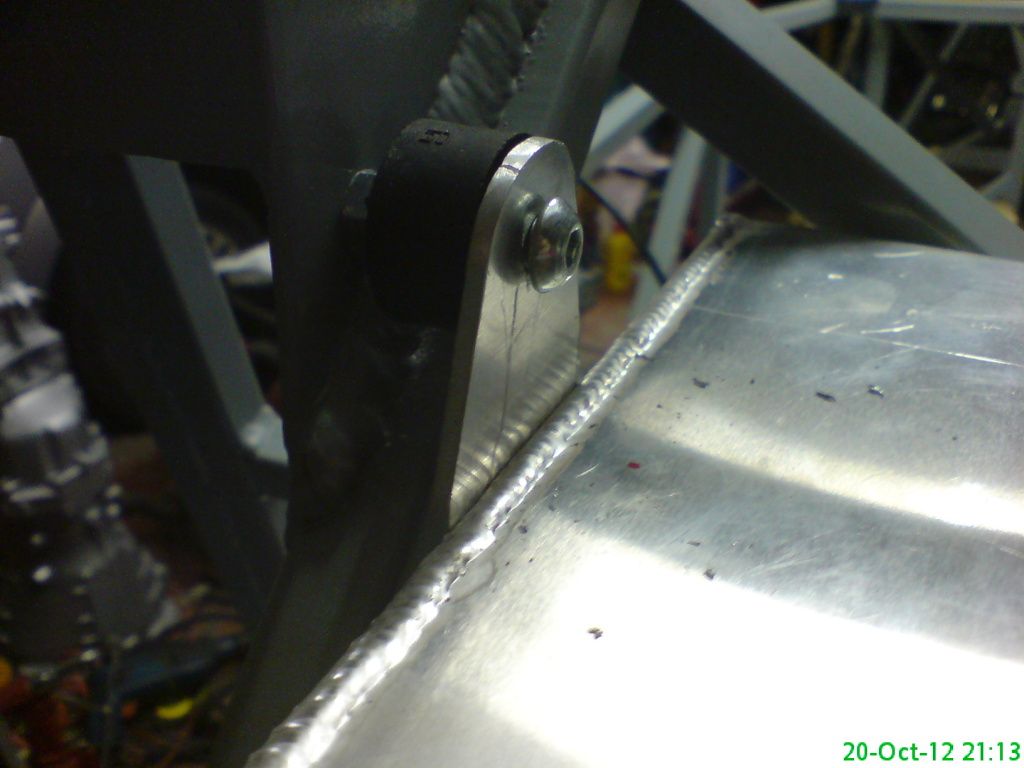 lower tank mount 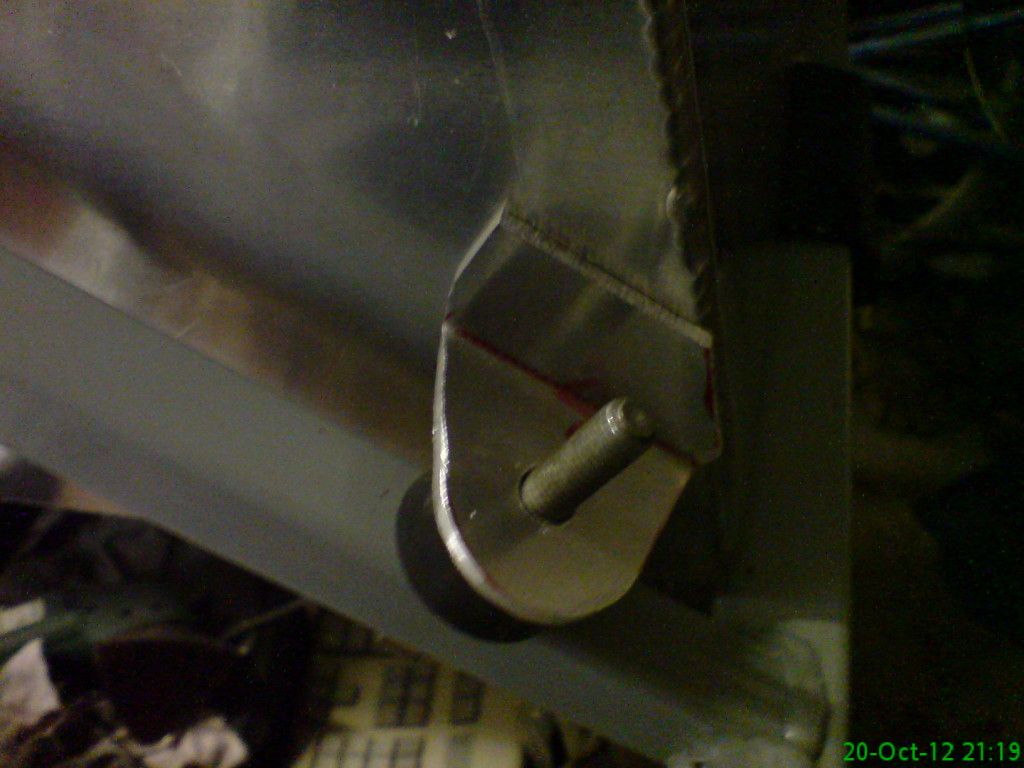 |
Good evening! Well, if I can use a U.K. saying..."spot on",Kev!! Your updates are always inspiring! How many gallon capacity is that? I have started my "build", and will be posting pictures soon. Don
|
Hi Don...capacity is close to 12 uk gallons or around 54 litres.....it might be overkill but at least it will put some weight onto the back wheels when full and I won't be gauge watching and worrying where the next gas station is;)
|
Well I managed to complete my fuel tank yesterday.....all that is left to do on that is test for leaks, so it will be out with the brush and soapy water today and a little compressed air.....mountings have all welded nice and accurate in terms of fitment and it is nice and solid, did not think it would take the time that it has to completely finish it.
I am hoping to get my propshaft over the next day or two so gearbox fitment will be the next order of the day which will give me time to work on clutch slave cylinder mounting (which is going to be tight) here is a few pics of the completed tank Fill pipe welded on complete with anti syphon shield inside 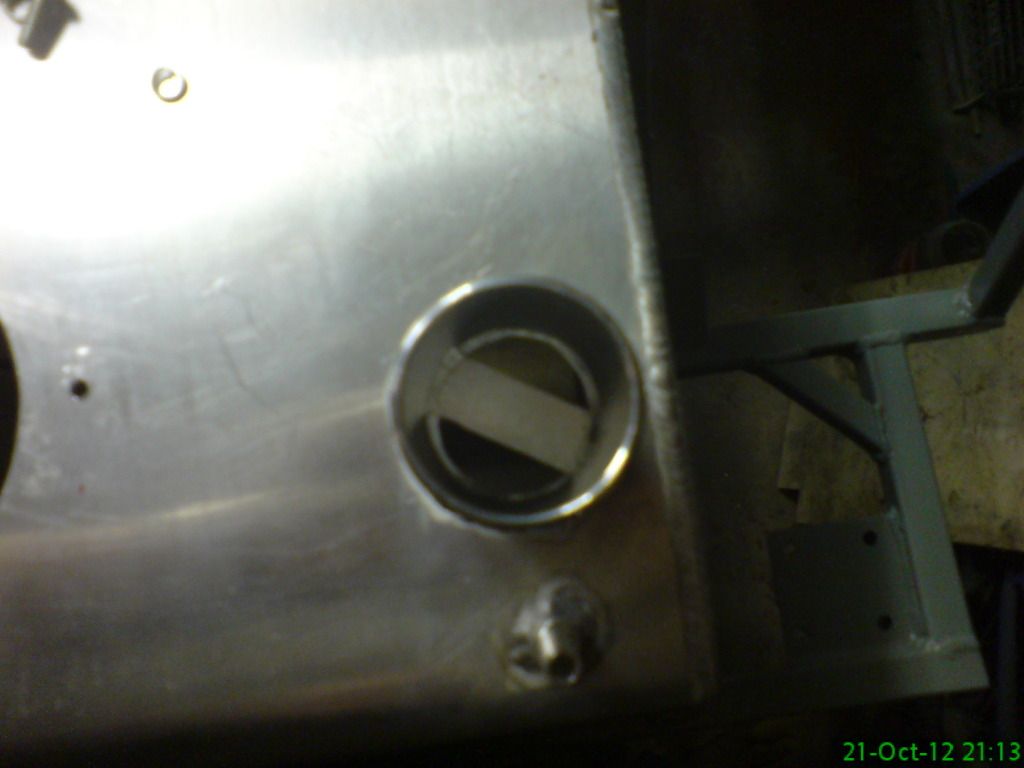 fill pipe and vent 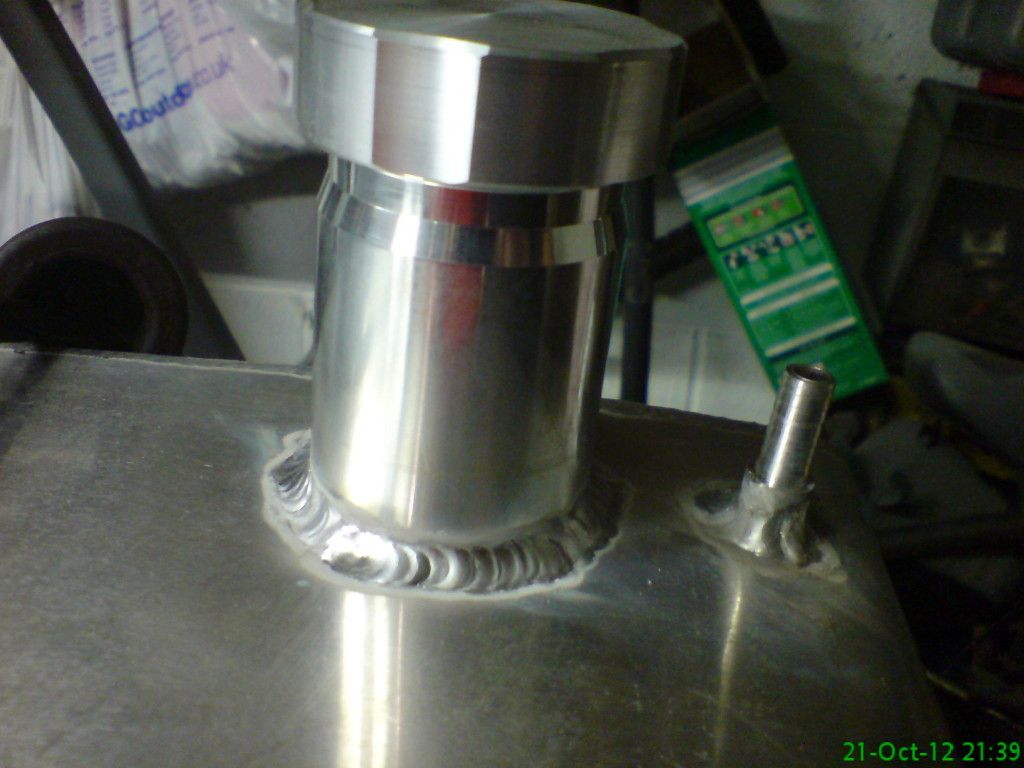 pump sender assembly fitted 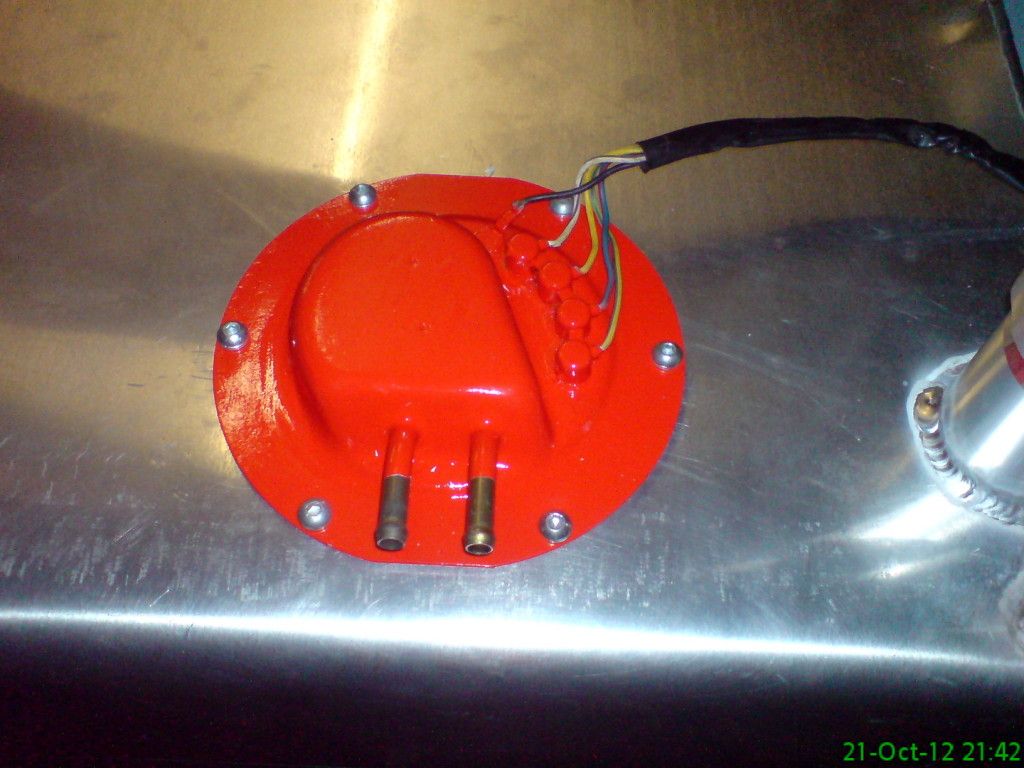 tank fitted but will remove for leak tests 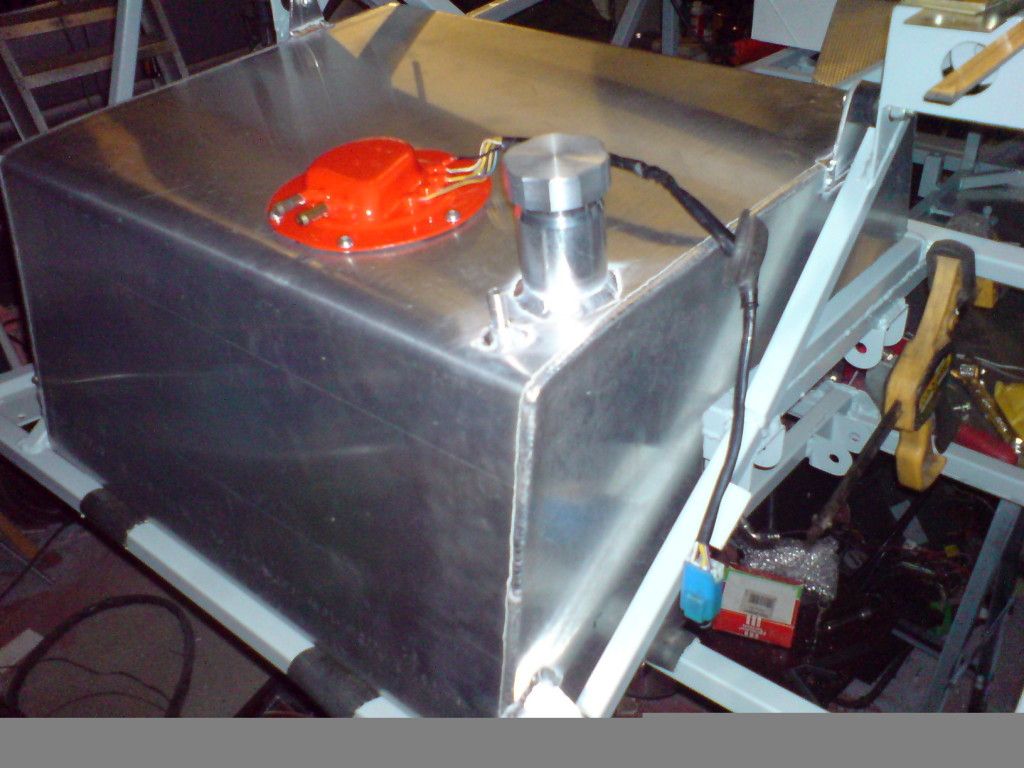 |
Kin brilliant.:) 12 gallons is not overkill because you have the choice to run it low for a track day if you want.:cool: Certainly on a run you will be grateful of the capacity. The only change I would make to the tank is baffles or explosafe.
bob |
Quote:
|
After testing the tank with compresed air I found 3 leaks around the welds which were promptly re-welded to seal them up. Had a problem with sealing the sender/pump assembly ....leaking where the bolts were fitted ....was going to use o rings on the outside but will probably use them from inside the tank, that way I will only need to use one per bolt. so I will be screwing the bolts upwards from inside of the tank then putting shakies (spring washer) on with a nut
Will be picking up my propshaft from Major and Aspinal at Durham.....cost is £100:( which I thought was a bit steep considering I supplied the 2 uj's, ah well. |
got my prop this afternoon, all looks good but the paint job was a bit naff so out came my el cheapo mini spray gun and was re done in jet black
this means I will soon be fitting the gearbox pretty soon 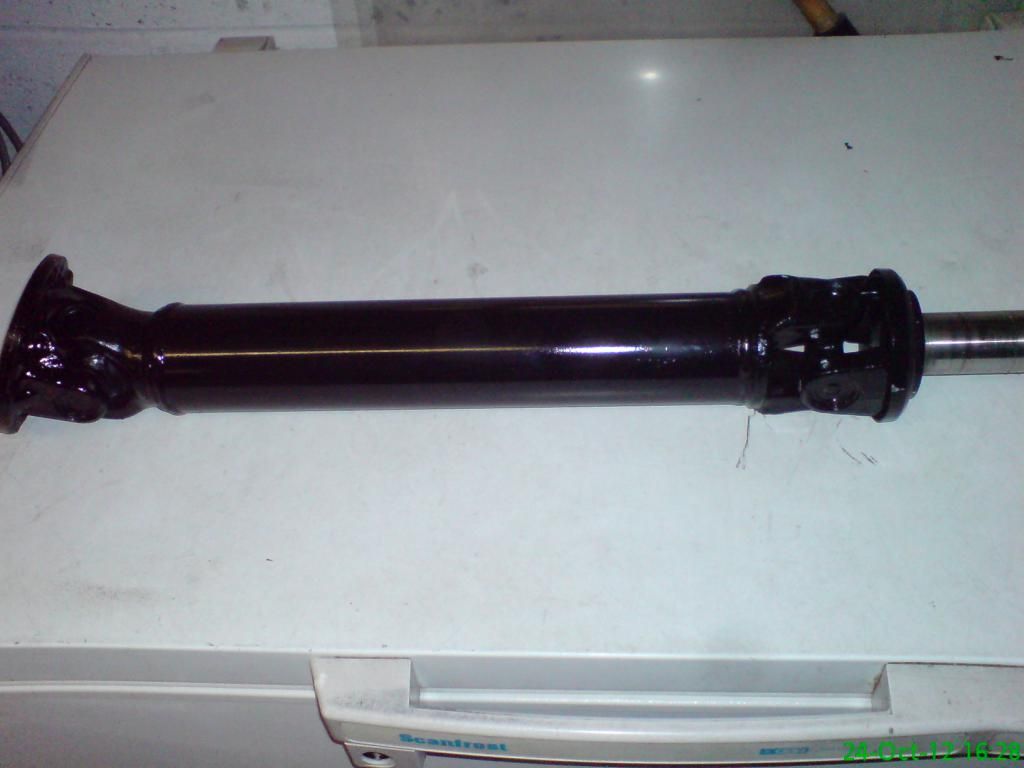 |
Quote:
http://www.google.co.uk/imgres?q=bli...:16,s:20,i:181 Bob |
Yeah those had crossed my mind Rob, but I tried what I described earlier and they have nipped up great with no leaks I think the fact that I used 3mm ally gave enough thickness to tap a decent thread....they were clumsy to fit and tighten up but it worked and that is the main thing, so today I will be giving my gearbox a bit of a flush out....not sure what to use yet....petrol, paraffin, degreasant....anybody got any thoughts on that?
|
Liking your progress Kev, with regards to flushing the gearbox I'd be tempted to run it for a few miles with cheapo oil in then drain and refill it, I've never liked using flushing agents, you can never guarantee to get it all out.
|
After a few thoughts on the matter of flushing I decided to use some degreasant which is very thin so I used around 1/2 pint and give it a good swirl around inside tipped it out and repeated the process, then tipped the full pint in and did the same .....there were a few bits of metal stuck to the magnetic plug but no more than you would expect from a used gearbox (we have all ground gears at sometime or another).
Couple of days ago I managed to fit the gearbox with the speedo sender being the only fouling issue (whilst trying to move box backwards) but was resolved by removing it then move the box to its final position then re-fit the sender (just). prop shaft fitted perfectly, so now I must make a start on re condition of engine but before that I will need to shorten the clutch yoke as it fouls the footwell at the mo, I think taking 6-8mm out of the length will render it clear then work out the best position for the slave cylinder.  |
All the graft you put in on the parts cleaning and paint has paid off kev it looks great:)
Bob |
Quote:
decided to to sort out handbrake for a change ......could not decide on slotting the cp plate or cutting cable, eventually decided to cut cable and join. I found a n easy way to join the cable back together, after a rummage in an odds and ends box I came across a buss bar contact from an old distribution board that had a nice handy tab on it where I could drill two holes in to slot the wire into once the two screws were tightened up.....picture might make more sense of it oh and it is not finished yet. 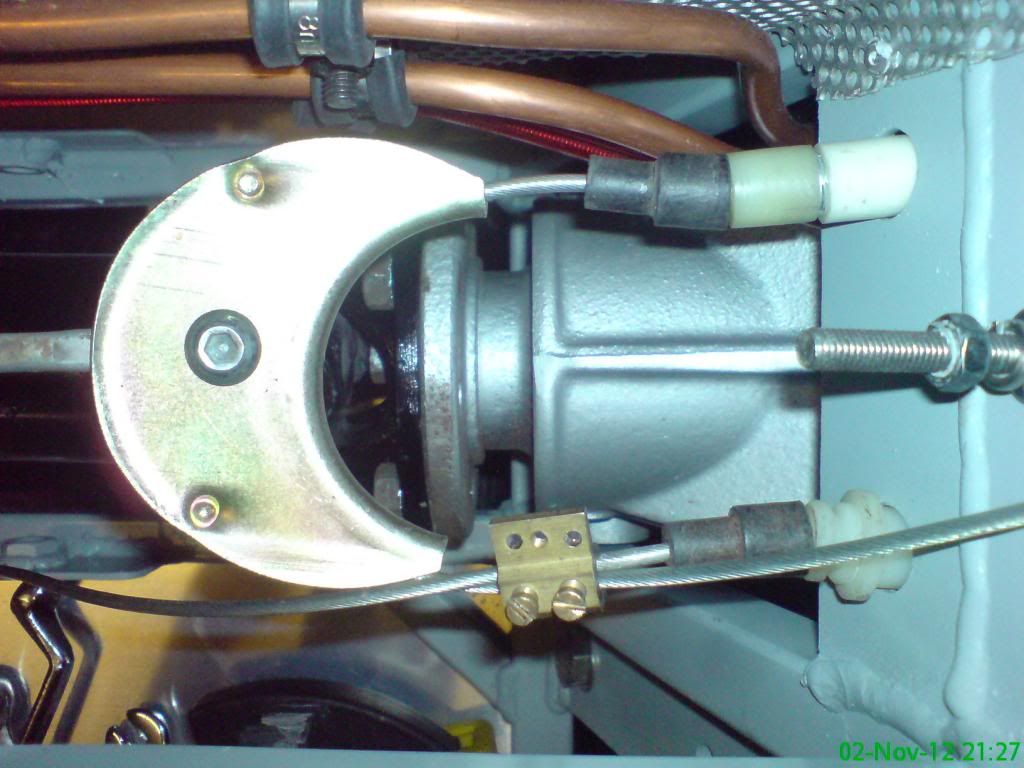 |
Got this back the other day after being checked and all journals polished
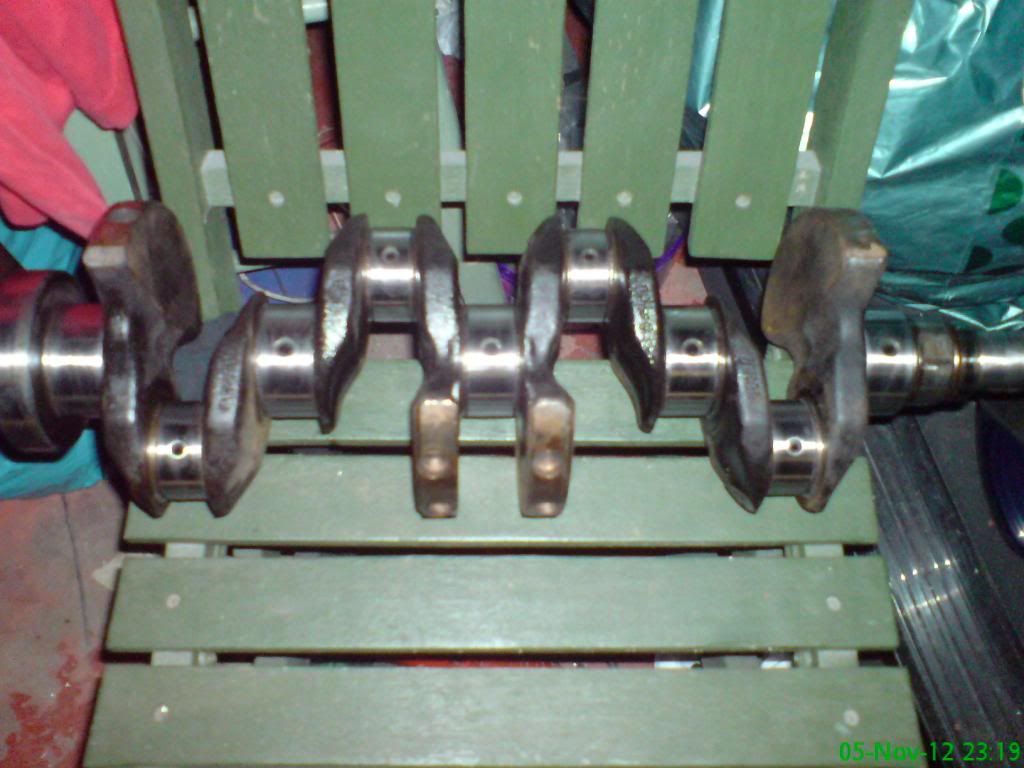 and also finding a set of Taiho bearings mains and big ends off the bay for £64 posted means I need to start the tear down of the engine. I was going to go for ACL race bearings but I found out that Taiho are OEM for some Nissan and Toyota engines |
If I was you Kev I would knock out all the core plugs and take the whole lot down to the nearest recon shop and have them hot tank it bolts and all. Probably only charge you £25 . That gets rid of all the paint,all the oil sludge and descales the waterways. We got a bupi here and anthing mechanical goes into that. Not as big as this one but about a meter square http://www2.ppauctions.com/_assets/a...t_171_7859.jpg. Nooooooooooooooooooooooooo scrubbing:) :)
bob |
| All times are GMT +1. The time now is 03:46 AM. |
Powered by vBulletin® Version 3.6.4
Copyright ©2000 - 2025, Jelsoft Enterprises Ltd.