I would do Bob, buuuuuut the guy I got it off told me he had the head reconned, skimmed, pressure tested. and so far on initial strip down it looks like he was genuine so rather than give me more work than needed I'm going to leave the head complete with cams fitted on the block and get to work with my dremmel and powerfile, so the only work I am to do will be change all the bottom end bearings and a new t belt.......teardown now underway
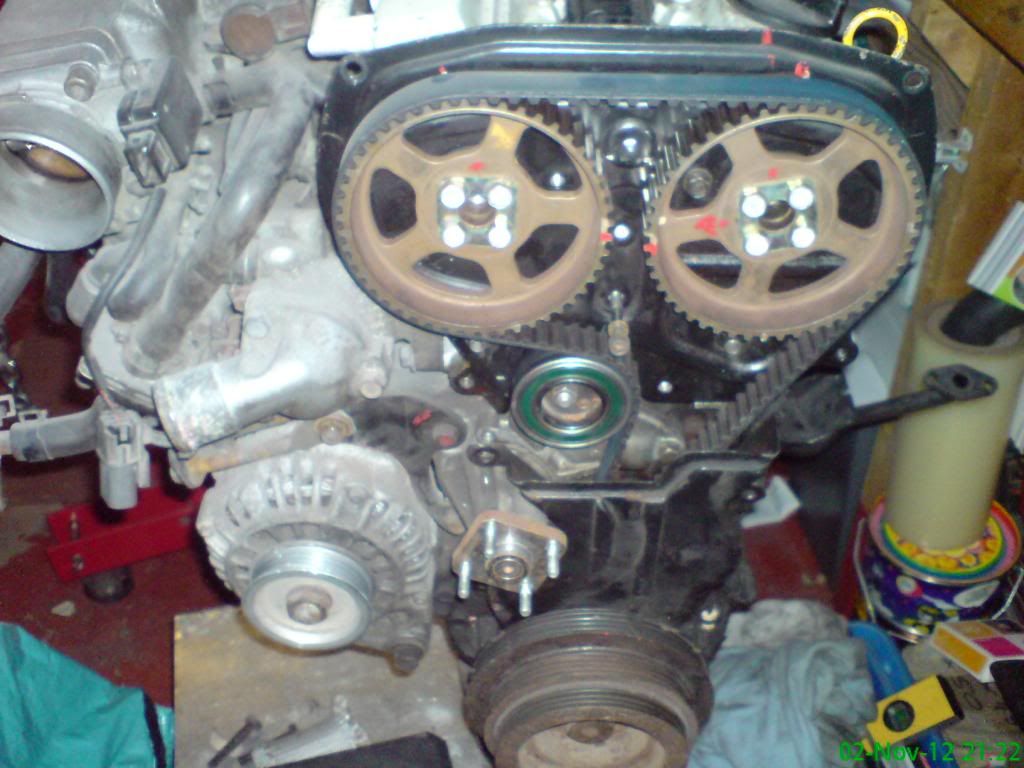 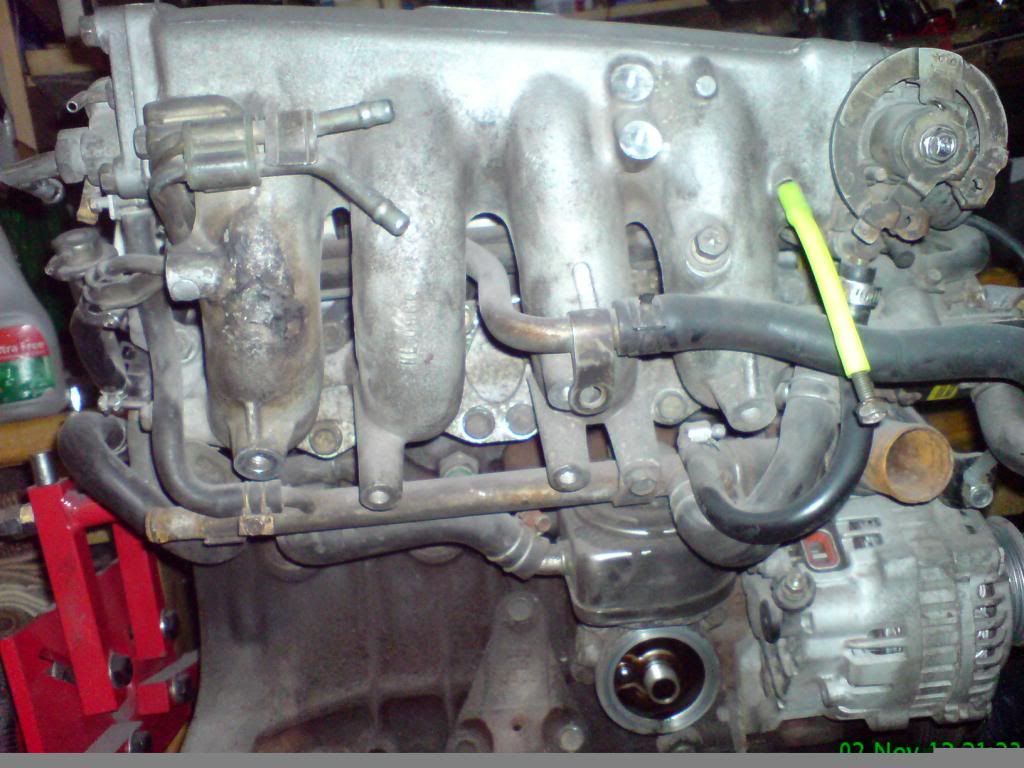  |
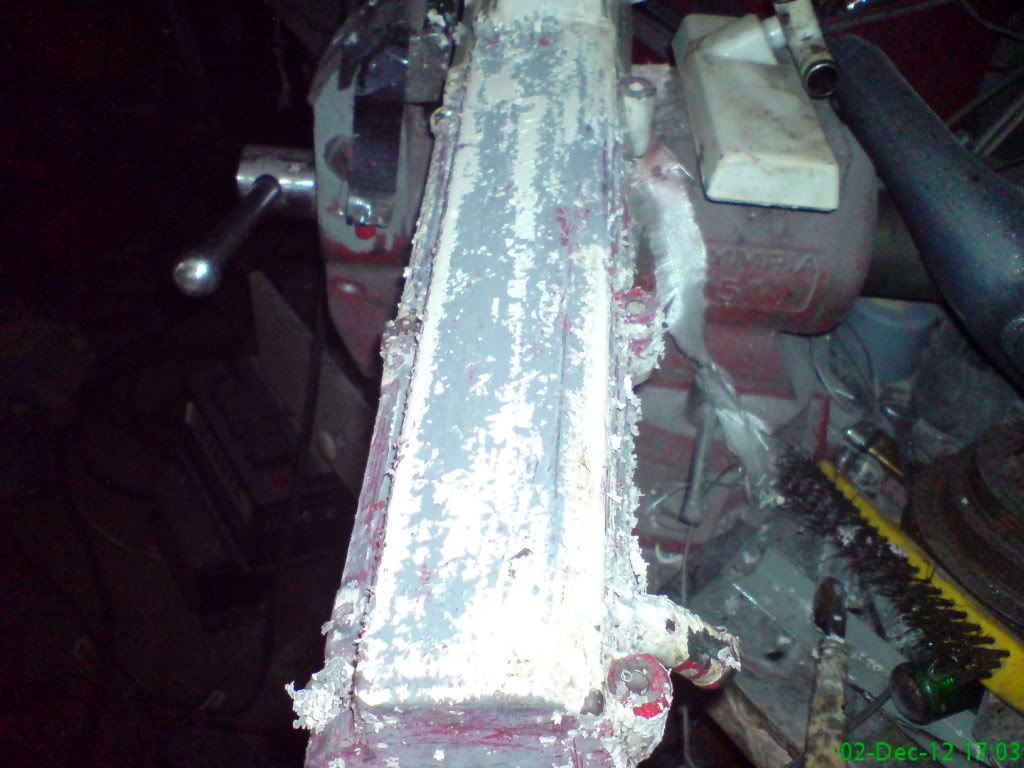
Having got all the ancillaries, plenum, fuel rail, injectors etc I was surprised to find the engines narrowest point was less than 6" anyway the block was subjected to a thorough wire brushing and with all holes blocked off the dremmel and powerfile came out to play
   |
got a bit more done so halfway through this side, its a orrible manky job but it will look nicer when painted.
 |
cant you use a drill with a wire brush attatchment?... various sizes available, would be quicker than a dremel...... even a flap wheel for the flatter stuff
|
I have some real evil rotary wire brushes that fit angry grinders but they still don't rid metal of all the rust the way a grindstone does, some times they just "polish" the rust so it looks like its removed but then you chip it with a hammer or screwdriver and underneath it can still be rusty......they do work well on corroded ally tho.:D
|
Daft thought Kev,your marks will be no good for the vernier pulleys when you put it back together.
|
aaahhhhhhaaaaa but I will be transferring the marks before I swap them over:p
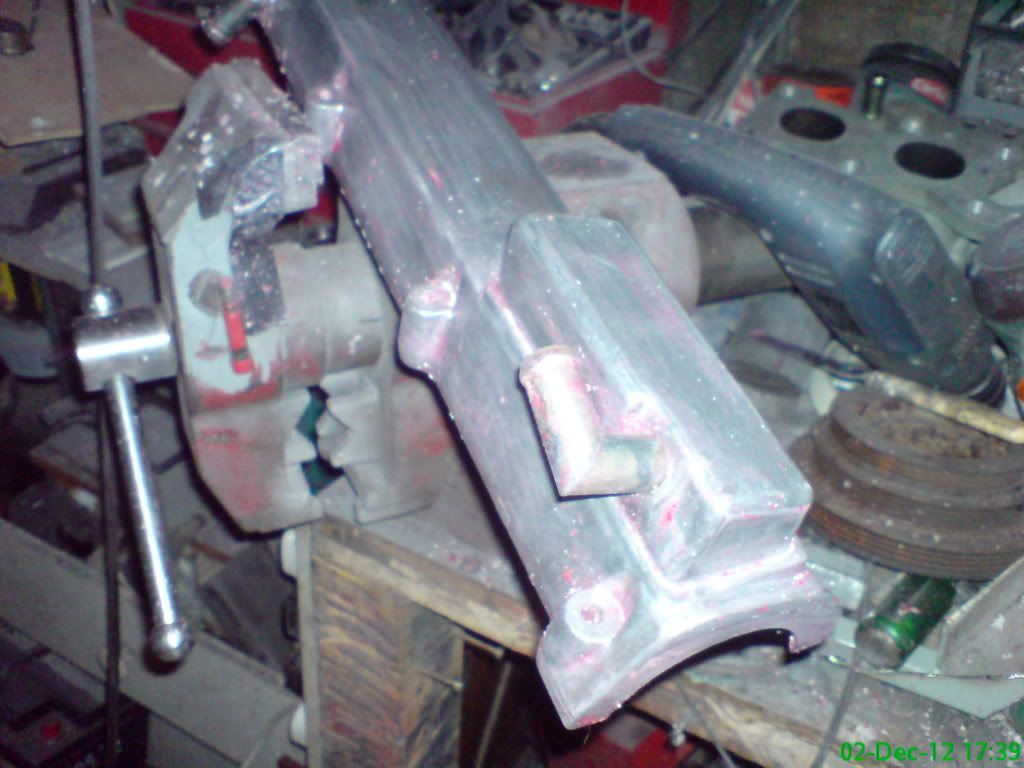
got the other half de rusted will be getting a coat of engine enamel then lacquer soon. 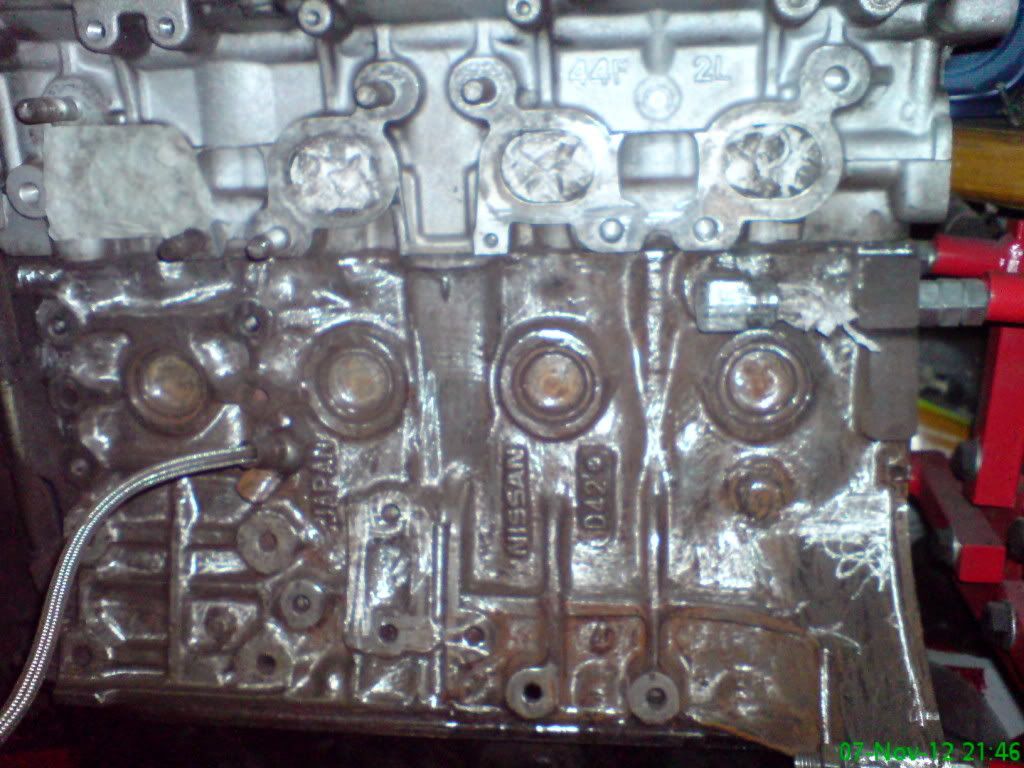 |
No comment :eek:.
Pm |
Kev, just imagine you could get paid for every hour your putting into this, even at minimum wage you'd be laughing :)
I enjoy seeing your progress pics, that's a proper labour of love, cant wait to see it all finished one day. |
Quote:
Bob |
Teeth are ok Bob but I had a helluva tash.....Magnum PI would have be jealous as hell...should have been wearing a mask.
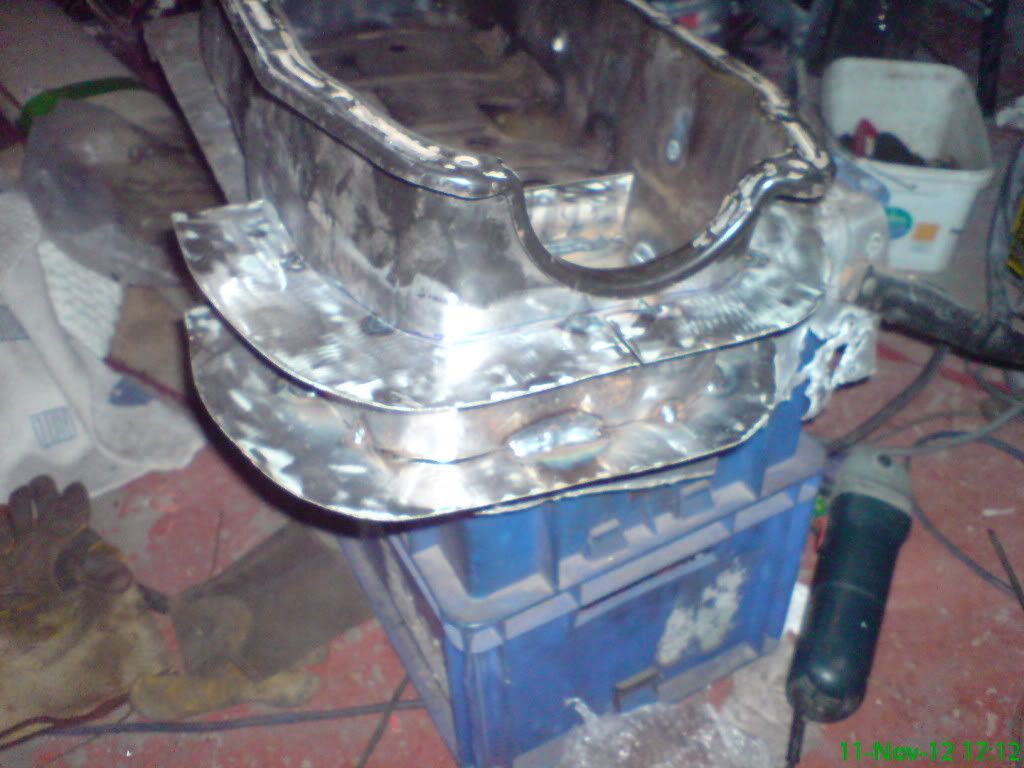
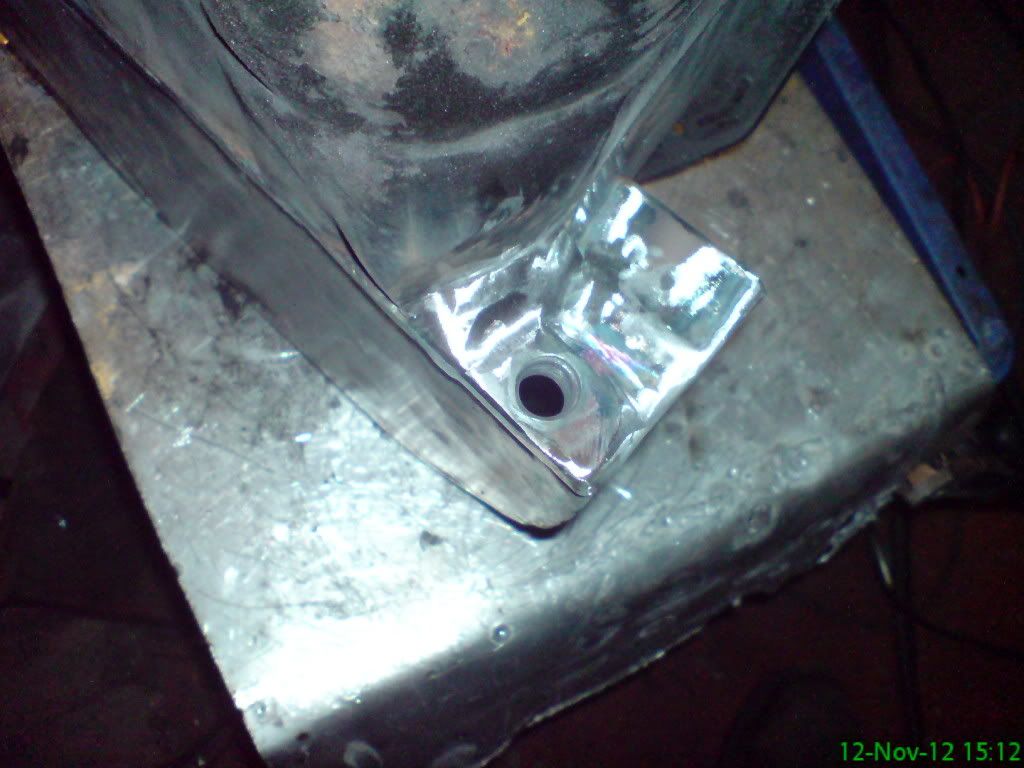
with the sump off I made a few measurements and off came the bottom and I hope to weld it back up tomorrow with a added collar to retrieve some capacity here is the first cut on the sump 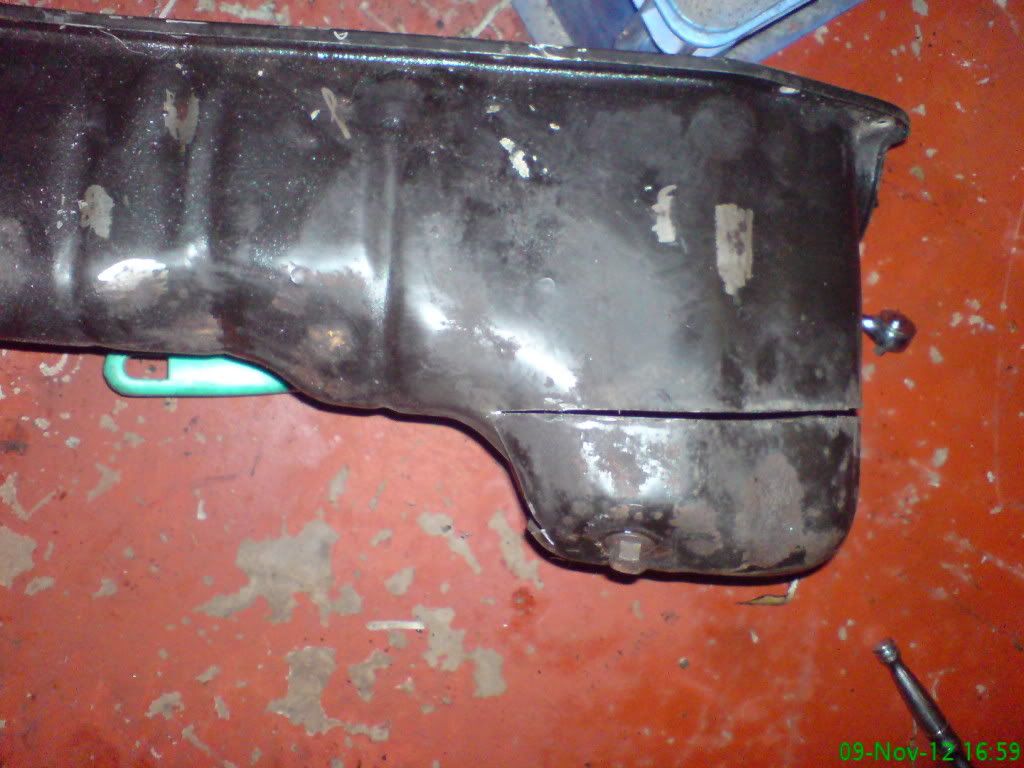 here are the parts to make up the collar to retrieve capacity  |
If there`s no starter in the way Kev a winged sump is a good way of grabbing some capacity back
http://static.summitracing.com/globa...m-121002_w.jpg Bob |
no problem there Bob, that part of the sump is unusually at the front of the engine;)
|
|
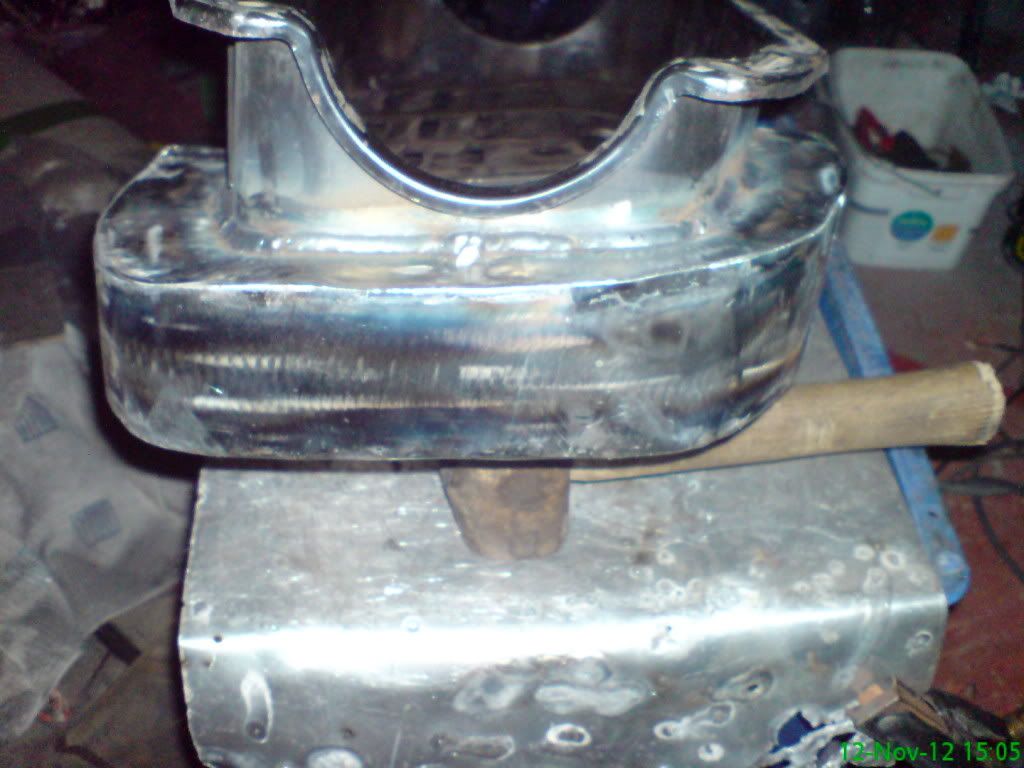
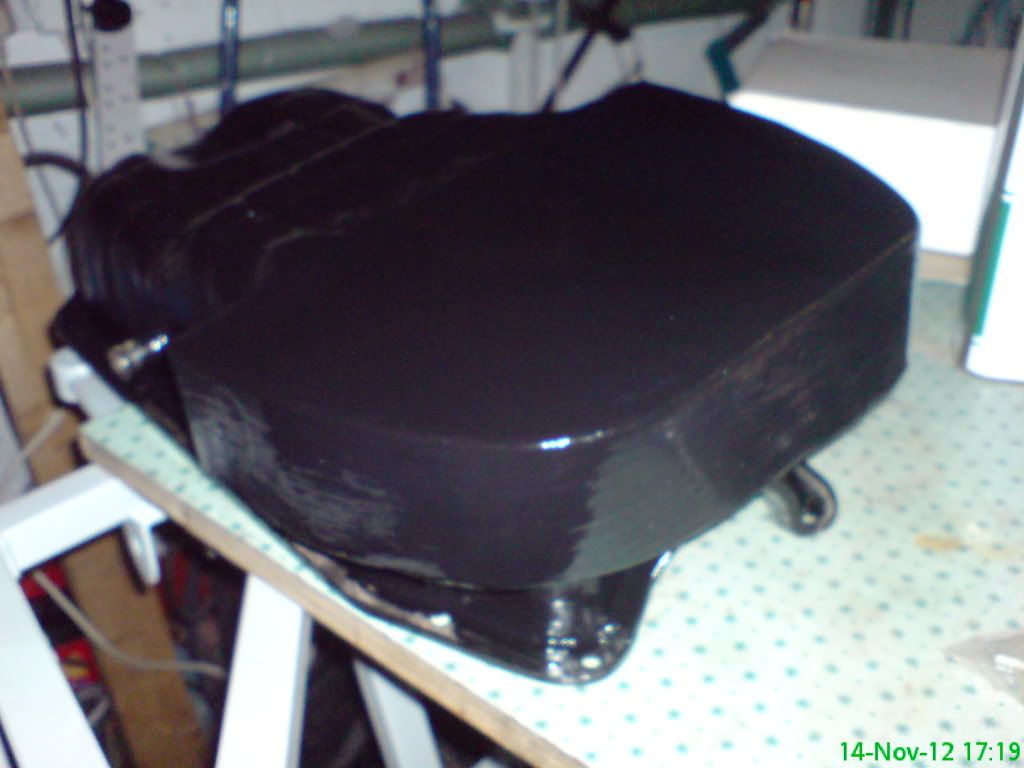
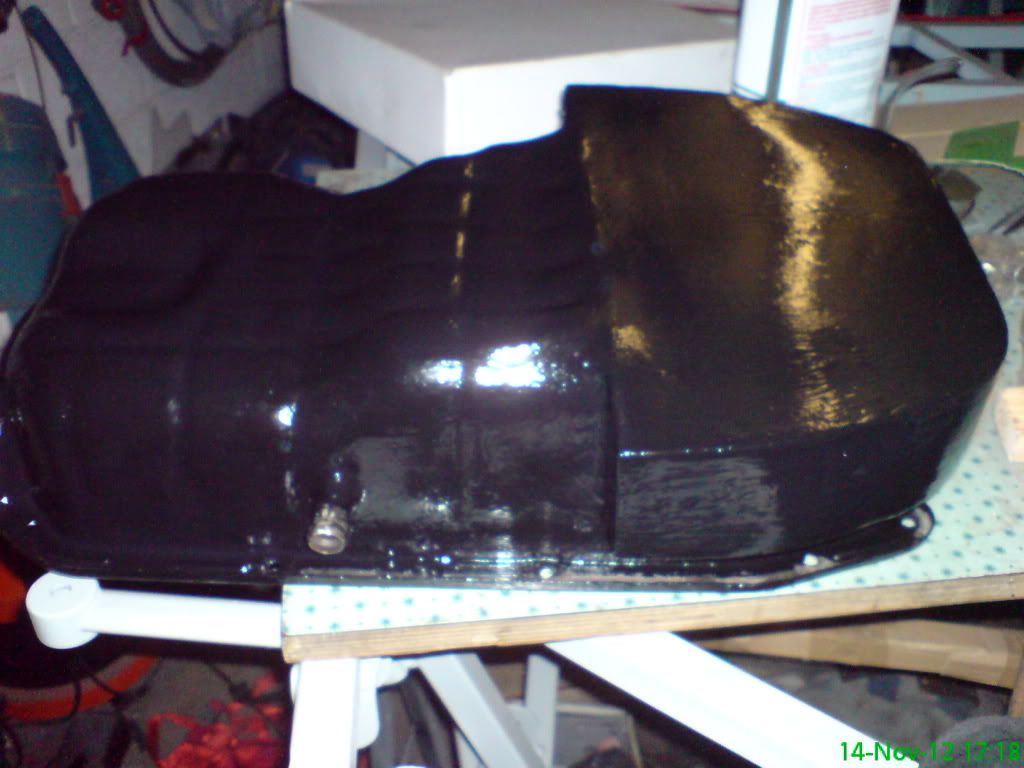
Nearly got my sump finished will have a fair bit o flapwheeling to do and then a coat of paint
  |
Quote:
|
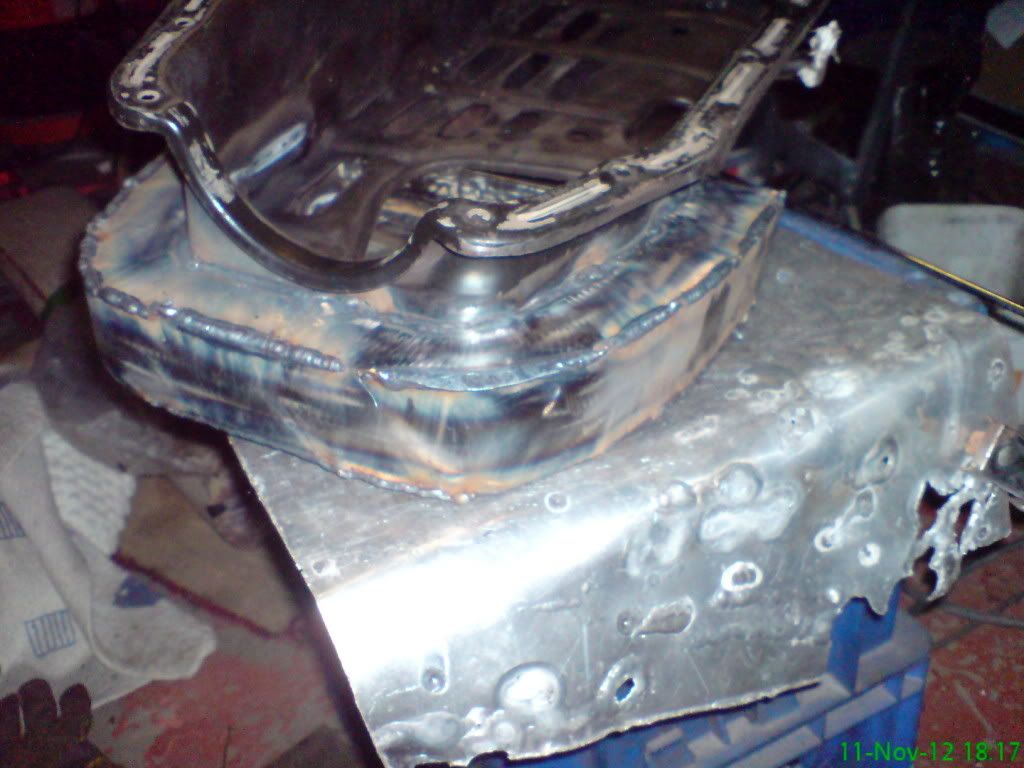
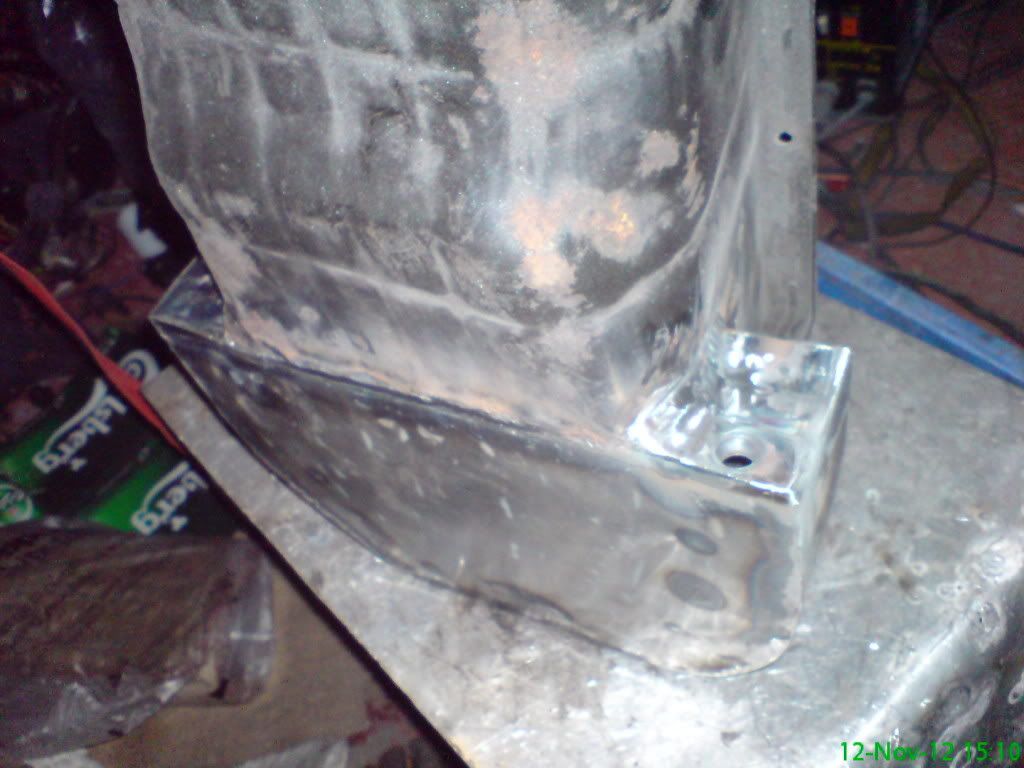
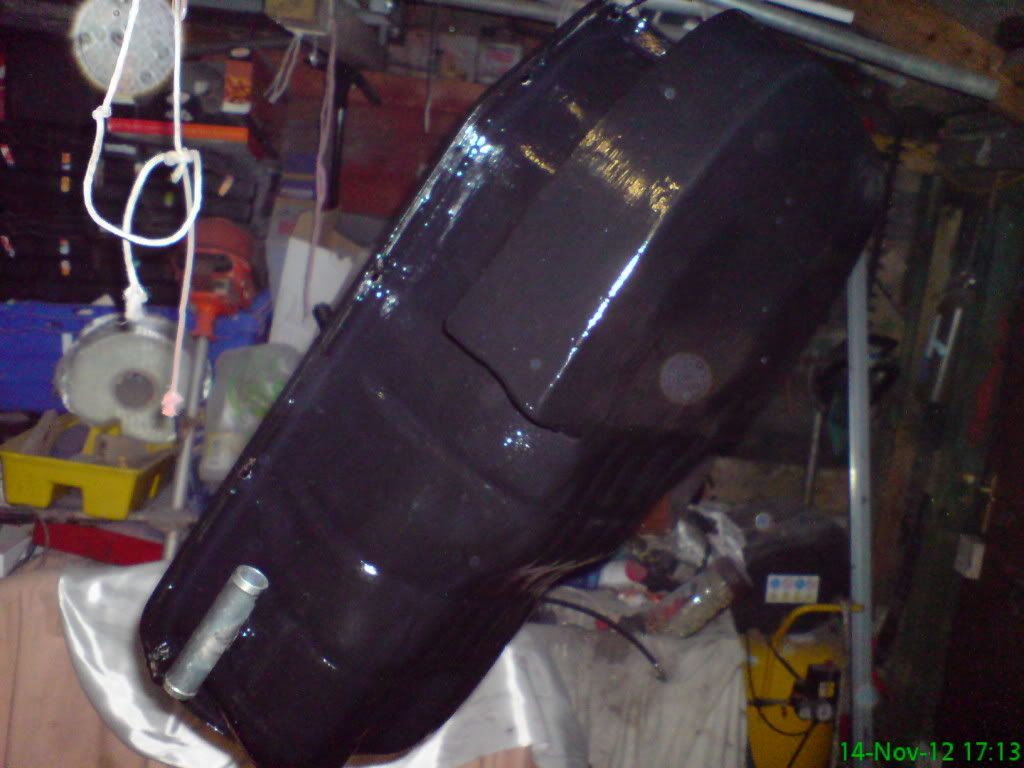
got my sump finished ....just needs a clean and prep for painting....decided to move my drain plug to one of the wing sectors as I intend to fit a quickvalve to make changing the oil easier also put a new baffle in to make sure there is oil at the pick up under hard acceleration
    |
Did you check it for pinholes? I recommend water inside and chalk on the seams.
|
checked for pinholes and cracks using acetone.....if there was any it will find them due to its ability to creep past/through anything.....I found 3 which were duly re welded, any I find once on the car I will probably use JB weld.
|
That must have put back what you nicked of the bottom of the sump + a bit I would have thought Kev.:cool: Just need a bit of 10mm thick plate under that now for a skid plate:eek:
ob |
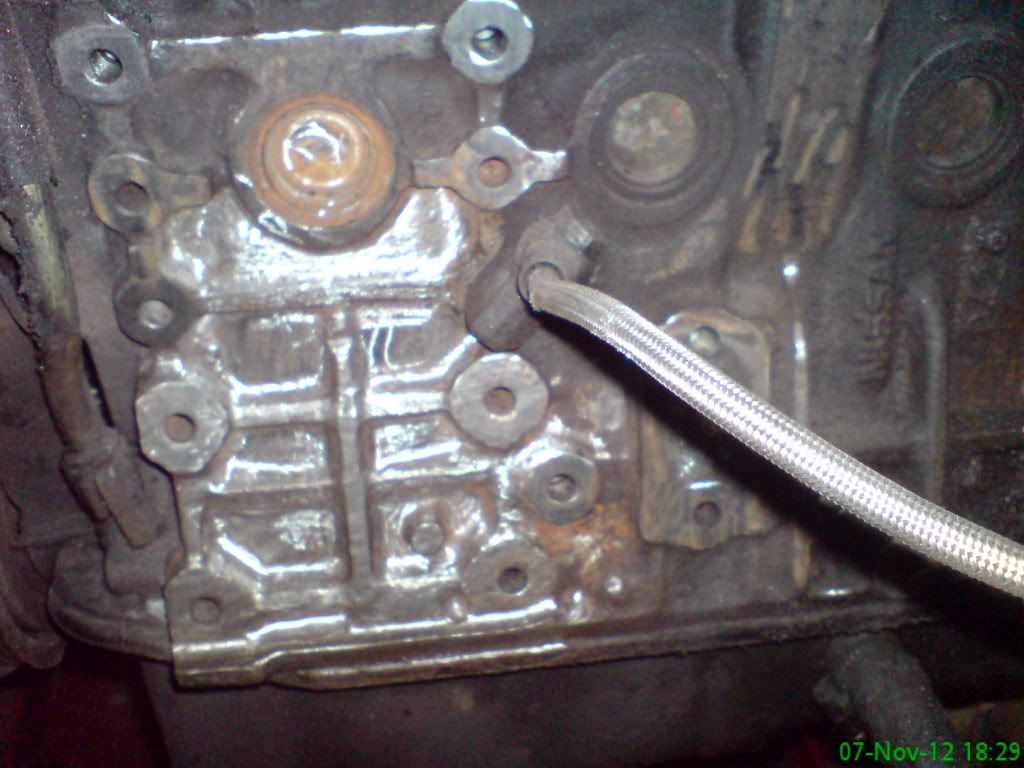
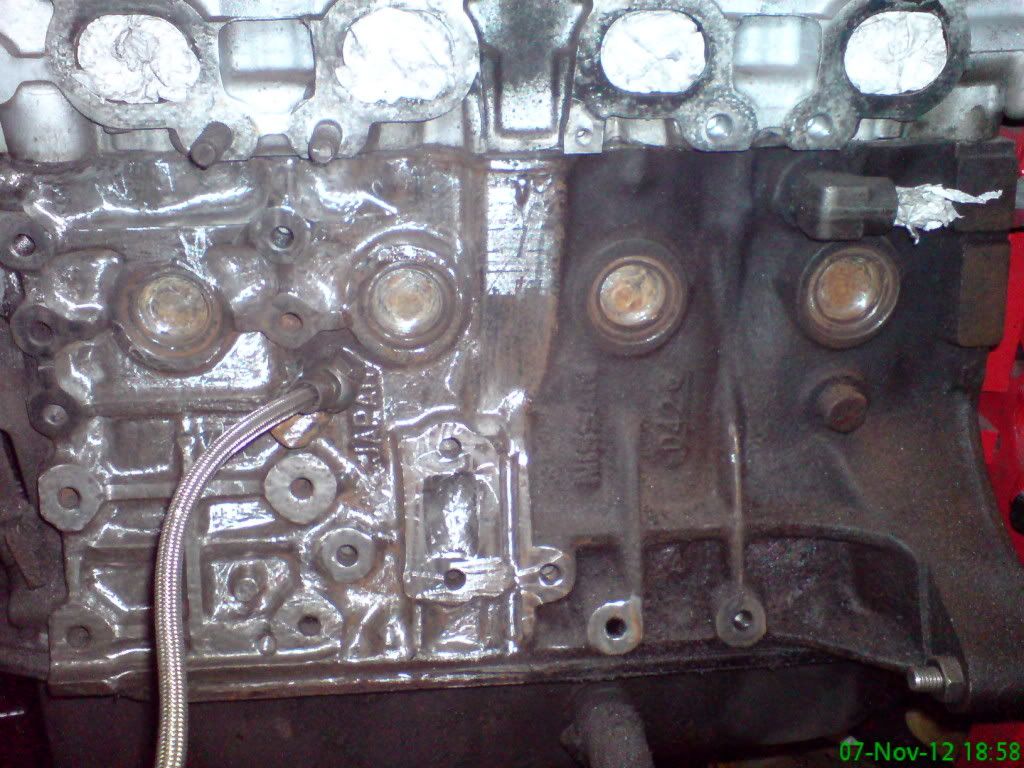
About right Bob ...I think it might be around 100-150mls ....gonna have to work out actual capacity once fitted along with oil cooler as the original specification will be well out the window by now.... silver soldered an extra oil return (unpainted T piece) this will be taking return oil from both camshaft galleries... it is my own personal mod .....as I understand at high revs this motor can suffer a backlog of oil in the cyl head that deprives the pick up in the sump, I think it has been done before tho....Got some paint on last night as well, so it is the crank to work on now.
   |
kev little note. weld a 3-5mm plate on top of the tank to beef up the mounting for the pump, if you dont it will always leak fuel as i found out even the sender eventually leaks so worth doing both holes.
also the iva examiner may not be too happy about copper fuel line going through the diff bracket hole |
Thanks for the heads up on those Ash....will be looking into them;)
|
bump:( bump
bob |
WTF's been going on:eek: that was some spam attack....ta for the bump Bob but you'd have been at it all day....what a bunch of t**ts, I rely on this forum for a little sanity now I have just lost the plot what with me crank timing cog totally refusing to budge....been at it now for a day and a half wd40 and others, wedges, screwdrivers, a modified 2 leg puller, oxy acetylene hot/cold
I finally got it to move 1 effin milimetre.....had to stop and leave it to stop me morphing into Dr David Banner':mad: :D s alter ego |
finally finally finally got the bluddy timing cog off the crank.... knackered the oil pump tho (which does not matter since I have a new one to go on anyway)
strange set up the ca18det has a large cast cradle that keeps the mains caps on and also stops any twisting at high torque values which is probably why this engine has really good sturdy internals. here is that cradle  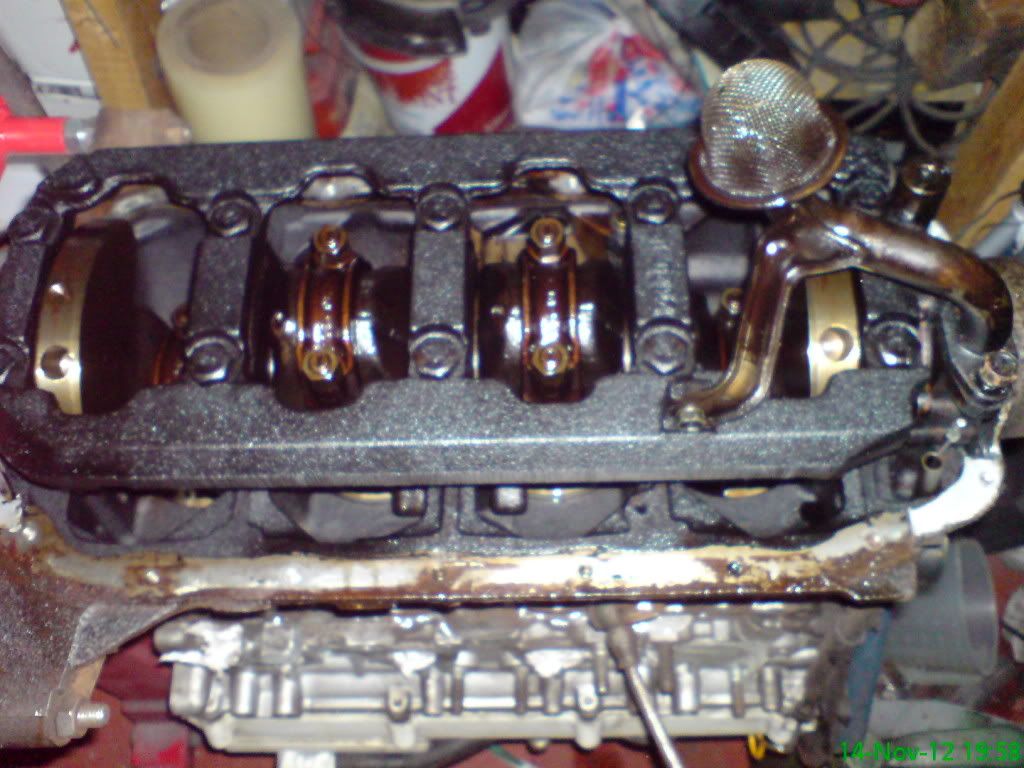 |
[quote=K4KEV;81351]finally finally finally got the bluddy timing cog off the crank.... knackered the oil pump tho (which does not matter since I have a new one to go on anyway)
strange set up the ca18det has a large cast cradle that keeps the mains caps on and also stops any twisting at high torque values which is probably why this engine has really good sturdy internals. here is that cradle They fit those girdles to yank motors to stop the main caps fretting at high rpm. They dampen the effect of vibration and stop the caps walking. 4 bolt main caps do a better job but the girdle is cheaper and more than good enough for a road smoker. http://www.ebay.com/itm/Moroso-main-...-/251155721283 Bob |
First time I have seen one Bob.....got to mention this....don't know whether to laugh or cry....last week I went to hell and back trying to get the timing cog off my engine, it must have worked out at around 8-10 hours interspersed with lots of coffee and beer and some serious language:mad: :mad:
Today I went down my shed to take off the timing belt on my "spare" engine and for a laugh, I took a couple of screw drivers to see if the timing cog would come off....well f@@@@k me after two light taps with one driver it moved a whole millimeter another few taps and it was off ....total time to do about 6 minutes ( Victor Meldrew moment) and several more exlpetives. I have managed to prime the engine block with Vactan which is basically the same as Kurust ....looks like milk and turns any rust patches into a black oxide I'm sure we have all used it at some time or another.....sometimes works sometimes does'nt . |
Share some pics Kev pls :)
|
here you go DoS.....you'd think I didn't upload piccies:rolleyes:
first one is just primed with Vactan ....second is with HT silver paint and then around 4-5 coats of engine laquer .....hope to switch to the other side tomorrow....have also decided on the colour of the rocker covers, vernier pulleys and other pulleys and this is the colour I chose http://www.ebay.co.uk/itm/250ml-CUST... tem27bcf3d176 piccies 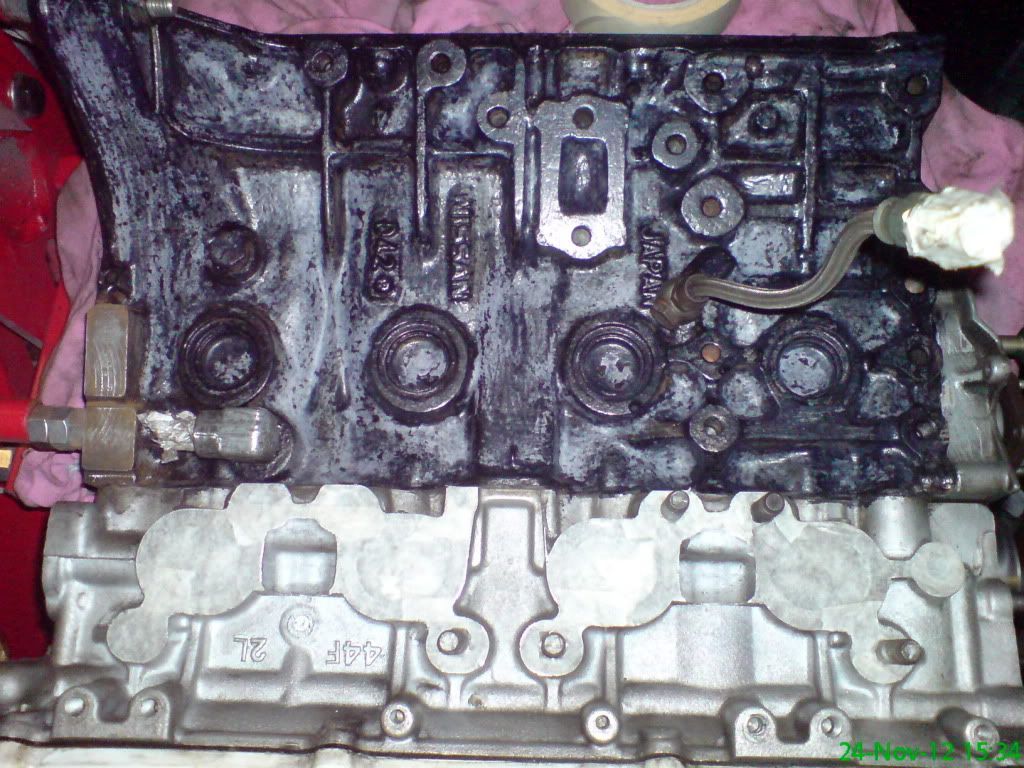 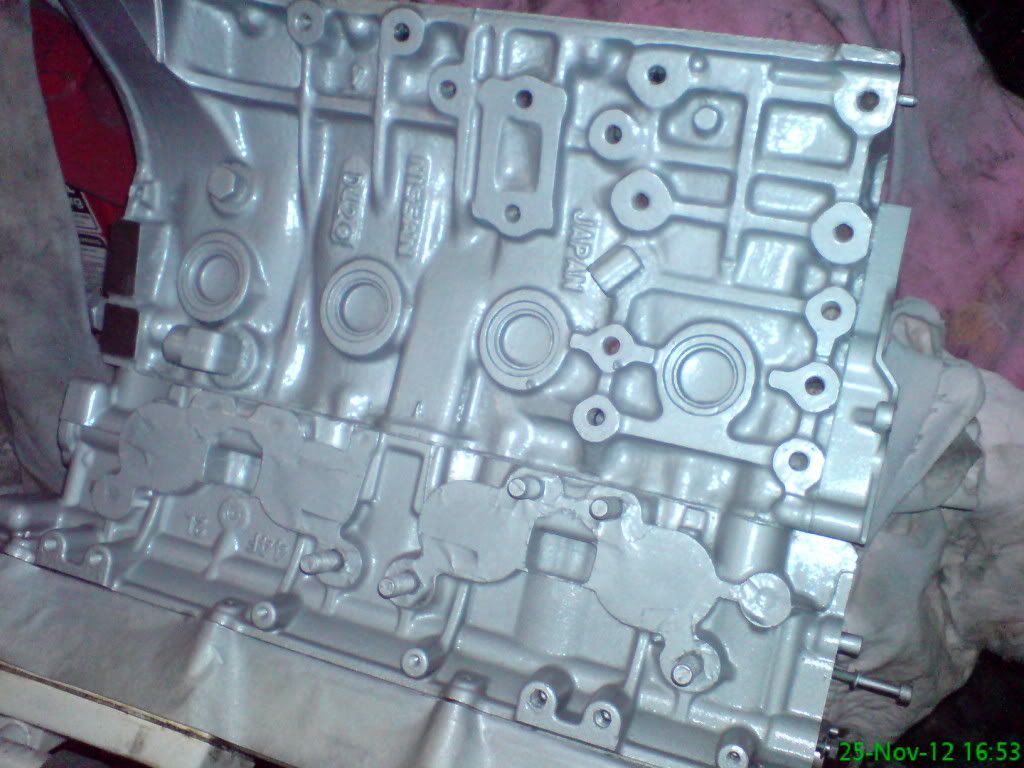 |
[quote=K4KEV;82455]here you go DoS.....you'd think I didn't upload piccies:rolleyes:
first one is just primed with Vactan ....second is with HT silver paint and then around 4-5 coats of engine laquer .....hope to switch to the other side tomorrow....have also decided on the colour of the rocker covers, vernier pulleys and other pulleys and this is the colour I chose http://www.ebay.co.uk/itm/250ml-CUST... tem27bcf3d176 Aww everyone loves piccies :) The hours of prep you've put in are paying off there Kev, tis looking really super nice, that blue should set it off nicely, definitely making it pop. I've looked at their colours before, I like the deep red, and fools gold candy colours but cant make my mind up :confused: |
Got me bonny blue paint today, so decided to get the nitromors out to do the rocker covers. Even though the cam bays looked very clean I decided to check behind the breather baffles on the inside of the covers......very glad I did cos it the gunge monster must have just been evicted .....it was caked to hell, so if anyone is using an engine with these type of baffles I would check/clean them out
UUUgghhh.....manky 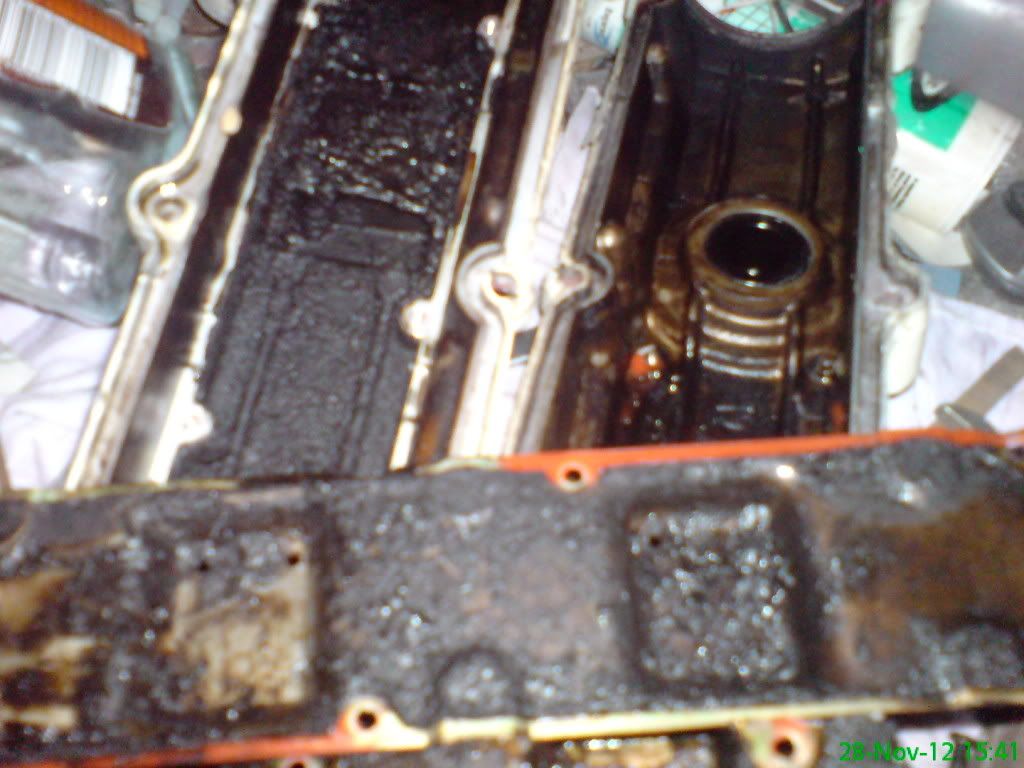 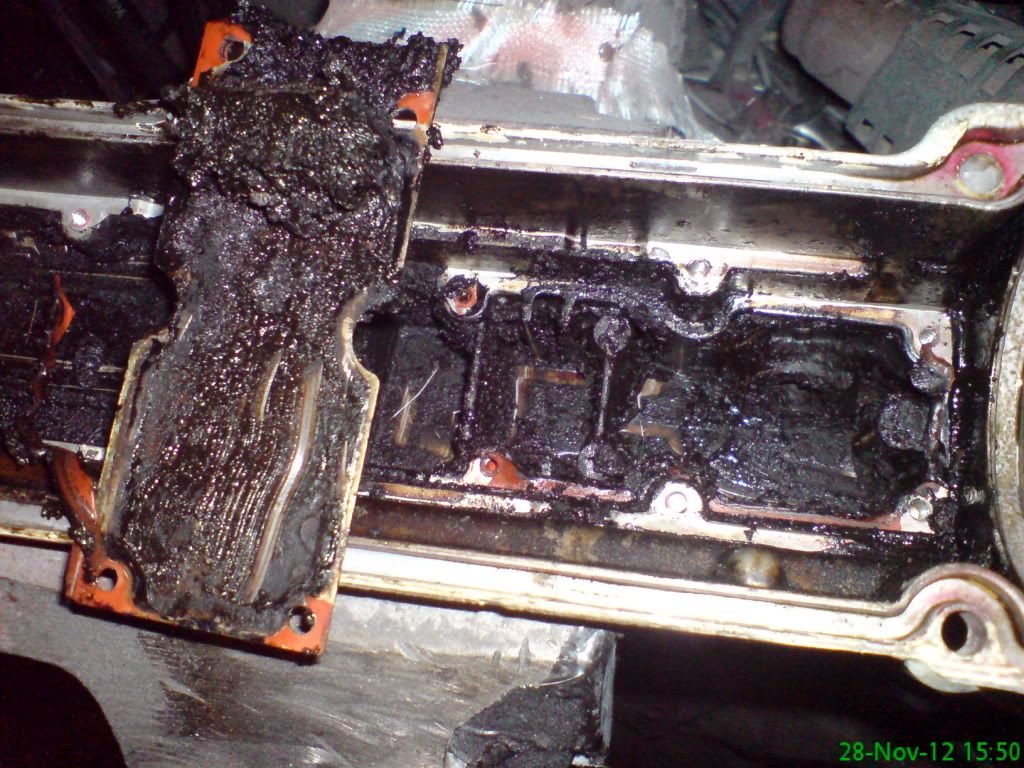 |
Eww, I'm sure it'l be shiny & bright when your done with it Kev :D
|
not yet shiny DoS but a helluva lot cleaner.
been playing with my mini spray gun again.....these are the water pump and alternator pullys .....colour I mentioned a couple of post ago. got the bottom end built up again but need to alter the depth of my oil pick up, and just waiting for a new oil pump from the USA (£60 cheaper than here, even after postage) 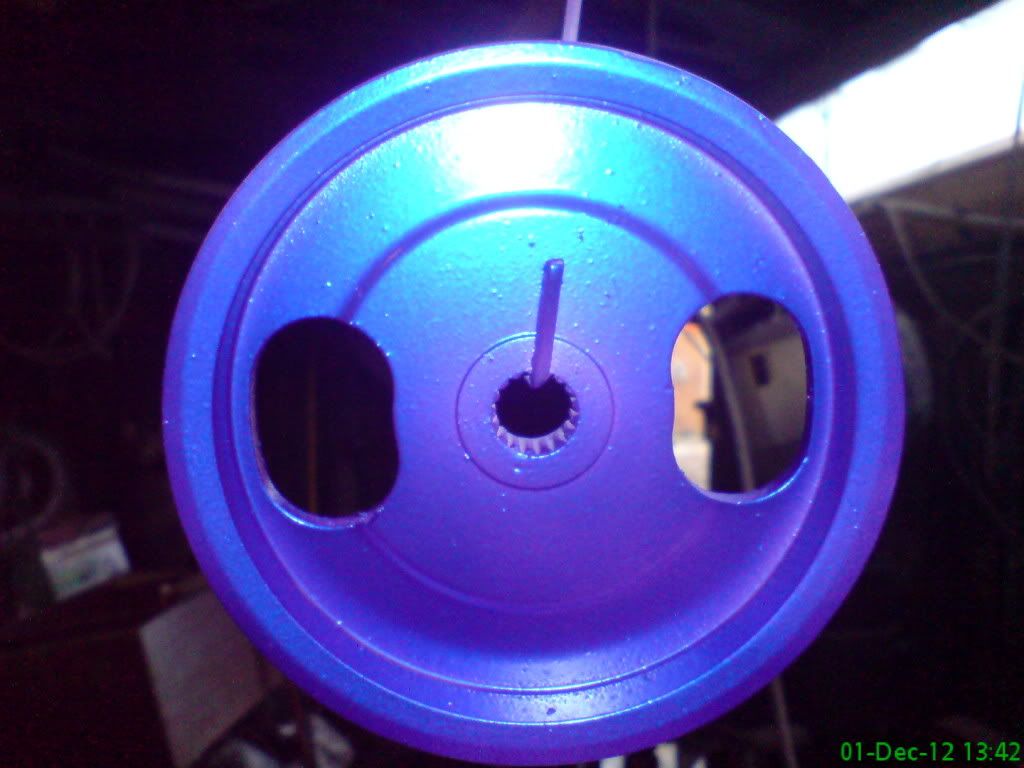 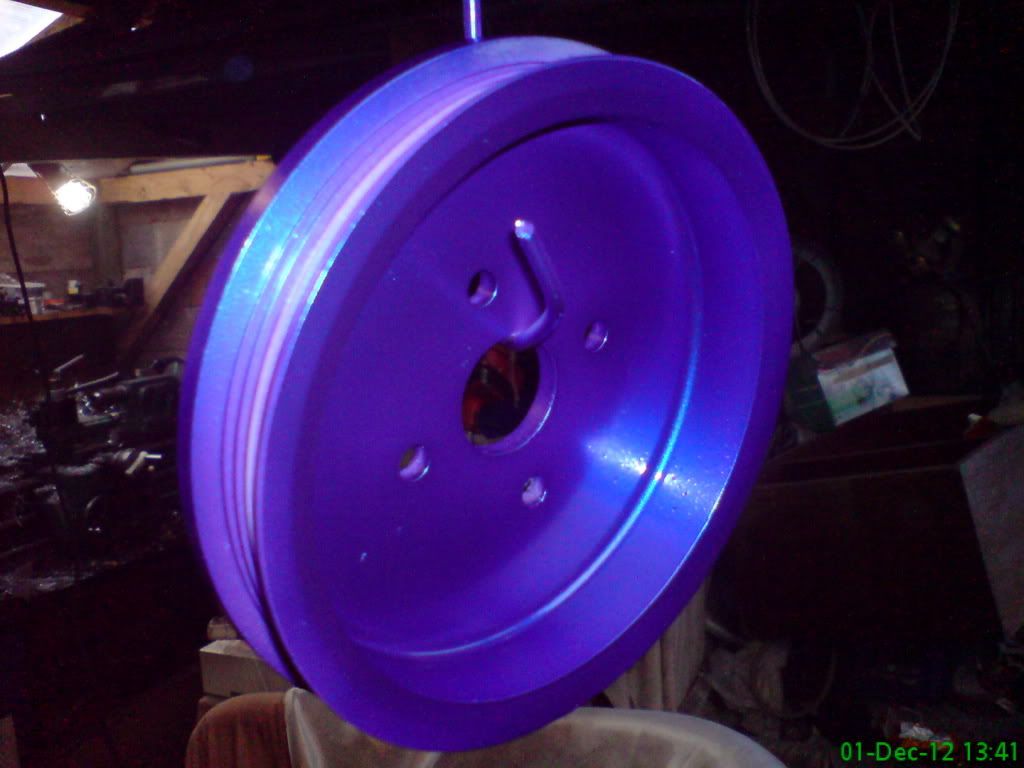 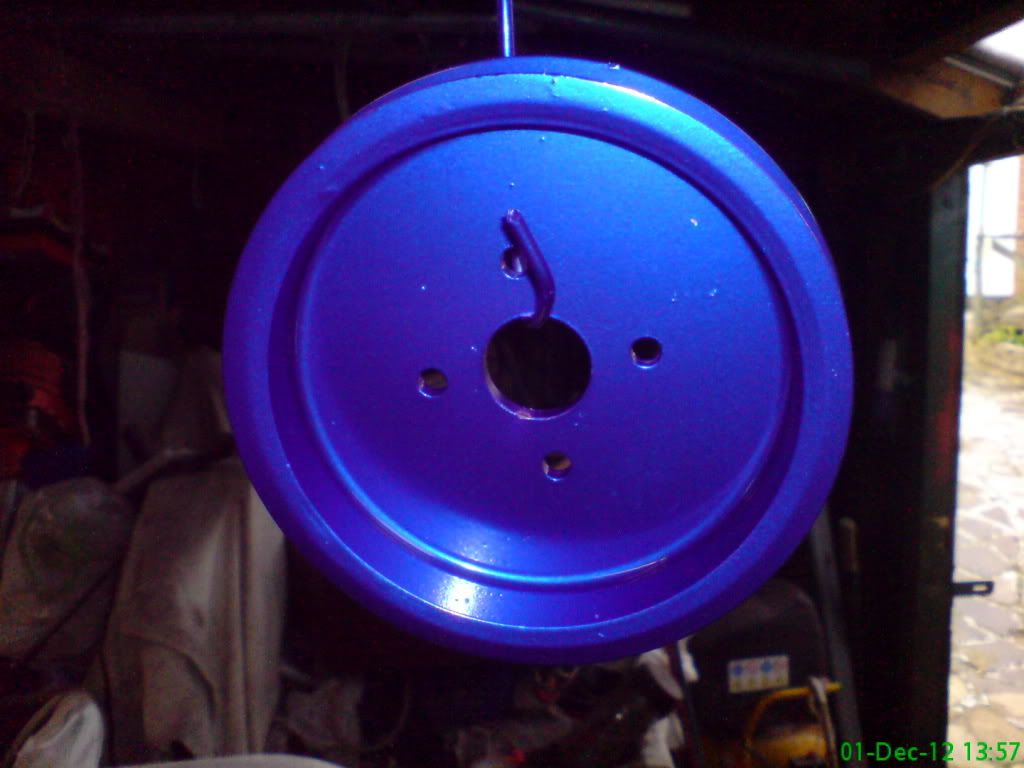 |
Where's the 'Likey' button gone :)
|
Is that the Lydl spray gun?
I picked up one a couple of months back but yet to try it. TT |
Quote:
http://www.ebay.co.uk/itm/Spray-Gun-...80690192199%26 |
Got the old nitromors to work today and stripped my rocker covers, need to smooth them up a bit and move on to priming them.....have also discovered another cheap tune up mod which is to replace the stock inlet cam for another stock exhaust cam coupled with some vernier pulleys can get an increase in mid range power/drivability
  |
bluddy pleased my thread is still here.....me thinks I will do a hard copy.;)
|
you can have a laff at this one....MAGNOLIA:eek: ....magnolia what you may ask, base colour thats what eh!!! lol I needed a light colour was what I require for the base coat of my rocker/cam covers, I had used white smoothrite on the pulleys but was not happy with it and the only other light colour I had was MAGNOLIA smoothrite so that is why....I think they look quite fetching, yeah fetching the blowlamp:p
got my oilpump from America today so will be torqing off the crank mains and big ends and getting my sump on 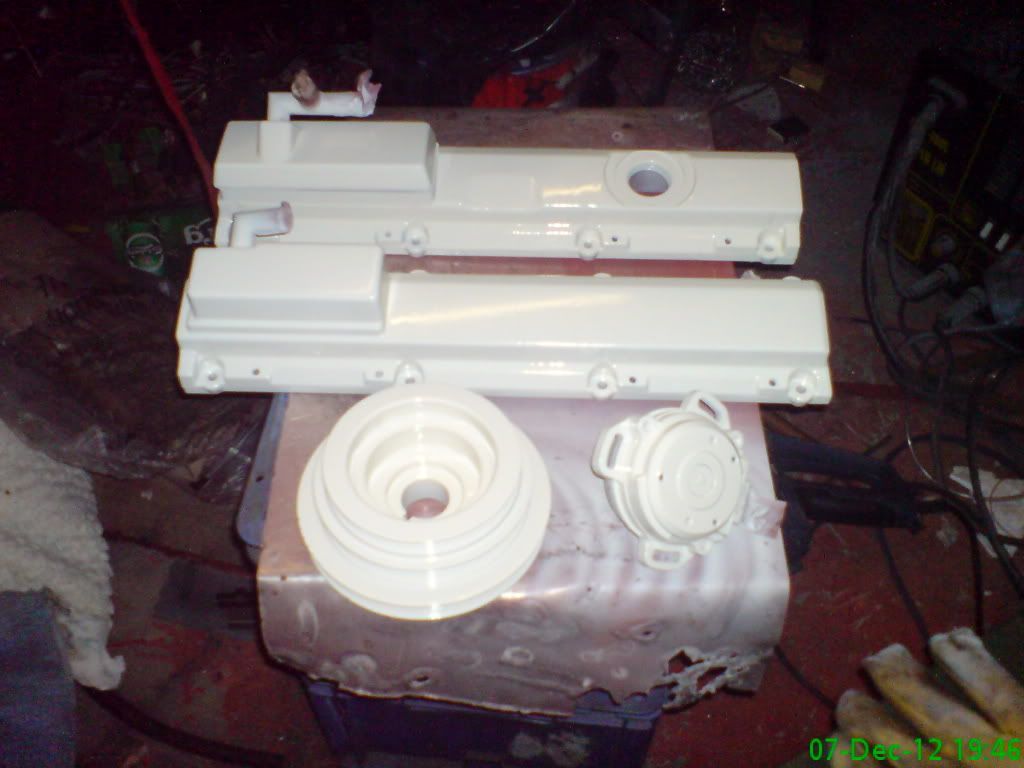 |
| All times are GMT +1. The time now is 02:54 AM. |
Powered by vBulletin® Version 3.6.4
Copyright ©2000 - 2025, Jelsoft Enterprises Ltd.