Nice one guys......I had wondered about suggesting moving all current threads in the announcement section to a new or other section but someone has beaten me to it......simple but effective for the time being.
|
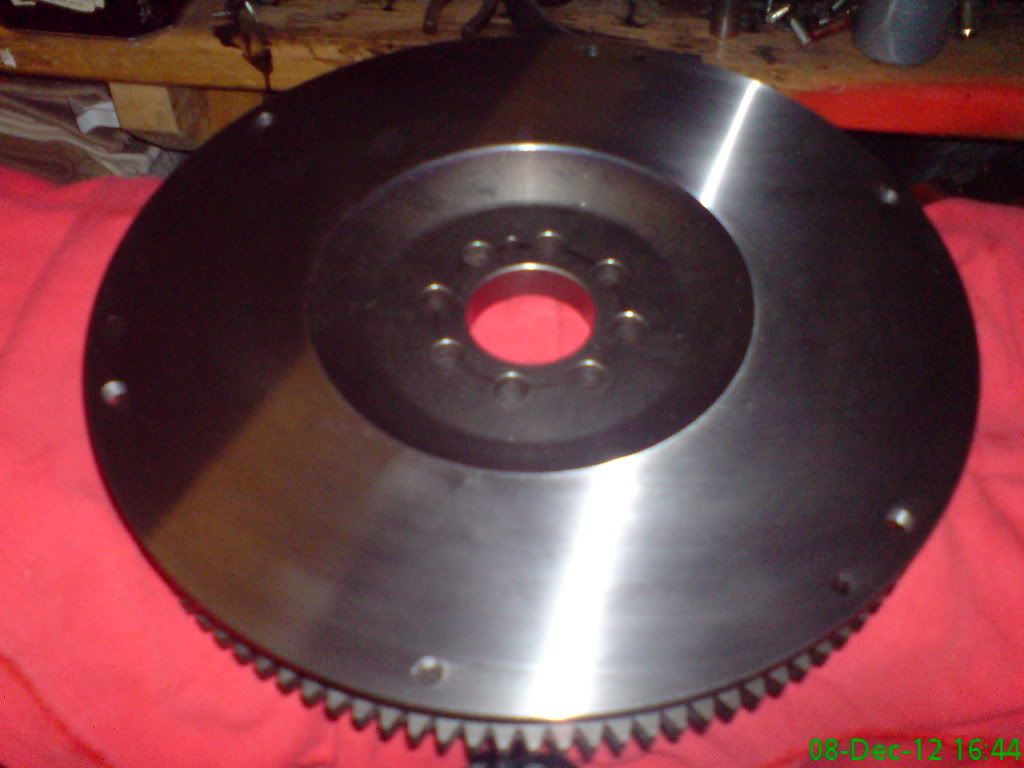
Got my freshly skimmed lightweight flywheel back and also sprayed the rocker covers....tomorrow I will be giving them a coat of clear lacquer and shortening my oil pick up pipe
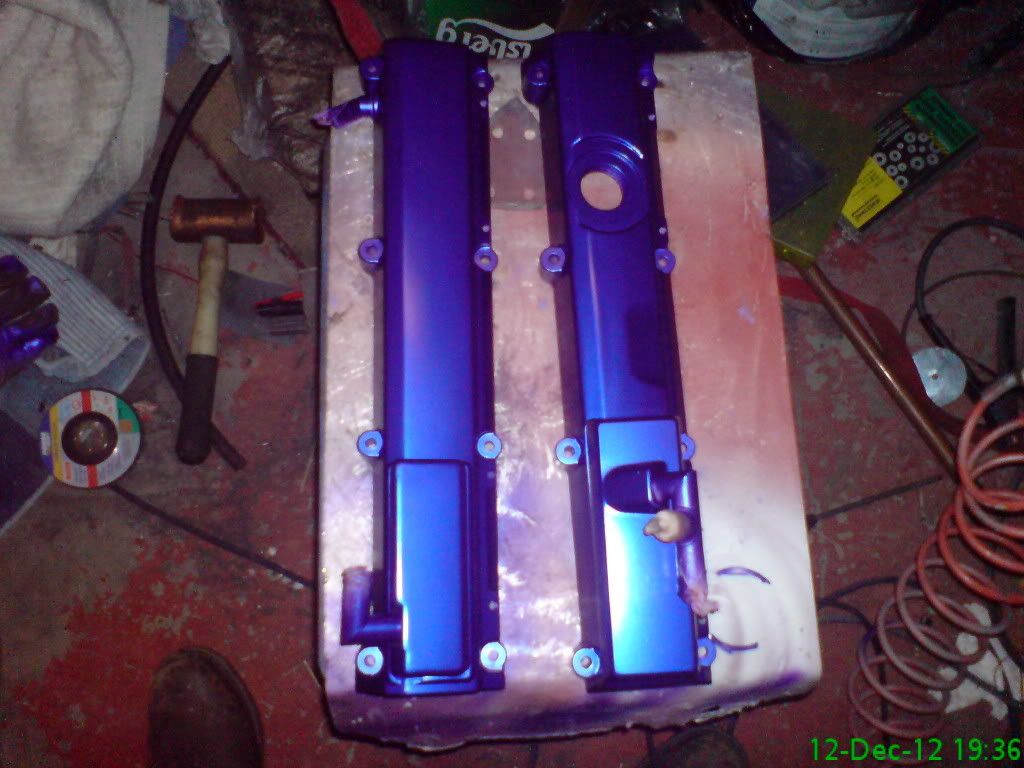 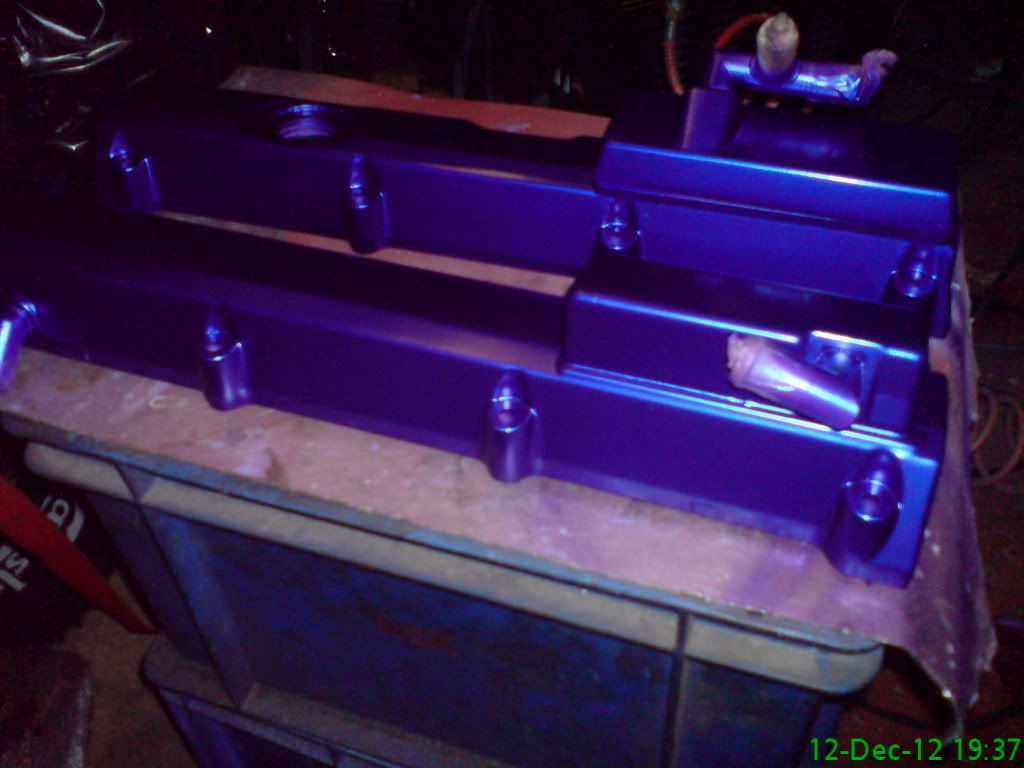  |
Those are works of art;)
Its freezing outside but those pics make me feel like going down to the garage and wizzing the engine out to re-do it(almost) |
kev that is coming together as one very nice build the details your putting in is outstanding
|
cheers guys....that spurs me to keep up my build standard high.
managed to alter my oil pick up by cutting a couple of Vees in the bends then closing them up and silver solder the cuts together.....on trying it for size I have discovered I still have a 1/2" gap to lose....I manage to take this up by prizing the gauze out and then shortening the pipe inside by jut over 1/2" .... the gauze was then cut and reshaped, then nipped back into its original circle, I offered this up with the sump and all is hunky dory now, so with a little luck bottom end refurb should be complete later on today. mind you I was cutting it a little fine with the pick up......once bolted on there is just 1mm clearance between the pipe and con rod big end standard pick up 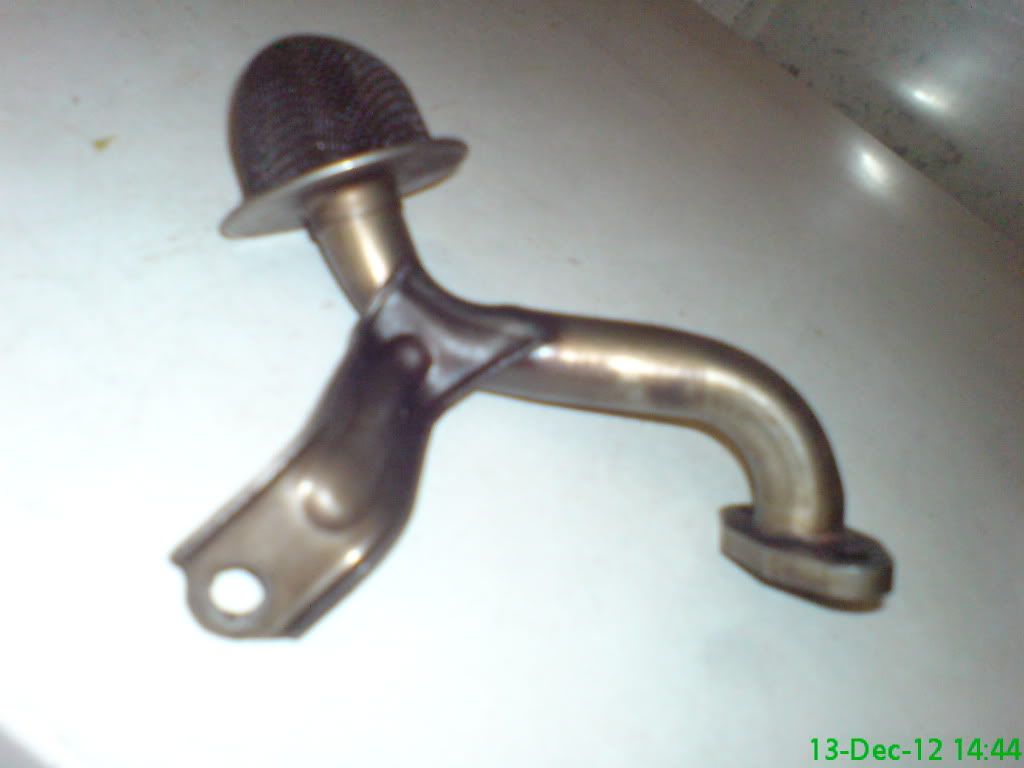 after 'v' ing the bends then soldering them up 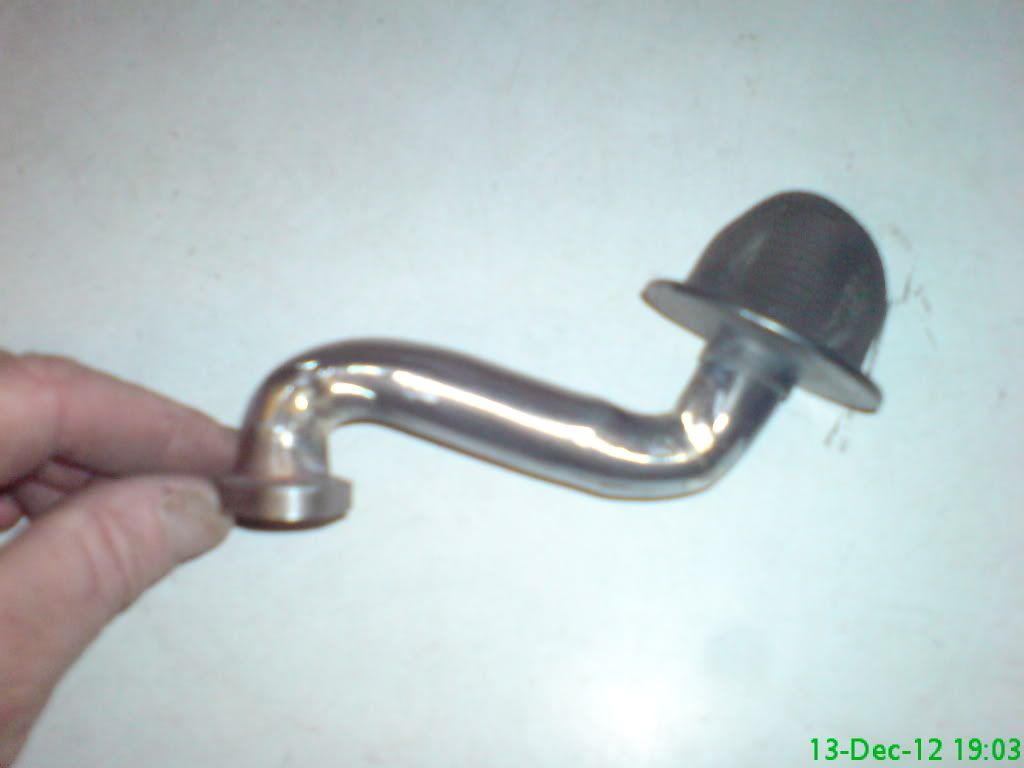 just 1mm clearance wher the big end rotates past the pick up 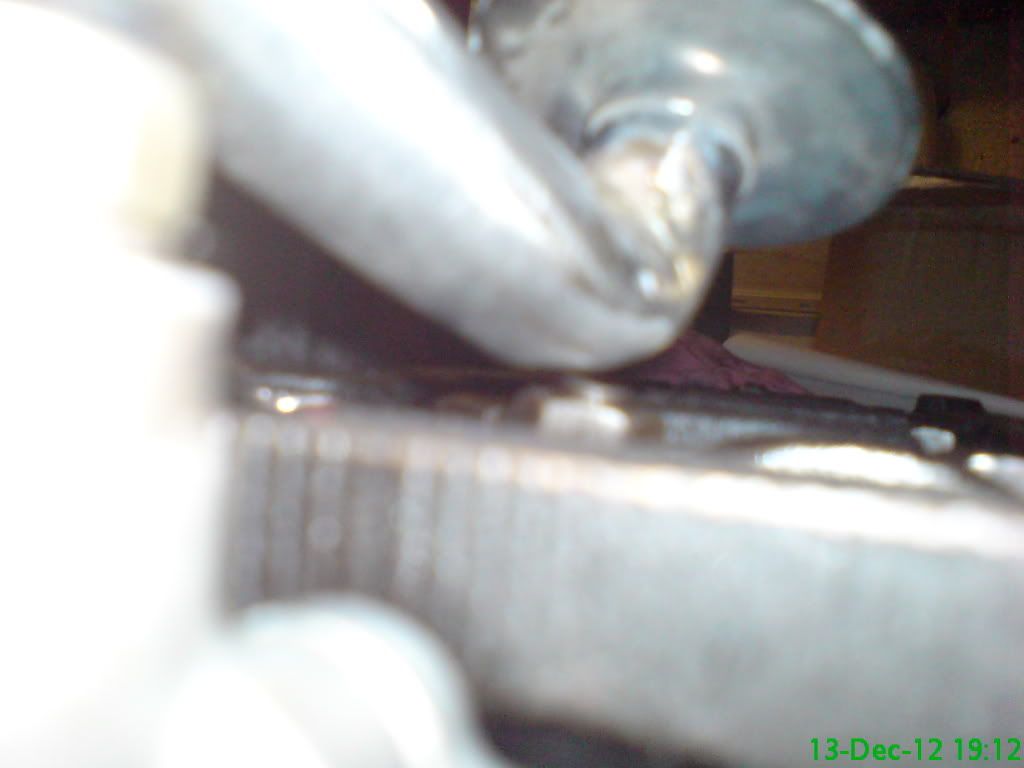 and now with the very end and gauze shortened. 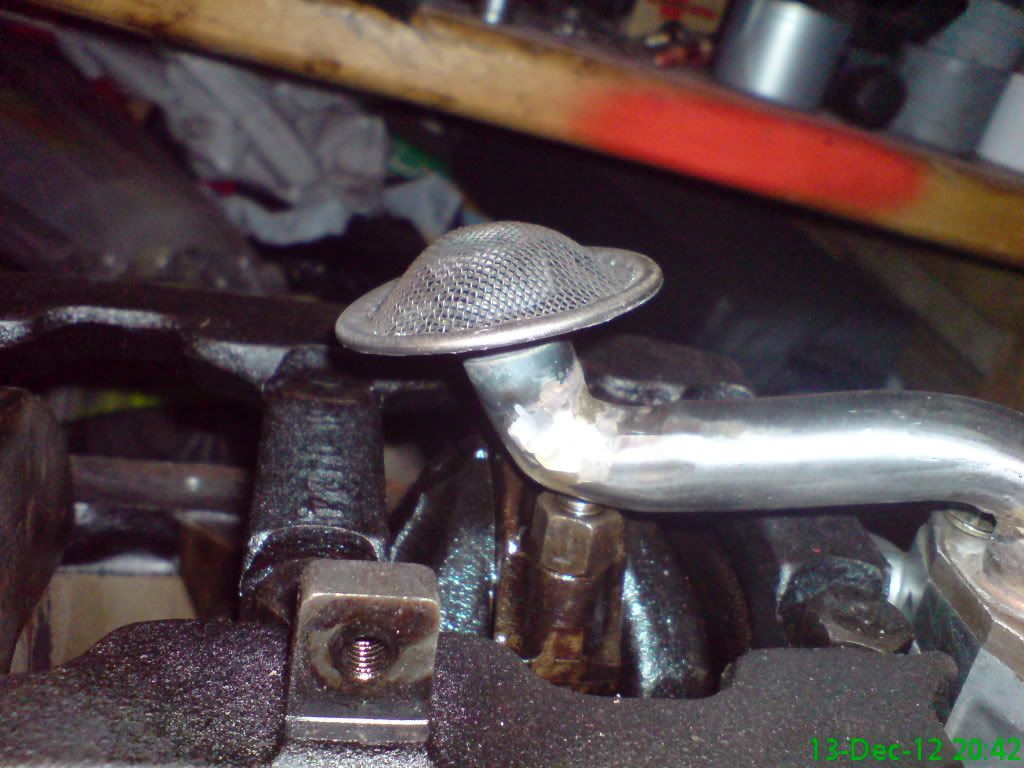 |
What a bloke,even the oil pick up is a work of art.;)
|
Ha Ha Paul....cheers bud....the head mod I was going to do started to take shape a couple of days ago......this is a couple of extra drainage channels for oil that gets trapped in the camshaft covers especially at high rpm and acceleration.
What I have done is drill a 7mm hole in some core plugs at the back of the cylinder head and then turned down some brass tubing to create a flange and some barbs for fitting rubber pipes.....these fit nicely into the drilled holes with some o rings for sealing,...... pressure to seal is applied with some made up aluminium plates bolted on, I placed some kitchen roll inside the cam covers to stop any swarf from migrating anywhere, when I finished I moved a neodymium magnet inside near the freshly drilled hole and it did a good job of collecting all the swarf on the inside holes drilled in core plugs at back of cylinder head 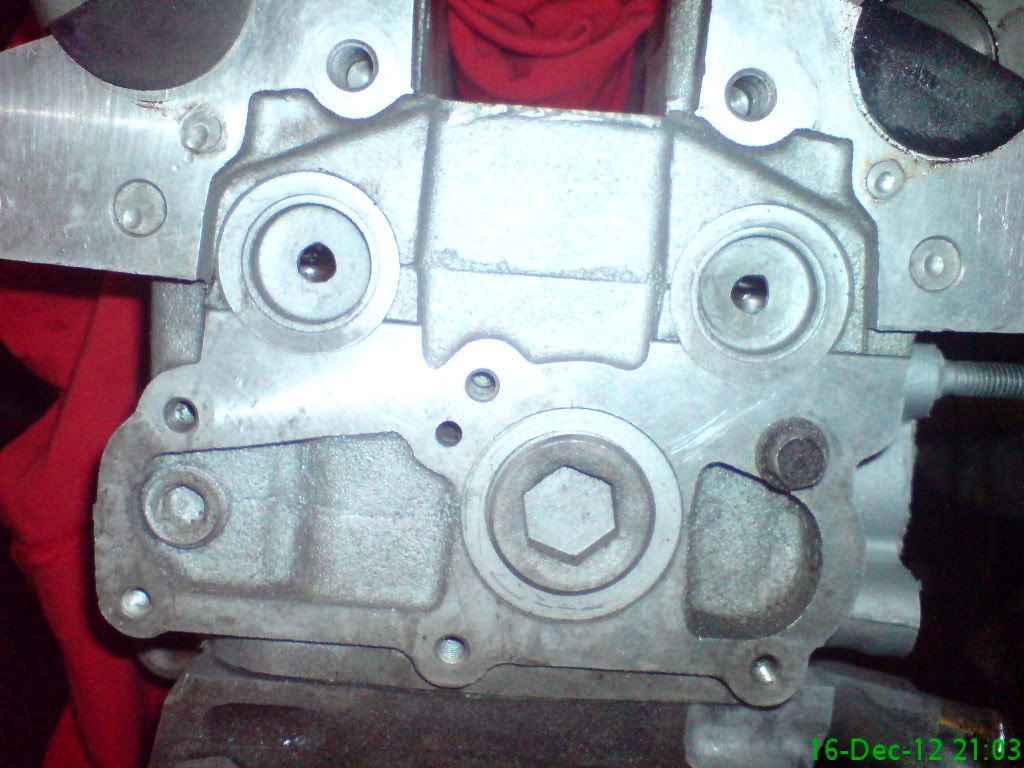 brass barbed/flanged drain outlets 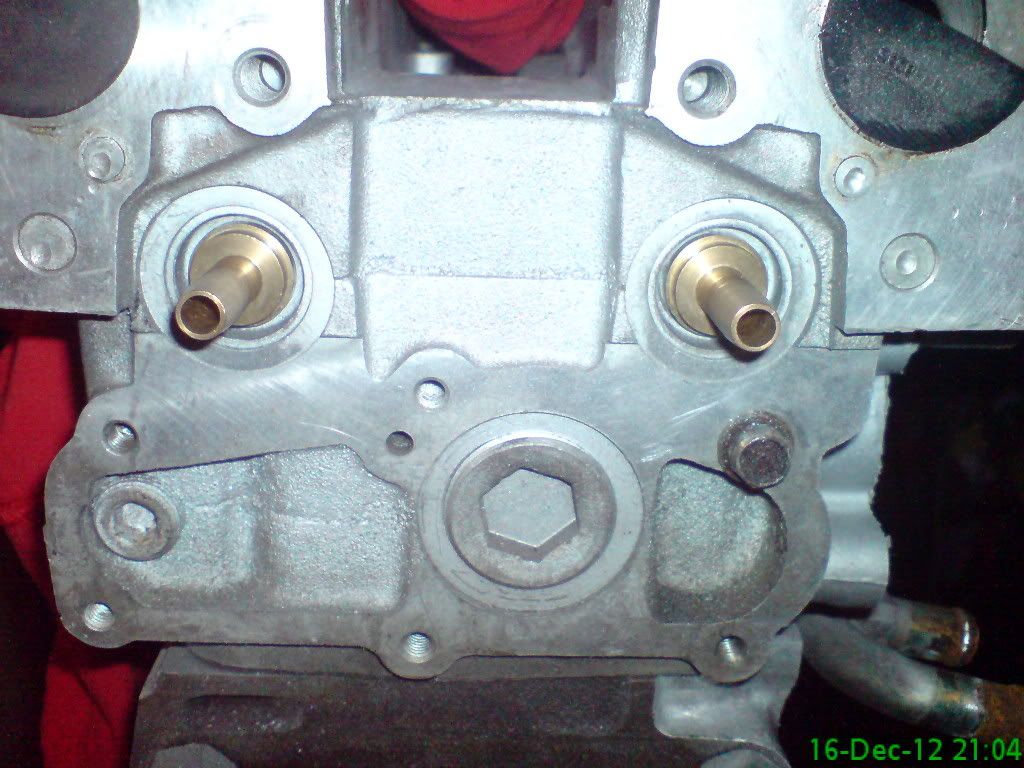 ally plates made up to apply sealing pressure on o rings behind brass flanges of drain outlets 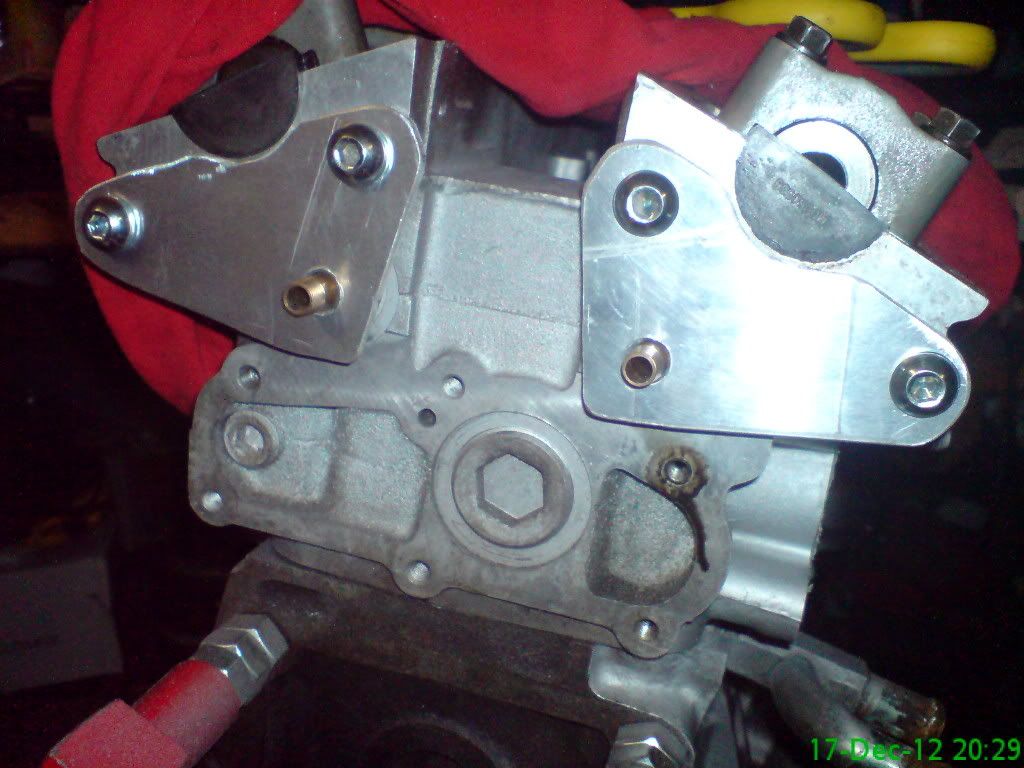 |
Nice mod that kev. Thats the same sort of thing done on any high rpm race engine. Gets the oil back quicker, keeps it off the rotating stuff, stops foaming and helps with windage. its all a plus. Are sure that gap from the pick up pipe to the rotating stuff is enough????
Bob Edit. Forgot to say its looking Gooooooooooooooooooooooooooooooooooooooooood :) |
yep ....it had me thinking a bit Bob ....so I flattened the pipe a bit in the middle and managed to eek out another mm so I now have 2mm clearance.....crankshaft scrapers run at a helluva lot less so I thinks I should be ok now ....have also welded the brace back on too.
Got a nice clean cylinder head to sort out now, so I gave the coil rail a good clean.... ca18det engines have a coil for each spark plug, and got that fitted then I moved on to re-fit my nice blue cam covers, also tried the plug cover but I think that might be painted the same red colour as my bodywork, got to start cleaning/painting all the pipework and ancillaries but it is nice to put something on the engine knowing that it ain't coming off again. nice clean cams/bays 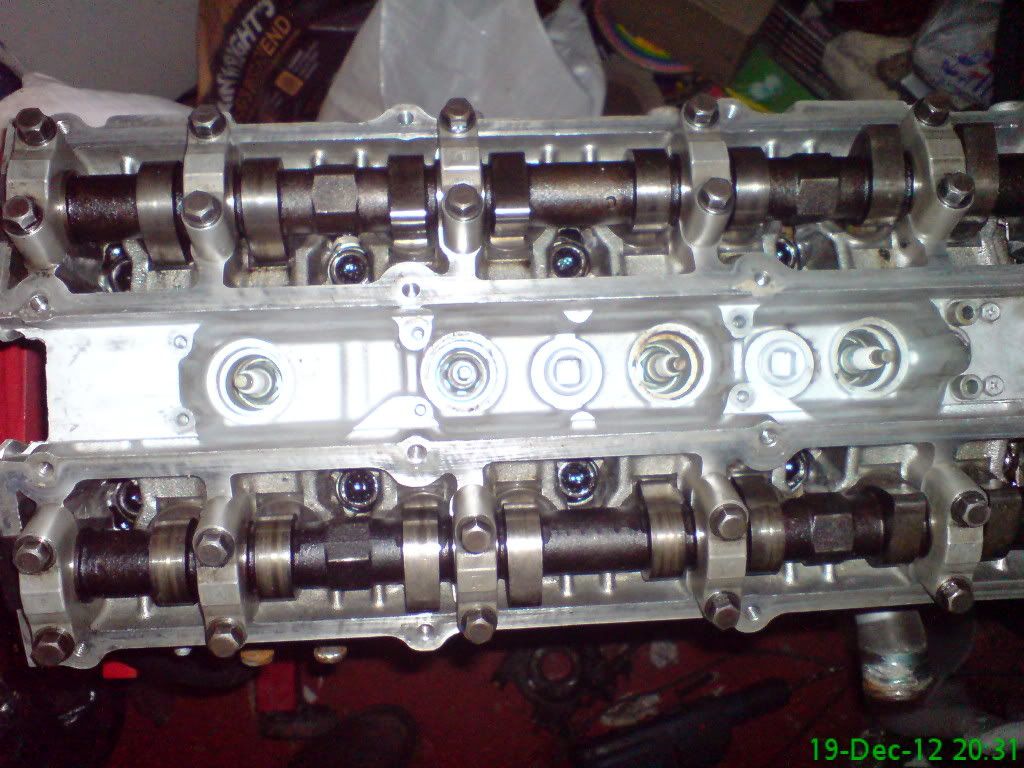 cam covers fitted 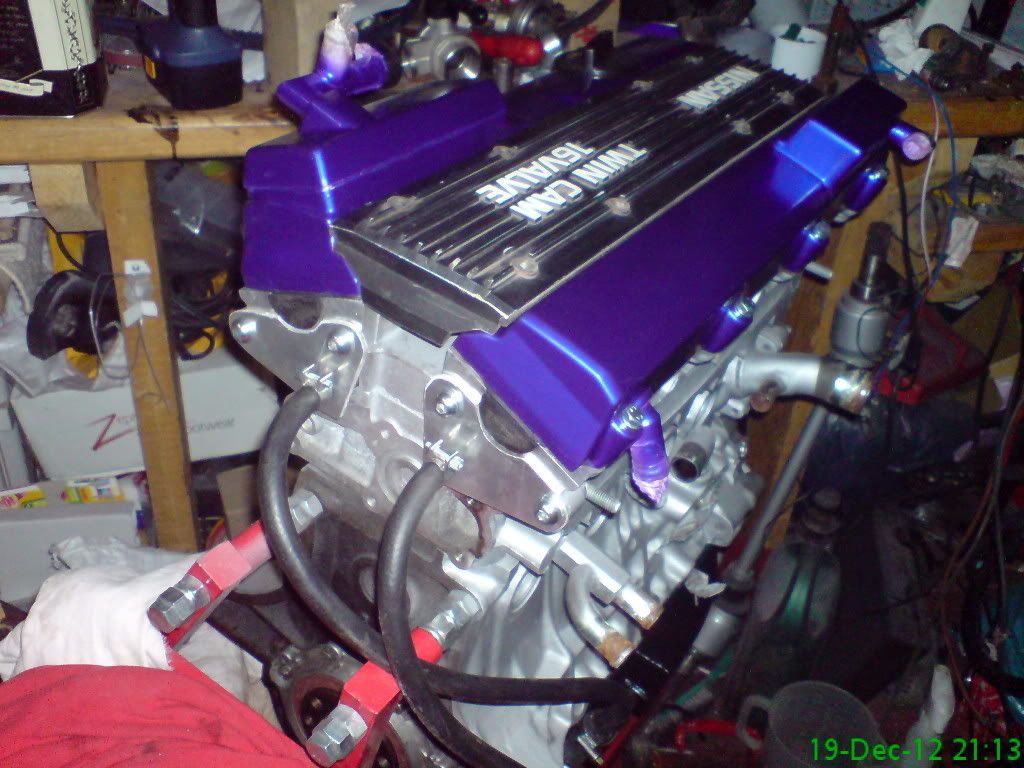 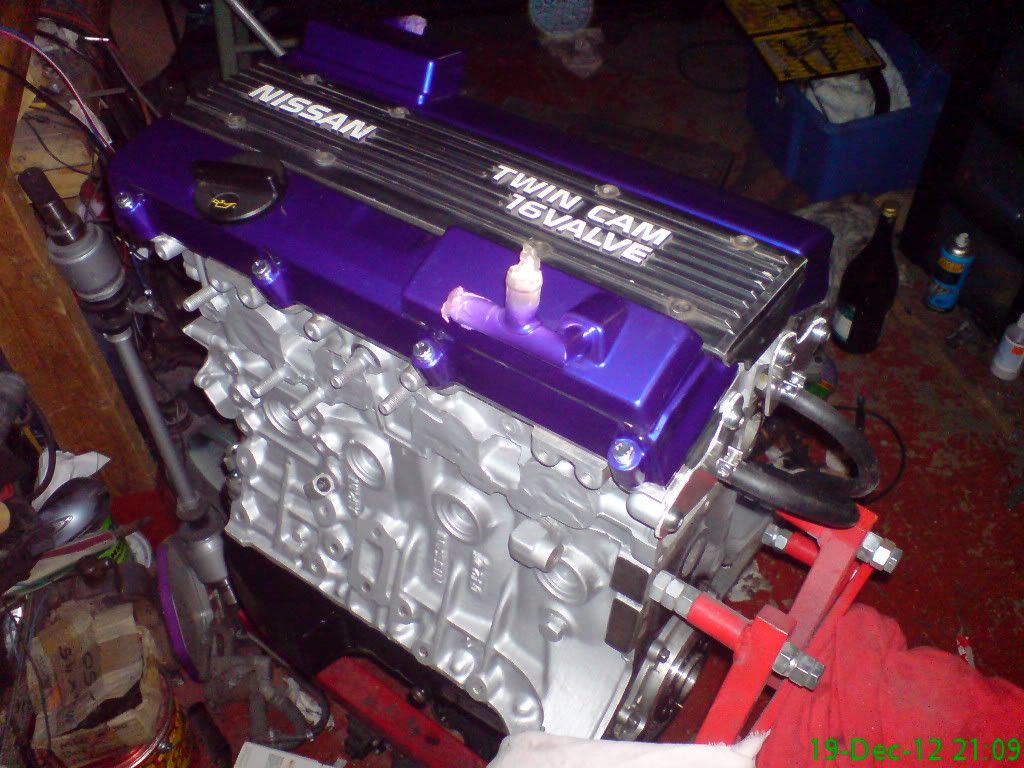 |
The attention to detail is top notch kev. That little lot will look the nuts in the roadster:cool:
Bob |
cheers Bob...got my plug cover done over the last few days and now busy painting stuff and lacquering everything in sight, plan on re-fitting timing belt tomorrow
I am well chuffed with my engine bay colour scheme and would choose it again if I ever built another  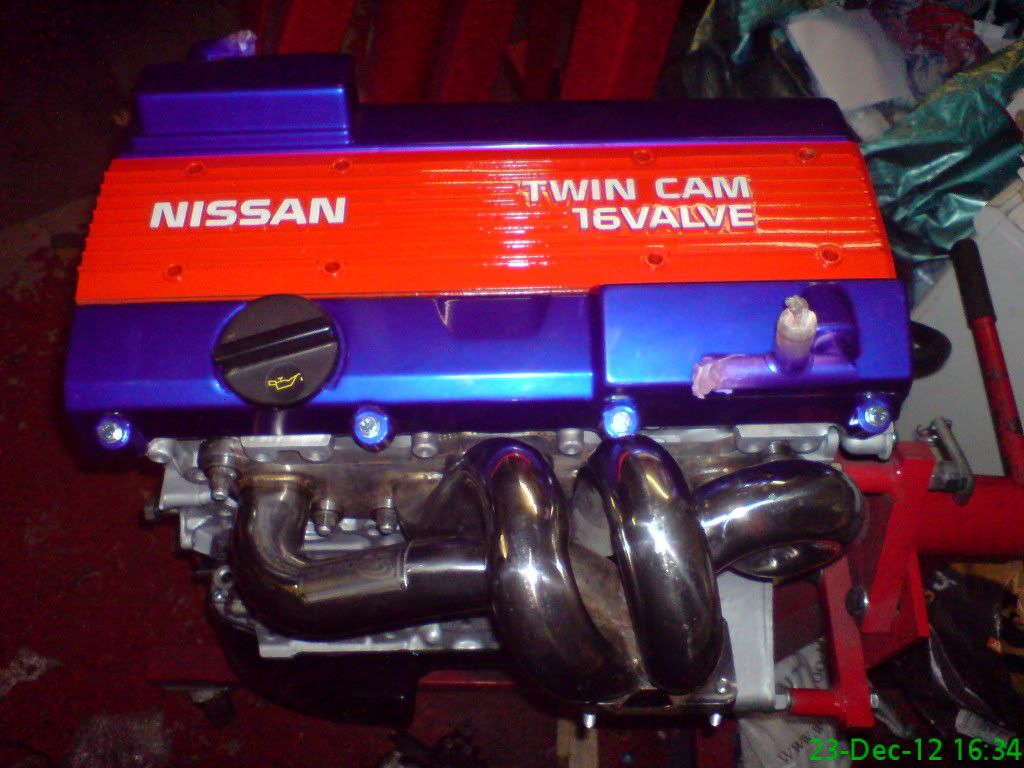 |
not a great deal done the last few days....just felt like a good old loaf....so I did
still re-furbishing stuff like covers, mounts etc....moving on to the induction side which is gonna be awkward to clean, but hey if I put anything manky on the engine now it will stick out like a sore thumb. I did get my vernier pulleys fitted which allowed me to fit the timing belt. crank pulley. and water pump pulley and one timing cover. the other cover I will be cutting a window out and putting a piece of perspex in to keep the verniers on show......here is the usual piccy updates 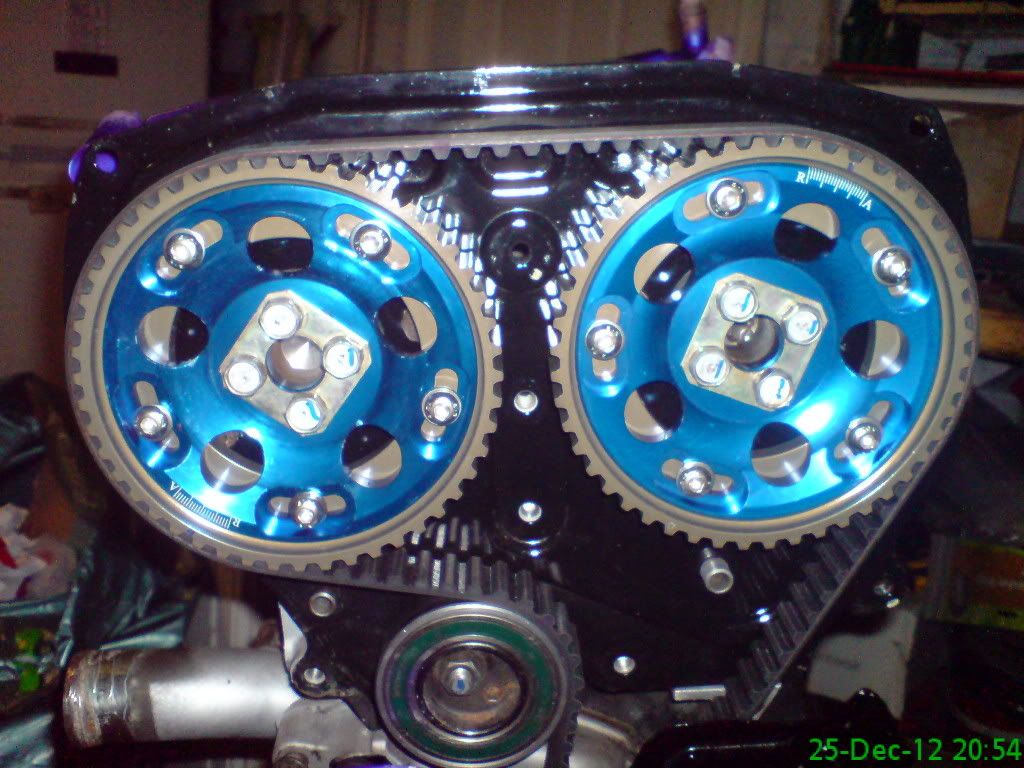 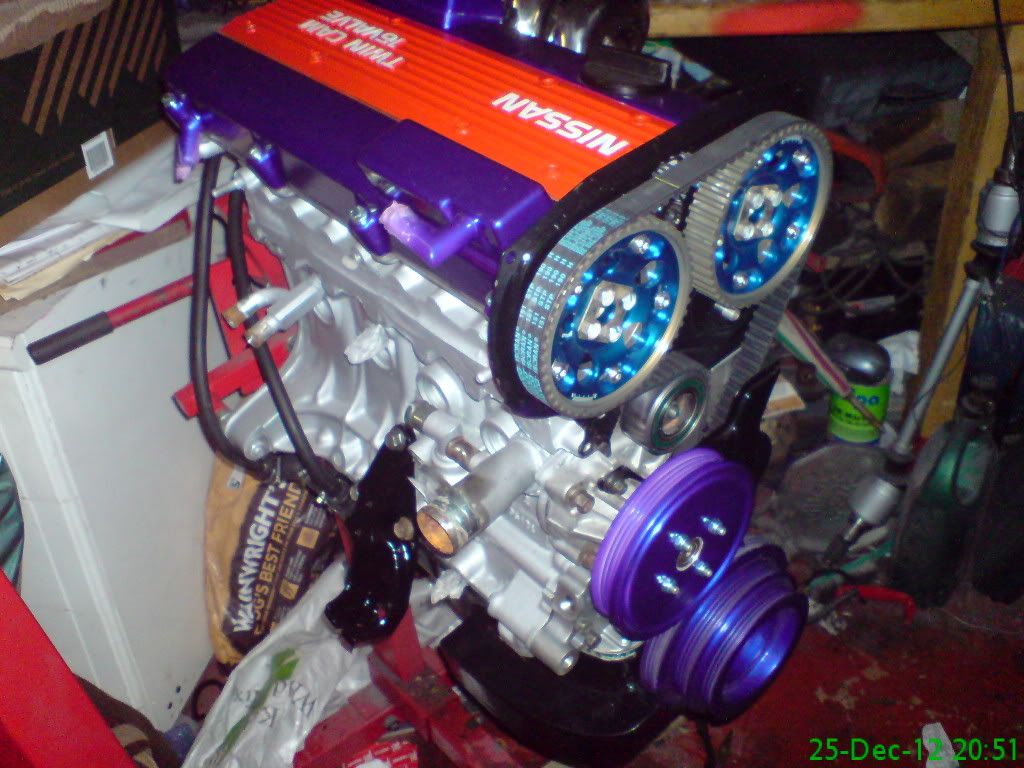 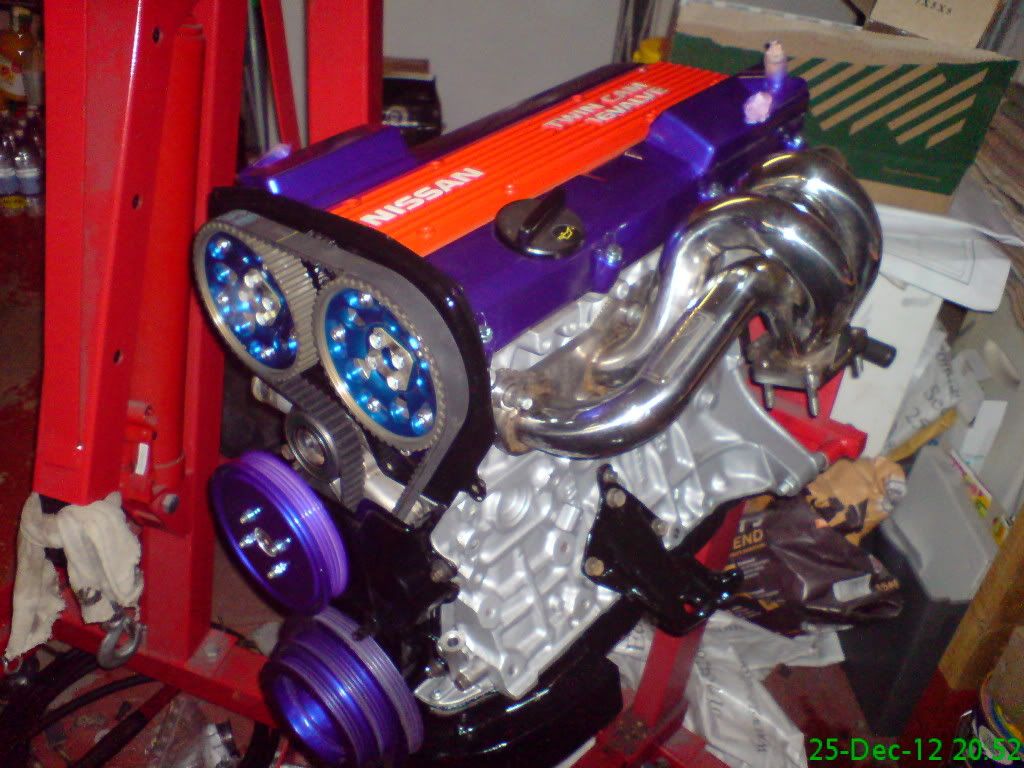 |
cracked on and got a bit more of the engine done on the induction side just another few bits and pieces to do like alternator, starter and some pipework. I would hope to for a final engine fit within a week, then I can really start putting it all together.
plenum before refurb 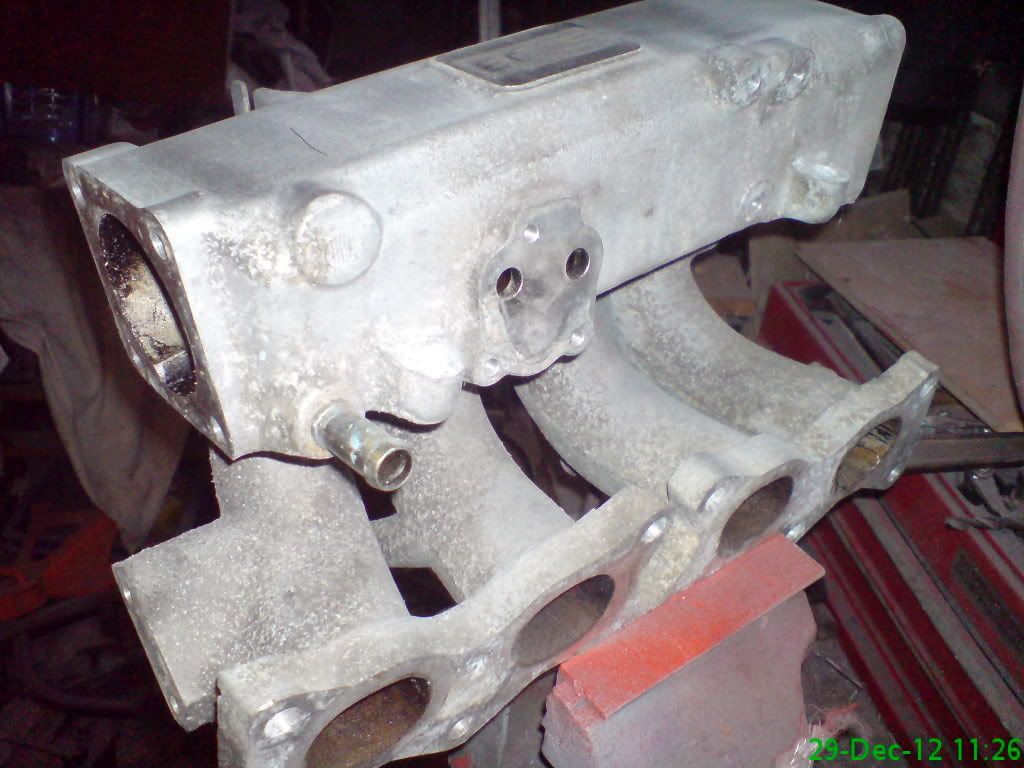 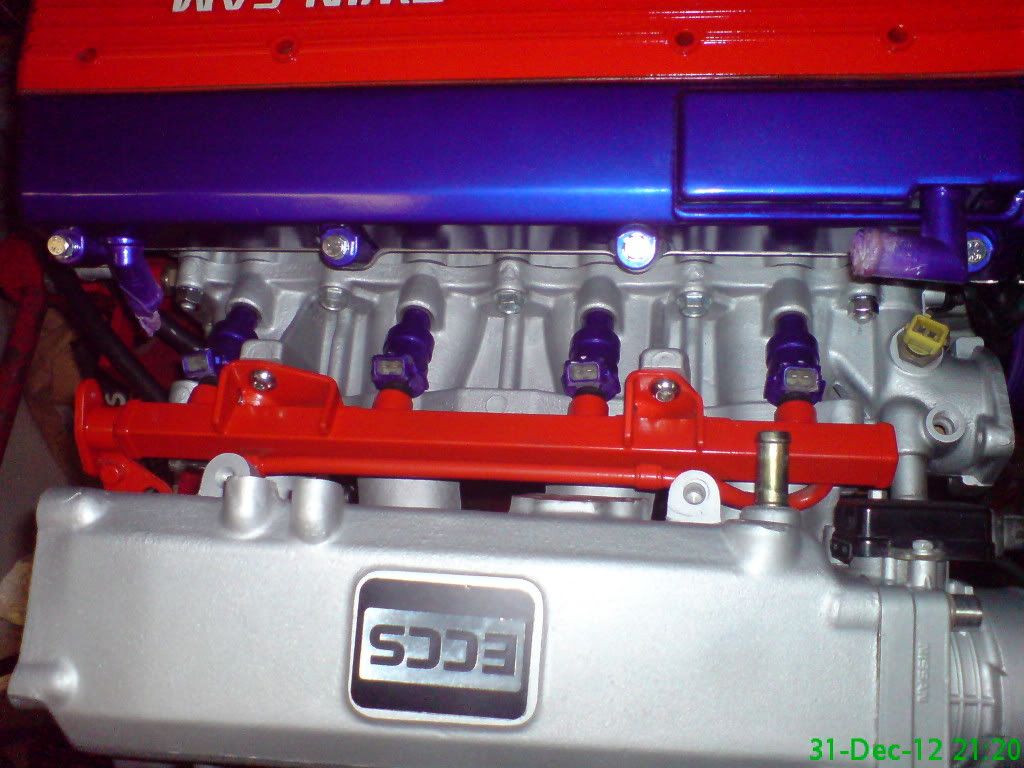 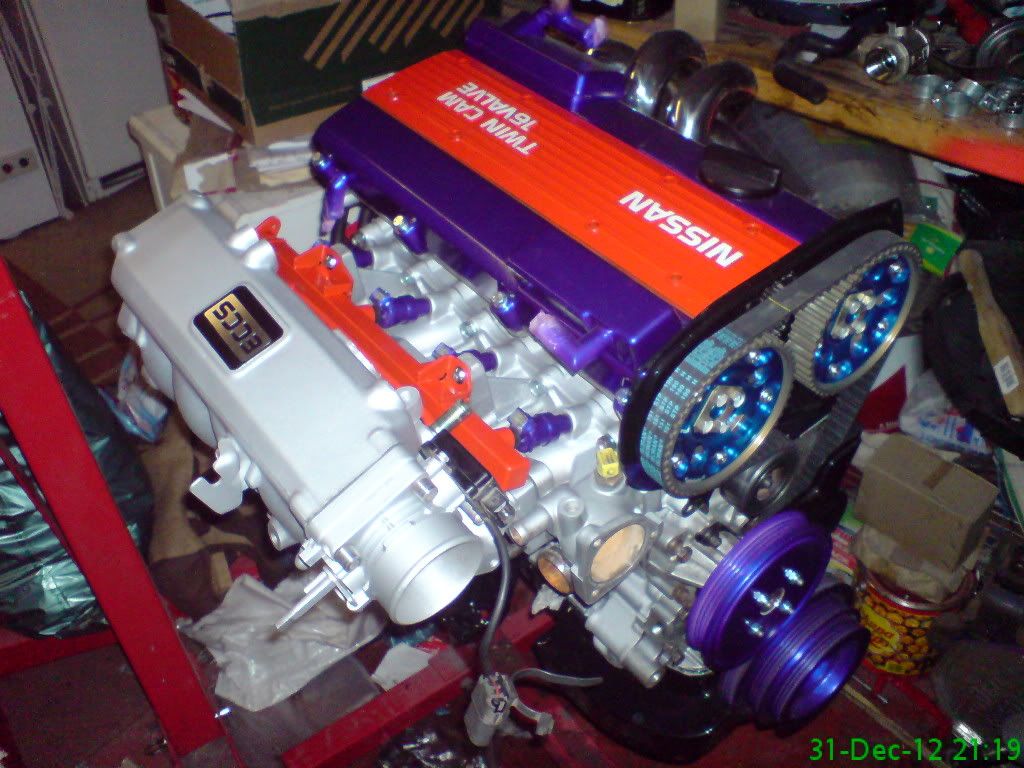 |
Kev that engine really is a work of art, almost seems like a shame to put it in a roadster and get it dirty!
|
yep that's a sweeeeeeeeeeet looking lump.
TT |
By the time your finished kev you will be crowned the forums King of bling:)
You have got me going on this clean and paint malarky:eek: :eek: bob:) |
dirty Simon! DIRTY:eek: when the weather is bad then it will be confined to the garage where I will just sit and look at it with a silly grin on my face:D
good enough to liiiiiiiiiiiiiiick eh TT;)....well its clean enough to "Your Majesty" Sir Kev........yeah .....it's got a kind of a ring to it Bob lol painting bits......once you start Bob, you just can't stop otherwise everything else looks crap gonna be mushy making the next few days (egay) so be back with updates soon |
is the eccs badge not being straight would bug me though :rolleyes: like a skwonk number plate.
TT |
I knoooow ...how the hell did that get past QC:(
|
[quote=K4KEV;87543]"Your Majesty" Sir Kev........yeah .....it's got a kind of a ring to it Bob lol
painting bits......once you start Bob, you just can't stop otherwise everything else looks crap I am just off to paint my nails:) What do you reckon rattle can or brush:eek: Bob:) Sort out the wonky badge kev its making me feel ill :) |
Its been a while since I caught up with your build Kev, colours really coming together and looking really good :) :)
Actually rephrase that: Chuffin Awsome :D :D |
Kev's build and dirty in the same sentence......:confused:
|
kev your build is setting the standard for what we all aspire too with all our builds
|
Thanks for all the good feedback guys it helps lift me from some dark places
Bob why paint nails when the majority of them are in wood ... just paint the head lol now that I got my little batch of mushies out of the way it is back to the build. Painted up the alternator and starter motor, amassed all the pipework (lots) and made up a connection for to fit fuel pipe to which has to be high pressure so I simply copied the original from the pressure regulator and made one on the lathe out of a 12mm bolt 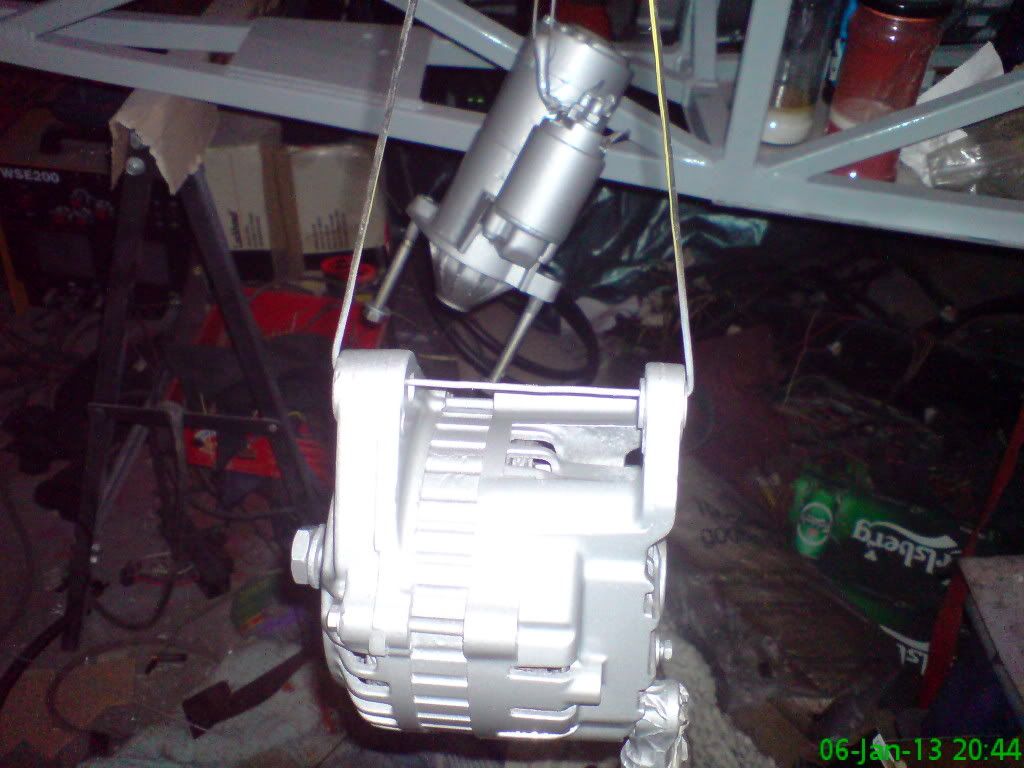 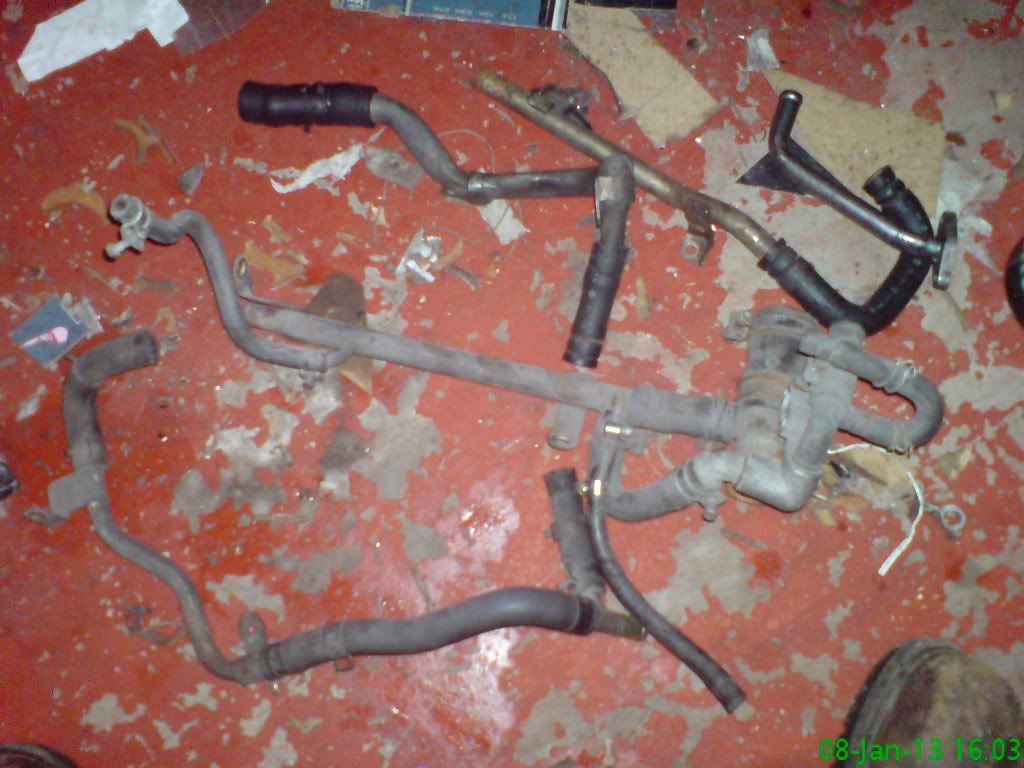 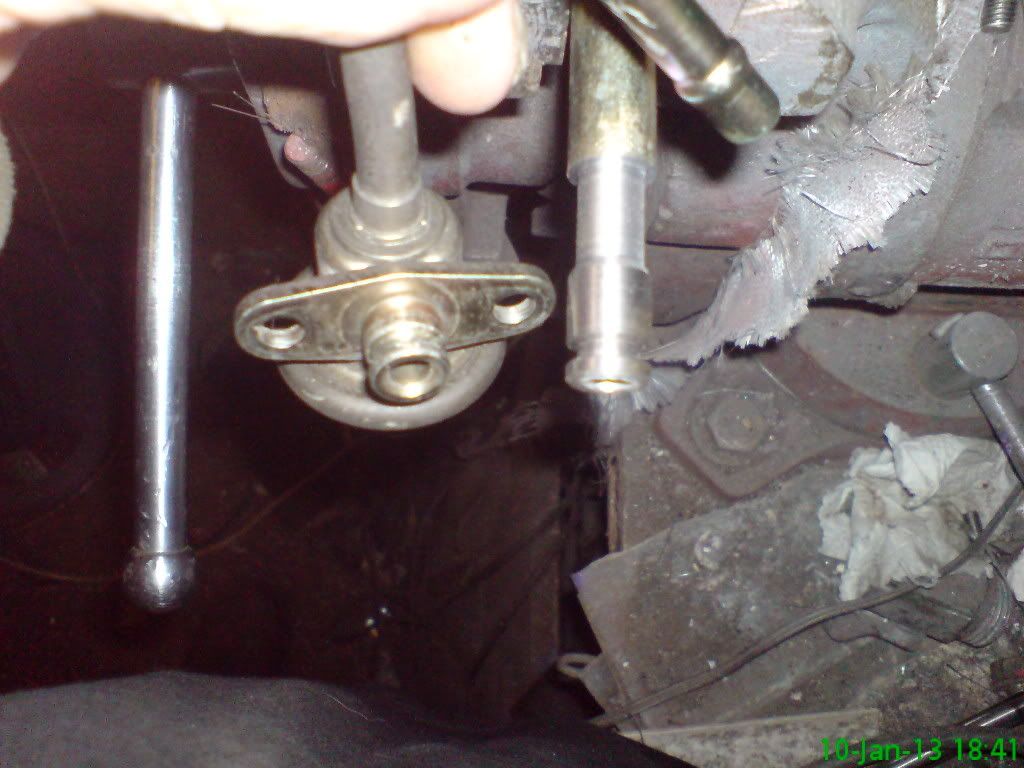 |
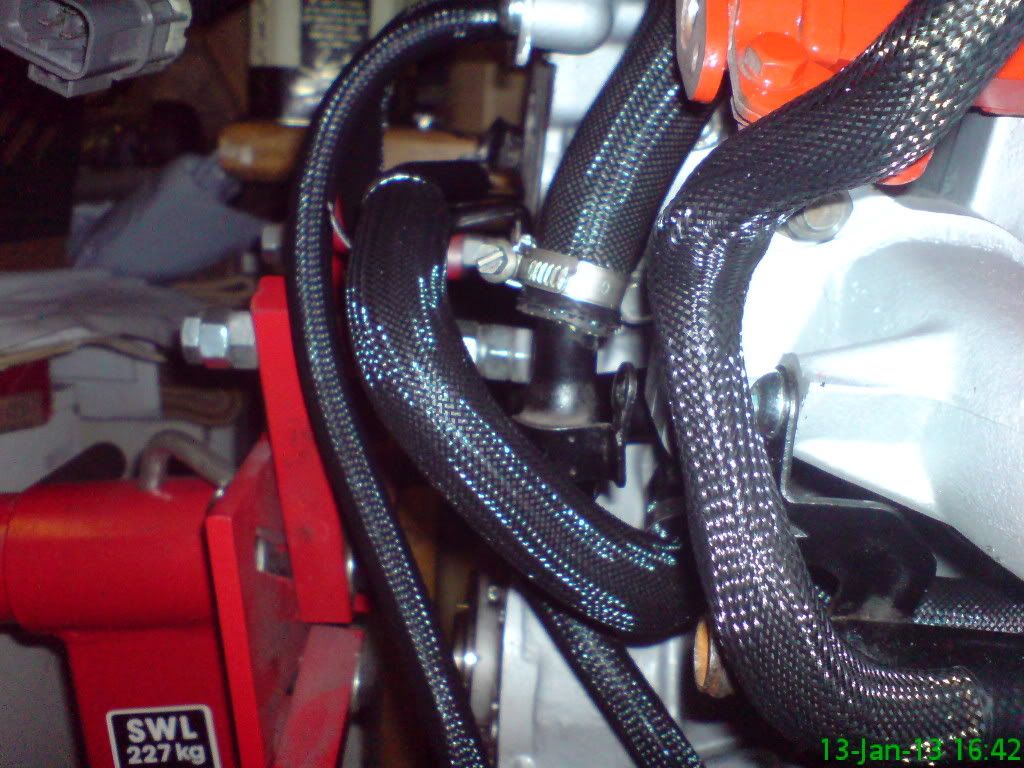
I had a reel of black plastic expandable overbraid which I have used to freshen all my pipework .....it was all in good condition so why buy fancy silicone ones at extortionate prices when this stuff can tidy up the pipework very nicely ....I thought about stainless, but then when I tried this I thought it understates the engine a little which I found appealing ....you all know me by now and I like to be different/challenging ....anyway this is what I mean
 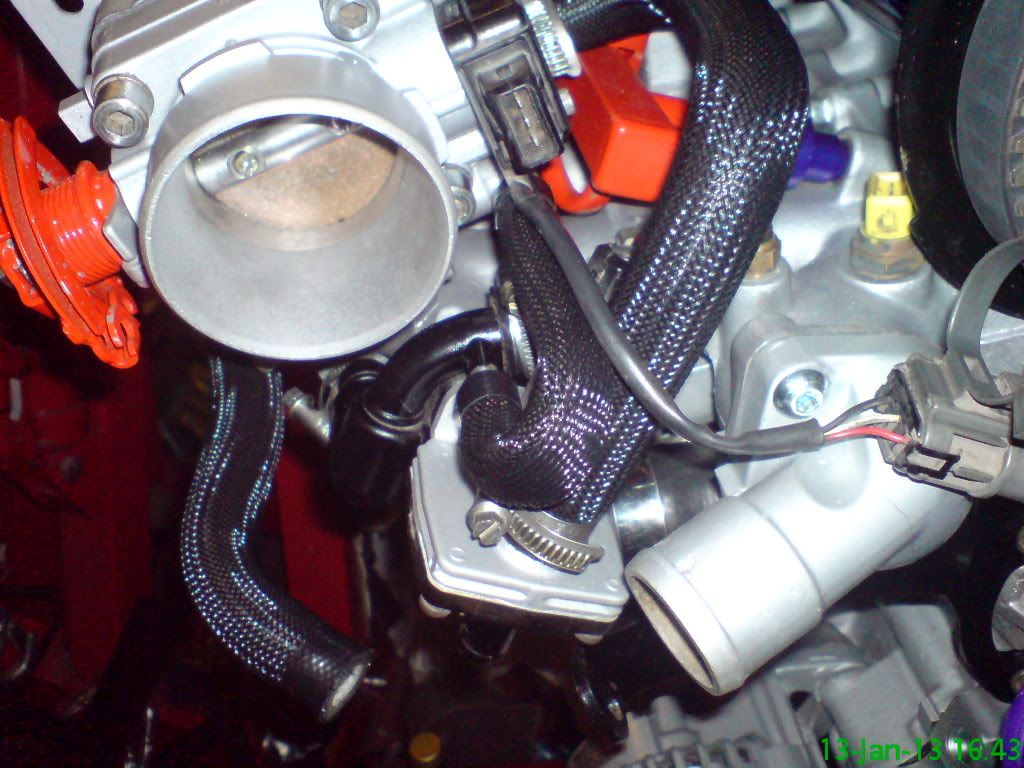 |
the over braid works well..
As you say no point spending on stuff that is not needed, can be done as a summer upgrade after iVA ;) TT |
Does look rather good !;)
|
Ohh did not realise that you are running a CA18DET :D Sweet! Great to see another nissan lump here. Will keep an eye on your thread. What are you going to do regards to the ECU? I'm thinking of a megasquirt for my RB.
|
will be running a stock ECU but with a stage 2 chip and all the parts needed to go with it, like a t28 turbo, 3" exhaust/induction, chargecooler ....oh and some water/meth injection.:D
|
looking good kev, have to say personally im not a fan of overbraid the problem with it is that you cannot see if the pipe is perished underneath, but each to their own :D
|
yep ,that is true Ash, but I cleaned all the pipes and thoroughly checked them and any suspect ones I will be replacing.....up to now there have been 2 with slight splits near the ends luckily these were straight bits so an easy replacement with hose that I already had. I very much doubt whether I will keep the car long enough to worry about the pipes perishing.
I am working on the turbo at the mo....tearing it down and using a rebuild kit, forgotten how much I hate circlips... and a turbo has a few.....once this is done the engine will be going in for the last time I hope. |
I like the overbraid kev. Have you seen the rubber hose end finishers?
http://www.absngroup.com/hose-end-fi...acturer-uk.htm They do come in all sizes and just cover the cut off hose end and braid. Bob |
yep....seen those Rob, but I am going to make my own ally ones and anodize them blue or red at a later date, I would really like to try and get the car in for IVA in spring or at least summer so I am going to cut back a little on detail ....well those things I can get away with until post iva.
|
I have been busy with a few other little jobs that needed doing before I chuck the engine in.....made myself a clutch alignment tool for when I am about to refit the flywheel and clutch and also took 1/2 inch out of the clutch release fork as it would have fouled the chassis as was. Now with those done I am just about ready for engine install within the next few days...wuuu..ooooohh
clutch alignment tool out of wood and acrylic 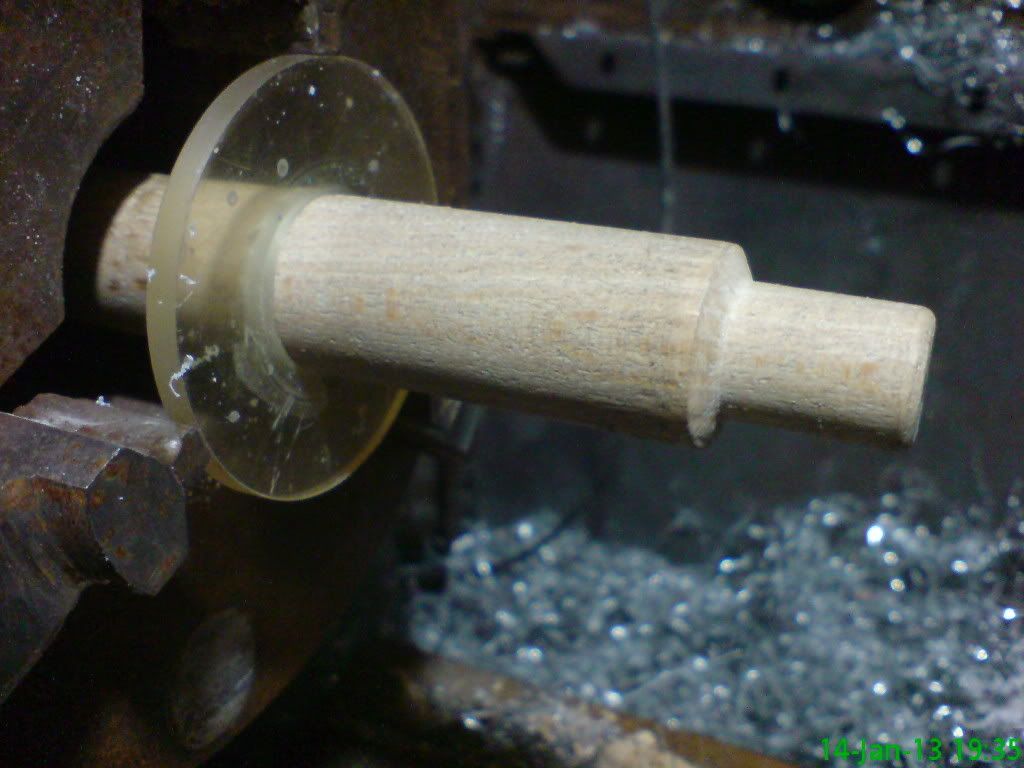 clutch fork shortened and rewelded ready for paint 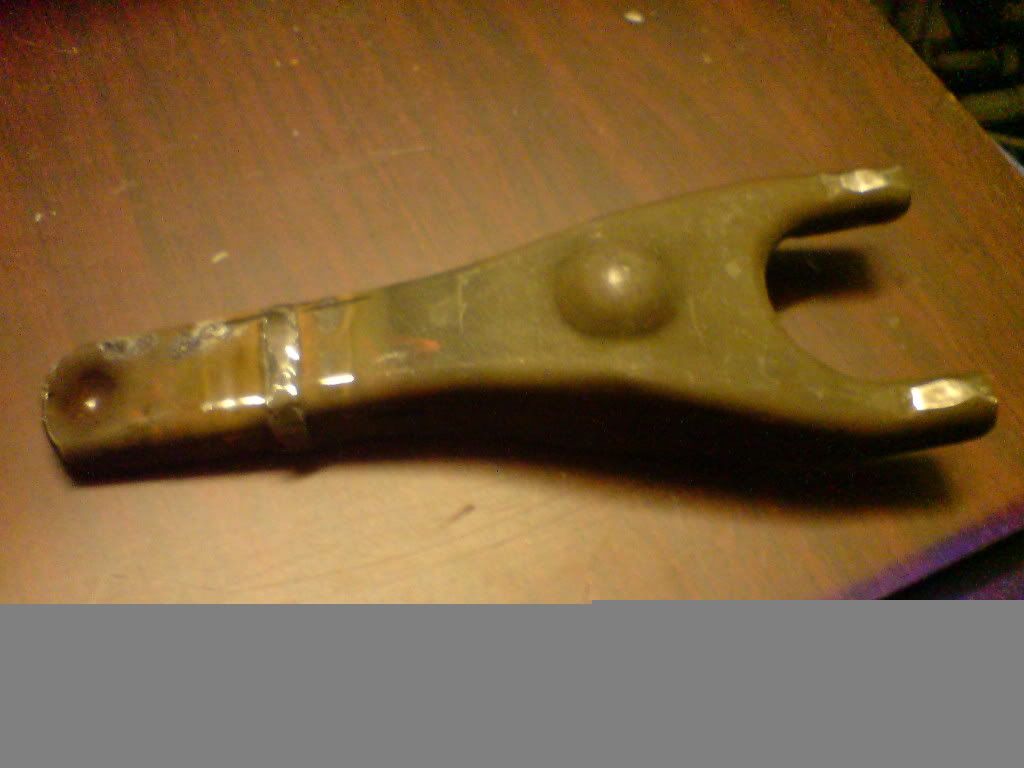 couple of engine shots 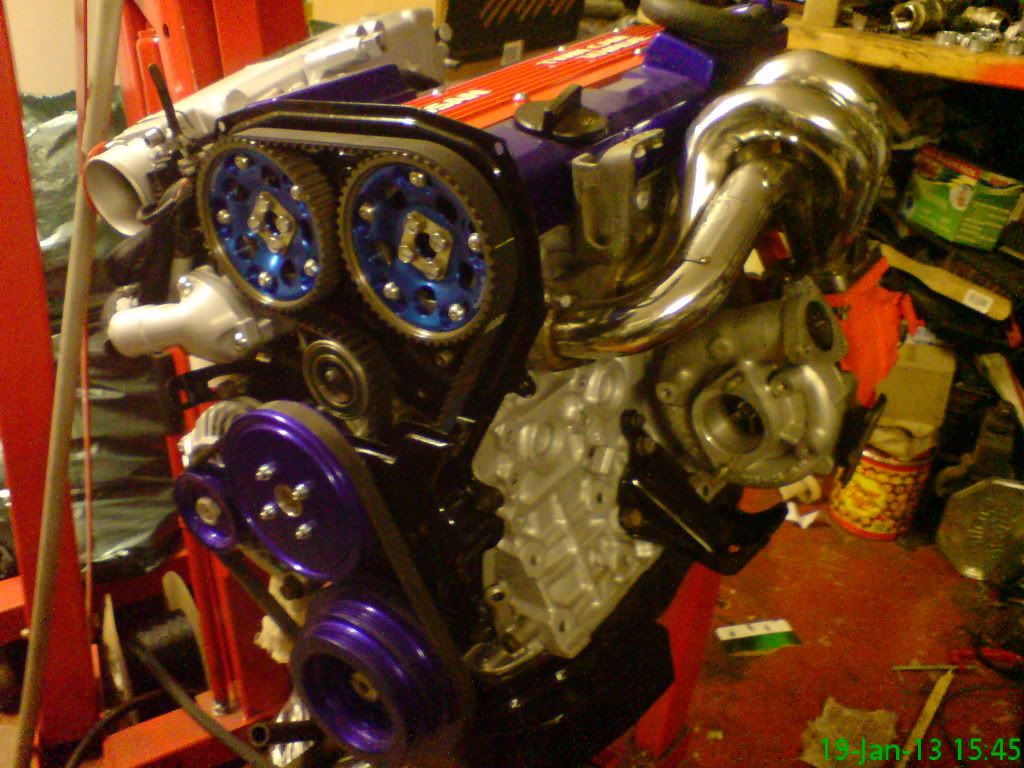 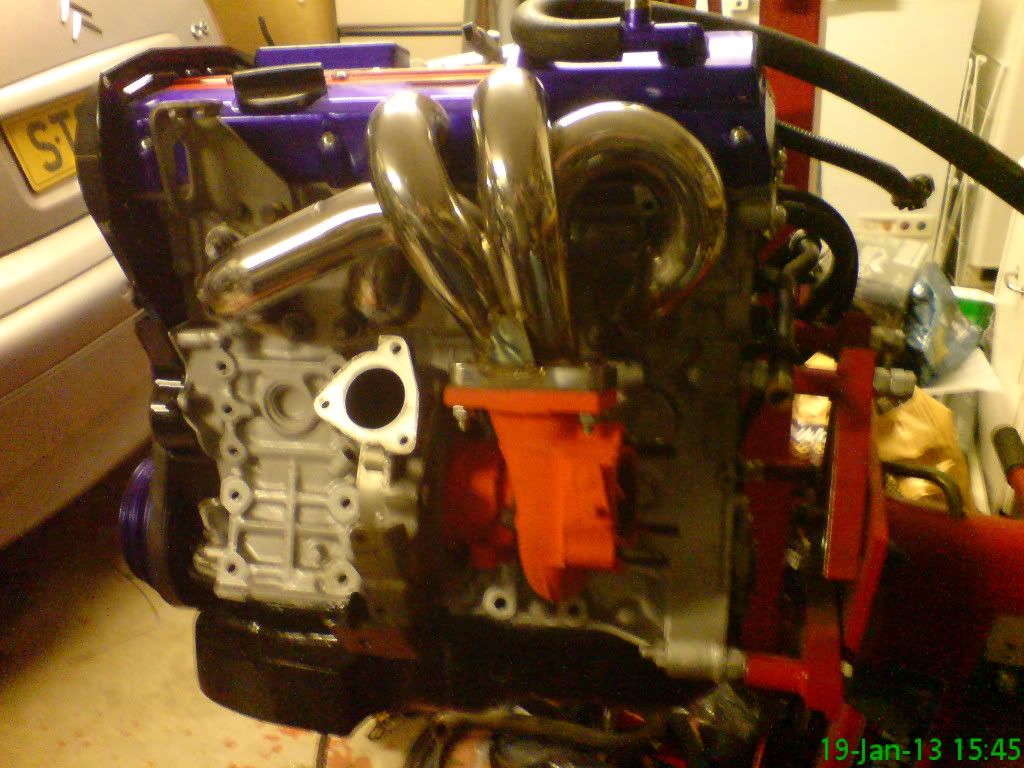 |
WOW that engine looks mint! Want to do my one next?
Can you do me a favor and list the paints used for different parts? Red turbo paint engine block paint intake plenum Thanks! |
Hi Alex.....turbo paint came from halfrauds some years ago ....aerosol HT manifold paint.
block and plenum were painted with Hycote HT paint followed by Hycote HT engine lacquer these were from McCormick tools who are local to me, but who are also on ebay. All aerosol paint that I have bought came from them as it was cheaper than buying paint and thinners, no setup or flushing to do and chuck cans when finished http://www.ebay.co.uk/sch/i.html?_nk...mccormicktools |
Far too pretty too put on the road !;)
|
That engine is a work of art a job to aspire to
Well done |
Phwoar!
Now theres a couple piccies that'll keep me company through the long cold snowy nights... ;) I agree with flyerncle, far too pretty to put on the road. How about as an art instalation in your garage? |
Great thanks for the info! cant wait to get my one nice and clean :D
|
| All times are GMT +1. The time now is 01:28 AM. |
Powered by vBulletin® Version 3.6.4
Copyright ©2000 - 2025, Jelsoft Enterprises Ltd.