Rotary build... AKA my midlife crisis :p
Finally got my finger out and made a start on the chassis..!!! Yay.!
I got the steel through work as only cost me just over 50quid 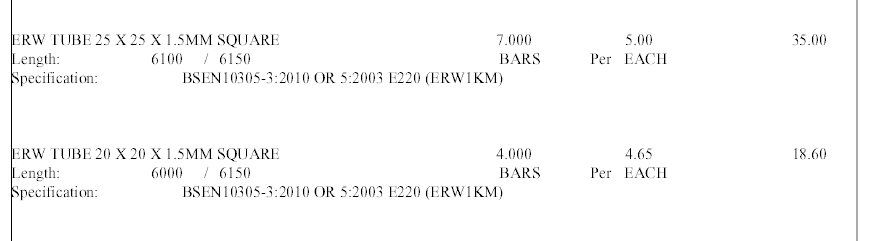 So well happy with that, just that I've been working away for a few weeks and then at weekends had no energy to do anything. But now I have started I should have a bit of motivation to get on with it now it's taking shape (sorry for the rubbish phone pics).. 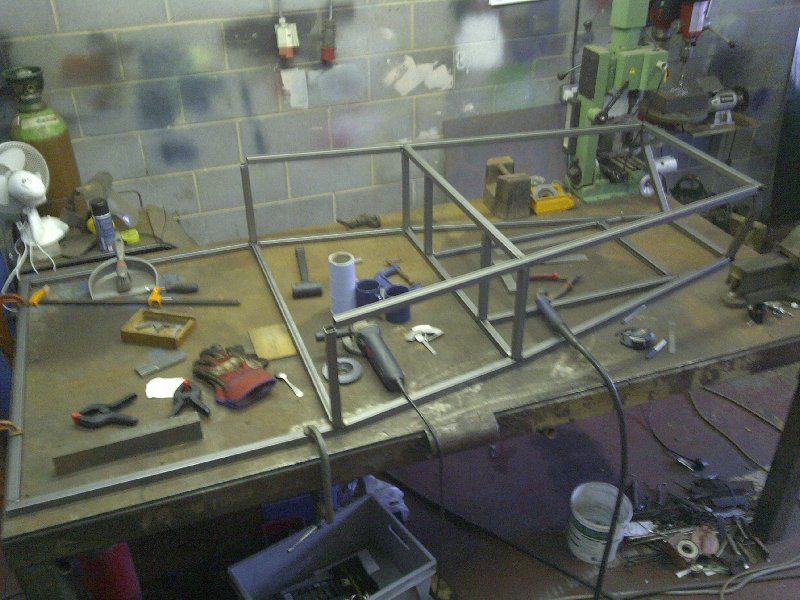 But here's the beasty that's gonna power it..  Cost me £75 with the gearbox but no dizzy, guy that sold it to me said it was an old 12A as it had the Nikki carb and manifold. I got home and found out it was a 13B but someone had got an adapter plate to use that carb and manifold so I was happy with that. I later found a 12A and got it for £25 with a dizzy so got it just for that. I've since made a little test bed for it so I can run and set it up, not gonna keep this carb, a 48DCOE is going on it later or maybe a set of 34/36mm bike carbs depending on how easy it is to set them up. As it's an old '85(ish) FB motor they were supposed to push out about 120 horses but with a free flowing exhaust and a weber you get about 180. But this bad boy has had a bit of flow work done so hoping for either a street port (200hp) or even better a bridge port (250hp) should make for an interesting little screamer :D Ickle vid.. http://www.youtube.com/watch?v=WWKVlmDuyuc&feature=plcp |
A beast in the making:eek: :cool: . Kin great we got 4pots,4pot turbos,straight 6,straight 6 turbos,v6,v8 and now a wankel. dont you just love this place.
Bob |
awesome,
What does it weigh including gearbox? Just out of interest will a 13b rotary mate to the mx5 box with just imput shaft modification or is it a little more involved? I hope when eventually finances allow to drop a rotary into the roadster. Although that would turn a ten quid petrol blast into a thirty quid blast!!!. I bet spud is watching in anticipation too;) |
Quote:
All the Best........Andrew |
Quote:
Quote:
As for the gearbox mods I don't know mate as I've never looked into it :( Quote:
Edit.... @ Nathan, bare block is approx. 76kgs (170lbs).... http://www.atkinsrotarymarine.com/index.php?pag=2 Carb, alternator, dizzy is the usual regular parts weight, gearbox is about 25-30kgs, flywheel is about 10kgs (unless you go ali flywheel). Hope that helps, but I will still try and weigh mine as it's with oil and rad. |
is that a cravern+nicholas invoice :p Im keen to see this also! you should come see y roadster soon, its starting to get some where now (thank ****) :rolleyes: :D
|
lol craven + nicks, it would be 10x that, was from Newark steel.
Yeah you'll have to come over when I've moved on a bit, would be sweet to see your build now though. |
A few years back I bought an old rx7 with a blown engine with the view to shove a rover in it. I never did the conversion because of the diff ratio and could not be arsed to get that involved with chopping another one in there, but I will never forget how light the engine was. One bloke can just pick it up and shove it on the bench. There has always been the debate on the capacity of these things. When norton ran a wankle bike it was a winner and its capacity was put into question like the mazda winning leman car. i cant think of a lighter car engine.
bob |
Got to do a little bit more today, never realised how much work is involved, wish I brought a flat pack chassis kit now lol. Hopefully I'll get on with the tunnel soon and the rest of the back end.
 |
Looking good :cool:
Its nice when you get to that stage, you can start to get a feel for things! Andy's flat packs are definitely the way forward, then again it was 2 years ago i picked mine up and i'm only just finishing now :o |
Quote:
Bob |
Quote:
Quote:
|
These rotary lumps are something else. the guy I got my rx7 hubs from reckoned there are some 600hp rx7`s out there. I took that as pub or magazine hp but they really do exist. This one is N/A http://www.streetfire.net/video/allm...en-rx7_549.htm. :eek:
Bob |
Yeah but thats a quad rotor Bob, PPort 13b's can hit 300bhp. 20b triple rotors can hit 450bhp.
Then you start on the turbos... stock twin turbo 13b's hit 300bhp, max stock twin turbos hit 400bhp, massive single turbos hit 4-600bhp. Turbo 20b's hit 8-1000bhp, 26b's (quad turbos) hit 1k-1600bhp.! But then you get one of these that comes along.... http://www.rx7club.com/old-school-ot...engine-945021/ 12 rotor anyone.? 2600bhp+ turbocharged :eek: And here's a straight 6 one off.. http://www.youtube.com/watch?v=Og2G4...ure=plpp_video God I love these engines..!! :D |
God I love these engines..!! :D[/quote]
I can see the attraction:eek: :eek: :) Bob |
I've always said these engines in a roadster would be phenomenal, much better than a bike engine. They just need someone to go out there and build one to show what they can do.
If i had the money mine would be coming together in the garage now - should have stuck to my original one with Saturn but changed strategy half way through, deeply regret that now. All the Best with the build and ENJOY.........AndyH |
Thanks Andy. :)
Page 3, hell it's been a while but been working weekends most of the time but really nice to get time off. So update time, I'm still tacking up but got a bit of the back end done and the transmission tunnel done. I need to get some 3mm plate so I can start making brackets and plates. Need to re-do TT8 and 6 as I cut it to the MX5 amendment but it's not done as the up and over done in front of it but I'll cut it out and make it with 45 angles on it so I don't have to cap it off now I know how it all lies and is also square. Going to go around and make sure every single box section end has 4 tacks on it before I start to weld it all up so it doesn't pull. The sharp eyed amongst you may have noticed that U7 has moved :D  |
Come on put us out of our misery.:) Shove that lump in the frame at once and take some piccies:) :) :) .Dont think I can wait any longer.
bob |
loving the framework :) any chance of a close up, middle of the wall about half way up :D :D :D
|
Been a while, but I'm starting to get time and also get back into playing again.
I managed to clear some space and get the frame on some tressels but the one at the front is too wide so when I tried to get my engine in it was a no go so I lowered it onto an old toolbox and some axle stands but I got the engine in.! Though I still have a bit to do as I have to cut and re-enforce the top rail as the clutch slave is gonna go clang and also it will go a further couple of inches back. 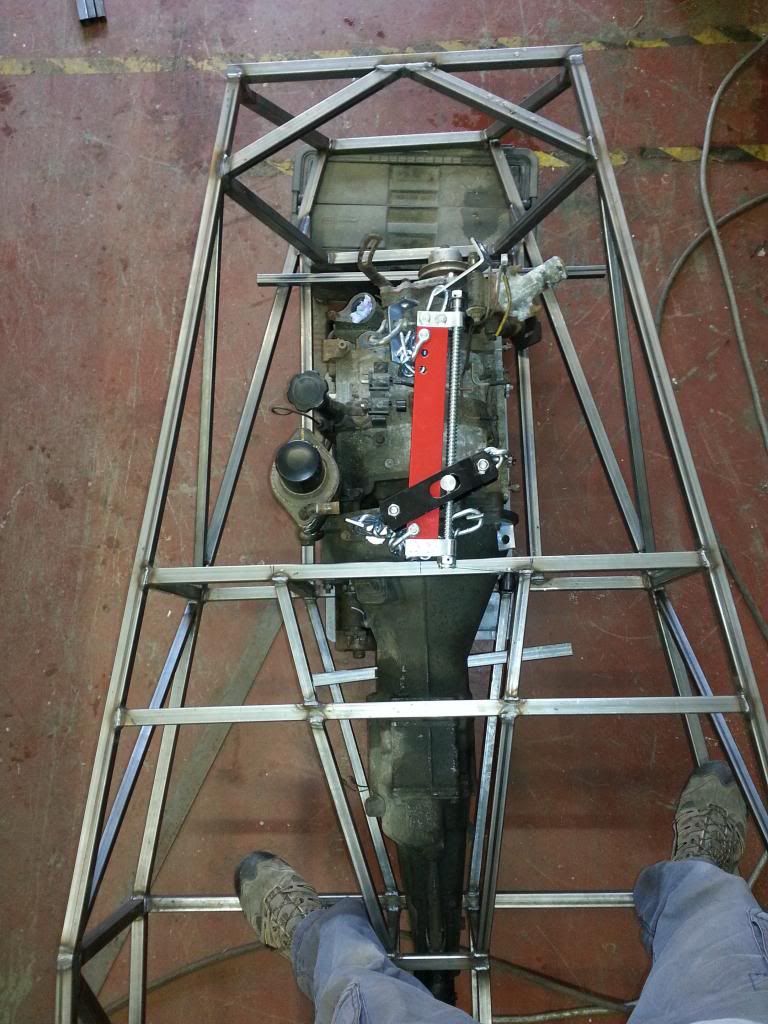 One good thing to see is the the only thing above the chassis rails will be the alternator (may move this to the side), oil filter and my carb (not sure what route I'm going to take with this yet). 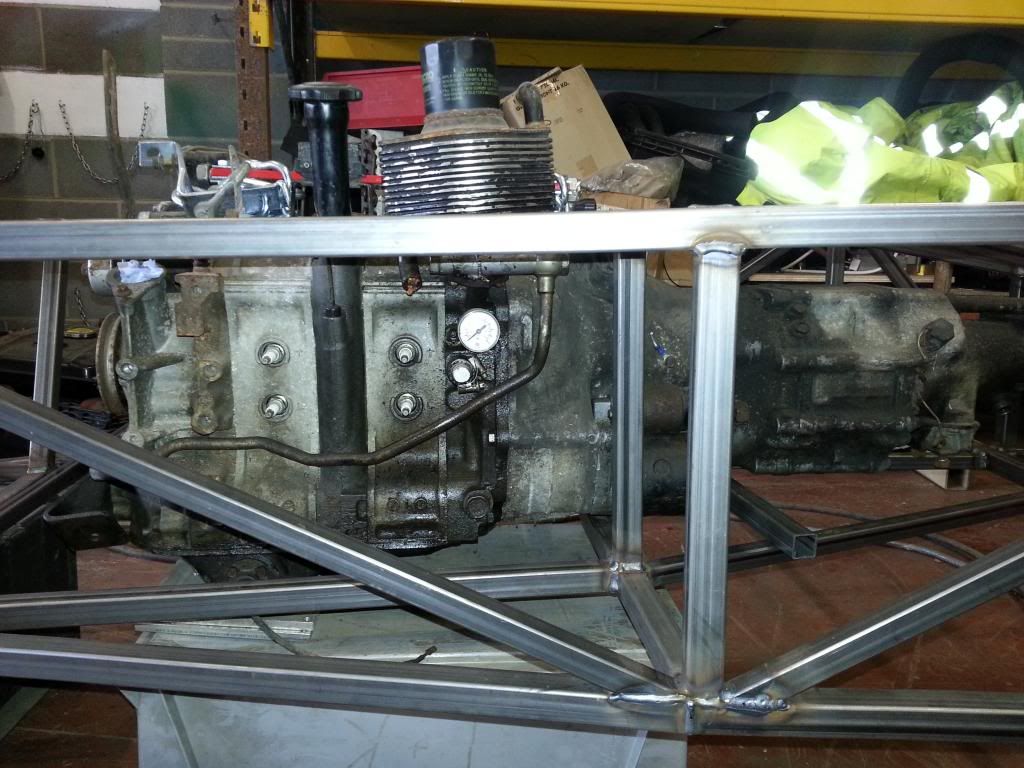 I treated myself to a cheap usb endoscope for my lappy, all though the resolution is not fantastic I managed to jam it into my ports and see that I do have a large street port. I shoved it into the exhaust too and it just saw a large grey area as it is immaculate inside, no scores marks, just some lapping marks from when it was rebuilt and by the looks of it it's done nowt since it was done, I'm a very happy bunny :D |
That is one cool installation there. It probably is the best fit and bang for buck of an engine for a roadster. Really looking forward to seeing the rest of the build come together.
Bob |
Cheers Bob :)
I've bitten the bullet and cut the bottom rail like it says in the book, I really didn't want to but it got my gearbox another couple of inches further back and it misses the clutch slave cylinder. I'm also going to have to make a custom sump for it as there is big lumpy bit at the front or I'm going to have a look at dry sump kits. But I've been making gearbox mounts today and will see what I can draw up tonight for a front mount. |
Quote:
|
Quote:
As I have a problem with a slight bulge..... well a 90mm-ish bulge, first speed bump should sort it but need to do it now rather than let the council do it... 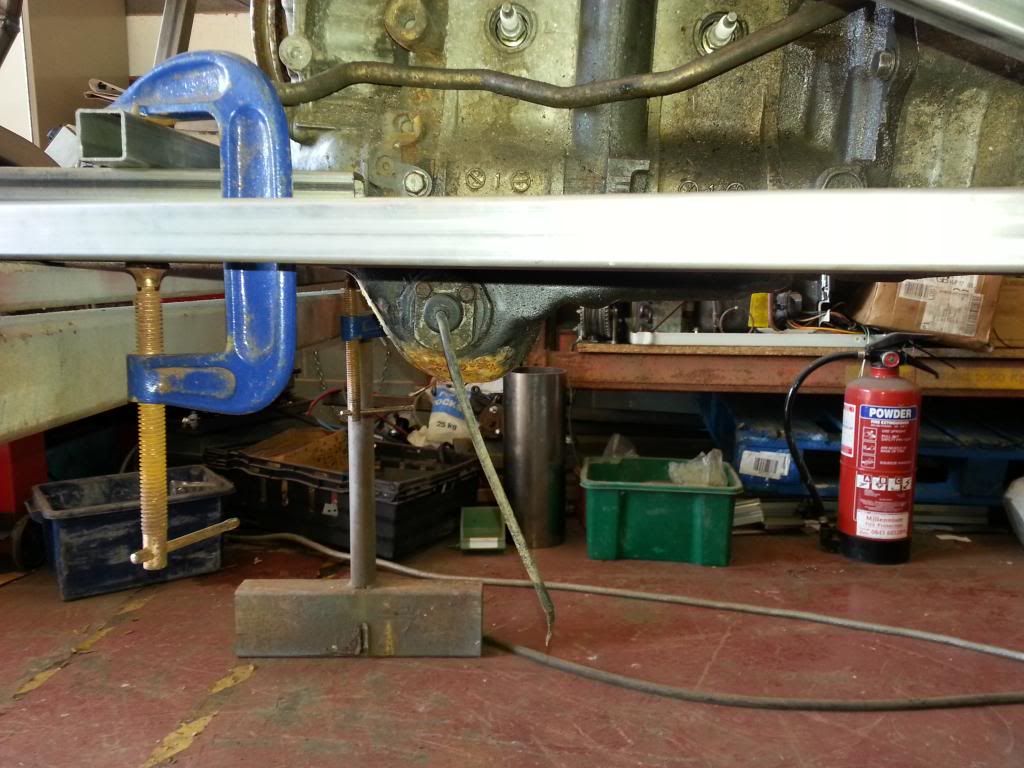 But have been googling dry sump kits and this looks yummy.... 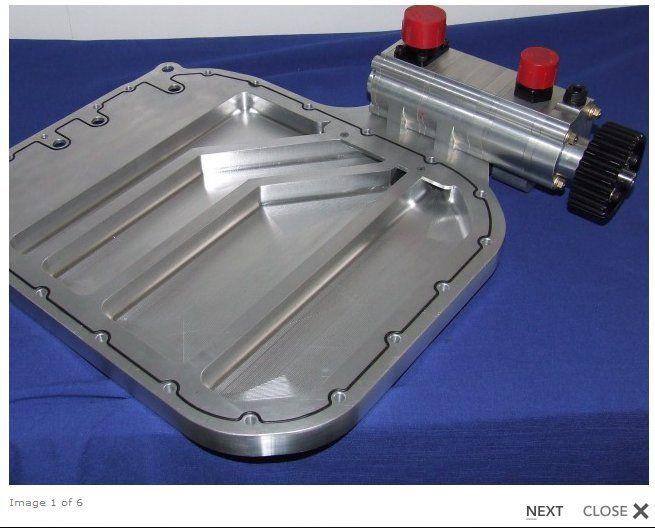 Costs a fortune so I've found a nice scavenge pump on the bay and just need a couple of 10mm plates to fettle so I'm confident I can do it quite cheaply. Just hope I can make the pump fit in the 50mm gap down the side here... 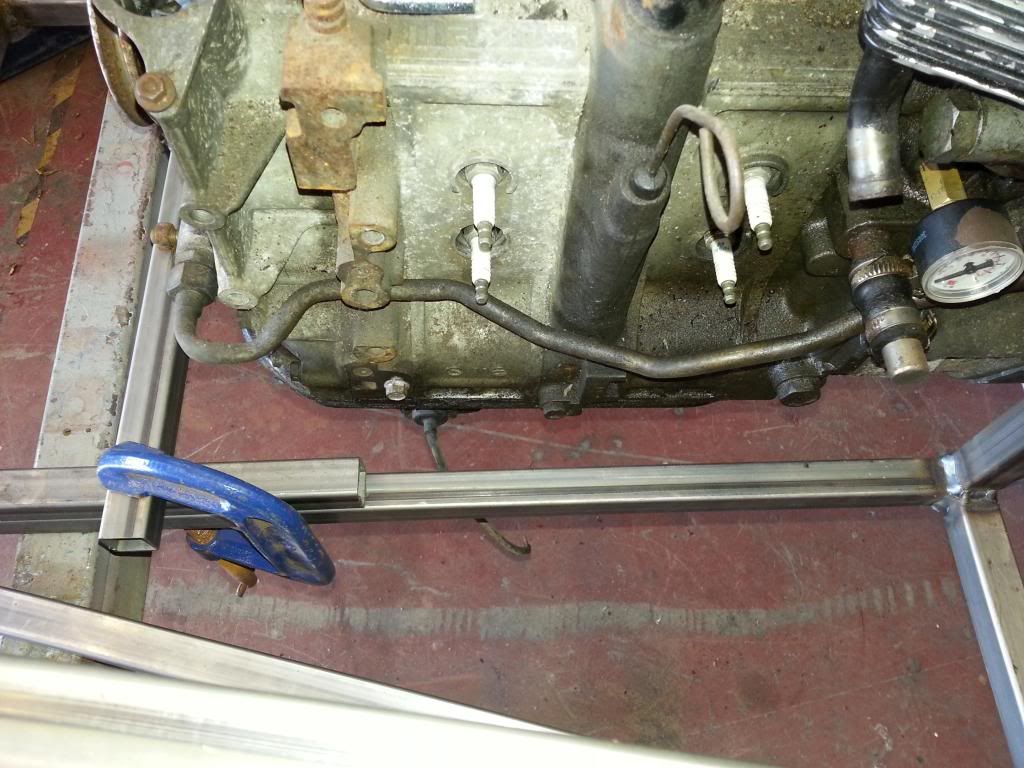 BTW guys, do any of you know a good easy way to clean the engine without stripping it.? |
It just gets better:) That dry sump pan gives you nothing under the car at all.:cool: I reckon you could get that pan machined from billet if you could find a friendly machinist.
Bob |
Machining isn't a problem, though my mill is ill I do have access to a machine shop but it's just taking time off work to be there, so may have plates pre-lasered/water cut and just add a few grooves.
And then hopefully level off the engine a bit then sort out pulleys :) |
Got my scavenge pump the other week, finally got around to looking at what direction it goes in and if it can turn the other way... i.e. the correct way. Bloody thing needs to have a belt forced against it as I can't wrap it around the proper way, either that or I mount it nose end on to the alternator, which will look even more shite :(
It's a pace products unit with two 1.25" rotors so plenty of flow. 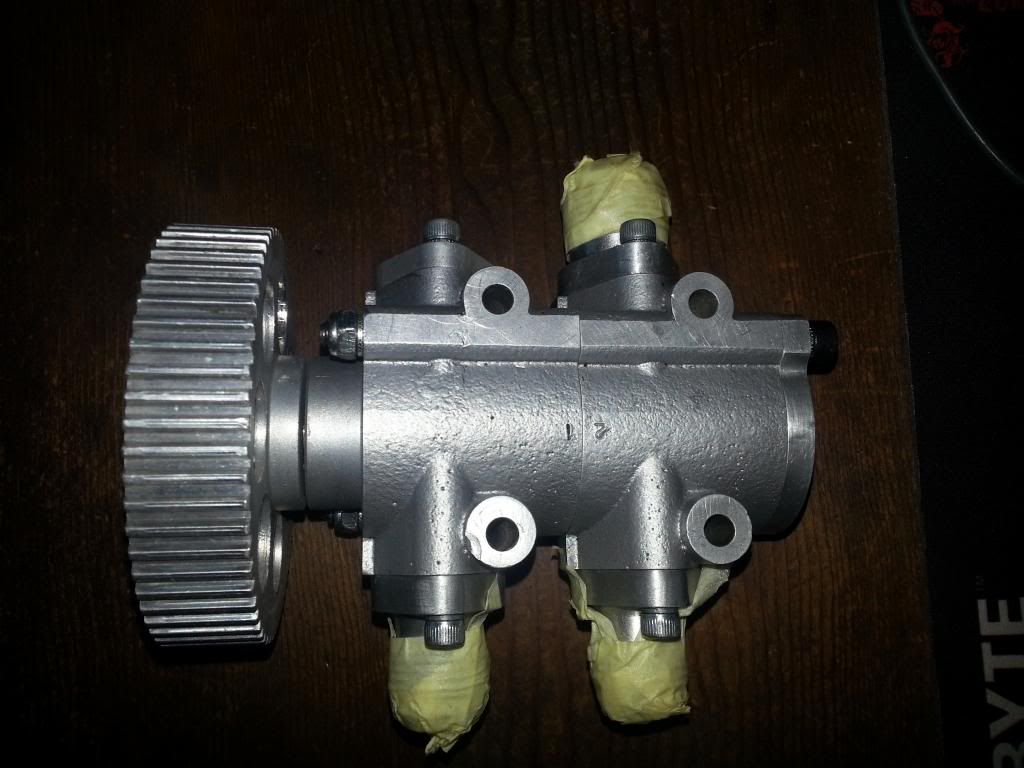 And today I finally picked up my laser cut ali plates (not cheap), pump will fit on the side and the return will go from the front on the other side and feed the original oil pump... Sucky side... 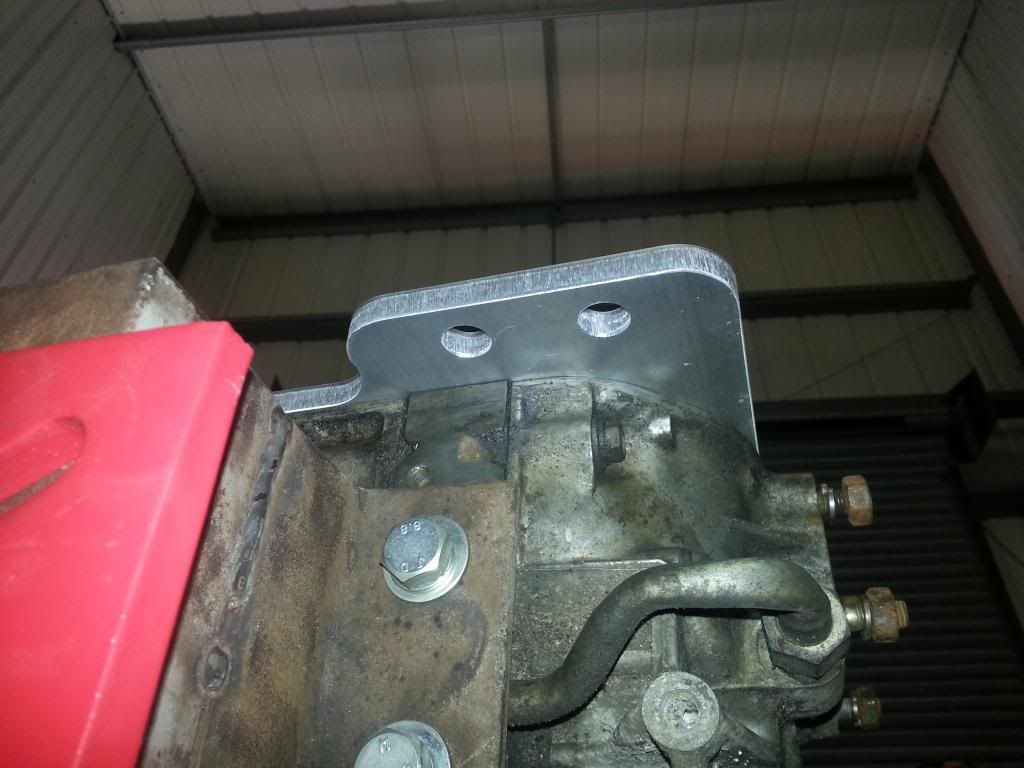 Return side.. 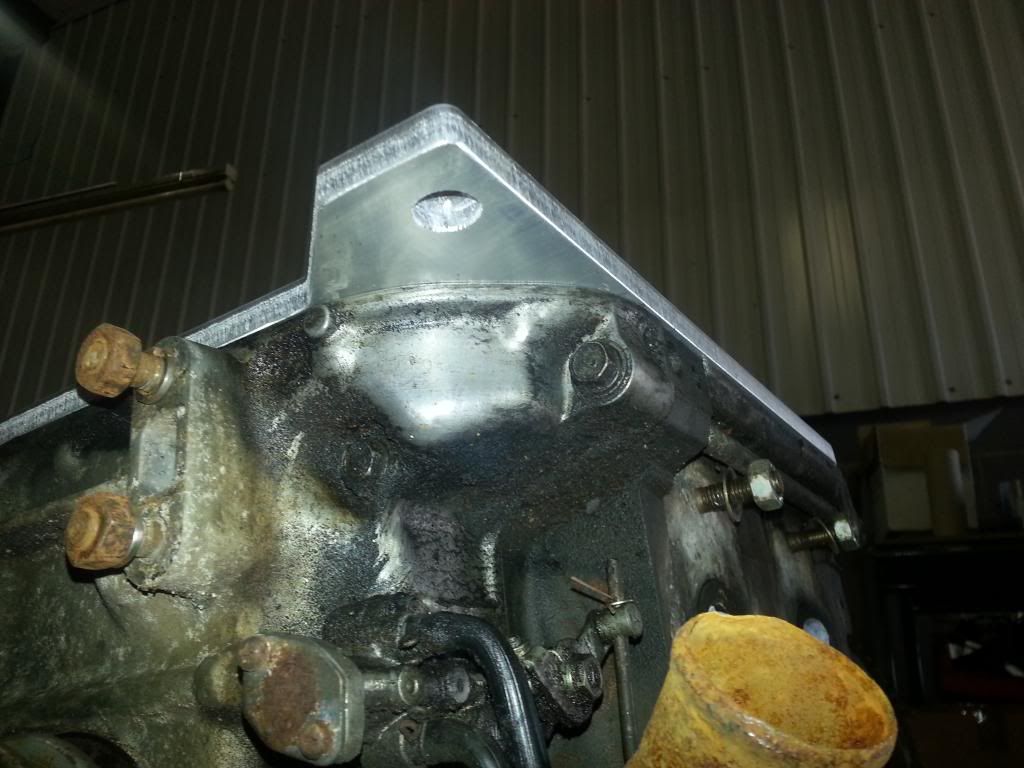 |
More..
 I'm planning on making little channels so when I accelerate all the oil should flow to the passageways..  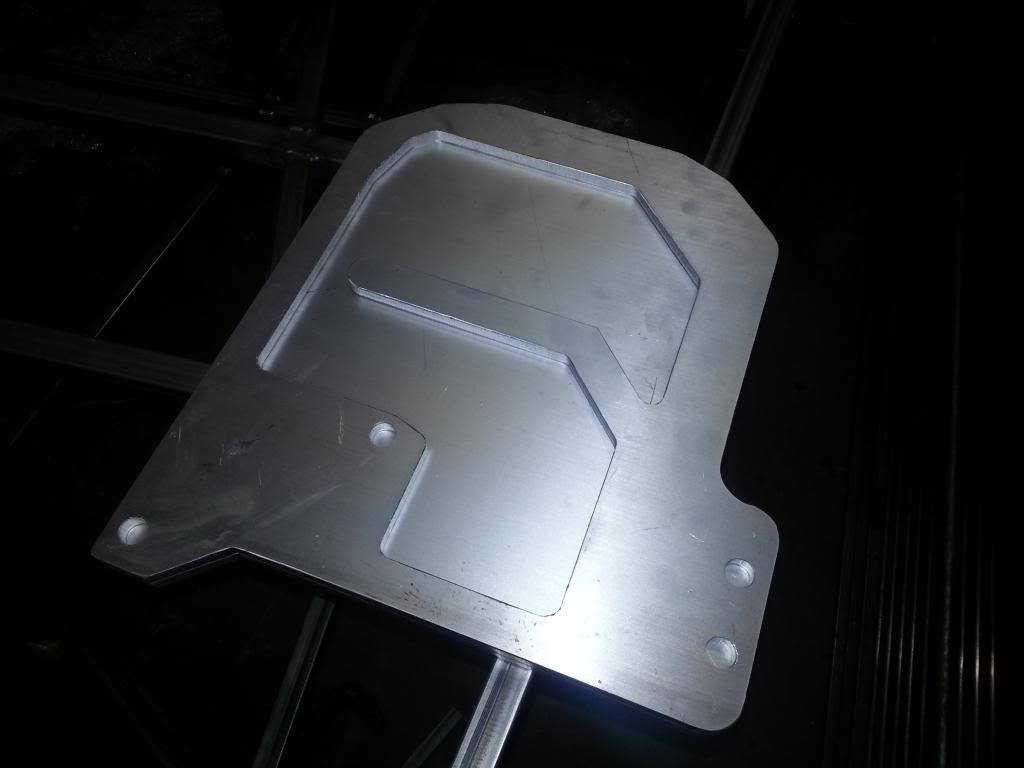 I have this week off and was hoping to get this machined up but I've just found out that I've now got to go to Scotchland for 3 days as the gf has suddenly got the week off too, balls :( |
Quote:
Cheers Stot |
Always wondered how they kept the epitrochoidal's inside and know I know ;)
|
I take it you are going to machine groves in to the plates to suck the oil out to the holes? do you have any drawings or have you mocked it all up? i'm interested in using a rotary engine in my build
|
Yeah, I'm gonna machine the grooves on both plates and also a little bit more out of the base too. Both plates were laser cut (though look a bit rough).
Here's a pic of the autocad drawing (viewed from underneath) I did just for my working out, I've plotted it out 1:1 so I can save time marking out on the plates to machine the paths, pointless doing it on a cnc as I've kept it pretty simple. Though I may change the infeed to just a straight track :D 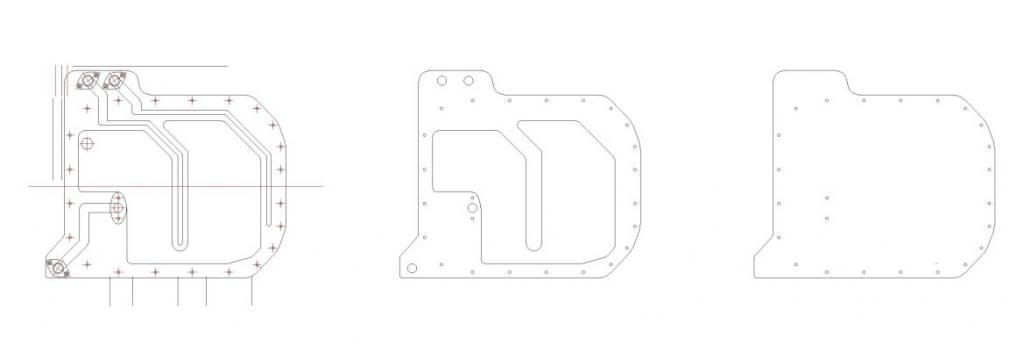 |
| All times are GMT +1. The time now is 09:49 PM. |
Powered by vBulletin® Version 3.6.4
Copyright ©2000 - 2025, Jelsoft Enterprises Ltd.