Stew's build thread
Hi all.
Im starting to build a Mazda MX 5 based Haynes Kit Car. It all started yesterday, buying a 1997 Mazda MX 5 1.8iS. Its an MOT Fail and had no TAX. Its on 115K miles, has rusty arches and sills, but other than that drives well, seems to run well, and pulls like a train.  As you can see from the picture, we had our first skiff of snow last nite. :) Plan this week is to give it a good look over, start removing the loom, and bits i wont need, while engine is still in and checking it will start and run during this process. I will get steel on saturday and start to the chassis. One question : does the "s" model have a LSD? I havent had a chance to "find out" yet!;) |
Hi Stew,
Sorry can't answer your question, but welcome to the mad house :D We like pictures here, so keep them coming with the updates. Good luck with your build. Terry |
Hi Stew, welcome to the forum!
Nice choice of donor :cool: |
After a frustrating week of not getting anything done (ended up working late two nites! and finished off a metal folder the other 3 nights), and not having power for thursday and friday nights, i made some progress today!
Got (hopefully) all my steel for my chassis, 25x25mm RHS, and 20x20mm RHS, and bought a 8x4ft sheet of 12mm plywood, and a few lenghts of 2x3" framing wood. I ended up getting 25x25x2mm RHS which i hope wont add too much weight compared with the 1.6mm listed in the haynes book. Should give it more strength as a positive! What did you guys/girls end up using? A few hours later and a quick coat of white matt paint, my build platform was complete! 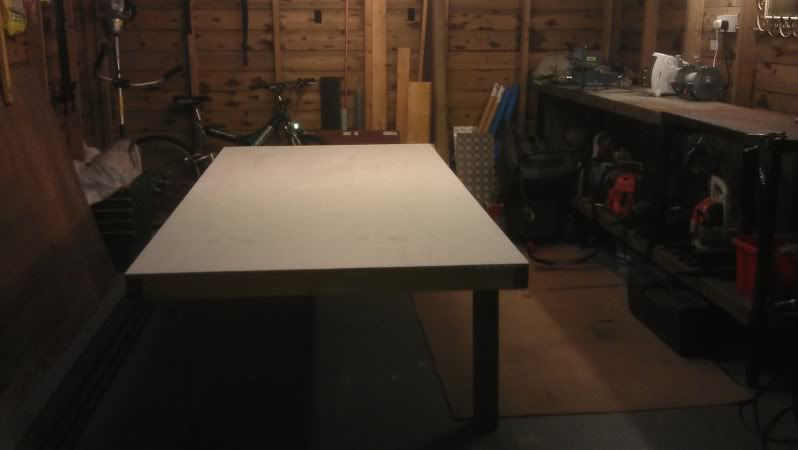 I did what probably most of you guys did, by framing round the outside, and then putting a cross in the middle, and decided to put 26" legs on it, to bring it up to a comfortable working height. Ready to get started marking out and cutting and tacking up the basic frame tomorrow. Thought id share a few pics of my garage, and a few of my "toys"! 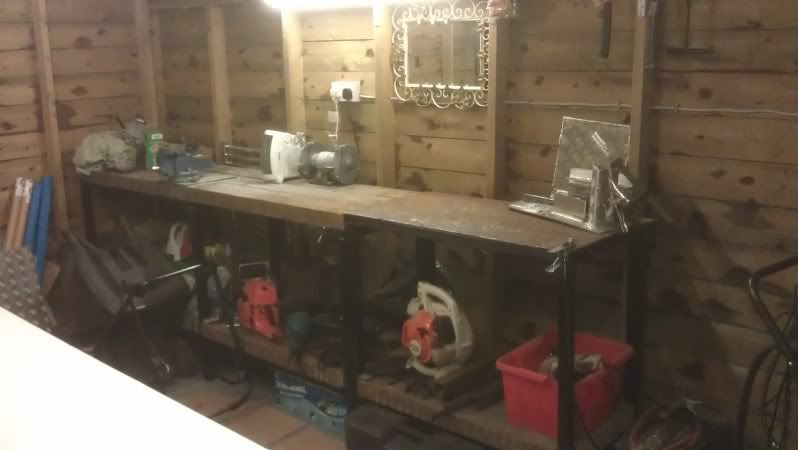 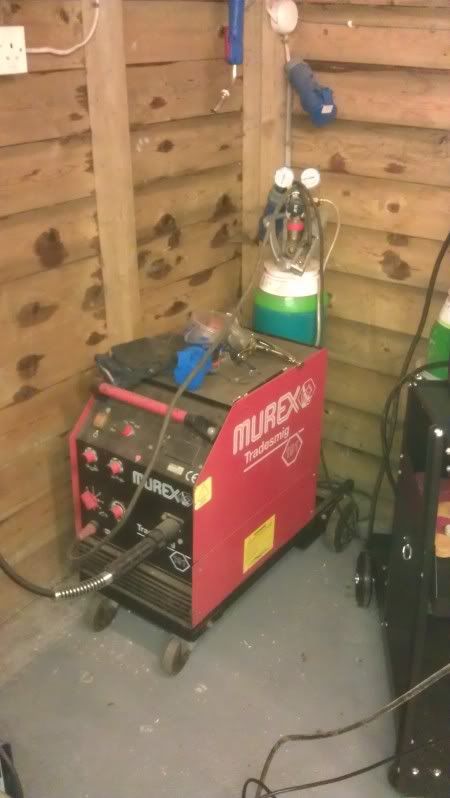 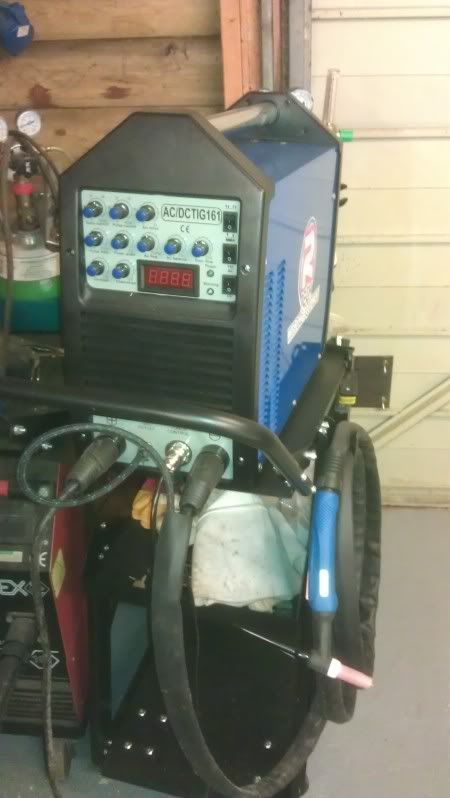 |
Mirror ,mirror on the wall
Is the mirror for when you touch up the eye shadow between welds:D :D
|
looks like you've got all the good tools.
Good luck with you build. |
Quote:
Thats me story and im sticking to it!;) |
I started with marking out and building the start of the chassis yesterday. Realised it takes ages to get each length exactly in the right place, and all tacked up exactly.
 I also got my birthday present from the girlfriend early, its ace! Lets me cut exactly, and also very handy for cutting angles. 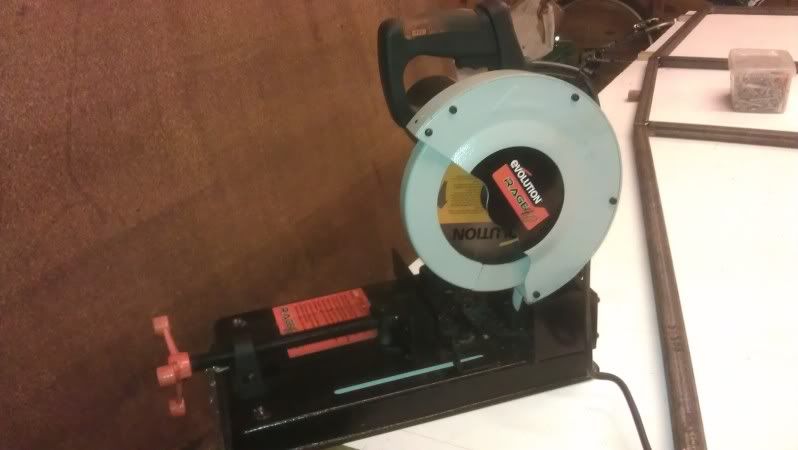 Im pretty pleased so far, its dead on in terms of square-ness, and exact in therms of dimensions! SO FAR!!!! ;) A long way to go i guess... |
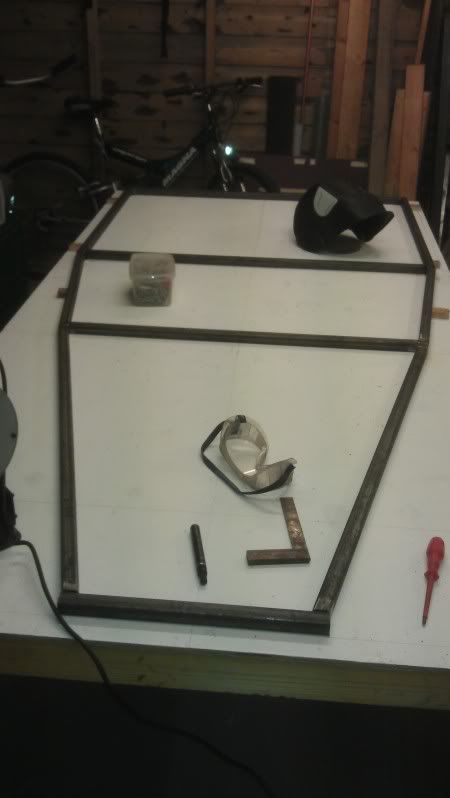
Its taken me forever tonight to do the front frame!
Ive found it a right PITA to get all the angles dead on, and all tacked up exactly square, and thats even with using a jig. Finally was pleased with how it turned out, so fitted it to the base of the chassis. Im still on target for being exact dimensions to the book. 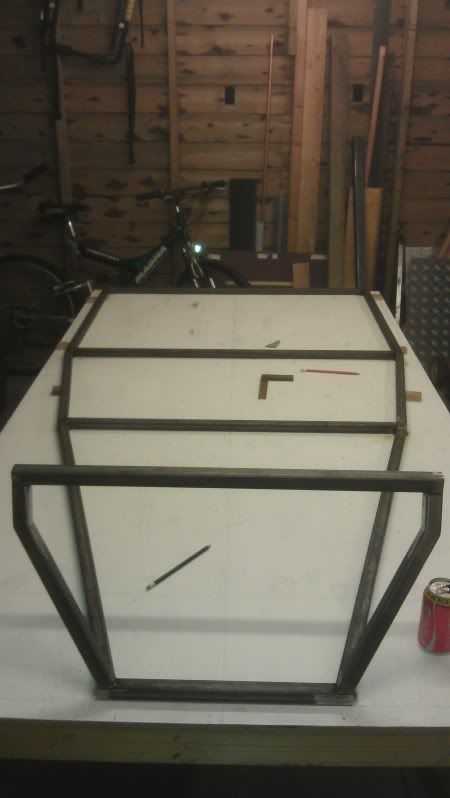 I then got bored, so cut a test coupon of 25x25x2mm RHS, and welded it. It seemed to run in quite well, the weld seemed wet enough, and was hot enough. 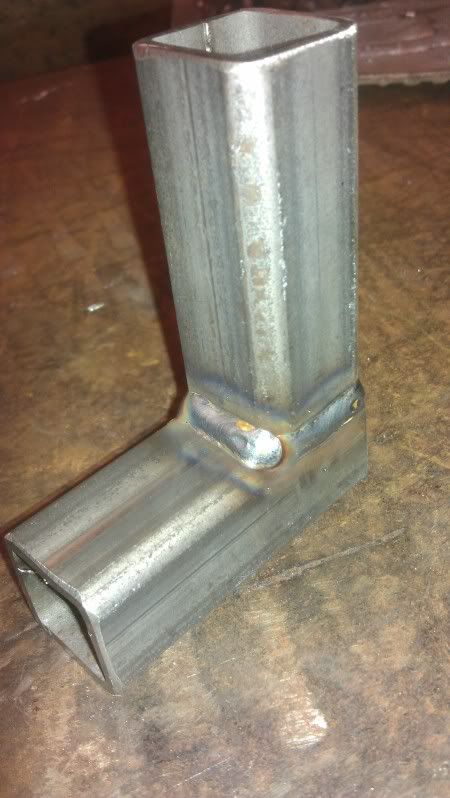 I then sliced and polished the cross section, and it just shows that even with a decent looking weld, its still very important to check the weld has penetrated the back surface properly. This is something we do at work regularly, and keeps us all on our toes! Nothing worse than a poorly penetrated weld. 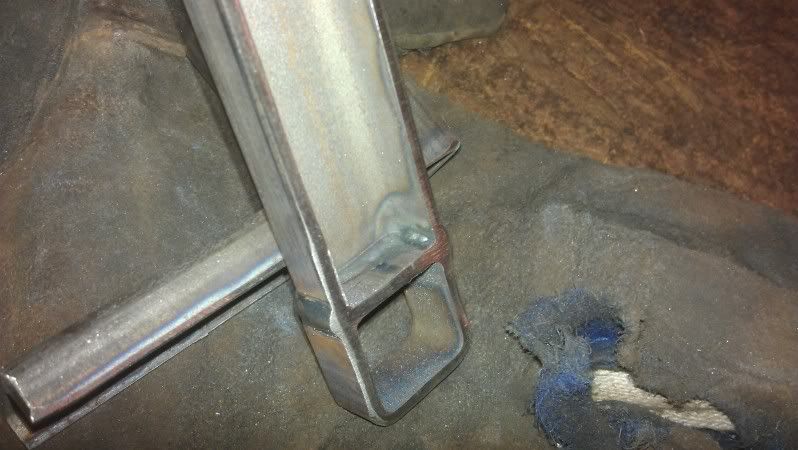 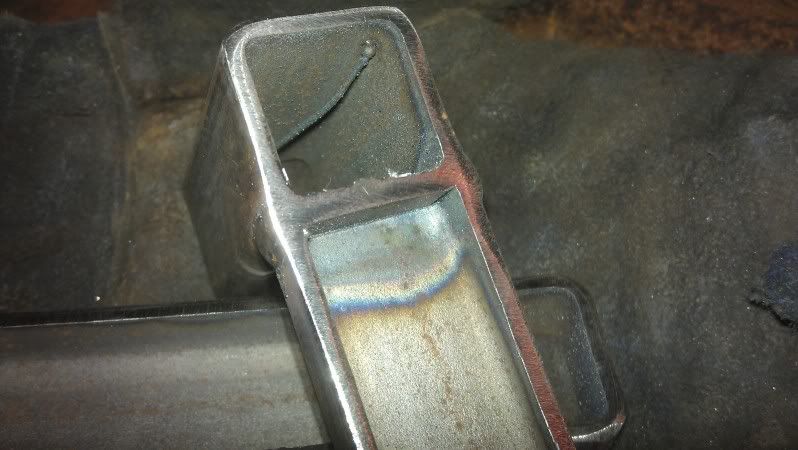 For welding up the chassis i will step-up the voltage one click and corresponding wire feed speed. Thats all for tonight, will get the rest of the front end of the chassis base finished tomorrow, and then start on the uprights and take it from there... |
Nice progress there Stew , you,ll soon have it into a 3D chassis, its a nice feeling when the chassis starts growing in height :cool:
A little tip.....watch out when positioning "U7", its easy to place it incorrectly ;) . Enjoy your build. cheers Andy |
| All times are GMT +1. The time now is 02:41 AM. |
Powered by vBulletin® Version 3.6.4
Copyright ©2000 - 2025, Jelsoft Enterprises Ltd.