The chances are that your pistons will look like mine, covered in movement inhibiting crud...
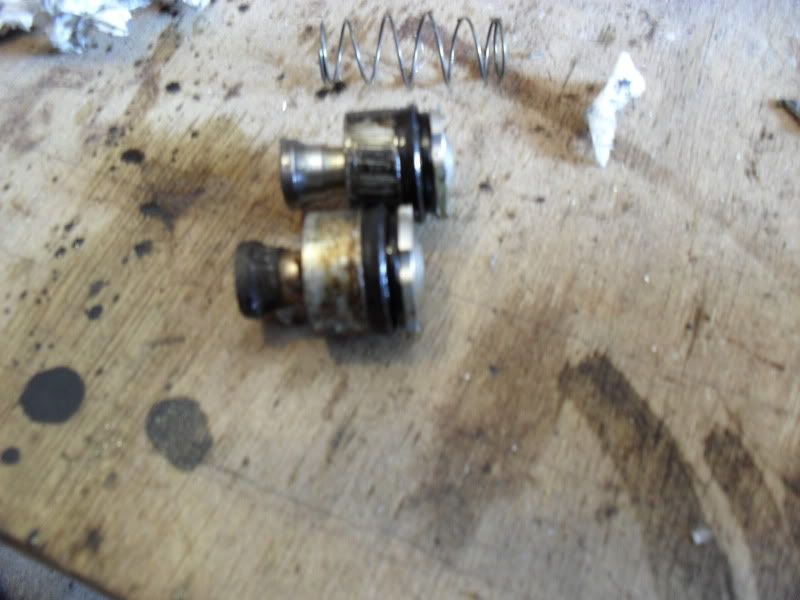
Its worth noting that the inner half of the piston is made from light ally, so its best not to go mad with a scrubbing brush!, just use a light wire wool and tisue paper to clean. if the piston seals look perished its worth replacing these also, but mine were fine so ijust smeared a bit of fluid on them.
they should be as shiny as you can get them to ensure a good free movement within the cylinder...
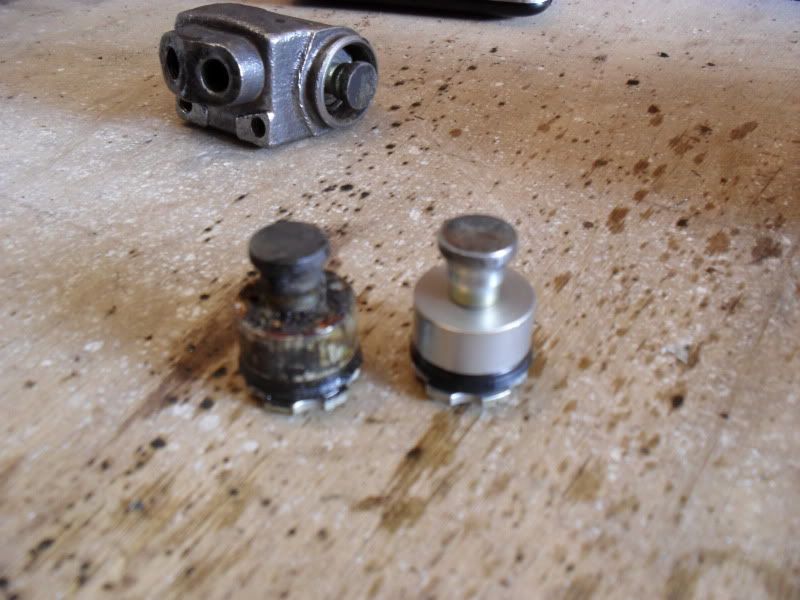
At this point its worth inspecting the spring. Before reassembly, its vital that the the inlet and bleed ports are clean, any crud in there will get pushed into the cylinder again with the fluid.
Once everythings lovely and clean the reasembly beginsby lubing the cylinder up with some dot 4 and then pushing one piston into the cylinder, being careful not to damage the seal, followed by the spring, followed by the other piston. The outer dust seals can now be popped back on. Last but not least fit a new nipple and pipe union.
Then admire your handywork

Hope this is of some use, now i must get back to that decorating before the missus gets back!